Novelty fabric lovers, rejoice! Watch as Natalie brings the Collectibles Wall Hanging quilt to life—a charming project filled with delightful details like jars of marbles, seashells, buttons, yarn, and more. Customize your bottles with whatever treasures your heart desires, and top them off with adorable felt fabric labels for a personal touch. Featuring books and a planter atop floating shelves, this quilted wall art comes together fast!
Natalie is the host of Quilting 101, Embroidery 101 and the Creative Strategist and Editor of Block Magazine at Missouri Star Quilt Company. She was taught how to sew by her mom, of course, and began quilting when she grew up.
Novelty fabric lovers, rejoice! Watch as Natalie brings the Collectibles Wall Hanging quilt to life—a charming project filled with delightful details like jars of marbles, seashells, buttons, yarn, and more. Customize your bottles with whatever treasures your heart desires, an...
How long is the tutorial video?
The tutorial video is 00:27:11.
Are supplies listed for this tutorial?
Yes. The tutorial page includes the supplies and materials connected to this project.
Video Transcript
Hi everybody. I'm Natalie with Missouri Star Quilt Company and today I have a fun project for you. So this quilt behind me is called the collectibles wall hanging and it comes together pretty fast and easy and you really just need a few little scraps and pieces of fabric that you might have around your house already. But it's going to be fun. So let me show you how to make it. Okay, so to make this quilt you'll need a variety of novelty prints. And I've got seven different yardages here. You'll need some background and shelving fabric for your background shelf. So, I've used a charcoal cone of charcoal and a white. And of your charcoal, you need a yard and an eighth of the white. You'll need 5/8 of a yard. You'll need your patchwork potions template set, some felt, and we've got a variety of colors. You'll need a variety of embroidery floss if you choose to embellish it in that way. and then some adhesives. I like to use the MSQC soite adhesive and a glue stick. You'll also need a drunkard's path template to make your arches for your cabinet. And then a rotary cutter and a ruler and you'll be good to go. Okay, so the first thing we're going to do is build our shelf. And that this shelf I designed to have these cute little curves. I thought it would be really fun to just do a curved and or an arched shelf. So, we need to use our drunkard's path template to make that. So, from our light or our white and our charcoal, we're going to cut 9 and 1/2 in strips and 9 and 1/2 in squares. And we're going to cut the large curved piece from the gray. So, I'll go ahead and do that now. And this is kind of hard to see on this dark mat, and that is okay. These curves are nice and gentle. It's a really great way to practice or learn. Um, if you haven't tried curves before, they're easier than you think. You just have to take your time and go nice and slow. Okay, I'm going to cut Oops. I'm going to cut my 9 and 1/2 by lining up the 9 and 1/2 in edge right here on the corner and cut this inner curve. We'll set that piece aside. Those pieces can be used for other blocks because we don't use them in this quilt. So, we're done with that. So, what I suggest as far as um making these curves is that you go ahead and fold it in half so that you can find your center along this curved edge. So, I do a little finger press and it makes this lovely little press mark that you can then line up your uh inset curve into. So then these want to go together just like so. So I'm going to pin this middle. And I like to keep the smaller piece on top. That seems to do really well for me. And so I'm going to go ahead and put a little pin in it. Now you can use a wonder clip if you like or no pin at all. But I do like for my middle to stay together so that as I'm going along, I know that my fabric hasn't shifted so much that it's going to be wonky. Then when I go to the sewing machine, I'm going to line this up. And these are these are nice and large. So if you wanted to stick a pin in here, you totally could. Uh I think I will just to get it over there to the sewing machine. And then the only other place I would go ahead and pin is down here at the bottom. And it's not totally necessary. You can I will remove these pins before I really start sewing. It's more to keep it in place as I go along and then I'll pull it out before I get there. All right, so let's go ahead and make this seam. Just take your time. Go nice and slow and do a nice little quarter inch seam. All right. And as I go along, I'm adjusting my fabric so that it stays edge to edge. And uh we just gently curve. We take our time and let that fabric just go all the way around that outer edge. Nice and easy. Not pulling or stretching anything. All righty. Now, we're going to take this over and press it. And I always just press it back. It likes to lay flat that way. So, that works out pretty well. And like I said before, your curves are going to get easier and easier every time you do them. All right. So, I am going to make we're going to make two because they go up in our corners. And then you'll notice that we've also got pieces here and then on the sides that have a little bordered edge. And to make that match, we're going to take this 9 and 1/2 in square and cut an inch off one side. So, it'll be 9 and 1/2 by 8 and 1/2. So, I am going to do that to this one. And we're going to add a 1 and 1/2 by 8 and 1/2 or sorry 1 and 1/2 by 9 and 1/2 in strip to that side. So we're just cutting an inch off. And then I think I've got a little piece here that I'm going to go ahead and just piece on. Although, if you want to, and maybe I should go ahead and do that, cut it at Oops, I am right-handed. 8 and 1/2. It's going to be 9 and 1/2 long. And these are all the same, all of these blocks. So, you're going to do this five times. And then you'll rotate them. So, we have one up here, and then we have two on either side. So you're making five blocks that are 8 and 1 half by 9 and 1/2 with a 1 and 1/2 in strip sewn to one side. All righty. So, we will set this seam and press this back. And then you'll see that these line up nice and neat here. Whoops. Kind of. Yeah, they line up pretty good. And then I've got the rest of the pieces made. So, we can go through this pretty quickly. So, we've got one, two here, and one, two here. Just like this. And then we need two 9 and 1/2 inch squares for our center. just of of regular um just a regular solid piece. And this is the background. So, it's essentially just a large nine patch. And then I'm going to add a 1 and 1/2 in strip along the bottom. So, I'm going to go ahead and stitch this together. And then we'll start decorating. So, here is our finished cabinet for all of our curiosities. It's 27 by 29. And now it is time for us to go ahead and add our shelving and our jars of all of our favorite little things to collect. And so a lot of that depends on what you love and if you can find um fabric with the things that you love. I think it would be fun to have like a jar of Hot Wheels or you could even do like a fishbowl, stuff like that. It's really really fun. Everybody's different in what they love. So, what we're going to do, we are going to grab our fabrics. And I have added the soite adhesive to the back. So, we can go ahead and pick um some jar shapes to trace and cut out from our potions. So, I'm going to I'm going to trace these. I've got the whole set here. And I just chose a few that I thought were really cute. This is one of my favorite shapes and I think it works really well. Um I also tried so because I'm a little bit like I think about things a little bit too deeply sometimes. I was like well what would actually fit in a jar that shape and size? And so I wanted them to kind of line up that way. So, I just traced onto the heat the heat and bond adhesive and then I cut them out with scissors. And I used a bunch of different shapes. It's really fun to see these come together. They all have little shaped cutouts in the middle, too, that you can use as lids. These are really fun for bottle toppers. And then like this one for example, I went ahead and traced onto a felt piece and did a little embroidery. So, I'll show you that in a minute. But, uh, these are all just really cute. And then you get to decide what kind of labels you want to put on them, if you want to label them at all. It's completely up to you. This is one of those really fun, very creative projects that you can you can really do whatever you want. Oh, there we go. That one's already traced. I did that ahead of time. Okay. So, I've got these traced and I kind of skipped ahead a little bit. I think what I'm going to do first is cut my uh my shelving out so that I can decide what I can fit and where I want to put it. You don't have to follow the same layout as I did. You could move your shelves around. You could do books or no books. Maybe just have another jar down here. Uh anything that you want. You could make them all all very vertical and symmetrical. That's completely up to you. But I'm going to show you what I did. So, this is one of our pieces of felt. And I like my shelves to be about an inch and a half. So, I'm going to cut this entire piece into 1 and 1/2 in sets to make my floating shelves. And I will line them up. I'll add a little bit of glue to keep them in place. And then all I'm going to do is just a straight stitch around the edge. Just a little top stitch to get them to stick where I want them to stick. And you can make your shelves as wide or narrow as you like. You know, maybe you want two inch shelves or two and a half inch. That's totally fine. This is your project. That's just a little leftover piece. So, I have all of these little shelf units and I'll show you kind of how I laid them out. So, down here at the bottom, I thought it would look really cute to just do several in a row. And I wanted it to go and be kind of centered. So, all I did is I just cut this to the length I wanted it. There's no specific ruling on how big or small it needs to be. So, I'm going to do a quick little measurement. Looks like I want another three and a half. So, I'm just going to cut this right at 3 and 1/2. And now I have this this little piece that's just going to add tack on there. And I've got a shelf that covers the entire bottom. And then I'm kind of eyeballing this. So I lined up a shelf up here that I thought looked really good. And then I've got one over here, but I wanted it to be a little bit longer. So I went ahead and added the rest of this. But then I thought that's a little bit too long. So I cut it I think just pretty much about here. So, let me just do a quick little little idea of Well, I think I'm going to do a 3-in cut for that. So, you again can make your shelves any any size or length that you like, but this is just how mine ended up. And I I just kind of buted them up right next to each other so it looks like a continuous shelf. And then you can start um gluing them down and stitching doing some top stitching. So, I'm going to do a little bit of this and just stick that in place. The nice thing about this is it is fairly movable until you actually stitch it down. Um, they don't necessarily stay super stuck with this glue cuz it's it's applique glue. So, you can see you can like lift it and move it and reposition it if you need to. And you might want to use a pin or two here and there just to kind of keep it in place really good. The other thing you might do, I'm not that I kind of eyeball everything, but if you wanted to go along and say, you know, use your seam line as a measurement, you could say, "Okay, these are all 2 and 12 inches from the seam line." And that way you can make sure everything stays nice and straight rather than kind of curving up like mine did right there. Looks like it's going to tilt a little bit. So once I've measured that, then I know, okay, good. It's uh it's pretty level. It's kind of a a fake way of leveling your shelves. And then these ones I'm going to glue down. And I would probably go ahead and um I will stitch these on in this order. So I'll stitch my shelves on first and then I'll add the um the potion bottles after. But there's a little bit more to do before that. So, let's get these glued in place. And these bundles of felt come in in really large bundles, so you'll have quite a bit left over. I like the felt because it adds that extra bit of texture. But if you um if you don't love working with felt, you could very easily do this with solid fabrics, whatever. You know, there's even really cool ones that have like look like a wood grain. That would be a really fun thing to use for your cabinet or for your shelving. So, the sky's is the limit on the creative possibilities here. All right, I'm going to go ahead and cut out some of my potion bottles. Just following the lines. And it's okay if they're not exact. Nobody's going to line it up with the template to see if you cut it perfectly. Doesn't matter. It was one of those fun projects. All right. So, I've got my pin bottle and my yarn. And I thought it would be really fun to just add some extra cuteness. So, I made some labels for these. All of my labels. I decided to um make them sort of cohesive by making all the label shapes the same. Now, that's uh again, that's completely up to you, whatever you prefer, but I thought it would be really cute. So, I'm going to grab some of my um felt in different colors, and I'm going to trace a couple of labels on here. And it's kind of easier, I think, to use Well, this pencil is showing up really nicely, but you could also use a ballpoint pen if you wanted to because you're cutting right on that line. And you can use the other side after you've traced it and cut it out. So, let me grab another. I think I'll do a bright yellow. That's a pretty color. I'll just You can see I've definitely used these. All right. These I found were pretty easy to cut out if I cut the rectangle first and then came back in and just did the little curves after. So, I'm going to do this. And then I'm just going to follow this little curve and that one and this one and this one. All right. So, we've got that one. And then I'm going to cut out the green one for the yarn. All right. So, now that I've got this shape cut out, I'm going to write on it what I want my label to say. And I'm going to do the embroidery on just this little felt piece before I stick it to my jar. That makes it pretty easy. And I'm just going to write it in my own handwriting so that it's how I want it to be. Now, if you want to, you can print letters and trace them or uh have somebody who you like their handwriting go ahead and write it out for you. So, that one says yarn and I'm going to use whatever chain stitch I like. So, line I did line stitching for almost everything um on this this quilt. And the ones that seem to work best for that are like the chain stitch, the um uh back stitch, running stitch, split or stem stitch, um yeah, split stitch or stem stitch. And so there's little videos on my embroidery 101 that you guys can reference to pick whichever stitch you love and do all your line work for all of these fun little labels. The other thing I want to show you is the lids. There are a lot of really fun options on here. There's circles and little potion toppers like uh this one is particularly cute. Kind of looks like a little floral to Lee if you have a fancy jar. But what I did for mine cuz I wanted them all to be very similar and um kind of all the same except for the seashells. This one I did do a circle, but these ones I just traced the top of that jar. So I took it like this. I lined it up with the bottom edge where I wanted that top to to land. and I just traced it. So then each jar kind of ended up with a little custom lid. Um I was thinking a lot about those uh organizers who like put things together in a pantry and they're like if all of your lids are the same color, it all looks very cohesive even if you have different sized jars. So that's one of the things that I was thinking about as I like designed how I wanted this to look. So, all of my jars are this little little felt top, just like that. And then, um, the other thing we can talk about, we can talk about this vase. So, this vase I thought was really cute. What I wanted was something that would, um, stand out against the jars and look a little bit different. So, I thought this would be really fun, but this top was too tall for me, so I cut it down. So, to do that, all I did was just trace this on. And I actually really love the way this little heart looks inside of it. So I traced that as well and just did a little heart in a chain stitch because I thought it made a cute vase. And then I decided I wanted the top to just be a little bit shorter. So I do a lot of um kind of freehanding and not worrying too much if it ends up exactly perfect. I tend to be pretty relaxed about this kind of stuff because it's art. It's not supposed to be perfect. It's supposed to be unique and personal. So, I just cut it out how I think looks good. I did a little curved edge. And then this one just went right here. So, the same with the leaves and the vines. I cut a bunch of skinny strips and I cut them with my scissors. So, you could do scissors, you could use your rotary cutter, whatever you want. I just cut several real skinny little stems. And all we're going to do is put these together. And I I typically like to do odd numbers. So, threes, fives, things like that in um in design tend to work out pretty. Just not not necessarily so matchy matchy or full. Just do what you think looks good because it's your project and you get to do whatever you want with it. You could add flowers to these if you wanted to. Be as creative as you want. Um, and then for the leaves, I I tend to like to fold my fabric a little bit because then I can cut two at a time and it goes a little bit faster. And you can cut out any kind of leaves that you want. They could be spider plants or monsteras or, you know, it could be a fiddly fig. Make it real roughly. Whatever whatever feels good to you that you think is beautiful. That's the thing that's going to make your project special and unique just to you. So, I kind of like to put something at the top. I got a bunch of these. Make them different sizes because we know plants don't grow exactly the same. Your leaves aren't going to be all the same sizes. They're going to be bigger and smaller and go in different shapes and, you know, they like to reach for the sun. You can mix and match and split them up so that they're all different. Or if that one doesn't look like it's going to fit, make it a little bit smaller. You have a lot of freedom here to do whatever you feel like. All right. So, once you get these all set, go ahead and glue them down and then do some top stitching. I did a stitch down the middle to kind of add like a vein for the leaf, but you can stitch as much or as little as you want to. Um, and then the other thing I did was the books. So, these books, these are some of my favorite books. I went ahead and just typed in um on the internet decorative bookspine in the titles that I liked and I found a few that I thought I could probably sort of draw that myself. You could also print it out and then use like a a stick and stitch if you wanted to to um trace it onto your felt so that you had some line to follow. Uh I I found that a pencil worked just fine and I just stitched over it using um my favorite line stitches which again are like the chain stitch, the stem stitch, back stitch, running stitch, and split stem. Those are just stitches that I love to use and I do have little videos showing how to do all of them on Embroidery 101. So, you can go check those out if you need a little reminder. And then, um, let's see. I feel like that's about it. These these potion templates are so versatile. I thought it would be really fun to do maybe like a makeup counter where you could put like um all of the cute little makeups and perfumes that you might have in your bathroom. where you could do something kitcheny or pantryish where you had maybe a bowl or a plate and then the things that you can and keep in jars like rice and tomatoes and beans and all of those fun things. So, for me, the options are just like they're just endless. There's so many different things that you can do with these fun shapes and you can put it together and be creative and make it completely your own. So, again, looking at this. So, I went ahead and machine quilted it with Time Warp, and I think that's really fun. You can machine quilt with whatever pattern you like. These are just top stitched down. So, once I get my my felt embroidered and placed on, then this gets ironon applique. And then I just went around it with a simple blanket stitch, but you could do a straight stitch or a zigzag, whatever top stitch you're comfortable with, just to keep them in place. And it doesn't need an extra border because you did that at the beginning. So, it's already bordered. So, I backed it in this fun marble print because it's just so bright and colorful. And I do personally love marbles. So, it came together really fun. I feel like it's a good creative exercise for me. I felt like I was just using my imagination and kind of felt like being a kid again. So, I hope you enjoyed this tutorial on the collectibles wall hanging from the Missouri Star Quilt Company. See you next time. Hi everybody. I hope you enjoyed today's video. We're trying super hard to get to a million subscribers. So, if you enjoyed it and you want to see more, just hit subscribe and share with your friends and encourage them to do the same. And I will see you next Friday with a brand new tutorial.

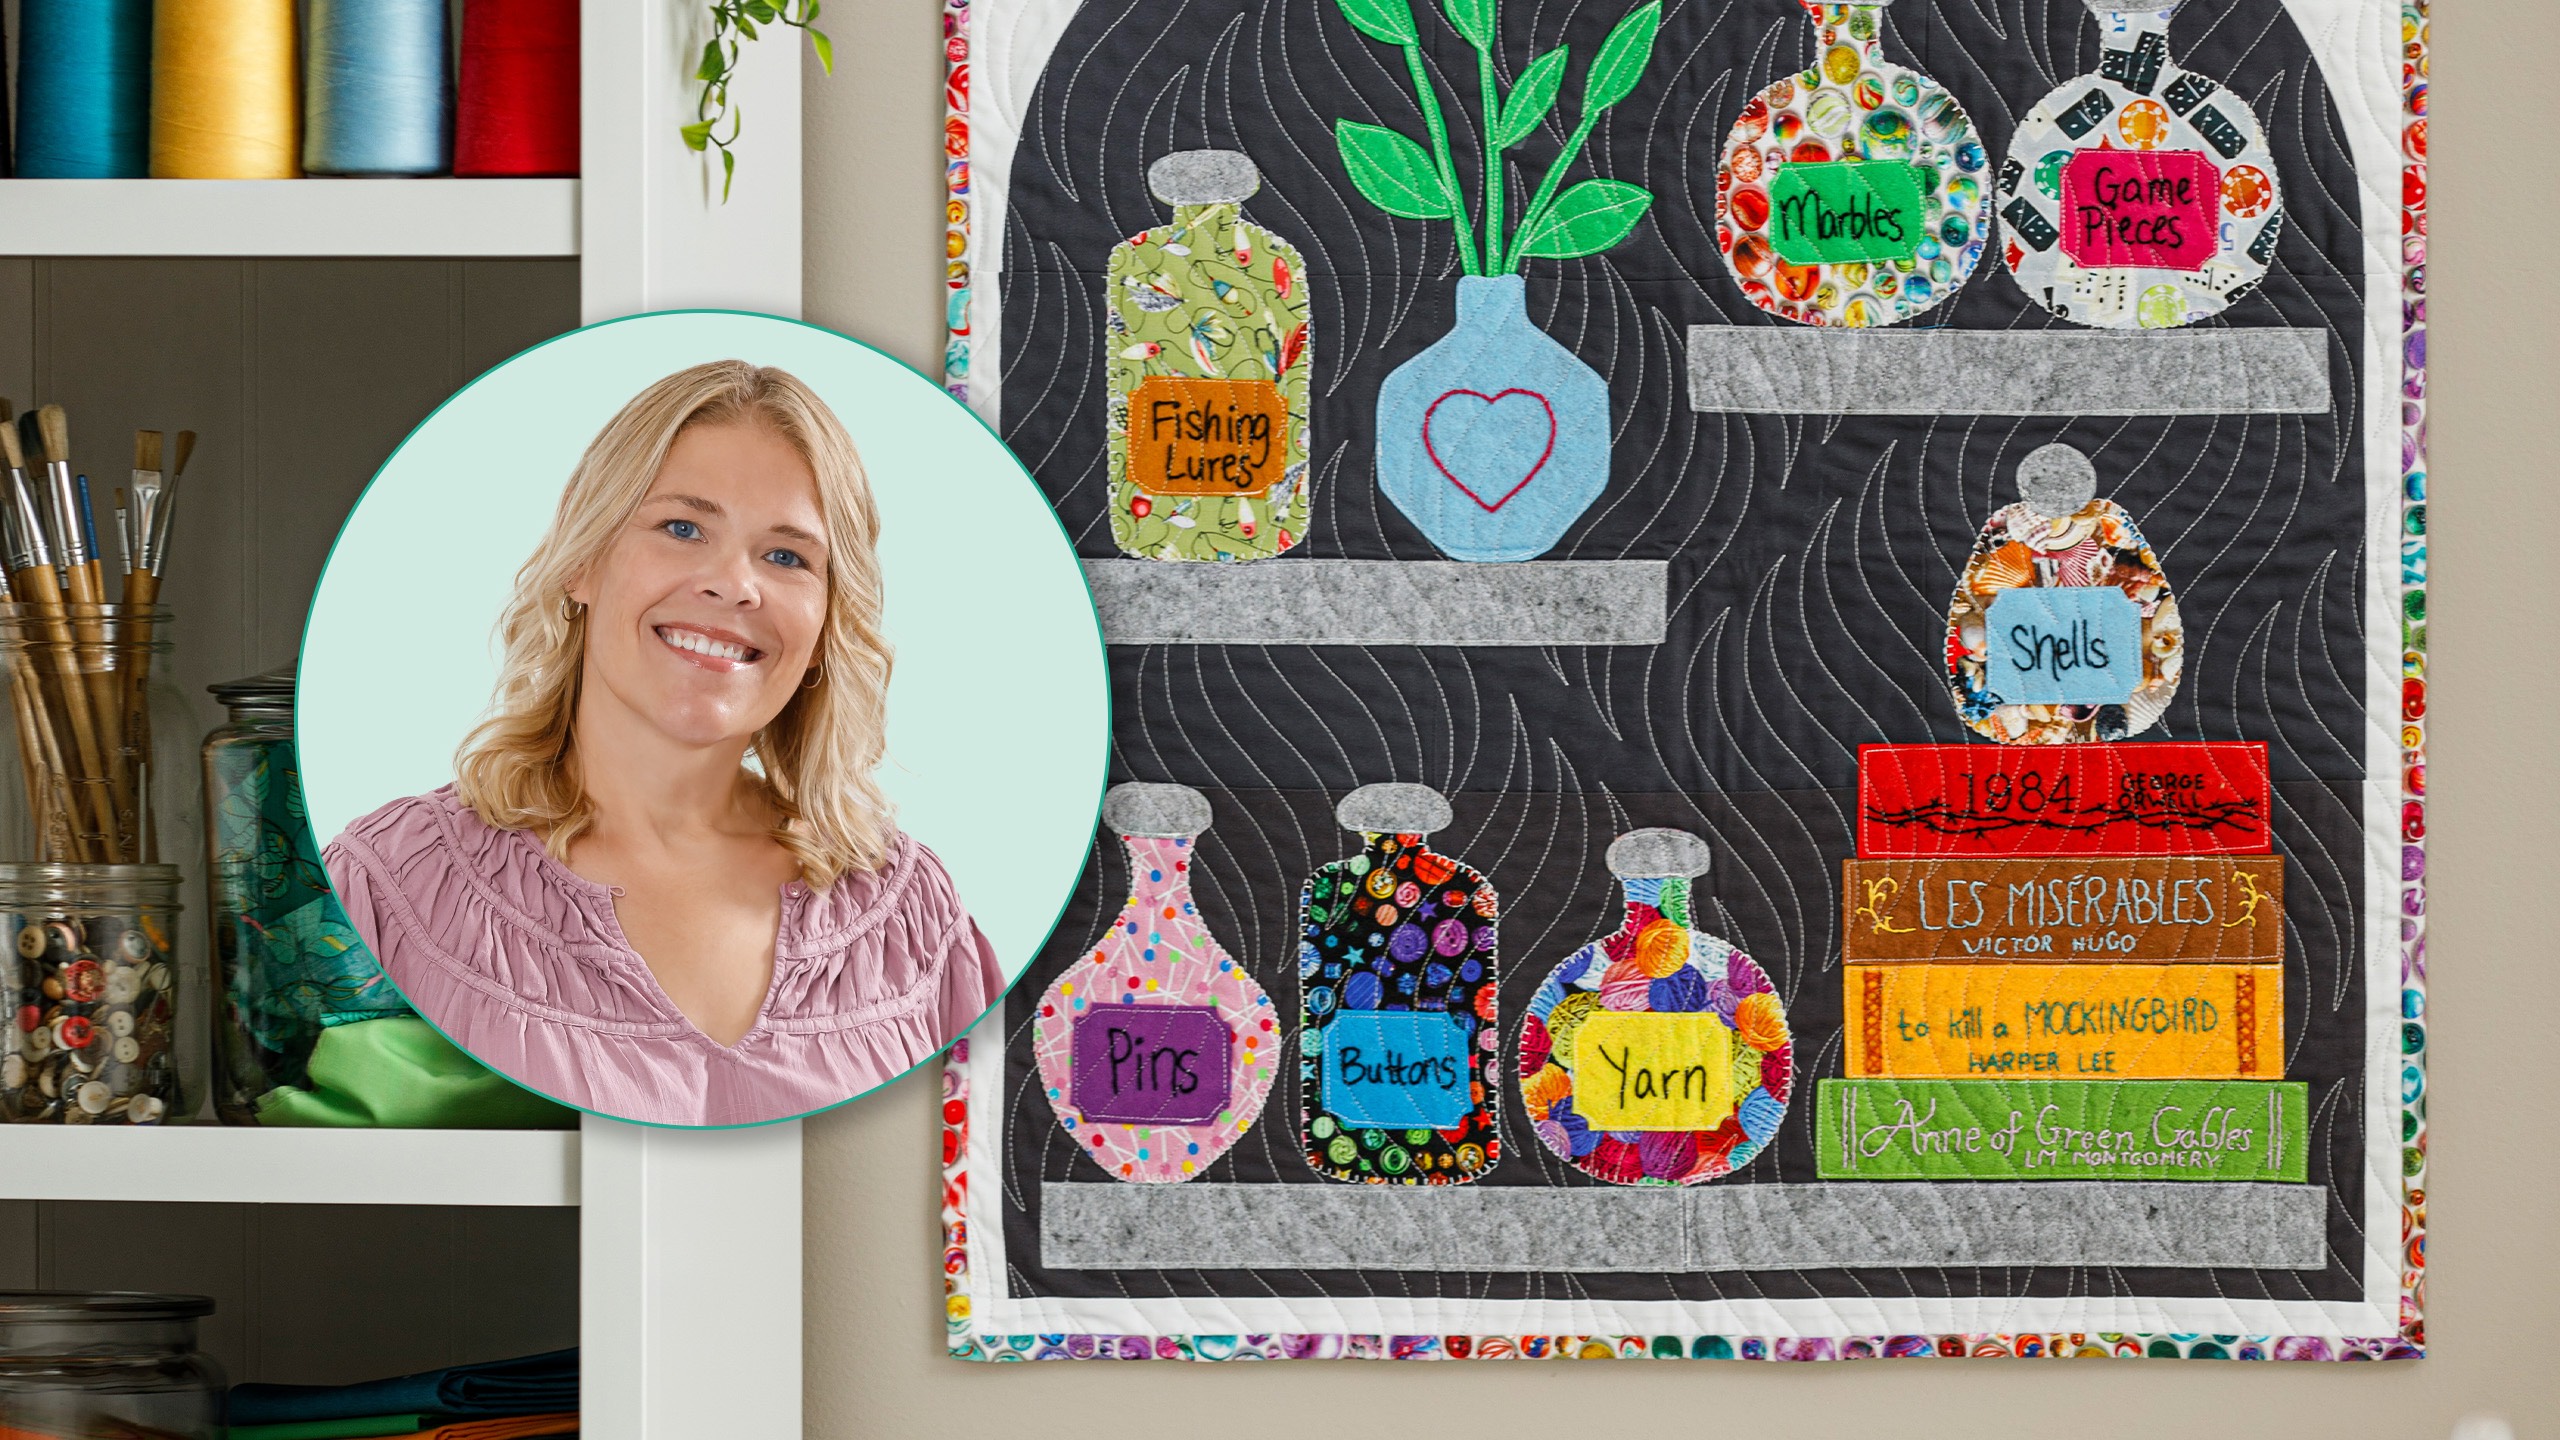
 Natalie Doan
 Roxanne Glue Stick$7.75Shop →
 Missouri Star Sew Light Fusible Adhesive - 12" x 15 yards$28.95Shop →
 Kona Cotton - Charcoal Yardage$7.92Shop →
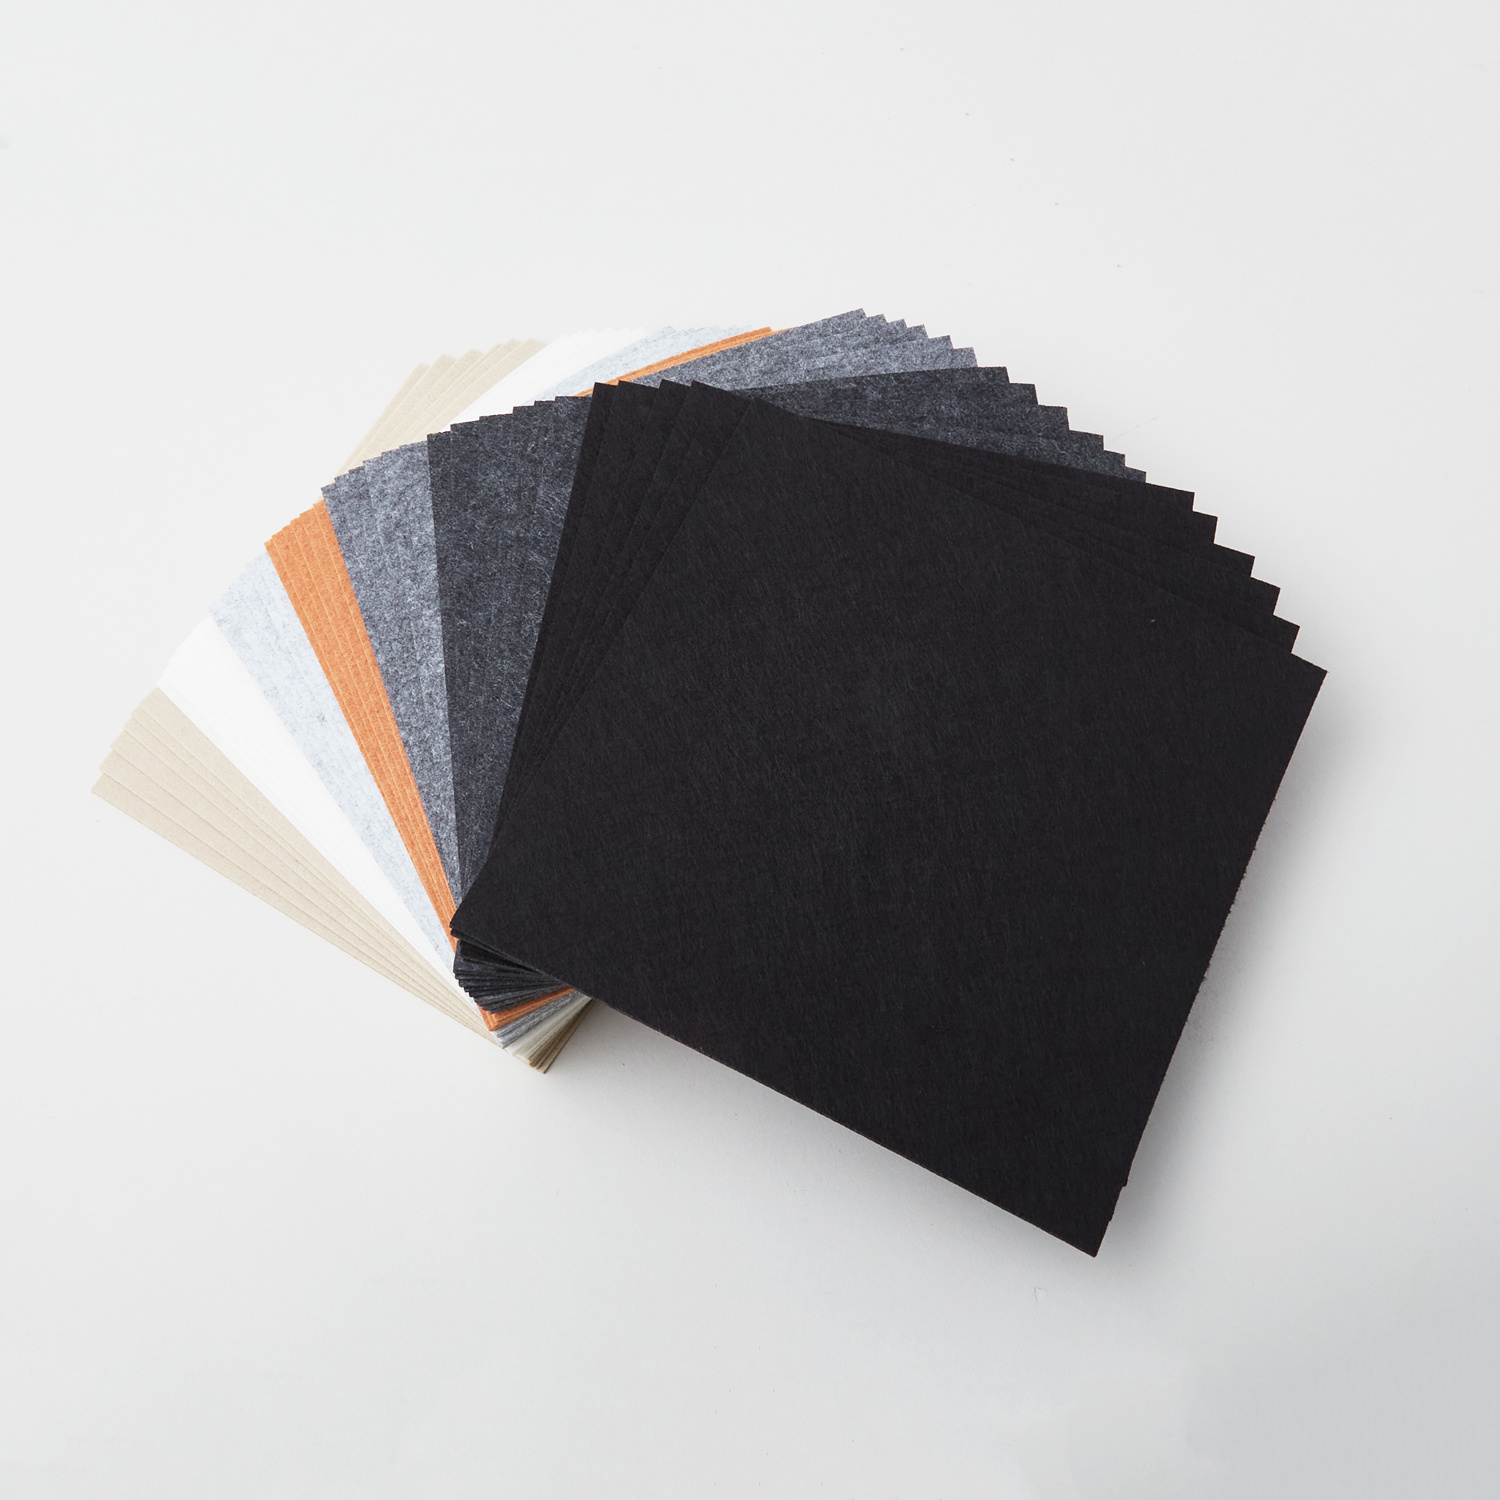 Missouri Star 10" Felt Squares - Neutrals Pack$29.95Shop →
 Kona Cotton - White Yardage$7.92Shop →
 Missouri Star Quilter’s Best Blend Crib Batting$14.95Shop →
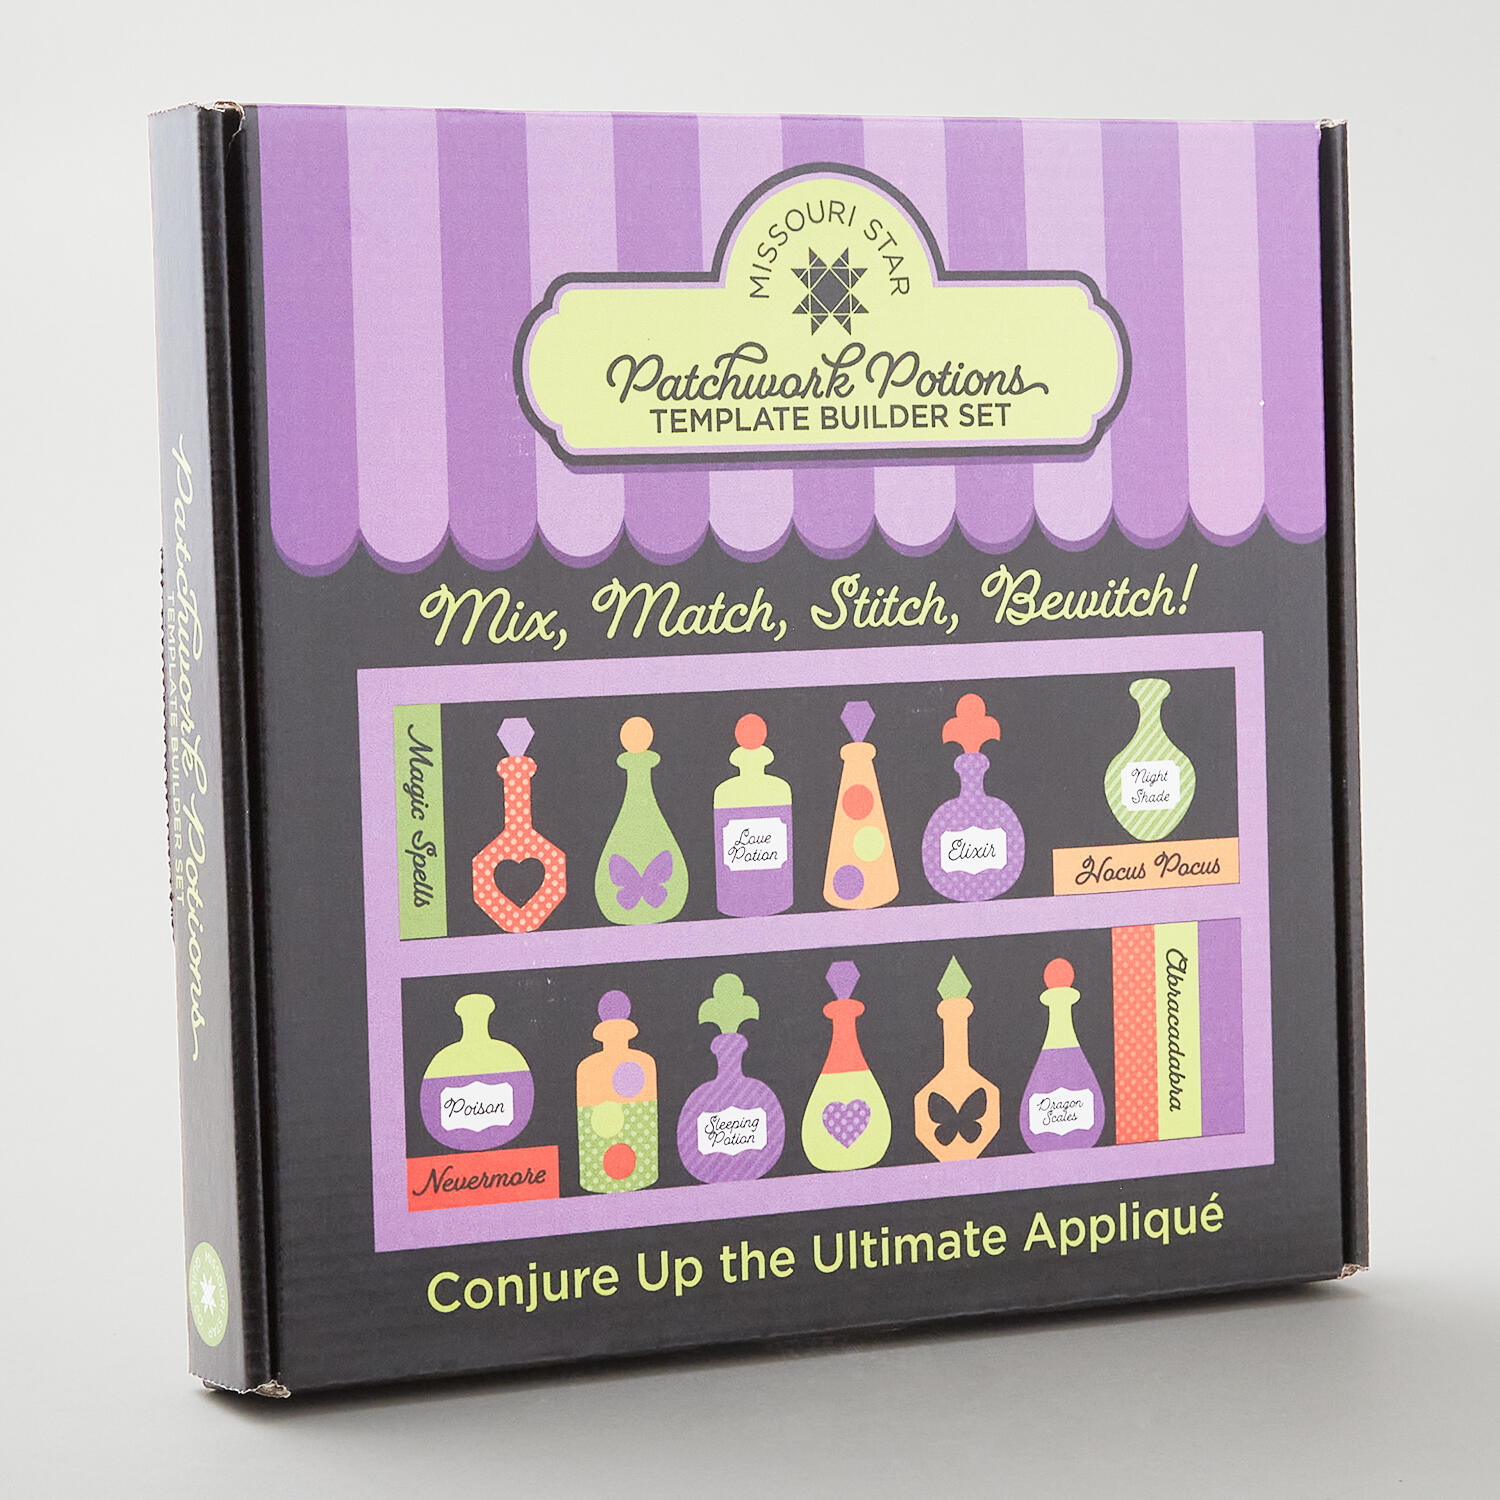 Missouri Star Potions & Bottles Template Builder Set$29.95Shop →
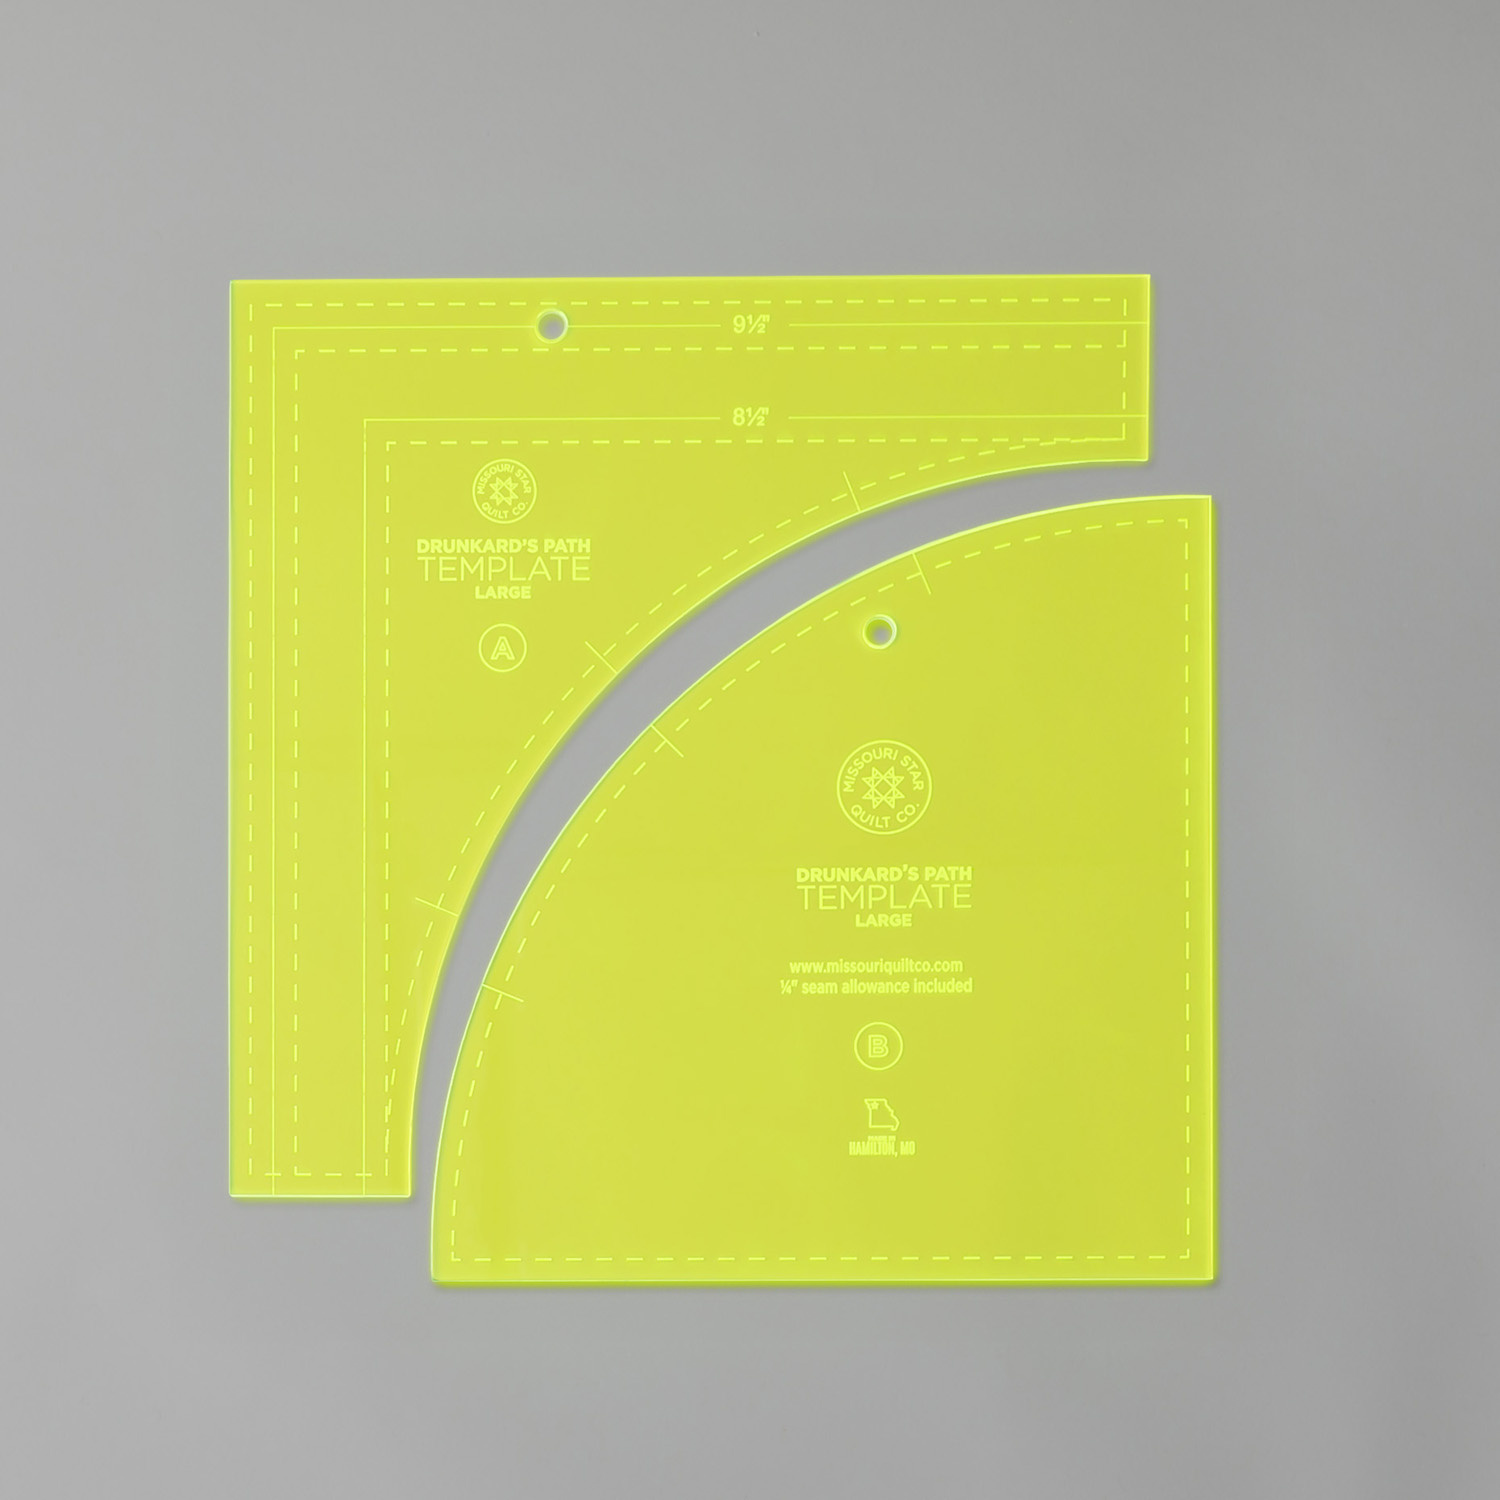 Missouri Star Drunkard's Path Circle Template Set - Large$21.95Shop →
 Missouri Star 5" x 15" Ruler$19.95Shop →
 Bernette 77 Sewing and Quilting Machine$1699.00Shop →
 Missouri Star 50 WT Cotton Thread White$7.95Shop →
 Missouri Star 45mm Rotary Cutter - Olga$19.95Shop →
 Missouri Star Seam Ripper - Frida$9.95Shop →
 Missouri Star 8" Everyday Scissors - Amelia$19.95Shop →
 Missouri Star + Oliso TG1600 ProPlus Iron$209.95Shop →
 Missouri Star Wooly Betty Board - 17.25" x 25.5" Orange Border$99.95Shop →
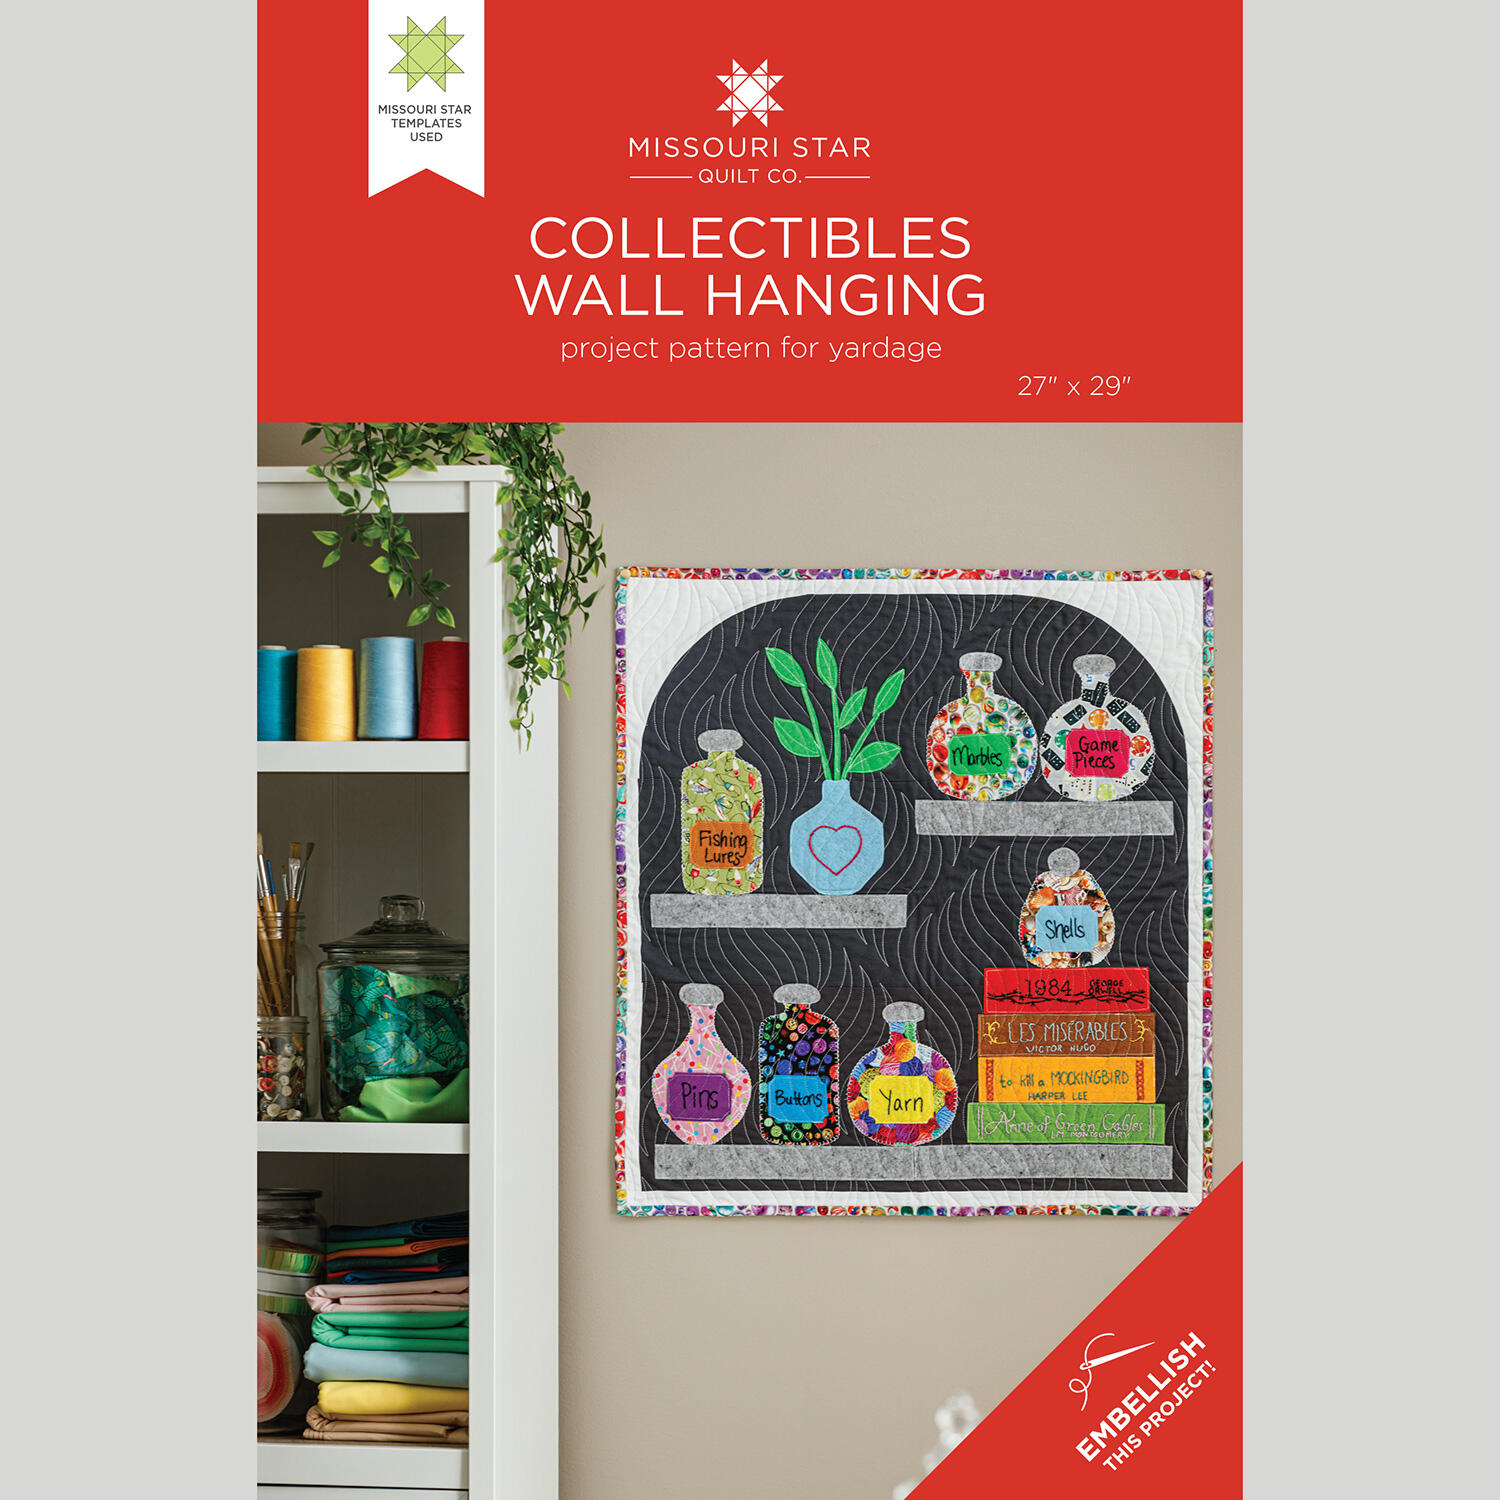 Collectibles Wall Hanging Pattern by Missouri Star$8.50Shop →
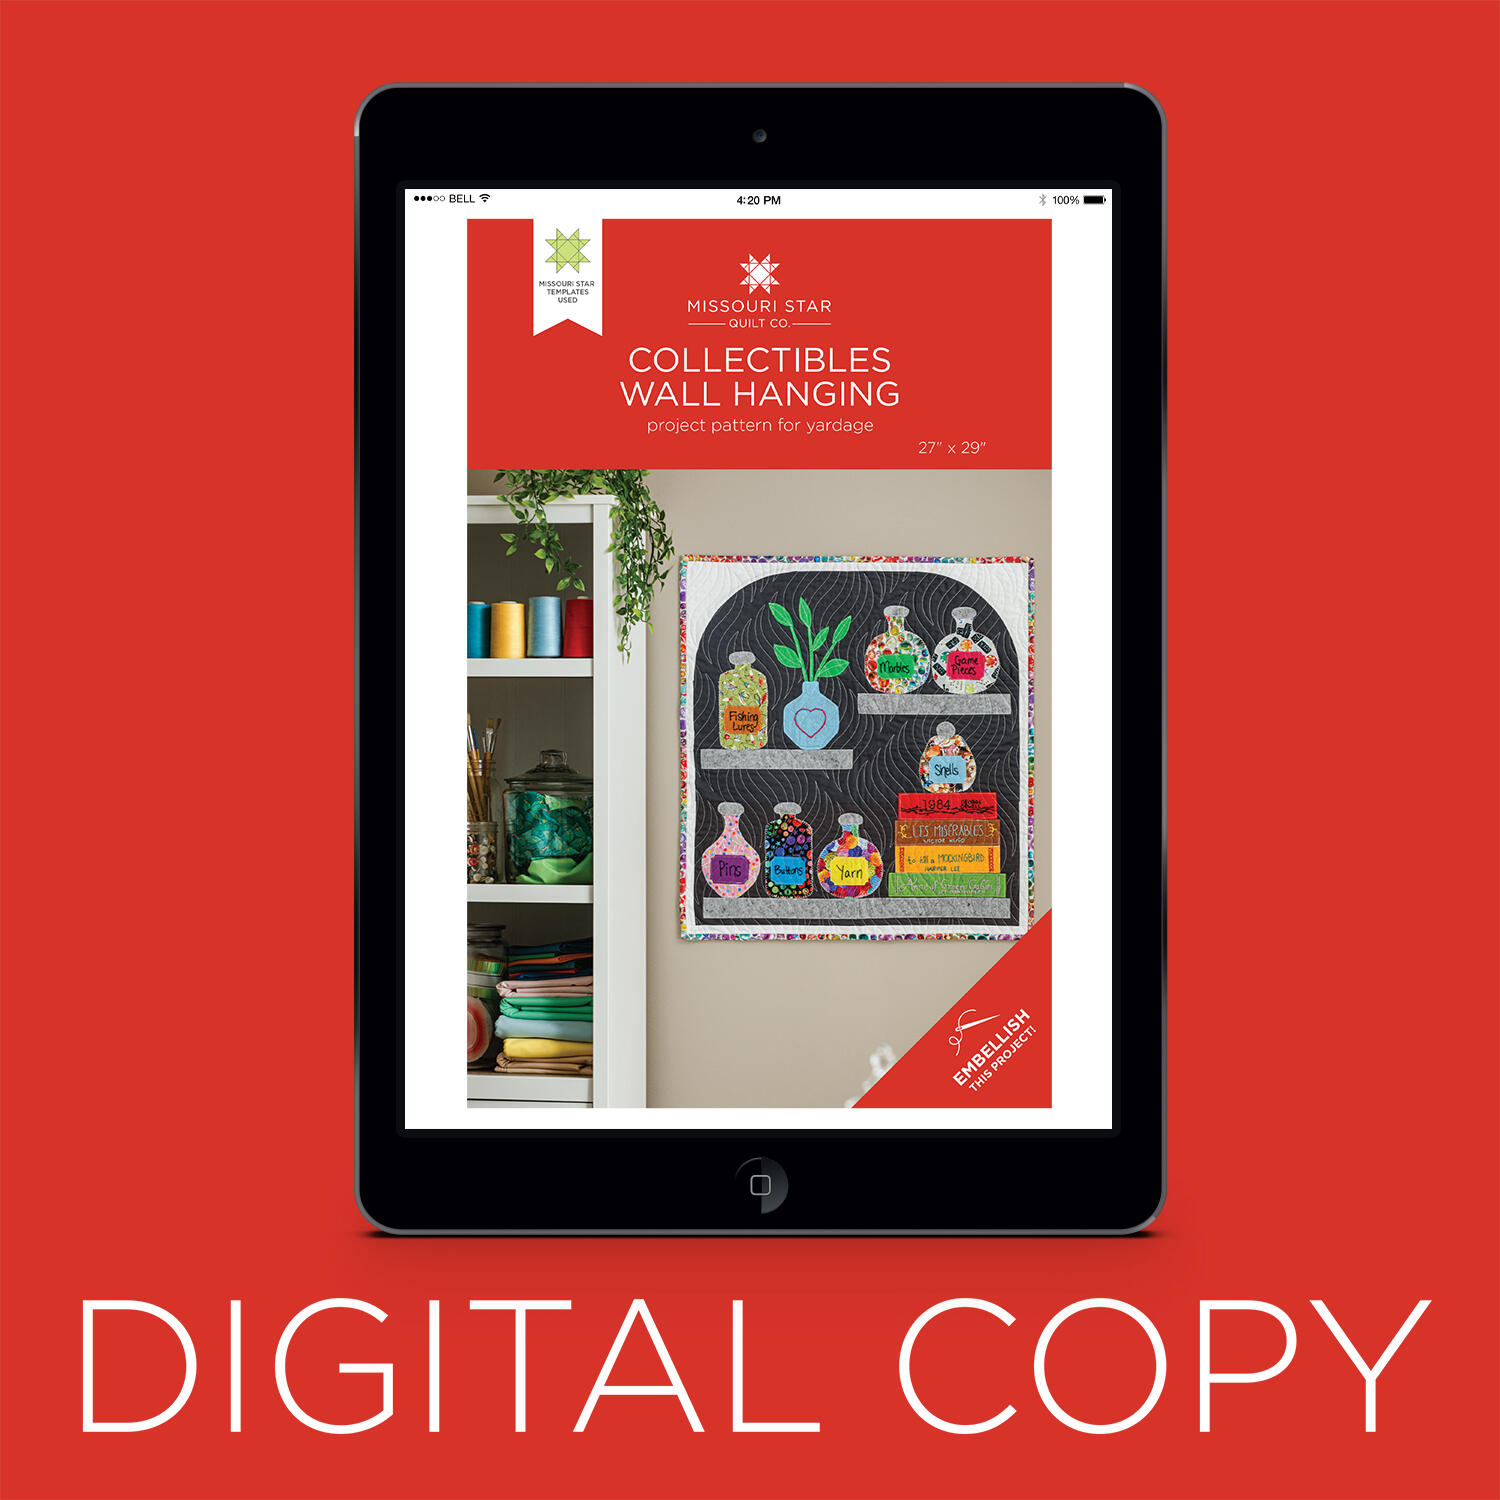 Digital Download - Collectibles Wall Hanging Pattern by Missouri Star$6.95Shop →



