
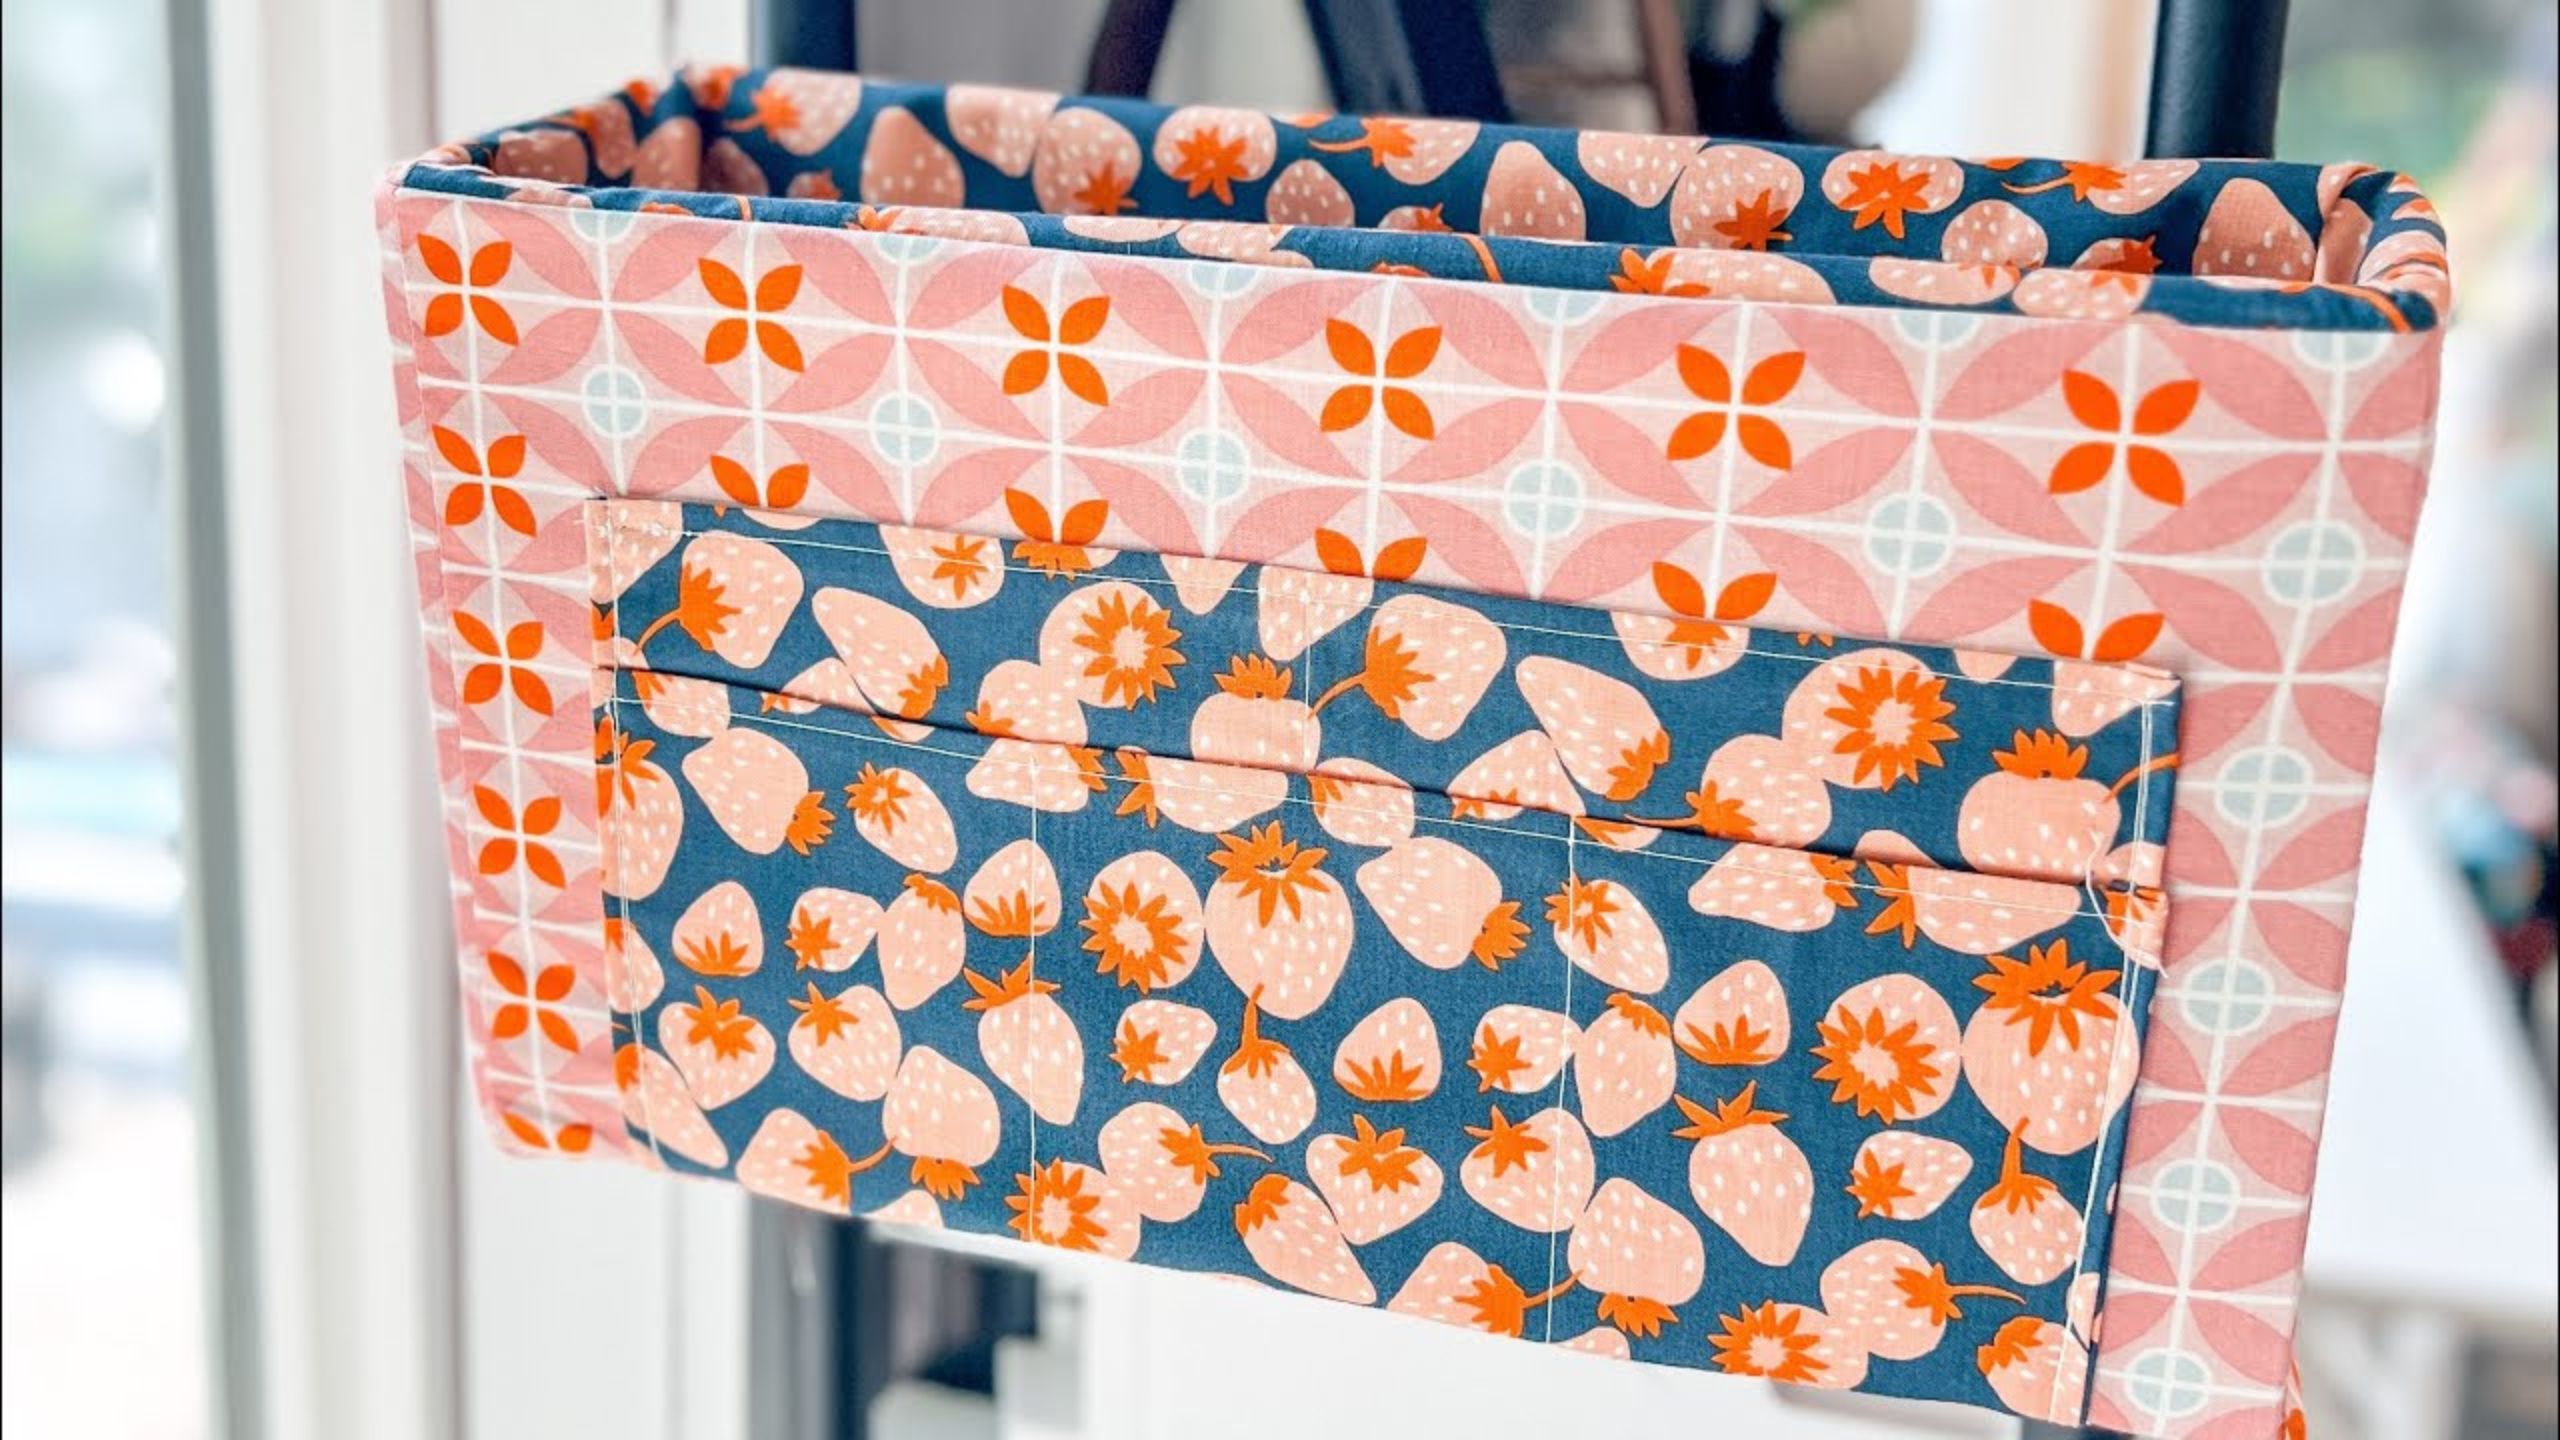
Come make this Bedside caddy with me & Missouri Star quilt co!
 Missy Luukkonen
- Fabric by Yard
- Totes, Bag, Purses
- Beginner
- Quilt size 14" × 8"
This is a great project for you college students or kids still at home! It’s a fun little bedside caddy to keep books and other little things right next to their bed! It’s also great for the craft room attached to a shelf, it has so many uses! Join Missy of the Little Green Bean as she takes you step by step through assembling this caddy - watch the complete tutorial here and then head over to Missouri Star Quilt Co to grab the pattern and fabric!
Instructor
Missy Luukkonen
Missy Lukkonen, owner of <a href="https://thelittlegreenbean.com/">The little Green Bean</a>, is a full time maker and has been sewing for more than 30 years. She is know for fun, whimsical items that are a combination of both practical and adorable.
Shop this tutorial
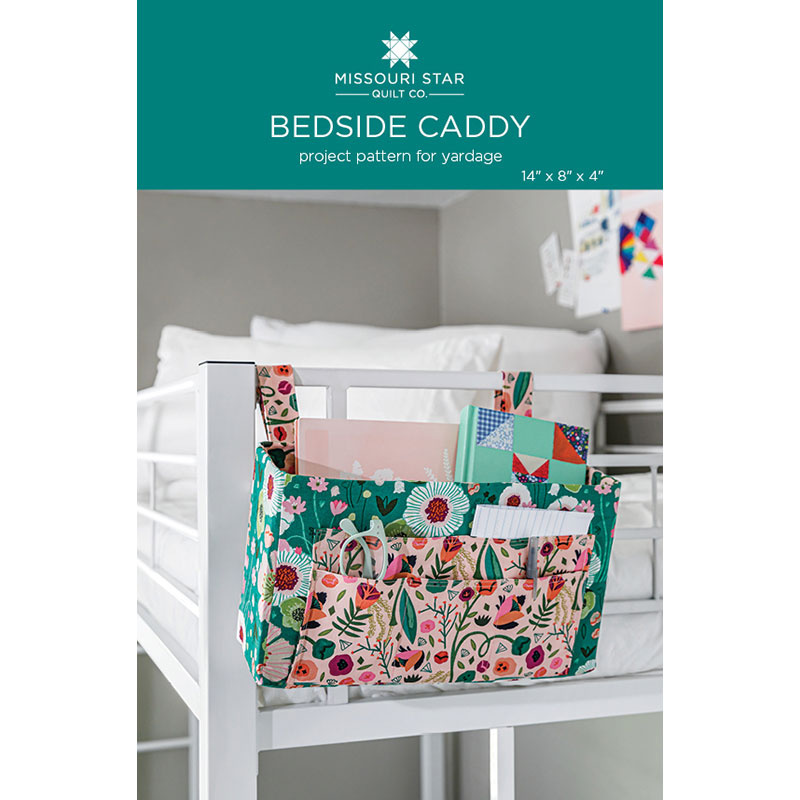 Bedside Caddy Pattern by Missouri Star$6.95Shop →
 Digital Download - Bedside Caddy Pattern by Missouri Star$4.95Shop →
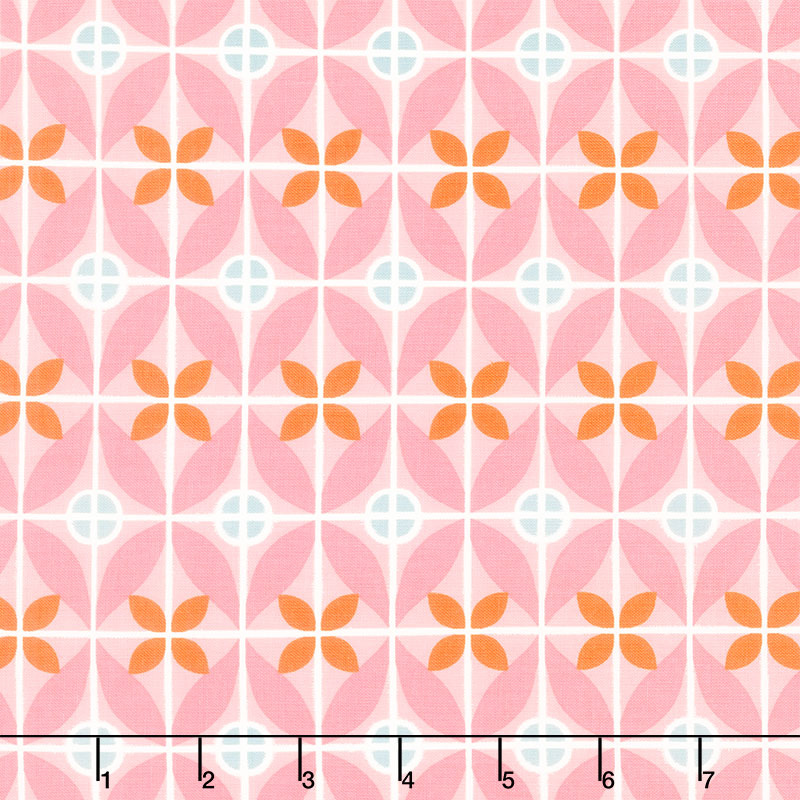 Eden - Tile Pink Yardage$11.96Shop →
 Eden - Strawberries Stargazer Yardage$11.96Shop →
 Velcro® Brand Fastener Regular Duty Strip White 3/4" x 30"$3.75Shop →
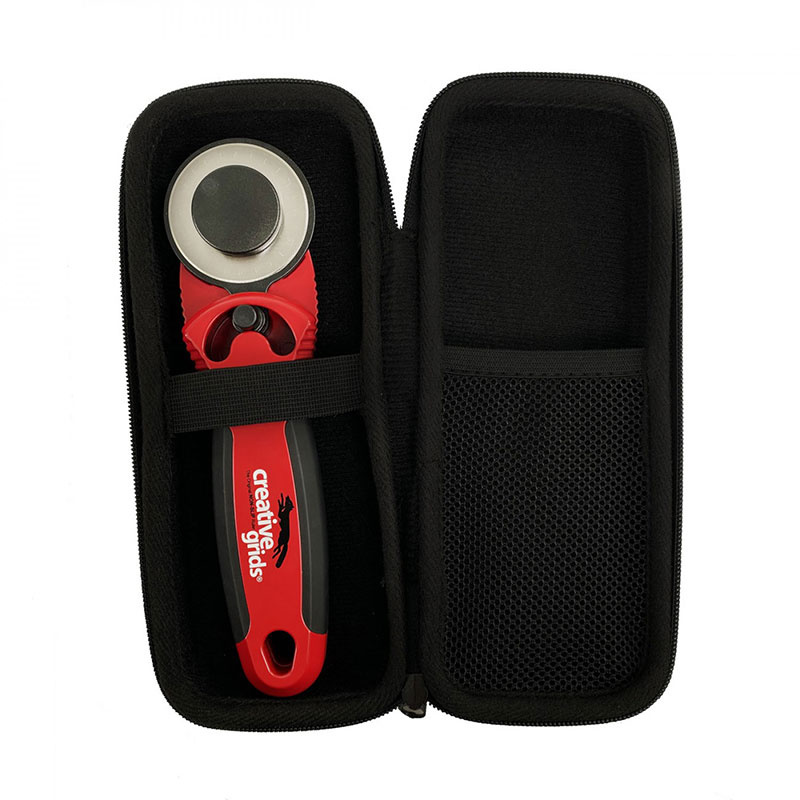 Creative Grids 45mm Rotary Cutter with EVA Case$57.99Shop →
 Missouri Star 5" x 15" Ruler$15.95Shop →
 Missouri Star 2.5" x 8" Ruler$10.95Shop →
 Exclusive Missouri Star Jenny TG1600 ProPlus Oliso Smart Iron$199.99Shop →
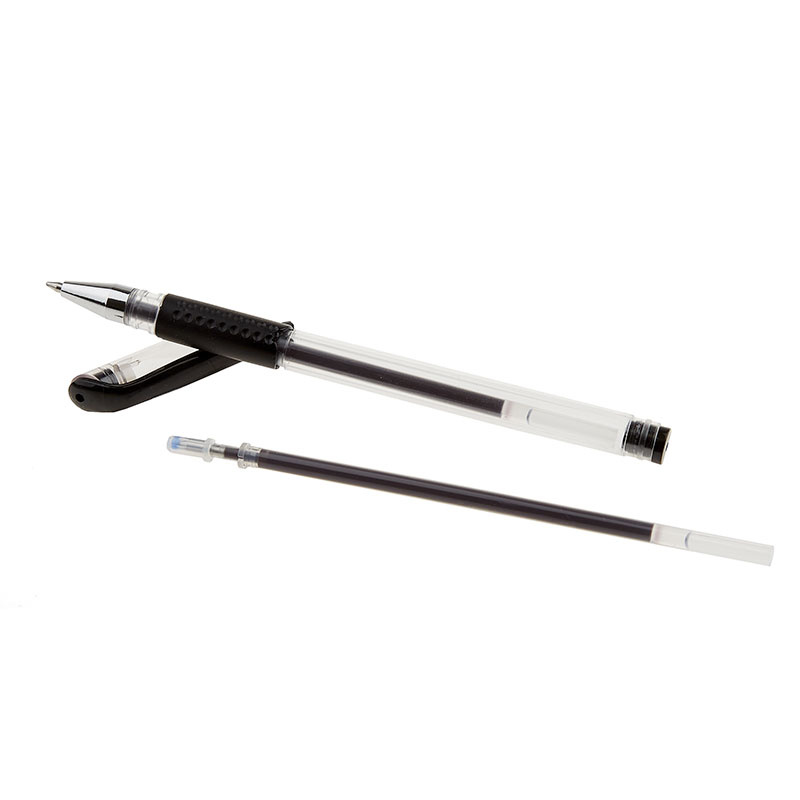 Heat Erasable Pen, Black$2.15Shop →
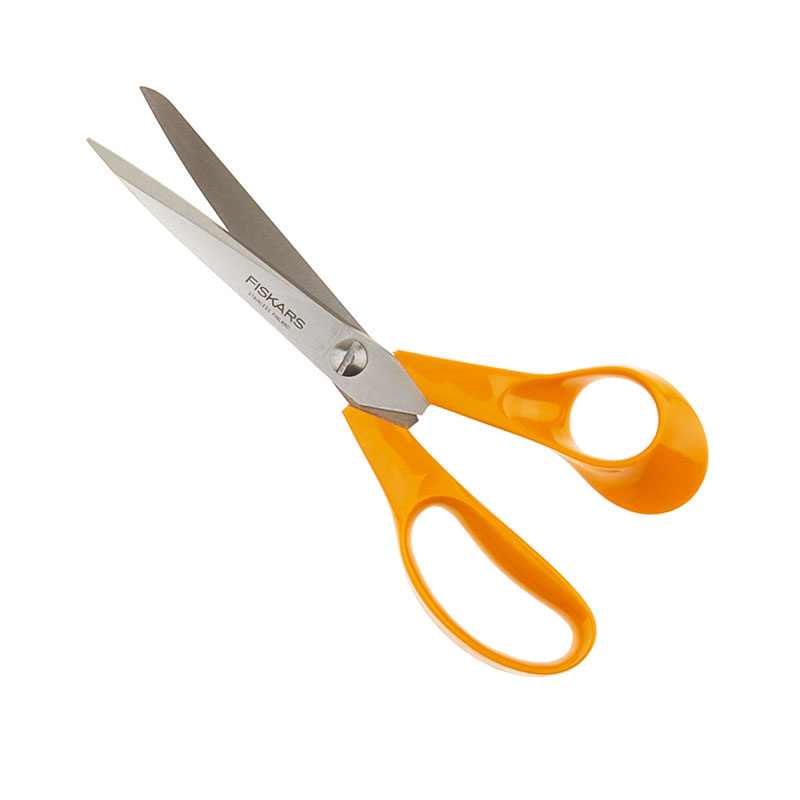 Fiskars Seamstress Scissors 8"$25.75Shop →
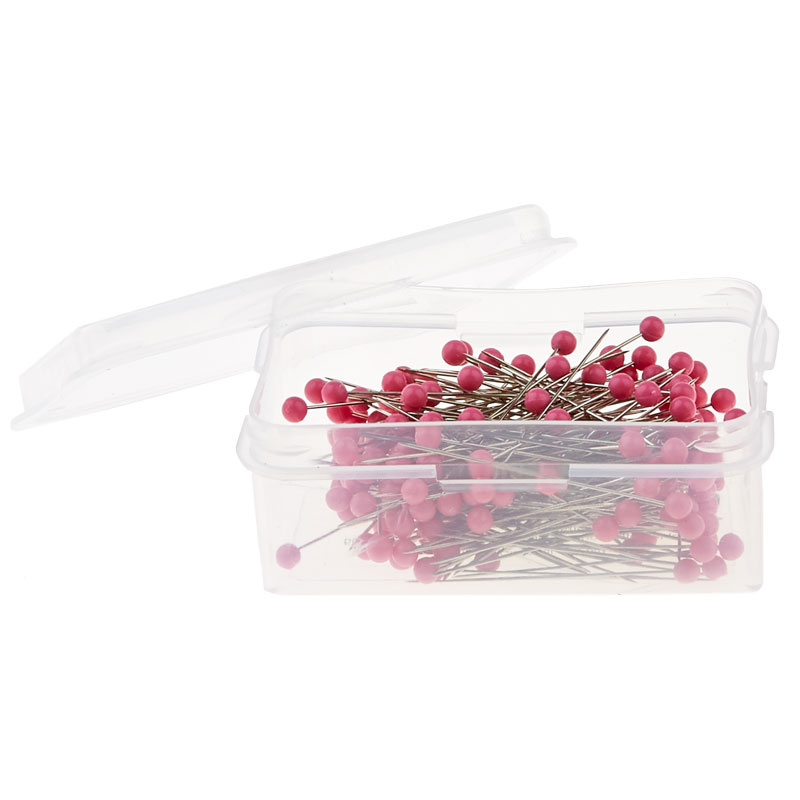 Extra-Long Color Ball Pins$3.95Shop →
Common Questions
What is covered in Come make this Bedside caddy with me & Missouri Star quilt co!?
This is a great project for you college students or kids still at home! It’s a fun little bedside caddy to keep books and other little things right next to their bed! It’s also great for the craft room attached to a shelf, it has so many uses! Join Missy of the Little Green Be...
How long is the tutorial video?
The tutorial video is 00:20:47.
Are supplies listed for this tutorial?
Yes. The tutorial page includes the supplies and materials connected to this project.
Is a transcript available?
Yes. A written transcript is available on the tutorial page.
Video Transcript
the back and this will attach to the bed rail or even to a bookshelf. It's super simple to make. It's got five pockets in the front and a whole big
section in the middle that they can keep books and whatever other you know treasures and trinkets they want to keep next to them. So let's go make this!
I think you're really gonna enjoy this tutorial. To get started you're going to
take the pocket pieces and fold down the edges by about a quarter of an inch on the top and the two sides and then fold it over again and press it with your iron. After you've pressed that, head on over your machine and you're going to want to top stitch around all three sides. For the top stitching, I just line up the edge of the fabric with the edge of my presser foot. This will give you a nice straight top stitching line all the way around the edges of your pockets. When you get to the corner make sure that your edges are all folded under exactly where you want them. You may have to manipulate that a little bit with your fingers just hold that under there and then top stitch to the edge and then leave your needle in the down position and pivot your fabric. Then you can continue sewing down the other side.
You're going to repeat this process on both of your pocket pieces making sure all of the seams are top stitched in place and that you have nice straight lines. Be sure to trim off any excess thread.
Next you're going to want a ruler and some sort of marking pen for your fabric, and we're going to mark the lines where we're going to sew. So on the smaller pocket, which is the shorter one, you're going to mark two lines that are approximately four inches apart. So just draw a straight line using your ruler and I'm using a heat erasable pen but you can use any sort of fabric marking pen you would like. And then on the bigger pocket you're going to mark right in the center, so at about six inches. Next you're going to take the front panel of the caddy and then you're going to take the larger pocket and lay that along the bottom edge. Make sure you
center it so it's even on both sides. Then after that you're going to lay your smaller pocket on top of the larger pocket matching it up at the bottom.
Once you've got that laid on there then you're just going to baste it along the left side only. Now you're going to fold the back panel away from the two pockets and you're going to leave the small pocket layered on top of the larger pocket. Now we're going to sew the left side of the front pocket. So start at the top and you want to back stitch to add some extra strength and just sew along that first line that you drew. Now you're going to fold over the front of the small pocket so you've exposed the line for the large pocket in the back and you're going to stitch just along that center line. You're stitching the large pocket to the back of the caddy. Make sure that you do a couple of extra back stitches again right at the top of the pocket to add some extra strength and then continue stitching along that line to attach the larger pocket to the back the panel of the caddy.
Now you can fold that top pocket back over and you're going to stitch down the other side of the pocket. So this is going to attach the small pocket to the large pocket. Fold away the panel for the caddy itself. Okay now we're going to finish the pocket. You're just going to stitch now
along the right edge to attach the pocket to the back panel. You can go ahead and set that piece aside.
Now we're going to work on the straps for the back of the caddy. So
you're going to take the two strap pieces and you're going to fold over the
edge by about a quarter of an inch on both of the long edges. Then you're going to fold it in half and press it again. Make sure you match up the sides and you're going to want to do this for both of your strap pieces. Now you're going to top stitch both sides of each of the straps.
So start with the open edge and have your presser foot right along that
edge. Then you're going to want to stitch the folded side as well, so you
have two stitches down both sides of both of your straps. Grab your ruler and you're going to want to mark six inches from the end of your strap. This is going to be where you attach the velcro, so go ahead and cut
your velcro pieces and stitch them in place right along that mark. It may be helpful to pin your velcro in place first before you stitch. I tend to just hold it in place with my hand and keep it lined up along those lines. Repeat this process for both of your straps. So you should have a piece of velcro sewn on each one.
Now it is time to add your straps to the back panel of the caddy. So you're going to mark one and a half inches from each side - use your ruler. I like to make a couple of marks down the side just so I can line up the strap and make sure that it is straight. So mark on each side then go ahead and lay your strap along those you just made and then you're going to pin them in place. You're going to stitch them down both sides of the strap and you're going to end just above where the velcro stops, and don't forget to backstitch for added strength.
Okay now we are going to start putting the exterior of your caddy together. So you're going to take the front panel, the back panel, and your two side pieces you're going to sew the side pieces to either one of the panels simply making one long row. So you're going to have side panel,
back panel, side panel, front panel. You are sewing those panels together. Make sure your right sides are facing each other. You attach both of your side panels to either the front or the back, it doesn't matter which order you sew them in. Then you're going to open up that side panel and lay your other panel on there. Make sure your right sides are together, make
sure your straps aren't in the way. That way you know you don't have anything upside down. Go ahead and line up those edges and stitch and then you should have one nice long panel.
So go ahead and open that up take a look, make sure everything is looking good. Now would be the time to fix any mistakes if you made them. We're going to actually close this panel. We're going to make a loop, so we're going to take the two open sides we're going to put them right sides together and we're going to stitch them closed. So then you're going
to have your fabric is going to be like a big circle essentially.
Now we're going to go ahead and we're going to attach the bottom to the caddy. So what you want to do is lay it out so. I like to start with one of the smaller side panels and what you're going to do is make sure your right sides are together. You're going to line up the bottom edge of the rectangle with one of the side panels and mark about a quarter of an inch away from each edge. So you're going to start by sewing short edge and
you're going to sew inside those two markings so you're going to leave a
quarter of an inch on each side open. It's going to help when you turn and
continue sewing around the rest of the bottom of the caddy. Turn your fabric and line up the long edge of the bottom panel with the long edge of the caddy itself. Just match up the sides in the edges and then you're going to stitch once again the same way we did right along that long edge.
As you get towards the bottom make sure you stop a quarter of an inch before the edge of the fabric. Then you're going to turn your fabric
and you're going to stitch along the short edge of the side panel. Then the last step is to turn it one more time and you're going to stitch along the other long edge and then the whole bottom will be attached.
I'm gonna go ahead and turn the entire exterior right sides out go ahead and pop out the corners at the bottom with your fingers. Then you're going to set that aside and now it's going to be time to make the lining, another loop, just like we did for the exterior. So you're going to set aside that bottom panel first and we are going to attach the sides to the front and the back just like we did with that other panel. So essentially you're going to make one long strip and then connect it when you're done. So be sure you put your right sides together and then sew both side panels to either the front or the back - they're all the same, it doesn't matter. And then we're going to stitch those last two pieces together to essentially make a loop just like we did with the exterior panel.
All right now that we've sewn that together we're going to grab the ironing board and we are going to press the top edge. We're going to fold it in
by a quarter of an inch and we're going to press that with our iron fold it over once again for a second time and press it - that way all the raw edges are covered and nothing is going to be sticking out. Once you have done this all the way around, then you're going to take it to the sewing machine and we are going to top stitch right along that edge. Line up the edge of your fabric under that presser foot and just line it up with the edge of your foot that way you have a nice straight line and you're going to just sew all the way along that edge.
You can go ahead and set that piece aside, we are done with that part of the lining for now. We are going to make the bottom and essentially we're going to make a pocket. So you want to start out by folding down one of the short edges by a quarter of an inch and press it with your iron and then fold it again to cover up the raw edges. You're going to want to do this to both of the bottom panels so go ahead, fold that over, press it,
fold over the other one, and press it. Then you're going to top stitch both of those closed.
Now go ahead and lay the two pieces right sides together, making sure that the ends that you just top stitched are facing each other. Then you're going to stitch around the three other sides, leaving an opening at the top where you top stitched your ends. So now you want to turn that piece right side out, so just turn that out and make sure you push your hand in there and get the corners to pop out nice and neat and then you can press that flat with your iron.
You're going to take the outside part, the lining and you're going to turn that right side out as well. Okay then once you're done with that you
can grab your exterior panel - make sure your pockets are, the open part is upwards, and then arrange the lining loop around the exterior loop with the right sides facing each other and the unfinished edges towards the top. Then you want to adjust the loop so your seams line up. So you're going to want to pin those like match up the corners and the edges and pin that so that they're even all the way around.
Once you've got that all pinned into place, then you're going to take it over
to your sewing machine and you're going to top stitch using a quarter of an inch inseam all the way around that top edge. Now you're going to want to turn your caddy right sides out and you're going to want to take your cardboard pieces that you cut previously and you're going to tuck them in along the side and then push the lining down over the cardboard. So what I did was I just put the two long sides in first and then I put the
two shorter sides in and then I tuck the lining down inside this part gets a
little bit fussy but just put each one in place and kind of hold it with your
hands as you tuck that lining down over the cardboard pieces. Make sure nothing is sticking up. If you find that they're a little bit too tall you can take them out and trim them, but if you cut them to the right size they should fit nice and snug once you have everything in there. All four pieces are in, tuck your lining down around them and then it's going to be time to insert that bottom piece which is going to hold everything in place. But before you do that make sure you've got your edges lined up and they're nice and neat and you have everything exactly where you want it.
Last piece of cardboard and slip that right into the sleeve. It's going to fit
a little bit snug but it should fit in there just fine. So you put it on just
basically like a pillowcase so slide that on make sure the edges of the
cardboard are all covered and then you're going to tuck that down inside
the bag and you do want these to have a bit of a snug fit because that's going to hold the lining down and in place inside your caddy. The last step is to add the velcro to the other side of the straps so you're going to want to measure this where you're going to hang it. So measure your
headboard or whatever it might be and then mark on the straps where you want the velcro to go. Then I would recommend using your ruler to make sure everything is even and you're getting your velcro in exactly where you want it to be. So measure first and then I would pin it into place and mark it with a marking pen of some sort and then you can go ahead and bring it over to the sewing machine and sew those in place.
Now for this part I sewed along both of the long edges and it was a little bit hard to do it across the short edges because it's already assembled. If you wanted to you could take the cardboard out and it would be easier to sew, but I just simply sewed straight lines down the long sides and then I sewed an X through the center to secure the velcro. That way I knew it was going to stay in place and it was going to hold and have a nice tight bond
We're done!
I would just go over everything and trim any excess threads, anything that's loose make sure everything is tucked in place really nice and it's ready to put up. It was so much fun to make! Now head on over to Missouri Star Quilt Company because you can pick from a huge selection of fabrics. They have everything that you're going to need to make this! The fabric I use today is called Eden by Riley Blake Designs and the pattern is simply called Bedside Caddy.


