
Continuous Bias Binding using Bias Ruler
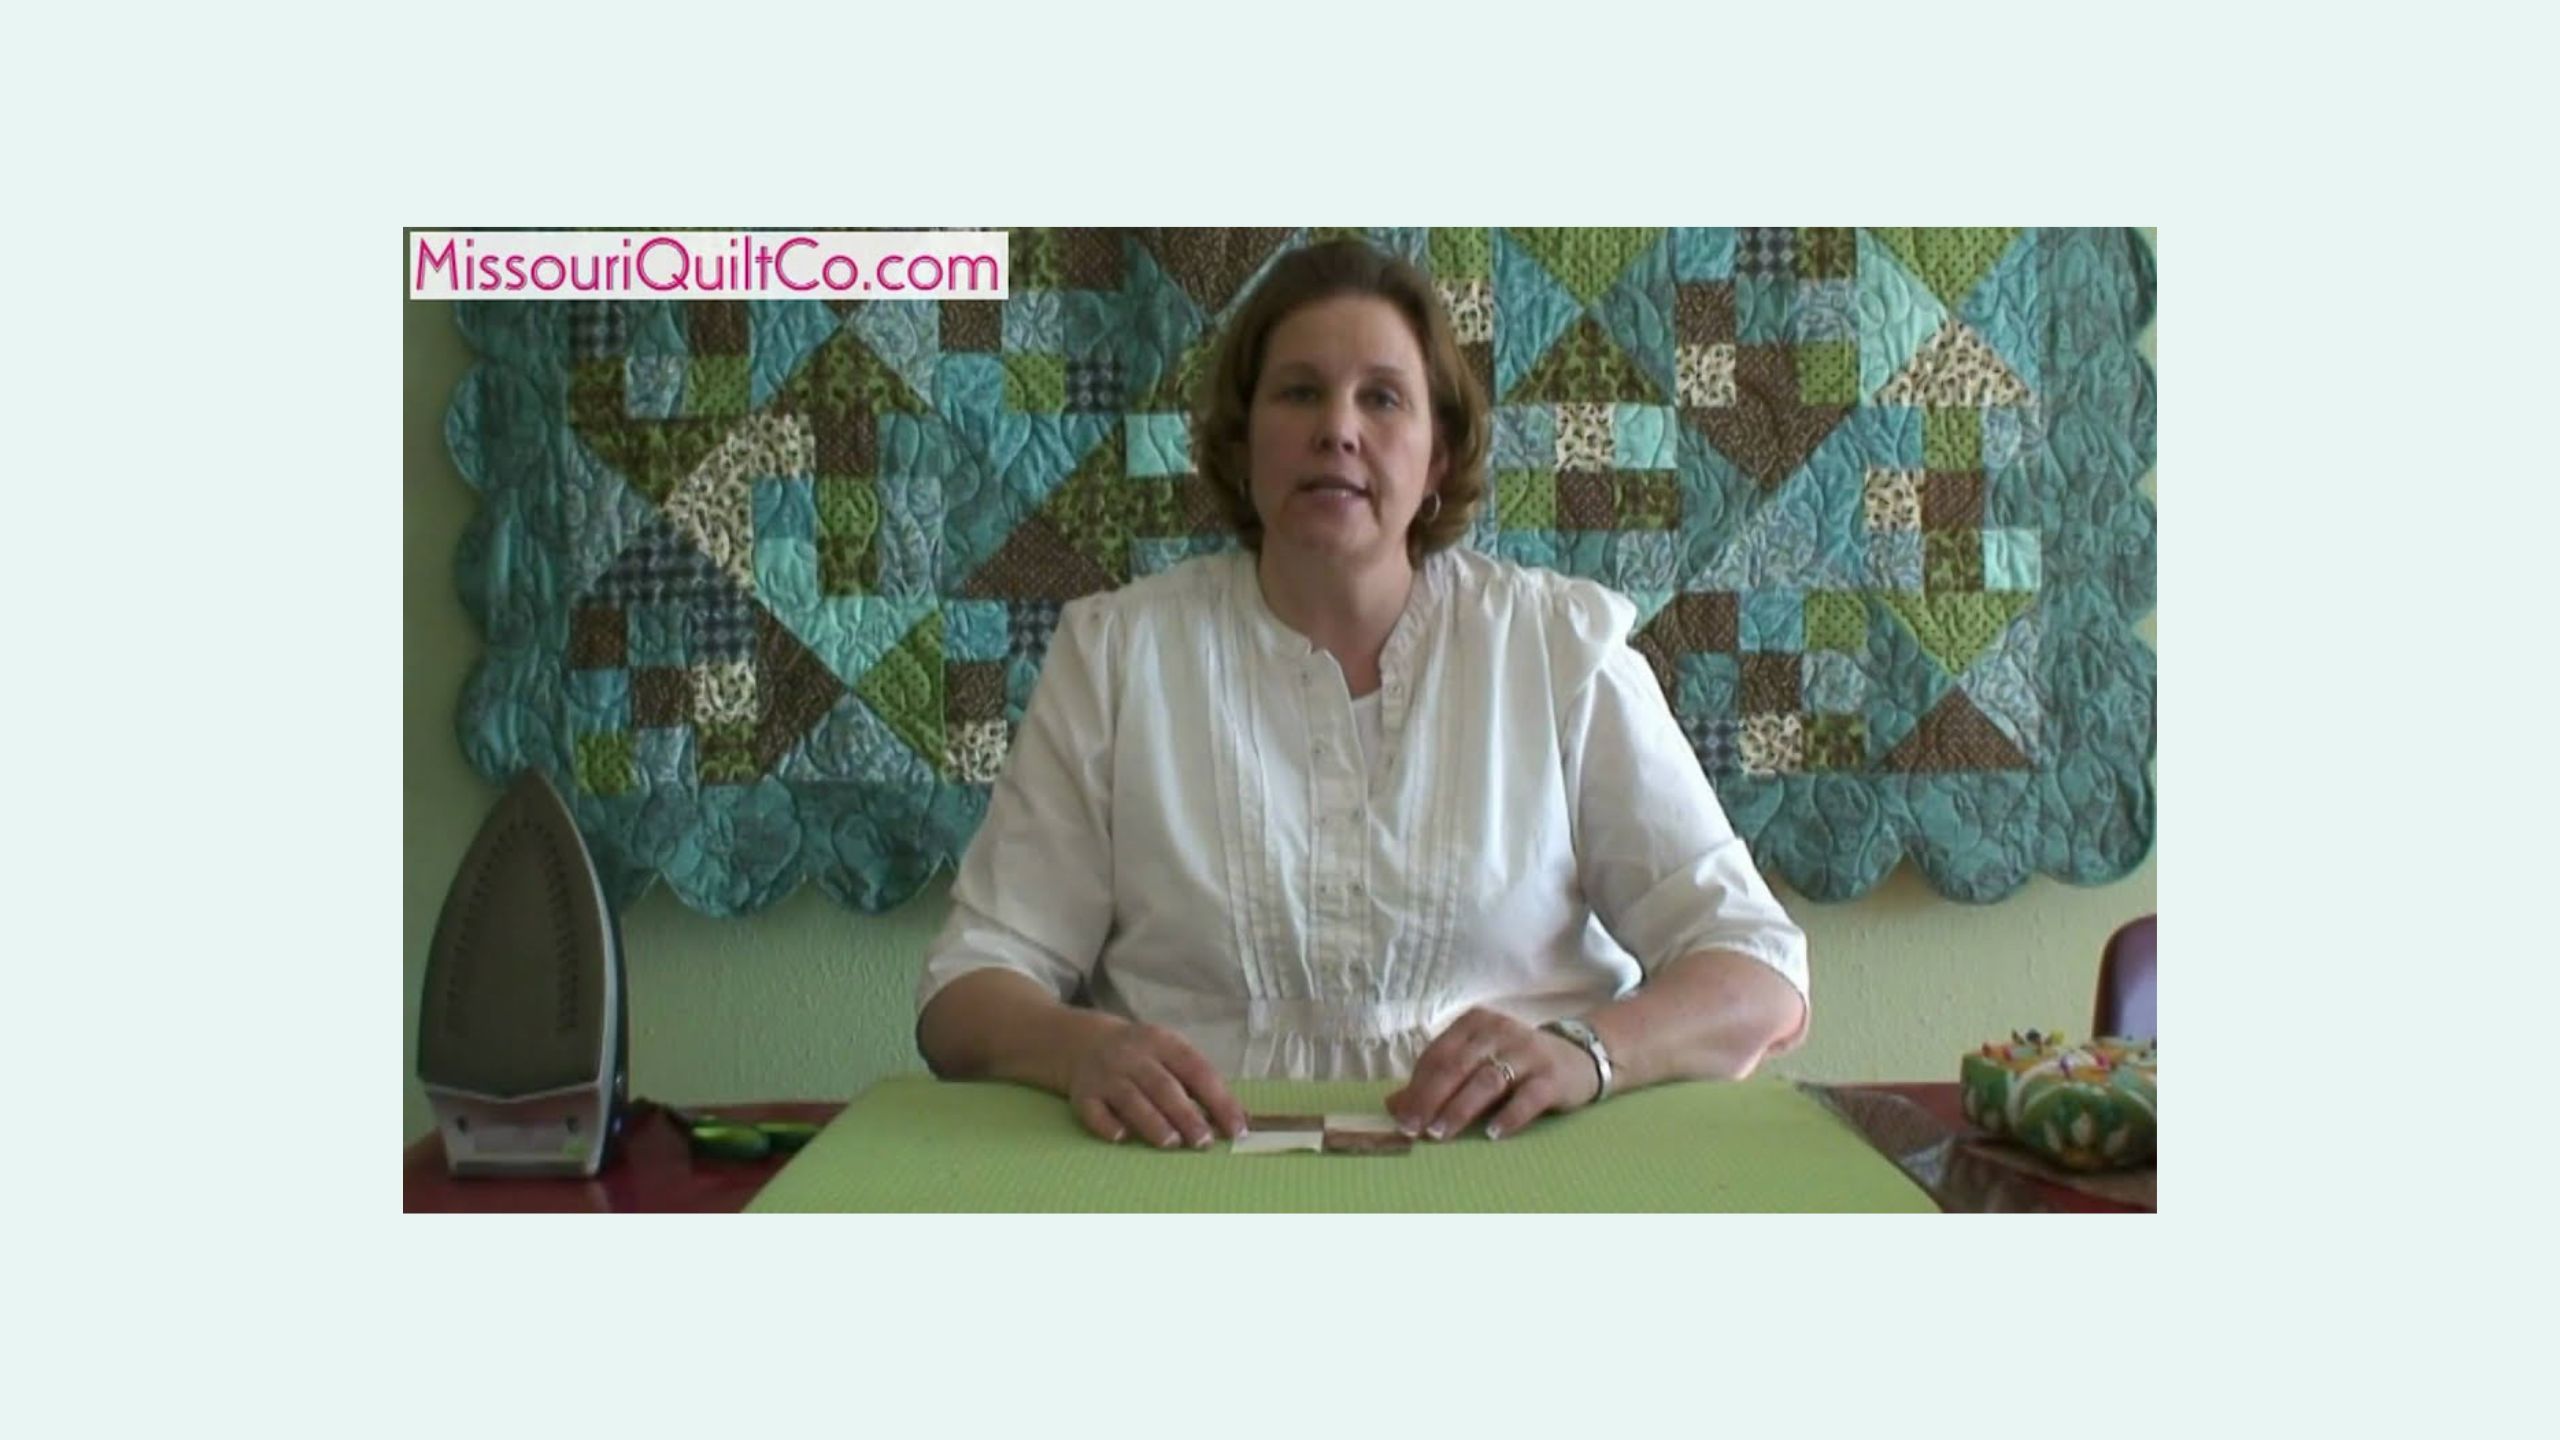
Jenny shows us how to make 200 inches of continuous binding from a half yard of fabric using the amazing Bias Ruler. If you'd like to get started on quilting and need supplies, come on over and check us out at or take a look at our awesome deals every day at.

Instructor
Jenny Doan
Jenny Doan is an American quilter, author, and YouTube personality. Jenny started Missouri Star Quilt Company in 2008 and today it is the largest quilting supply vendor in the United States.
Shop this tutorial





Common Questions
What is covered in Continuous Bias Binding using Bias Ruler?
Jenny shows us how to make 200 inches of continuous binding from a half yard of fabric using the amazing Bias Ruler. If you'd like to get started on quilting and need supplies, come on over and check us out at or take a look at our awesome deals every day at.
How long is the tutorial video?
The tutorial video is 00:05:34.
Are supplies listed for this tutorial?
Yes. The tutorial page includes the supplies and materials connected to this project.
Is a transcript available?
Yes. A written transcript is available on the tutorial page.
Video Transcript
It has the hinge in the middle. You unfold it. You start with a half yard piece of fabric and you’re going to open that up, lay it straight out like this. You’re going to lay your bias ruler on it and match up your corners and draw your lines on. This time instead of cutting we’re going to draw our lines right on here. I’m using a charcoal pencil because that shows up on camera but
there are all kinds of wonderful marking tools that you can use.
So, you’re going to draw your lines all the way along here and when you get to the end as far as you can go, right here. You’re going to cut that corner off and we’ve done that here. OK, so we’ve made these marks here, and now what we’re going to do is we’re going to take this corner here and we’re going to bring this up here to this pencil line right here. We’re going to offset it one strip, and the important thing right here is that these little lines inside are going to cross and basically what we’re making is a tube.
This looks a little confusing but you can see right here, see where these two lines come together, they’re going to cross right here at the top, and you want to put those together at the cross, and you’re just going to sew a straight seam along here and let’s make sure that we got a little cross going on right there see how those cross over, and then we’ll sew this all together in a long tube, as soon as we pin these all on here, got another little, make sure our lines are lined up. This will give us a continuous binding that’s already pieced together, so nice.
Alright, let’s go sew this over at the sewing machine. This is going to look a little bit goofy because of, you know, how you have to pin it and how you have to make that tube, but you just pin it so these little seams cross, and then we’re just going to sew straight along there. We’re going to take these pins out as we come to them. I’m using white thread so that you can see it here. There we go, just a ¼” in, and you just kind of want to curve this around as you come to it.
Alright, now all we’ve got to do is trim it and we’re going to trim it on these lines right here. So, let’s go into the cutting table. So, here’s our seam and it’s, you know not like a straight tube but the lines are in the middle so let’s flip this inside out, or right side out actually and you can see how that makes a tube, and you can see our starting point right here. We’re going to turn this over and we’re just going to cut now on this line, and we’re just going to keep cutting and going around and around, and this is going to make us a wonderful continuous binding. It’s already seamed together, keep flippin’ that tube. Here we go, here we come to our first seam, right here.
Look at that. You see how this is happening? This is pretty magic. OK, so as you’re cutting, you’ll notice mine aren’t exactly perfect, but that’s alright, you’re going to fold it in half when you put your binding on anyway. That will all be caught up in a seam, and we’re almost to the end here. Here we go, this is just a really fast fun way to make a really nice binding. I’ve got one more. It’d be fun to see how much we get out of a half yard.
Alright, well that’s it for us, let’s measure and see how much we got. We got a pretty good piece here. Let’s see well there’s 100, 200” of binding, continuous bind!
We hope you enjoyed this tutorial from the Missouri Star Quilt Company.


