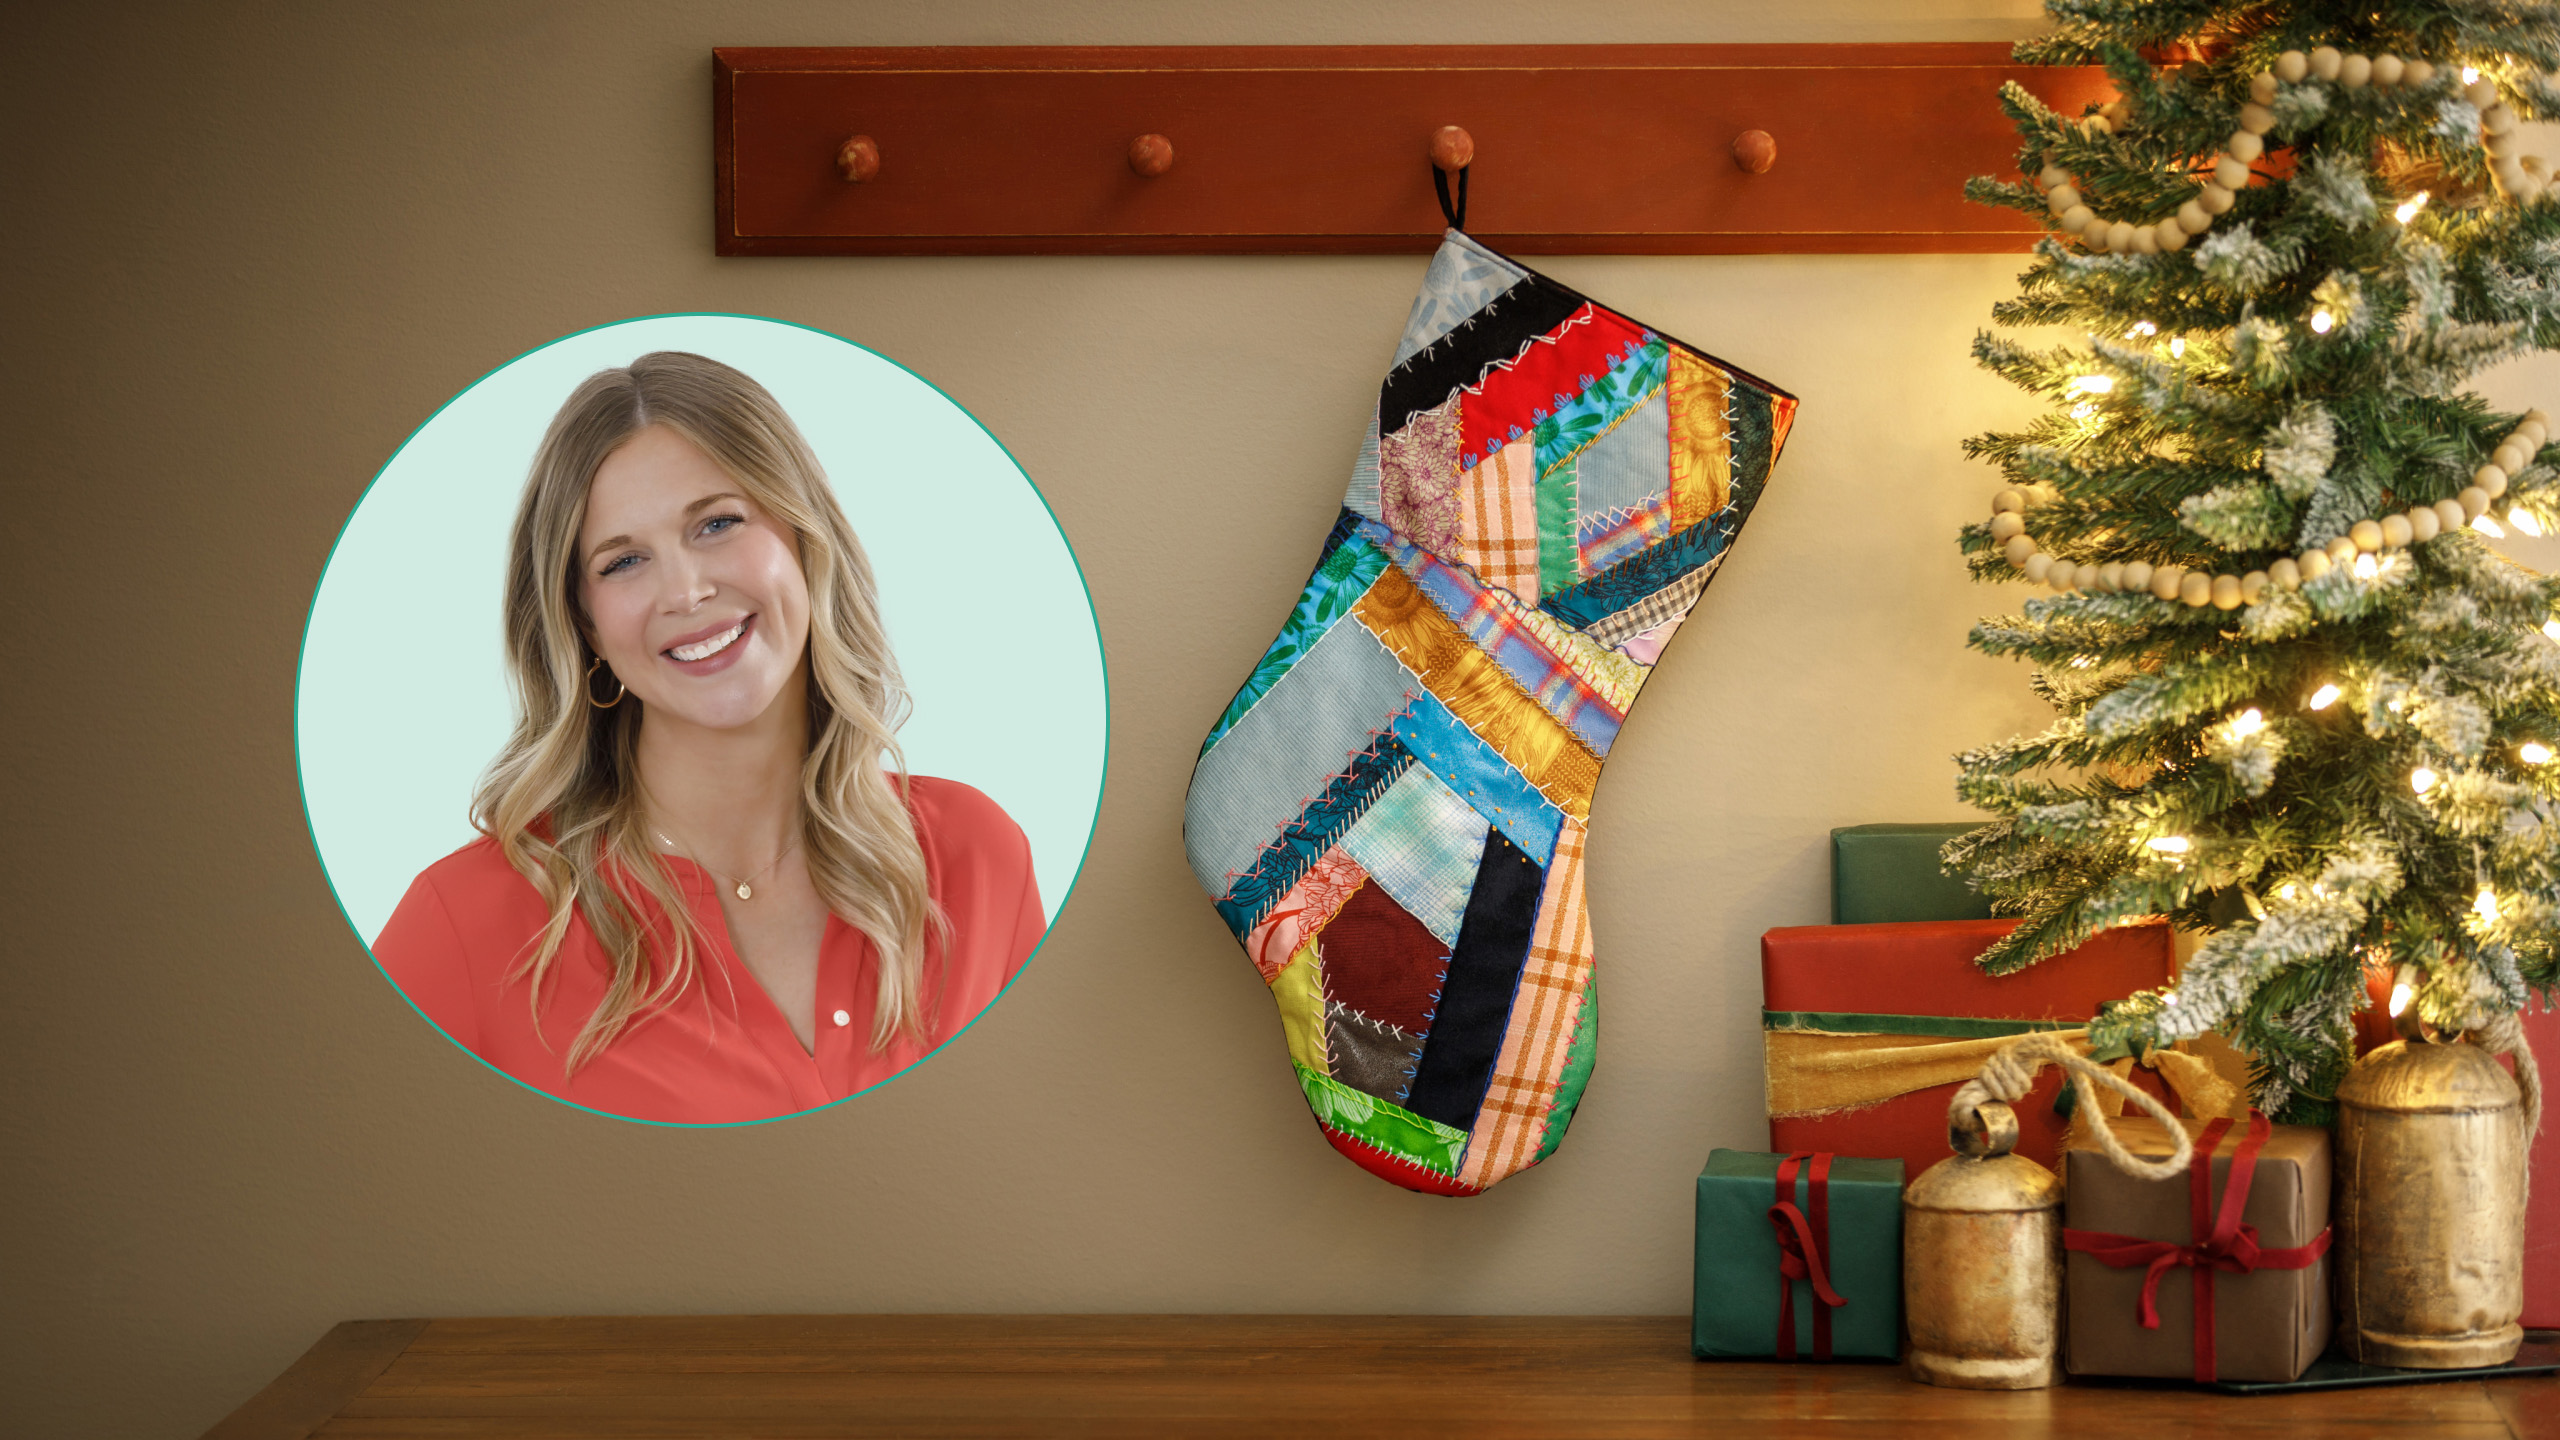
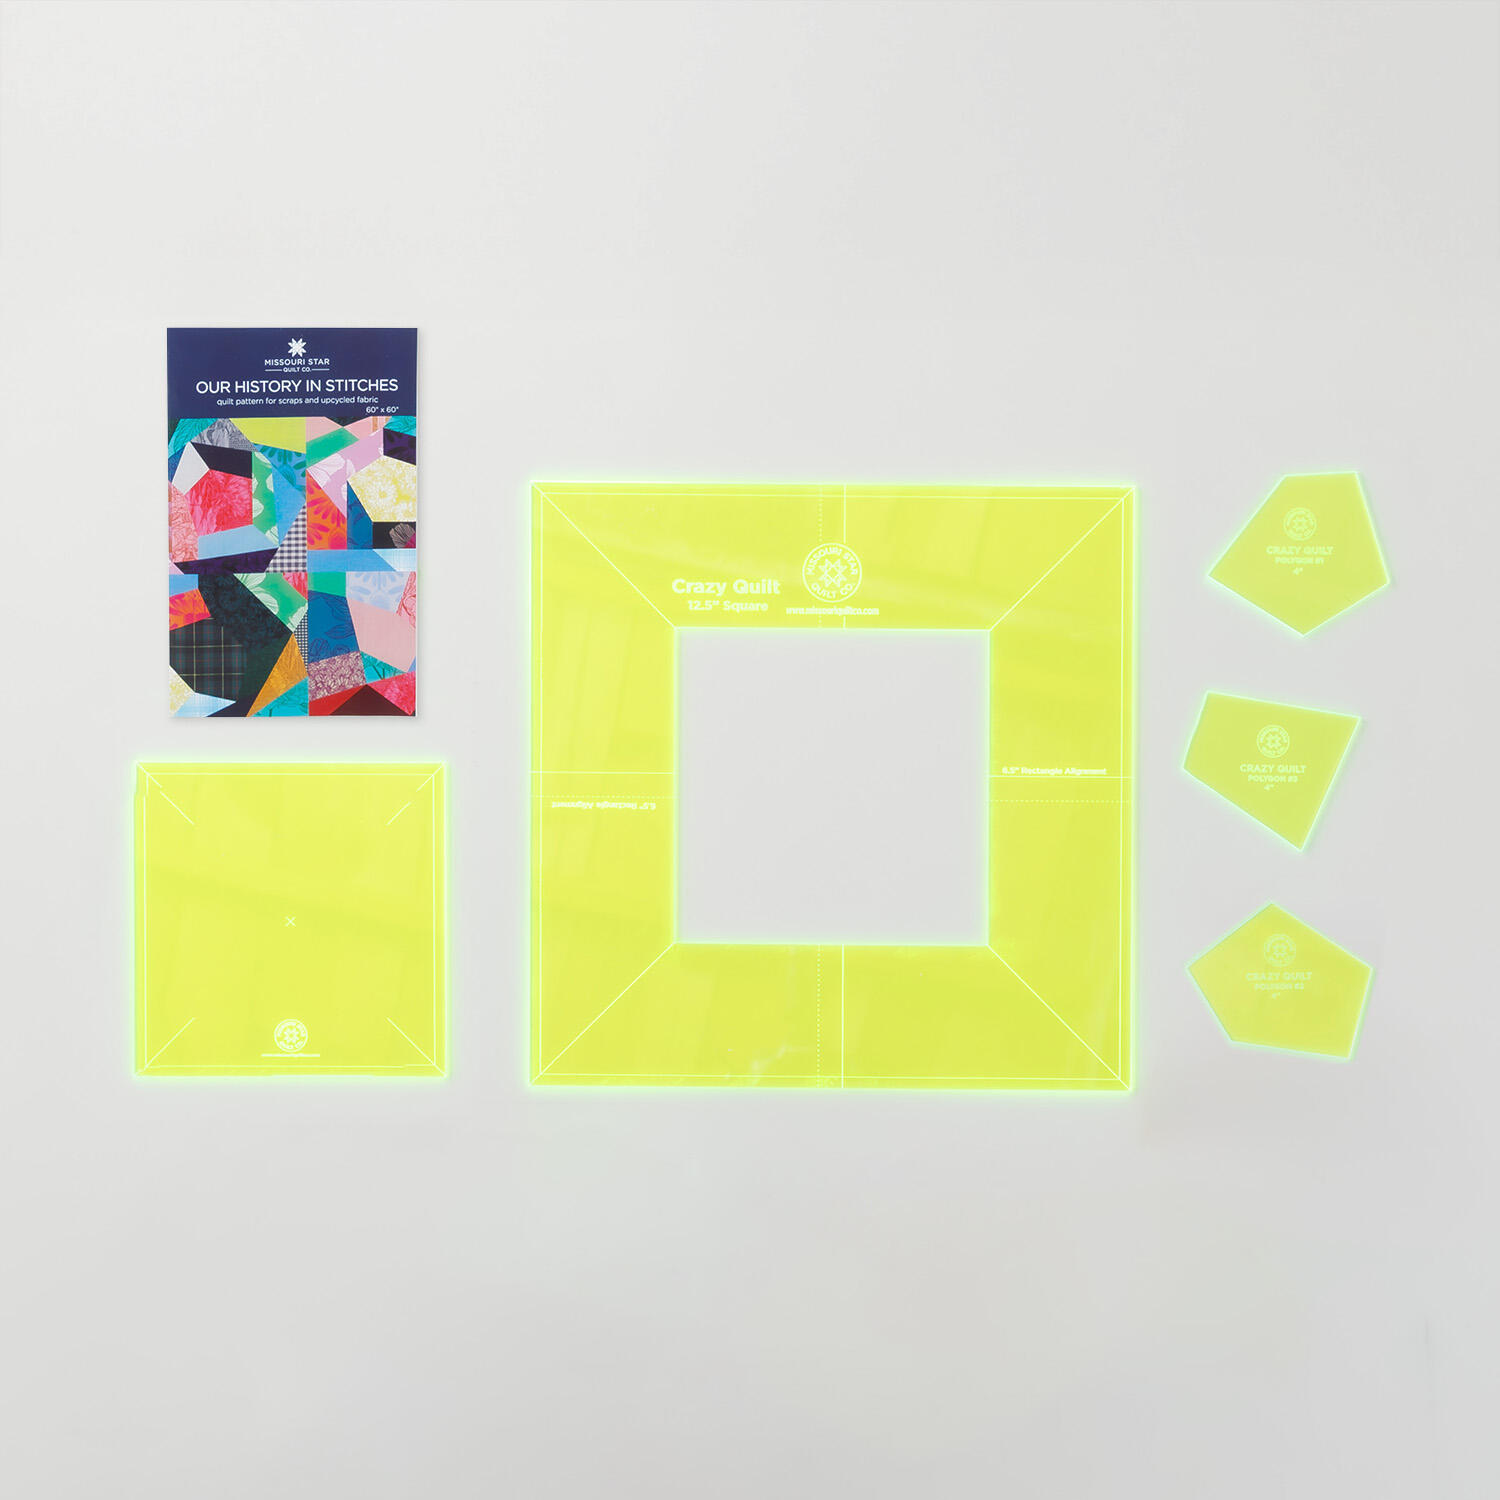
In this episode, Misty makes a Crazy Quilt Stocking. Sew this one-of-a-kind holiday keepsake with fabrics from your stash or the Our History in Stitches: Crazy Quilt Fabric Stash Kit. The MSQC Crazy Quilt Pattern and Template Set helps you get started with four playful block designs to make your own crazy masterpiece! Then have fun adding decorative embroidery and embellishments to the seams. The result is a positively unique stocking that Santa will be happy to fill!
Misty Doan grew up surrounded by sewing and quilting. She loves spending time sharing tutorials each week each week, and when she’s not stitching up one of her fun sewing projects for home decor, most likely you’ll find her hanging out with her husband and three awesome kids or working on a house project.
In this episode, Misty makes a Crazy Quilt Stocking. Sew this one-of-a-kind holiday keepsake with fabrics from your stash or the Our History in Stitches: Crazy Quilt Fabric Stash Kit. The MSQC Crazy Quilt Pattern and Template Set helps you get started with four playful block d...
How long is the tutorial video?
The tutorial video is 00:20:34.
Are supplies listed for this tutorial?
Yes. The tutorial page includes the supplies and materials connected to this project.
Video Transcript
Hey everyone, I have a very fun project to share with you today. We're going to make this adorable crazy quilt stocking. So, let me show you how. All right, so we are going to make this crazy quilt stocking today. And I thought it was a great idea if maybe this beautiful large quilt is overwhelming to you, you can just make one little stocking at a time for a great family heirloom. And so to make this project, you are going to need a few things up. First, you're going to want to grab our history and stitches, which is our Crazy Quilt embroidery kit. It has everything you need, including the peel and stitch and those little shapes to get started, as well as our Crazy Quilt fabric stash. And this is super fun because it has all kinds of different fabric textures that you maybe don't have in your stash already. So, it's a great way to build that up. But, of course, you can use what you have. So, for the back of my stocking, I decided to use this beautiful black velvetine. I just love the texture and it feels right with this crazy quilt. I lined it with Kona burgundy. And then you're also going to want to grab some fusible fleece. So, that's everything you need. Let's get started. [music] All right. So, to get started, go ahead and print out your stocking template that comes with the pattern. And when you do that, you just want to check and make sure that your little 1-in guide on here. Print it at an inch so that everything will match up. It's not super important. Basically, whatever size your stocking ends up, it's going to be okay as long as they're all the same. Um, but it's just always good to check that so that all of your pieces match one another. And so, I went ahead and printed mine out, taped it together. So, this is ready to go. And then now we get to start making our rectangles for our crazy quilt. If you've never done this before, it starts with these kind of fun organic template shapes. You can use these as a guide or you can just cut your own and just, you know, go with your heart. But be sure to check out Natalie's in-depth tutorial because she walks you through all of that. And so if you need that little refresher, go watch that first and then come right back here cuz what you need is a rectangle that ends up roughly 12 by 20 in. And so you can see how fun that turns out. I just think it's so cute with all those beautiful scraps from the kit. And then I cut my fusible fleece just a little bit larger. And so this needs to be about 13 and 1/2 by 22 and 1/2 just so you have a little bit of overhang. And now we can take this over to the pressing mat. Clear some of this out of the way. And we're going to start fusing this to our fusible fleece. If you've never used this before, I guess I should give you a little rundown. So, one side feels just like standard fleece. The other side is bumpy and rough. And those are those glue dots where you're going to fuse the fabric to. And so, notice we have a little bit of overhang. So, if you want to use a pressing cloth or a teflon sheet or something to protect your iron, you absolutely can. I'm just going to be really careful. And so I'm going to begin in the middle with a nice hot dry iron. And I'm just going to work my way out to fuse this to the fusible fleece. And I'm just watching the edge of my fabric. You can see up here. I'll just be very careful. Make sure my iron's not going over that edge because I don't want to get any adhesive on the plate of my iron. So, I'm just going to go ahead now and work all the way through this until it's nice and fused. And I'll meet you back here when it's all done. All right. So, we have fused this whole pieced section to our fusible fleece. And this is going to act like the batting in this project. Just gives it a little bit of stability without being too heavy. And I also took a 12 by 20in rectangle of that beautiful velvetine and fused some fusible fleece to the back of it as well. This is going to be the back of our stocking because we don't need all this pretty hand work hidden on the back side. But before we go to the next step, now we get to add all of those fun embroidery details. And so you can see on my little stocking here that we added some embroidery to every seam line just like so. I just love all those details. And so you have a couple of options here. You can take your stocking template and of course you want to decide which way the toe is going to go. And then we can just roughly trace this with like a fabric marker. And the reason that you might want to do this is you don't want to do a bunch of extra embroidery stitching out here that you're going to cut off later. And so you just want to mark where you need that embroidery to go. So, we'll trace all the way around our shape here. If I can stay on track. There we go. And now that gives me a reference that I can see where I want to add those embroidery stitches. And so now in this peel and stitch book that comes in the kit, when you open it up, there's all these pages of letters and strips of stitches that you can add along those seam lines. So I went ahead and I have cut some out here. And let's see. I'm going to grab some scissors because you can kind of just take a rough estimate here. And I'll say, "Oh, I'm gonna snip that right between those two little stars." Trim off some of this extra. And now with the peeling stitch, I can peel off the paper backing. And I can set this right on that seam. And so then when I embroider, I'll just go right through that peeling stitch. And I'll just make my way around. And I will probably not soak this off until the project is complete just because I don't want to run any risk of having seams pop loose or anything like that until I have it all stitched together. But you can go ahead and embroider it at this phase. Know where you need those stitches to go. And then now we can go back and cut out our stocking. So let me clean this up a bit and we'll go ahead and get this cut. All right. So, we have pinned our stocking template to our piece work. Remember, we went ahead and did all of that embroidery work ahead of time. Another tip that I wanted to mention, when you're working with these crazy quilts, you might want to shorten your stitch length just a little bit so once you cut them out, you don't have those seams pop loose. It just helps hold everything nice and secure. And so, now we're going to go ahead and cut out our stocking shape. But you can either cut it one layer at a time or if you like to save a little time like me, we can put our backing piece behind it. This is a little thick. So if you're not comfortable with this, you can cut them separately. The only thing you want to keep in mind is they need to be facing different directions. And so I like to stack with my fusible fleece together so that I know the back will be facing the way I need it to go. And I'm just feeling to make sure that I have all of my sides covered here. Slide that down a little bit. And then I'm going to go back and actually pin through all of those layers just like so. Just to keep everything from shifting. There we go. I think I'll add an extra one here. and to the heel just because we want everything to be easy to cut. Beautiful. And so you can go around with a nice pair of sharp scissors, but what I like to do for things like this is use my little 2 and 1/2 by 8 in ruler and my rotary cutter. And so I just start by cutting away some of this excess. Getting that out of my way. And then I just use my ruler as a guide and just gently follow the edge of that paper. And so stop when you get to an angle that feels uncomfortable. And you can cut away some of this excess as you go just so you don't have extra bulk that you're dealing with. But I'm just going to keep making my way around until I have all of my stocking cut out. So, let's just go ahead and do that and then we'll be ready to stitch it all together. [music] All right, we have made it all the way around our stocking shape. So now that's all cut out. We can pull our pins. Just like so. And now we're going to take those two pieces. is you'll notice exactly what I was talking about how they're going opposite directions, right? And we're going to place these right sides together. And so if you want to put some pins in here, you absolutely can. That velvetine kind of acts like a flannel board and so it holds those layers together really nicely. And so I'm going to stitch leaving this straight edge open. So back stitch at the top here. and when we get to the other side. So, a quarter inch all the way around and I'll meet you back here when it's done. So, let's go ahead and stitch. When you get to the curve of the toe and the heel, you're just going to want to slow down a little bit. If you need to, you can lift up your presser foot, pivot that fabric to where you need it, but they're gentle curves, so just slow down and take your time and use your hands to guide that under the needle. Okay. Whoops. There we go. Trim that thread. We made our way all the way around our stocking. It is all stitched and ready to turn right sides out. So, let's go ahead and do that. Move that little peel and stitch that I left on there off. And you can use a little chopstick or your fingernail. We just want to make sure all of this is going to lay nice and smooth. I didn't find it necessary to clip any of those curves, but you certainly could if you wanted. Just be careful not to clip through those seams. And so there is our cute little stocking ready to go. And you'll notice even if you decide you don't want to add the embroidery, it's still adorable. So lots of options there. So the next step is to add this cute little hang tag. And so to do that, I just cut out a 1 and 1/2 in x 5 in rectangle from our velvetine. And so we are going to do a little bit of pressing here. We're going to fold the ends into the center and press that long edge. And do the same thing on the opposite side. Turn that around here. Hopefully you guys can see what I'm doing. Just like so. And then we'll fold this in half again. So all of our raw edges will be contained. There we go. And so now we're going to take this to the sewing machine and we're going to do a top stitch as close to that outside edge as we can while still catching all of those layers just to close it up. And so we're just going to top stitch. And then I like to do that on the opposite side as well. It just gives a nice clean finish. Those little details matter. So now our little hang tag is ready. We're just going to fold this in half. And then I am going to pin it right behind this seam. I don't want it right on the seam because that would be a lot of bulk to add there. So, I'm just going to put the raw edges lined up with the raw edge of the stocking top. And we are going to pin this in place. So, I'm just going to pin through that to hold that where I want it. And that is ready to go. And so, now the next step is to prep our lining. And this is done exactly the same way as our outside pieces where you want to make sure you're cutting one in both directions. I used a solid, so you don't have to worry about right or wrong sides, but of course keep that in mind if you use a print. And so what I've done here is I stitched all the way around and I left an opening here on this side. You want it to be about five or six inches long. So just back stitch at the start and stop of that opening. That's how we're going to turn this all right sides out in the end. And so my seams are here on the outside. I have not turned this right side out. And we're going to put the right side of our stocking into the lining. So we'll just shove this inside here. [snorts] It takes just a little bit of maneuvering, so be patient. But really, the most important part is we need to line up these top open edges. So, I want to get this all up here. And we'll begin by taking the this inside seam here. And I'm going to make those go in opposite directions again just to minimize bulk. You could also press it open if you'd like, but I opt for this way. And now we're just going to go all the way around the top. Add a few pins to make sure that this lays nicely. So I'm going to go ahead and make my way around here. And now, remember, we put our hang tag on the other side of that seam, so I don't have to deal with that on top of the bulk here. Pin that in place. I'm going to go ahead and remove that first pin. And now pin through all those layers. Here we go. Same thing here. We're almost around. Just lining up those edges as I go. [snorts] All right, I think that looks really nice. And so now we can take this to the sewing machine. If you want to take off the, you know, extension table, do whatever makes this most simple for you. I'm still just sewing a quarter inch seam. I'm going to start away from one of those seams just so I don't have to deal with that when I'm first getting started. And so I am at my quarter inch mark. I'm going to go ahead and back stitch. And I'm just going to make my way around. Pull my little pins over here so I can pull those out as I go. So, this you just want to take your time. Make sure you're only stitching through one side of the stocking, right? You don't have anything extra under the needle. So, here is where I'm approaching that seam with the hang tag in it. So, just take your time. And you might want to back stitch over that section just to give it a little extra reinforcement because that's where you're going to be hanging all the goodies in that stocking. You don't want it to pop loose from that seam. And so now we've almost made it all the way around. When I meet that other side, I'm just backstitching again. There we go. And so now we're going to find that little opening in the side of our lining here. And we can turn this all right sides out through that hole. You can see it pops out really nicely. And so then before I feed this inside, I'm just going to fold this opening together. And you could whip stitch this closed by hand, but since it's inside the stocking, I'm just going to sew it on the machine. Nobody's ever going to see that. There we go. So now we don't have any raw edges there anymore. And we can just tuck this all inside just like so. Our little hang tag is right where we want it. And so now I'm just going to work with my fingers around this top edge to make sure that those seams are laying really nice. And then all that's left to finish this up is to do a top stitch around that edge. You can see what I've done here. It turns out so nice. And I just think this is such a fun project. I think it would be really cute if you wanted to add a cuff and you could embroider names on that as well or simply add the names right in the crazy quilt. So have a little fun with this. I think it's such a fun little whimsical project and I can't wait to fill them with all the goodies for Christmas. So give it a try and I'll see you next time on at home.


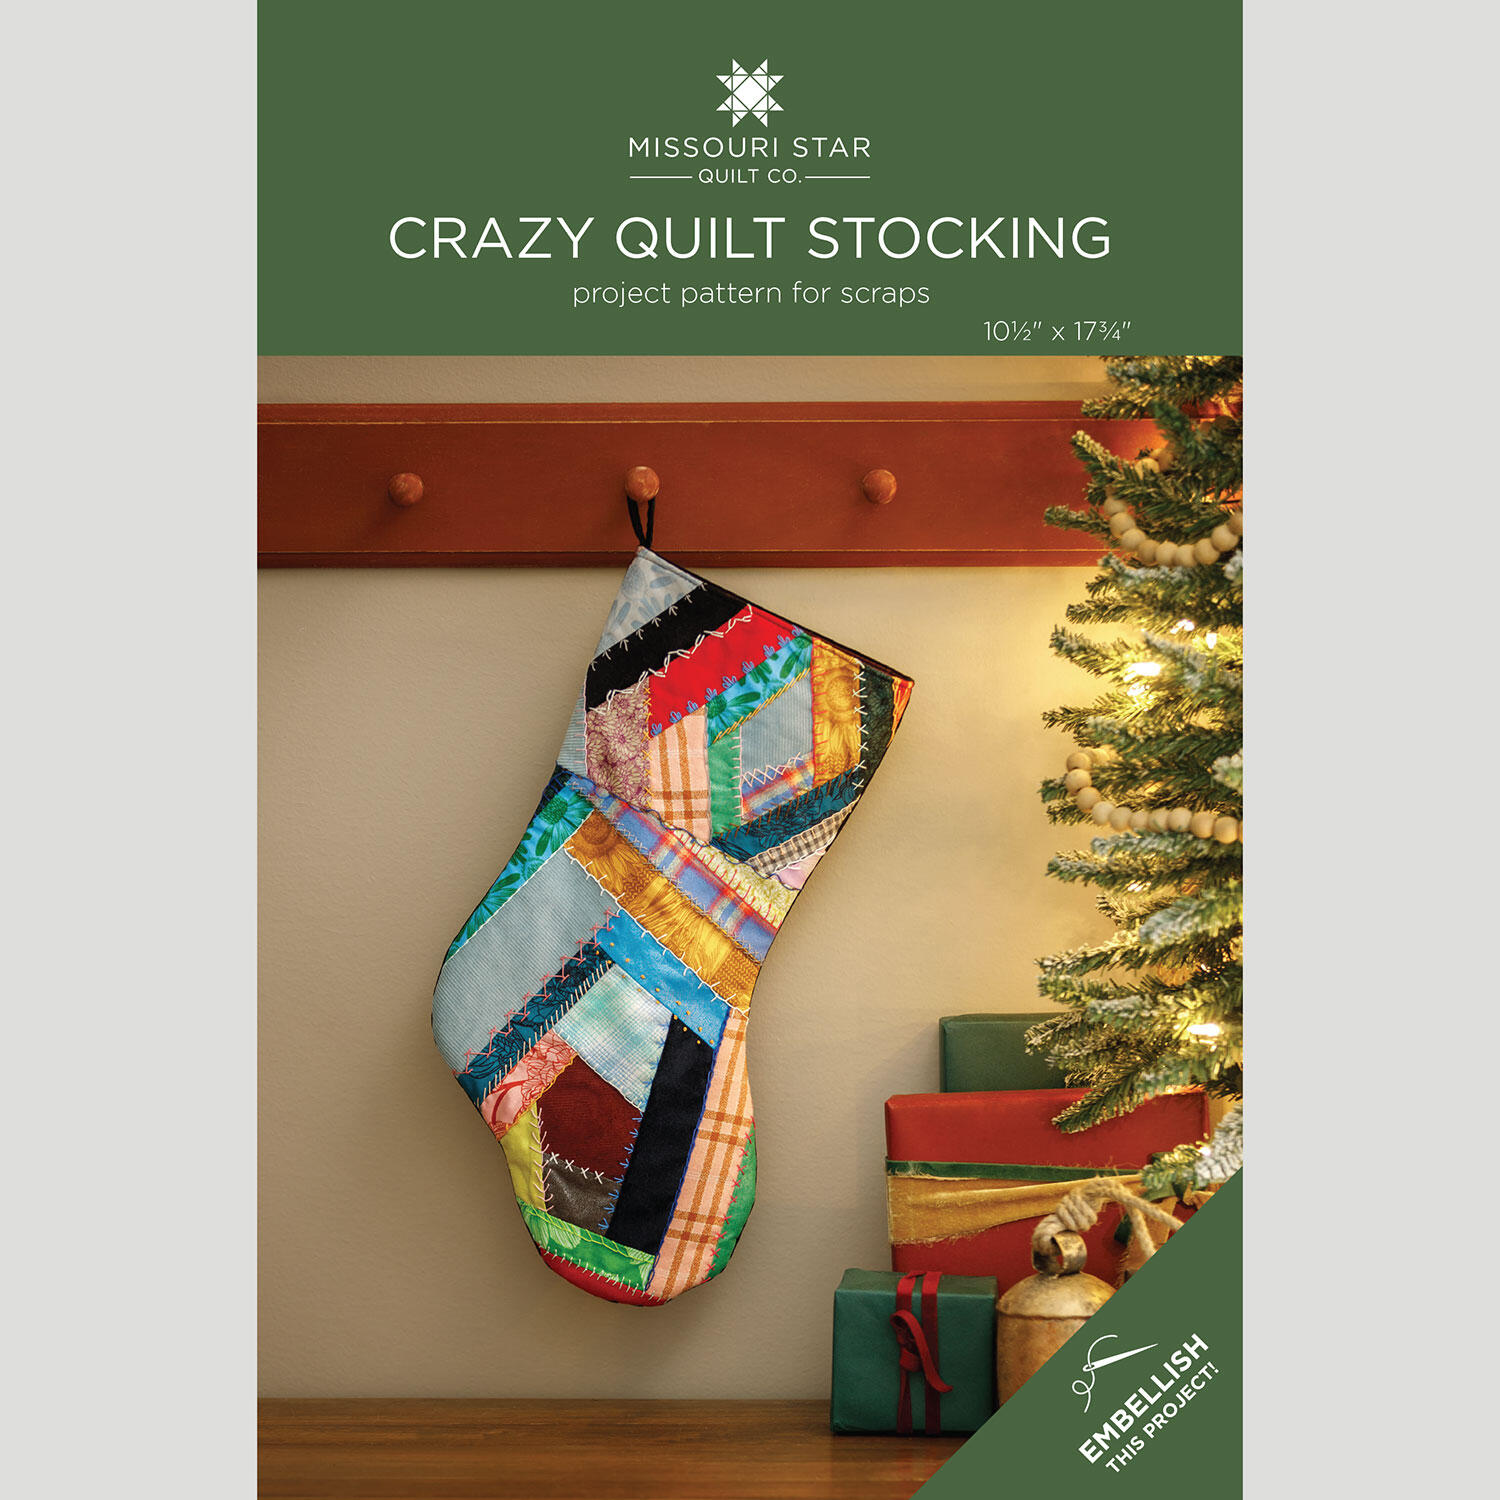 Crazy Quilt Stocking Pattern by Missouri Star$8.50Shop →
 Digital Download - Crazy Quilt Stocking Pattern by Missouri Star$6.95Shop →
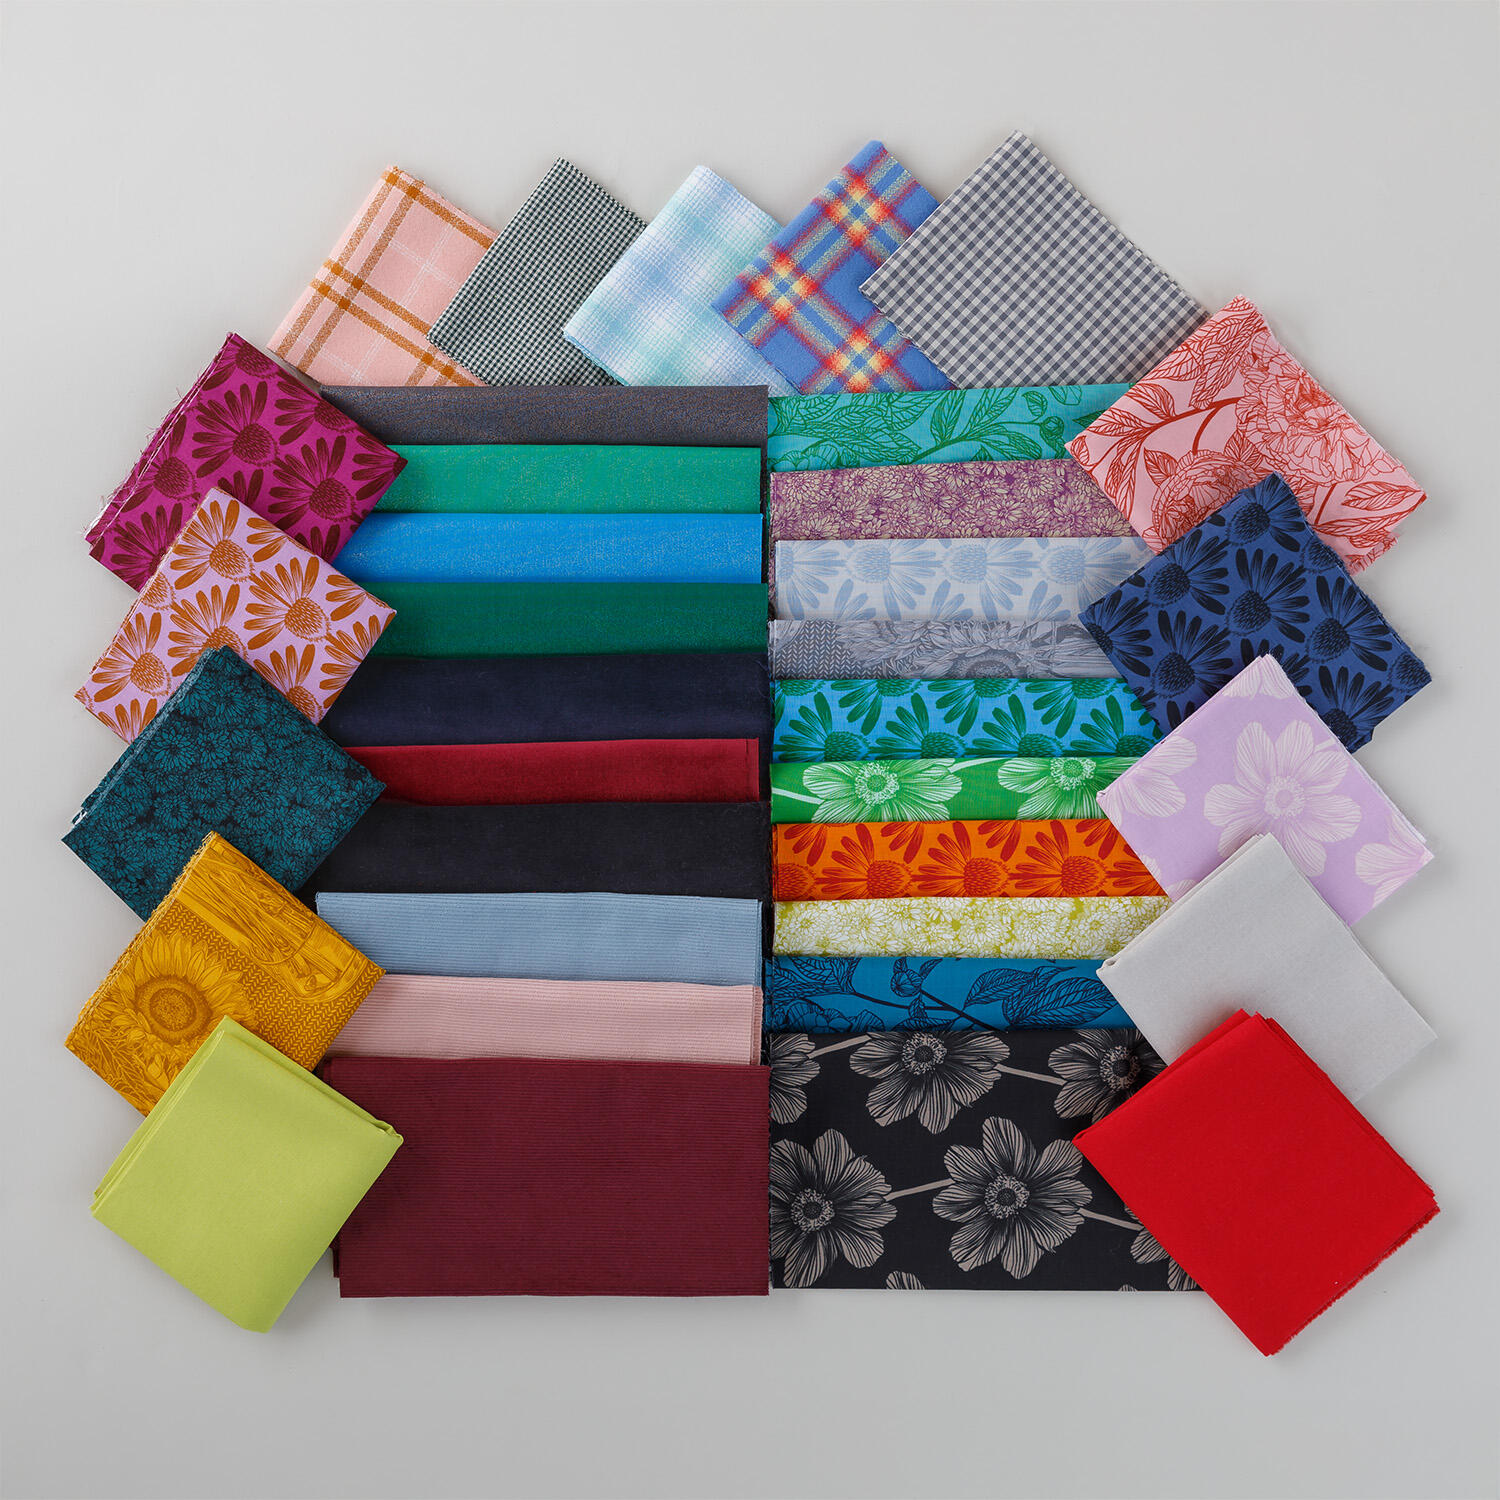 Our History in Stitches: Crazy Quilt Fabric Stash - Fabric Kit by Missouri Star$144.95Shop →
 Kona Cotton - Burgundy Yardage$8.48Shop →
 Lush Velveteen Wide - Solid Black Yardage$25.12Shop →
 Pellon One-Sided Fusible Fleece White Yardage$10.45Shop →
 Our History in Stitches: A Crazy Quilt Pattern and Template Set$39.95Shop →
 Missouri Star 5" x 15" Ruler$19.95Shop →
 Missouri Star 45mm Rotary Cutter - Olga$19.95Shop →
 Missouri Star Seam Ripper - Frida$9.95Shop →
 Missouri Star 8" Everyday Scissors - Amelia$19.95Shop →
 Missouri Star 50 WT Cotton Thread White$7.95Shop →
 Missouri Star + Oliso TG1600 ProPlus Iron$209.95Shop →


