Skip to content

Free quilting video tutorials from Missouri Star

Quilting Tutorials
Creating for Kids: Fitted Crib Sheet

Creating for Kids: Fitted Crib Sheet

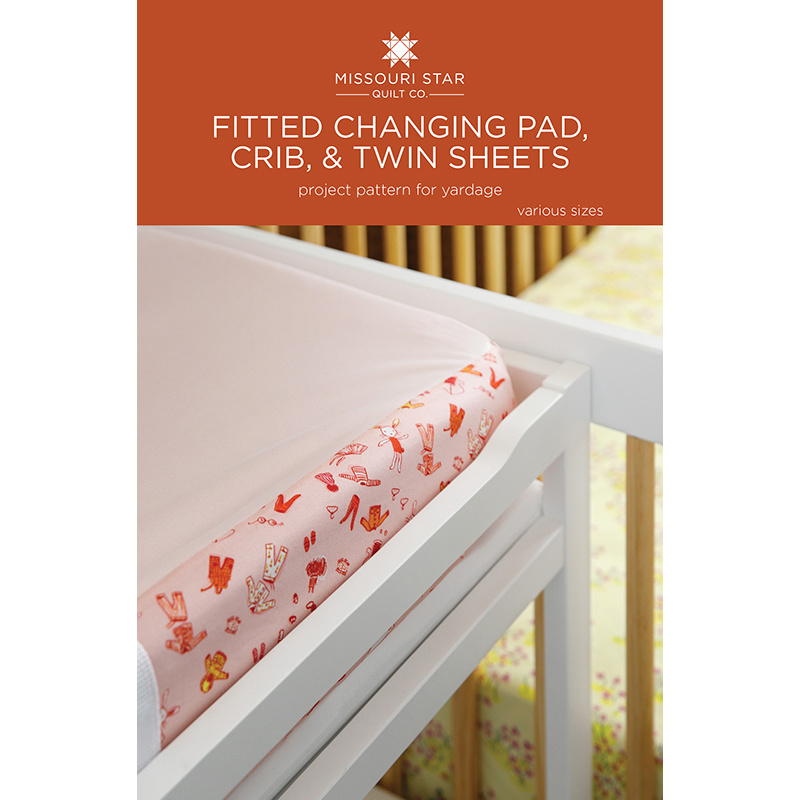
Set the scene for snuggle time with a cozy crib sheet in your favorite fabric. It's the perfect accent for your nursery and you wouldn't believe how easy it really is. There's no need to shy away from using elastic, we'll walk you through every step of the simple project. Learn how to make a cozy Fitted Crib Sheet when you stitch along with Laura Piland on this episode of Creating for Kids.

Instructor

Laura Piland

Laura is a quilter, pattern designer, and homeschooling mom of three boys. She's also an ex-math teacher - and with a last name like Piland - there's a strong love of pi in her house! She shares her new projects, designs and love of quilting at <a href="https://www.sliceofpiquilts.com/">Slice of Pi Quilts</a>.

Common Questions

What is covered in Creating for Kids: Fitted Crib Sheet?

Set the scene for snuggle time with a cozy crib sheet in your favorite fabric. It's the perfect accent for your nursery and you wouldn't believe how easy it really is. There's no need to shy away from using elastic, we'll walk you through every step of the simple project. Lear...

How long is the tutorial video?

The tutorial video is 00:17:53.

Are supplies listed for this tutorial?

Yes. The tutorial page includes the supplies and materials connected to this project.

Video Transcript

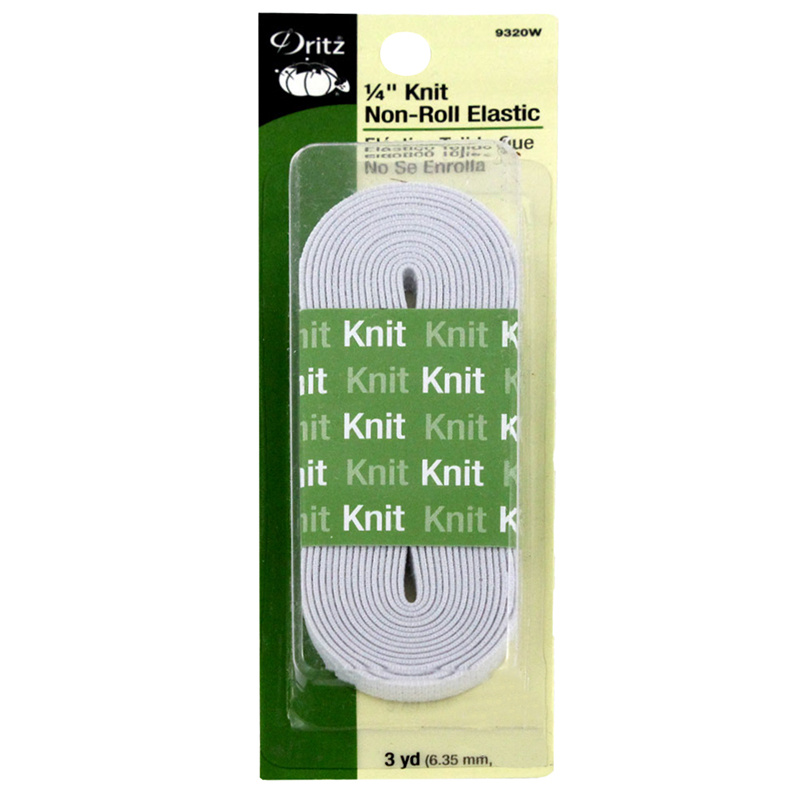
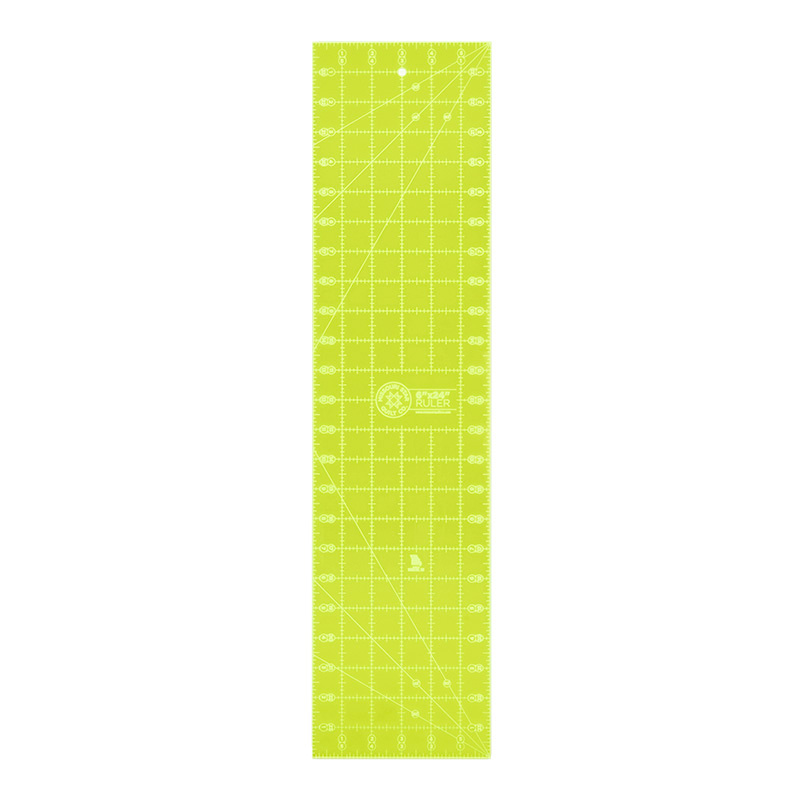
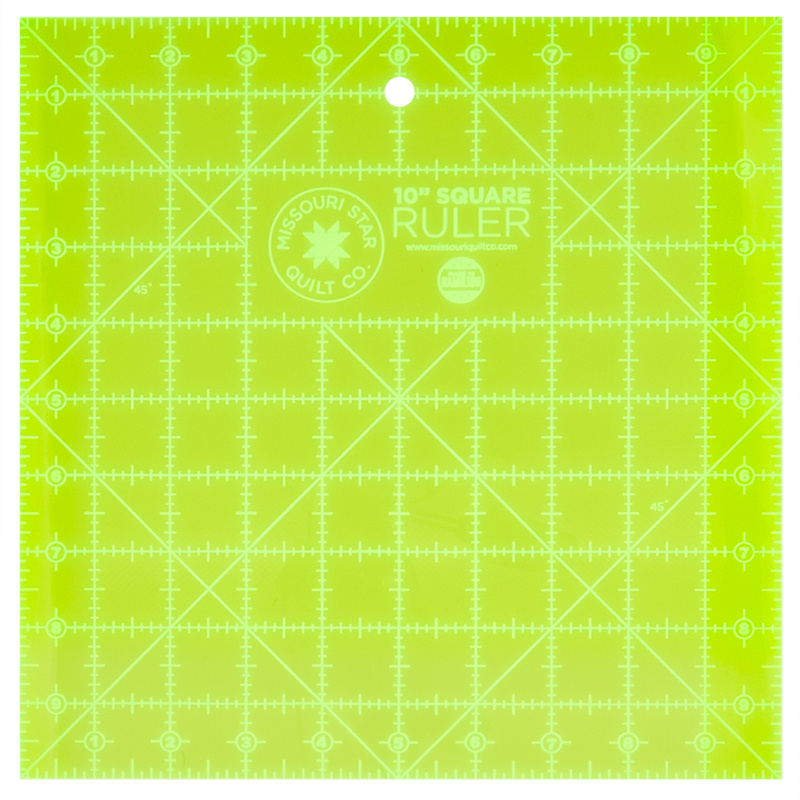
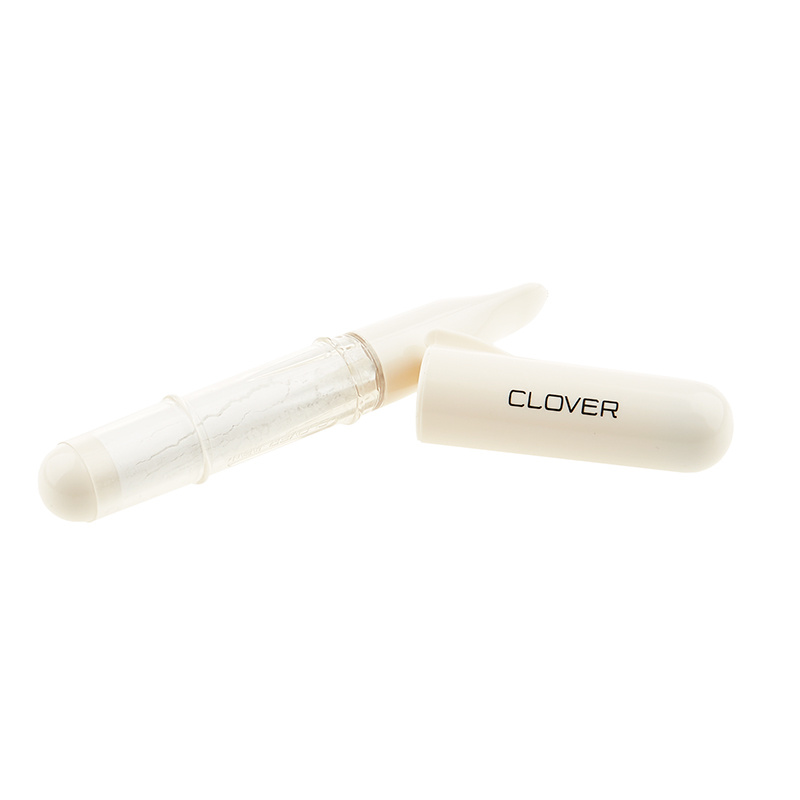
i'm laura of slice of pie quilts in this video series we'll be making projects for a nursery remember to use the hashtag msqc kids when you post a photo let's get sewing with missouri star i'm laura of slice of pie quilts here at missouri star and i'm going to show you how to make a crib sheet i'll show you how to sew french seams and elastic all the way around so it will fit a crib or toddler mattress you will need a two yard cut of fabric two and a half yards of quarter inch elastic a ruler and rotary cutter fabric scissors marking tools and a square ruler at least eight inches square let's get started we're going to take the two yard piece of fabric and cut it down to 68 inches if you have a large cutting mat then all you have to do is spread it out leaving it folded like from the fabric shop lay the folded edge along the bottom of the cutting mat just like it came and then we're going to use our long ruler to cut it at the 34 inch mark because that will give us a 68 inch piece now leaving it folded you should have all four layers in one corner so we're going to use our square ruler to cut an eight inch square from the corner i like to use a marking pen to mark this this is a choco chalk pin but you could use a washable marker or a pencil whatever you have on hand then you're going to use fabric scissors to do this instead of a rotary cutter so that you don't cut past the corner [Music] now you're ready to sew okay you're going to take the top layer of the fabric and fold those two sides of the eight inches that you just cut and put them wrong sides together i know it feels weird but you're going to put the wrong sides together like this so i'll show it again real quick so you take the top layer and put the two cut sides together with the wrong sides in okay so it should make an angle on one side and the rest should be lined up along the top and we're going to use a straight stitch to sew that right along that eight inch cut that you made and you want to actually use a really small seam allowance like an eighth of an inch seam allowance so i'm on a straight stitch you're going to back stitch at the beginning that angled side and go all the way to the corner back stitch again at the end okay so now i'm going to show you again on the next corner you just take the top layer here fold them together so that those eight inch sides are together and then we're going to sew with an eighth inch seam back stitch at the beginning and end [Music] and repeat it for all four corners [Music] so now we get to do the cool part we're going to turn this into a french seam and a french seam is just one that we sew twice so that it's stronger in all the washings of this sheet so now we're going to turn that right sides in so this is what i just finished sewing i'm going to turn that to the inside use my finger to poke out the corner and then we're going to sew it again with now like a quarter inch or 3 8 of an inch seam so we're going to sew right along here again with now the right sides together back stitch at the beginning and end so it's strong and go from the folded corner up down to the other cut side so see there we have a french seam on the right side it looks like a regular seam but on this side there is no raw edges so when you wash it it'll stay strong and not fray i'm going to repeat the french seam on all four corners so turn this so that the right sides are on the inside use your finger to poke out the edge and then sew with about a quarter inch seam along that edge turn it so that it is right side in [Music] so [Music] and you're done you have your french seams all finished okay so now it's time to add the elastic you're going to need two and a half yards of elastic hopefully it comes in a package of that size you can also get it in a big roll and that works great too so you want to take it out and you don't actually have to cut it to the right size if it's too long that's fine just leave it we'll start with this three yard piece and cut it off when we get to the end so on your sheet you're going to find the middle of one long side it really doesn't matter where you start so you're going to take the elastic leave a tail of about four or five inches and lay it on the side of the sheet so we have a tail here and i'm just using the selvage edge just where it was and we're going to fold it over two times okay so you're probably going to see some of the selvage edge and that's okay it won't fray when it washes you just fold it over twice and then we're going to sew that elastic in you're going to need to switch your sewing machine to a zigzag stitch zigzag will stretch more and so it won't break the stitches as much with if you when you're using elastic you can use a straight stitch but i like to use the zigzag for this to keep it the stitches from breaking i've switched the machine to a zigzag stitch i'm using three for the stitch length and about 3.5 for the stitch width whatever your machine does is fine you just want to make sure it's wide enough to go over the top of the elastic so i'm leaving the tail i'm not starting at the end of the elastic leave that tail of elastic and once you've folded over we're going to back stitch to hold it in place at that first spot okay so i work at the length of the sewing machine bed and i just want to fold this over the fabric twice so i fold it over two times and i made sure that the elastic is not twisted inside of there so as long as they it feels like i use my finger to just feel that it's straight and i use my left hand to hold it in place while i use my right hand to pull the elastic as tight as it goes and then i have to switch use your right finger to hold that elastic and your folded fabric in place and then use your left hand to hold this fabric in the back since we're pulling the elastic really tight it tends to pull the fabric forward instead of the sewing machine being able to push it through like normal so you're going to have to pull a little bit on the back of your fabric to pull it through the machine now don't pull too hard because you might break a needle so just let the machine guide you but if you don't do that then you're pulling so hard on the elastic and you'll pull it forward and you won't be sewing anywhere i stop with the needle down when i get to my finger because then i'm going to reset and start fold over the next section and i'm just working that length of my machine bed at a time so i folded the fabric over two times made sure that the elastic is not twisted inside pull tight on the elastic as tight as it will go and then hold it with my right hand and pull it through the machine with my left hand the machine stops with the needle down on this one if it doesn't then when you take that last stitch you'll want to turn the hand wheel or push the button to make your machine stop with the needle down it really helps the elastic to not bounce back too far when you are sewing this just continue all the way around the sheet [Music] when you get to the corner you want to fold that seam towards you and then still fold the fabric over two times there on the seam i use my finger to smooth the fabric out underneath and pull the elastic tight before i sew over the top and then when we get to the seam it is going to add a little bit more bulk to it so i'll show you how i go over that so i folded my fabric over the two times and right there on the seam it's a little bit thicker because of all these layers of fabric through there and so i just make sure that i'm holding this taut on the back to help the machine feed it through and then i'm going to go a little bit slower through the bulk so that my machine doesn't break a needle or dislike that section so you might slow down and make sure that you're pulling that fabric through at the same time [Music] okay as you get close to the end you want to stop when there's about oh 10 or 12 inches left and then you're going to back stitch to hold the elastic in place where you stopped so i'm just going to back stitch quickly and then take this away from the machine okay so now you'll see how i have two see how my extra elastic so just have that so you have the tail that you had at the beginning and now we have this long tail here at the end and now we're going to connect the two ends of the elastic and i'll show you how to do that you want to cut the tails so that they are about two to three inches apart every elastic is a little bit different in how stretchy it is and so how much you cut might vary a little bit but this has worked for me every time so i want to make sure that i cut the tails so that they are two to three inches apart so mines right now are about an inch apart so i'm just gonna cut a little bit more off of each one so now yep see they're about two and a half or so inches apart it doesn't have to be exact and now we're going to overlap the elastic so we're going to put one tail on top of the other tail by about an inch and now we'll go to the sewing machine and zigzag over the two tails to hold them in place so just fold the rest of the sheet back out of the way and we're going to zigzag the tails together i like to go over it a few times to really make sure that it's going to hold and be strong and so i backstitch a few times and trim off any extra thread so you can see there i just zigzagged that together the two tails and so now when i pull it tight you'll see that it fits on how much fabric i have left so now go back to the sewing machine and we're going to finish sewing the elastic into the sheet remember to backstitch when you first start stitching so that in the wash it doesn't the stitches don't come out for this section you want to pull the elastic tight fold the fabric over the two times and hold it in place remember to use your other hand to pull it through the sewing machine you'll just have to use one hand to fold it under and keep this elastic tight here because that's what we're trying to get sewn in and it's a little bit different here at the end because it doesn't have any tails so you just pull it as tight as the fabric lets you then we're just going to go over the stitches where we started and backstitch again to hold the thread and that's it you've made a crib sheet this sheet fits a standard crib sized mattress if you'd like to make it a different size i can walk you through the measurements to do that on your own too you'll want to measure the length width and height of the mattress that you want to make this works for a twin size bed or different size bed a portable crib or a changing pad to know the width of fabric that you'll need you'll want to measure the width of the mattress and add three times the height of the mattress to get the length of fabric that you'll need measure the length of the mattress and add three times the height of the mattress you'll also want to take one and a half times the height of the mattress to find out how much to cut out of each corner of the sheet when you make it to know how much elastic you'll need add the length of the mattress plus the width of the mattress and then i like to add a little extra to make sure i have enough now you know how to make a sheet for any size of mattress check the description below the video for all the math and a link to the pattern i can't wait to see what you make be sure to use the hashtag msqc kids when you share a photo so we can all see the sheets that you make hope you enjoyed this tutorial from missouri star we hope you enjoyed watching this video if you are not already part of the missouri star quilt family you can hit the subscribe button below so you won't miss a thing and if you click that bell it'll notify you every time a new tutorial comes out see you next friday you

More Fabric by Yard tutorials

See all