Skip to content

Free quilting video tutorials from Missouri Star

Quilting Tutorials
Creating for Kids: Sew a Streamer Tote with 8 Pockets!

Creating for Kids: Sew a Streamer Tote with 8 Pockets!

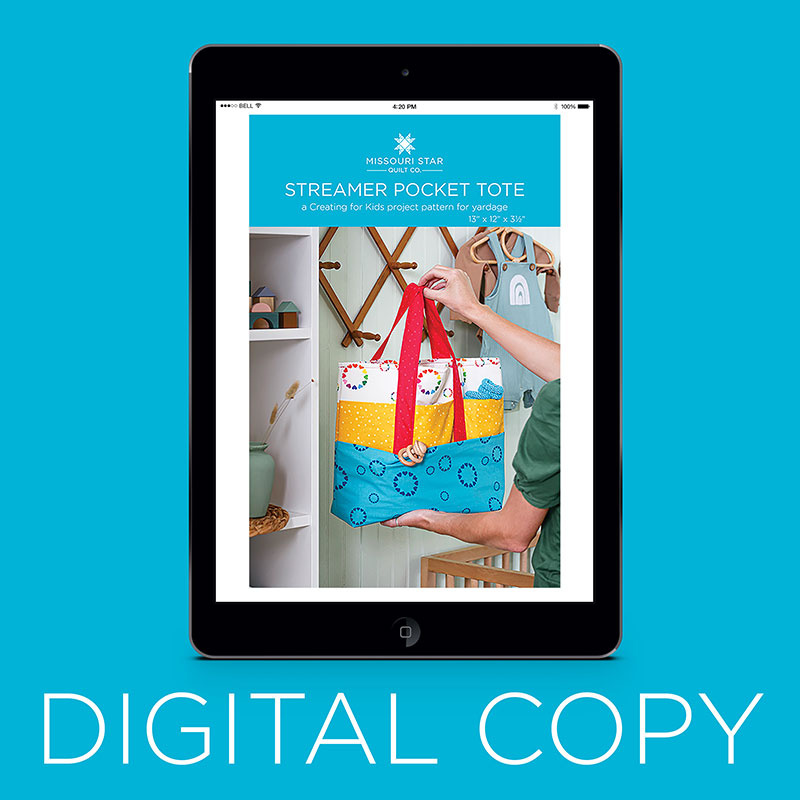
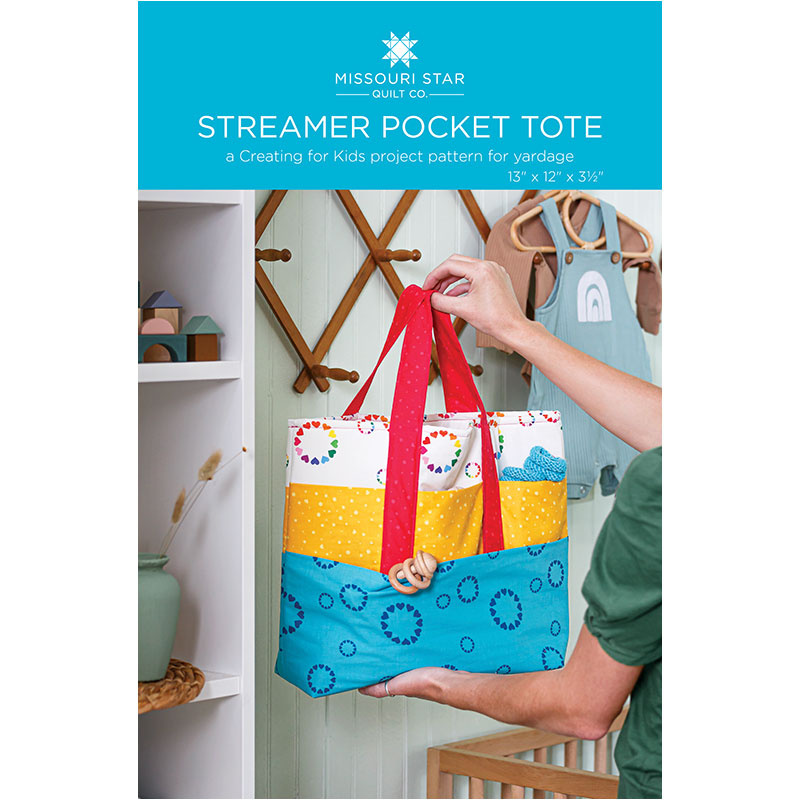
When you have kids, the one thing you can never have is too many pockets! This Streamer Pocket Tote combines the best of form and function with its cute design and many, many pockets. Just think of everything you can carry! Find out how to create this tote when you stitch along with Laura Piland on this episode of Creating for Kids.

Instructor

Laura Piland

Laura is a quilter, pattern designer, and homeschooling mom of three boys. She's also an ex-math teacher - and with a last name like Piland - there's a strong love of pi in her house! She shares her new projects, designs and love of quilting at <a href="https://www.sliceofpiquilts.com/">Slice of Pi Quilts</a>.

Common Questions

What is covered in Creating for Kids: Sew a Streamer Tote with 8 Pockets! (Video Tutorial)?

When you have kids, the one thing you can never have is too many pockets! This Streamer Pocket Tote combines the best of form and function with its cute design and many, many pockets. Just think of everything you can carry! Find out how to create this tote when you stitch alon...

How long is the tutorial video?

The tutorial video is 00:28:29.

Are supplies listed for this tutorial?

Yes. The tutorial page includes the supplies and materials connected to this project.

Video Transcript

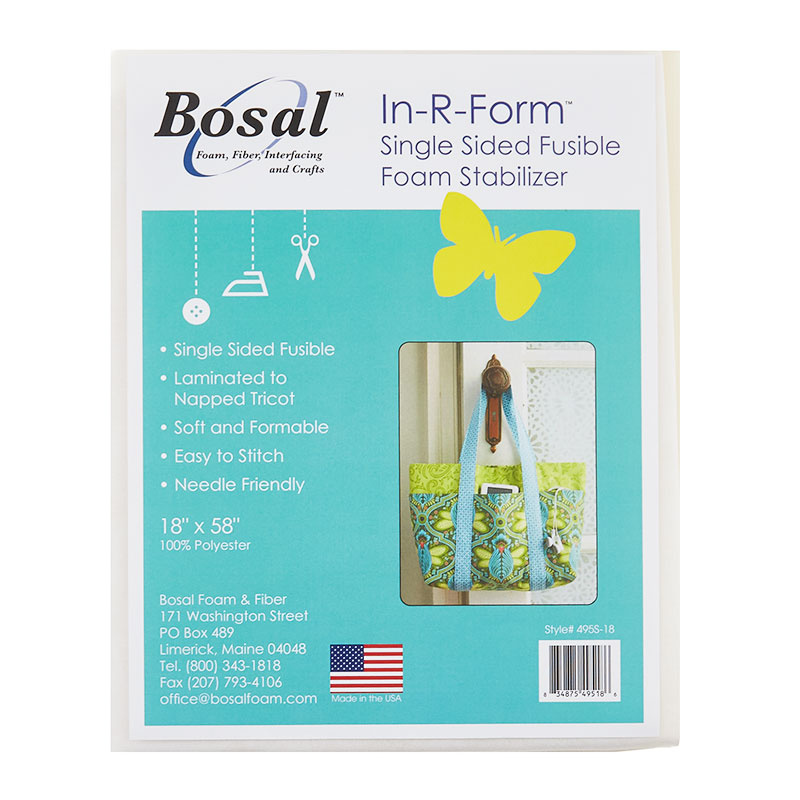
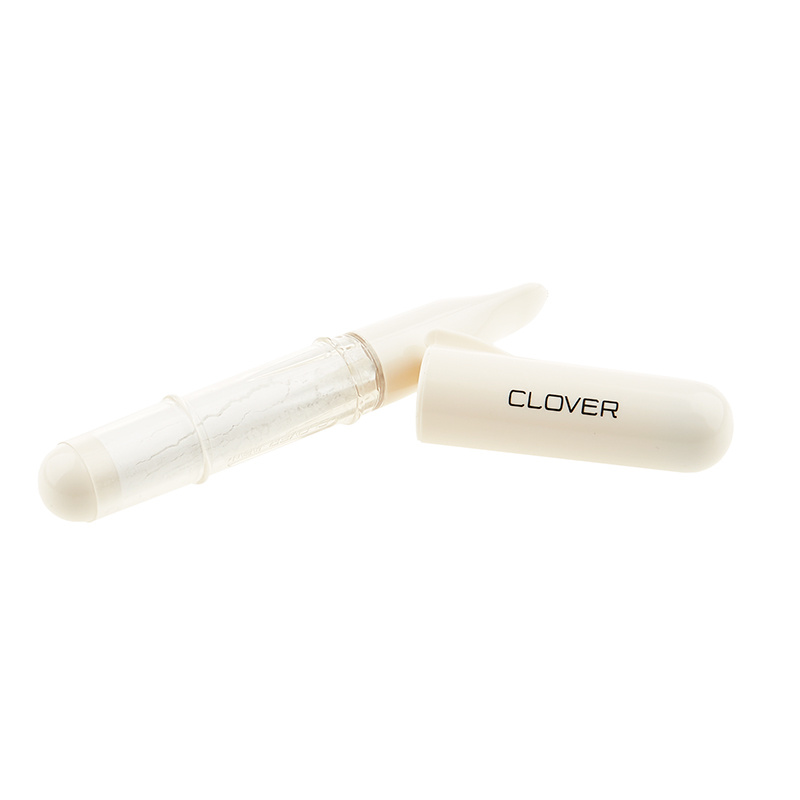
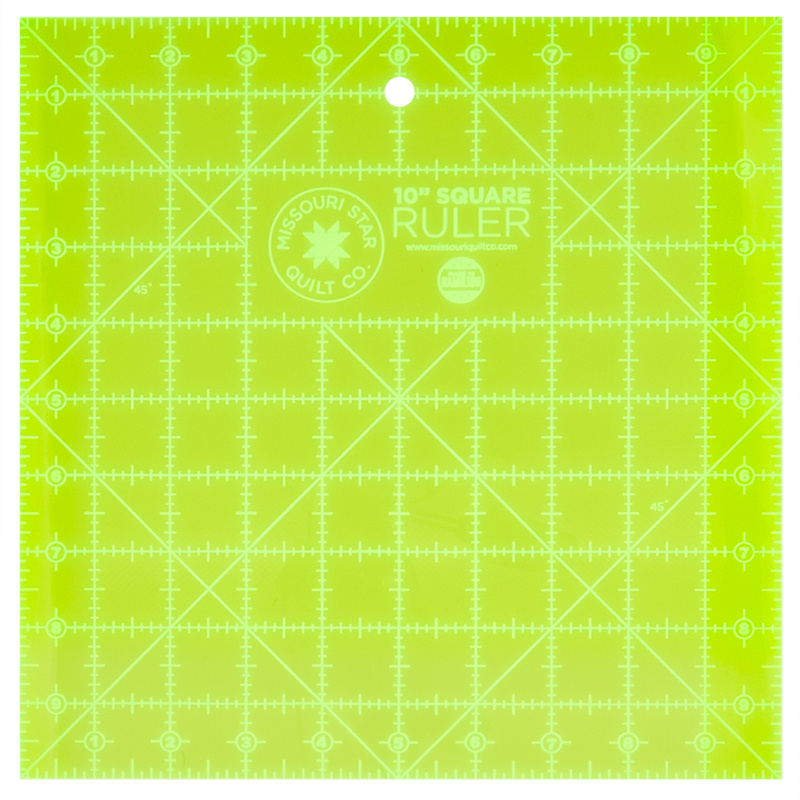
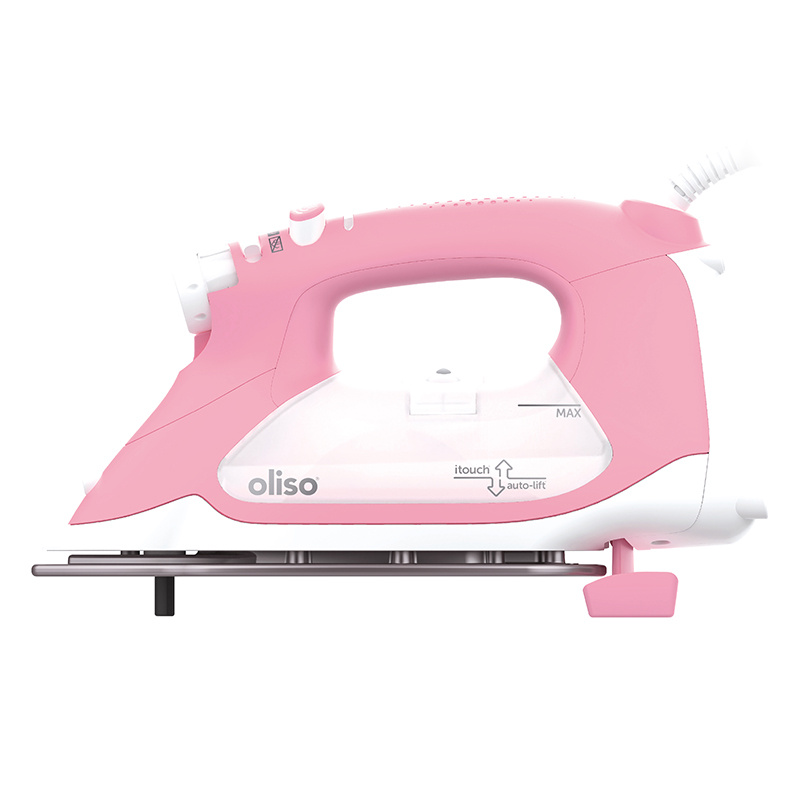
i'm laura of slice of pie quilts in this video series we'll be making projects for a nursery remember to use the hashtag msqc kids when you post a photo let's get sewing with missouri star i'm laura of slice of pie quilts here at missouri star and we're going to make this streamer pocket tote it uses fusible foam for structure and four fabrics you can make it in any four fabrics that you want it has eight pockets too it's quick and easy let's get sewing to make the tote bag you'll need one yard of fabric for the lining a half yard of fabric for the straps one yard of fabric for the pockets and a half yard of fabric for the front pockets you'll also need one package of fusible foam a rotary cutter and ruler a square ruler fabric scissors a marking tool i'm using a pencil and sewing clips let's start by doing all of the cutting i'm going to start with the lining fabric i like to take my one yard cut and fold it in half and make sure that that folded edge from the quilt shop is all lined up then lay it on the cutting mat with that folded edge right along the bottom of the mat i need two 18 inch by 30 inch rectangles for this so first i'm going to cut off this raw edge on the side to give us a nice straight line now i'll move the ruler over to the 18 inch mark and cut that measurement first so now i have two layers of fabric here so i can cut the two rectangles at the same time i'm leaving them folded and i needed 30 inches wide this way so i'm going to come up to the 15 inch line making sure that fold is down here that's the part we want to keep and i'll make this last cut now we're ready to cut the strap fabric i'm lining up that folded edge along the bottom of the mat again and you can fold this over too because we're cutting two at the same time the straps are going to be six inches wide by the width of the fabric you don't need to cut the selvedges off i'll first cut off on this right side so we have a nice clean line on this side and then cut a six inch piece now we have both strip pieces cut and we're going to cut the pockets i've taken the one yard piece for these pockets and folded it in half just like we did the lining fabric and the strap fabric and i'm going to line up that folded edge along the bottom and this time i'm going to be cutting two 18 inch by 24 inch rectangles i'm going to cut the 18 inch measurement first since i folded the fabric in half i'm cutting two rectangles at the same time i'm going to leave the folded edge down at the bottom and this one needed to be 24 inches and so i'm going to come up to the 12 inch line and as long as your fold is at the bottom you'll cut a 24 inch rectangle and you'll have some extra for a different project last we'll cut the outside pocket this is an 18 inch square so i'm cutting that from the half yard of fabric line up the bottom this one has a pretty good straight line on this side so i'm not going to worry about that i'm just going to cut up two 18 inch squares now that we've cut all the fabric pieces let's cut the foam you need two 15 inch by 18 inch pieces of foam i don't like to fold this one in half because it's a little bit thicker so i cut them one at a time my foam is about 18 and a half inches wide so i do need to trim at least two sides [Music] [Music] now you've cut all the pieces for your tote so let's take it to the iron if you've cut the fabric like i showed with the folds the accent fabric is already pressed in half so you don't actually need to press that so i'm going to set mine aside but then the outside pocket fabric the 18 inch squares we need to press those in half so lay it on your board and fold it with the right sides out i use the tips of my fingers or my fingernails to scoot the top layer of fabric until they're all lined up then do the same thing for the other one for the lining fabric we're actually going to do it a little bit different we need to fuse that to the foam and half of the lining piece isn't going to be fused to anything so you actually just line it up make sure the edges are all right to the edge you don't want any of this fusible to get on your iron you can double check too that you're using the fusible side with the glue and then press it in place don't worry about the extra that hangs off of the side see so we've pressed the fusible only to half of the fabric the rest of it just hangs off the edge that's perfect now do it the same to the other one make sure that the glue side is up the back should be really soft but you can feel a texture on the glue side you wouldn't want to glue your foam to your iron now we'll press the straps take one strap piece lay it with the wrong side up and press it in half go all the way down the strip like this and repeat for the other strip too then go back to the beginning open this back up and now press the raw edges to the center crease line that you made you might be able to press both sides at the same time but it's okay if you can only do one at a time now go back to the beginning of the strip again fold it in half and press it one last time now i'll do the same thing with the other fabric strip first i fold it in half to give myself a crease line down the middle then go back to the beginning of the strip open this up and press each of the raw edges to the center fold line you might be able to do both sides at the same time or you can just do one at a time then go back to the beginning of the strip and do a final press in half i'm right-handed so i press from right to left if you're left-handed you might find it a lot easier to press from the left end of the strip first now that all the pieces are pressed we're ready to sew i grabbed some pink thread off of the thread rack behind me and now i'm ready to start sewing i'm going to start with the straps we're going to sew all the way down the long side to hold the sides together and then we'll sew down the other side just so it looks symmetrical i'm going to sew with the side of the strip about an eighth of an inch away from the needle i just want to sew the sides together and i don't need to use a quarter inch seam here right in front of the foot on the machine bed i'm holding my hands my fingers so that i can hold the strap in place as it feeds to the needle it's like i'm creating my own guide for the strap to go through then i'm going to turn the strip around and sew an eighth of an inch from the side on the other side [Music] [Music] now we'll do the same thing for the other strap i'm going to sew an eighth of an inch from the edge and backstitch at the beginning i like to position my hand here in front of the needle so that my fingers hold each side of the strap so then i can just let the machine feed the strap through i back stitch at the end and then i'm ready to go down the other side just line it up about an eighth of an inch from the needle back stitch at the beginning and then sew all the way down the length of the strap [Music] i used pink thread so that it matches these straps here but you could definitely use a color that contrasts and make it stand out now let's sew the straps onto the bag we're going to start by laying the foam piece down so the fabric is right side up the foam is here on the back and remember that extra fabric it's just laying up to the top we don't need to worry about that right now we're going to lay the accent fabric piece right on top making sure that the folded edge is towards the top line up the raw edges on the other three sides and use some clips to hold that in place i like to use a five inch wide ruler for this next step you need to measure five inches from the side of the foam panel piece and then we're gonna lay our straps right along the edge if you don't have a five inch ruler you can definitely just measure from the edge but this just really helps line it up nice once you're sure that the strap is lined up then you're going to use pins to hold it in place it's kind of thick to pin through so i really don't worry about it just as long as i stab through the layers of the foam and the fabric it'll be enough to hold it while we take it to the sewing machine now once you've done this we're going to move over to the other side and do the same thing with the other end of the strap so place the five inch wide ruler here along the edge and then lay the strap down and try to make sure there's no twist here in the strap then just line up the selvage edge with the bottom of the bag and pin it in place the selvage edge can go right to the bottom of the bag we're going to start sewing here at the bottom right on top of the stitch line that's already on the straps and we're going to go all the way up to the top of the foam go across and then go back down remember make sure that your strap is not twisted right here mine is laying flat so i know i'm ready to sew now we'll bring it to the sewing machine line up the needle with the stitches on the straps that you already did and we're just going to sew right on that same line i take the pins out as i get to them i don't sew over the pens i can feel where the edge of the foam is at so that's where i know that i need to stop sewing and pivot with the needle down i lift the presser foot turn and i'm going to stitch straight across to the other side and i turn it again and then i follow my line straight down to the bottom now we're going to do the same thing for the other strap the tote bag kind of gets in the way with with the machine here so you just roll it or fold it and then push it under there i can feel the edge of the foam as it gets close to the machine needle here so i'm going to put my finger there and stitch slowly until i get right to it stop with the needle down pivot make sure it's all lined up under there stitch straight across and now stitch down the other side once you sew the straps on take the outside pocket piece lay it right on top make sure that that folded edge is towards the top and then clip the raw edges onto the other three sides now do the exact same thing to make a second half after you have both of the bag pieces made we're going to cut a two inch square from all four corners of both pieces lay the square right on the corner and then use a marking tool to mark the square i'm going to use a pencil [Music] i like to use scissors to do this step so that i don't cut too far with a rotary cutter it's easy to make a mistake so using scissors will help you to cut exactly right to the corner of the square [Music] now do the same thing with the other half [Music] after all the corners are cut out we're going to sew the two halves of the bag together place them right sides together and clip them together i'm also going to clip the lining pieces together it'll make it easier to sew now we're going to take it to the sewing machine and sew around all of the sides leaving the corners open we're not going to sew the corners just yet and on the lining piece we're going to sew across this edge but leave a four inch opening so that we can turn the bag right side out let's take it to the sewing machine and sew i like to use about a half inch seam for this but lining it up with the edge of your foot is also fantastic i slow down when i'm coming off of the foam onto the main fat onto the lining fabric i just want to make sure the machine doesn't have any hang ups there when i am switching from thick fabric to thin fabric [Music] do [Music] you may want to slow down when you get to the part where you sew the straps it's a lot of layers for your sewing machine to go through so take your time and sew slowly [Music] for this side i started sewing on the lining piece first instead of the foam just to show you it doesn't matter when you get to this spot where it switches though from the lining fabric to the foam just take it a little bit slow so your machine will know how to switch the thickness of the layers [Music] now i'm ready to sew that last seam across the top of the lining this is where you want to leave the four inch opening don't forget that or you won't be able to turn this right sides out [Music] now we're going to sew the corners i like to start with the lining ones and so take the lining fabric corner use your fingers to spread it open and you want to line up the two seams so open the seam finger press them open and line up the seams the sides should be at an angle here and this corner seam where we need to sew should be a straight line once you're happy with that take it to the machine and sew straight across the corner seam i like to start a little farther than the angled edge take a few stitches and then reverse back to catch all the way to the edge [Music] now we'll do the same thing for the other corner of the lining use your hands to separate the fabric i use my fingers to finger press these seams open and then you want to line them up and make sure that the corner seam is a straight line the two sides should be at an angle then i'm going to take it to the sewing machine and stitch with like a half inch seam here i like to start a little bit past the corner when i start stitching and then reverse to go all the way to this angled edge and then stitch across and then reverse at the other end as well [Music] now we get to do the same thing for the foam corners this one has a lot of layers so as you open it up you want to make sure that you are between the outside pockets then pull it apart smash it down and try to line up those center seams there's a lot of bulk here so use your fingers to press those seams open matching them up lining them up and it should look the same as it did before the two sides should be at an angle and the corner seam should be a straight line don't worry about the rest of the bag it might be up in your way just smash it out of the way and we're going to stitch with a half inch seam right across the corner seam see how you can see that i stitched right across there i back stitched at both sides this is exactly how the corner should look let's try the other corner remember when you open it up make sure that you are between the two outside pocket fabric pieces you don't want to open it on the wrong section use your fingers to make sure you can get it nice and flat inside finger press the seams open line up those center seams once you're sure that this corner seam is a straight line you have the two angled sides take it to the machine and stitch your half inch seam [Music] the bag might get in your way just smash it out of the way you've sewn all four corners so it's time to turn the bag right side out this can take a little bit of time it's best to be patient and work slowly you don't want to rip any of the seams you've already sewn just pull a little bit at a time and eventually it'll be done stick your hand back inside the bag and push out any of the corners the bottom pockets sometimes are turned down when you flip it in there flip it right side out so just bring them back up into position you're almost done now we're going to stitch this hole shut in the lining and we're going to top stitch around the top of the bag let's go back to the sewing machine to do those two steps then you'll be done you can use a matching thread to the lining fabric here when you topstitch this i have pink in the machine right now i'm just going to keep that in there to do this step i'm stitching just right along the edge maybe an eighth of an inch in and only right through where the opening was it's just a quick way to close the lining so that your pennies won't fall through now tuck the lining into the bag i like to use my thumb and my pointer finger to push the corners of the lining down into the corners of the bag now let's topstitch around the top edge i like to start at a side seam and i'm sewing from the inside of the bag so fit the inside of the bag underneath your presser foot fold the rest of the bag out of the way we're just going to do a few inches at a time i'm starting on the side seam and i want to line the top edge of the bag with the right side of the presser foot now i'm just going to stitch all the way around when you get to the straps be sure that you have them pulled out of the way you wouldn't want to sew the strap down right here as you keep going just turn the bag so that the next section is ready to sew [Music] so [Music] that's it great job you've made a whole tote bag now you know how to make a streamer pocket tote it has eight total pockets check the pattern for how to make the handles even longer so you can carry it over your shoulder i've used four fabrics and i can't wait to see which fabrics you choose when you post a photo on social media use the hashtag msqc kids so we can see what you make i hope you enjoyed this tutorial from missouri star we hope you enjoyed watching this video if you are not already part of the missouri star quilt family you can hit the subscribe button below so you won't miss a thing and if you click that bell it'll notify you every time a new tutorial comes out see you next friday

More Fabric by Yard tutorials

See all