Skip to content

Free quilting video tutorials from Missouri Star

Quilting Tutorials
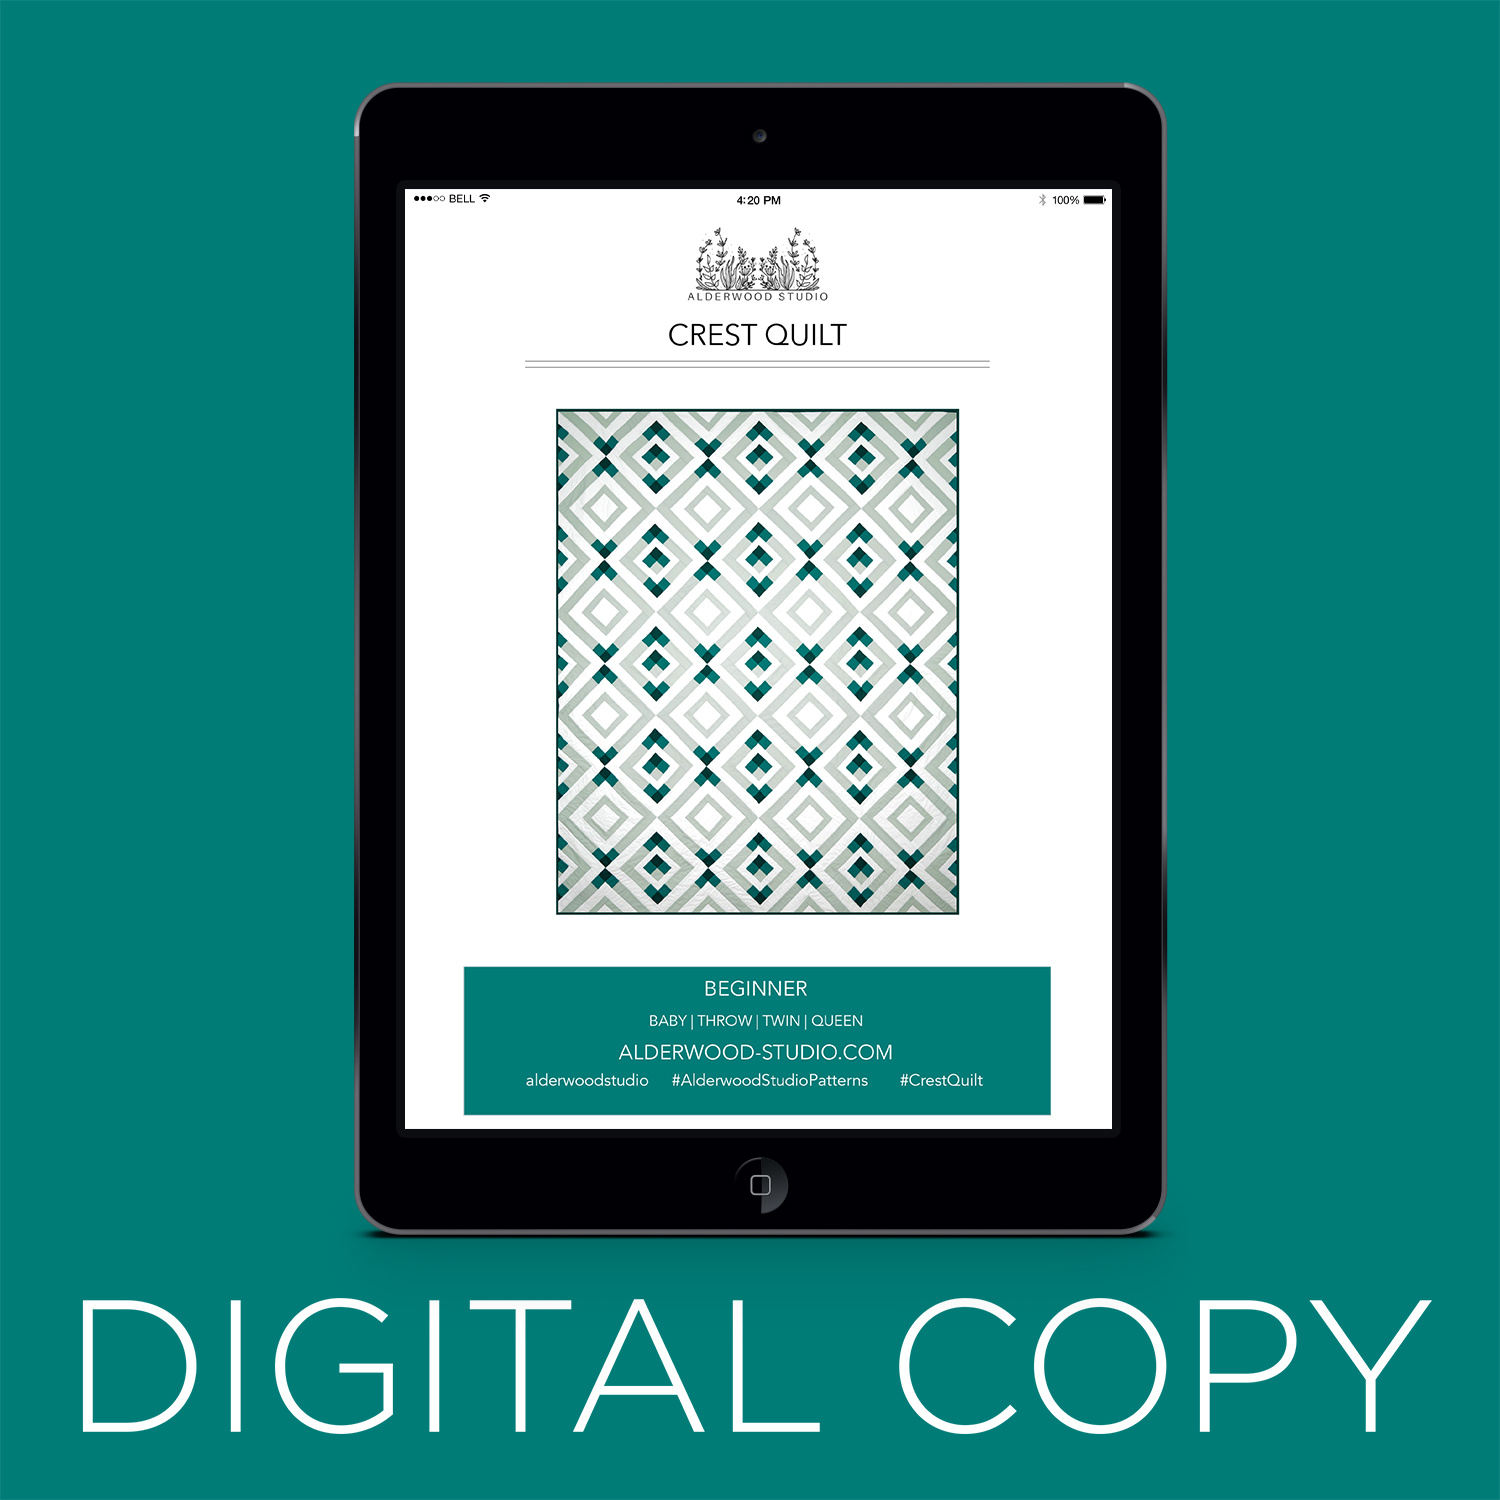
Crest Quilt with Amber Elliot

Crest Quilt with Amber Elliot

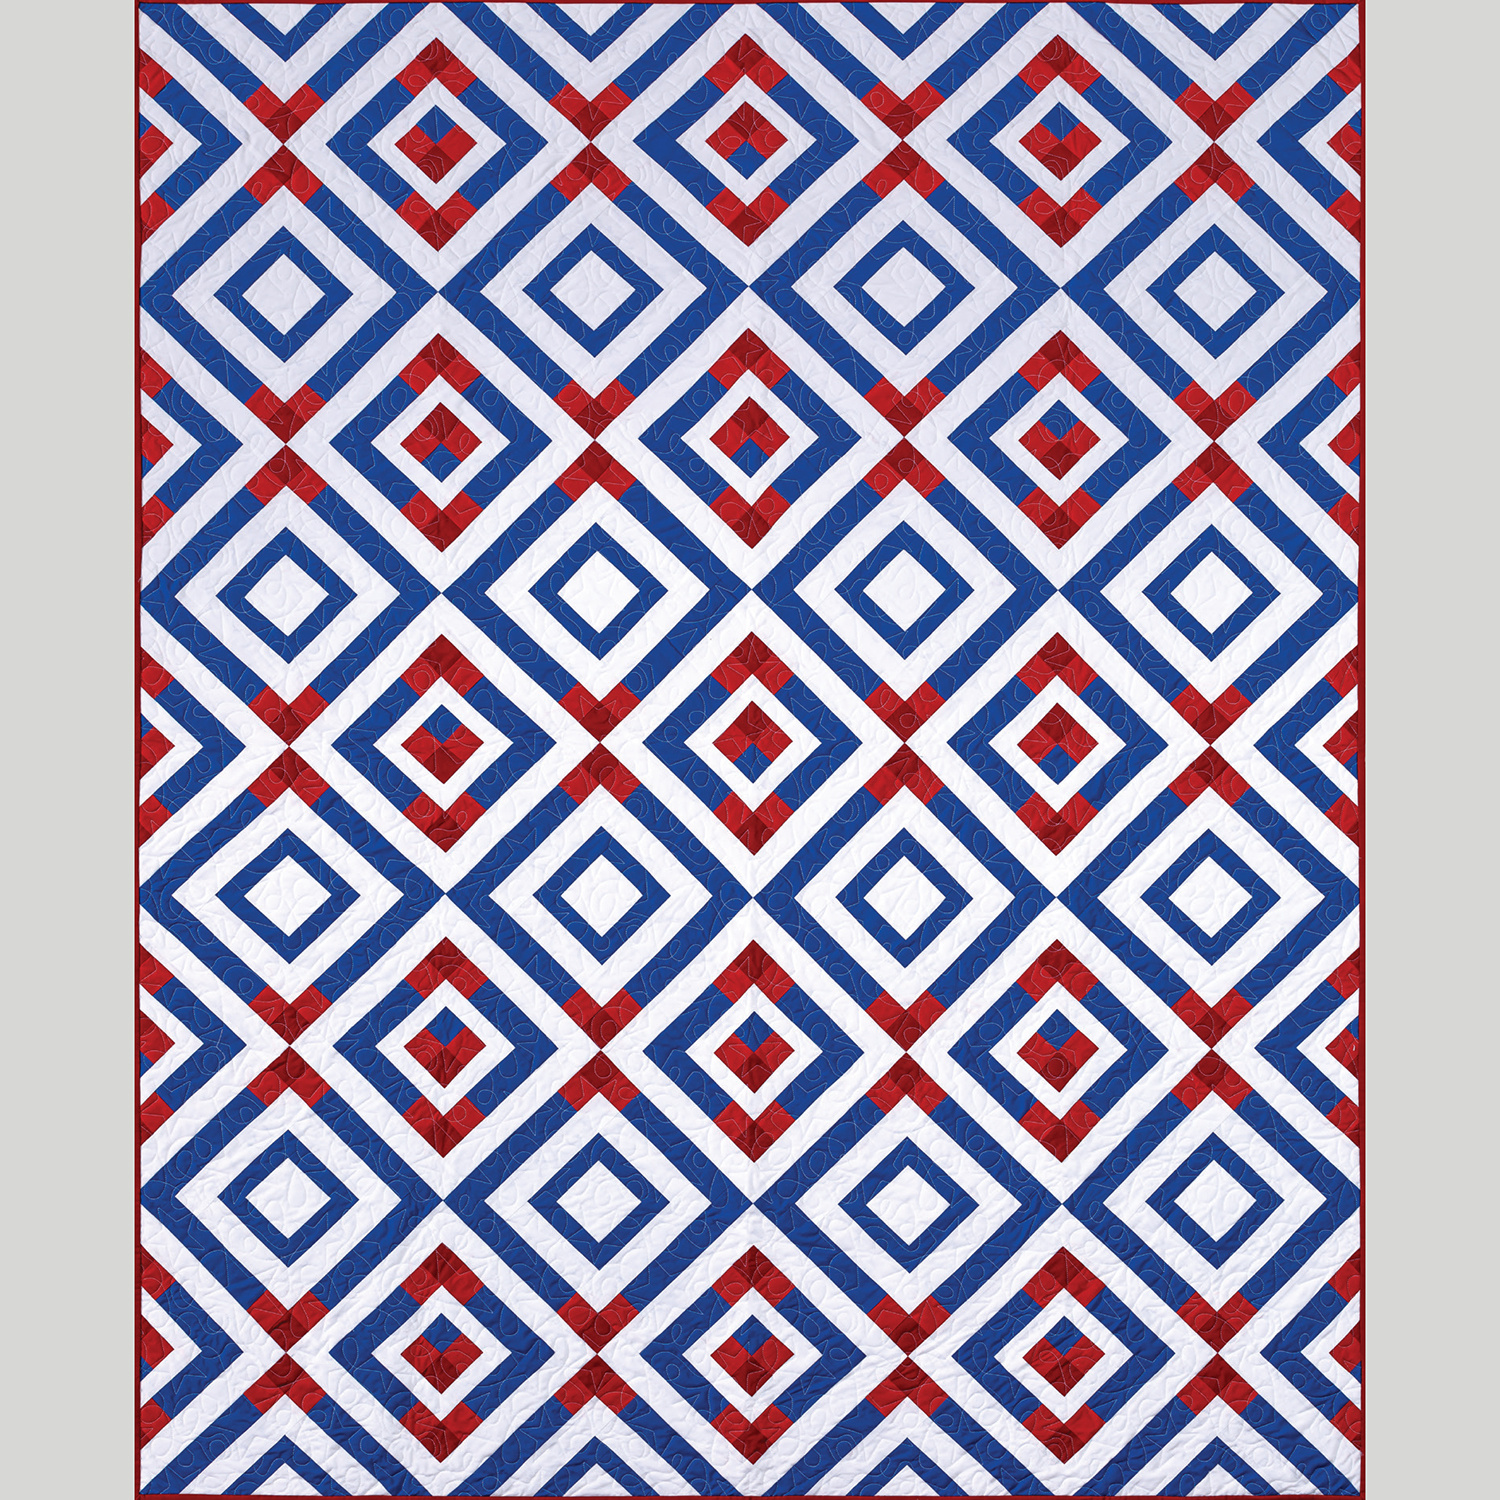
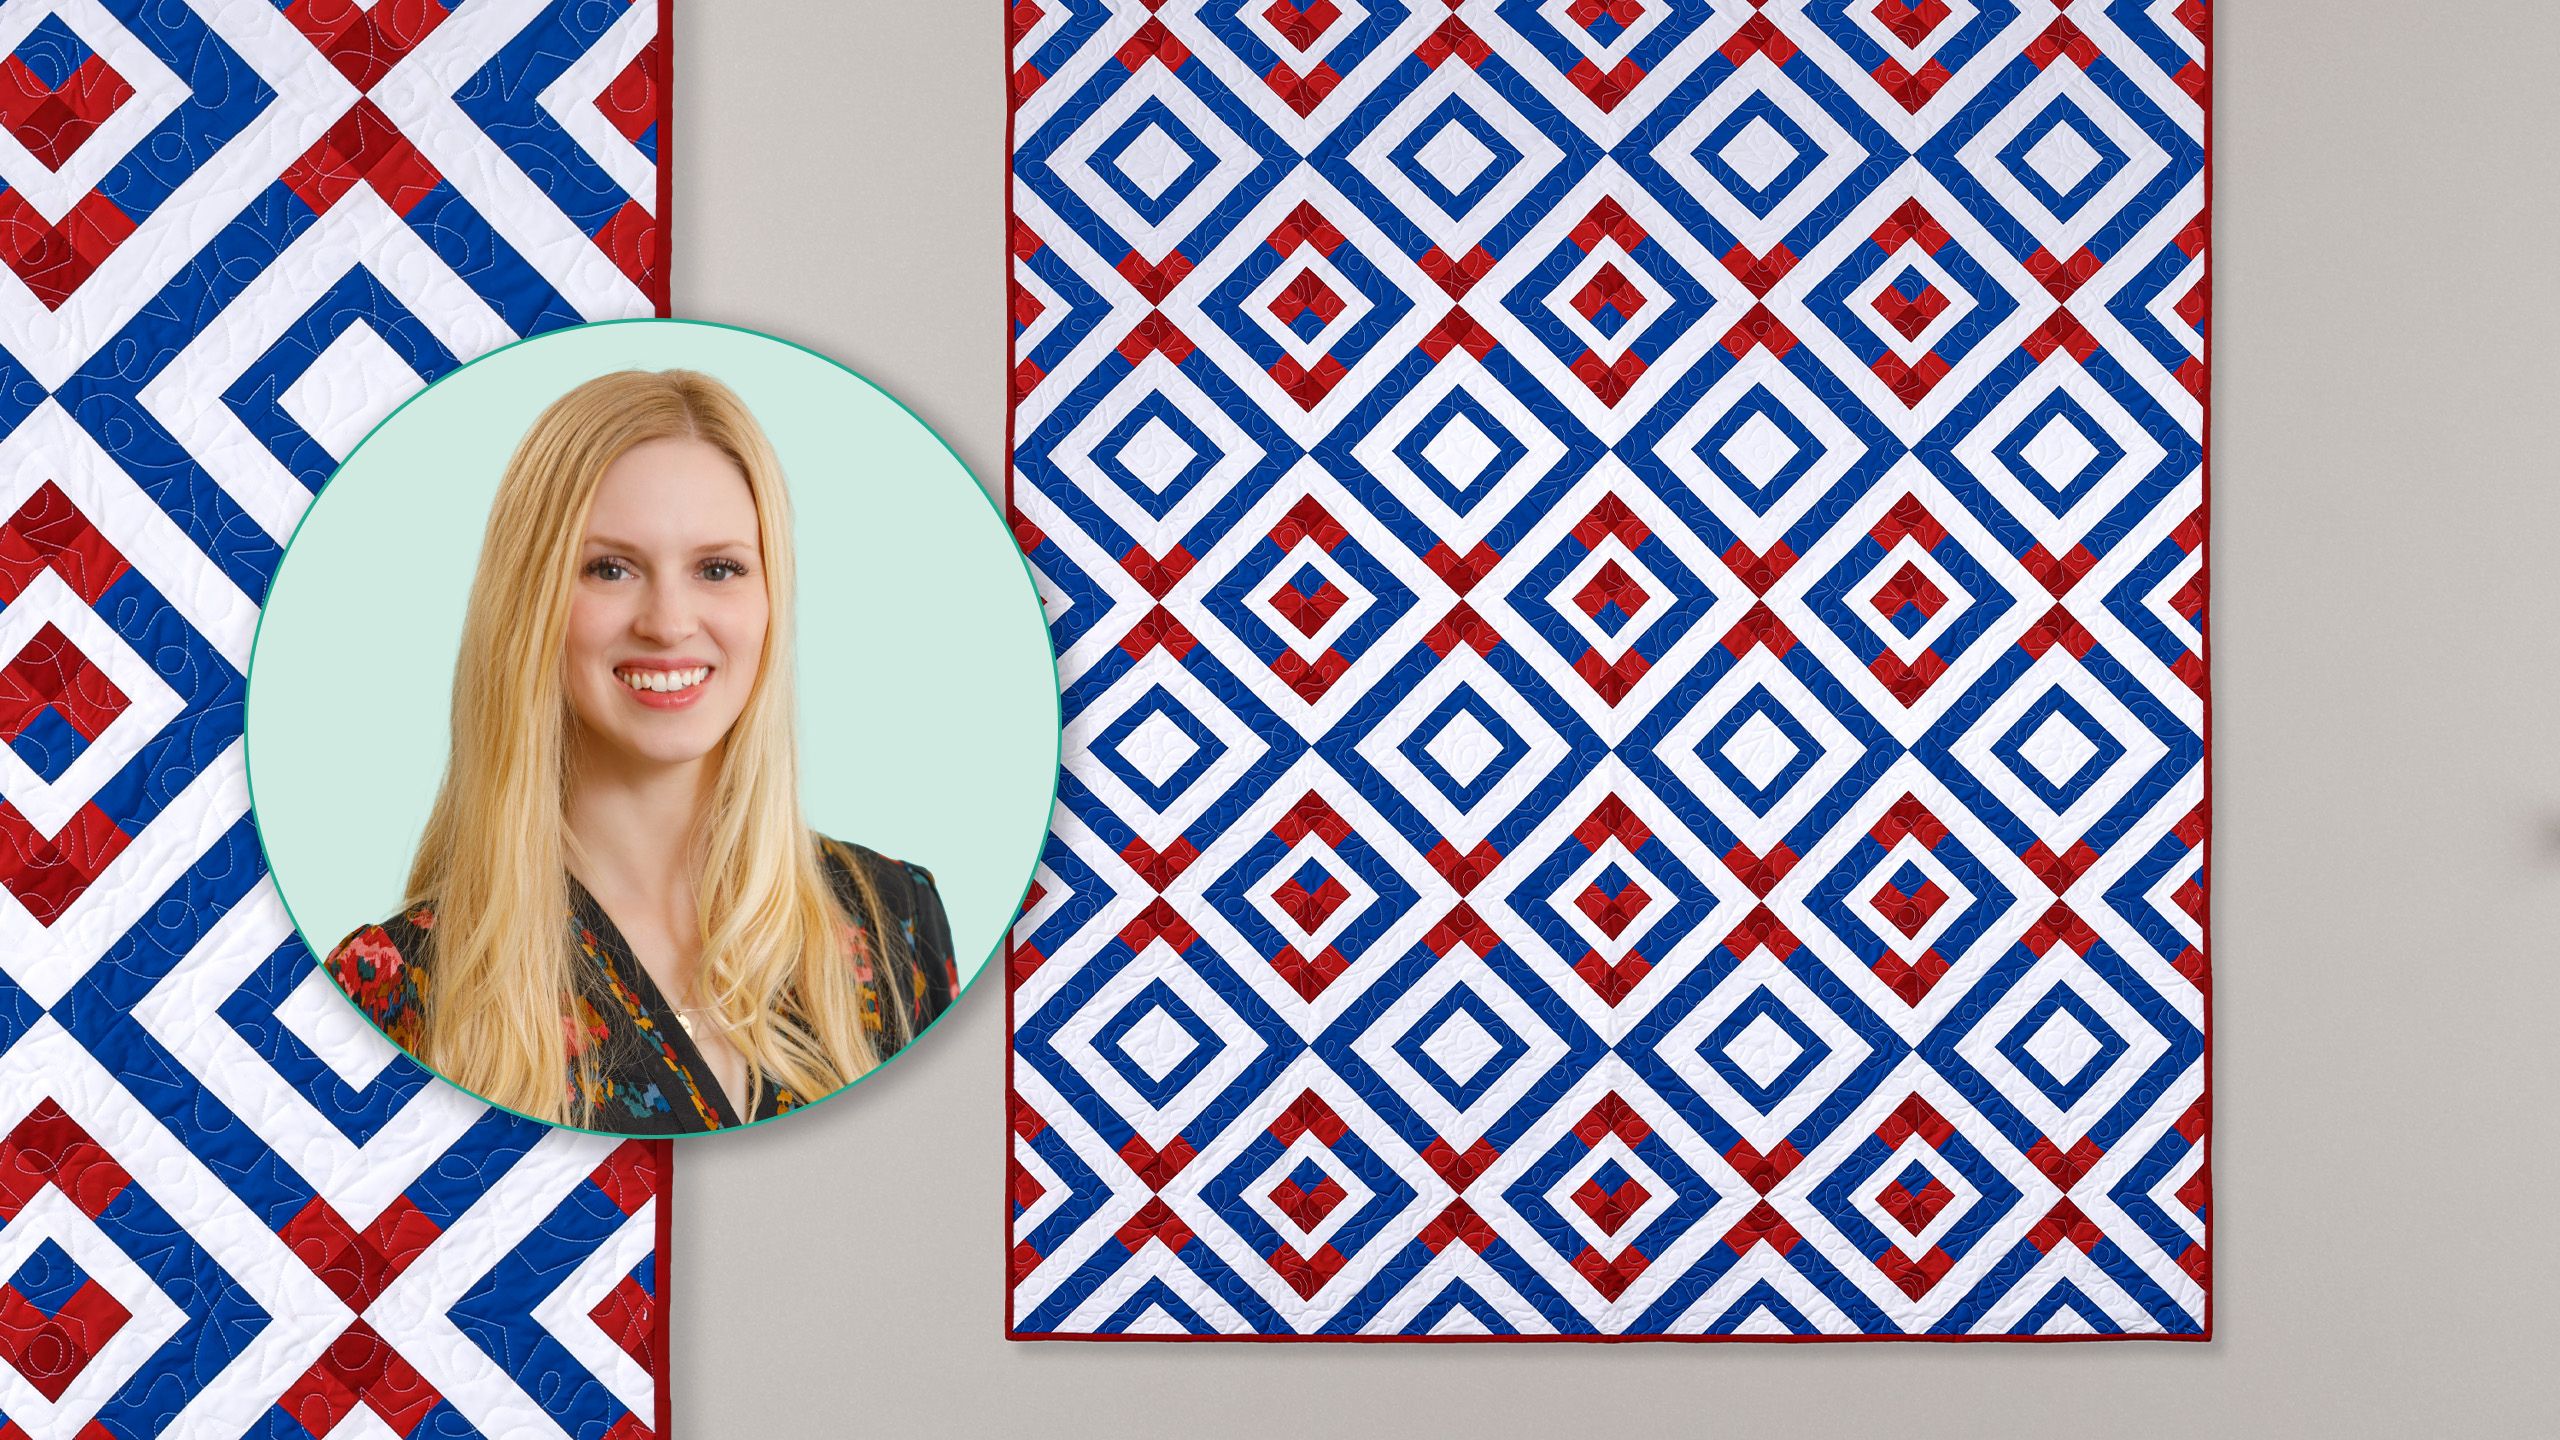
In 1875, Sally Dudley Tucker hand-stitched a scrappy Courthouse Steps quilt with plaids, flowers, paisleys, and dots. It was a favorite pattern way back then, and it never went out of style. Exactly 150 years later, Amber Elliott has designed a modern variation, made with fresh Kona solids and an on-point layout. Pick up the kit—or use your own fabrics—and enjoy every minute of this reimagined classic!

Instructor

Amber Elliot

Amber Elliot is a talented pattern designer, artist, quilter, and educator who loves encouraging creativity and building community.

Common Questions

What is covered in Crest Quilt with Amber Elliot?

In 1875, Sally Dudley Tucker hand-stitched a scrappy Courthouse Steps quilt with plaids, flowers, paisleys, and dots. It was a favorite pattern way back then, and it never went out of style. Exactly 150 years later, Amber Elliott has designed a modern variation, made with fres...

How long is the tutorial video?

The tutorial video is 00:25:48.

Are supplies listed for this tutorial?

Yes. The tutorial page includes the supplies and materials connected to this project.

Video Transcript

hi I am Amber from Alderwood studio and I am here today at Missouri Star Quilt Company I am going to be showing you how to make the crust quilt right here and we're going to Dive Right [Music] In The Crest quilt is really fun to make it's pretty simple and straightforward but there are a lot of pieces so what we're going to be doing is labeling our pieces as we cut them and I am going to be referring to each piece by its label so you'll want want to make sure you refer to your pattern as we go along so you know which piece we're using when the crest quilt is also made up of two different blocks so we're going to be making each block once but when you're making this at home you're going to be making all of the blocks for each set so you have them all ready to assemble at the end for this quilt we have a couple different options because I love different variations on patterns this pattern has a fat quarter version so you can make a fun Scrappy crust quilt or it has has a yardage version which lets us make this fun version here with three different colors and a background fabric this Quil also lends itself really nicely to ombre fabric selections as well which is a fun twist too this pattern is available in four different sizes baby throw twin and queen size and so you can find the fabric requirements in your pattern we're going to get started making block one so for Block one the first step we're going to need our D1 pieces and our our C6 pieces we're going to take our C6 pieces which are these cute little blue rectangles and sew them to each side of our D1 Square then next we're going to take our C7 pieces and sew them to the top and bottom so I'll sew these little guys on press them and then sew these ones on sometimes it's fun with a pattern like this to be able to just sit down with all of your pieces and chain piece them all and get it all done at the same time so I'm going to sew one of these to each side okay and now we're going to press these I like to press these ones to the dark side which in this case means towards these little rectangles here so I'm just going to press that out that and now we get to put our C7 pieces on the top and bottom here so we're going to sew these right on again another great opportunity to chain piece and save yourself some time time and energy and again I'm going to press these towards the darker blue fabric okay now we've got our cute little square here and we are going to add a few more strips to it we're going to use D2 and D3 we're going to be putting D2 on the top and bottom here and D3 on each side so just the same thing here sew these right on do some more chain piecing if you're making all your blocks at once now this is one of those patterns where it can be really helpful to make sure you have a really good seam allowance we're sewing a lot of seams we're sewing a lot of pieces together and if your seam ounce is a little bit too big you'll quickly find that your block is getting smaller and smaller and your pieces aren't quite lining up now that's okay if you wind up having a hard time with that and you find that you aren't able to achieve a really good scant seam allowance with this pattern you can just trim the blocks down at the end if you need to you just need to make sure you trim them consistently now for this one I actually instead of pressing to the dark side I think I'm going to go ahead and keep pressing these pieces is out so I am going to go ahead and press towards the background fabric here if you would prefer to press to the dark side if you're concerned about shadowing you can absolutely do that I just kind of like how nice and flat of a block that I get if I keep pressing out away from the center but you can definitely do either way you feel like it for this one all right I'm going to do these last two pieces on the top and bottom okay I'm going to press these the same way okay so we've got the beginning of our block one here I'm going to set this aside and we're going to come back to it in just a minute now if you're making the yarn Gage version instead of the Fat Quarter version there are instructions in the pattern to strip piece these next steps if you're making the Fat Quarter version or the baby version you'll be assembling them one by one and I'm going to show you that just so you can see how that works so now we're going to make the C4 and C5 strips that come onto this piece next and we're going to do that using the C4 and C5 blue rectangles here and then some A1 and B1 squares so I'm just going to going to lay these out how we're going to sew them on I always like to lay things out when possible so I don't flip things around sew stuff together backwards because who likes to spend their time seam ripping not me so I'm going to sew these pieces together we're going to make two of each of these for each block and then they're going to be added on just like those white pieces were okay this pattern is just like the perfect pattern to sit down and chain piece away for an afternoon that one done I'll add this guy here okay now I've got one more piece oops there we go and you're going to press these in either direction you want I like to press these to the side but they can go whichever way I typically press away from the blue pieces but that's just personal preference it really doesn't matter okay so once we've sewn these together I like to reuse the labels of the C4 pieces or just the C pieces in general we have several strips like this in this pattern that are assembled and I find it easier to keep track of everything if we just keep that c label so we're going to call these C4 pieces because they use the C4 piece as we're making them and now we get to sew these onto this main block so we're going to put one on the top and one on the bottom the orientation here will matter as we start sewing these together it matters less for this block but for Block two it matters more because there's a center block that you want in the right orientation so I'm going to sew these together and then we're going to put these C5 pieces on each side and these ones we want to make sure that we're sewing together so they form this fun little red triangle in each corner so you want to make sure you don't accidentally put that one going that way a mistake I have made okay now we're going to sew this other one on going in the opposite direction this is is always a good time to stop and look and make sure that your red pieces or whatever color you've chosen is at a diagonal here we don't want them going the wrong way okay I'm going to go ahead and press these really quick and then we're going to sew those last two pieces on again I am just pressing out away from the center here and you might notice that despite normally being a pressing purist I am doing a little bit of ironing rather than pressing which of course means moving the iron I'm being very careful while I'm doing that because I don't don't want to warp any of these pieces just kind of sliding the iron very gently and making sure to press more than iron okay so now we're going to put these side pieces on here and then we'll be ready to go now depending on how you've pressed these if you pressed them similar to the way I did you might have a nice little nesting seam here to make sure these little squares line up if you don't have a nesting seam that's fine you can just put a pin in it to make sure that those come out to a really nice little corner once I get to this point too I like to add a PIN to the end of each strip because we're sewing a little bit further now with those earlier strips they were so short it didn't really matter but we've done enough seams now that we we can kind of start to pin and make sure everything is lining up correctly okay and again a good time to stop pause and look and make sure that you're sewing this strip on in the correct orientation so we want these red squares to all be together I'm going to stick a pin right here to help make sure these squares line up nicely and then I'll put another one in at the end okay one more press here this one can start to get just a little bit bulky so if you'd prefer to press this one open you absolutely can sometimes when we get all of those seams there it can get a little bit thick I'm just going to press this to the side to make it a little easier there we go okay and this is our finished block one so we're one block down now we just have one more to make and then we will have both of the blocks we need for this quilt I'm going to set this aside for now and get started on block two for Block two we're going to start by assembling the inside Square so the first thing we're going to need is four little squares here we need one A1 two b1s and one C1 and we're going to lay them out just like this so the A1 and the C1 are diagonal across from each other and the two b1s are diagonal across from each other I'm going to just assemble this like a basic four patch I'm going to make two rows and then sew them together okay and I'm not going to stop and press these in between I am just going to Nest the seams together and then press when I'm done okay so now we're going to sew these two together and we're going to flip the seams so they nest we don't need to stop and press quite yet but we can kind of flip the seams so they nest I suggest laying them out and taking a look to make sure you're getting those in the right orientation we want those two squares that are the same again to be opposite of each other on the diagonal so now I'm going to get these seams lined up just right there we go and it's worth going a little slower on this one because it's such a small piece we want to make sure these squares line up really nicely okay now you can press this open if you want there's a little bit of seam bulk going on in the middle there I'm going to go ahead and press it to the side just to make things little easier right now but you can do whichever way you like people really have different preferences about if they prefer the stability of seams pressed to the side or the flatness of seams pressed open and for this quilt you can really do whatever you are most comfortable with so we've got our cute little Center Square here and next we're going to be sewing on our D4 and D5 background strips now this is where we want to start painting attention it doesn't matter quite yet but we do want to start paying attention to the orientation of this middle Square for this block we want the A1 piece to be in this upper left hand corner going forward just to make sure that everything is lining up correctly now if you do a couple that aren't correct it's not the end of the world no one will notice that you but it is good to stop and pay attention and make sure that you've got that lined up just right so we're going to put our background rectangles out like this I'm going to go ahead and put these ones on the side and then I'll do the top and bottom okay I'm going to press these really quick and then I will sew the other ones on okay now we're going to press this okay we've got our cute little Center Square here and now we're ready to move on to the next step so next we need to assemble some extra strips for this block just like we did with block one so we're going to get our C2 pieces and some B1 pieces and we're going to sew these together to make some strips and then we're also going to make these C3 pieces we're going to use C3 and A1 and B1 pieces and we're going to sew these together and these together to make our next strips okay so this is where we want to pay close attention to this A1 Square we want our red square here to be on that side so we have B1 squares here and here and here and here we want to keep our B1 squares opposite of the ones that are in this tiny block here so we're going to sew these here and then these will go on just like this and this I like to lay out all of my pieces like this if I'm sewing them all together I like to just stack them all up right here so I can grab them in the right orientation okay now we're going to press these pieces and then we're all done with this part so close to finishing this block give this one a really nice press here okay we're on our very last step for this block now we're going to be sewing on our final pieces our D6 and D7 background pieces now it doesn't really matter what orientation your blocking is in for this part but I'm going to make sure I've got it in that same orientation I've been working with just to make sure I know what I'm doing and I'm going to put lay out my pieces here these all in the right spot okay now I'm going to sew these all on now at this stage you can take a look at your blocks and if you feel like you need to trim them up a little bit to straighten them out or get off any you know extra edges you can definitely do that you just want to make sure you don't trim off so much much that your blocks won't fit together anymore um or if you feel like they all need a lot of trimming just trim them all down to a consistent size with these as long as you're trimming the final blocks to a consistent size you can definitely do all the trimming you need to do so the final step before we start sewing these together is to prepare the edge pieces along here we have these side pieces and these top and bottom pieces that are blocks that have been cut on the diagonal so for Block one this block is on the top and the bottom of the quilt so we are going to be cutting this block right along here with the dark red pieces on the top and bottom not being cut so we're cutting right across the middle here and to do this we just want to line up our ruler with the corners now you might find depending on how your block has gone that this might not perfectly intersect the corners all throughout the block that's okay what I like to do is just kind of wiggle my ruler around until I feel like I have the most accurate option it's okay if some of the pieces are a little bit clipped off that's normal that happens if things are not quite perfect along here they will just get lost in the seam bances anyways so it's not a big deal if your Corners are not perfect along this cut so I've cut this now you can see here that this is a pretty good cut but again some of these are not quite perfect and that's okay we are not going to worry about that for this quilt so I'm going to set these aside you're going to refer to your pattern for how many of each block to cut there's a chart and a table that will tell you how many you need for each block depending on the size you're making now for Block two this block is on the edges of the quilt so we're going to be cutting this one vertically just like this we want to make sure our cut is going through not the B1 squares but the A1 and C1 squares so we're going to do the exact same thing we're just going to line our ruler up and we're going to find the best spot that gets through the corners as best we can we are not going to worry about it if it's not perfect there we go so we have our horizontal cut and we have our vertical cut once you've finished creating all of your blocks and cut your vertical and horizontal pieces you're going to lay them out as shown back here and as shown in your pattern there's a really nice diagram that will show you how to lay out your block one and two and Alternate them and to end with the appropriate Edge pieces so you can see on the quote that when we're laying out our pieces to sew together we're going to sew them in these diagonal rows and our first row is really just going to be two of those cut blocks that we just made so this will be our first row this will be our second row and so on each row will typically end or begin sometimes both with a cut piece on that edge and so we will continue throughout the entire quilt until we get down to this corner again with our two cut pieces so this this was a really fun color palette to work with I also love using ombre fabrics for this quilt you can see in this version we have kind of an ombre teal green color palette going on and I just love that gradient effect that you can see within each block I love ombre and gradient quilts so much that I wrote a book about them that's coming out in March and it talks all about how to use ombre and gradient color palettes in your quilts um and it's just it's such a great way to come up with a good fabric selection if you aren't quite sure which direction to go thank you so much for joining me today for my crust pattern tutorial I am Amber from Alderwood Studio here with Missouri Star Quilt Company

More Fabric by Yard tutorials

See all