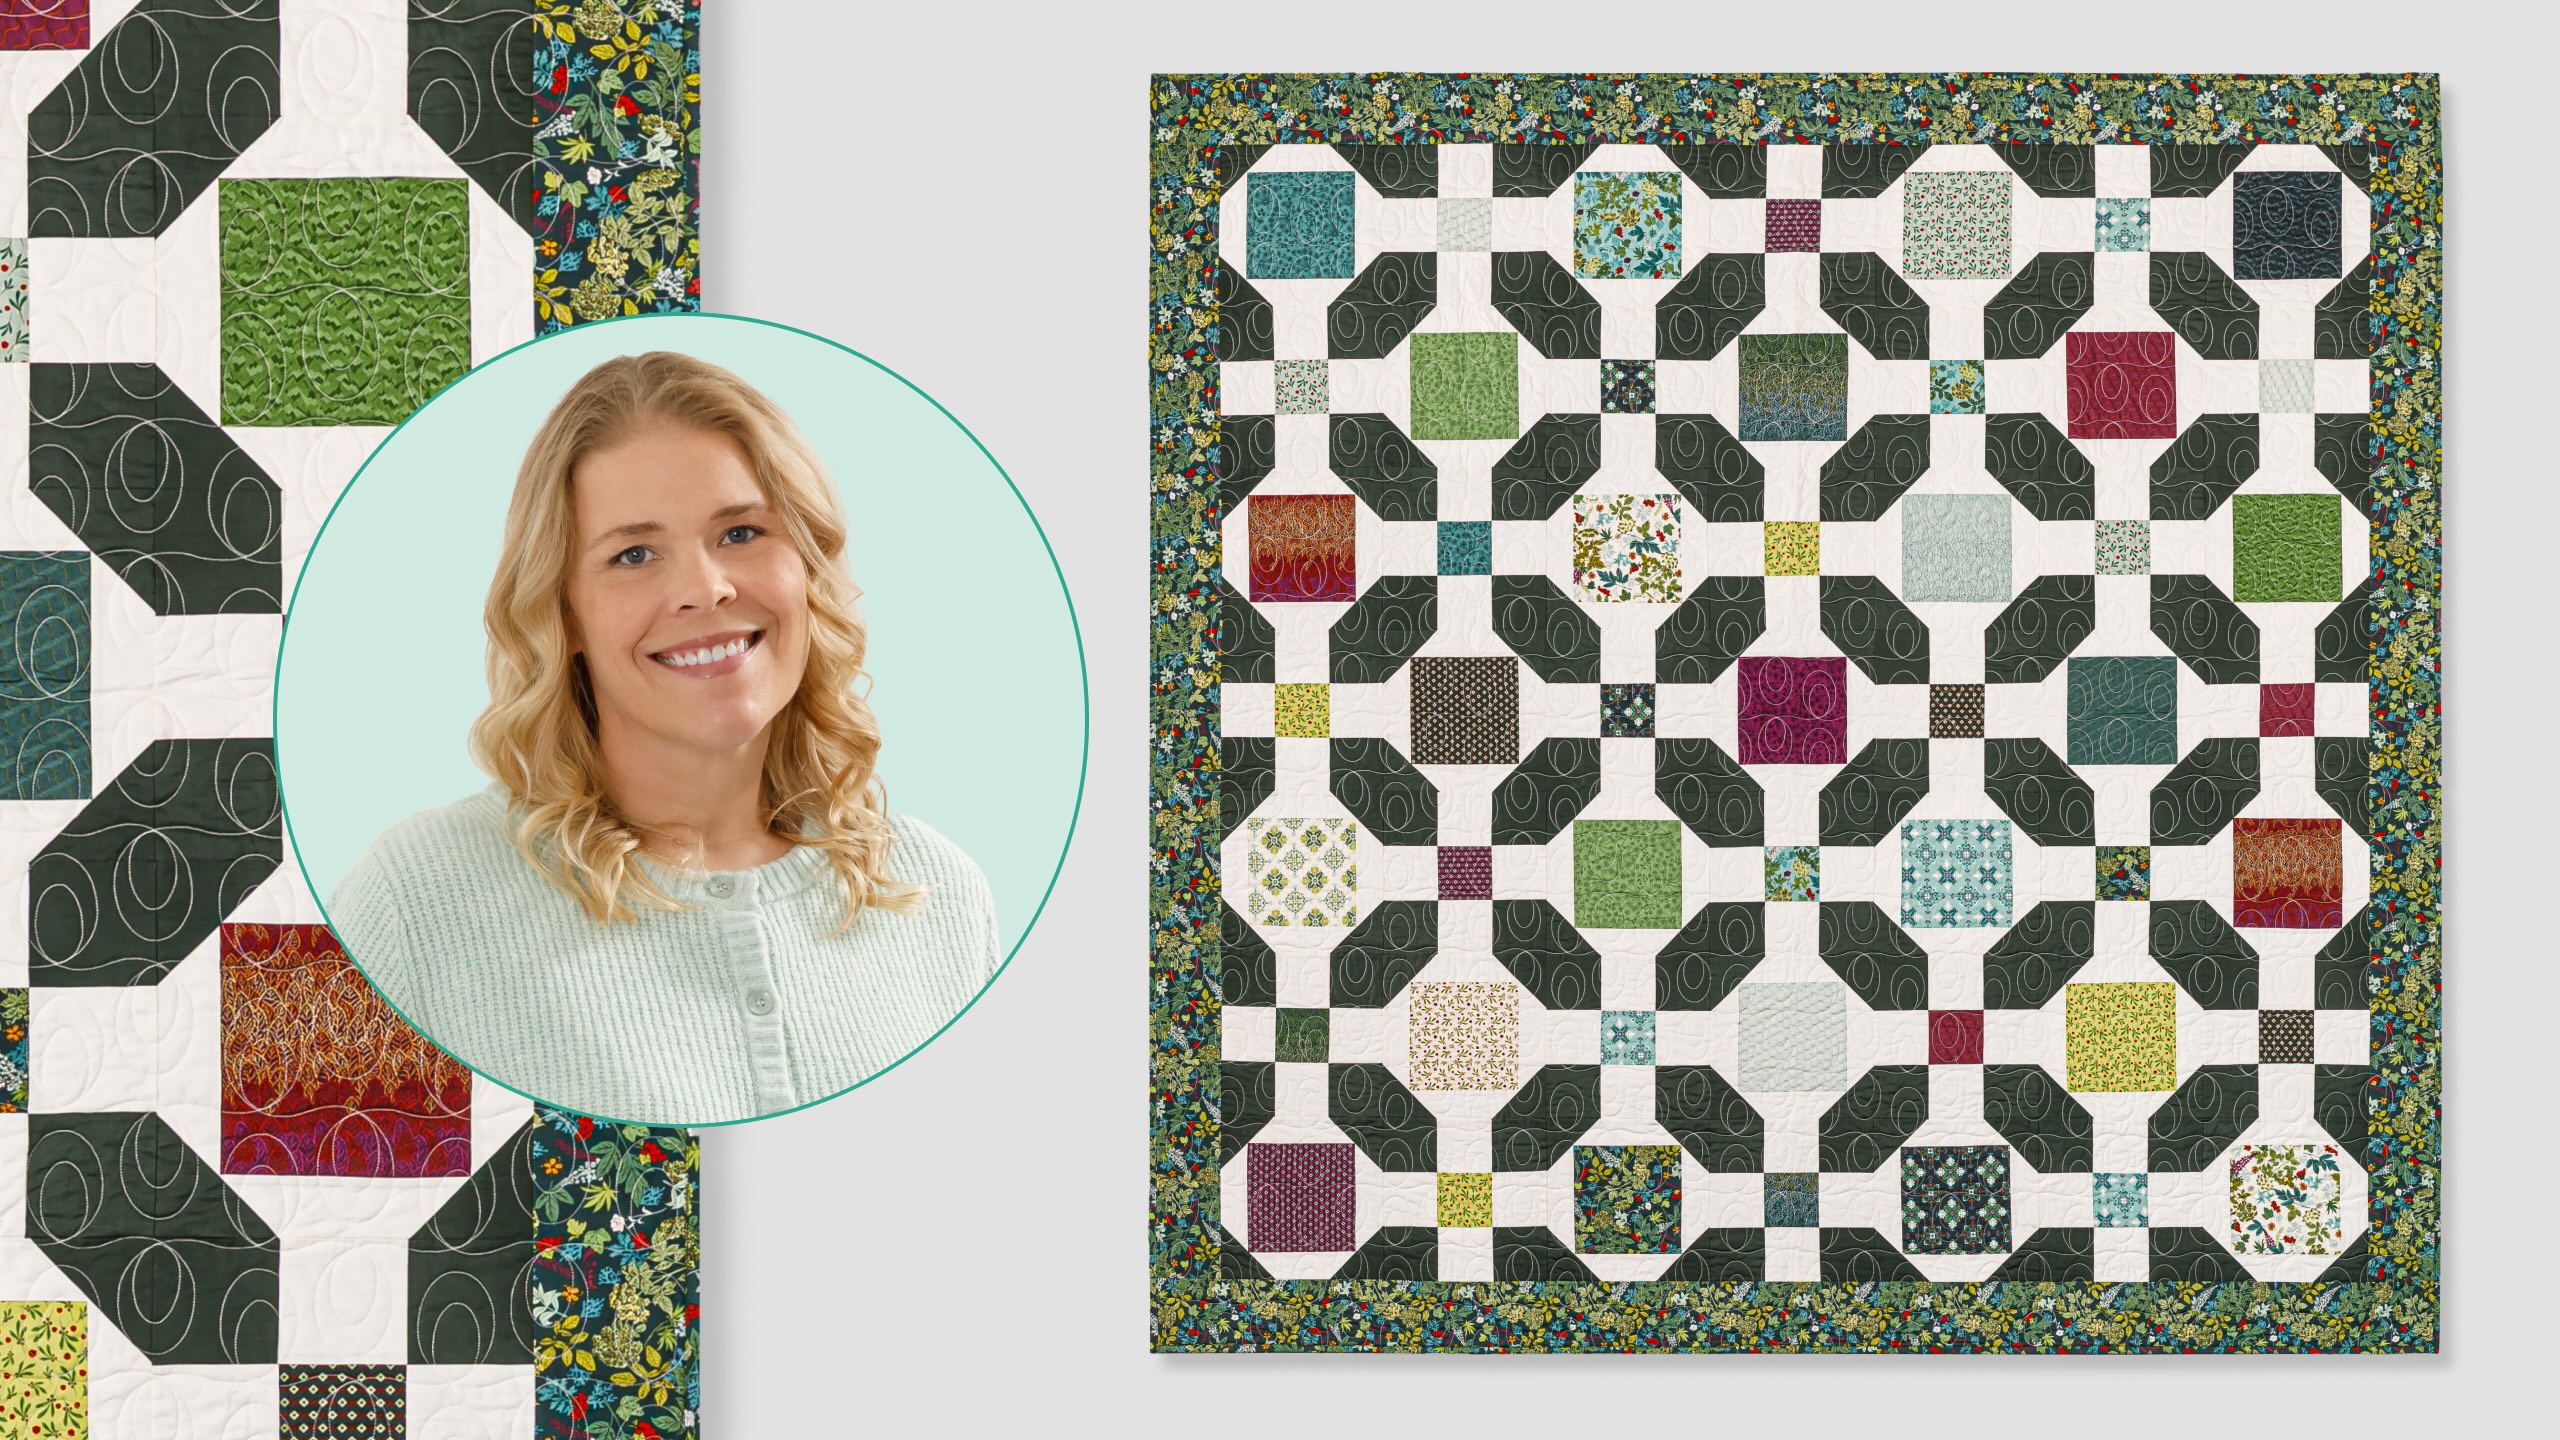
Take a gander at Crossroads Remix with Natalie as she reimagines a beginner-friendly favorite using layer cakes, stitched up in a warm and inviting color story that's basically fall in fabric form. She's working with the gorgeous Nordic Summer collection by G.E. Designs for Andover Fabrics, paired with solids for that perfect autumn balance. The result? A bed-size quilt that's cozy, classic, and ready to make your house feel like fall. Grab your layer cakes and let's get stitching!
Natalie is the host of Quilting 101, Embroidery 101 and the Creative Strategist and Editor of Block Magazine at Missouri Star Quilt Company. She was taught how to sew by her mom, of course, and began quilting when she grew up.
Take a gander at Crossroads Remix with Natalie as she reimagines a beginner-friendly favorite using layer cakes, stitched up in a warm and inviting color story that's basically fall in fabric form. She's working with the gorgeous Nordic Summer collection by G.E. Designs for An...
How long is the tutorial video?
The tutorial video is 00:13:14.
Are supplies listed for this tutorial?
Yes. The tutorial page includes the supplies and materials connected to this project.
Video Transcript
Hi everybody. I'm Natalie with Missouri Star Quilt Company and I'm joined today by Jenna and we have a fun project for you. The quilt behind us is called Crossroads Remix. It comes together with two really simple blocks and I think you're going to love it. [music] I'm super excited to be here. I absolutely love this quilt. But mom, can you tell us about what we're making today? All right, so this quilt is really fun. It comes together with two blocks. So, we have this really simple nine patch here made with some accent fabric and our background. And then it alternates with this square and a square block that's basically got um a border and then we snowball these corners and that creates this really cool little like oblong diamond shape that kind of lattises throughout the whole quilt. It's really fun. It's super simple, great for beginners. Um but let me tell you what you need to make it. So, to make this quilt, you're going to need a package of 10-in pre-cut print squares. And we've used Nordic Summer by Goodun Era for GE Designs for Andover Fabrics. You're going to need some accent fabric about 3 and 1/8 yards. Some background, which is our white, and that is 3 and 5/8 yard. You'll need an outer border, and our border is 5 in, and you'll need about a yard and a half for that. And then your backing would be eight and a half yards if you have a vertical seam. Or if you're using a 108, you'll need two and 78 yards. And that's it. So I think we can get started. All right. Are you ready for this? I'm ready. Okay. So the first thing you're going to do is cut your background fabric. You're going to need some 4 and 1/2 in squares. You'll need some 2 and 1/2 by 8 and 1/2 in strips. and some 2 and 1/2 by 12 and 1/2 in strips. So, those are all cut. From your accent fabric, it's super easy. All 4 and 1/2 in squares. You just need a bunch of those. And then from your print fabric, you're going to select uh whichever prints you want to keep big for your A blocks. Those will be cut into 8 and 1/2 in squares. And then all the rest of it is 4 and 1/2 in squares. So, super easy cuts. And we are ready to assemble. Are you going to sew for me today? I can. Would you please? That would be awesome. All right, I'll let you take your throne. [laughter] Okay, so we're starting with our 8 and 12 inch square. And what we're going to do first is stitch two 8 and 1/2 by 2 and 1/2 in white strips on either side to start our borders. Okay. So, do a nice quarter inch seam on both of those. I'll just have I'll just give you the first one first [laughter] and then when you flip it around you can do the other side. Sounds good. Nice and easy a little bit. [groaning] All righty. Now you can use your scissor cut button over there. Actually, you have to have your presser foot. Sorry. There you go. Oh, very nice. Just flip that right around and line up your next piece. Sounds good. Awesome. sewing machine is so nice. Yes. Excellent. All right. Well, I will press that. So, we're going to set our seams and then we're just going to roll that fabric back. How does it look? It looks great. You did a good job. A straight line. Usually it's not too hard, but sometimes it is. You know, you're doing pretty good. All right. So, now we're going to add our sides or our top and bottoms, I guess, if that's how you want to say it. Again, using a nice quarter inch seam. Go ahead and do that one first and then we'll start on the next. And use that seam tape if you need to. That helps you keep your keep your lines straight. Nice and easy. All right, good job. I'm going to set my seams and roll them back. Oh, did I set that one? I don't remember. I think we'll do it again. It's okay. I don't think you can overdo it on pressing. Unless you like left it there and it burned. That would be terrible. Yeah. [laughter] Might give it a vintage look. Yeah. Okay. All right. So, now we're going to go ahead and add our corners. And these are simple snowballs. it was the easiest way to do it, which means that you have the opportunity if you want to to go ahead and sew like a half inch away and save that little half square triangle. But you don't have to do that if you don't want to. It's, you know, it's whatever you want to do with your project. So, we're going to go ahead and draw a line because it's kind of a big space, but it works out really nicely because it lines up then with the um the secondary block. The measurements line right up with those corners, which I think is so fun. I love it when they like connect and create a cool pattern. I think that's fun. Okay, you can barely see that pencil line. This might be a good place where if you have like a white pencil or a chalk, you could um you could do that. So, I'm going to let you go ahead and do this one and I will continue drawing lines. Is that cool? Yes. So, you're going to be sewing right on top of that line. Okay. From corner to corner. So, just line that right up with your needle. Go ahead and put the fabric underneath the needle. I find that if you actually scoot the fabric under the needle plate, unless you have a really like there are a lot of really nice machines that have like a single hole in the plate so that your fabric won't get sucked in, but a lot of us don't have that. And one way to prevent the fabric from getting sucked in underneath that plate is to make sure that your fabric is behind the needle so that when the needle comes down, it goes into the fabric instead of in front of it. So that helps a lot, you know, if you have that issue ever. So, mom and I were sewing last night and that's the issue I was [laughter] having. So, it happens to everybody. Trust me, we all have that. You get your fabric gets sucked in or you get like a little bird's nest of fabric or thread on the back. There's all these little things that if you're a sewer or a quilter, you have experienced that before. So, it's good to know how to prevent it. All right, I've got your next one ready. So, you'll just continue going around corner to corner. And these are going to go in um I guess in like a clockwise spin. So, then you're always making that angle that way. Cool. [snorts] There's your next one. That one got off. It's still really What do you mean it got off? I guess just went to the corner a little to the side. Oh, that's no big deal. So, if you wanted to, you could redo it, but you're within a quarter of an inch, so I'm not even going to worry about it. Okay. But in the in um in future, like as you're going along, if you actually stitch on the um the right side of the drawn line or the right side kind of of where you are, then you're going to be that threads width away so that you have room for that corner to fold back. That's also another issue that quilters run into sometimes when you're sewing on the line. If you get too much on the line or a little bit to the left of the line, that's when your snowballed corner won't actually cover the space that your fabric was supposed to cover. So, sewing on the right side of that line will give you a little bit more room. I'm glad I have you to help me out. [laughter] It's funny how like little little tips and tricks come up, but I don't think of it because I've been doing it for so long. Yeah. Alrighty, you're really close now. One more. You have infinite wisdom. Oh, stop. You're funny. Just a lot of practice. There you go. This one. And then we're going to trim those right off. Perfect. There it is. All right. So, that block looks like this so far. Now, I'm going to trim off the extra fabric where if you had stitched a half an inch away, you'd have an extra little half square triangle. But we didn't need to do that today. We can even put these in our crumb bin or our crazy quilt piecing bin. Lots of fun things to do with leftover fabric. Love a crazy quilt. I do too, man. They're they're so fun. [snorts] All righty. That's something that I'm just working on all the time. Now, we're going to go ahead and set our seams and press these back. And this block is done, believe it or not. I love the colors on this quilt, too. It's so pretty. Yeah, the line is beautiful. It's called Nordic Summer, but I think it would also kind of double as a Christmas line. It's so pretty. It's very like jewel toned and rich and just beautiful. All right, there it is. So, this is our block A all finished up and ready to go. Block B is even easier, you guys. [laughter] Okay, so for block B, you're going to gather your four and 12 in squares, both um a print square, some accent, and some background. So, let's pick a cute Oh, that that's a cute one for the middle. I like it. Okay. So, we're just building a nine patch. So, we're going to start with our print in the middle. And then we're going to go with the white squares. I always have to double check because I'm not quite sure what I did. I can't remember. I got that brain that just is like a colander. No, it is not. [laughter] It's so many holes. Okay. So, we're going to line that up. We're going to add our accent pieces into the corner, all four and a half inch squares. And this is just a simple nine patch assembly. And of course, I've already got one made and it'll look just like so. Like that. So, you just put that nine patch together and then I can show you kind of how these fit in in the quilt. So, basically, it's an AB pattern, right? So, we have our A block, which is this one right here, our A. Oops. I'm showing you the back. There you go. The A block and then our B block. And they alternate. So we've got AB AB. And then the second row alternates in the opposite direction. Starts with a B and then AB. And so on and so forth. So we have 1 2 3 4 5 six seven blocks by 1 2 3 4 5 six seven down. So it's nice big square. The blocks when they come together, they create this really cool like chaining diamond. There's no sashing, no cornerstones, no inner border. It's super super quick to make and easy to put together. I just love it. I think it's really fun. So, let me show you the border and the background or the backing, I mean. All right, we've got a beautiful 5-in border here. And this is the backing that we chose. It's one of our beautiful 108s. And I think it coordinates so well. It almost looks like it belongs with the line, which is great. It's so good. So, we've got a machine quilting pattern. It's called Darling's All Over Texture. It's just really pretty. It's one of those ones that's super easy and comes together fast, but also looks pretty elegant. I really like it. So, this quilt ends up being 93 in square, and it was really fun to make. Didn't you like it? I love it. I think it's beautiful. All right. We should make one for ourselves for home, right? Definitely. Be so fun. Well, I hope you enjoyed this tutorial on the Crossroads Remix from Jenna and I and the Missouri Star Quilt Company. We'll see you next time.

 Natalie Doan
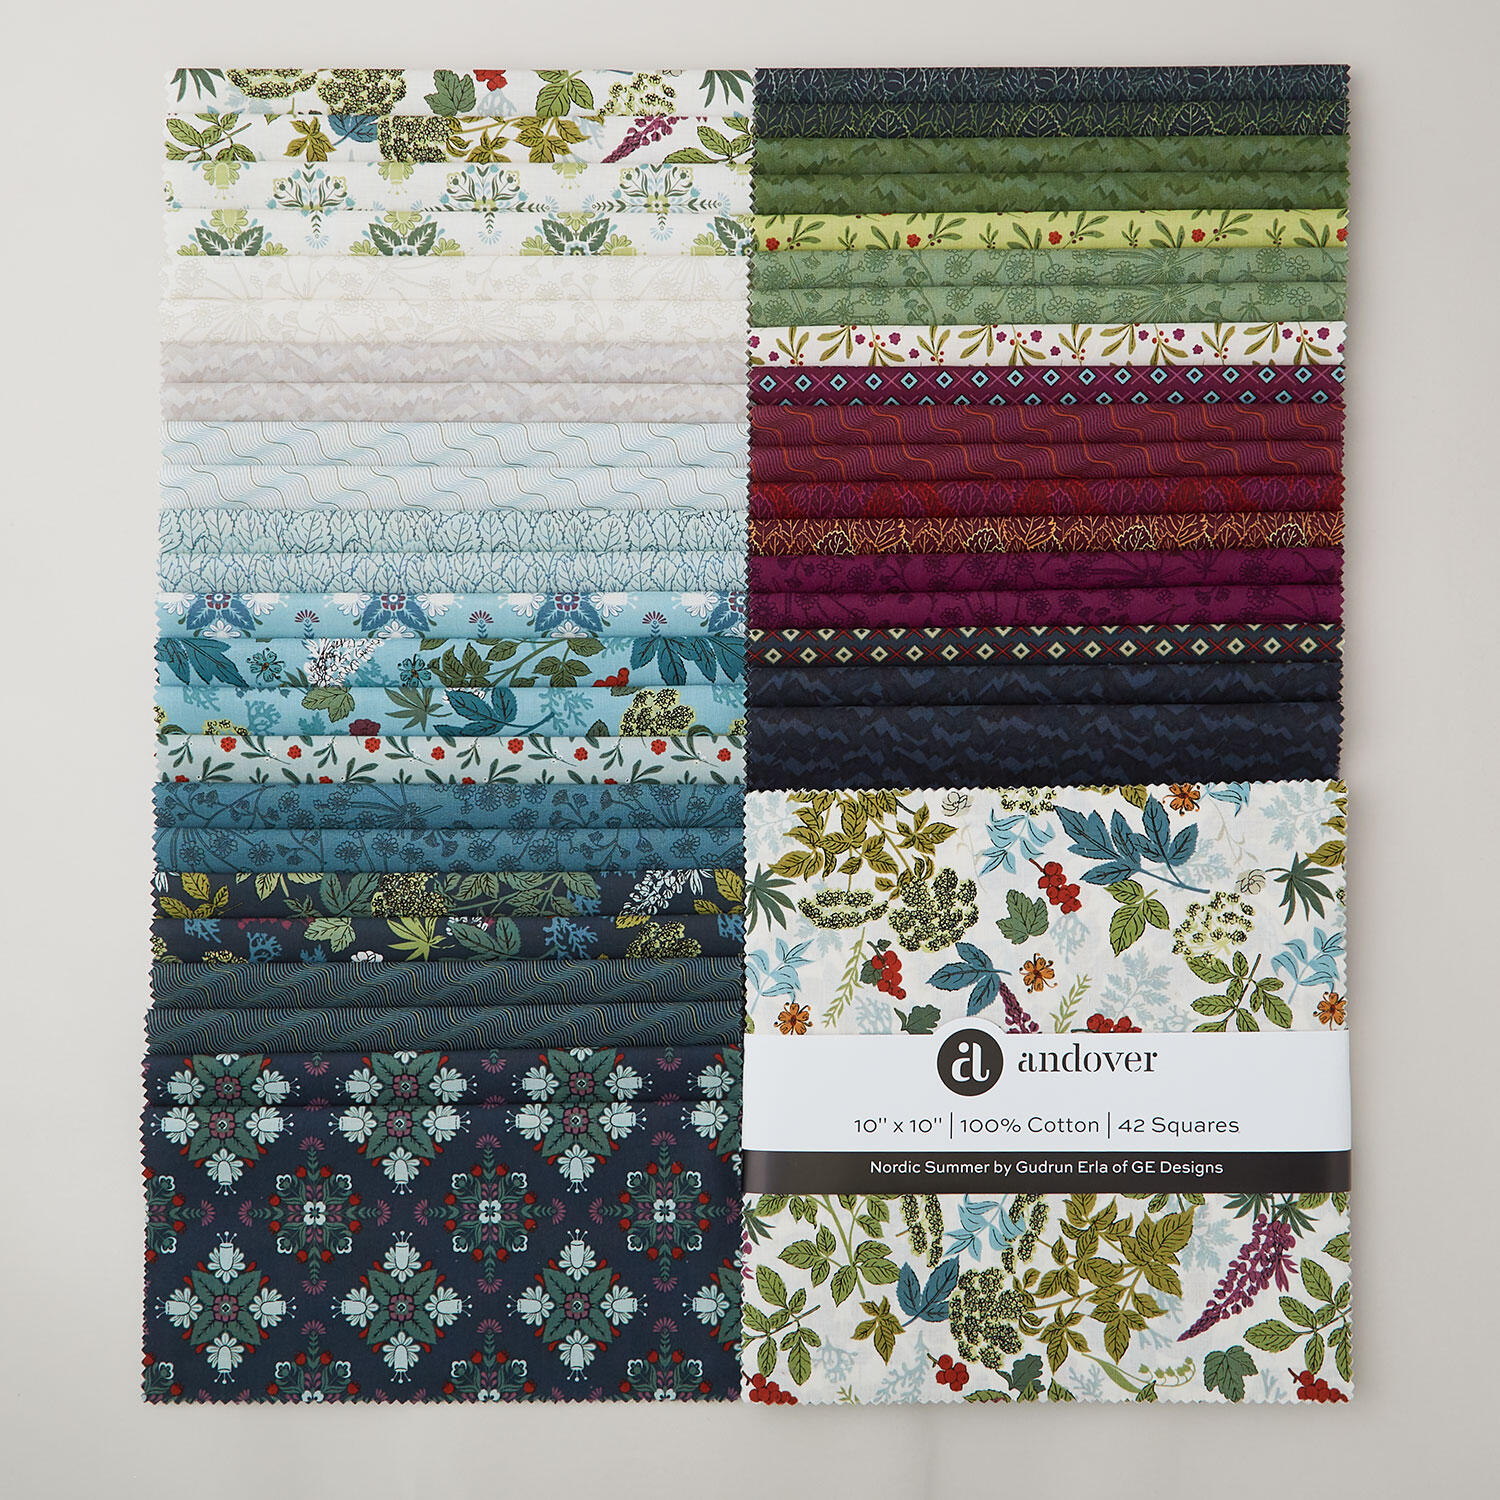 Nordic Summer Sundaes$49.95Shop →
 Kona Cotton - Snow Yardage$8.48Shop →
 Colorworks Premium Solids - Into The Woods Yardage$8.96Shop →
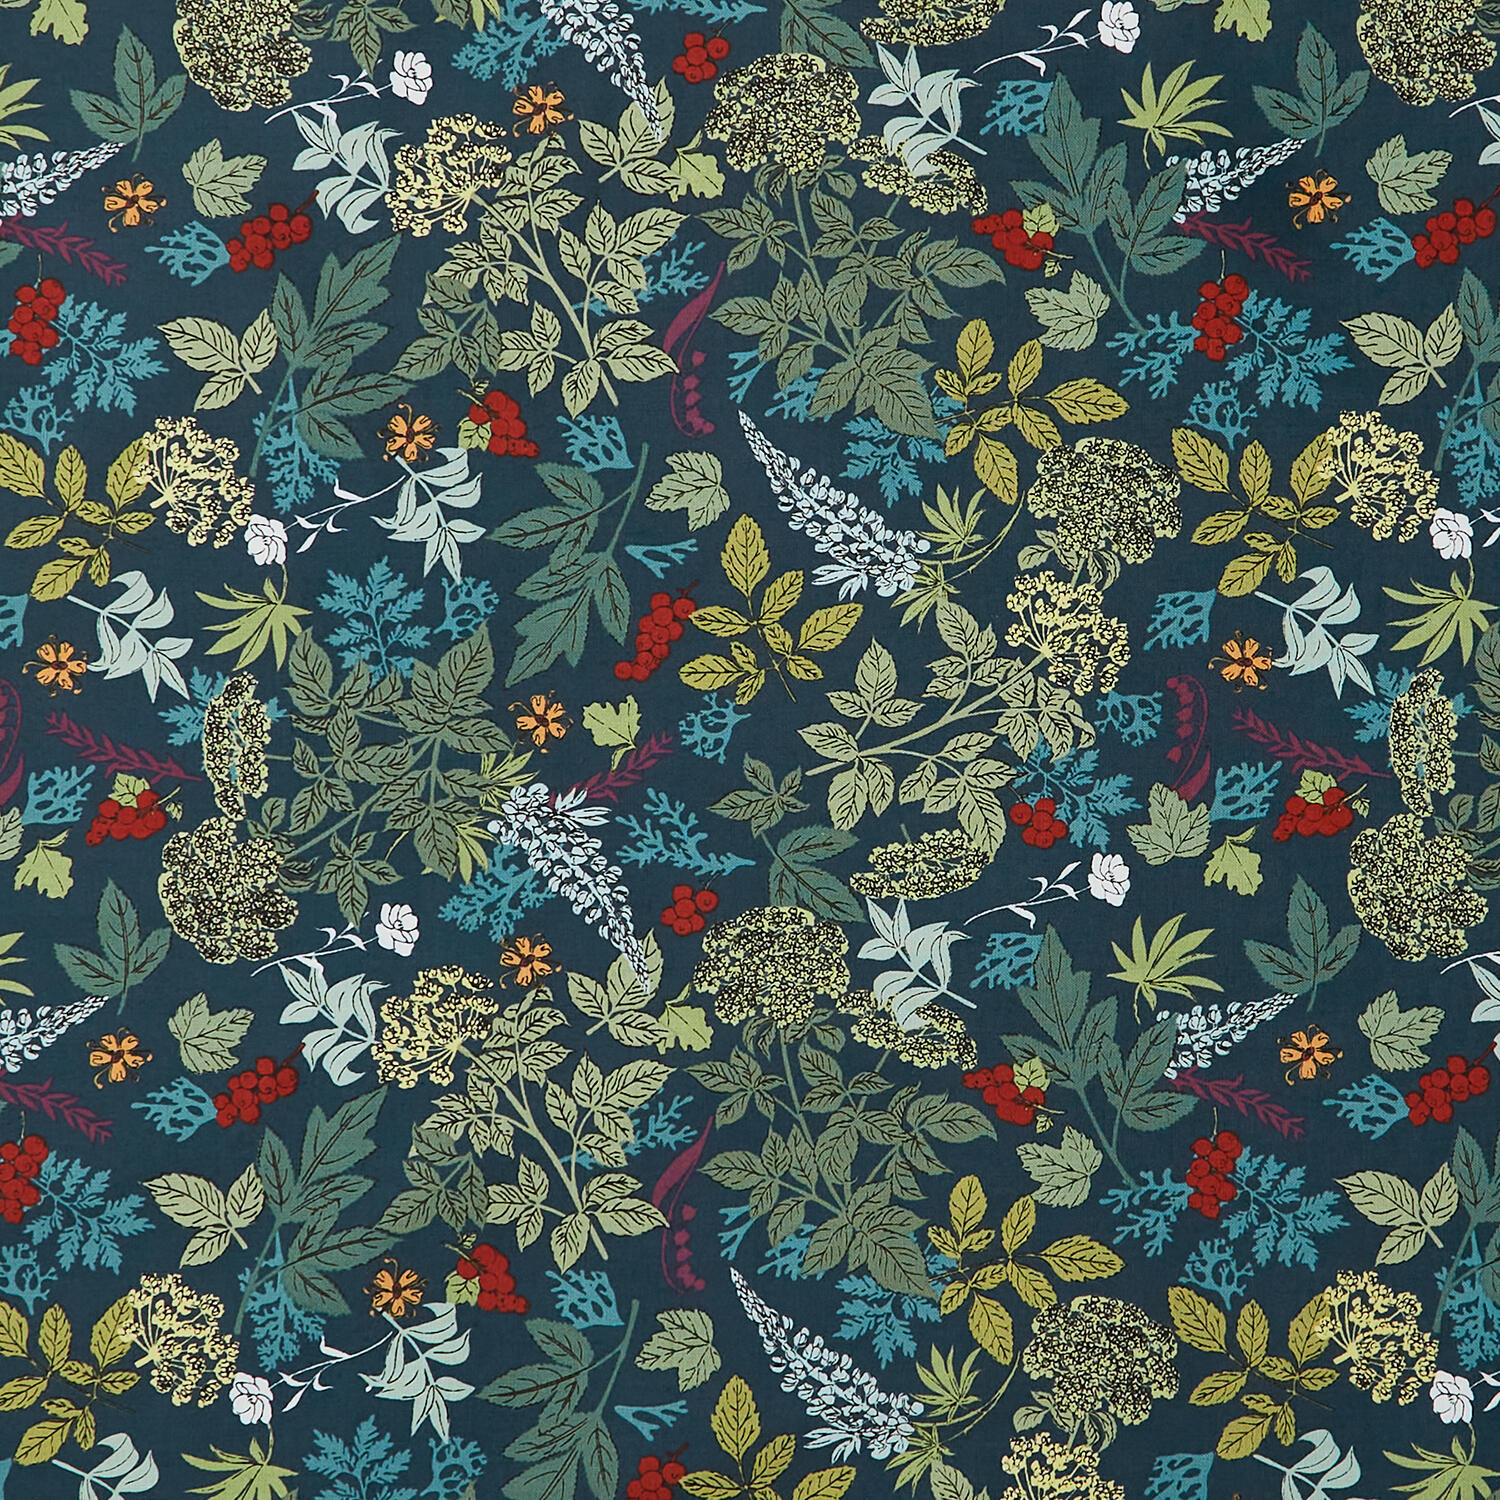 Nordic Summer - Wild Flora Deep Water Yardage$12.08Shop →
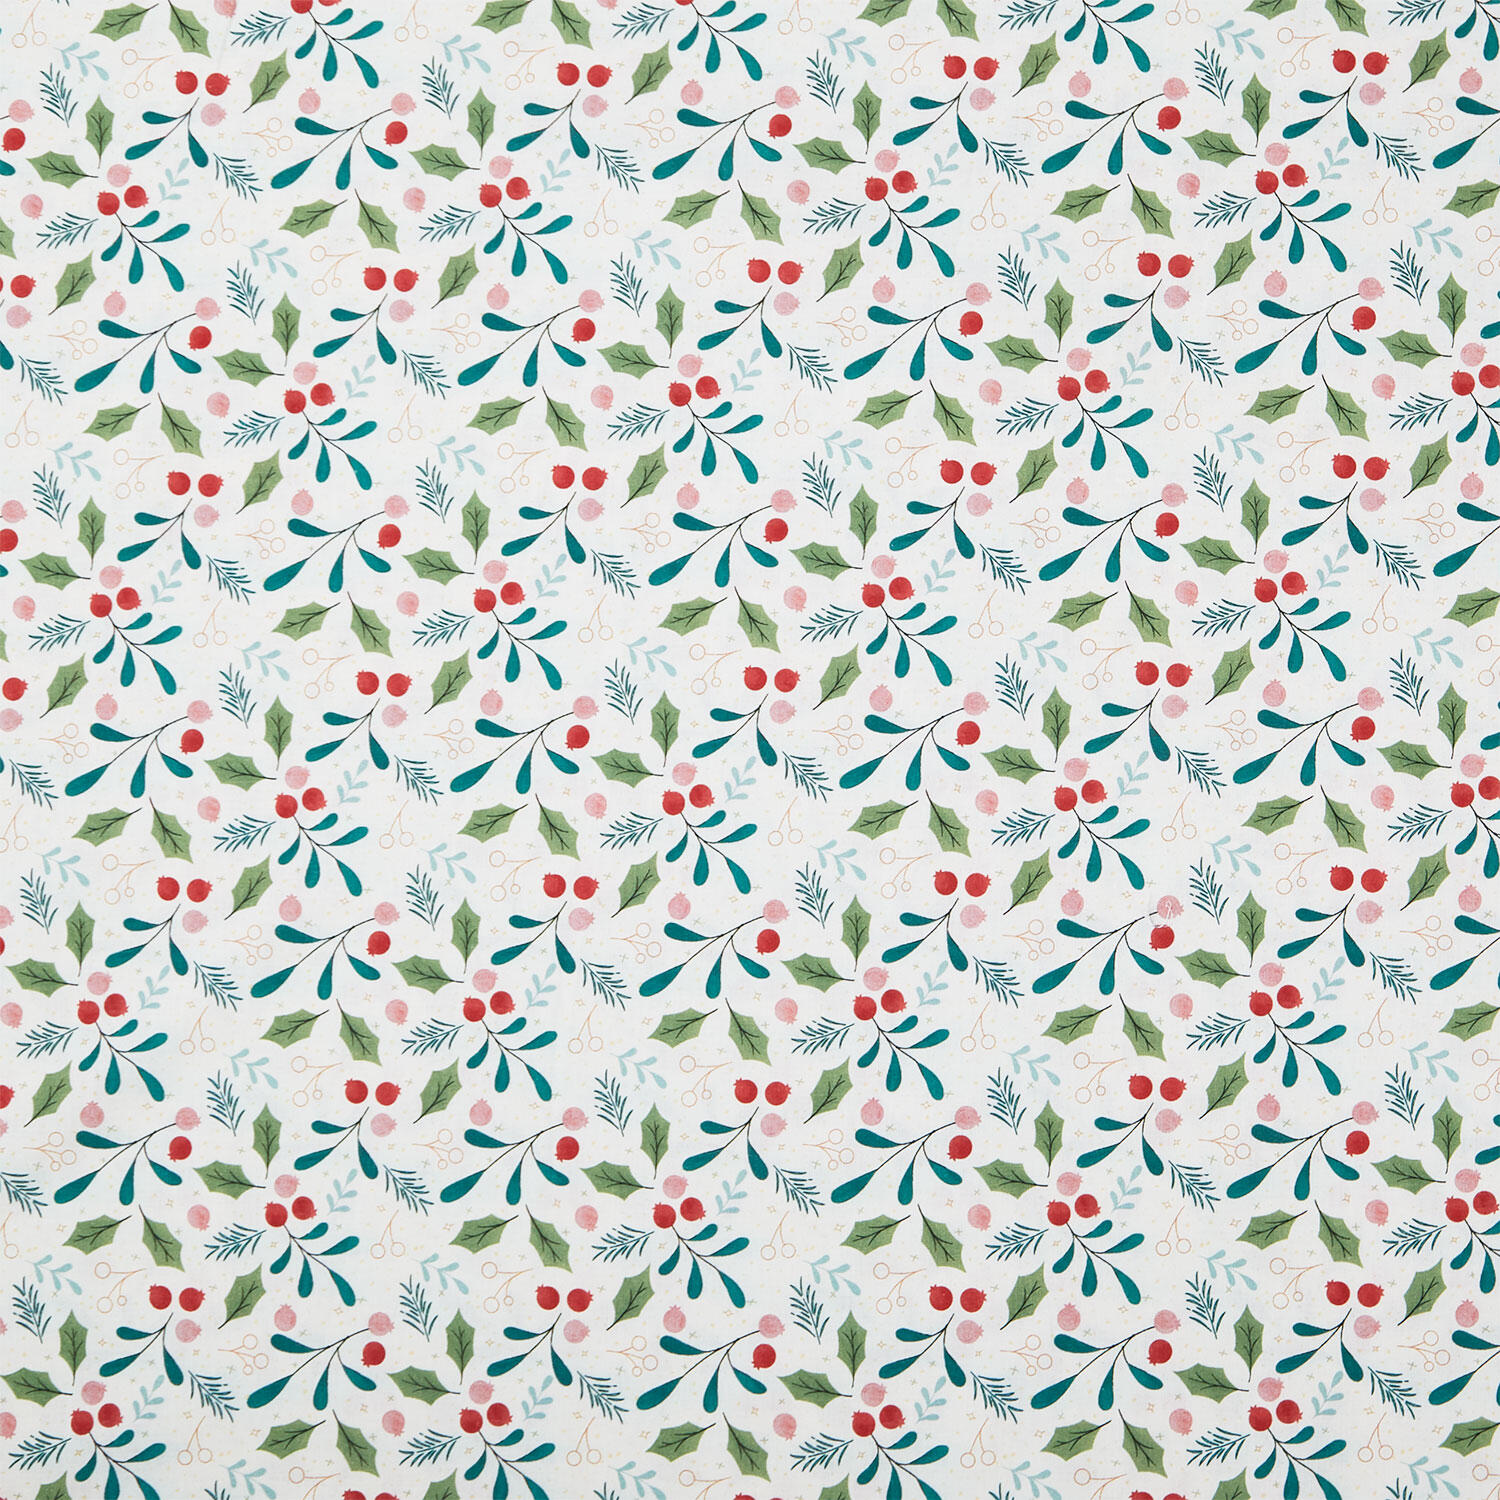 108" Premium Quilt Backs - Joy Multi 108" Wide Backing$20.76Shop →
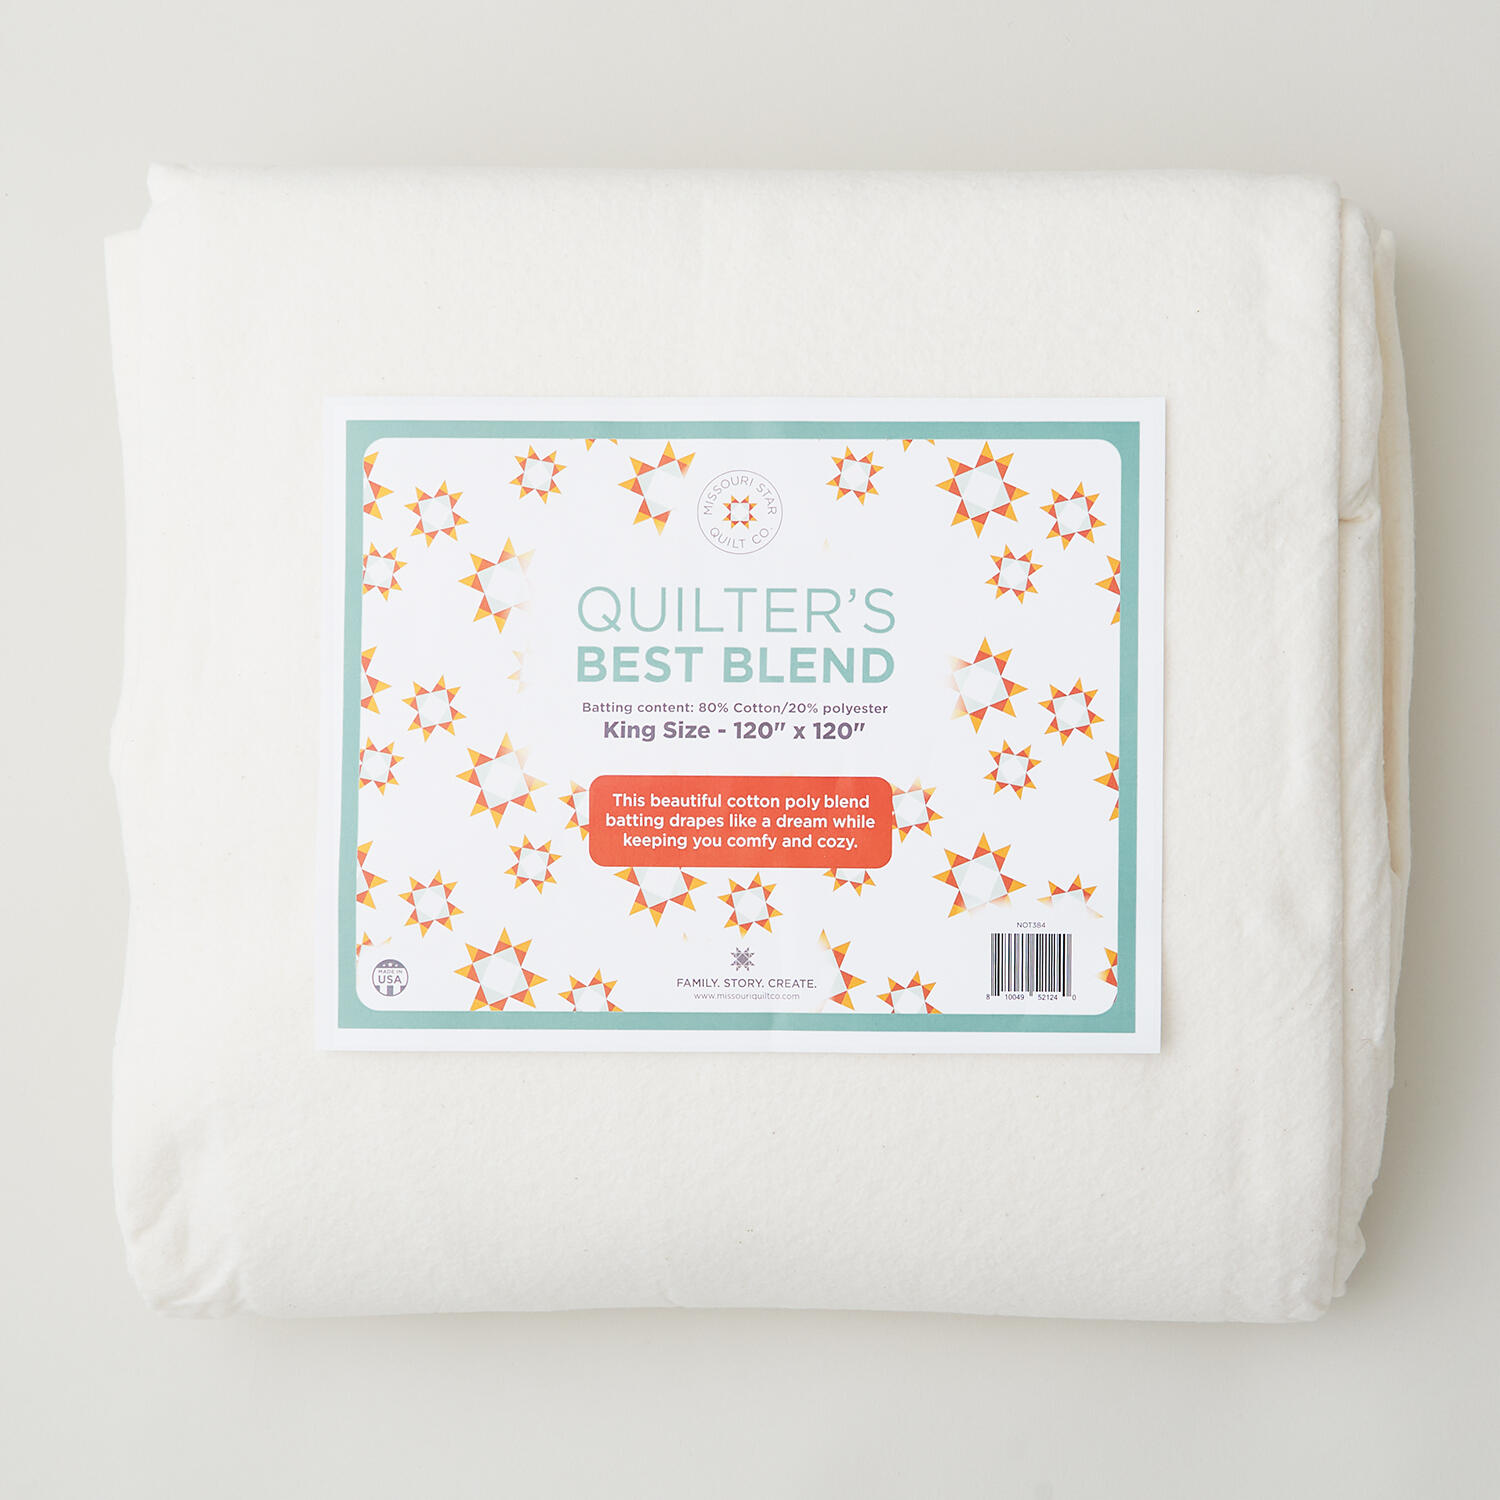 Missouri Star Quilter’s Best Blend King Batting$44.95Shop →
 Missouri Star 5" x 15" Ruler$19.95Shop →
 Missouri Star 45mm Rotary Cutter - Olga$19.95Shop →
 Bernette 77 Sewing and Quilting Machine$1699.00Shop →
 Missouri Star + Oliso TG1600 ProPlus Iron$209.95Shop →
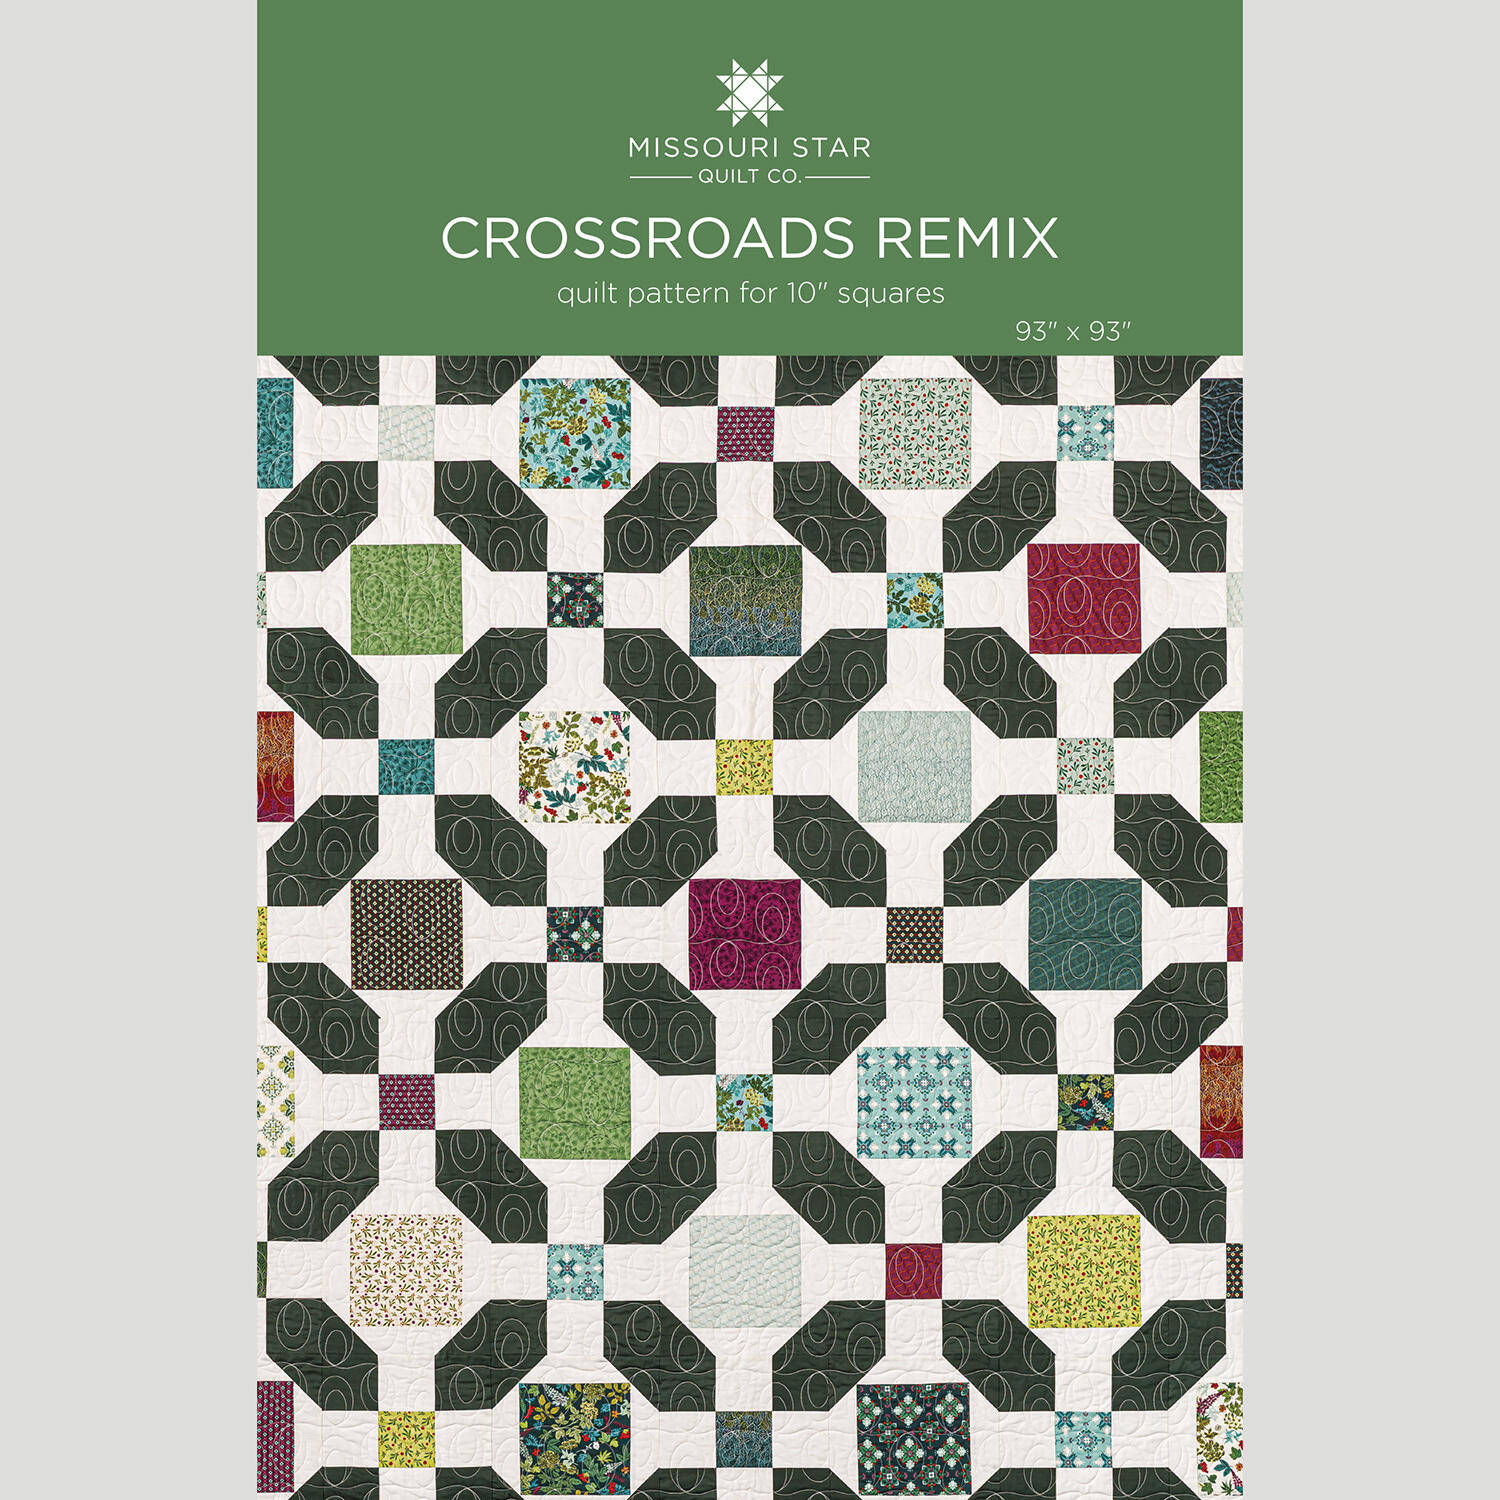 Crossroads Remix Quilt Pattern by Missouri Star$8.50Shop →
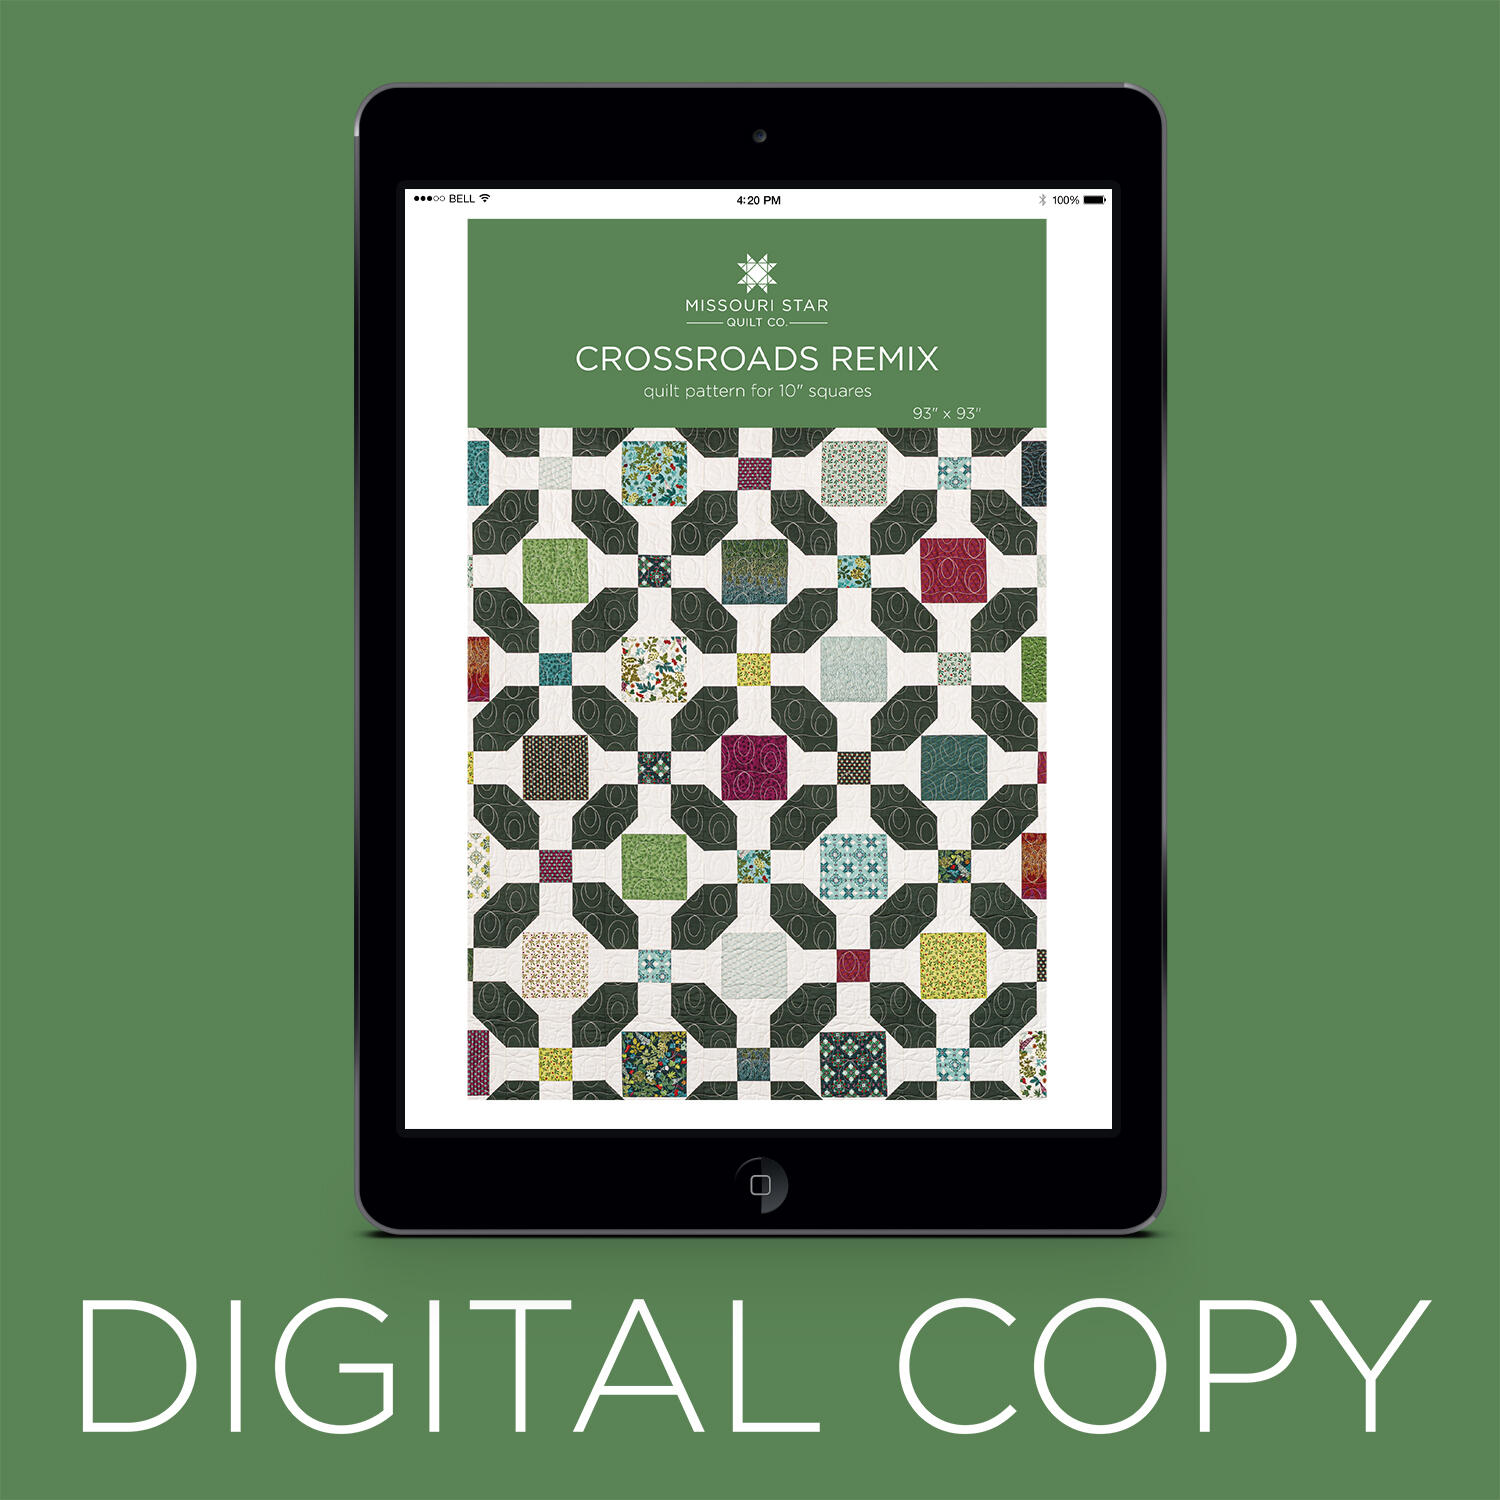 Digital Download - Crossroads Remix Quilt Pattern by Missouri Star$6.95Shop →



