Skip to content

Free quilting video tutorials from Missouri Star

Quilting Tutorials
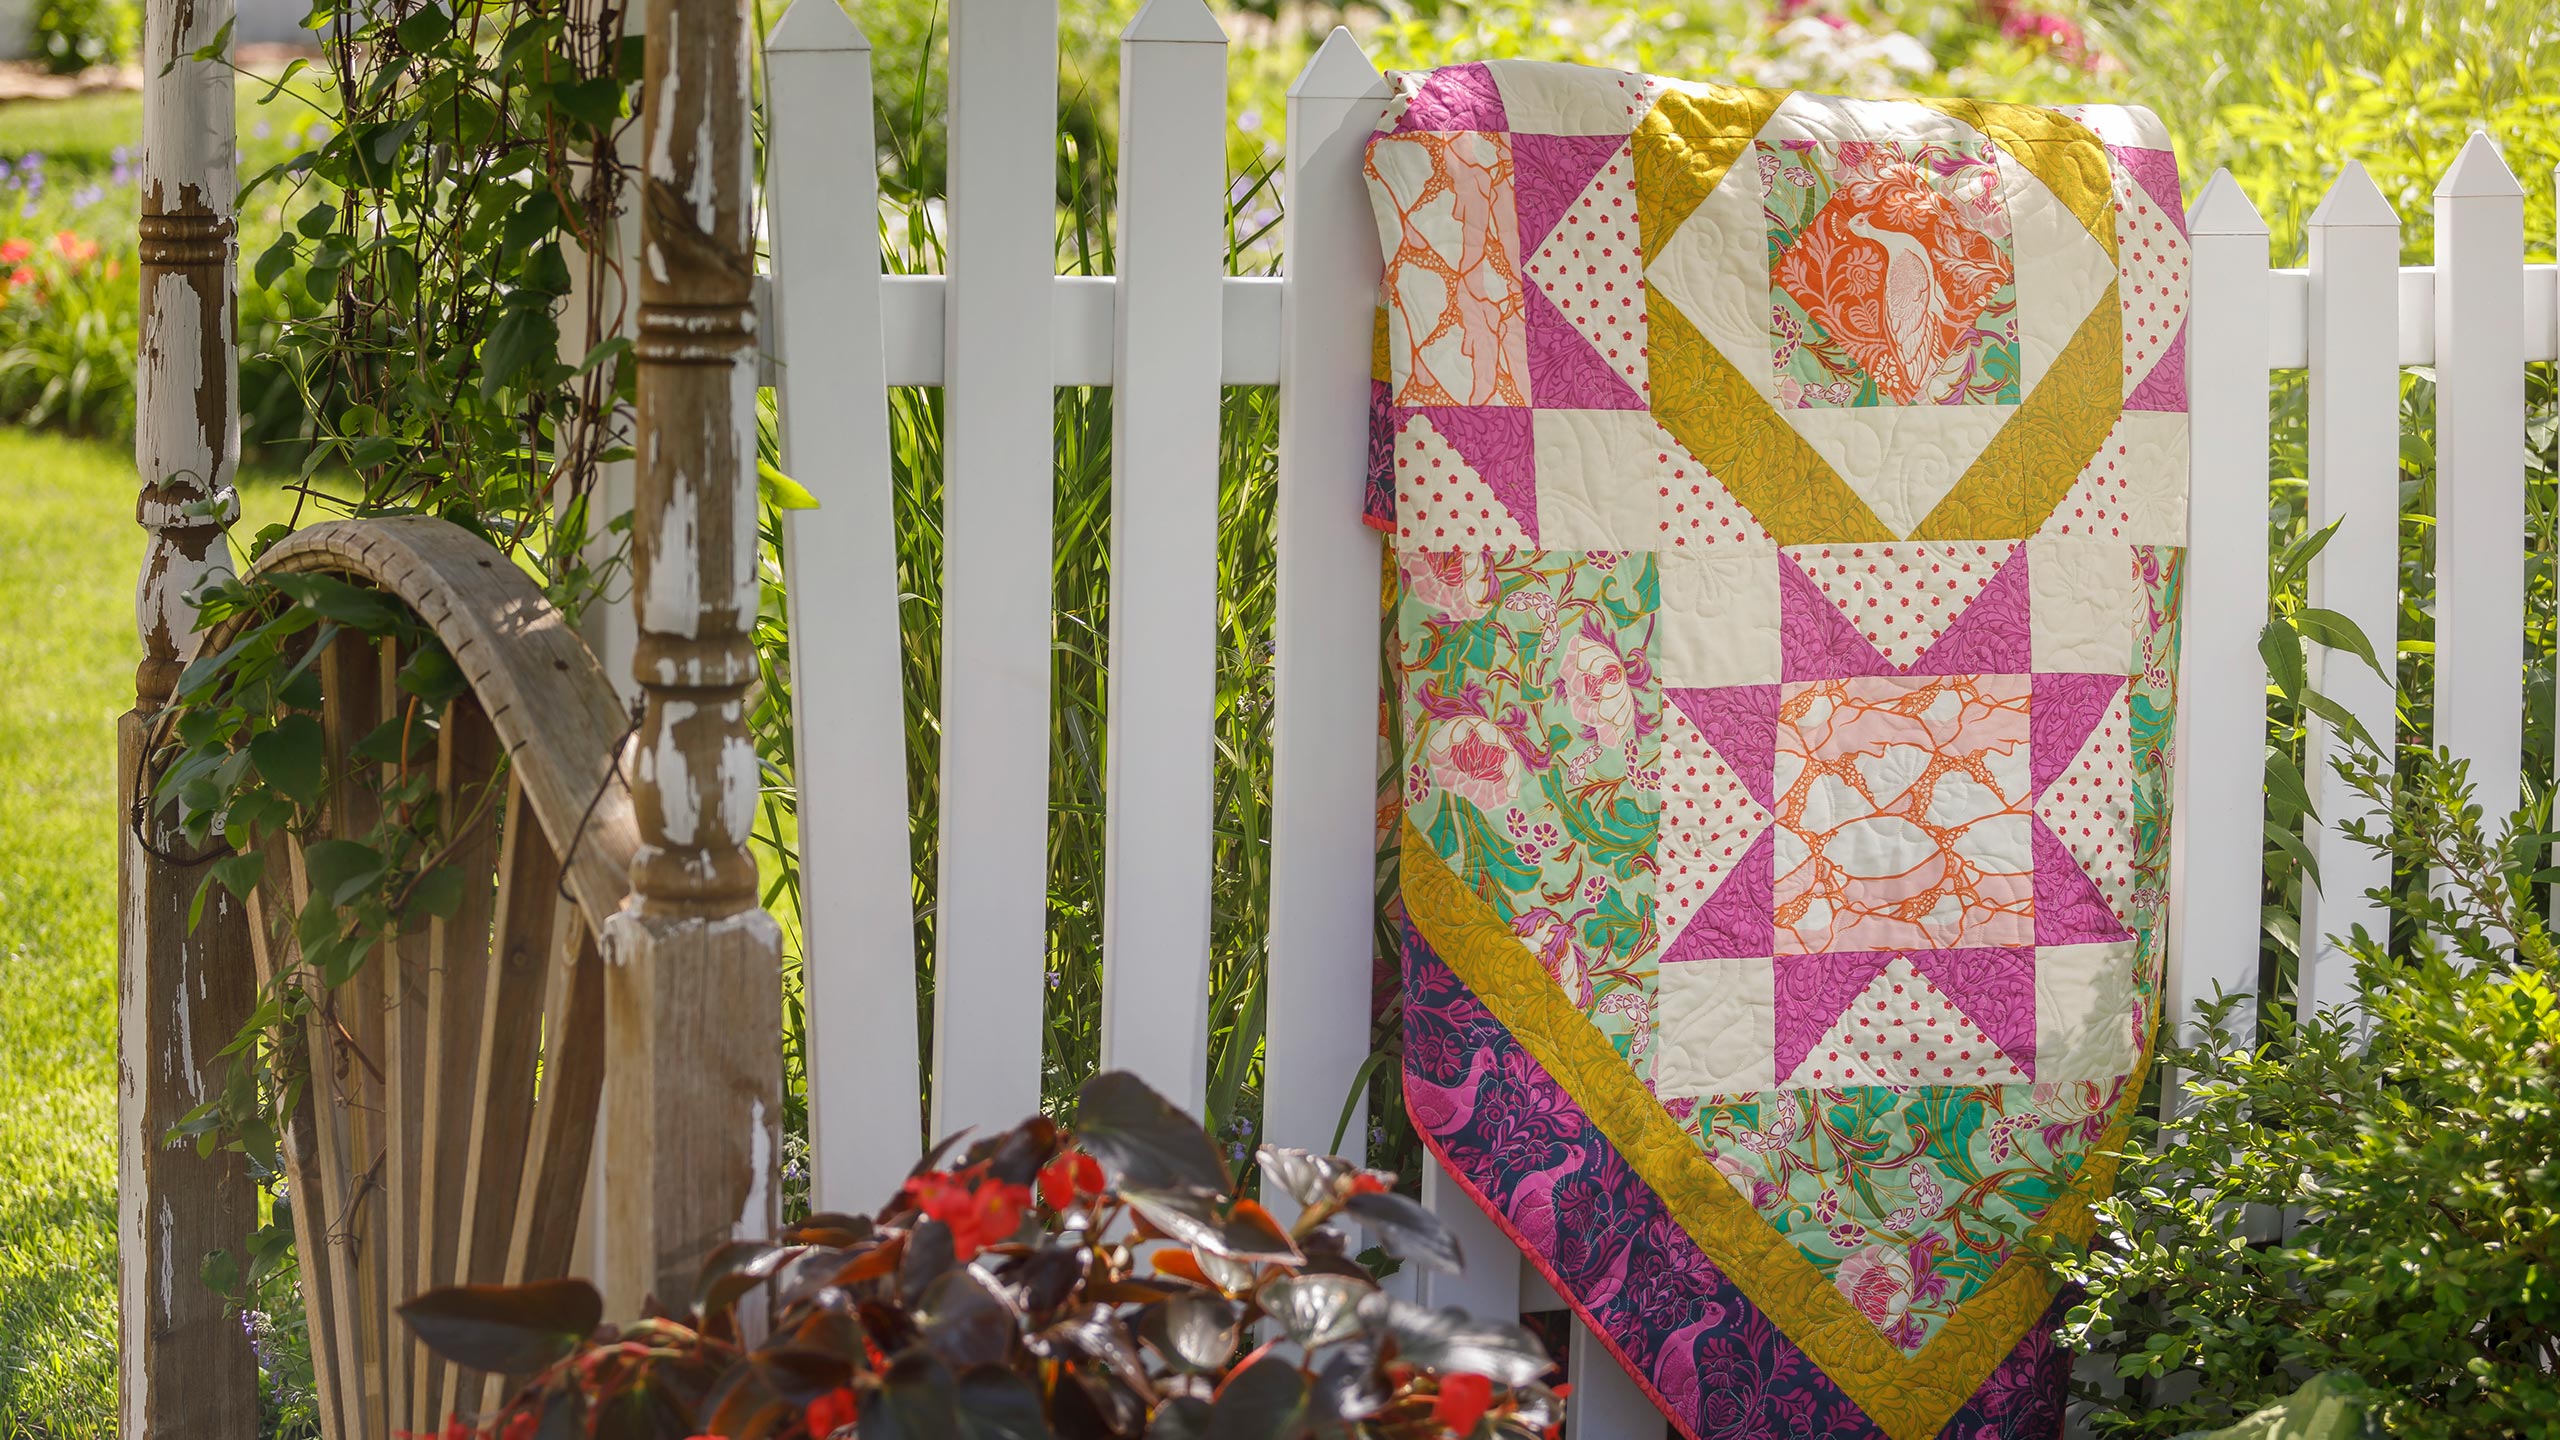
Daydream Quilt

Daydream Quilt

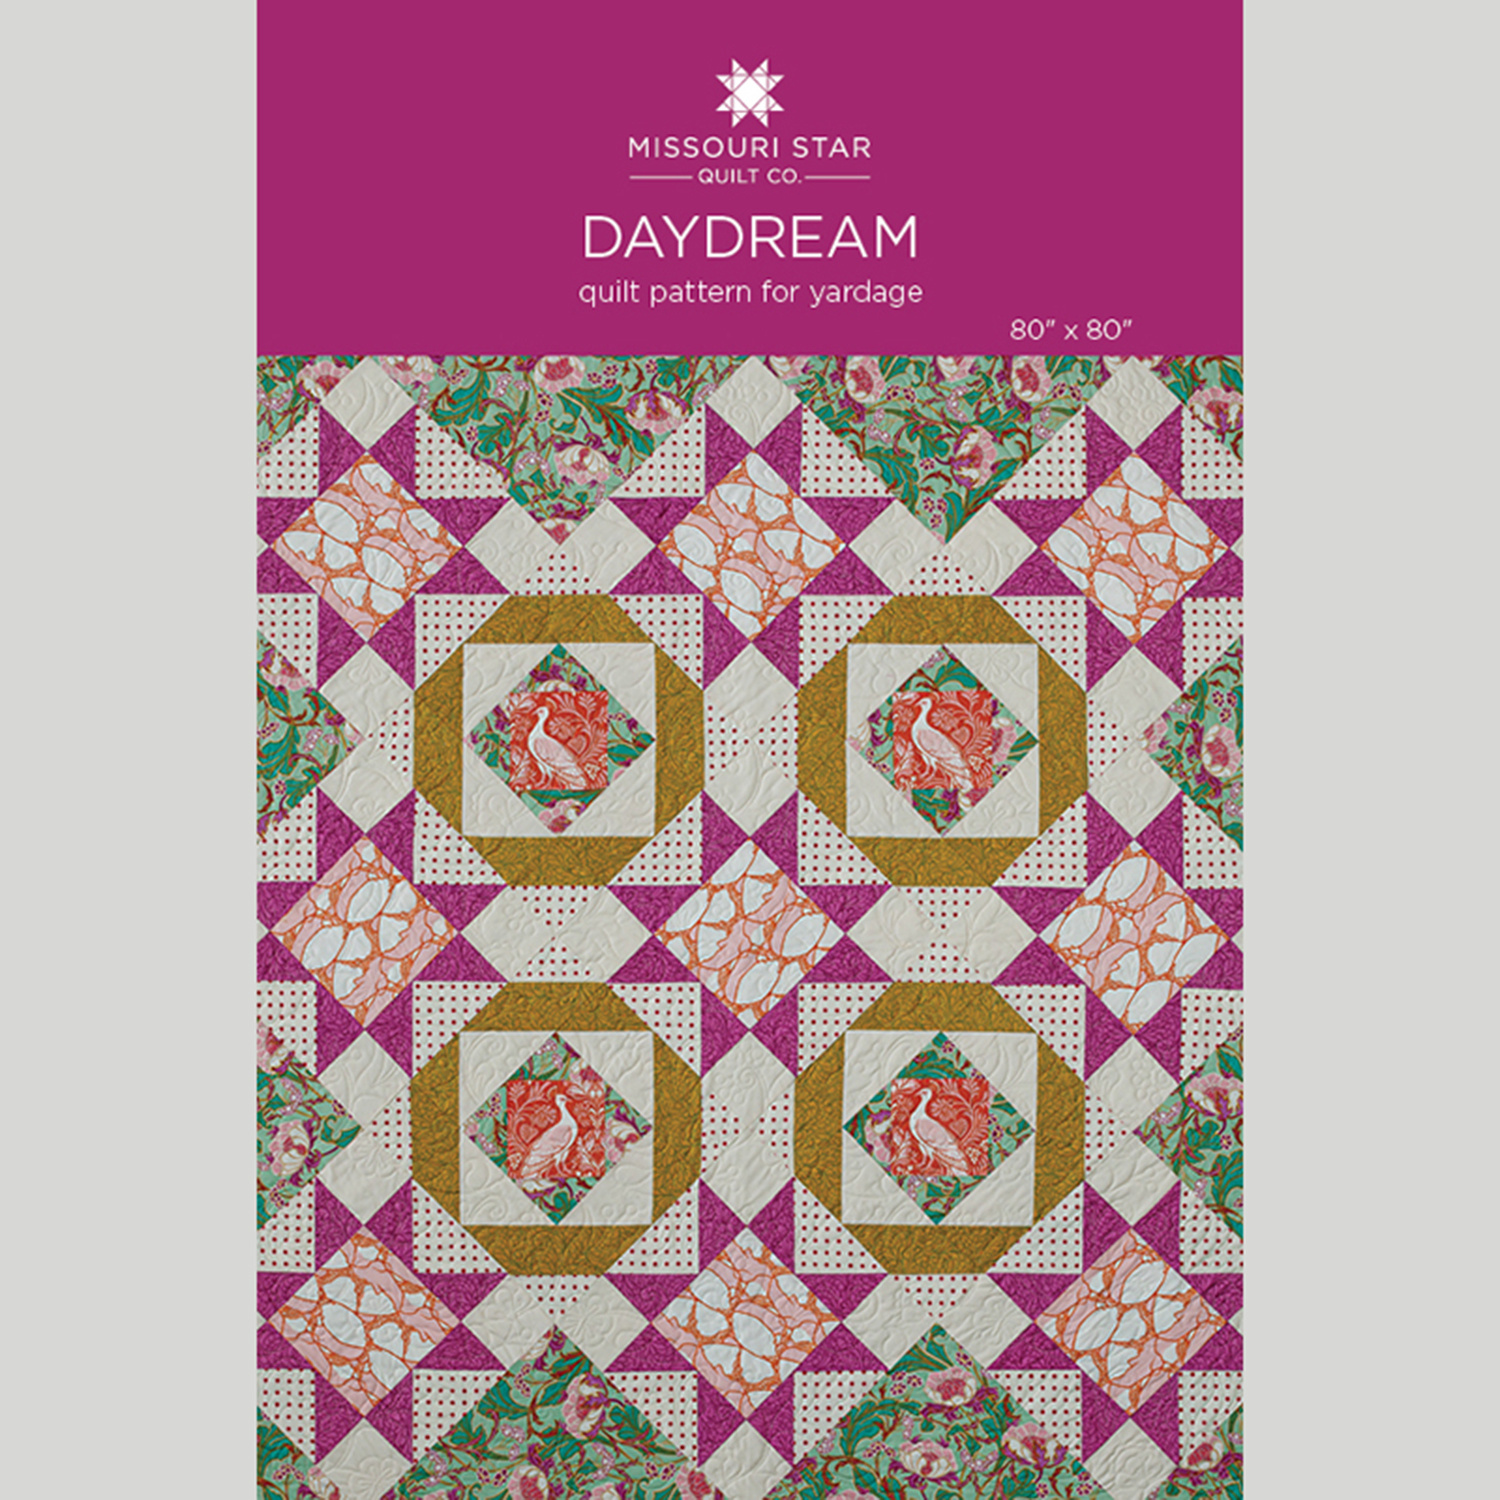
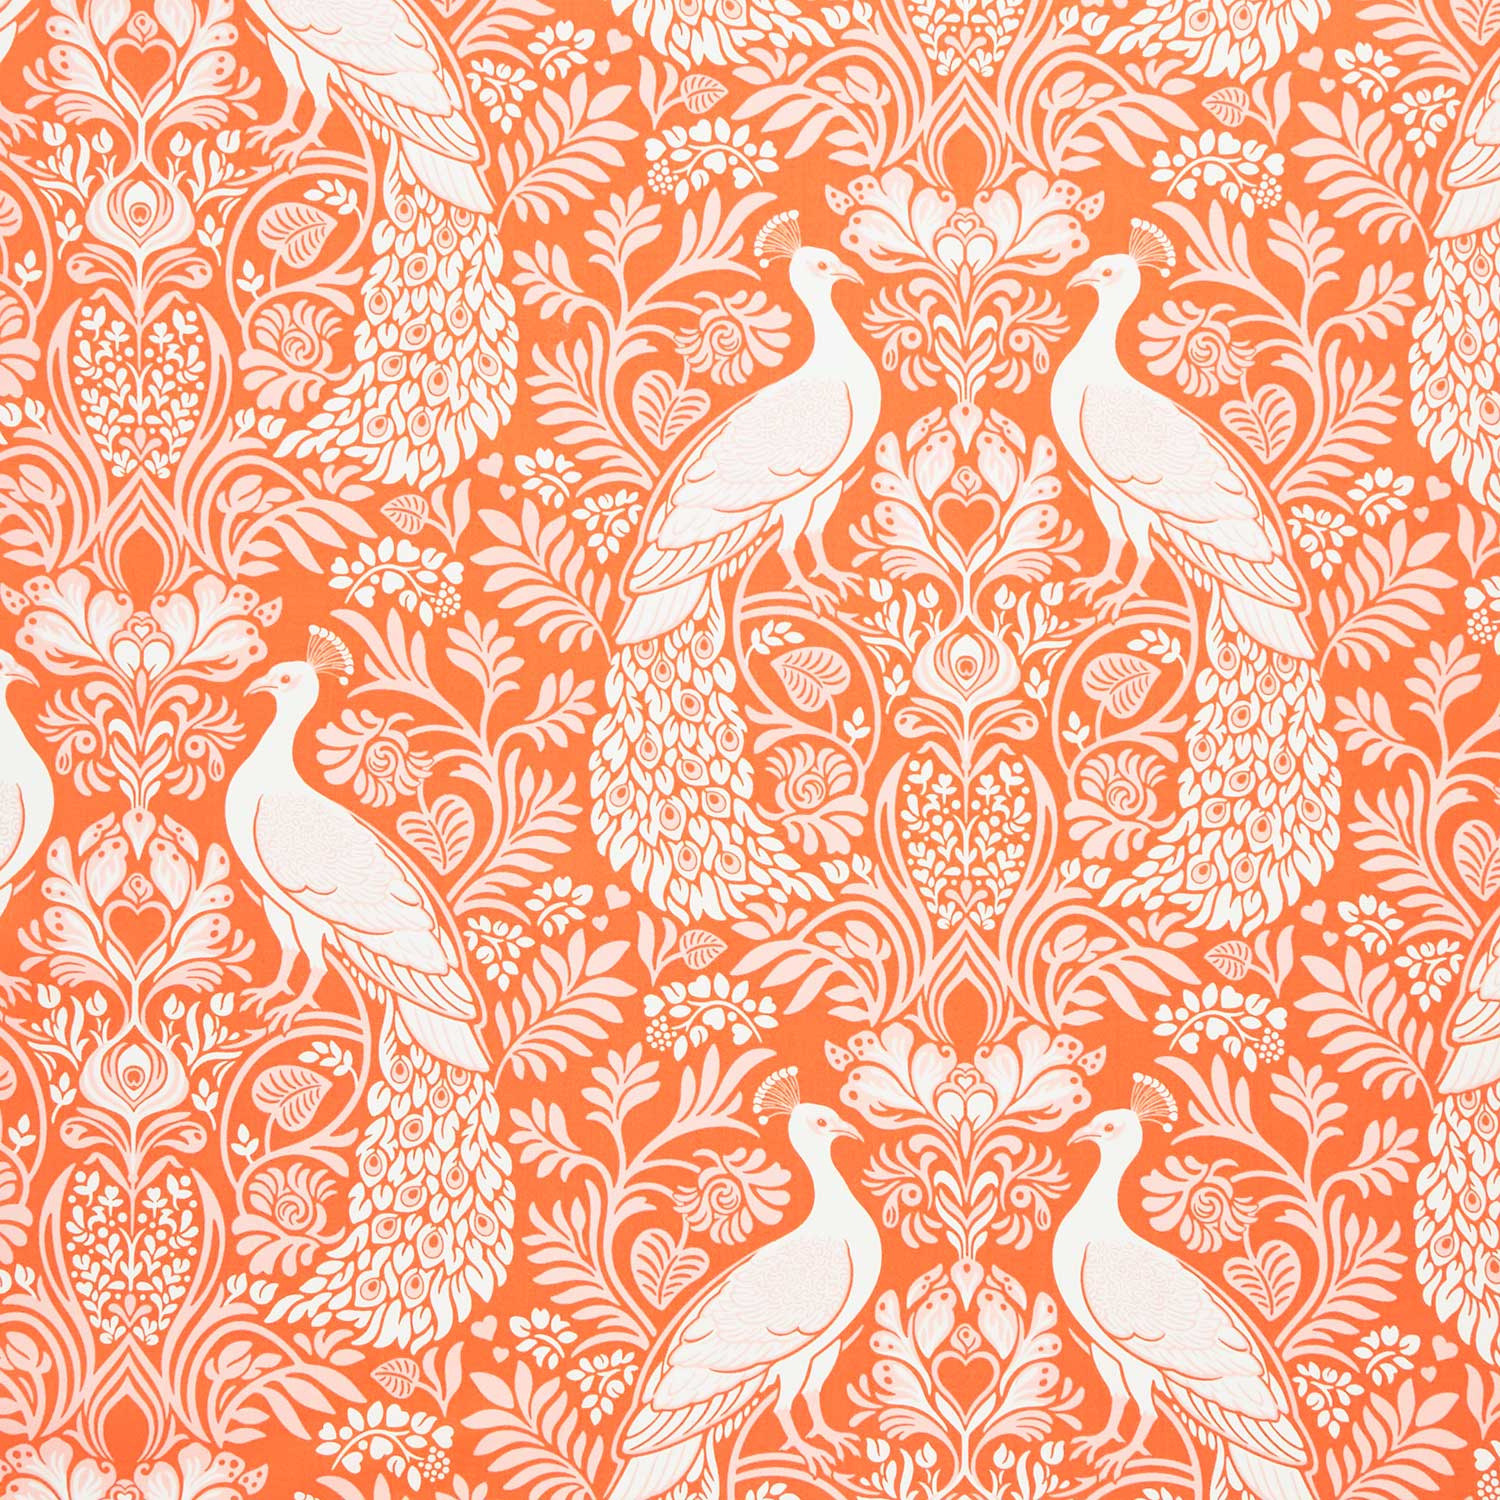
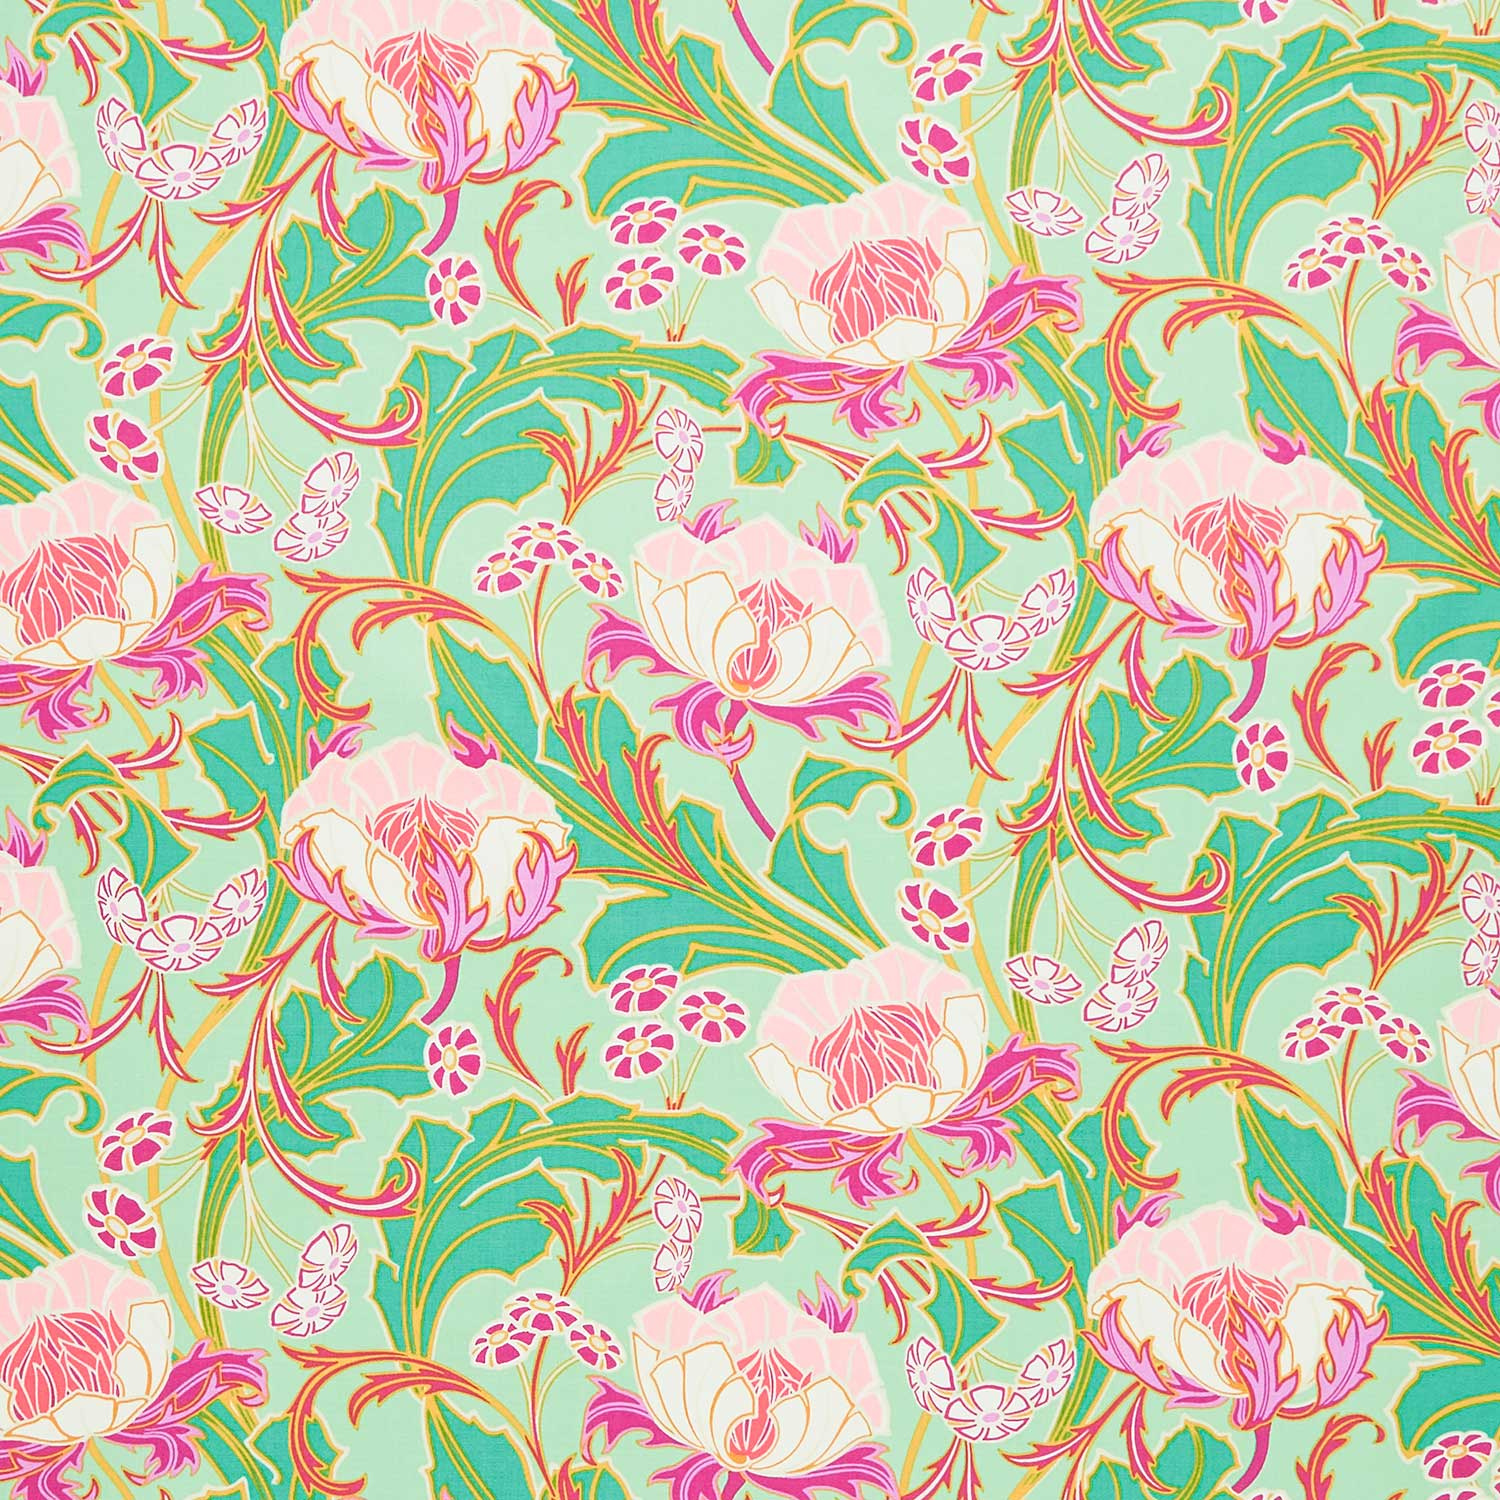
Natalie Doan is joined by designer Heather Bailey of Figo Fabrics to make a star-filled Daydream quilt with yardage from Heather's new fabric, Wild Abandon. This collection was inspired by the global experience of being cooped up and then set free into the world of creativity. It's filled with lush, meandering florals, brilliant colors, and even peacocks! (Watch to the end of the video to see a second version of this quilt made scrappy!)

Instructor

Natalie Doan

Natalie is the host of Quilting 101, Embroidery 101 and the Creative Strategist and Editor of Block Magazine at Missouri Star Quilt Company. She was taught how to sew by her mom, of course, and began quilting when she grew up.

Common Questions

What is covered in Daydream Quilt?

Natalie Doan is joined by designer Heather Bailey of Figo Fabrics to make a star-filled Daydream quilt with yardage from Heather's new fabric, Wild Abandon. This collection was inspired by the global experience of being cooped up and then set free into the world of creativity....

How long is the tutorial video?

The tutorial video is 00:52:23.

Are supplies listed for this tutorial?

Yes. The tutorial page includes the supplies and materials connected to this project.

Video Transcript

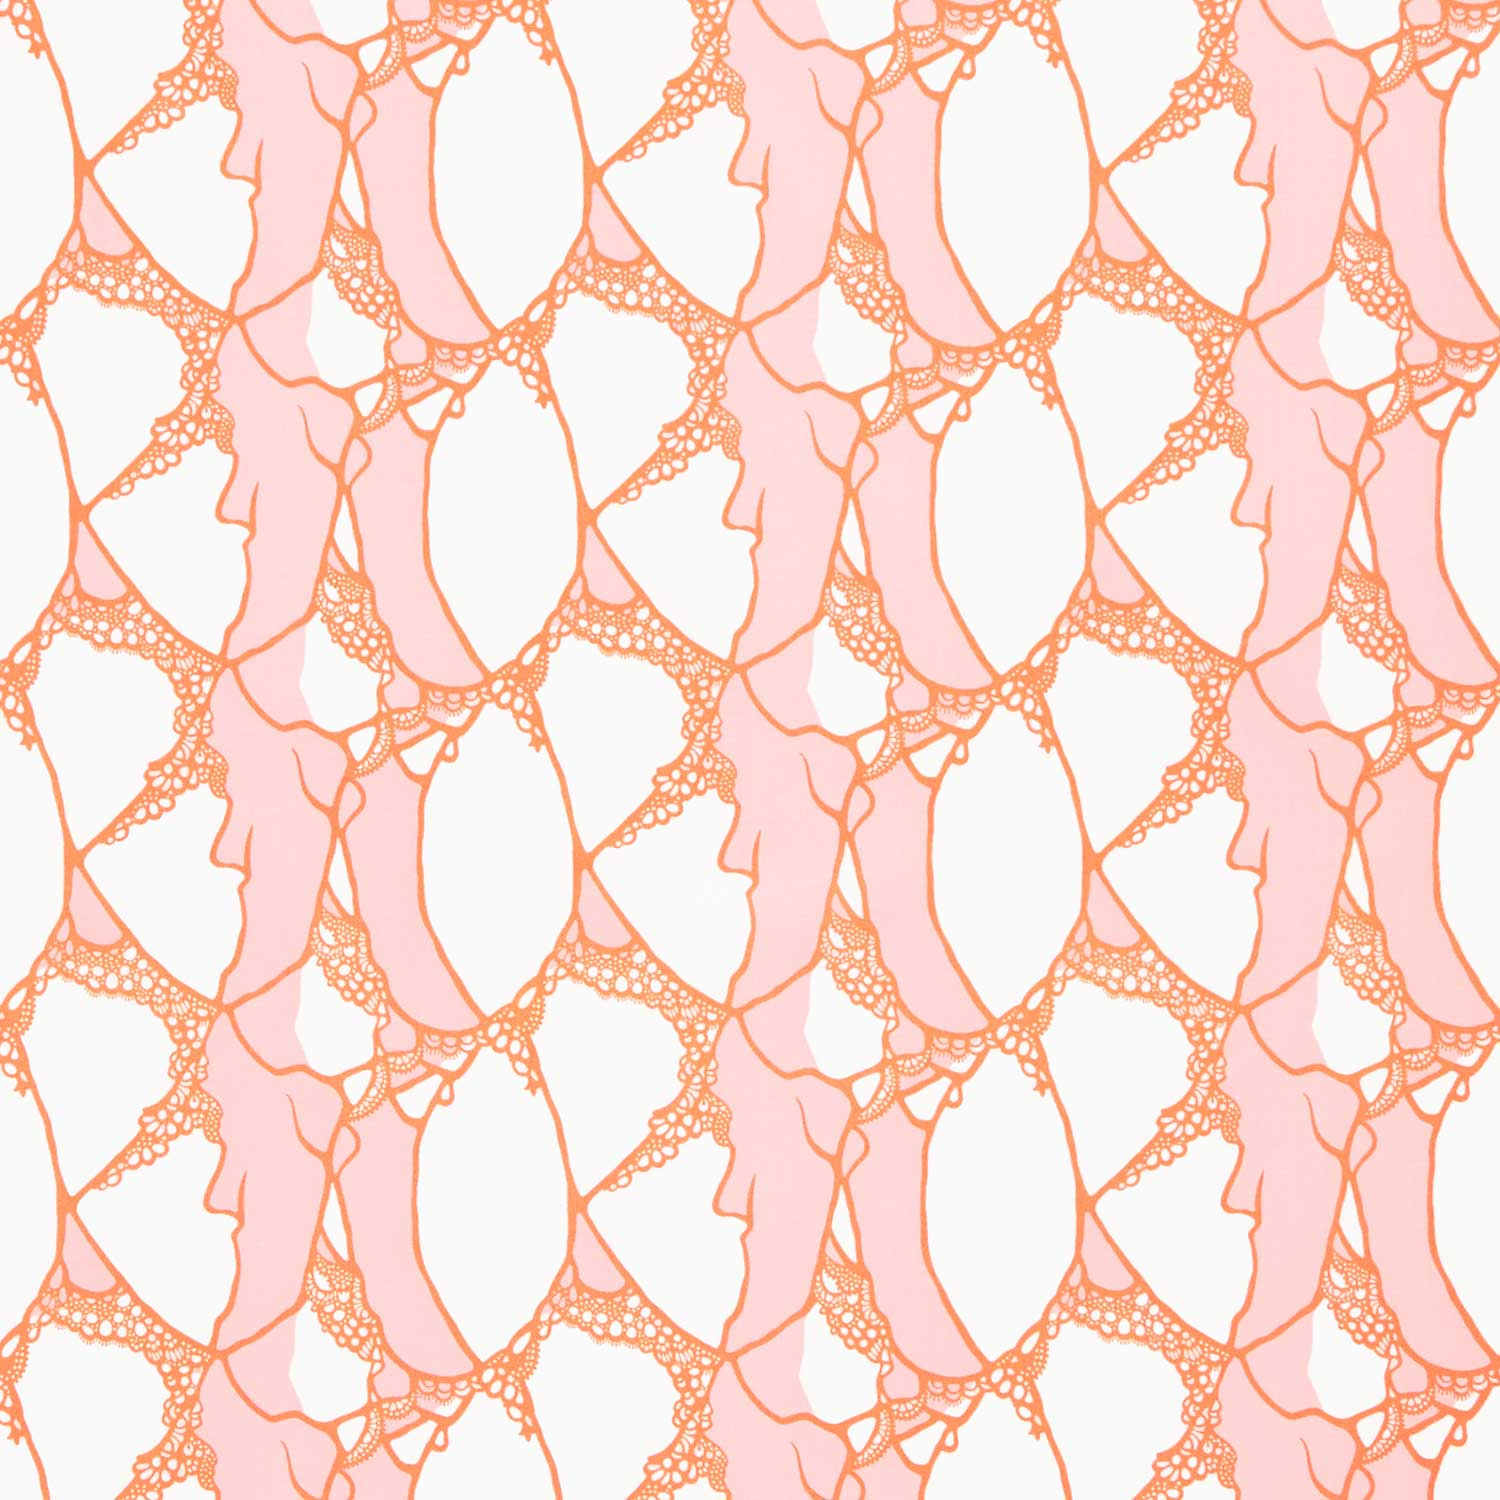
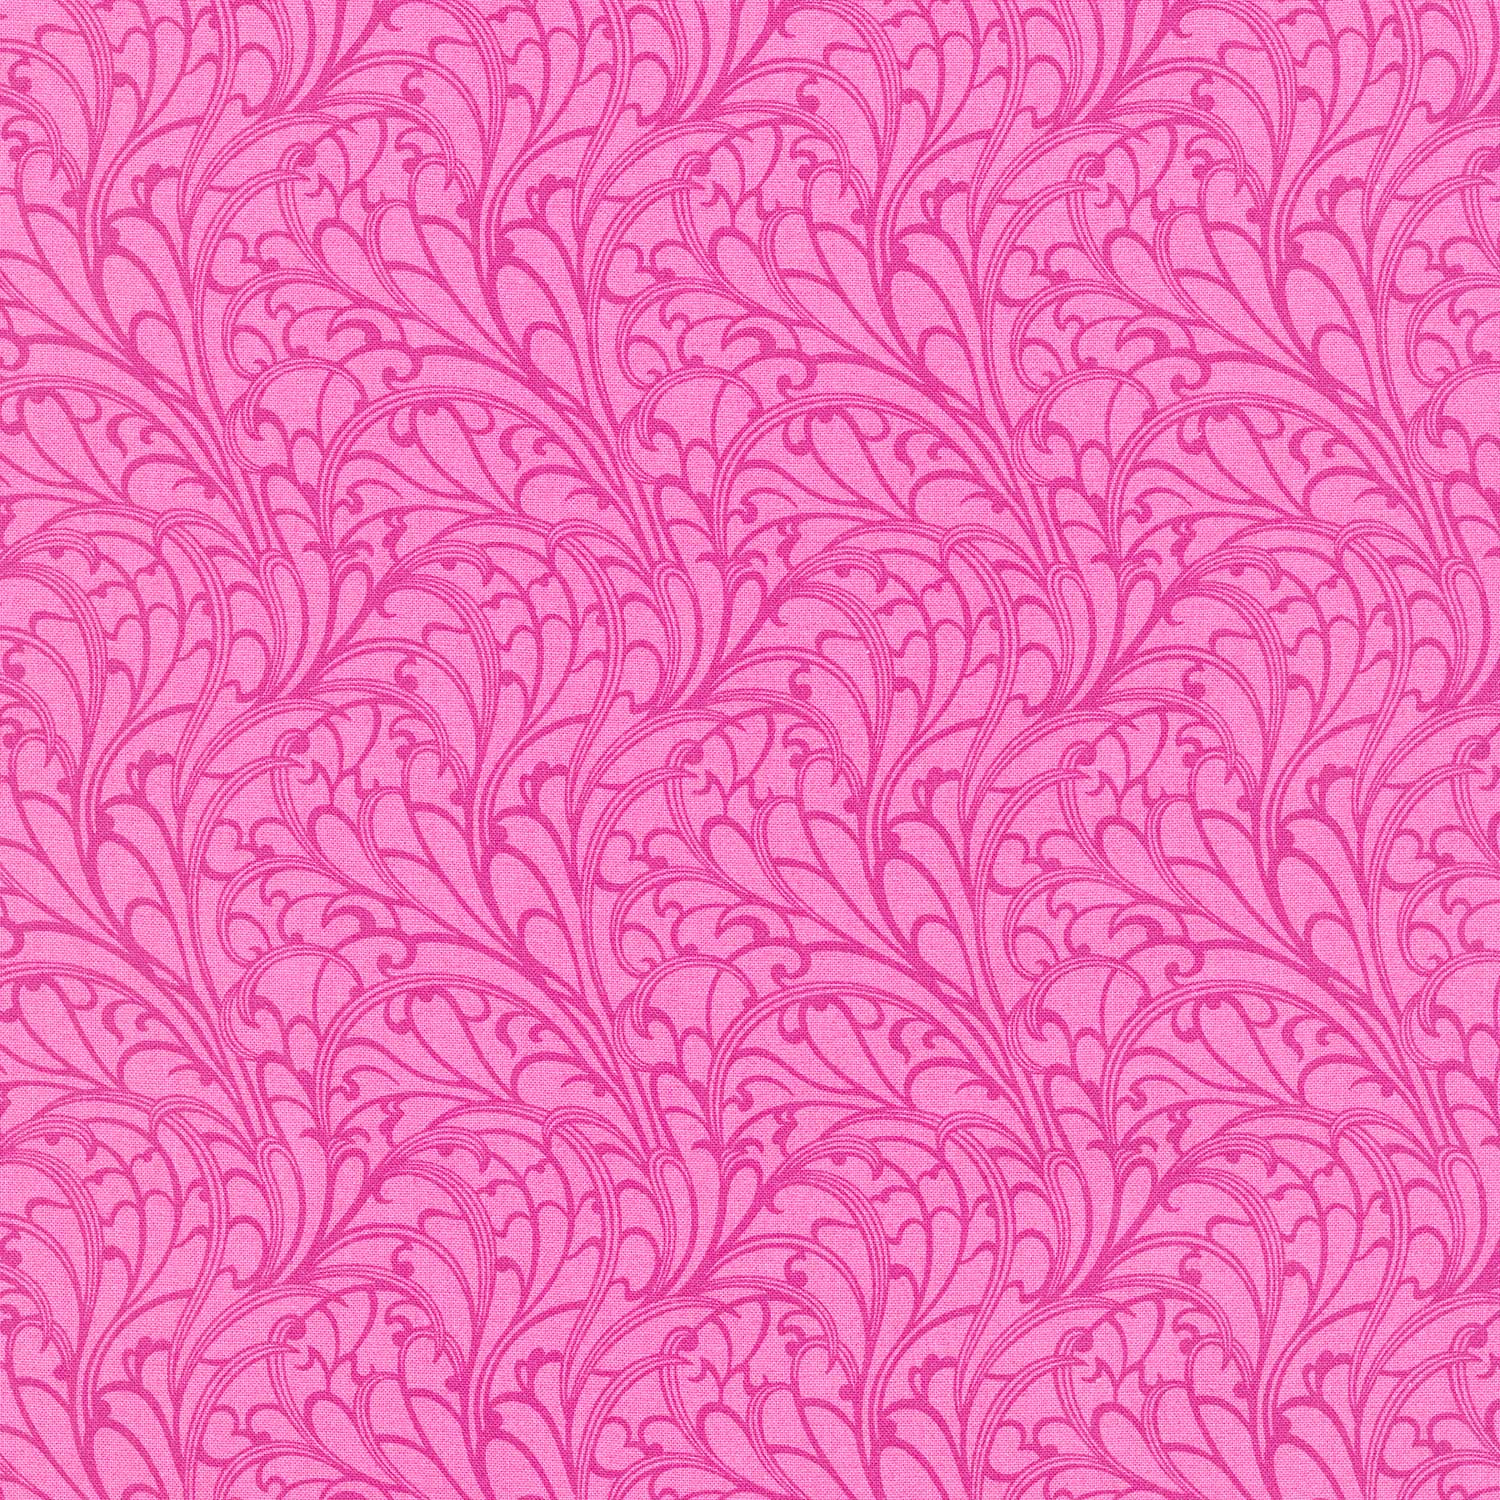
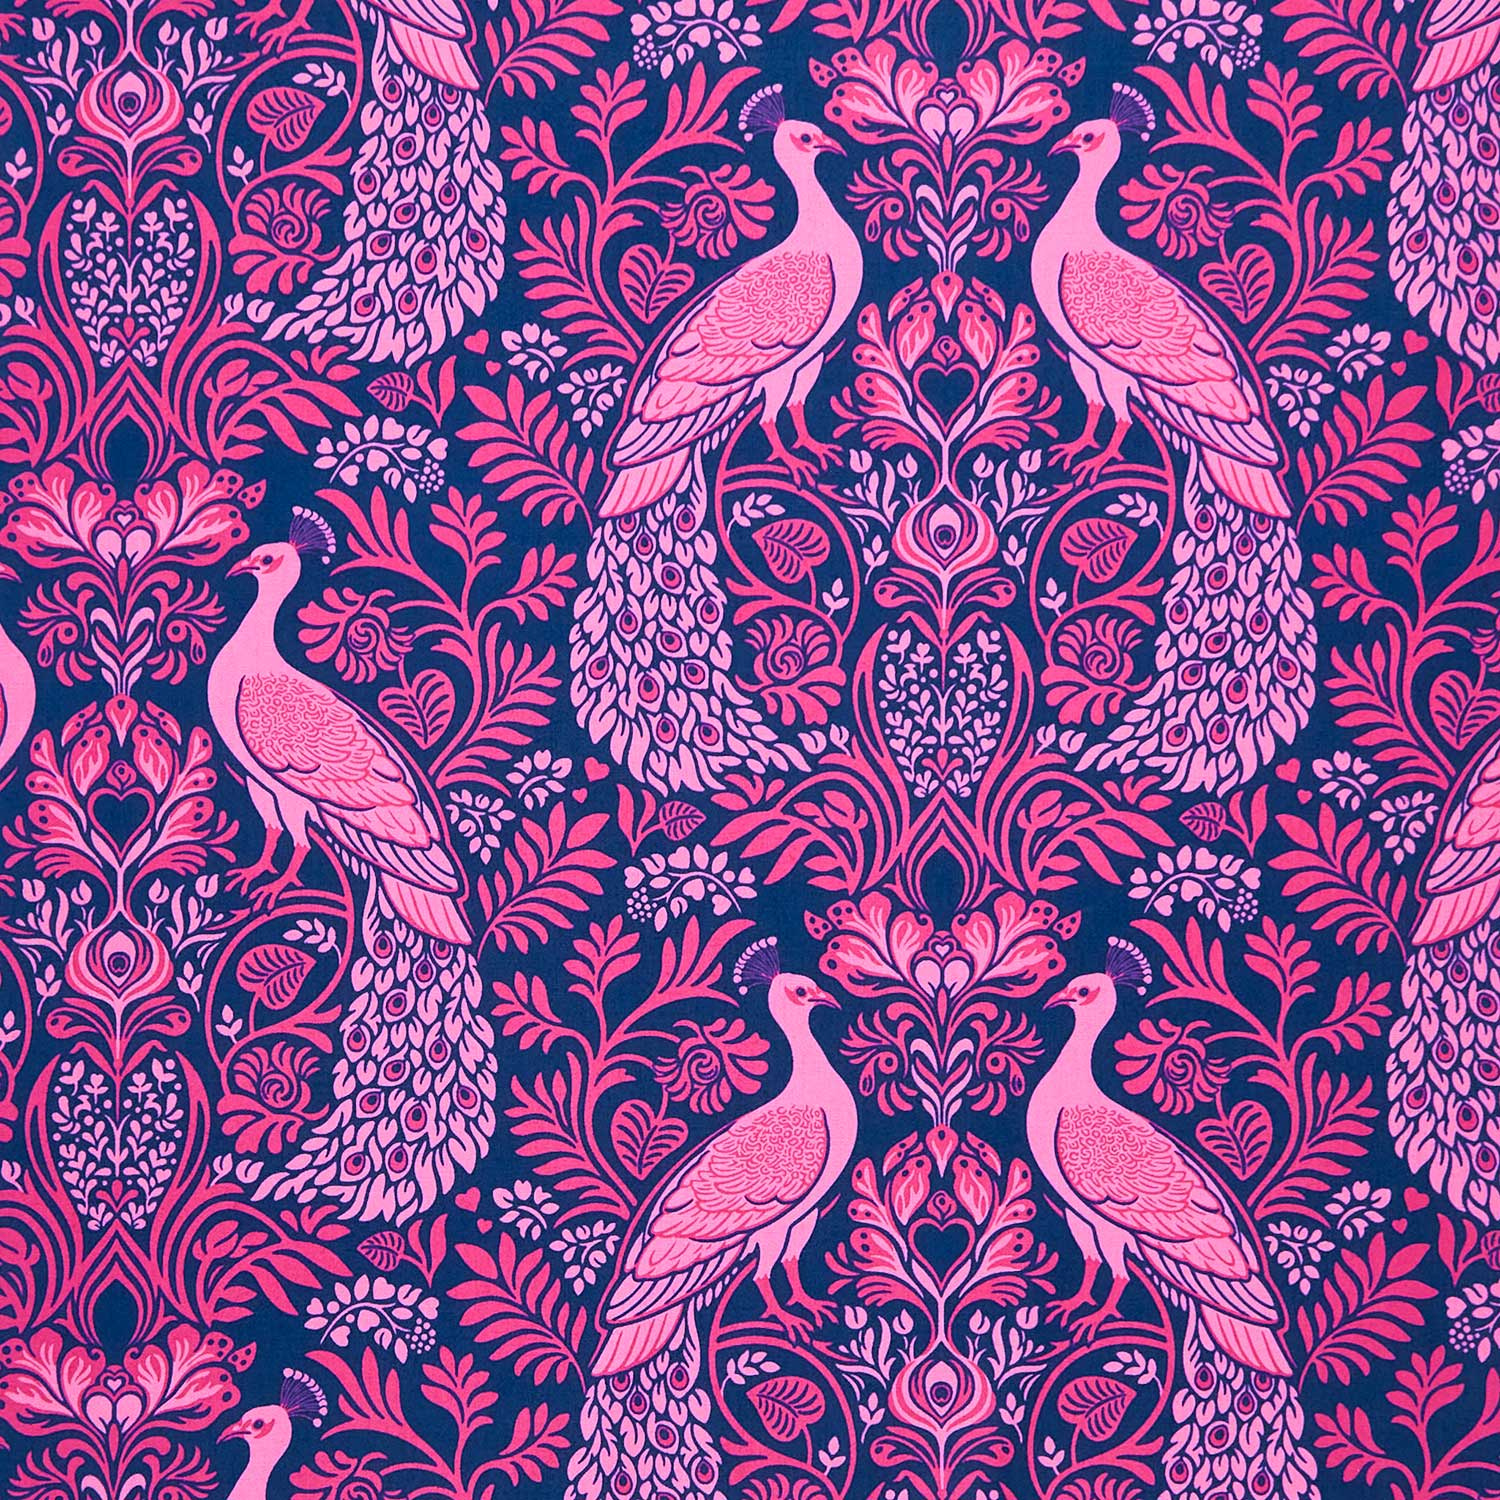
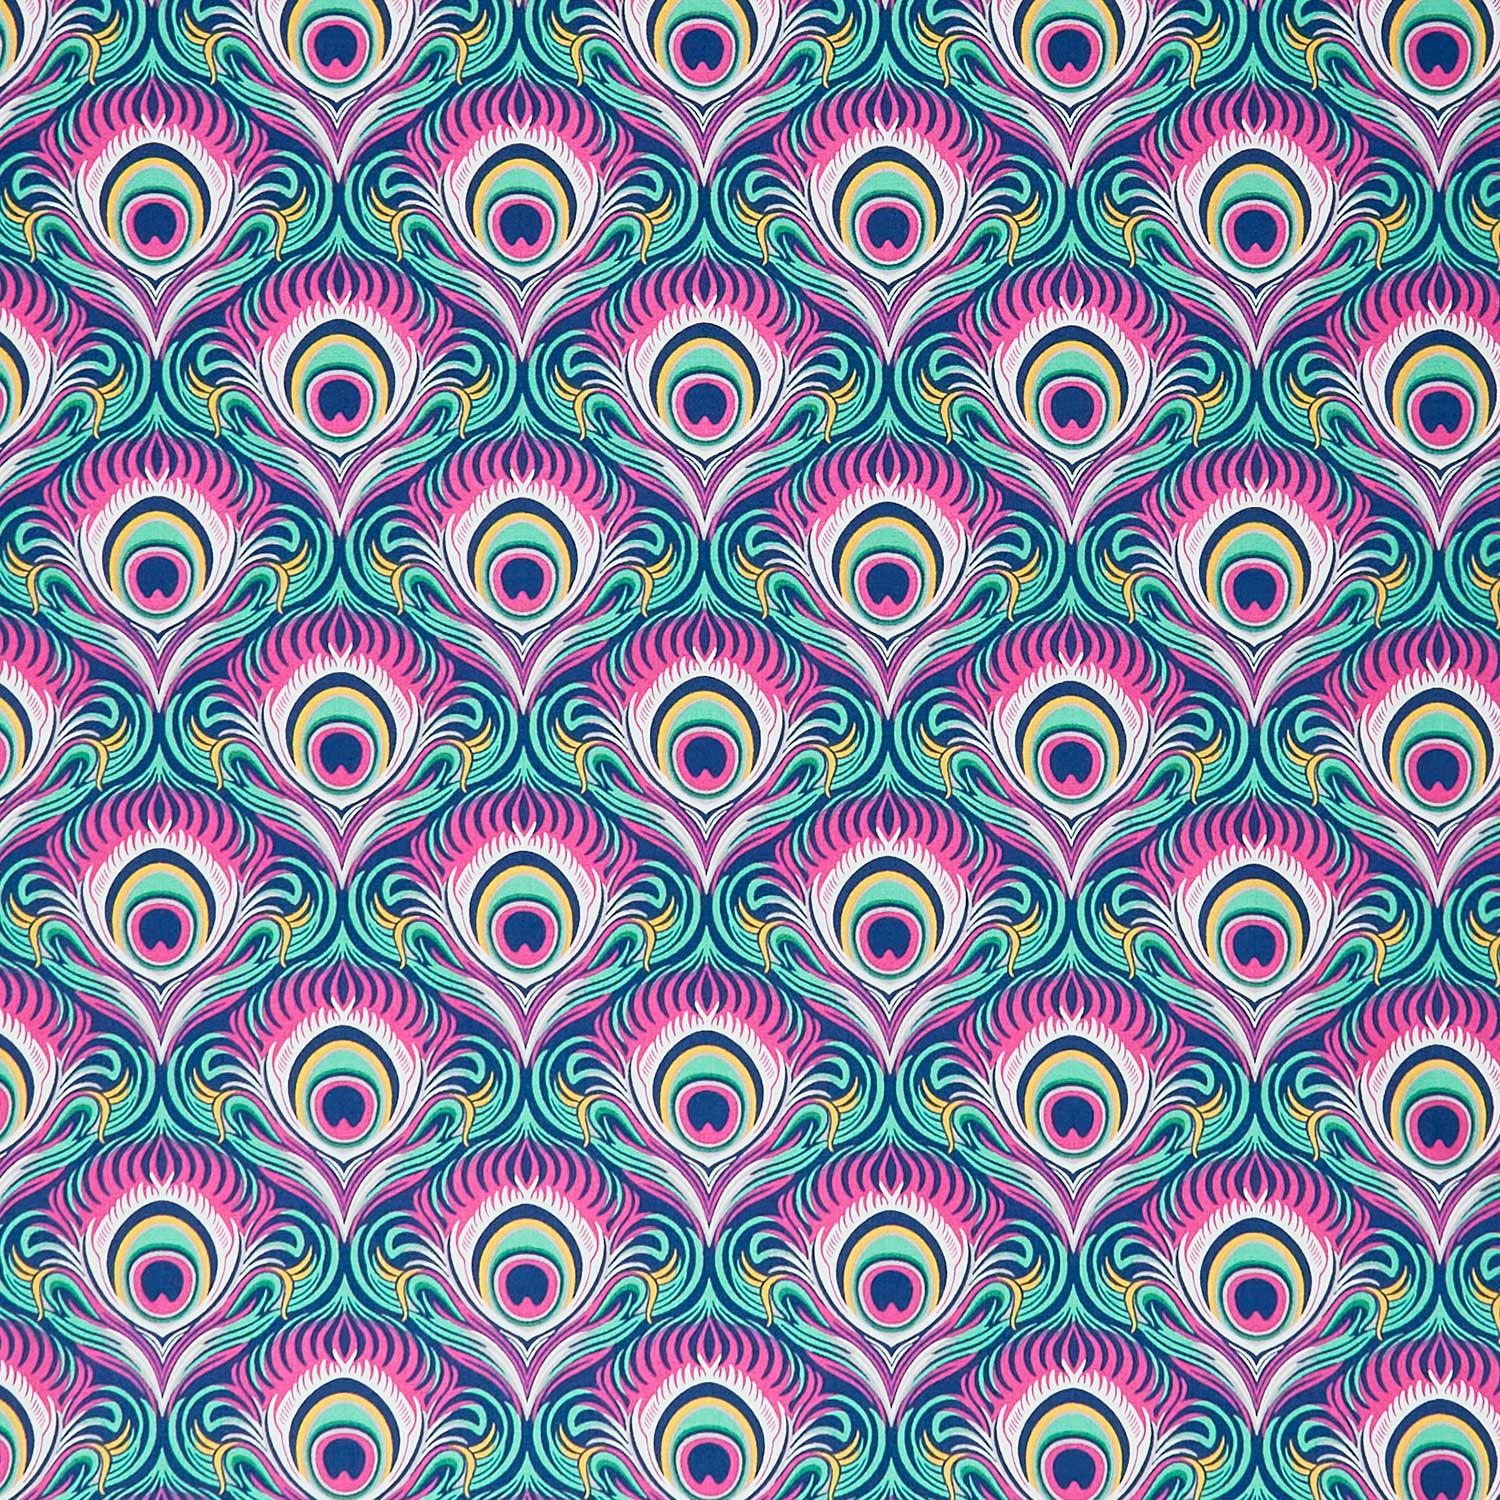
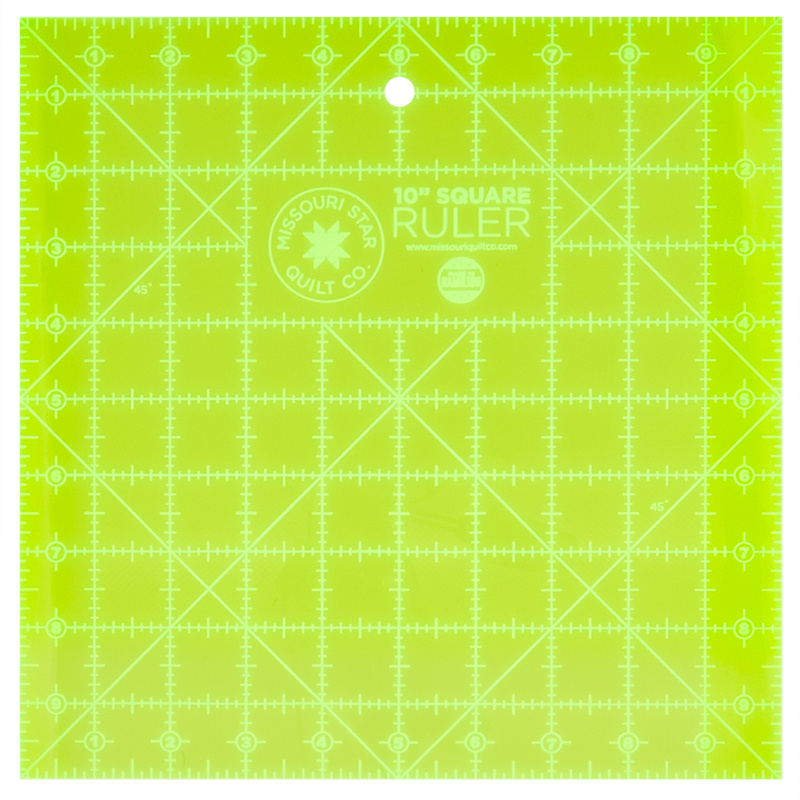
[Music] hi everybody I'm Natalie with Missouri Star Quilt Company and today I'm here with Heather Bailey from Figo Fabrics um Heather has been designing fabric for 19 years in the industry and I have always been a huge fan so this is just like the best day ever for me I'm so excited to have you thank you I'm super excited to be here so Heather designed this quilt for us using her Fabric and it is just beautiful I think it's super fun and I would love to know more about like your design process for how you come up with your Fabrics how you choose colors even you know how you pick names for things or what inspires you oh um well I really like every collection to have a little bit of something unexpected okay um where it's if you walked into the store and you see the collection you know it's a Heather Bailey collection but you you don't know yet what you're going to find like there's something new and fun and unique about each collection so with this specific collection wild abandon the idea behind it was this Universal experience that we've all had worldwide the last few years having been somewhat cooped up yeah a little bit isolated and just kind of like I feel like there's this Resurgence of creativity and Resurgence of joy that followed that worldwide experience and this collection is meant as a celebration of that this like call to pursue your passions and create which is partly why I named it wild abandon love you know it's just like toss the rules aside and and be free to create yeah just go for it shake off all the shackles and follow your dreams right yeah so that was the spirit behind it and then as far as the artwork goes um I wanted to create Fabrics had uh that had an overgrown Lush kind of unkempt feeling to them so the florals you'll notice are Meandering and and Tangled to some degree right like a secret garden or something that's just kind of like taken time to do what it wants yes like like a secret garden so you you know it's that feeling of being cooped up and kept in then set free out into the world of creativity and out there things have become overgrown and it but it's yours for the picking you know like you can pick the flowers and and bring the beauty back inside so that was the spirit with which I designed this specific collection oh that's very cool well I'm super excited to use it and I'm excited to teach how this quilt is made so let's get started all right so this quilt is made using yardage and so we've assigned a letter to each fabric kind of like we do in our block of the months but um it's super easy to read through the the fabric list in the pattern but I'm going to point them out to you here so this is our Fabrics a b c d e f g and H and so for each one you're going to need 3/4 of a yard of fabric a 1 and a/4 yard of fabric B A4 yard of fabric C qu yard of fabric d 1 and2 yards of fabric e 1 and an e yards of fabric f 1 and 1 12 yards of fabric G and 1 and A3 yard of fabric H so for our borders um this fabric H is it includes your border for your inner border Fabric and then your outer border you're going to need a yard and an eighth of this and um this is like a little Cornerstone you'll see them up in the top corners or in the corners of the quilt you'll need a quarter yard of that and then your binding is this beautiful pink floraly I don't even know what to call it it's so cute um 2/3 of a yard for your binding all right so let's get into making this quilt so it is so fun it's it's got two blocks we have our star block here and then like a square in a square or a in a square so cute all right so I think we can start with our star block and then we'll just go from there if that sounds good sounds fantastic all right we'll just set that guy right there scoot this out of the way so we're going to start by taking our fabric a and cutting 8 and 1/2 in squares for the center of the star block so let's line them up while you're doing that I could tell you a little bit about the print okay cool I'd love to hear that so with this particular print I wanted to create um a a sense of what if cobwebs were lace oh so what is the Forgotten hidden corners of things were intentionally beautiful so the idea was this again that overgrown feeling but I wanted it to feel like it was an organic lace that was happening in nature I love that that is so cool all right so we just need one so I think I'll just do when you're cutting for your quilt you'll cut several pieces but I'm just going to cut one so we can make one block and our fabric this is an8 and A2 inch square 8 and 1 half inch square yep that's right then we will need some pieces of fabric B I think yep we'll need 4 and 1/2 in squares and we need eight of those I'm going to press it just for fun oh good that's perfect we're going to make the entire block there I find if the Fabrics are pressed sometimes the piecing goes to together more accur does no it definitely does all right so we've got that cut and our next piece yeah I think I did I do eight or did I do oh I didn't count them one two yeah for my own sake I'm sure nope you're absolutely right okay we're going to need 4 and 1/2 in squares for our outer corners and then we need four 4 and 1/2 by 8 and 1/2 inch strips and these are already cut we had we got a little aggressive in our prep and cut them all up and don't have a piece of fabric so they're precut because we did the work ahead of time so imagine the excitement of cutting them all pretend you're cutting a 4 and 1/2 or 8 and 1 half in strip and then cutting it crosswise to get all of your pieces and four of those those are ready and then this piece we a little 4 and 1/2 in strip so that we can have four 4 and 1/2 in squares you're doing all the work yeah that's what I'm here for it's all good stuff what's your favorite kind of quilt to make me yeah do you have a favorite um I really love any quilt that has stars in it honestly I love Stars they're just I think they're pretty and I love um I don't know I love a lot of different things so I like Scrappy quilts but I also love quilts that play with color and give you like um the effect of something that isn't it it like tricks your brain you know so you see like gradient effects or like things that look kind of 3D or like a where you can't really tell where the block starts and stops I think that's very cool oh right so the ones that look like a color wash almost like running from one corner to the other yep I also love pixelated quilts I think that's just amazing but really I mean those are those I'm a huge fan of quilting so all of it is great that's fun I think I'm going to need this for another part so I'm going to leave that out so now we're on to starting to piece we've got all of our pieces cut um the first thing we need to do is take our 4 and 1/2 by 8 and 1/2 in rectangles and we are going to place those squares on the corner and create a flying geese block so for this if you're um when you're stitching on the back you can decide if you want to draw a line or press a line but you're sewing on the line corner to corner on both sides so we'll do one side then we'll trim them and press them and then we'll do the other sides and they'll all be ready to go so do you want to go ahead and draw lines on the back for me of um and this is for our stitching line all of them yep draw me a stitch line okay hand me this the drawing tool this one has a little bit of Salvage but I think I will be able to catch that in the top yes so let me give you especially if you do it a pen no it doesn't matter either way yeah either way it'll be it'll be on the other side so um you can use that or is this one easier I'll just uh do you want this one no this is good okay okay all right I'll start with one that is uh cuz you can also use your diagonal seam tape you know whatever's comfortable for you I'm going to get started on [Applause] these oh I got to stay ahead of you oh you're fine all right okay you were right using the other ruler it's almost like you've done this before lots of lines lots of stitching all the good stuff [Applause] this one I got my line a little funny that's all right I'll still go corner to corner I'm going to draw a little marks for the one not to stitch there okay all right so these now we're going to go ahead and trim and press we're going to assembly style this quilt it be done so fast all right I'm ready to trim this baby and then I will let you trim and press them all while I Stitch the rest of them does that sound good sounds good okay put me to work press that one and then I'll I'll grab these guys and we'll go from there this little one needs a he got a little out of control I'm going to trim this Square because I feel like it might be a little funky nope it's not it's perfect okay it was just a my brain telling me something was wrong and it looks fine all right do you want to go ahead and trim and press trim these and then I will continue we're going to put the other side on going in the opposite direction and stitching on the line just as we did before [Applause] make sure you've got that going the right way almost messed it up oh okay not you not you me I was going to stitch it on going the opposite direction and have my star legs turn into a diamond instead I just set it on that thing wrong uhoh you're waiting for me that's okay shoot you're fine all right right just need them pressed and then ready to go awesome all right I'll give you these you just keep on going all right guys this block is so quick and easy we are like just about ready to put the whole thing together this is the piecing this is the hard part and the rest is just easy breezy all right so what we're going to dance do yeah we're going to take this is our Center and we are going to start lining up our legs all the way around and we've got our little four and a half of this background fabric that's um uh just a little solid we used fig tree cream um from Moda and that's it that's our whole block guys and you'll notice yeah you set these aside so carefully so if you wanted to you could Stitch a half an inch away and use these little half Square triangles for something else like we do sometimes that's always fun or they can go in your crumb bin or whatever but yeah we can go ahead and Stitch this together and I don't know do you do you go like left to right or top to bottom when you sew a block together I tend to go like I'm reading do the top do the middle and do the yep okay so I'm going to take this one and put it together and then we'll go from there and this block will be all done super fast [Applause] I'll give it back to you for pressing and you can decide you know sometimes when I'm doing these I will press my seams in certain directions so that I can Nest the seams where they match up I I do that too so that is see if I can figure that out on the I'll let you decide which way to press them so there's that one okay it's just Square so we're good yeah they're all it's User it's beginner friendly definitely oh I'm so used to setting my iron up yeah it can be a little tricky to get used to those Alisos I love them though they get nice and hot that's one of my favorite things I like an iron that can put out steam okay not all of them can can do a good job with that and these do fantastic job all right there's that piece oh it's attached now I'm going to go ahead and Stitch the top to the middle and then we'll add the bottom and we will be all done with this block so um how many times do we make this this one block nine nine nine times nine times that's a movie quote is it yeah I'm always qu do it I'll do it again nine times it's from Ferris Beer's day off oh okay okay I was like I'm not catching the reference I feel so dumb right now no we're always quoting some movie Ferris berer is a a good one we watched that a ton when I was growing up oh that looks beautiful good job thanks I love the contrast in the different textures you got like a polka pattern and a a more flowing movement and then there's the interplay between the more pinky Rich purples and the tangerine green color and yeah I love that and I know I did the color but I still love seeing it in block form yep you know cuz when I design a collection I'm I have quilting in mind you know but I can't exactly make the quilts until the fabric arrives right so this is actually my first quilt with the collection because it's oh that's so fun yeah it's fun for me yeah it's it's really cool to see it all come together so right we're almost there yep we're really close now oh I didn't yeah I got to iron both sides you a fast lightning and only half as fast as my mom oh yeah oh yeah she's like get her done no yeah no I cannot keep up with her she is the speediest stitcher the quickest quilt maker I'm obviously a super speed ironer okay you're doing a great job so this is it this is this is the block we got to make nine of them and now we're going to go ahead and make the next one which is our peacock in a square as we're affectionately calling it so to start that one we need a six and A4 inch block for our middle so we'll grab this one now do you want to talk about like fussy cutting cuz we kind of have a piece that we may or may not be able to get it just right okay so in general when a design fabric I make sure that if there is a larger scale design on it I'm very intentional that you don't need to feature any particular part of the print for it to have um oomph as a fabric Maximum Impact very deliberate about that so you could be cutting this center block where parts of the tail are poking in or whatnot and and and it's still going to look really cool exactly it has all the right Rhythm and the colors are dispersed throughout the fabric so it is option if you have yardage to cut the block with uhuh uh featuring a peacock like his his face but it's really not we have a fat quarter um here that I think I'm going to go ahead and pull so we so we can get our peacock fussy cut properly we can show them the option yeah I thought that would be kind of cool that's a good idea all right but it's not necessary right you can if you want to you don't have to yeah and you could have your peacocks facing toward each other if you want to put them centered yeah or away or All in One Direction or right we did a little com both on this one so these two are like we're going to go this way and these two are like we're going to hang out both options on this quilt all right so I'm going to grab the ruler from over here and we will get it ready for fussy cutting um they need to be 6 and a/4 square so if we were lining it up oh I got to turn it I always put that on going the wrong direction and it's easier for me to see it just kind of Center it up but let's go ahead and press it before I cut if that's all right yep I'm just going to kind of eyeball this I know there's probably ways that you can make sure everything is exact by like you know stacking your Fabrics or I don't know it work just PR a certain way you get to just press that one spot oh yeah that's perfect okay so I'm just going to make sure that I've got about the same amount I'm kind of just trying to plop it right in the middle of this six and a half or 6 and A4 inch square could almost make it look nice and a 6 inch square and then just take a guess sliding it slightly to just a little bit the other way yep and then I'm just going to trim off that much and then flip it cuz that's that's the only way I know how to do it probably the only safe way to do it and then we'll go into the quarter there and if it's like not if that's not right then I still have time to kind of move it in if I wanted to which maybe we should that's a good idea what do you think like at the same time you know you don't have to feature the peacock any particular way oh no for sure you could do however you want I was just for the sake of the video I think I'm going to move it in a little bit and then yeah that looks great and get the rest of this guy fliping back around and trim off that little excess because I adjusted for centering does that look good I think it looks we need to I think as long as you've got the comb in of his hair you know within the comb is within the seam allowance yep all right one more little trim and for sure one more on this side because I'm nitpicking a little bit you never seen me do this before well there's a peacock involved yeah and they are fancy styling Little Devils all right so the next thing we're going to do um we're going to cut some 5in squares from our fabric whatever I don't remember the letter number letter it the large floral fabric this floral that goes right here around the little peacock these start out as 5in squares they get cut once on the diagonal to make triangles so that's what I'm going to do real quick this fabric cut a 5 in strip wonderlust ooh I love that name this is one of my favorite prints in the line I love it in all of its colors too every color way is pretty thank you it's super fun so you'll need two of these per block two 5in squares and they're cut once on the diagonal to make our little setting triangles all right one more cut and then so when I do this I typically will just like fold them in half so that I have a center Point mhm and finger press uh-huh finger press them and I just do them all at the same time cuz I'm kind of um not lazy but like I like a hack yeah maybe it's the opposite of lazy yes and then we will do the same on this so we have all of our little middles to line up all right so I will line up these little points that we finger pressed in make a match and Stitch the sides first and then the top and bottom you can press you can press if you like wonderful I'm going to let you wouldn't it be nice to have that at home oh yeah we talk about that all the time it's so fun working with somebody and being like Oh I don't even have to get up goes so fast all right okay I'll let you press that this block should measure 8 and 1/2 in square so we'll check it and square if needed see what we got oh it's a little big all right well I'm G to line this up and try to keep my seam allowance so that I can keep my points I'm not really sure how I'm going to turn it one more time try and get into that eight and a half I think I'm going to have to shave it off a little bit more on the other side sometimes my seam allowance is really tiny and that doesn't doesn't always bode well all right so eight and 1 half for our middles and that is our Center looking good Mr peacock okay our next piece is this um the section that goes around here and it is a flying geese it's made exactly the same way as our star leg but then they face the opposite direction so we will cut some 4 and 1/2 by 8 and 1/2 in rectangles for that these ones are already ready to [Music] go just need to cut a couple more and to slide those out and press them perfect for kicks you know we're always doing stuff just for fun it's not necessary to press as you go but it does make a nice resultes life easier that's for sure and this I'm just G to go wild and run it off the edge are you going to go with wild abandon wild abandon that's so good and then we'll go this way and then I'll grab the next fabric there we go I'll give those to you and I think um yeah so our next fabric is this piece and we don't have very much of that left so I'm going to grab the one from The Fat Quarter bundle as well just for ease just to make life easier okay so we we need well I'll use these for the 4 and 1/2 in squares and then I will use um the this one for the yeah because we need eight for our star legs and then on our um on the outer Corners we need five inch squares so I'm just going to fold these in half yep and get all of my 4 and 1 half in squares right out of that but you're going to have yardage speed cutting yes and then you can start marking the half the diagonals on the back of these babies and we'll run through that real quick we don't need anything marked on these nope so this is the same process that we did for our stars and I'll just take one and get started using my diagonal seam tape that stuff is kind of a lifesaver it makes life very easy you never really have to mark anything and again on all of these large triangles there's quite a bit of leftover um half square triangle on this other side so if you wanted to stitch a line a half an inch away from your drawn line you could get an extra half square triangle just for some other project that we could make a cute little should we should we do one of those pin cushion or something like I coulding yeah I could do that you just go half an inch away from your drawn line at this point while you're sewing it right yeah so not after you've cut it well after you've cut it you could just sew the back together with quarter inch seams yep that would work too but yeah if I'm going to do so I would just do this I don't know if this is really a full half an inch but you really just need enough space to cut that apart so there's one that's got a cut on it oh prepped you you were ready for me [Applause] all right now we're good to um cut and press we're going quick again this one's not ready fast as we can there you go and then these are the ones that were just cut uhuh and this one had the second stitching line so it's all ready to go yep and this is not part of the block I would even Venture like technically if I knew what I wanted to do with it I'd Square them up now and then work on that project another time so I didn't have to do that step to be clear this is not part of the block this is just a way you can handle your scraps yep you just have a little bit of extra fabric left it's a little less wasteful probably make a really cute baby quilt oh yeah you can just make them Sparkle throughout it be fun I'll give you those two I prepped this one perfect thank you we're getting close now all right here's these I'll let you cut okay this is fun I think I I'm going to quilt with a friend yeah yeah this is a this is its own technique that's very cool let me show you how to quilt with a friend it's fun it really is all righty so we'll have those ready and then we've got to make some half Square triangles because this um piece right here is a half square triangle which is it makes the block look so cool I one of the things that I love about this quilt is the optical illusion that these blocks are actually like this cuz you look at it and you think you're looking at this Square straight on but this part is actually part of the other block and it's because I think it's because of how this fabric is placed yeah it really tricks the eye it's one of my favorite things and then it creates a secondary star uh as these Fabrics radiate out from the peacock yeah I love that but the block is actually here yes it's on point it's super fun and when you're looking at this like I was looking at it I'm like did we get that cut straight cuz he's kind of tilted but he's actually supposed to be and then he stands up straight when we put them in the block yeah that's right okay so we're going to make four half Square triangles and to do that we need four 5 in squares so the fabric is this Fabric and then we need a little bit of our cream colored fabric right this one with the flowers which I think we just set aside earlier so we'll we'll grab it that's somewhere we have some I don't think we have any 5 in squares of it oh let's get it out of here does that work for you that works great this is why it's wise to have a stash yes all right so let's just we'll unfold this one we'll line them up we'll do you want to talk about the elephant in the room oh yes tell me about the elephant in the room I thought you'd never say anything I'm like this guy is so cute uh this is a pin cushion pattern that that I designed it's called Effie and olly elephant oh so you have like a little girl one a little boy one Effie and Ollie yeah Effie has flowers and and Ollie does not okay okay but Ollie could wear flowers that is so could skip the flowers I have always loved your PIN cushions yeah my favorite I I love to design pin cushions I have all kinds of animals and fruits and do you have any um any new ones coming out this year um I have had a chance to say I am working on one but I'm not sure if I should I'm working on two of them but I exciting are both creatures we'll keep it a secret but I'm so excited to see what they are when did they release approximately sometime later this year may I work for myself I set my own deadlines I don't know oh okay all right well I see how that is soon soon okay so will you draw a line on this one and then um what we're going to actually draw lines on both of them for me and what we're going to do is Stitch on both sides of the line so that we get two half Square triangles from each um set okay awesome so that's it I'll give you this just diagonally corner to corner oh were you looking at the print I was looking at the print I was classic I love that all right I'm going to stitch on both sides One Direction it would have cut the flowers in half and the other it goes in it went right down the middle just right that's perfect I love it she caught me there's always spot that goes into these things all right so these can get cut apart and pressed and then we will Square them up to 4 and a half make a plan I'm making a plan for which way to press the seams oh okay cool I love that go outward I'm pressing outward toward the floral print okay my my general rule is if in doubt press outward press it out if in doubt press it out I like that if in doubt press it out outward upward okay let me grab well here are those we square with our little with our 10in Square today so we've got 4 and 1/2 in squares and I am just going to trim these right up these are barely bigger so you shouldn't have to square too much but it makes a huge difference I'm I'm a big fan barely bigger meaning they're they're almost at 4 and 1 half in I just have little bits of fabric to kind of shave off and remember when you're squaring with a regular square you want to make sure that the the 45° line lines up with your seam and then you put your you pop the corner into um whatever the measurement is that you're going for so we're looking at 4 and 1/2 here I'm just making sure our seam line lines up with that 45° angle we'll do these real quick and then we can we can lay out our block and sew it up this is the exciting part where it all starts to come together I feel like um when you're squaring blocks I always look at my stitching and I'm like man I am terrible at this cuz it just doesn't look straight you know are you talking about the way the seem yeah like before it's um squared it just looks so wonky but then after they're squared it's like oh they're perfect I'm not so bad after all I don't know that it's just stitching it's because your seam line is on the bias yeah right no yeah it's it everybody's everybody's looks like that I'm sure but yeah I like squaring up it makes a big difference in the accuracy of your quilting it's worth it it really does all right so now we can go ahead and lay out our block we'll start with our middle and these guys go out like you're making another little diamond can I cheat ahead yes no do it do it can't resist yeah and then those go in so it makes that full it's fun it's an optical illusion right once they're connect these all visually connect yep that's very cool it makes this block come together really easy all right shall we sew it up and I think it's important to remember if you want to feature something at this stage it will feel like it's diagonal well little feel diagonal if you're featuring something upright uhhuh because you're going to turn the block right because they set on point in this quilt yeah so that's a good tip to remember all right well I'm going to go ahead and put this together just as we did the last one sewing our rows from top to bottom and then I'll uh hand it off for pressing and we'll be got to get it all lined up there you go okay if in doubt press it out [Laughter] word no that that's not how I'm going to do it though I'm going to press these ones with the seams out and then in the middle row I'll press them inward okay that sounds like a good plan what's the technical term for managing your seam allowances so that some go this way go that way and when you line them up you're able to line up your seam is that nesting your seams yeah is that the technical yep standard term I don't know what it's called to just do it yeah well it makes life a lot easier when things just naturally line up but you can so you can press it um the way you want it to go or you can force it and press it later sometimes I tend to to line them up and even put a pin in there and then keep a pinned as I approach the pen pull the pin out nice but you know I don't know how necessary that is well everybody has different techniques for getting you know kind of getting to the same point so feel like we all just do it a little bit different and youve got to stick with what's comfortable and what really makes sense you know MH so on this one I press these seams outward okay on this one I'm pressing these seams inward so that when they're stitched together they sink right into each other nice little nice little nest for our little peacock friend I don't know how much this peacock's going to nurture his nest no no I wait doesn't this fabric have a funny name what did you call this this peacock fabric does so as I was designing it I was thinking about how we associate peacocks with like beautiful elegant Florals yeah and you know those tend to be more feminine motifs uhhuh and I was realizing wait a minute though a peacock is a male bird and anyway I was just having my own little internal dialogue and I was thinking about like the big show that a male bird the male peacock puts on you know to attract attention yeah yeah they're totally showing off they're like look at me everybody I'm so pretty that's right right and and and the question is like can they deliver what they're promising and I named The Print Rogues and scoundrels oh dear like the little dandies from the from the Victorian era they all dressed up and looking pretty yeah yeah and maybe up to no good that's probably true anyway that's so funny I love it all right do that one and I will Stitch this guy down going to Nest all these seams cuz they're pressed perfectly thank you they're pressed adequately they're okay they're really good I mean if you guys ever get a chance to have a Heather Bailey come and press your seams for you I say do it highly recommend it's a no stress [Applause] job well and that side's ready for me too huh yep ready to go all right I lost my points a little bit there but that happens sometimes we had a little bit of a tight seams with our squaring too so you know happens to everybody right there's only four of these blocks oh yeah you know this quilt goes together really quickly it really does what 13 blocks yep it's very beginner friendly and then so much of the impact is the corner triangles of the floral fabric that's covering so much of the real estate of the quilt yeah the set to get all this impact with only 13 blocks I love it yeah it goes together super fast you want to go ahead and press it and then we can show like kind of I mean it's we'll show where the where the blocks go and talk about our borders we should do the opposite direction that's so cute I want to see it yeah how how fully pressed you on it at this point oh just just just a quick press is good just enough yeah you're good all right well that looks great so this is our finished block and they're so cute so you make four of these and uh nine of these all right and nine for a total of 13 these are 16 and 1 12 unfinished blocks so we're going to set them on point so the little the little peacock block are going to go here in the middle and then our star blocks are going to surround and that means that um that you're setting triangles have 16 and a half unfinished edges correct yeah something like that but then it goes together in rows so you start here and have one this row then this row this row and so forth yep yeah so we have borders we have 2 and 1/2 in and a 4 and 1/2 in um inner and outer border and look at this backing this Fab fabric is so beautiful so you'll need 7 and 1/2 yards for your backing and the quilt ends up being 80x 80 which I think is a great size I think that could go well on like a twin bed or a wall or a picnic quilt like it's great on a wall or LP blanket or I when I was a kid I had a convertible and I sewed myself a quilt to sit in the back to match my convertible oh my gosh that so cool and it was in the trunk but you know if we ever drove anywhere and we're cold uh-huh what kind of convertible did you have I'm just curious oh it was a 1985 Chrysler learon oh nice that's awesome that is so fun anyway it could be a convertible quilt there you go everybody needs a car quilt so whether it's a convertible or not I have I love to have a quilt in my car just for any you know maybe I just want to randomly sit down and have a picnic somewhere so it works out okay so we have a little surprise we did a second quilt that's completely Scrappy and um the information for that is included in this pattern so it's kind of a two for one but I want to show you how cute this quilt came out completely Scrappy it's the same collection wild yes just using all different fabrics and it looks so different doesn't it it's super cool it almost looks like the stars are kind of Medallion is let's hold up the bottom too you kind to see the fine what' you call those like Coral colors isn't it fun oh and one thing I almost forgot we have these cute little squares in the corners of the Border that's just a little 4 and 1 half inch square that makes our borders look extra special yeah this here we used the little peacock fabric super fun huh yeah and then let's show the back oh yeah I'm like I'm not sure and this this Quil ends up being the same it's 80 by 80 it's you know all the things are the same but the the fabric requirements for the specific Fabrics are included in the pattern which is so fun it's a bonus I think it turned out really cute okay all right so we'll set this aside we it yeah we're good we're good well thank you so much for joining us here today Heather it's been so great having you in town I have loved it you've got to come to Hamilton it's a fun place to hang out we have a lot of fun here um so we hope you enjoyed this tutorial on the Daydream quilt from Missouri Star Quilt Company bye thank you so much for joining me for this video today I hope that you enjoyed it and that it inspired your creativity and guys we're at almost a million Quilters strong in our community so if you know of anybody that you think might like to join us and learn quilting with us bring them on in put your arm around them and tell them to subscribe to our channel so that we can all learn and and grow together [Music]

More Fabric by Yard tutorials

See all