Fresh, modern, and tons of fun—that’s Jemima Flendt in a nutshell. Her quilt patterns are skill-stretching, confidence-building, and always fab-u-lous.
This week’s Denim Pockets quilt, made with simple strip sets and the mighty Equilateral Triangle Template, looks complex. But with Jemima’s expert tips n’ tricks, it comes together like a charm.
The star of the show is an ombré palette of pretty blues from Tula Pink’s Designer Essentials Solids. Pick up the kit and start making triangles!
Natalie is the host of Quilting 101, Embroidery 101 and the Creative Strategist and Editor of Block Magazine at Missouri Star Quilt Company. She was taught how to sew by her mom, of course, and began quilting when she grew up.
What is covered in Denim Pockets with Jemima Flendt?
Fresh, modern, and tons of fun—that’s Jemima Flendt in a nutshell. Her quilt patterns are skill-stretching, confidence-building, and always fab-u-lous. This week’s Denim Pockets quilt, made with simple strip sets and the mighty Equilateral Triangle Template, looks complex. But...
How long is the tutorial video?
The tutorial video is 00:41:15.
Are supplies listed for this tutorial?
Yes. The tutorial page includes the supplies and materials connected to this project.
Video Transcript
Hi everybody. I'm Natalie with Missouri Star Quilt Company and I have a special guest today. I'm joined by Jamaima Flint from Tide with the Ribbon Quilts. Hi Natalie. Thanks for having me. Can you tell us a little bit more about yourself? Sure. My name is Jamaima Flint and I'm from Tide with a Ribbon. I'm a quilt pattern designer, teacher, and author. And I can't wait to show you through my denim pockets quilt. Well, I'm excited about it as well. So, let's get started. [Music] All right. Well, I'm super excited to get started on this. So, what do we need to make our quilt today? All right. For our denim pockets quilt, what you're going to need is you're going to need some background fabric. We've got these beautiful tulip pink solids that we're using today, and we've got them in four different shades of blue. And that's going to be really important for our pattern. You've also got this beautiful binding fabric, which we've got. You're going to need your pattern, which has got all the instructions and everything that you need to know. You've also got the template. And it's important to note as well, you'll also find that if you don't have a template, you've actually got the paper template inside the paper. You can make it as well from what you've got at home. Okay, we're going to use some best press. We've got our equipment. So, we've got our ruler and our rotary cutter. We've got some pins, and we've got some number pins as well, which are going to be really helpful for our equilateral triangles today. That's so great. Um, so what we need to do to start our pattern is you're going to need to cut your um each of your blue fabrics down into strips. Okay? So, what you're going to want to do is you're going to make sure you've got your pattern instructions next to you and you're going to cut the required number of strips from each of the colors and they are width of fabric. So, they're the entire length of your strip, right? And you want to make sure that you put them together so that you ready for the next step when we come to sew all those strips together. Okay. And these are 2 and 1/2 in strips. That's right. So yeah, you could you could use pre-cuts essentially if you wanted to with other colors and fabrics. There are some beautiful versions that I've seen people make out of pre-cut as well. So yeah, they're fantastic to use. That's fun. Okay. And then also with your pattern, um there's several sizes in here. So you could custom make this to whatever size you want. Exactly. So, this is the large throw that we're making today. Um, there's also a baby size. Um, and that's so great. This would be such a cute baby quilt. Oh, and a table runner. Oh, table runner. That's awesome. That's so great. So, you could really start with a small project to kind of get your feet wet and then go from there. Absolutely. So, you can start out with a table runner and then you can Yeah. do that as well. All right. So, we're going to take all four colors and cut them into 2 and 1/2 in strips. And And the numbers are in the pattern. That's right. Um, what about our background? Are we cutting those into solid triangles or are they al they're not also strips? No. No. So, your background fabric you're going to cut down into your 8 and 1/2 in triangles. Okay. Um, which I'll show you how we cut our triangles when we get to our strip sets. Perfect. All right. The next step is sewing the strips together. Correct. Yes. Okay. So, what you want to do is you want to for each of your 2 and 1/2 in strips, you want to make sure that you lay them out in the order. Okay. So, sometimes it might be darkest to lightest. Um, we're showing you today we've got this beautiful blue. We're then going to our light light blue and then we go up in color. And what you'll find is the actual um colors that you're using really help to create that 3D effect in the pattern as well. So, it's really um that's that's what creates that design that you see with the lattice and the shapes through through the pattern. So, you want to take your strips. You're then going to take them at the full length and then you're going to sew these together. So, you want to sew your strips together. I like to sew them in pairs. Yeah. Um, which will help, too. So, I'll sew these two strips together. And you could probably chain piece and get all of these strips done. Yep. You can save some time there. Um, and just But they need to go back in the right order. Exact same order as long as it's consistent. That's right. Yes. So when you're sewing these, you're going to sew those four strips together. Um, and each of the strip sets are going to be the same. Okay? So that's repeated. All right? Now, one of the important things also when we come to sewing our strip sets is we're going to use what's called a scant quarter inch. Okay? So a scant quarter inch um isn't difficult to sew, but I've got a little example here to show you. Yeah. A lot of people have asked, "What does that mean? What is the word scant? What does a, you know, a scant quarter inch actually look like? That's right. Yes. It's not difficult to sew. And all that it means is you're actually just sewing a couple of threads threads width. Yes. On the inside of your regular quarter inch seam. You can see this one down here is the regular quarter inch. And this one just sits on the inside of where the seam would be. It's that just just that tiny amount, just barely in. And the reason that we do that scant quarter inch is because by the time you've sewn these strip sets together, what will happen is you press them and there's that little fold from the from pressing. And what that does is that it will mean that you have an correct strip set size when you finished pressing them. Right. We want this to come out to 8 and 1/2. We don't want to have to trim it down or have it be too small. Yeah. Yep. So you want to make sure that it's the correct size so that your template will cut correctly from this strip set. Awesome. And a scant quarter inch seam is important on the strip set. That's right. You don't need to use it later. Yeah. You said every other area it doesn't your regular quarter inch seam as long as you're consistent will be totally fine. That's right. So just the scant quarter inch for your strip sets. Excellent. Great tip. So, here we've got our strip set already prepared. Okay. And you can see that they're fairly long. So, yes. The um other tip that I like to always tell people is that not only do you need your scant quarter inch, but you also want to make sure that you're setting your seams when you're pressing as well, cuz that helps with warping or stretching. You don't want things to get kind of ruffly. No. It keeps those lines really nice and straight and it means that you'll have those um nice straight sides so that when you're cutting your templates, nothing's sort of warped or sort of shifting or anything like that. Do you worry about um like the direction that you stitch where if you start on one end, then you flip the next seam to go backwards? I've tried both methods and I've found that the thing that actually makes the difference is setting your seam. Okay? So, if you set your seam, it really doesn't matter if you start with them all in the same direction. Mhm. Um it's I find that it's setting a seam that will always make the big difference. Well, excellent. I'm glad to know that. Now, with your strip sets, what we're going to do is you're going to need to very um carefully pay attention in your pattern because depending on the cut, we're now going to need to cut different triangles from our strip sets, right? And that is so that you have the correct number of strip sets with the um base of the triangle, the dark blue, and then the base of the triangle in the opposite direction um for the triangles as well, right? Okay. Otherwise, you won't end up with the right amount and you'll end up needing to make some more strip sets. So, make sure you That's good to know. So, pay attention to the way that the amount that you're cutting um and which color needs to be at the base. So for this for this we're calling it a dark blue and sort of a light or medium blue. Um but yeah you have to have to have certain number of each in order to get this effect. Yes. Okay. So with your template, you've got your strip set. What we're going to do now is we are going to cut these down into our 8 and 1/2 in triangles. So to do that, what you want to do, and this is where you'll really notice um whether your sewing was really nice and spot on um because you want your template to lay down and you want it to really sit perfectly on top of your strip set. Yes. So that you don't have to chop, you know, take off anything. Uh when you're using your template with your rotary cutter, we're going to trim the side. Okay. We also want to actually take off these little um straight sides at the corners. And then you want to make sure that when you cut um on this other angle that either you're turning it around so that you're never cutting towards yourself or that you're really moving out right out of the way so that you're not cutting back towards yourself. Yeah. So a spinning mat would probably be helpful or a smaller mat that you could just turn and spin around. Y but really it's a I mean with the template you can't go wrong. No. So, you can see here how we've got the darker blue at the base and makes the largest piece. So, in the pattern, it gives you the total number of these pieces that you'll need. And then you'll see when we cut our second piece here. So, all you need to do is you just need to turn your template around so that you've got your largest side at the top. Right? And we place it down again on top of your strip set. Mhm. And then we're going to cut that side. You're going to straighten off the the edges, those little notches. Yeah. Which become really helpful later on. So, yeah. Very helpful. Yes. So, in the pattern, you're going to need to make the prescribed number of triangles with the sorry, with the base at the bottom. Mhm. The dark the dark blue. And then the prescribed number of triangles where you've got the lighter blue at the bottom. So, it's important to note that when you're cutting your strip sets, you can see we've got our lighter blue at the beginning. So, it makes the larger portion of the scrap piece that's left over. And you can see here you've got the darkest blue. Mhm. When you have made the correct number of strip sets from that side, what you'll need to do is you'll actually need to make sure that you turn around your strip set and that you'll notice when you start your cutting from this way, you will actually have the dark blue at the top. I think I understand. So, some of the strips you're going to start with the dark blue at the base. Yes. And you'll cut both directions, right? Because that's efficient. And you'll set them in piles. And then at some point you'll you'll flip that strip and cut from the other side in order to get the right number and it works out. That's that's amazing. I'm glad that you've done the work for us because that would be something I would be like I don't know how to calculate that. Yeah. Otherwise, because of how um the pattern is designed, you'd end up having to make more strip sets, right? And you'd have a lot of um extra waste. Okay. Okay. Yeah. So, just read that part carefully. It should be pretty um pretty easy to understand because we've talked about it. But yeah, that's important and it matters. So, yeah. Cool. All right. So, once you've got those pieces, what we're going to do is we're now going to lay out our rows. Excellent. So, you're going to sew all your strips, cut them all into the triangles, make your piles, and then lay it out. That's it. I love it. So, here is one that we have prepared earlier. Okay. Now, in your pattern, it gives you the number of eight and a half inch background triangles that you're going to to need. So, that's all written down there for you. And then also, um, these are the pieces that you can see that we have cut. And I've already gone ahead and I've laid those out in the direction that matches our first row. Excellent. So, um, for this layout, you want to watch that diagram really carefully because the strips go different directions throughout each row. That's right. to create the pattern. Yeah. So, for this one, these two these two triangles are both lining up, right? That's right. And then this one goes in an opposite direction. So, yeah, as we as we lay out our quilt, um that's very important to watch. So, use that diagram, the row layout guide, and you'll be able to follow that. I like to stack them up so that they're all ready to go, so that I know that I've got them in the right order as well. And then that way I've kind of double checked that I've got them in the right order and that they're ready to sew. Okay. The other thing that I really love to use and that are really handy are these number pins. Oh yeah, those are so great. Much better than my Post-it note method. Um, these are really handy. It means that you don't have to keep writing Post-it notes all the time. Um, but the not only does it tell us what row number we're working on, but it also really helps with the triangles. We're working with the bias of the two sides of the triangle in the fabric. So, what it actually helps to do is it helps to keep the direction of the triangle how we would like it so that you um have the bias on the sides and that you're not really having to um worry too much about that bias shifting or that um anything sort of moves or warps as you're sewing. Okay. So you like to make sure that there are the they're straight grain. Yes. In that. So when the top to bottom that way you reduce stretch. Okay. Yeah. So when you actually take your triangle, the way to always test that is if you actually just gently pull this here, you can see how there's no stretch at all. No. Where if I've accidentally picked it up in another direction, you get a lot more stretch. And that's the bias of the fabric. Okay. Yeah. Nice. So having your bias um you want it on the angle on the angle instead of up and down. Yeah. I've got the pin there to make sure that I always know that that direction. Yes. Okay. That's excellent. I love that. So we're going to go ahead and we're going to sew these together. Okay. So I like to take the first one and then this second one here, which is the white one. We're going to lay it right sides together. Okay. And this is where that little um cut line up those notches. Lining up that notch and that straight edge on here really helps. We're going to put some pins in the side. Okay. I imagine that these two are going to be pretty easy to stitch together. There's nothing to worry about. You don't have to worry. Straight seam. That's it. Um when we get to the stripes, uh let's talk a little bit about keeping those points and give me some hints cuz I'm a little worried about it. So, the pins also help us to see which side we're actually going to sew so that we don't actually end up turning it around or accidentally pick it up and turn it to the machine. Yes, I've done that many times. I'm going to get you to sew down that side of the Okay. seam. Pull these pins out as I go so I don't hurt myself. All right. So, we've now sewn on that first side. Now, you can go back to your regular 1/4 in when you're sewing your triangles together. Okay. Good. Just as long as they're consistent. That's right. No stress about scant seams here. No, we only need those for our strip sets. When it comes to sewing your triangles, you can go back to your regular 1/4 in. Right? You can see already how useful that number pin is because it already meant that I knew which way we were going and which way we're going to lay the next one. Now, what we want to do when we go to our second piece, I just like to finger press them. You don't necessarily have to get up to the iron every time, right? I like to just finger press them and then I'll actually press the row when I get to the end. Okay? If you prefer, um, it's like most things, you can always press the seams open if you prefer. You certainly don't have to press them to one direction. If you like to do it the other way, this pattern will really allow for you to be able to choose whichever way you want it. It's a little bit more relaxed and you can choose whichever direction you want. So, what we're going to do, and this is where you it really becomes important knowing which triangle um is ready to go down next because we need our largest um medium blue here. And we're going to place that right sides down. Okay. Onto our white triangle, matching up that notch at the bottom. And that helps you get it exactly where you need it up here at the top as well. Right. Gives you that nice quarter inch seam and a bit of a guide that you can see with your eye as well. Perfect. I love that. Now, just make sure when you get to those pins that you take them out. We don't run over them. Perfect. I will don't want any accidents. No. Great girl. So once again, I just like to finger press the seam towards the right just to keep it nice and flat whilst I'm working for the and getting ready for the next triangle. Now, this is where we need to pay attention to us placing the next triangle down because this is where we start to create the those longer lines effect. You want those seams to kind of disappear. That's right. So, if you actually place these next to each other, you can actually see they look like they don't go together. Yeah, I'm a little nervous. Don't be nervous because what happens is when you actually place these right sides together Mhm. and we use those straight edges of our template that we cut earlier. Right? What we're going to do is we're going to line up that side. And then we just need to turn this around. And what we want to do is we want to look at where our seam lines are going to run. So I actually will run pins at each of those seam intersections. So what I want to do is I want to open this out. And you can see how just by taking a bit of care, see how they match up because the actual sewing line is at 1/4 of an inch. Okay. So once I've got that set, then I'll place a pin in that intersection. Mhm. To make sure that it's held in place. Excellent. And because I want those seam lines to run just like they were actually originally nice and straight in one piece. I want these to look like that as well. So just by taking that time to make sure everything is lined up really nicely at Oh, that's that's a really beautiful way to do that. Yeah. At the quarter inch line. Appreciate that. And again, just pinning. I like to pin on the angle. Uhhuh. And just things from shifting. Yeah. And now we're going to do that with our last one. Perfect. And if you've pinned it, they look so good. Yeah. I hope that I can stitch it and keep it just right. Well, that's what creates the effect because it's not actually made from long strip sets at all. It's made No, but from from a distance, it looks like you've got these long strips going through. That's right. Such a great effect. All right, here we go. Take those out. Just want to make sure that that seam stays pressed the right direction there. All right, we'll see how it All right, moment of truth. I hope it worked. I hope it worked. Not too bad. That looks really good. Well done. Okay, I'm not that embarrassed. Yay. So, you can see here how just with that time and and that pinning placement, you can see how we're actually starting to now get what looks like consistent lines. That's so cool. Looks great. So, finger press that um seam down. Again, you can use a seam roller. If you much prefer, you can take it to the iron each time. Some people don't necessarily like to sort of get up between each piece. Yeah. Yeah. Um, but I just find finger pressing it works just fine. Okay. Now, the next one is really quite easy because when you come to the next triangle in the row, you can see we don't have to line up every anything. So, these ones are the fun ones because you know that you can sew them a little bit quicker. Y. And so, you're going to place it right sides together. Okay. You can pop your pins in, but you don't need quite as many, right? Just to Well, you know, two or three just to get started. Yeah. You want to make sure that that seam at the top is underneath as well, so that you don't twist that seam when you start sewing. Excellent. So, now you're going to sew that line. Okay. It's always handy to trim those off as well as you go. Yes. Yeah. Yep. All right. And you can start to see how we've got that the pattern starting to to form. And you can see how those already are the same as our first row up on our pattern up the top there. Got to double check. Yes. Yeah. Okay. So, what we're going to do now is we're going to continue sewing down the row. We've got our pieces all ready. And so, what we're going to do is we're going to continue in the order that that we've laid them out following that row layout guide to make sure everything goes together in the right order. Okay, let's go. All right. [Music] And then I have another question for you. So if these get off Mhm. is there a way to know whether it goes one direction or another whether your seam is too big or too small? So what I found is when you have a situation where you don't have a seam that you're particularly happy with, you don't necessarily need to unpick it. What I've actually found is if you turn back your seam, what I find sometimes is if you run a line just a little bit past, usually you'll actually capture the seam really nicely. So, typically you're you're saying it it might be that your seam is too narrow and you need to add another one next to it just like like almost a scant seam, right? Because it's probably not by very much. No. And it's just by a very small fraction, but I found if you actually sew that little section first before you start to pick anything, just to make sure that you've got it, you'll find most of the time that that actually then brings that. That's really great to know. I've often had my seams not quite line up and been very frustrated when I try to figure out, do I make it bigger or smaller? Do I slide it up or down? Like, how can I make this match? So, I really appreciate that. Yeah. sewing it first um before you start unpicking anything will potentially save you any trouble because these are all on the bias as well and picking them out is going to get messy. Make it harder. Yes. Okay. Well, I appreciate that. Thank you. It's a good little tip. How we going. It's okay. Yeah. Next one. Don't forget we've still got to press them. So, they actually look really, really good. Okay. Okay. So, this next one again becomes really easy because you don't have to worry about lining up any seams. Right. Perfect. Press that to the right. Okay. [Music] [Music] Alrighty. Well, that is our first row. That's so great. And you can see how we're getting that color come together. So, we're now going to take this row and we're going to press it. Right. And you always start by setting your seams. That's right. So, I'm going to take it back and we're going to set the seams first. It doesn't matter too much where we've got the intersections. We're just going to set them as best we can without sort of doing it too much. Okay. Once we've got the seams set, which is pressing the seam in the direction that you've sewn it in. And what that does is setting the seam really allows that top and that bobbin thread to really connect together so that nothing will shift or move and it makes a really big difference when it comes to keeping everything nice and straight. Awesome. And preventing stretch along the way. That's great. So, I'll go along and press the pieces first. Love that. Don't want to be rough either with pressing them. Everything's on the on the bias, so you just want to be nice and gentle. Don't be too heavy-handed when it comes to Yeah. this step. And then what we're going to do is we're going to turn this ironing board around. Excellent. To give us some extra length because what we're going to do now is we're going to press our seam all in the same direction. Okay. And you like to press to the right. I do like to press to the right. Excellent. Um I've done that for all all of my equilateral triangle quilts. Um if you want to um press the seams open as you go, you can certainly do that as well. It really doesn't doesn't matter. Just preference what's for you. Okay, great. Because you've sewn the seams in in that direction, it should be quite easy to press them in that direction as well. So that there is our first row all complete. All right, that looks great. So, you can see Yeah. how that color is coming together. And and these stripes look like they're going to be nice and long. Yes. So, once you've completed your first row, what you're going to do is you're going to continue down the rows working through the pattern. You can lay it out first if you like as well on a board or in a space that you've got at home. So, if you prefer to do that, um otherwise you can sew them for each of the rows. So, here is our second row. Wonderful. We've also used those number pins and you can see how when we place our second row down, how we start to have even the the colors start to make an even longer line as well. So, right. And and so another thing, so this triangle, we start with the wide the wide side. Well, I mean, they're all the same size, but we have a wide at the top and a narrow at the bottom. And then row two, we've narrow at the top and wide at the bottom. That's right. They alternate. And that is part of how the the whole thing goes together. Right. Okay. Yes. So, because you So, it's important to notice and that's also why those number pins and their directionality is so important. That's right. Because if you pick up the opposite side and put it on here, you would actually not have that continuation of the colors. It wouldn't go the right way. So, we're going to sew these rows together now. So, what we want to do is we want to take the first row and we're going to place it on top of our second row. And now, what we're going to do is we're going to match up the seam intersections. Okay. Now, with this particular pattern, there's a couple of places that you're going to want to make sure that you put some pins in. Be very careful. Yeah. Because you've already spent all that time making sure that you've got that continuation of color. And that is also important to continue as these rows get joined. So, when you're putting your rows together, what we're going to do is you want to make sure that your seams um match up and line up really well. Mhm. And then we're going to put a pin. I like to put the pin in on the angle. Okay. Like you saw earlier. I think that's a great tip, too. Rather than going straight up and down, going at a little angle, it probably gives a little bit more stabilization. Yeah. Well, it also means you can sew up to it a little bit closer before you take the pin out because we don't want to sew over the pins. So, when we get to this next point, you can see how we've got lots of points in the triangles that we've made, and we want to keep those nice and um pointy. Essentially, we want we want it all to line up. So, you want that little point. Yes. So, what we're going to do is we've got the seam allowance at the top of both of the raw edges. So, when you put that together, just very carefully, take your time. And if you roll those together, you'll notice that they actually come together. Mhm. And then you're able to place a pin in that point. Perfect. So it's you want it want to pay more attention to where it's lining up at that intersection rather than maybe if it's slightly out at the top of the raw edges because it can shift a little bit just through sewing and pressing. So you want to then as we go along this line, you're going to do the same where you want the lines to match up as well. So we're going to place a pin also here. We're going to do that here as well. There's quite a few little intersections on this quilt. Yes. Once you've got a handle on it to start with. Yeah. Um they're not tricky. They just take a little a little bit more patience maybe. Yeah. Yep. Just a little more care. Plan on having time. Yes. Slow it down. This is one of those ones. So we want to make sure here at that quarter inch that it's also really nice. And slide it a bit. Make it wiggle it into place. Y. And now we're ready for our next main triangle. So again, just making sure that everything is lined up and that you've got the two colors of the triangles that come together in the points. So we're going to go along and we're going to add some pins to the row. Check this one. I'll let you do some of those. All right. Or all of them. Um, with this I found this line. Oh, actually tends to line up. So if the edge of your fabric is at the seam intersection, then it should match line up. Yes, that's a great tip. It's a little hard to describe until you've got it in your hands, but if you've got the outside seam line with the where the seam intersection runs, then it in theory, if your seams are consistent, yeah, pinning tends to also help keep the seams laying flat in the direction that you've pressed them so that as you're sewing through the machine, that's very helpful. It doesn't they don't flip or turn. Mhm. No, that can be a struggle sometimes. I I'll think I've got them all lined up and then I flip it over and I'm like, "Oh, I twisted that seam. Darn it." And these fold up really nicely so that you can actually just pop that there. Excellent. So that you're ready to sew. And now you're going to sew that seam at a quarter inch. Okay, here we go. [Music] So once you've sewn your seam down the entire length, what we're going to do is we can have a look and we can see How? Oh, look at that. Cross our fingers and hope it's Oh my goodness. lines up pretty well, mate. Look, that's great. So, you can you've done it like a fantastic job. You can see here how all these points are lining up really nicely and we have that beautiful consistent line down here. Oh, that's beautiful. So, next next up, we're going to press. So, let's set that seam again so that everything's nice and straight. Okay. And now what we're going to do is we're now going to press the seam open. Okay. I really love quilts like this that just look so complex. And when you get down to it with a little bit of, you know, slow down, take your time, follow the diagram. It's really just it's not that challenging. It's just a bit easier than you think. Yeah. With a big reward. Yeah. Well, equilateral triangles are definitely not tricky. They're just a bit of care, bit of patience, and the tips that we've talked about, and you'll be set. Yes. Nearly at the end of the row. Tiny little edge. Yeah. All right. So now when we turn this over, you can see here how we've got these points that match up beautifully. Excellent. And then we've also got how the rows are starting to make that consistent pattern. So you've got those long strips that are starting to form and we've got these beautiful points. Oh, so great. It worked out pretty well. Yeah. All right. Now, what you're going to do with each of the rows is you're going to continue that same process. You're going to make sure that they're put in the right order. And then you're going to sew them just like we showed you. And then you're going to continue down the row following the row layout guide. Putting two together and then joining four and then the two halves of the quilt. That's right. Yes. So take the bottom half and the top half and put them together so that you don't have anything that's particularly weighty and it's a lot easier to handle through your machine as well. Right. Right. All right. So if we if I hold this end Yes. and you hold this side, then we can show. So, this is just the top two rows. Oh, it's kind of high up, but that's how it looks. And then we have these little triangles that stick out. So, we need to trim it, right? Let me show you um what we do with those. Okay. Excellent. So, in the pattern, we're using the full triangles on the sides of our quilt. What we want to do is we want to make sure that we've still got this seam allowance on the edge. You can't just trim off wherever you like. You need to make sure that you've got that. And that is for your binding. Okay? So that everything um is really neat. And for any of the sides where you've got a color, you actually will have a diamond and you want to keep that point with the binding so it's not trimmed off. Okay. So So we lay that out. We make sure we keep a quart of an inch from the first point in the row. You want to line it up with the the line at the base. And then we, you know, you can check the top. You can check your seams. And then when you And then just trim it straight off all along the whole quilt. Yes. I like to So do that when the whole entire quilt is complete. Yes. Yeah. That way in in case anything happens, quite a bit of extra effort. Yes. Okay, I'll do that. Let me make sure that's straight. Okay. And just like that, we've got a nice straight edge. That looks great. So, there you've got the top corner of the quilt. And that's as easy as the denim pockets quilt actually is. That is so great. It's so much easier than I thought it was going to be. I love it. All right. So, we've got this quilt quilted in um chevron tumblers. It looks like Yeah, it looks great. Really beautiful like kind of a light blue tealely color. It looks so great. I love that. Yeah, it's come together so beautifully. And with that light just that little print in the binding looks really great. Oh, I love the print on the binding. That's a beautiful little Tula pink. One of her true colors. So great. Yeah. Well, this has been so delightful. I've loved making this quilt with you and I'm so glad that you were able to come out and visit us. Thanks for having me, Natalie. It's been so fun to show you and share with everyone how easy the dinner pockets quilt is actually to make. And it really is. It's much easier than it looks, but it has a it gives you this great look for the quilting. It's beautiful. Thank you. All right, so um where can we find you online to check out other designs? Yes, you can find me at tidewith ribbon.com. You can find me on the socials at Instagram at Tidewith Ribbon and all of the other socials at Tidewith Ribbon. Oh, that's excellent. All right. Well, thanks for having me. My pleasure. 100%. It's been so great and we hope you enjoyed this tutorial on the denim pockets quilt with Jamaima Flint from Tied with a Ribbon and Missouri Star Quilt Company. Thank you so much for joining me for this video today. I hope that you enjoyed it and that it inspired your creativity. And guys, we're at almost a million quilters strong in our community. So, if you know of anybody that you think might like to join us and learn quilting with us, bring them on in, put your arm around them, and tell them to subscribe to our channel so that we can all learn and and grow together. [Music]


 Natalie Doan
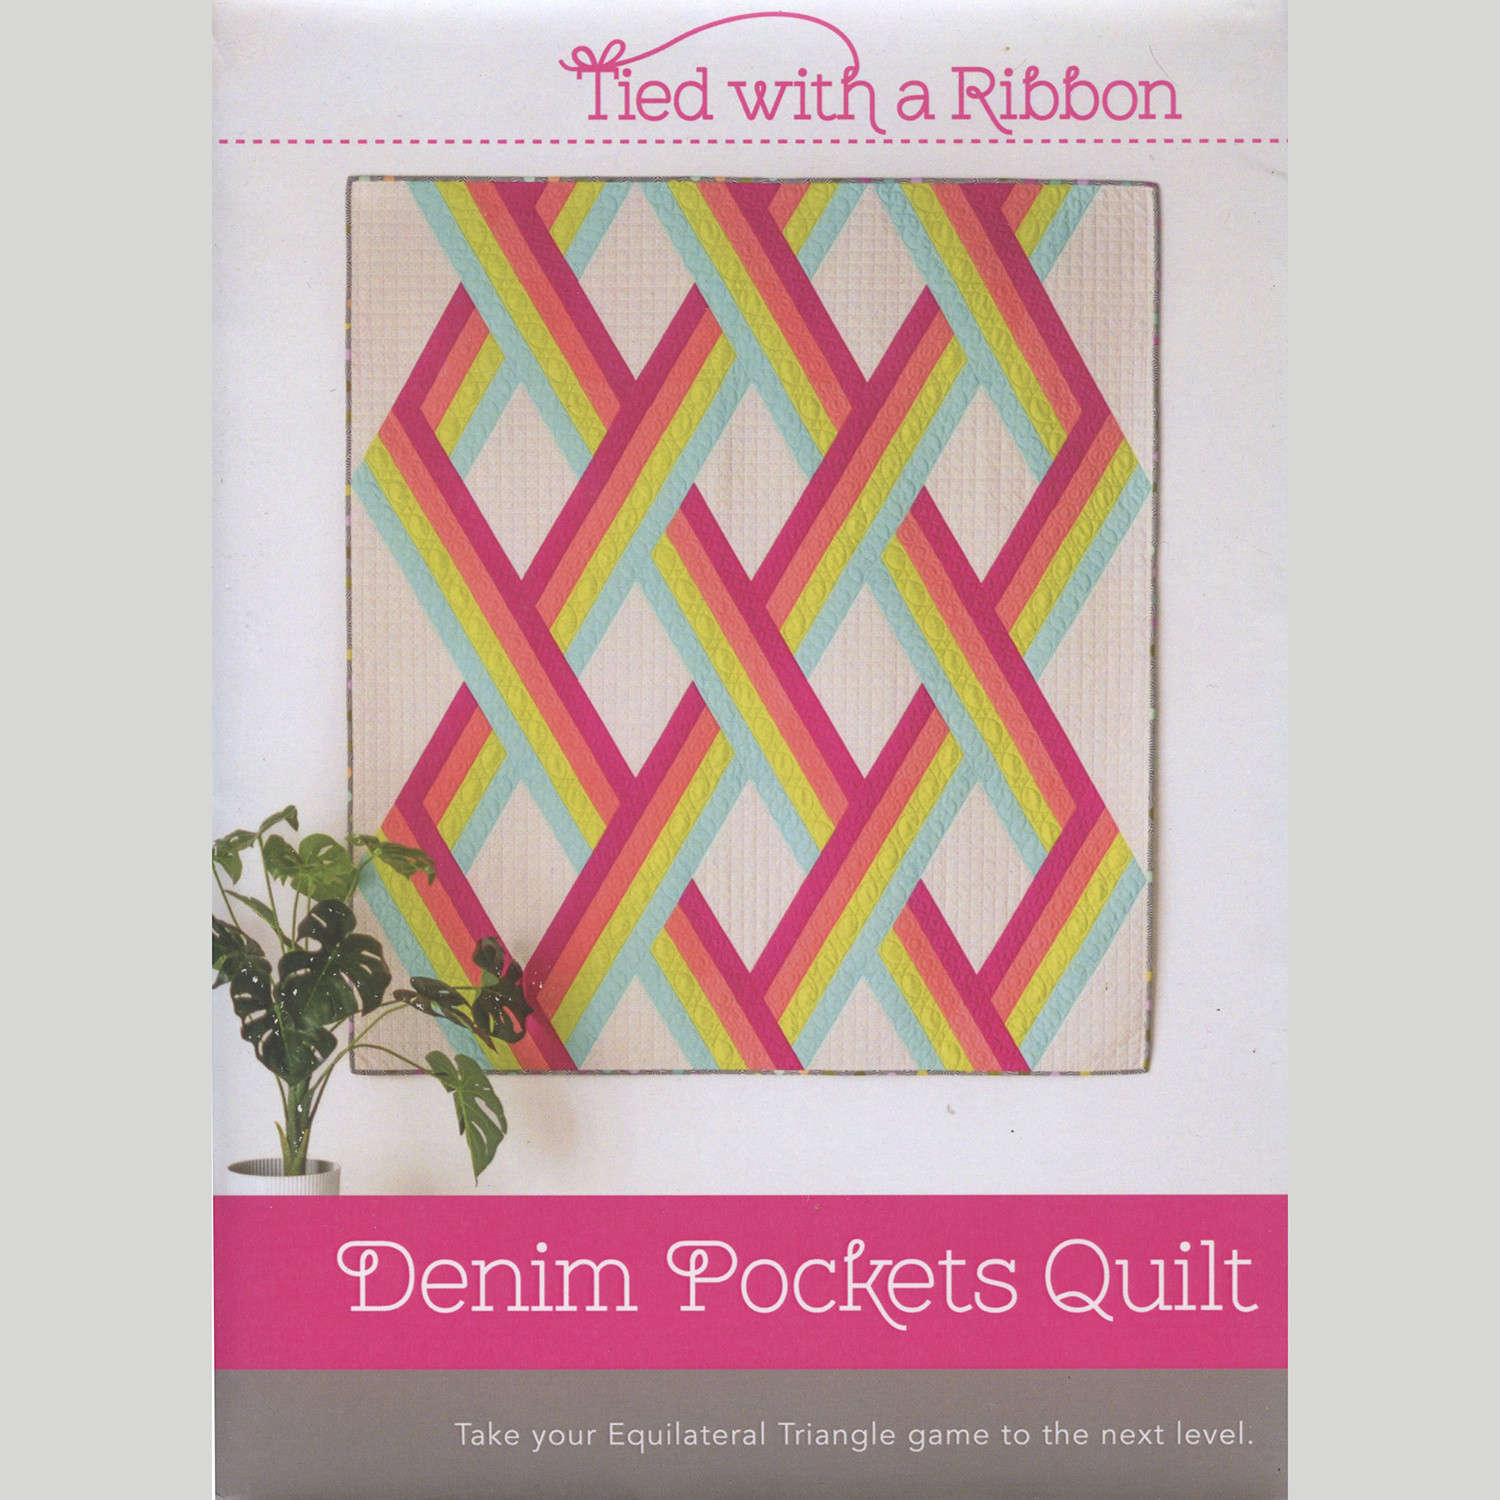 Denim Pockets Quilt Pattern$13.75Shop →
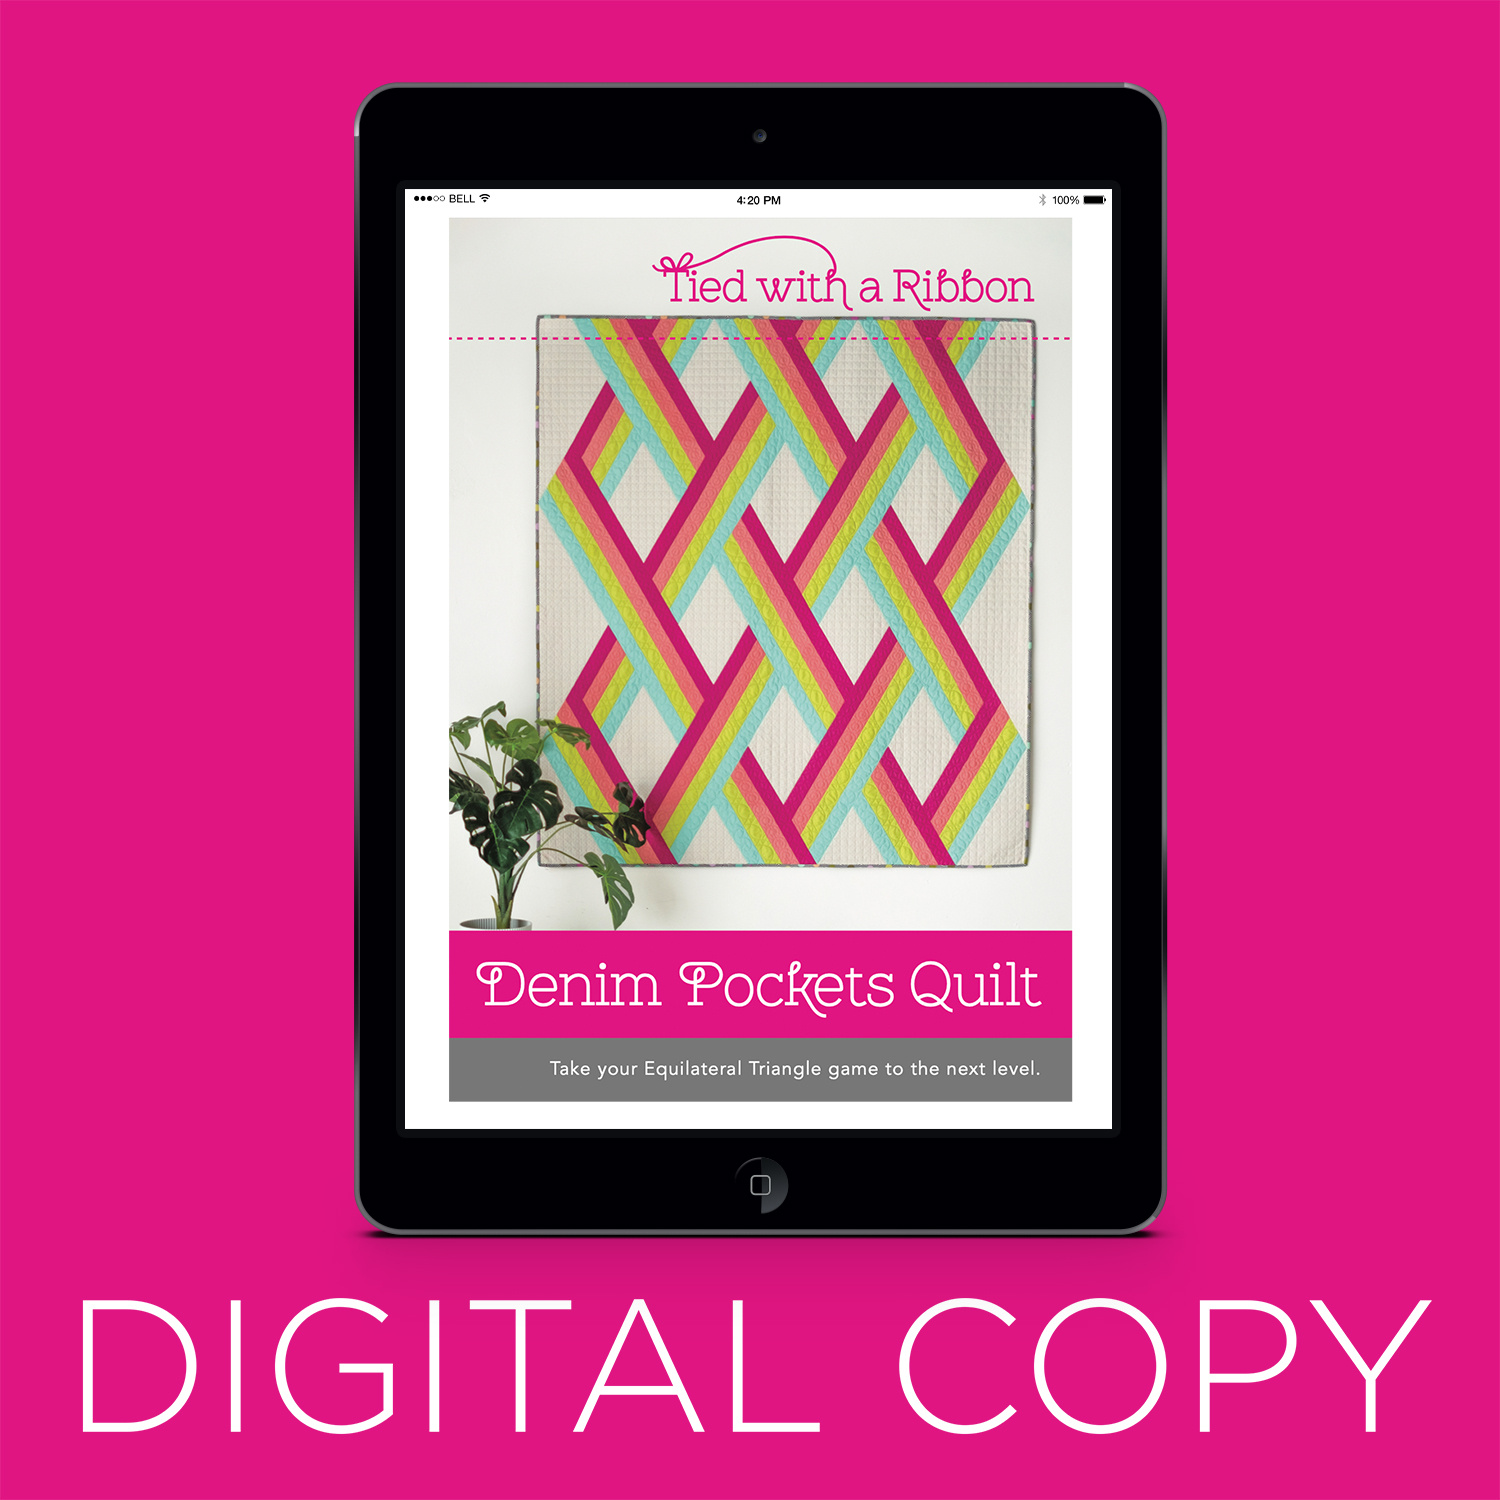 Digital Download - Denim Pockets Quilt Pattern$13.00Shop →
 Denim Pockets Quilt Kit$85.95Shop →
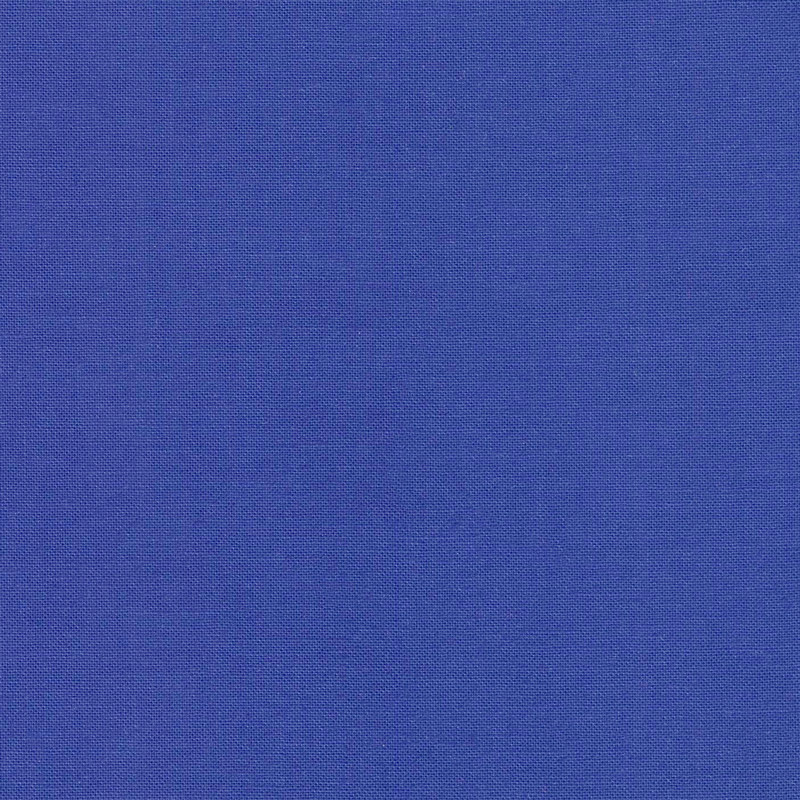 Designer Essential Solids - Sapphire Yardage$8.64Shop →
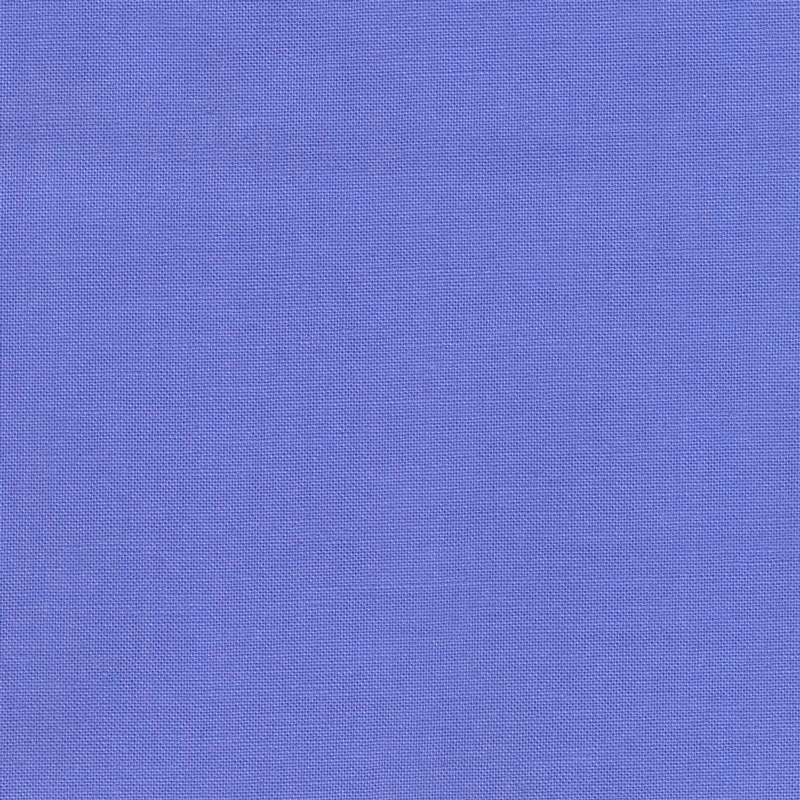 Designer Essential Solids - Iris Yardage$8.64Shop →
 Designer Essential Solids - Cerulean Yardage$8.64Shop →
 Designer Essential Solids - Cornflower Yardage$8.64Shop →
 Designer Essential Solids - Arctic White Yardage$8.24Shop →
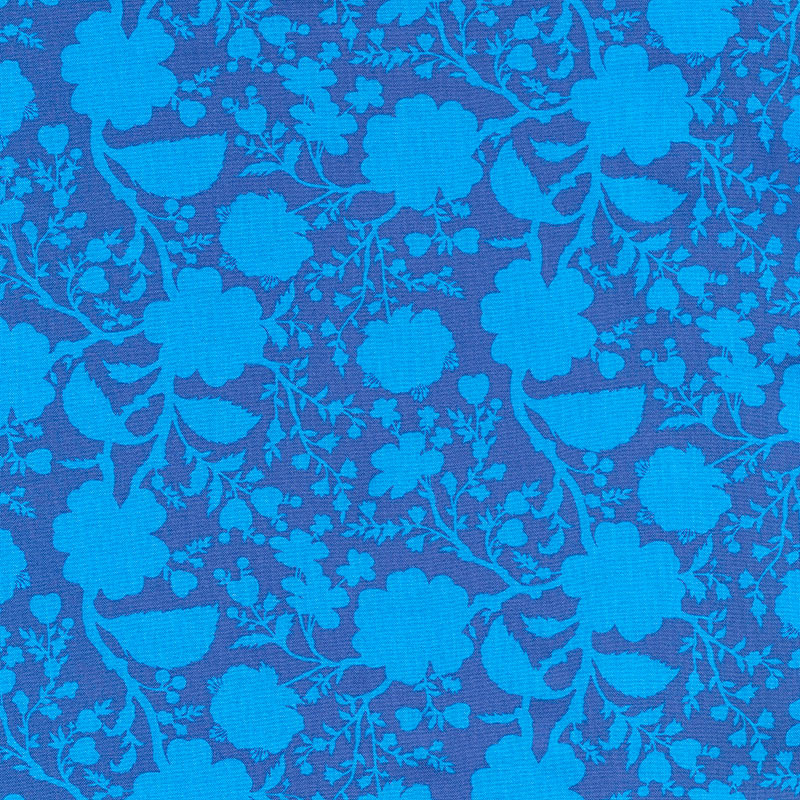 Tula Pink's True Colors - Wildflower Anemone Yardage$13.00Shop →
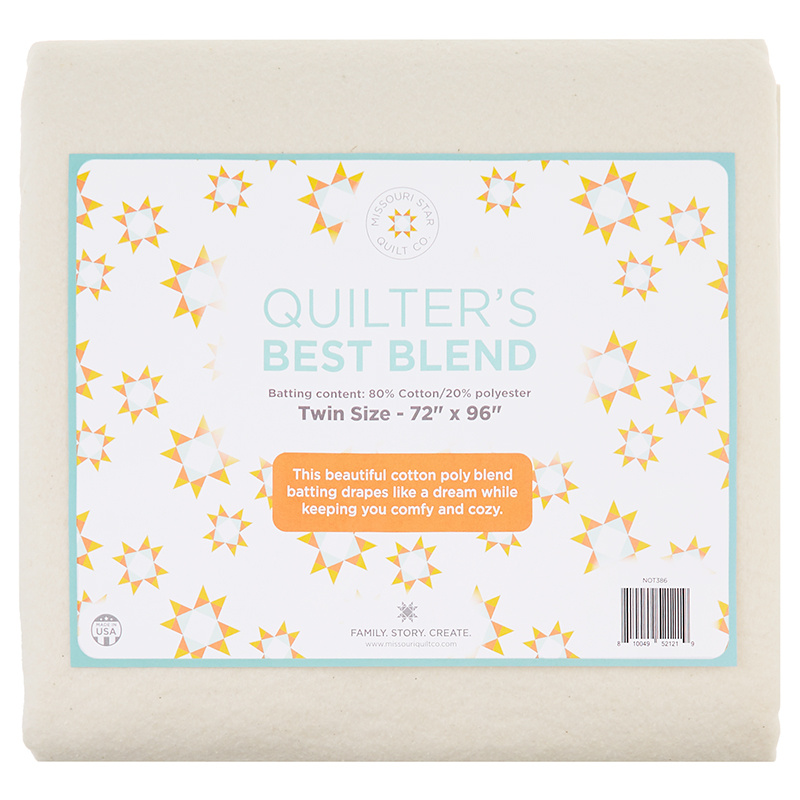 Missouri Star Quilter’s Best Blend Twin Batting$26.95Shop →
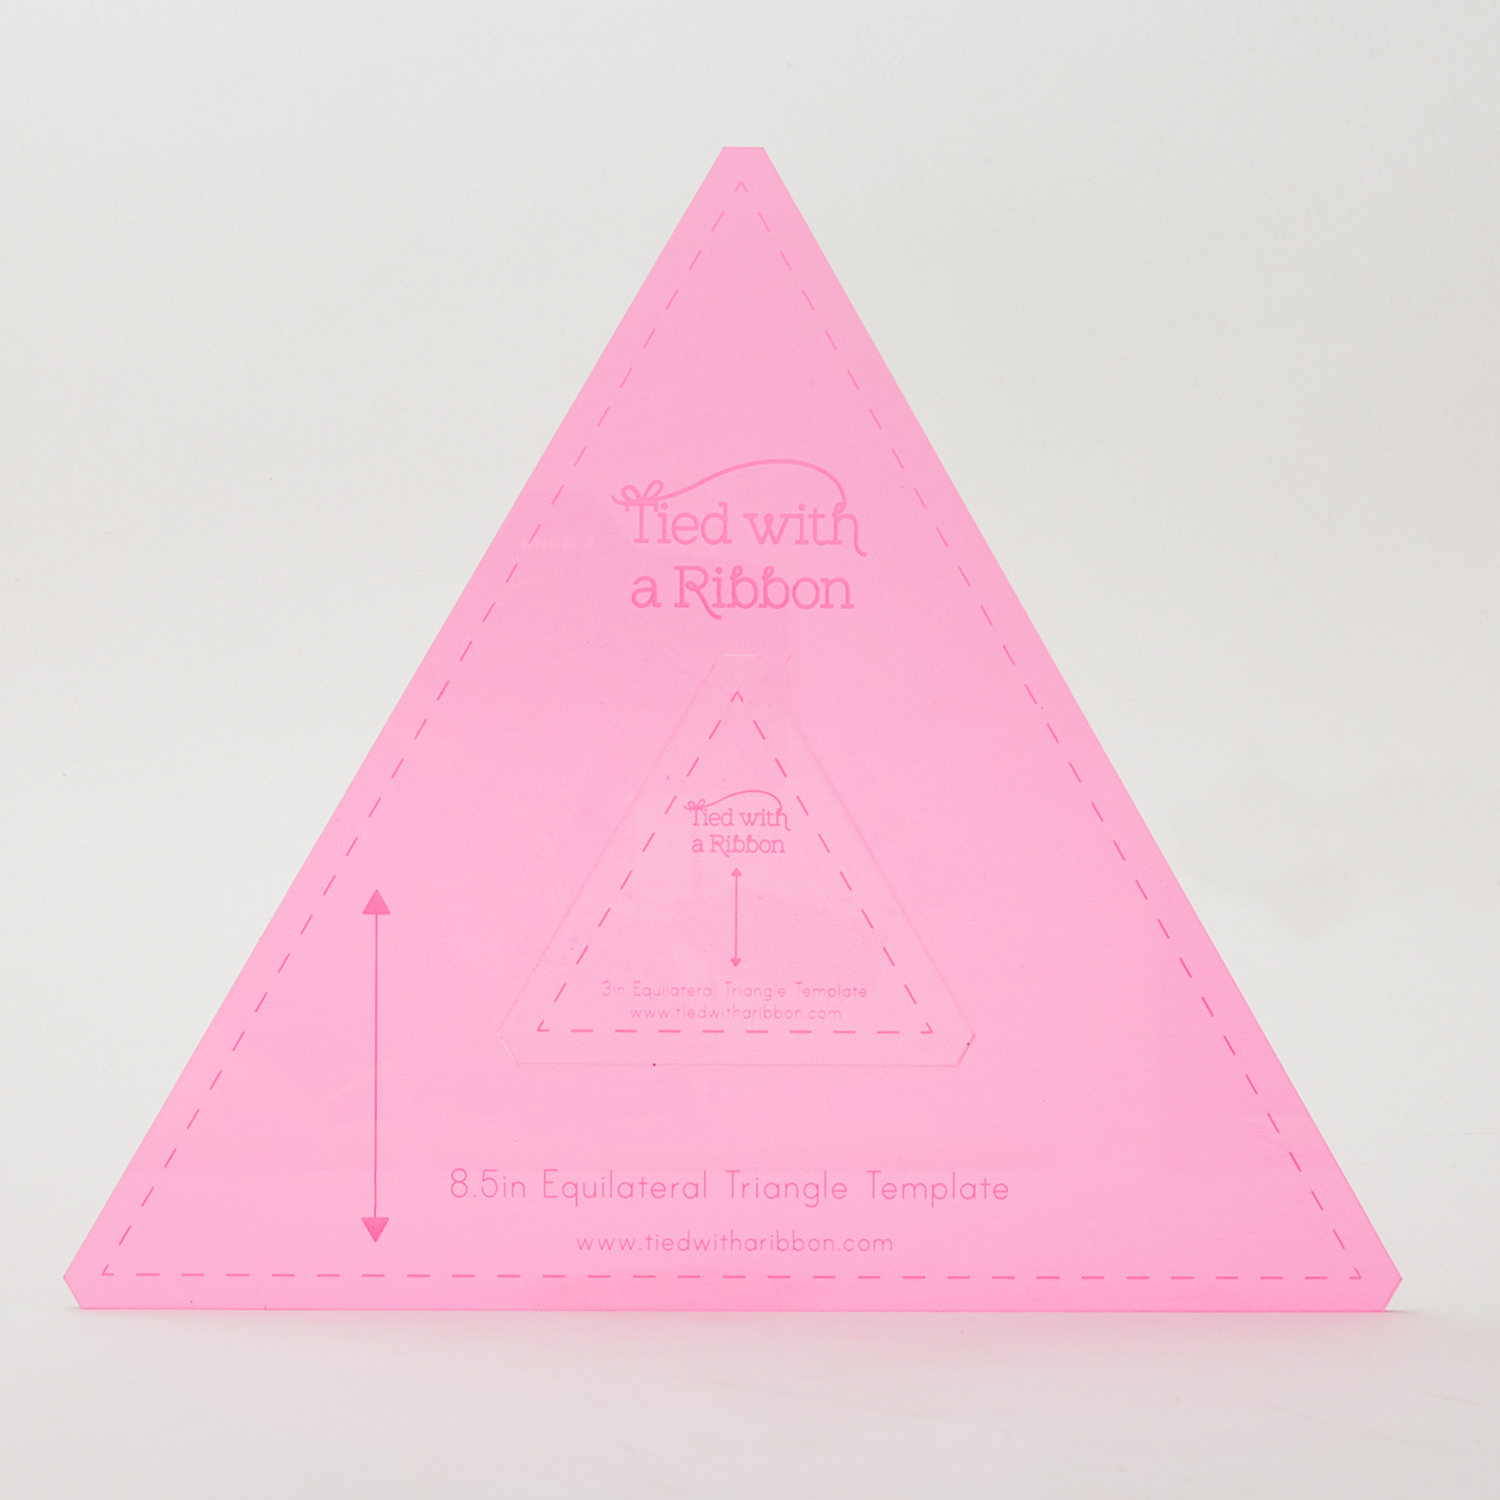 8.5" & 3" Equilateral Triangle Template Set$22.75Shop →
 Olfa Splash Aqua 45mm Rotary Cutter$18.95Shop →
 Missouri Star 8" Everyday Scissors - Amelia$19.95Shop →
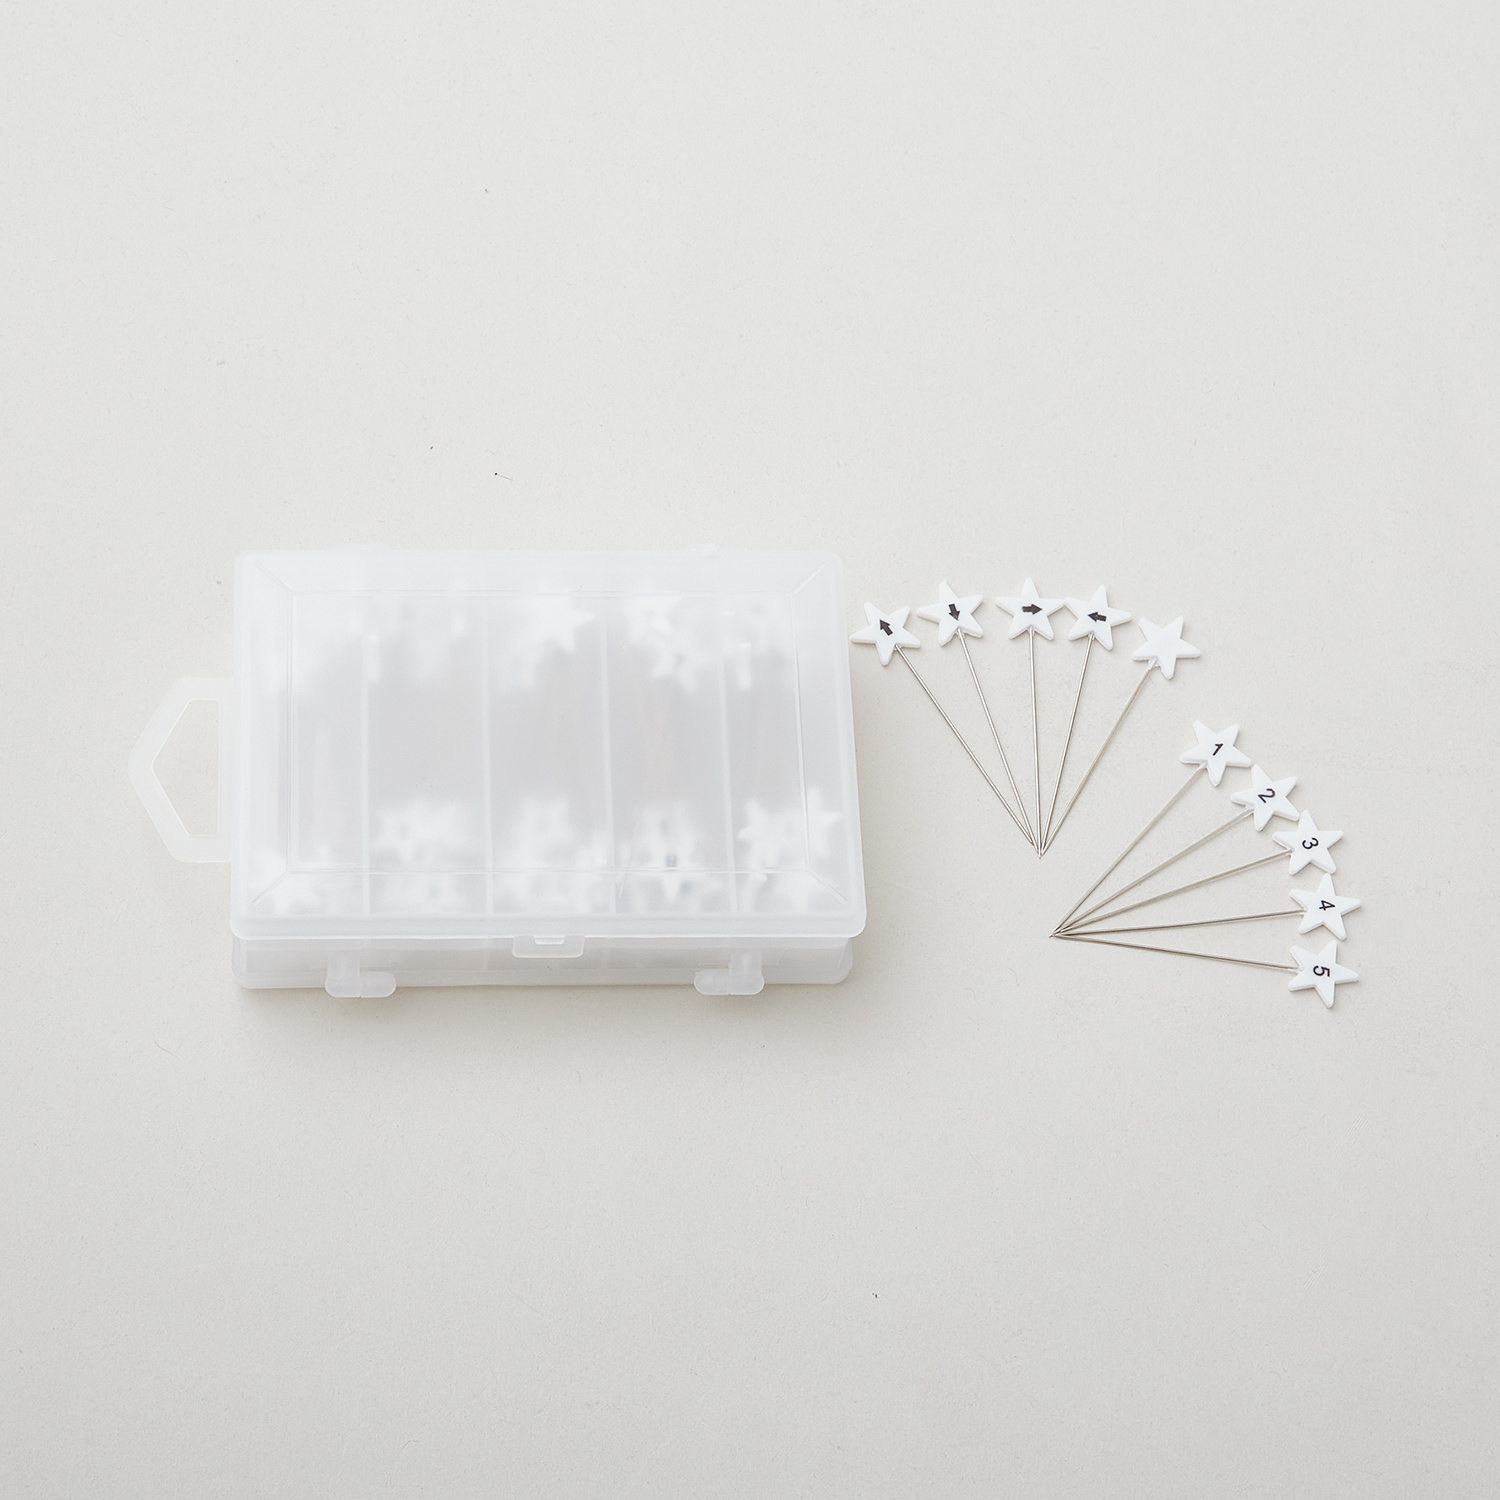 Flathead Star Numbered & Directional Pins - 115 ct.$22.45Shop →
 Best Press Spray Starch Scent Free 16 oz$9.95Shop →
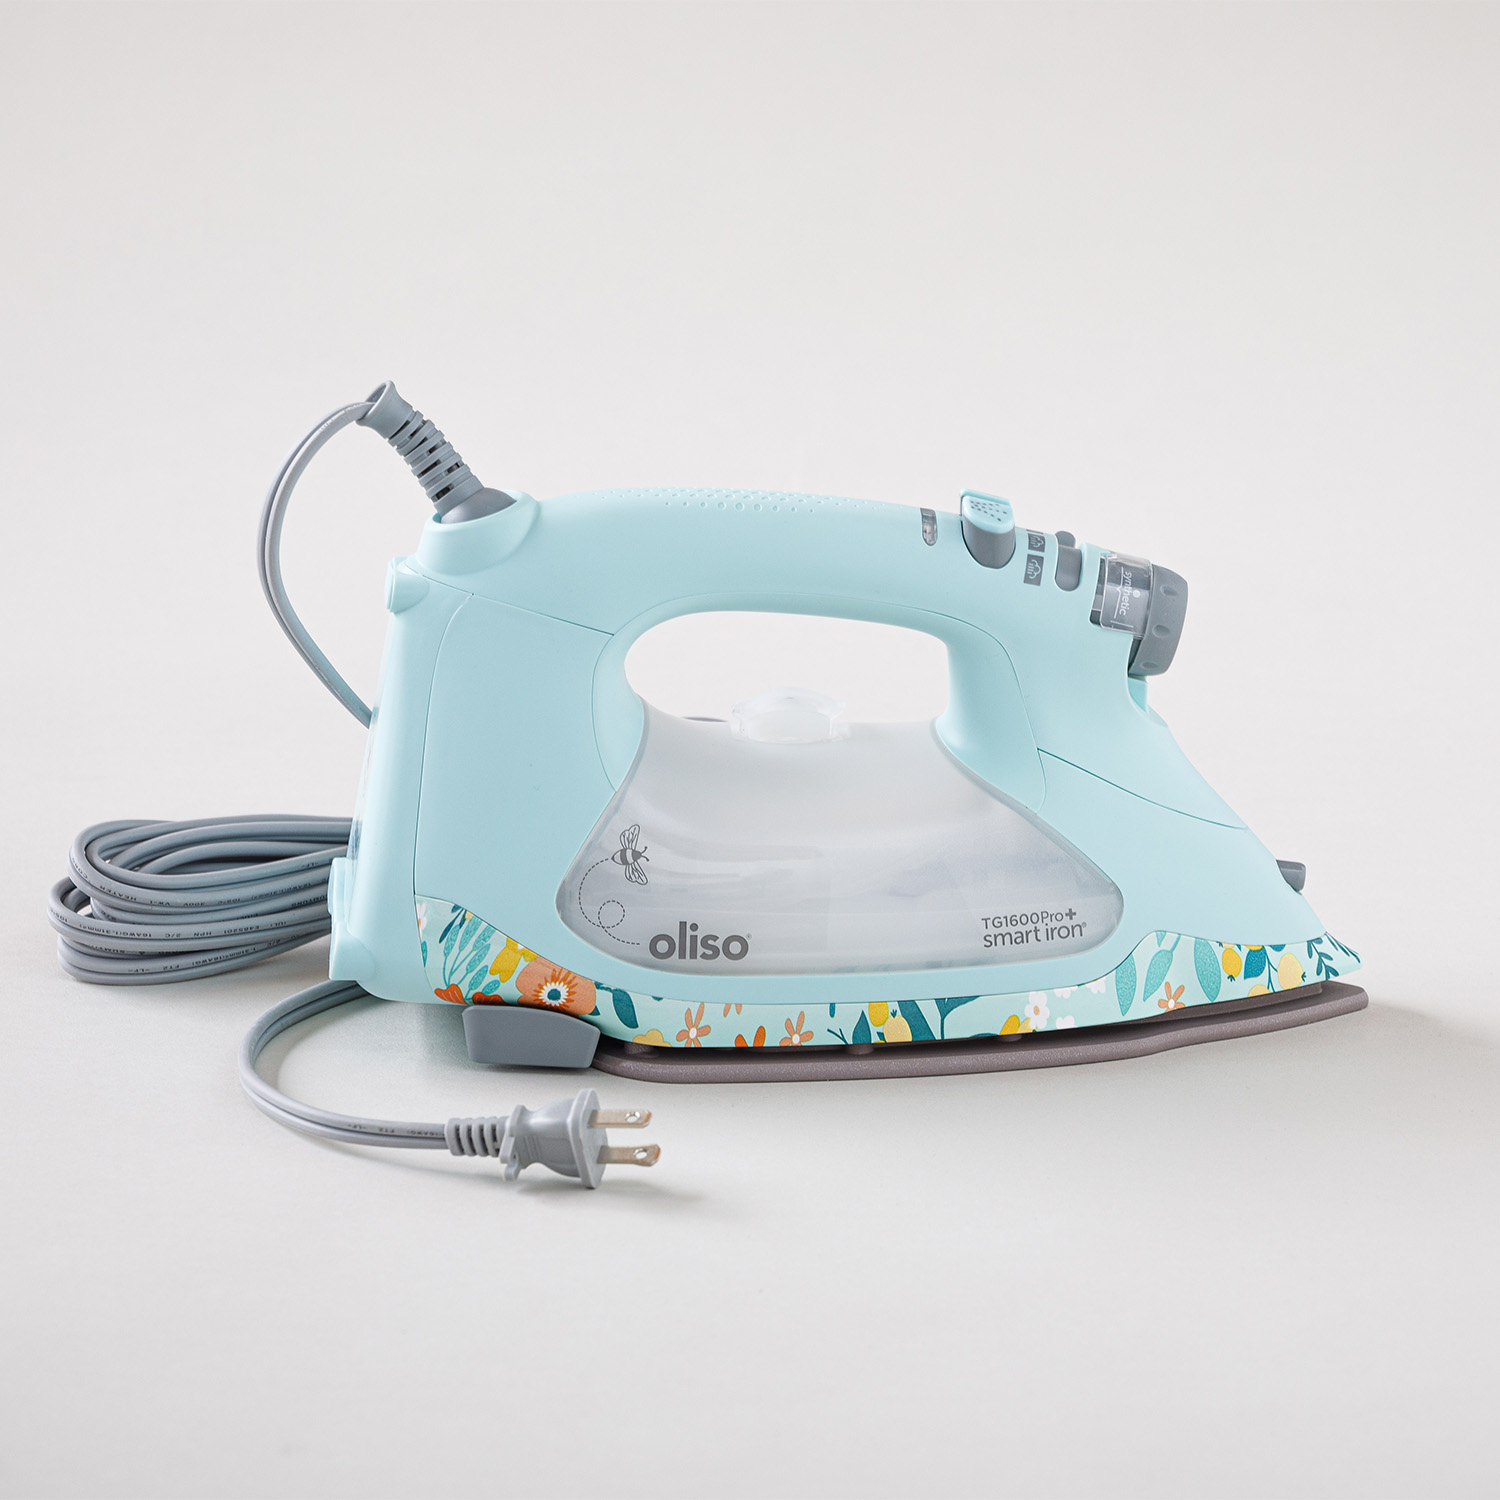 Missouri Star + Oliso TG1600 ProPlus Iron$209.95Shop →


