Skip to content

Free quilting video tutorials from Missouri Star

Quilting Tutorials
How to Make a Disappearing Pinwheel Illusion Quilt - Free Quilting Tutorial

How to Make a Disappearing Pinwheel Illusion Quilt - Free Quilting Tutorial

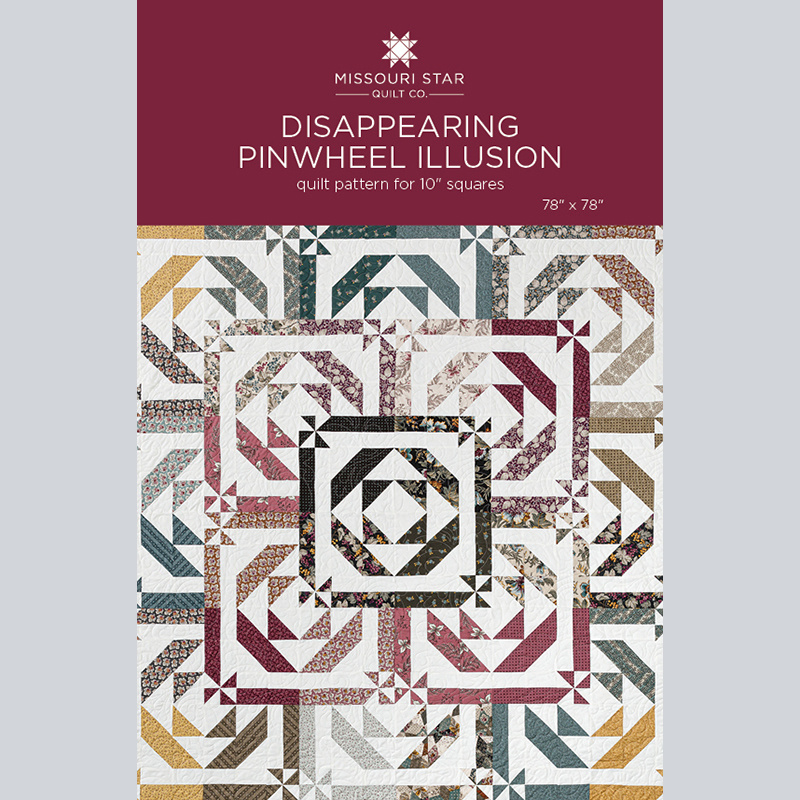
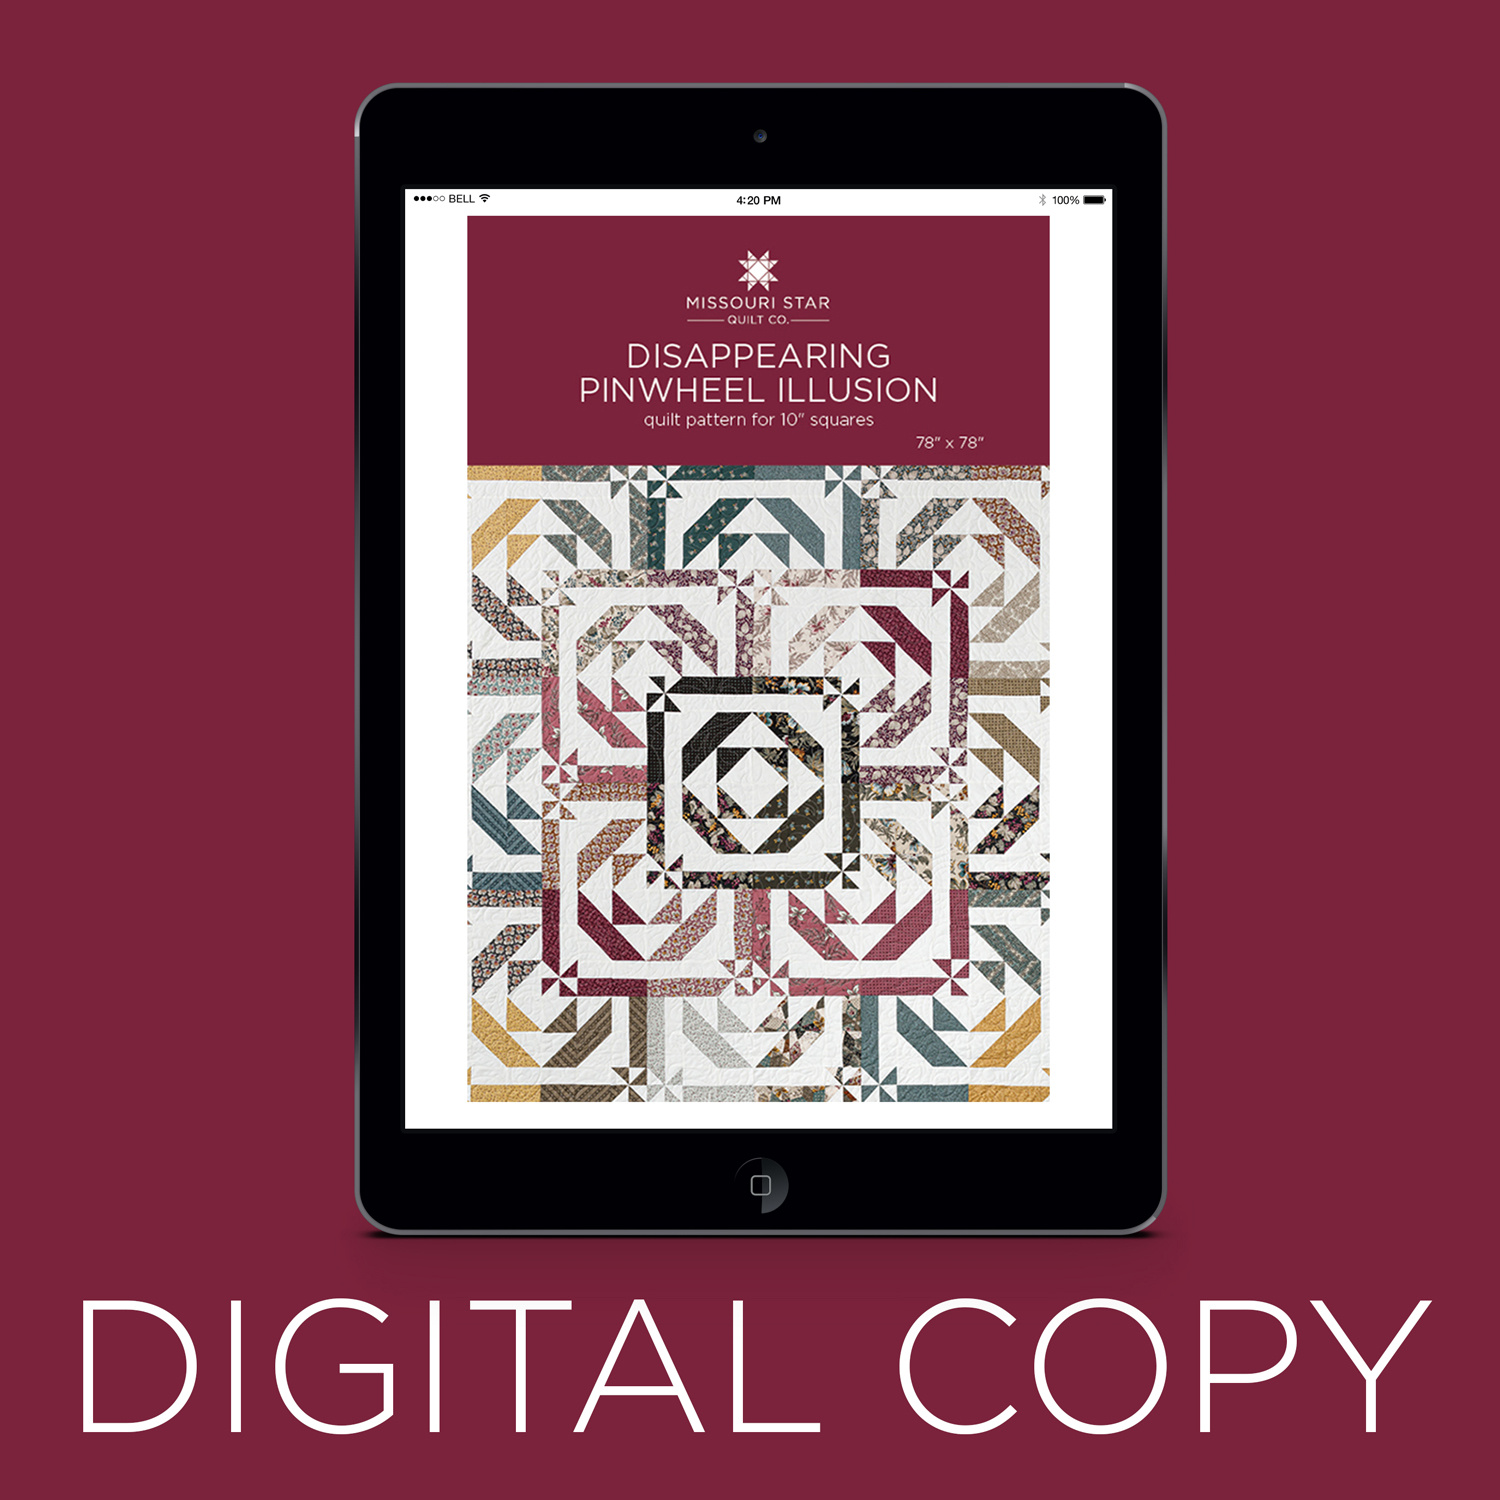
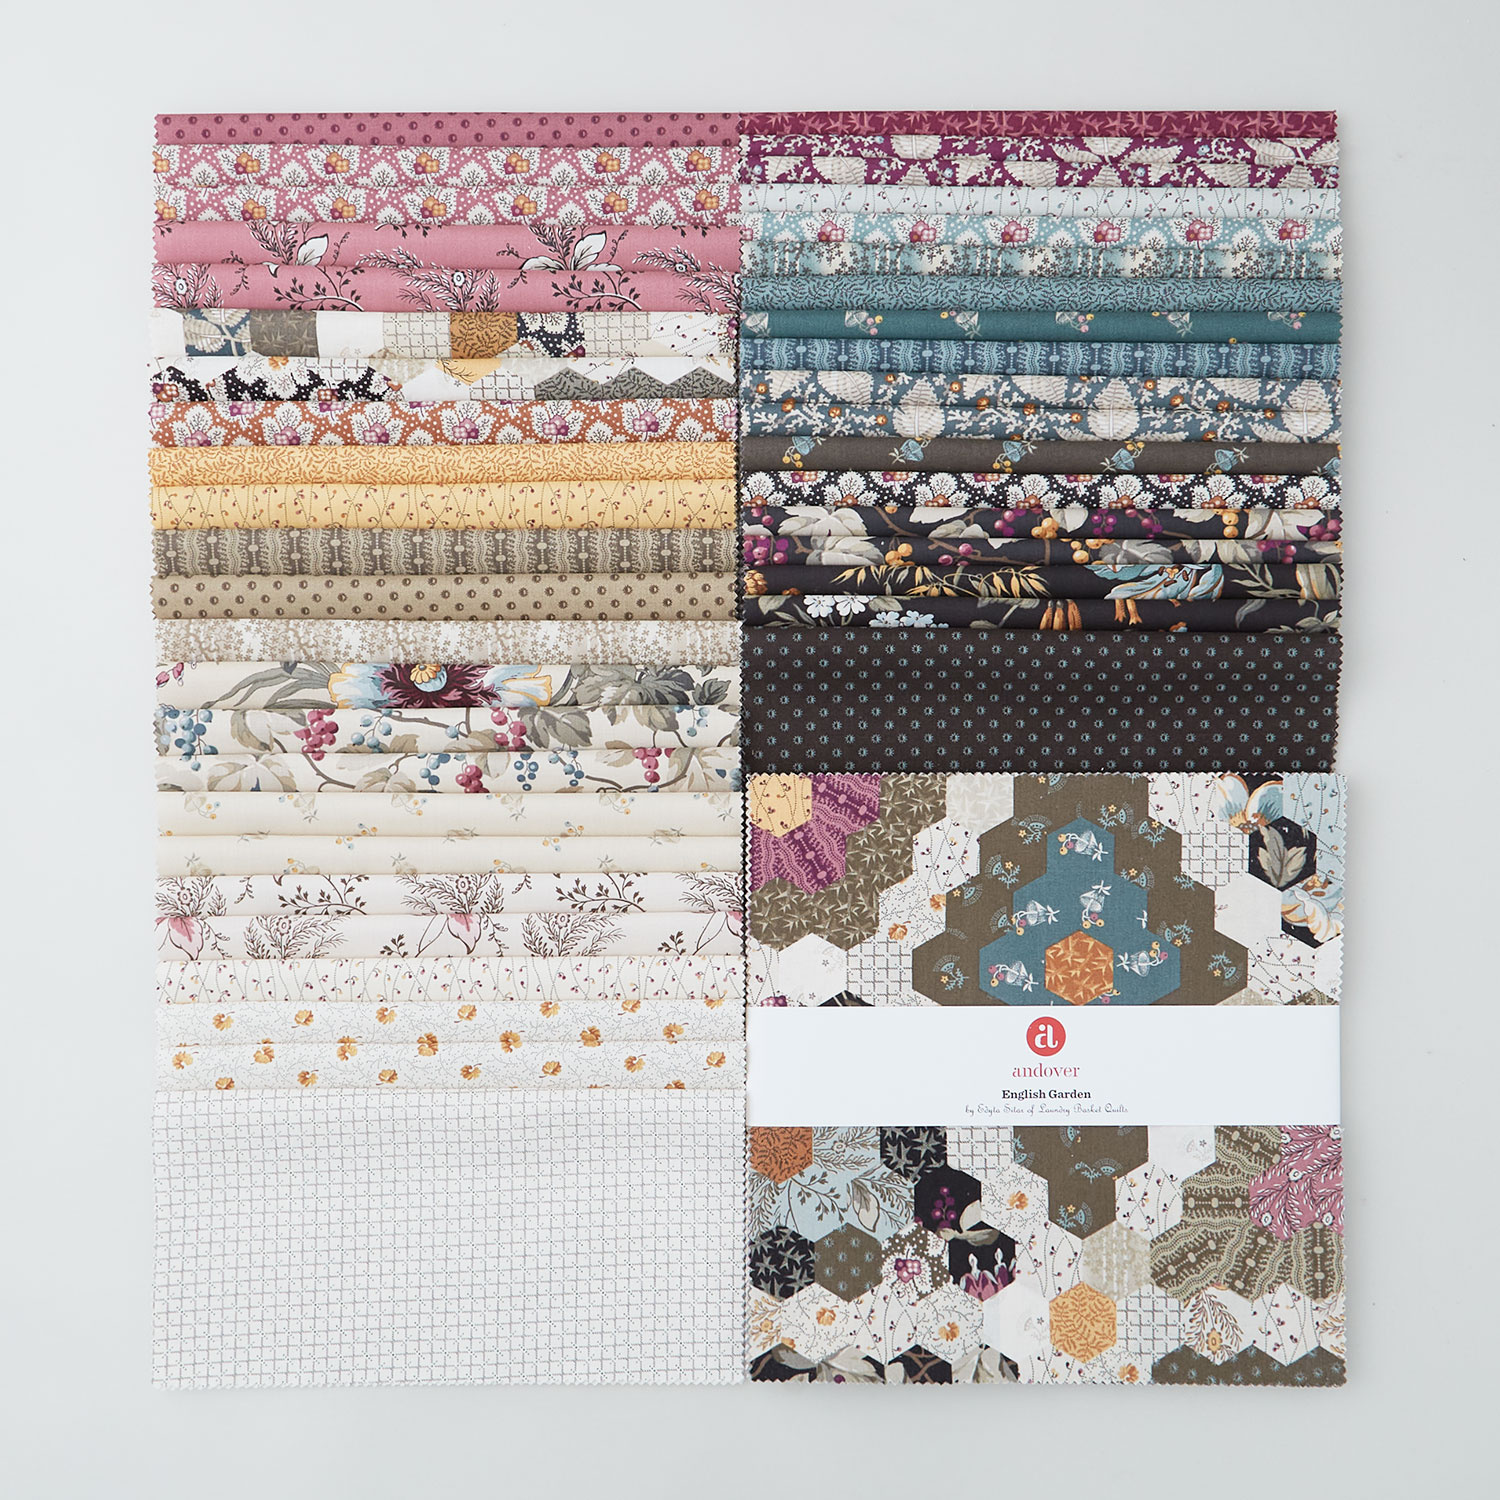
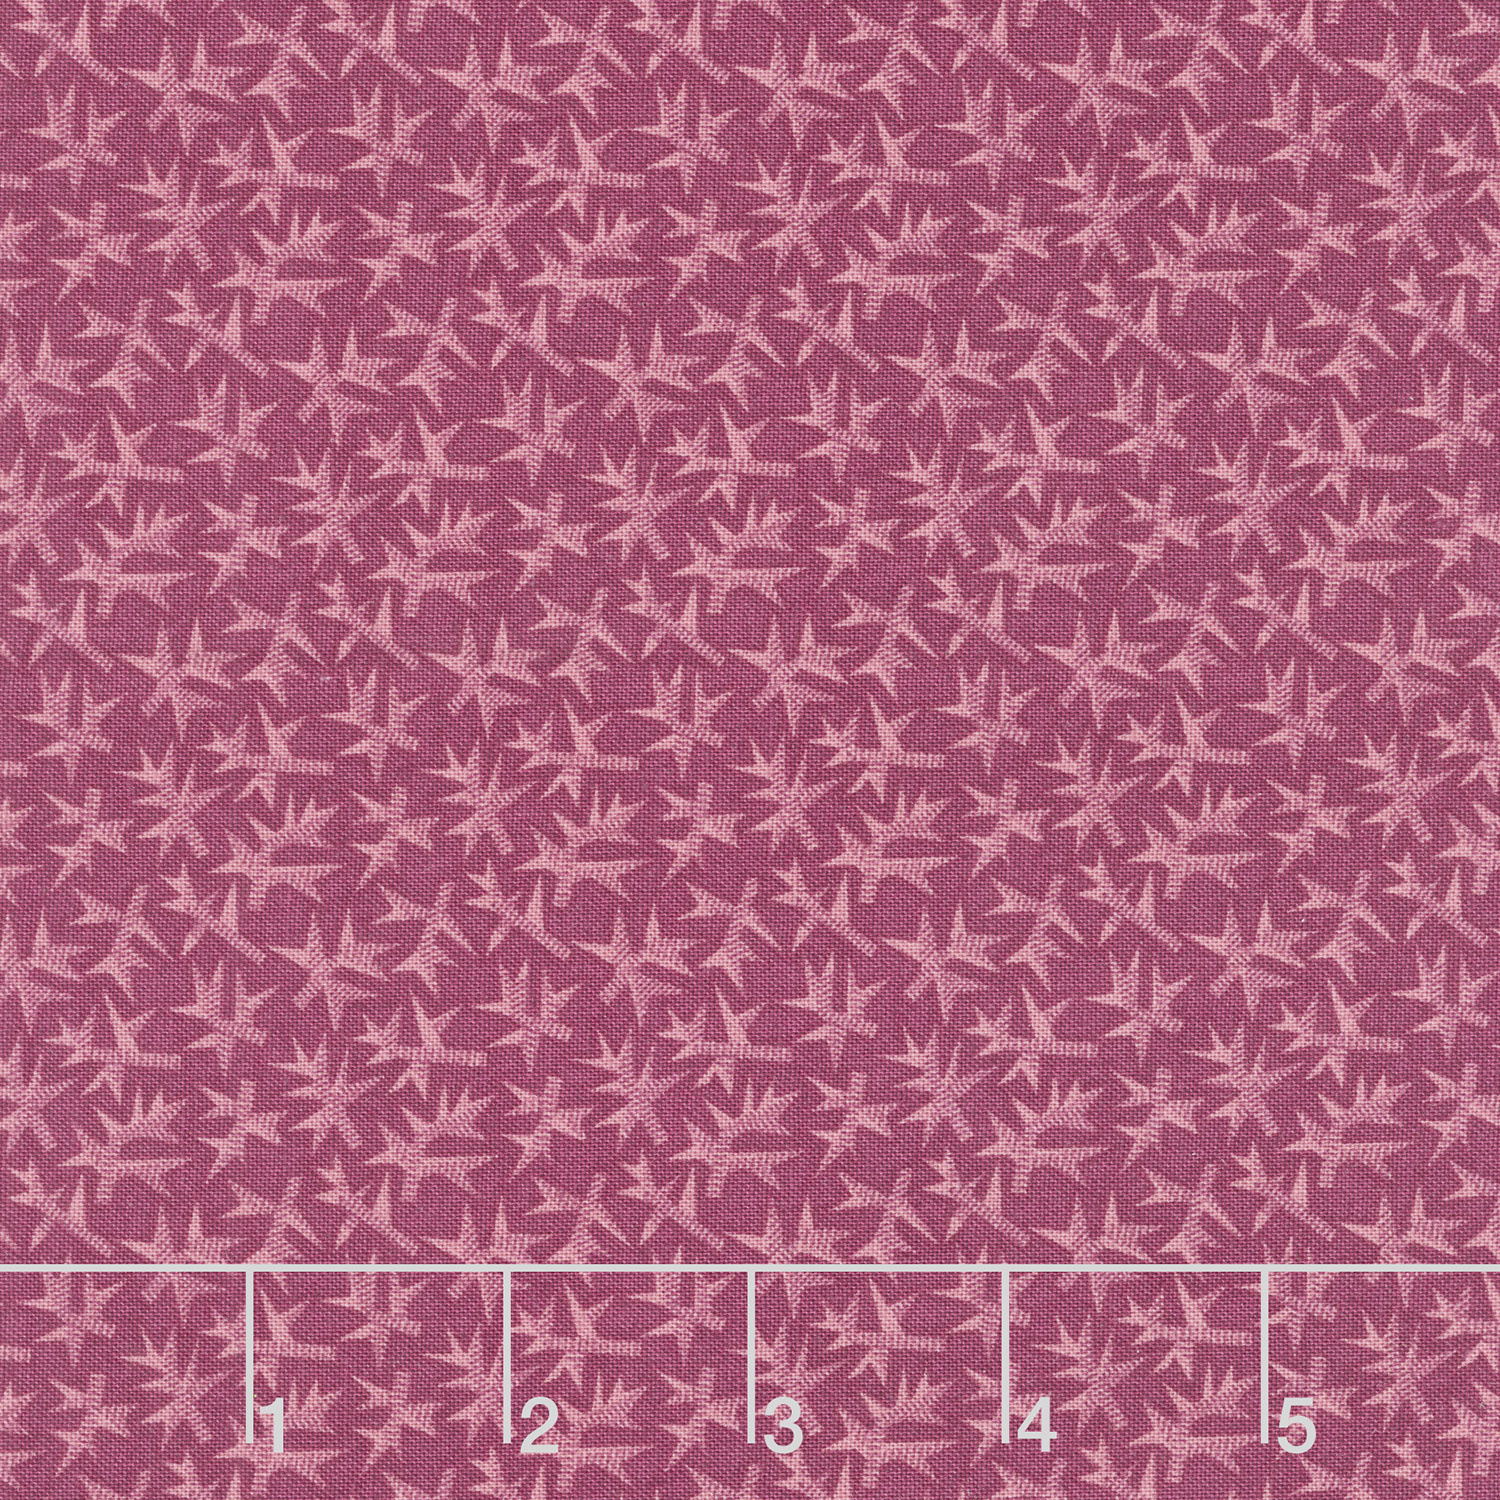
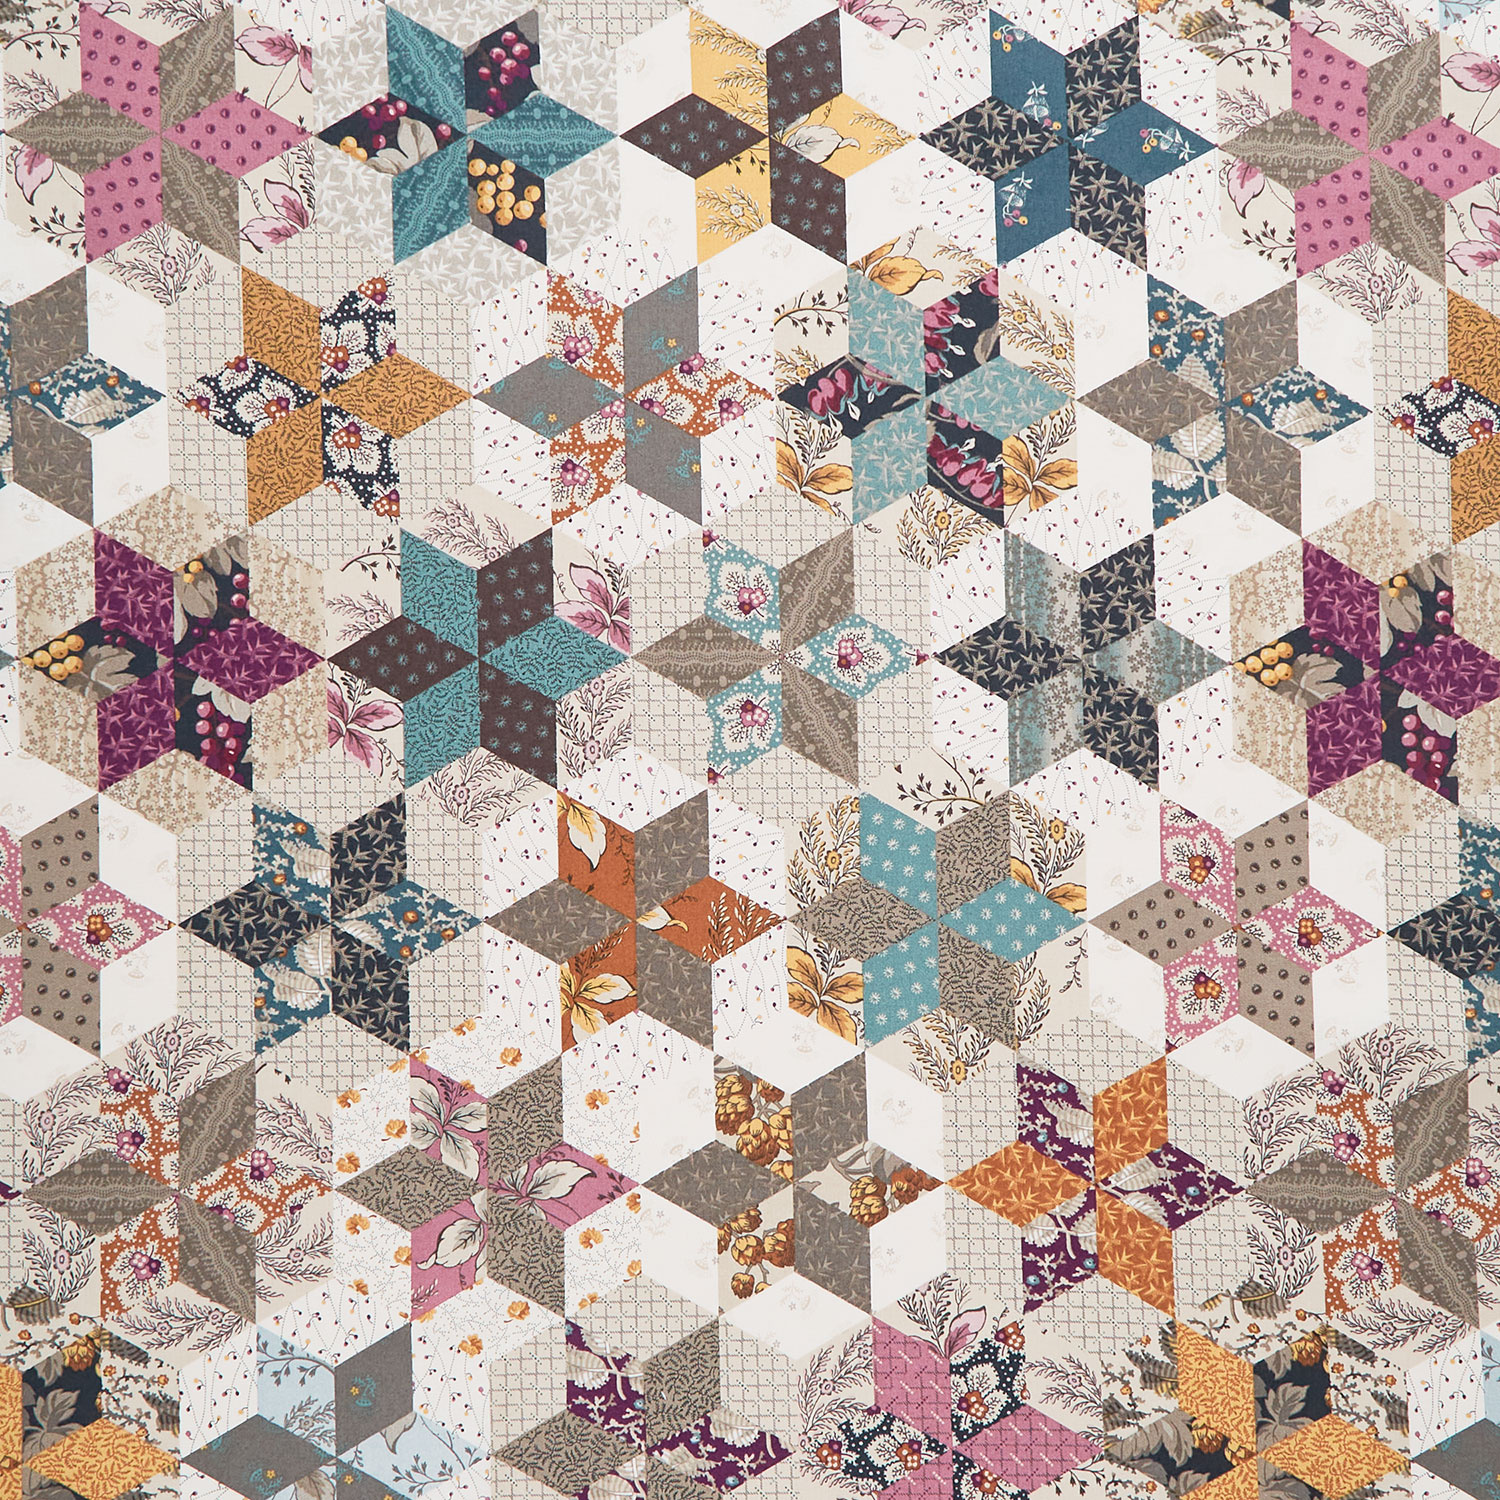
The Disappearing Pinwheel Illusion Quilt appears complex, with intricate piecing and stacked blocks. (Of course, it's all an illusion!) It's made with precut layer cake squares and a sweet cheater cloth print. Jenny's fabric is English Garden by Edyta Sitar for Andover Fabric, and her squaring tool is the trusty Bloc Loc. Learn how to make half-square triangles four-at-a-time and create those "stacked" blocks with ease.

Instructor

Jenny Doan

Jenny Doan is an American quilter, author, and YouTube personality. Jenny started Missouri Star Quilt Company in 2008 and today it is the largest quilting supply vendor in the United States.

Common Questions

What is covered in How to Make a Disappearing Pinwheel Illusion Quilt - Free Quilting Tutorial?

The Disappearing Pinwheel Illusion Quilt appears complex, with intricate piecing and stacked blocks. (Of course, it's all an illusion!) It's made with precut layer cake squares and a sweet cheater cloth print. Jenny's fabric is English Garden by Edyta Sitar for Andover Fabric,...

How long is the tutorial video?

The tutorial video is 00:21:38.

Are supplies listed for this tutorial?

Yes. The tutorial page includes the supplies and materials connected to this project.

Video Transcript

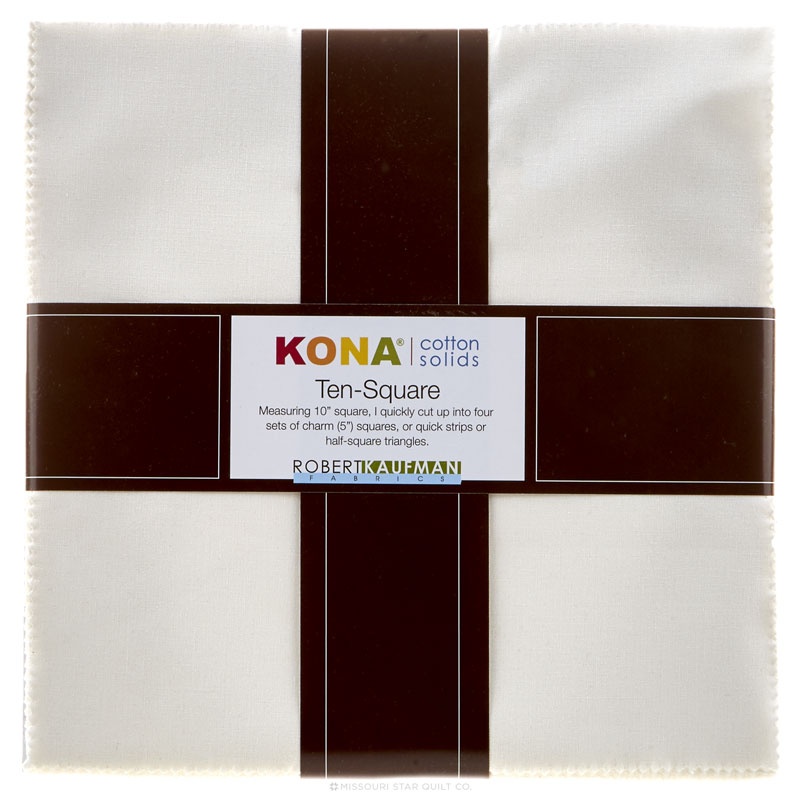
[Music] hi everybody it's Jenny from the Missouri Star Quilt Company and it is the end of the year it is the last week in 2023 and as this year is disappearing I thought I'm going to do a disappearing quilt for you guys and so take a look at this quilt behind me I'm calling this disappearing pin wheel illusion because it has that illusion of standing out and popping it just looks so cool I think it's such a fun block you guys know I love the disappearing blocks so let me show you how to make this so to make this quilt you're going to need one packet of 10-in squares pre-cuts and I have used this beautiful line called English garden by edit satar for Andover Fabrics you're going to need one layer cake of background Fabrics or about three yards of whatever kind of solid you want to use or whatever kind of background you want to use this is our border right here and you're going to need a yard and a half and these are Big 6in borders and this is our backing and it's a cheeter print so let me show you the backing because it looks so cool are you ready o right isn't that so pretty I love a good cheater bag it's my hashtag perfect points I love that also you will need a squaring tool and I have used the block lock ruler so I love making disappearing blocks and I've been doing them for a long time and you know that and it's just such a fun block and you never know what's happening but now because there's a lot of other people doing them when ever I do a disappearing block I'll go look on YouTube and see if I can find it and I happen to see that somebody made a block very similar to this one it's smaller it's two colors but I contacted her to let her know that I was going to do the same block only with pre-cuts that I had already you know had it in the works and her name is brida the questioning quilter and she's so delightful and she actually has so many of these disappearing blocks you guys should surely go check her out so BR the questioning quilter and uh she's just darling does a great job of teaching how to do these disappearing blocks they're going to be a different size than mine but as long as you start with a square it's going to work so let me show you how to make this quilt all right so we're going to start with a background square and a colored Square now in this pack there are a lot of light ones I pulled those out right away I knew they weren't going to work with my background and so I just pulled them out and so I'm going to find oh how about this blue well we have a blue right there oh let me get something else then how about this red leaves this is going to be fun all right so I pulled out all my light blocks so I ended up with 36 squares which makes a 6x6 layout but how you put this together is so fun all right so the first thing we're going to do is we're going to take our two 10-in squares and we're going to lay them right on top of each other and we're going to sew all the way around them because we're going to make four half Square triangles that we're going to put together as a pin wheel so we're going to go/ qu of an inch and we're going to sew all the way around this there we go and it doesn't matter how perfect that is because we are going to cut this and square it you do want to make sure that you've caught all the edges cuz I'm close on this one and I'm close on this one but close is good cuz as long as we have it all sewn up we are good so I'm going to cut this diagonally both directions like this one and two and and then we are going to press these open and then each one of these will have to be squared to 6 and a/4 now in the beginning when I did my my disappearing blocks to begin with I was not yet squaring my blocks and so I would say things like just sew them together as a pin wheel and do it about two in a bit or two in a SC or a few threads over but now we've got it down to a science so we are going to go ahead and square these to 6 and one4 so what I'm going to do first is I'm going to lay my block on here and you can see it fits the 6 and 1/2 line but not all of them are this exact some of them are too close so we went with 6 and a/4 and so what I'm going to do is I'm going to cut a straight line on this outside over here like this and I'm going to take these away and then I'm going to turn this down turn it around just like this I don't even have to lift the ruler and then I'm just going to slide it down till it hits the quarter inch Mark here and here and then I'm going to cut this top part off over here like this so so we are going to do that four more times just so you can get the hang of it cuz I've done a few already all right so now and one of the things I always try to do is when you line up your block lock it has this little bit of a um uh it's just shaved right here in the middle a little bit so it butts up next to that seam and it won't move too much so you just want to make sure that your words are on the back ground because if you press the dark side the words will always work on the background so I'm going to slide this up until I notice that all of my covers see this block is is a bit smaller than the other one I'm not sure why that works but it is that way and so then I'm just going to turn this around like this and I'm going to slide it off to the quarter Mark inch and a quarter I mean just one quarter and then I'm going to trim off this other side right here and these make for really perfect blocks for sewing together I like to always try and start with one side make one side perfect and then and then I can just flip this around and slide it down to the quarter and trim this off right here and one more and I'm keeping my words on my background side making sure that I'm in that little Groove if you're squaring with a regular ruler you just want to make sure that your 45 line is lined up diagonally on the seam corner to corner and you can do the same thing you can just slide it back around just like this and trim both sides make sure that your your diagonal line is still on that corner all right so now we've got all these and I'm just going to brush this off and then we're going to put these together as a pin wheel so I like like to start mine like this my Mantra is light dark seams to the center so I'm going to do light dark seams to the center all the way around like this and this and we are going to sew this together to make one large pin wheel all right so just line these up make sure that you're um nesting here in the middle and then we can just go ahead and sew these two on because we lined them up exactly straight and I've left my connecting thread in the middle because if I laid these outright I should be able to just piece these together as a pin wheel so we're just going to fold this over and we're going to sew it toward the middle now I have another block here that's ready to sew so I'm going to go ahead and do that one so let's lay it as as a pin wheel as well let's see we're going to go right here light dark to the Middle Light Dark to the middle uh light dark to the middle I literally have to do this every time because I'm angly challenged now I can get where I go along and sew and then all of a sudden I'll look and I'll be like oh that's not right so I always kind of say that little Mantra as I'm going along for every block and this one as well and we will then press these open let's sew this middle together and I'm making two of these I already have some others made because the layout is really important on this but I'm making two because I have a feeling you're going to want to see this cutting twice now remember we are sewing on the bias so don't pull your block just let the feed dogs take it through you know the bias has never been a thing for me I was a clothing SE first and clothing sewers love the bias you know we love it makes everything hang nice it works nice and I think as long as you are careful uh don't pull don't stretch you can we can make all kinds of fun things and we don't have to worry about that bias all right so now it's a good time to find your um spinning mat which mine's right here and we're going to lay this on here and I am going to cut 2 in exactly from that Center seam so we're going to go ahead and we're going to lay this ruler on here like this 2 in and we are going to cut here and then we're going to turn our mat and we are going to cut here and don't worry if you don't have a rotating mat just use a smaller mat that you can turn so 2 in from the center seam oh make sure they don't slide out of line if they do just remember it's 2 in from the center seam and then one more and we're still at 2 in from the center seam and then what we're going to do is we're going to put our half Square triangles over here like this we're going to put our bar blocks over here like this and we are going to start with our pin wheel all right so here's our pin wheel we're going to put it up in the corner and we're going to make a little frame for this pin wheel with these right here and we're going to make down this side as well our Center section is going to it's it's what's going to give us this piece here like this so we're going to go with this first um half square triangle pointing downward like this and and then the rest of them all point up up up and up just like this and then we're going to sew these together so this is our block and I'm going to go ahead and Stitch this up Natalie if you would like to come up here and cut this other uh pin wheel to get us ready for it that would be awesome and just they can watch you very closely I'm just going to sew down uh two at a time right down the side and then I'm going to add that third block as I come back up there we go this one top row is got all three blocks and you're going to have to open these up and just put it up there and then flip that Center section over and do that I mean you can do however you want I like to leave mine sewn together so it works it really does work like pins for me I'm not a big Pinner but this is this works well also cut one block sew one block don't cut a bunch of them and think you're going to remember where they went I mean unless you keep them in their own little piles and you get really good at this by the end of the quilt I could actually cut up a few at a time all right so then now I'm going to lay this make sure it's all all still going the right direction and I'm going to put sew these three rows together there you go thank you very much you're welcome I think that's good wait you can press this one when it's done don't leave yet one more little task it's good to have helpers in the studio isn't it I started Ron off by helping me in the studio and now he's so S I started my grandchildren off helping me in the studio Annie learned to iron helping me it's fun fun to do things together there we go and this one is ready to go she's moved the bar blocks to form the frame and then we have this little centerpiece that kind of looks like a Star Wars ship somehow to me but what we're going to do is we're going to sew these two together again and maybe this time I'll sew all three rows all three in a row at once for those of you whose brain works differently all of our brains work differently and so you have to do what makes sense to you don't try to do it my way if it just confuses you you know as long as you can um I mean if you as long as your block goes together the same way it's okay to do it your way so I'm just going to do this three rows together like this and I'll put that row back so we all get to the same place but we sometimes get there differently and then we'll put this one over here Stitch this on here like that and I always like to lay them out to make sure they're in just the right order and I didn't make any uh angled boo boos all right here we go one more all right now it is time oh she's she's got those pressed for me look at that thank you Natalie there we go and then this one here one more make sure it's going the right way and it is these disappearing blocks are so much fun because there is a million different things you can do with them and let me get this thread back in there there you go now Natalie if you'll press that I will meet you guys over here at the design wall so now I'm going to show you how to lay out this quilt and this again is a brain thing so do what makes sense to your brain but for me because of the fact that I'm angly challenged I started with this center block and I built around it until I had the whole quilt laid out and then I sewed it together and I sewed it together kind of in quadrants so I sewed this together first I sewed my two blocks together here you know I kind of worked my way out from the middle I did I sewed one row together that was solid and I ended up taking it apart twice so my brain did not work well with the row sewing on this but it works well with the design sewing so use what works for your brain so follow me over here so you could see on the big quilt that I chose squares that had the same value for the center let's see I just want to make sure we can get this all in here so you can see it now when you put this together you're going to look for your little half Square triangles to meet in the center so we're going to meet those up right here and it's going to make a type of Medallion block and so look for your little corner half square triangle they go to the center and the way this should look is that the pin Wheels should be in the four outside corners then then I put on my next Corners like this and again you're going to want to watch for these corners and I'm going to put one out here like this and then I'm going to put one over here let's see I can do this one I want to make sure you guys can see this well so this one again you're putting your white triangle to the center and one more out here like this and do you see what happens do you see how that steps back and so you're going to do this block on all the corners of this first round on the second round let's go back to this other quilt over here we've made Corners that go all the way around the sides on all four sides but when you get out here to this next row our Corners are further apart so we still have our Corner we're always bringing our white triangle to the center but then these two blocks come in white triangle to the center again again but no corner so then we have another Corner out here and corner on the bottom and you just have to do these fill-in blocks and they come together with their white triangles just like this so keeping those triangles together is really the key to putting this quilt together it makes a super fun quilt it's really fun to see with all of its different you know positions and layouts that you can do but this is a fun layout and it's it's I've called it illusion for a reason and when you're looking at it if you don't actually get the exact look you're looking for look at it through your phone because all of a sudden you'll see how that steps out and it's very very cool so once I got all my blocks together you know I have 36 I have 1 2 3 4 5 6 by six and it makes a nice big Square I had all my light leftover 10in squares left so I made a little 2 and 1/2 in strip border with some of my backgrounds and some of my lights and I just took them and cut them into 2 and 1/2 in strips like this I laid them all in a little stack let me grab this one and just show you and we're just going to cut 2 and 1/2 in strips like this so you're just going to cut them in 2 and 1/2 in strips like this and there should be in my pack there were seven extra cuz 36 blocks you know uh plus um 42 to make a total layer cake so I just kept these all in a stack and I just randomly sewed them together in one long strip and that's what I used for my first border I did include some of my background strips you can see here and you can see here you know just to break it up a little bit and make sure that I had enough but it came together so fun so the last outer border out here is a nice big 6-in border the quilt ends up being 78 by 78 the quilting pattern on it we used variety I felt that this fabric this edit of sitar fabric is so um it's just more fancy feels fancy to me and I went ahead with a fancier quilting pattern and it's called variety and we happen to actually love that one because it's just really good you know when you look at a quilt you want to decide if it's more traditional more beautiful more Whimsical and go with a quilting pattern that matches the fabric that you've used because if I use different fabric on this it's going to look very Whimsical and so just think about that when you choose your Fabric and you're making it but it just came together so well and so fun and I hope as you go into the new year that you'll take a chance on some new things trying some new quilt patterns and that we will enjoy a whole another full year of quilting together we hope you enjoyed this tutorial on the disappearing pin wheel illusion quilt from the Missouri Star Quilt Company hi everybody it's Jenny from the Missouri Star Quilt Company we hope you enjoyed watching this video if you aren't already part of the Missouri Star quote company family be sure to subscribe so you won't miss a thing and if you click that Bell it'll not you every time a new tutorial comes out see you next [Music] Friday

More Layer Cake tutorials

See all