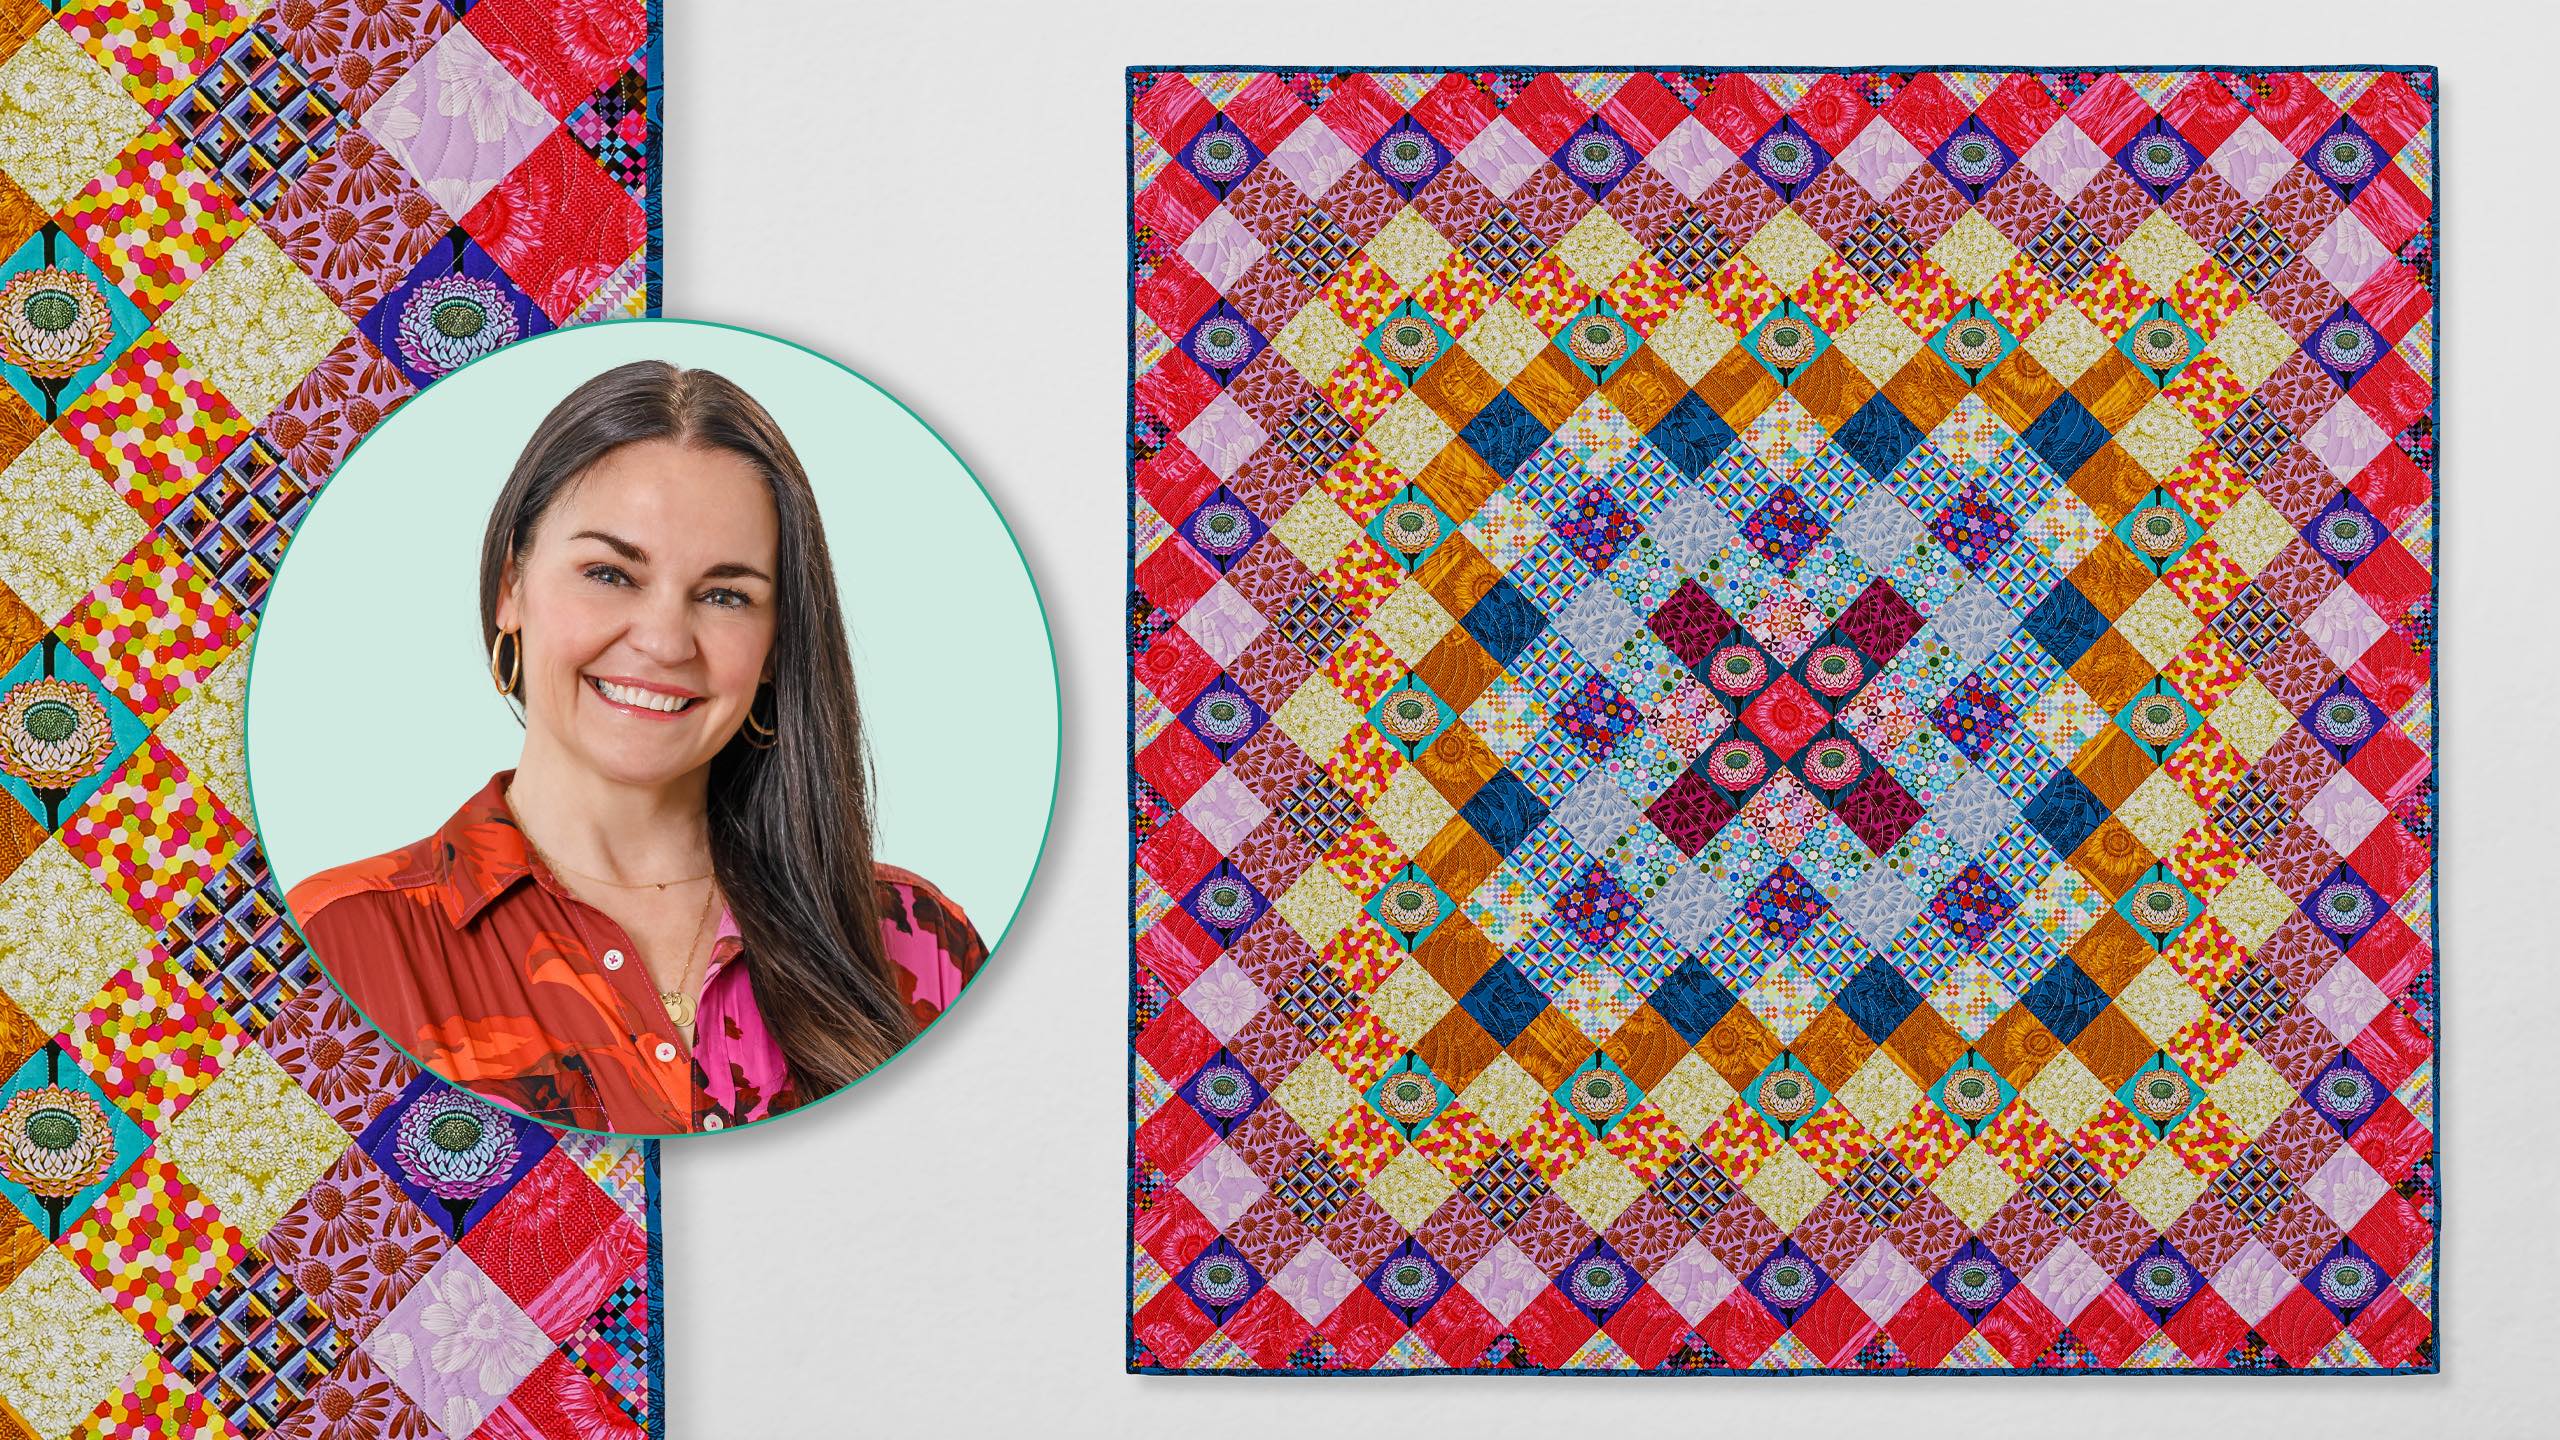
The Do Si Do quilt will have you dancing with delight! Join guest Anna Maria Parry and learn how to make this charming quilt that is featured in her book Blueprint Quilting. The quilt features fabrics from Anna Maria's Indelible, Piecework, and Iconic collections for Northcott. A kit is available for purchase, too!
Misty Doan grew up surrounded by sewing and quilting. She loves spending time sharing tutorials each week each week, and when she’s not stitching up one of her fun sewing projects for home decor, most likely you’ll find her hanging out with her husband and three awesome kids or working on a house project.
What is covered in Do Si Do Quilt with Anna Maria Parry?
The Do Si Do quilt will have you dancing with delight! Join guest Anna Maria Parry and learn how to make this charming quilt that is featured in her book Blueprint Quilting. The quilt features fabrics from Anna Maria's Indelible, Piecework, and Iconic collections for Northcott...
How long is the tutorial video?
The tutorial video is 00:23:19.
Are supplies listed for this tutorial?
Yes. The tutorial page includes the supplies and materials connected to this project.
Video Transcript
Hi everyone, it is Misty and I am so excited to be here with Anna Maria Perry. Thank you so much for coming today for me. This is fun and we are teaching one of your beautiful quilts from your blueprint quilting book. We are. And so today, what is this quilt called? This is called the dosey do. We're going to be doing a square dance. Are you ready? I can't wait. I'm ready. We're going to do a square dance. So the book is designed to teach quilt making from the kind of my favorite structures that I've used over the years. But each of the structures that I present actually has a beginner, intermediate, and more advanced style quilt. This is actually a beginner quilt. I love it. But the way that we've used color is really interesting. So, it's going to feel a lot more complex and beautiful than just a simple patchwork quilt. Absolutely. And so, this is the original from the quilt. Right. Yes. And then this is the version that we'll be making today. Yes. I remade it today to show you kind of walk you through the process of like my color choices and what to be thinking about when you're pulling fabrics for this one. I love it. I can't wait. Me, too. Thank you so much. [Music] [Music] Okay, so we are going to tackle this dosey do quilt. And so what all do we need to make it? Well, it honestly could not be more simple. This is a quilt of squares. And so we need this gorgeous kit. If you want to make the one exactly like what we have on the wall, which is a mix of a few of my Anamaria textiles collections. Beautiful. There's this gorgeous custom kit that's cut exactly to what you need. Plus, you'll have some fun extras as always. Great. And the pattern is out of my blueprint quilting book, and it's one of 16 different project patterns in the book. So, you're going to get a lot more than this quilt if you get the book. Well, and I do want to just take a minute and just give my own uh feedback about this book. It's one of my favorite quilting books I've seen in years. And I've shared this with you personally, but I want to pass it on because I think there's so much value in here. It's really incredible. I I worked very hard on it. Thank you, Misty, for noticing. Fabulous. Um, but then when we cutting our squares, we are cutting strips first and then subcutting into smaller squares. So, whatever tools you like to use for that. Um, this is going to be cut at 4 in squares, finished at three and a half. You can always vary that depending on how big a quilt you want to make. That's true. Yep. But, so I like to have the long ruler with me and then the small one for subcutting. Perfect. That's just about it. All right, let's get started. Okay. All right. So, let's talk about this fabric bundle a little bit. Yep. Um because this is a custom bundle that you've put together for us. It's a custom bundle just for this version of the Dosey Doe quilt. So the original quilt in the book was kind of like a scrap quilt. I wanted to use softer, finer fabric. So I chose some Liberty of London, some of my own lawn fabrics from years ago. And um I really was focusing on really not fussy cutting, but I just wanted it to feel sort of vintage and sweet. So I was mostly choosing smaller scale fabrics. In a few spots, I used some kind of bigger ones to make it just a little bit more interesting. But so when I was re-ransating or translating the quilt rather into a new version that was made out of my new fabrics, it was really fun to go to um the indelible collection and the piece collection because they both have sort of a fine quality to them. So the indelible collection is really considered my not so basic basics. Um it's basic in terms of the amount of color that's in each piece. There's only two colors per piece, but it's not basic in terms of the art. The art is still very handdrawn. It's very illustrative, still a lot of texture, a lot of detail and texture. So, it gives you something to really appreciate when you're close to the fabrics as well as just the color. And then the piece collection um is uh we were talking before we started airing that um I have a friend that called these my maximalist basics. I think that's the most accurate description. so accurate because the piece work you can see even in just this little scrap which Misty has already deemed as her favorite too that because it's small scale you really can use them like blenders but there are so many colors there's like 18 colors in this which isn't typical for a small blender fabric but they kind of work that way. So really the two together um are doing the same thing in different ways. And what they're doing is they're giving us kind of a singular color once we step back. When we look at this quilt, it's not solid, of course. It's kind of like more interesting than solid, but you get to use the fabrics as though they are solid. So you can really do some color organization. It gives you that beautiful like gradient and and burst. Yes. And when I designed the first quilt and this one, I kind of was focusing on almost like a gingham style with how the fabrics come together in terms of lighter, medium, and then some dark spots as well as passing through kind of squares of color as it grows out towards the edges. So, it was really fun to do again, and it'd be fun to do again. Yeah. And be fun to do with just scrap, right? And not so highly prescribed. But I could not help but also include a few other pieces from my iconic collection. Um, which is really based on these very regularly stacked, intricate, detailed graphic florals. And this is the straw flower. And I really enjoyed placing those in the middle um of the quilt and fussy cutting them. Awesome. And that's the only fussy cutting you did. That's it. Yeah. So, there's a handful of those, but for the most part, you stack and whack people. Okay. Awesome. So, the cutting is um based on 4 in cut, 3 and 1/2 in finished square, but I always like, especially when we're not worried about how um they're going to appear within the square, I just like cutting strips first, right? So, you can use your long ruler for cutting the strips from your fabric. Um the pattern is going to detail kind of color categories. Um, now they're not going to be exactly like this fabric, but the logic is just the same. And you can see, in fact, we should just look at the book, and I'll show you sort of um the logic that is there for this quilt. So, this is the original quilt here, which was on the table at the beginning of our segment. And um you can see that it's slightly more scrappy, but I did really specifically place the color. So, the pattern is gonna talk about the color I used here in the book, but of course, we've translated it into a new color. Yeah, it's so beautiful um palette sort of. And this really kind of shows how it comes together. So, it's square to square to square rows and then the rows come together, but it's all done on the angle because these squares are on point, right? Yeah. Shall we talk about on point for a minute? We can absolutely. Do you have friends that are scared of onpoint quilts? Yes. People are scared often and I love this approach as the first step kind of into that journey because you know people get overwhelmed with setting triangles and things like that and we don't have any of those here. We don't have any setting triangles. We sew squares together and we're going to show you how we finish it up nice and clean at the end. Yeah. But in terms of um being scared of things being on point as when you're sewing this quilt, there's nothing that's on the bias stretch at all because we're actually assembling on the edge. We're cutting all our squares on grain with the fabric except for the fussy cut ones. I turn those cuz I want those flowers to be standing up. Right. So, we're going to cut one in a minute. But see, I turned this. So, these are the only bias edges that are in the quilt in the whole quilt. That's right. But the squares are so small that when you're joining there's not a lot of length and opportunity for them to really stretch out like a long pass. That's right. So the only um bias edges truly that are of concern or once you go out to the outer edges and um it's such a regular patchwork of you know squares that it's a lot more approachable than something that's all differentized pieces. Absolutely. Okay. So shall we fussy cut? Let's do it. Okay. So, we are going to be cutting a 4 inch. Let's do this. Well, let's do this guy. It might show up better for the camera. We're going to be cutting a 4 inch square. Okay. Now, let me tell you, I'm going to iron this just a tiny bit here. Um, one of the things I've learned in my years of fabric designing is from the quilters that use my fabric. I learn directly from them and how they're using the fabric because I obviously get wrapped up in the art and what I want to make of course, but um I really like seeing how people use things and um one of my favorite fabrics and a lot of people's favorites is my echgonia fabric and it's just a very regular stack of one flower on top of another. And I kind of when I was developing all these new collections for Honoria Textiles, I thought, you know, I really want to have an opportunity to not just give people a collection of fabric with a little bit of everything, but I want to give them a category of fabric. Like if people have really loved that echgonatia that stacks on top of each other so reliably. I think to myself, why is that? It's because it's so easy to cut. Like all these stems and regularly occurring flowers, it's so easy to line up the center. It's very clear to your eye. It's very clear to your eye how to cut it specifically. whether you're cutting a triangle or whether you're cutting a diamond or whether you're cutting a square. So true. So the fabric gives you just about everything that you need. Now, if you have um a 4 in um grid, you can use that. We've got 5 in, but I don't want you to worry about that. We only need these 4 in here. And so really, I can just take that line and put it right in the middle of the stems of the flowers. and just imagine where it's going to come um with just 4 in. So, I'm just going to cut two sides first. Okay. Okay. So, I'm kind of having a look at where this is falling. And these these are going to be the eventual corners over here. And those are falling just on just at the top of these two flowers here. And but I want it to go I want the flower to be a little bit more centered. Gotcha. right this way too because I'm dealing with a space that's going to be this long. And here's my flower. So that means I'm going to move it up. And this is totally to your preference. I'm going to move it up until I'm seeing just a tiny bit of this flower in this corner and just a touch of that one. Really centering that bloom. Yeah. And so with this grid, I can say that 45 in little circle right there, or not 45 in rather, the 45 degree angle that that's marking, that little dot in the center is going to be hitting like right here, which is kind of almost the middle of this. Yeah. Okay. So, these are just little things. And you know, you can take a dry erase marker and just draw a little line. Oh, that's a right on your grid as well. That is a great tip. And then wipe it off when you're done. But then you can use that each time so you don't have to like really accurate. Yeah. Yeah. Yeah. If you're brilliant. Not just fussy, but really fussy. Right. Hey. All right. So, I'm just going to do the first two cuts. And I'm going to go ahead and carry even though I don't need all this. I'm going to go ahead and carry this down. Oops. Let me do that. I carried that cut all the way to the edge just because I was close to the edge here. Yeah. And that's just going to clear my kind of visual path so that when I turn this around like this, I can kind of see where I am better because sometimes it's hard to see your cut through. Mhm. Right. If I just had the fabric right there, it's hard to see your cut. So, so I'm staying on that line and I'm keeping my center line in the middle there. And I do all my worst cutting and work on camera. That's how it goes. The curse of the camera. That's right. Okay. Beautiful. And then we have our pretty little square. Perfect little flower. That's right. So cute. All right. So, that's how I fussy cut um one, but then there's several. Yeah. And of course, as the quilt grows, you need more and more fabrics as it gets bigger. That makes sense. Yep. All the way around. All right. Let's toss that over there. I want to show one more thing about how the quil quilt assembles. just to make sure you don't feel like you're getting it wrong, okay? Because it's one of those moments in putting seams together on the angle with these edges that we're actually eventually going to trim off that might feel wrong and we're just going to show that you're right. You're right. You're right. You're getting it right. You're getting it right. Okay. So, the very corner of the quilt is actually where we begin the assembly. So, um you can see that we've got this red in the middle and then we actually need two of these. And I've already got the strip cut. So, do you want to sub cut two? I'd be happy to. And we're cutting them at four. Yes, ma'am. All right. Make sure I'm nice and straight there. Straightish. As close as can. And you said two. That's right. All right. Beautiful. Okay. So, the first row of your quilt, since we're assembling on a corner, the first row of your quilt is actually just this one little square, right? And then the next row is three and the next row is five. And it continues to grow by two. Okay. As you go until you get to the middle. That's right. And you just really need to refer to the image of the quilt once you've got once you've followed the guidance on how to how many squares of each color to cut. So, did you lay the whole thing out first then like on a design wall? You do. I mean, it's the easiest way. At least half because then I know I'm just going to match the other side exactly except for that very center row that's the longest cuz there is a center row here. Okay. So, but really like if we're assembling in diagonal rows, the first one is just one square, but I just want to show how that one square on the corner comes together with the second row. So, let's just sew these guys right there. Absolutely. Let's do it. All right. I love having a a seamstress. Buddy sewing is best sewing. I just say what to do and you do it. I could get used to this. I will do my best. Now, in terms of laying out, I do like I do like having things laid out next to me of what I'm doing next because it's easy to like sew things on the wrong side or to the wrong end. So true. Having that My mother-in-law always calls it like a little nest of all your your steps, you know, to make it as easy as possible. Yeah. Once you once you take a seat, it's nice to not have to think too hard. Yep. And to just be able to keep going. Yep. Okay. Excellent work, Misty. Thank you. Okay, so we actually are just going to press this. And like any assembled quilt in rows, you're going to alternate the directions that you're pressing. So like this one, I'm just going to press in one direction. And obviously with the one little square, you if that's pressed, it doesn't have a seam allowance. So it's just that the the third row we would actually do in the next direction so that they would nest. That's right. So they come together like I'm already like going the wrong direction. All right. So I just want to point out that when we sew this together here that the lineup because you don't have any seams that you're going to be lining things up with. You actually just want to kind of imagine that this piece is sitting in line with the seam allowances. you know, on this one side because they're pressed this way and then on this side it kind of goes past. Does that make sense? It makes perfect sense. Okay, great. And so you're really centering like I mean you could find the center of these but you're really centering this and this corner square onto that. And when it's sewn together it's going to feel a little off because it goes past the seam. But that's exactly what you want. That's what you're looking for. Okay. Well, let's sew it. All right, lady. So, we're going to have that quarter inch overhang if you're looking from the top on both sides. And I'm just going to make it make sure I'm as close as can be. I would need my glasses to do that. I've still got my eyesight. Good girl. All right. Make sure I'm lined up and we can cruise. Okay. There we go. Awesome. Okay, that's perfect. So, I'm just going to give that a quick press so you can see it a little more clearly. Pull away my fabric thread. I'm glad I'm not the only one. You know, people are like, "Don't tug on the threads. I can't help myself." I know. I know. I should know better, definitely. But I don't. Okay. But that's exactly what we want is that overhang on both sides. Perfect. So, speaking of that, shall we talk about how we finish this? So, I mean, what we've just done is exactly what you're just going to keep doing in rows and rows and rows and they grow. Just always have like a double check. I think like once you've sewn one, you don't have to sew the rows as you make them, but you can certainly lay them there and it kind of keeps you honest and keeps you on track to make sure your color order is working out right. Well, and then when you add rows that have more, you would nest these seams right as you approach them. That's exactly right. Okay. So, all right. So once you have made all your rows and you've got them laid out to assemble, you can do that. Take your time. I always go just a little bit slower obviously with that sewing than just this quick sewing. Of course, there probably are ways to do like um you know the chain sewing with all of it like chain piecing. But if you had it all laid out you could. Yeah, that's true. Right. But it would be growing in both directions. So I think I don't know. I don't mind taking my time with these. I was going to say sometimes it's just easiest to do what works best for your brain. If it works best to go one at a time, you just do that. I'm not in any hurry. I'm not in a race. No, we just want it to turn out. But I do want to share a piece that's just grown a little bit more than the one we finished. Um, just to give you kind of a look at how it comes together, but also I want to talk about how we trim the edges. Now, I found that for pieces this small, it was so much easier to just go on and do squares all the way out to the edges and then come back and trim it straight. I think it's brilliant. Yeah. Well, I'm glad you think so. I do. But I want you to keep your eye on exactly where you're going to cut. Okay. So, we are going to need our long grid again. Tucked it down here. Okay. Perfect. There we go. So, let's just turn this this way and talk about where to lay that grid for when we are going to be cutting our edges off. This is once we're totally finished. Okay. Very end. So, I don't recommend folding the quilt over itself and trying to cut a lot at once. I would, as big as your table is, lay it out that flat and just keep working your way around it. Kind of like a length of a ruler at a time. Perfect. But what we're going to be doing is we're not going to be cutting on these um seam points right here. We're actually going to be cutting a quarter inch beyond them because I want you to imagine. So really like the line that we're going to be cutting is about right here. I want you to imagine that once those triangles are cut off, which you could go make HSTs with, couldn't you? Yes, you could. Um once this is cut off, we still need a seam allowance um for our binding, right? So, we want these final points to be a quarter inch away from our cut edge from our where we will eventually bind. Makes sense. So, am I going to do the deed here? You seem ready. Okay. I'm so ready. I woke up ready to do this. That's right. All right. So, I'm just kind of taking a look at my quarter inch marks to line them up. And you know what? Sometimes when they're not exactly there, I might tug the fabric a little bit. But these are actually they're looking very good. pretty close. And usually one other tip is like it that quarter inch seam should be pretty close to where this fabric is meeting that fabric, right? And that wouldn't be a bad place to set your ruler either. It might be more like 38 or slightly bigger because we're on an angle. And we can cut all the way down here, too. Okay, good. I'm just going to stop there since we only have a partial piece here. Yep. So, look at that. So satisfying. So satisfying. So now we've got all this kind of like safety border of a quarter of an inch all the way around um our quilt so that when we go to bind like this is probably one of the more on point quilts I've ever finished. Yeah, it's so beautiful, you know, in terms of like the edge of it. So um but yeah, that's basically all the tricks of this trade. Well, let's go ahead. Why don't we trim this other side? And if you don't mind, could we just set it up there so they can really see how it fits in? I'll let you do it now. Now that you've shown me I have a feeling she do that. So we are looking for that quarter inch. Make sure I'm right. And I imagine you're trying to keep this as square as possible on that top. That's right. So I'm going to watch that one first since that's where I'm headed. Mhm. And then come down here and do the little magic tug where we need to put it where you want it. Get it as close as possible. Yeah. I always try to remind my students that, you know, fabric isn't made of metal. It's fabric. And it moves around like we do. That's right. I love that. Yeah. All right. And I will leave this little bottom one just like you did. But then we've got our corner. Yeah. Look at that. Gorgeous. And so technically our flowers are going to be upside down because we did this bottom corner. Oh yeah, we did the bottom corner. We But I'm going to hold it up here so you guys can see. Yep. And it just fits in just like that. D. And so then you can see exactly like Anna Maria said, you're just going to continue all those rows and you're going to have this beautiful onpoint quilt. Yeah. Without the scary setting triangles. No scary things. You're going to be dosey-doy before you know it. I love this so much. This is so fun. Thank you so much for coming and sharing it with us. My pleasure. And you know, like I mentioned at the beginning, this book is just a fabulous resource of inspiration. So, dive in and you will love it. And hopefully we will see you all soon. We can't wait to see your Dosey Dome Quilts, right? Yep. That's right. All right. Thank you again for being here and let everyone know where they can follow along with what you're doing. Yes. So, I'm um on Instagram. Um my website is Ana Maria Perry. Um, I have an Ana Maria textile site and YouTube channel where I'm always making introductions to my fabric so you can learn all the inspirations behind them. So, yeah, I'm pretty easy to find. It's true. She is and she's she's a great one to follow. So, thank you. Thank you again and we will see you all soon. Bye. Hey everyone, thank you so much for watching at home. We're so excited to be almost a million quilters strong here at Missouri Star. And so if you haven't already joined our family, be sure to subscribe and hit that notification bell so you can be notified of all of our future tutorials. And we'll see you soon. [Music]


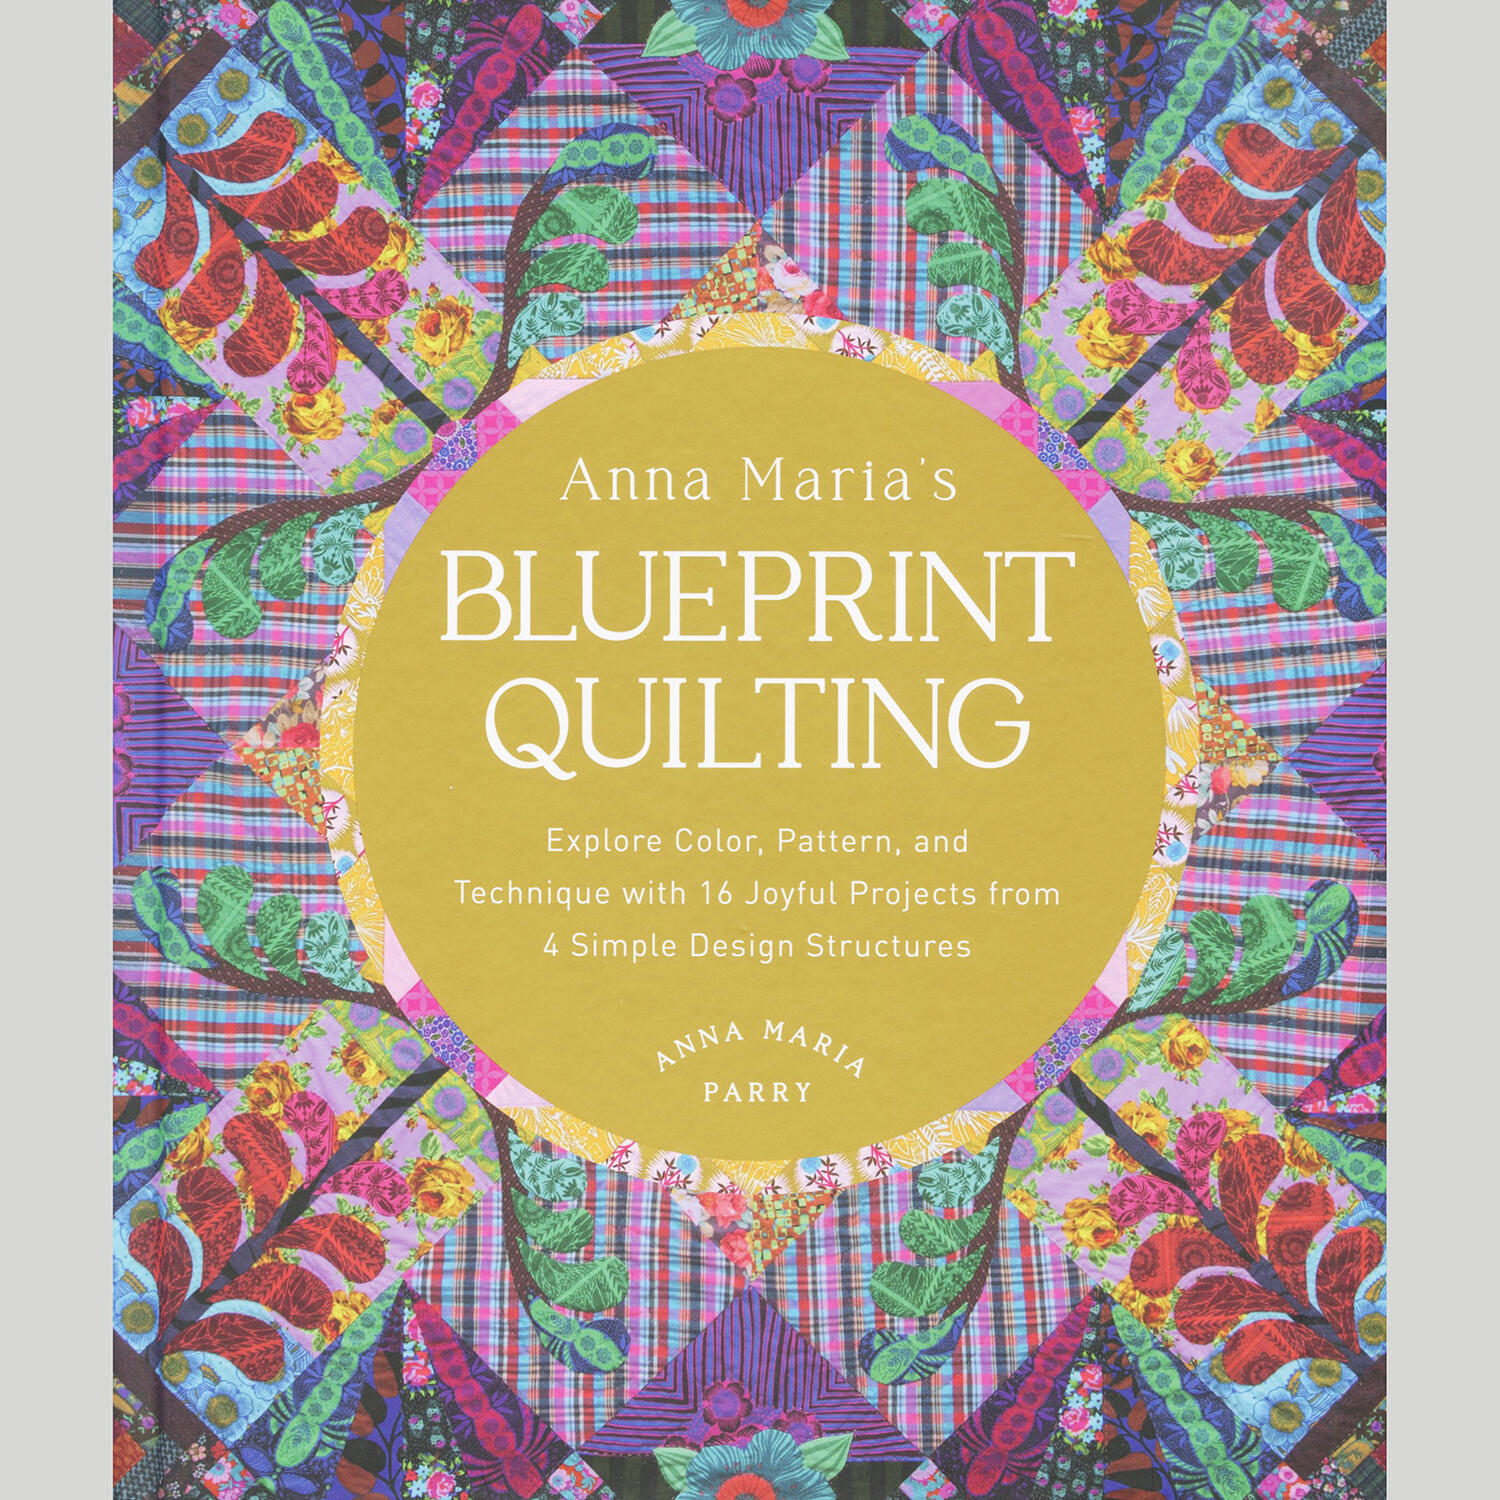 Blueprint Quilting Book$25.95Shop →
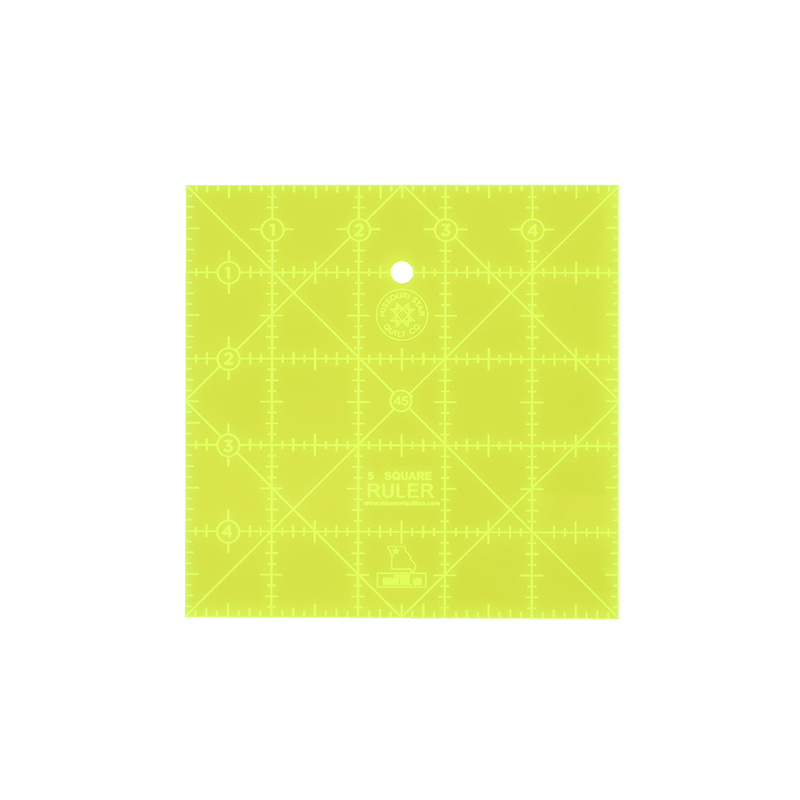 Missouri Star 5" x 5" Square Ruler$8.95Shop →
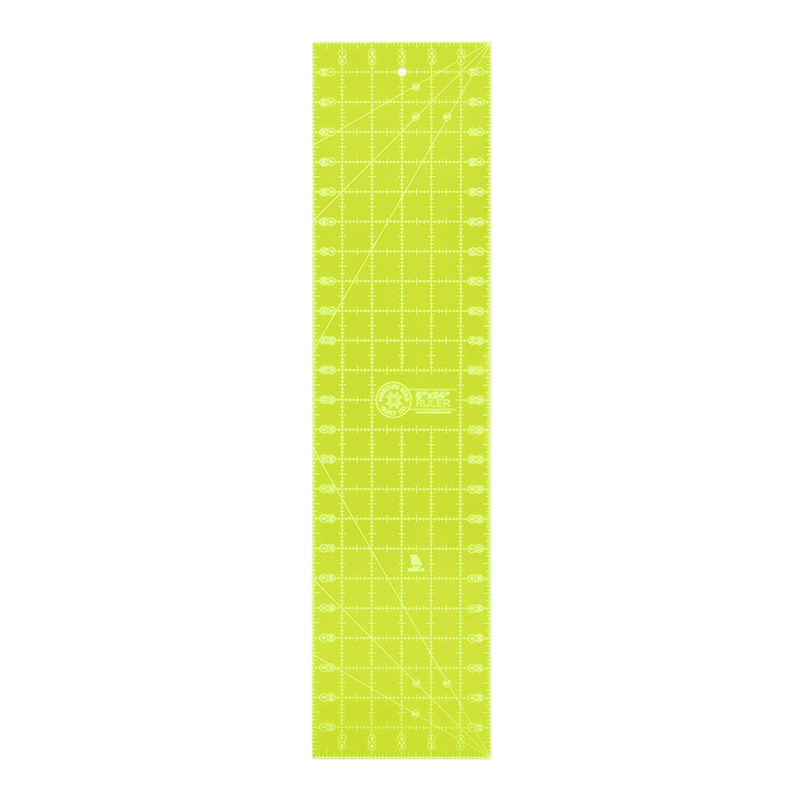 Missouri Star 6" X 24" Ruler$29.95Shop →
 Missouri Star 45mm Rotary Cutter - Olga$19.95Shop →
 Missouri Star Seam Ripper - Frida$9.95Shop →
 Missouri Star 8" Everyday Scissors - Amelia$19.95Shop →
 Missouri Star + Oliso TG1600 ProPlus Iron$209.95Shop →
 Missouri Star Wooly Betty Board - 17.25" x 25.5" Orange Border$99.95Shop →
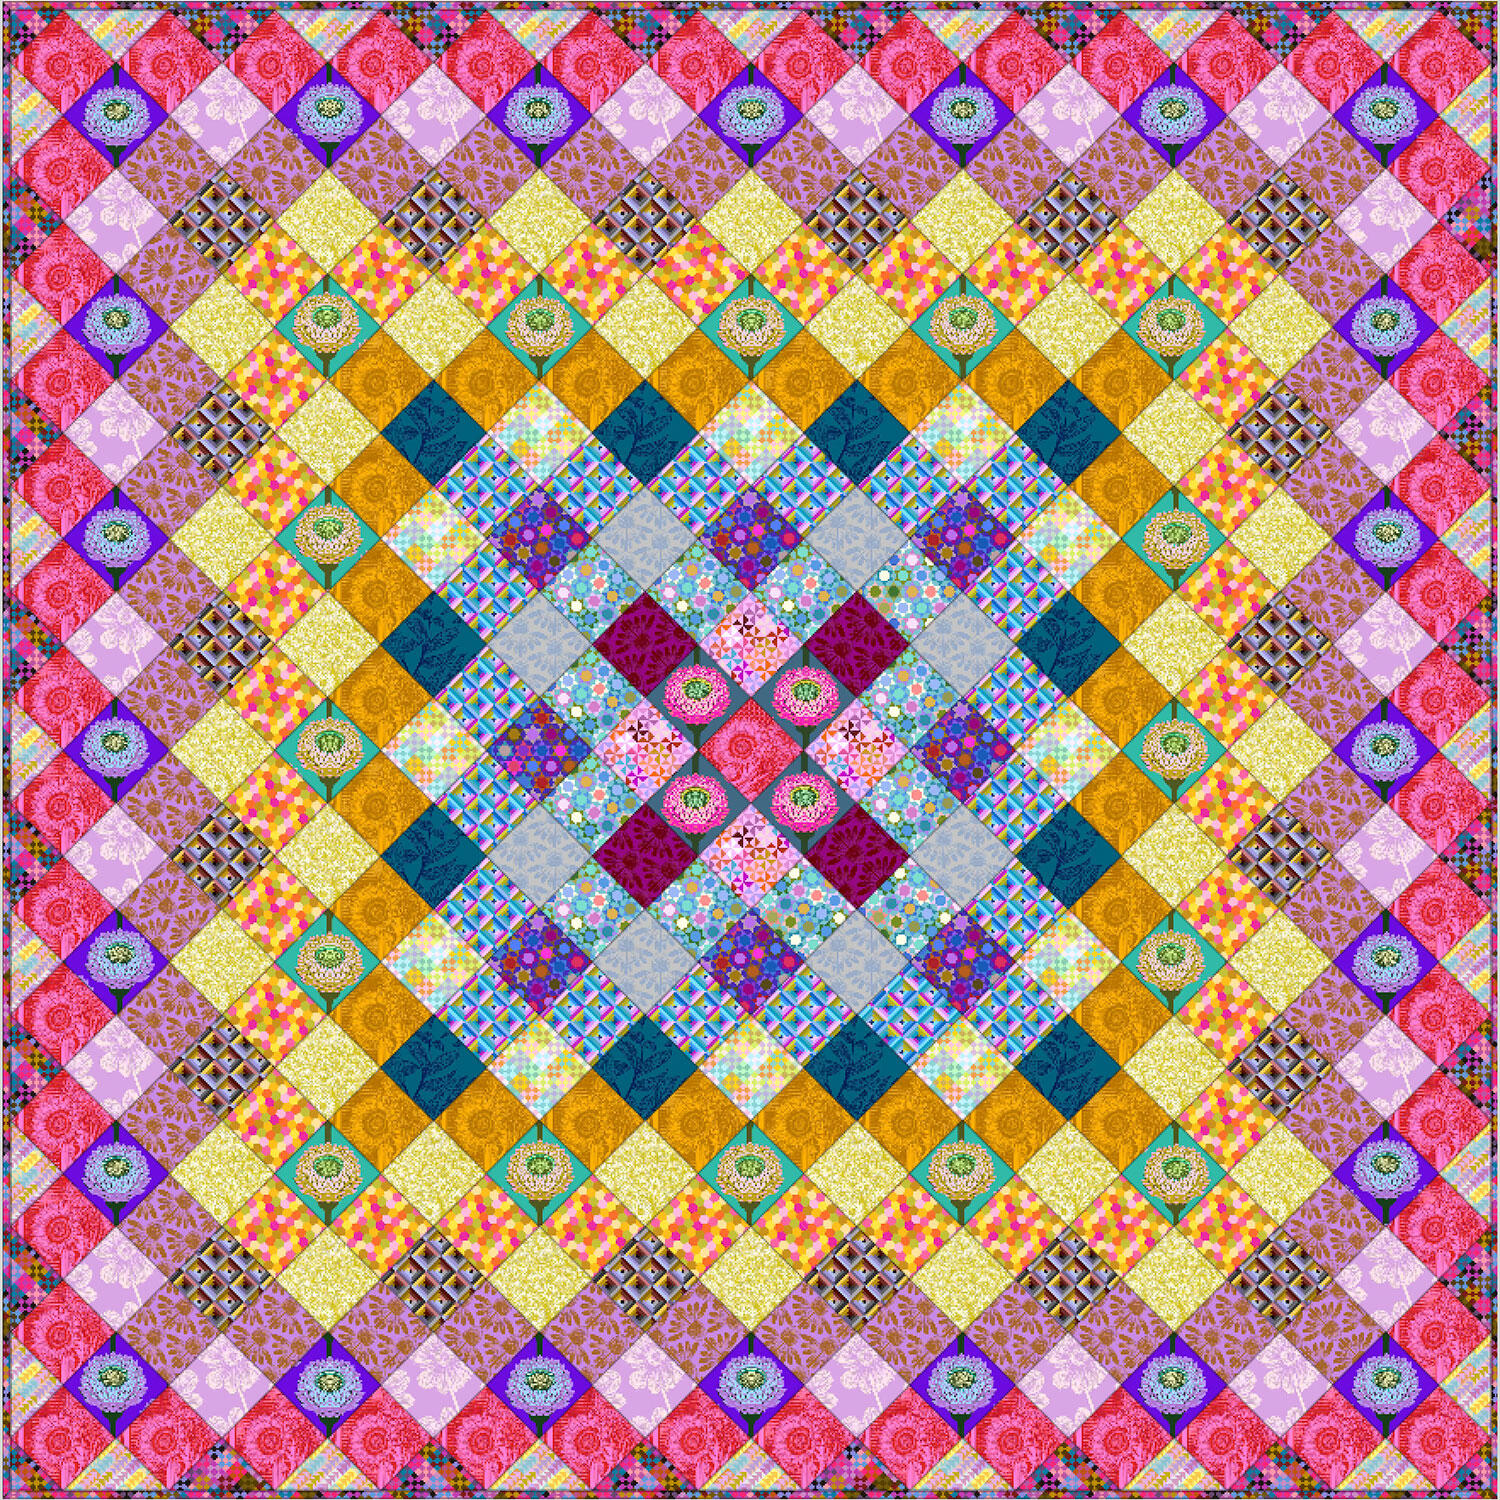 Do Si Do Quilt Kit$154.95Shop →


