
Domestic Sewing Machine Quilting: Peace Paisley Free Motion Pattern with Leah Day
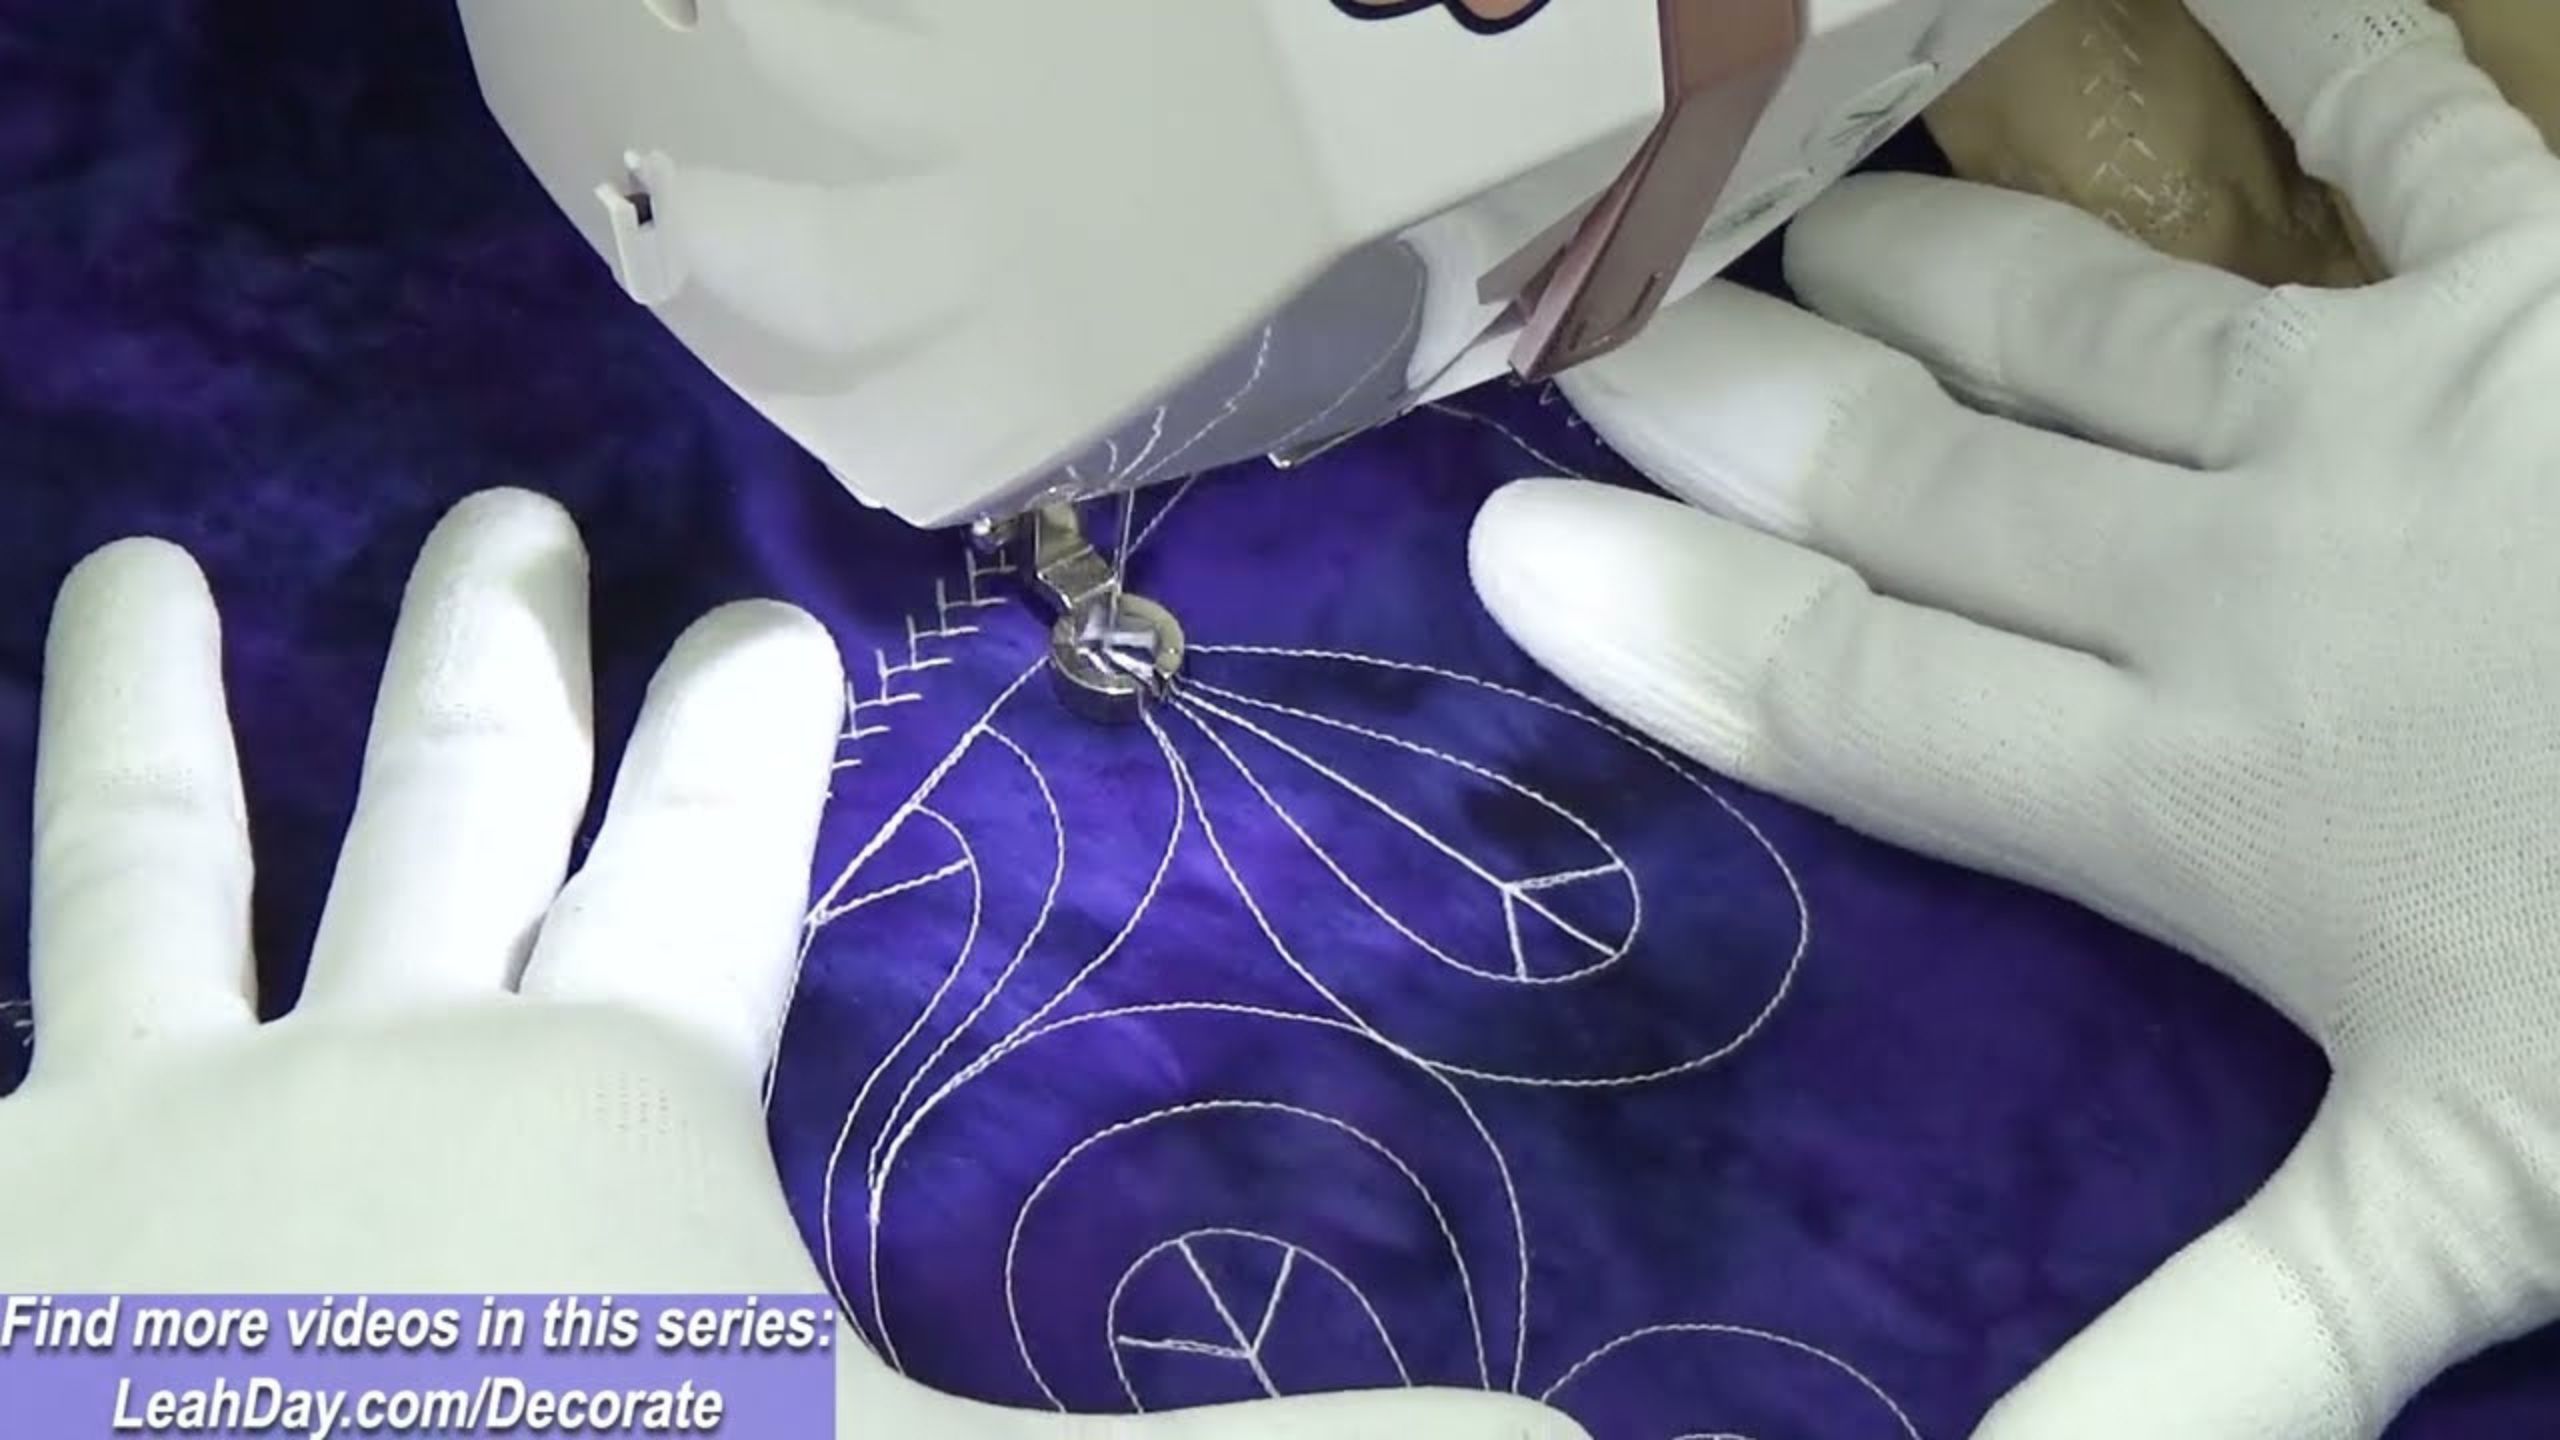
Dive into domestic sewing machine quilting with a beautiful pattern Leah Day calls Peace Paisley. In this Decorative Stitch Quilting Mini Series, Leah is machine quilting around decorative stitches on a home machine. Learn how to machine quilt Peace Paisley on a domestic sewing machine set in a table in this quilting video.
Instructor
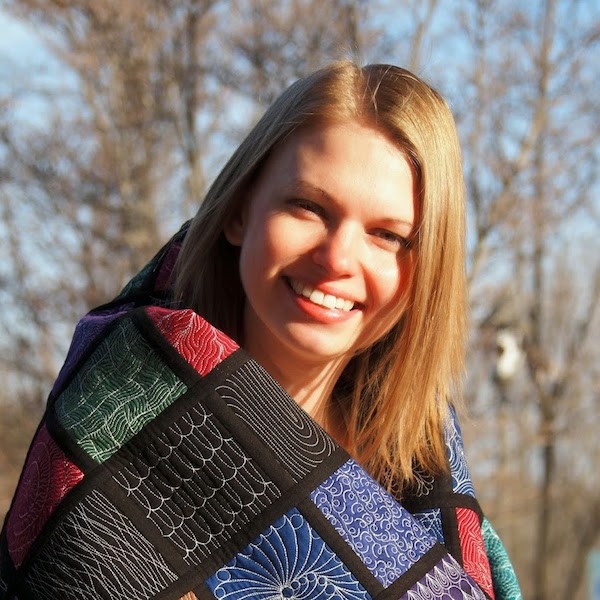
Leah Day
Leah Day is an online quilting teacher and founded LeahDay.com in 2009. She teaches quilting online via free YouTube videos and is also a dealer for Grace longarm machines and frames. Her mission is to empower and encourage quilters of all skill levels learn to make beautiful quilts.
Shop this tutorial
Chapters
- 0:00Free motion quilting Peace Paisley steps
- 0:49How to cover more of your quilt with Peace Paisley
- 1:25What if you hate peace signs?
- 2:00How to handle weird areas where you can't fit a full design
- 2:42Decorative Stitch Quilting Series and quilt top details
- 3:27Breaking the rules - quilt the outer line first
- 4:17How to quilt along with me!
Common Questions
What is covered in Domestic Sewing Machine Quilting: Peace Paisley Free Motion Pattern with Leah Day?
Dive into domestic sewing machine quilting with a beautiful pattern Leah Day calls Peace Paisley. In this Decorative Stitch Quilting Mini Series, Leah is machine quilting around decorative stitches on a home machine. Learn how to machine quilt Peace Paisley on a domestic sewin...
How long is the tutorial video?
The tutorial video is 00:04:37.
Is a transcript available?
Yes. A written transcript is available on the tutorial page.
Video Transcript
So this starts with a teardrop shape and I'm going to go down through that teardrop shape with a straight line, a little peace sign here, stitch back up, branch out to the left. Travel, stitch back up, branch out to the right. It's like a nice, nice, cute peace sign right in the middle of that paisley shape
travel stitch all the way back.
As you can see, this is going to be a great design to practice travel stitching. You're going to get loads of practice stitching right back over
that line of quilting and you know, it's not going to happen. You're not going to be perfect at that to start with. But the more you do it, the better you're going to get.
Now to branch out with the design to continue it. You're going to just simply branch out in another direction with another teardrop shape. Now, how big this is, how big you stitch that teardrop is entirely going to affect your quilt. So stitch it really tiny. Your quilt is going to start to feel a little stiff. It's going to look a lot more decorative, though.
If you stitch it nice and big, your quilt is going to remain nice and soft,
but it's not going to have as many repeats within that quilting space. So you kind of have to think about how big you want to quilt it and how you want your finished quilt to feel.
You can see it's not too time consuming to add that little peace sign. But remember that Paisley is a design in and of itself. So if you don't like the peace sign element, you can just simply not stitch that and your quilting just a regular paisley design instead. Now you can also echo as many times as you once.
So here I'm putting my foot down because I can do this fairly fast. You can go around and around one peace paisley shape, and that just builds up the design. It takes up more space on your quilt and it adds more echoes.
And that's really, really pretty.
Now, not all areas are going to perfectly fit your design, so you're going to have to be able to cut it in half. And you can see that's what I'm doing right here. As for how that's going to look, well, we'll just have to figure it out
as we stitch it. But you can put your hand on a previous shape and try and figure out how that's going to look and kind of get an idea of how you want to stitch it.
In this case, I'm just going to stitch my line. I may come up only a little bit
and then stitch that part of that peace sign. And that looks good. I don't have to go all the way back if I don't want to. I can simply add a few echoes right here, and then I can move on with the design kind of working my way down into the next row.
And this is a six inch space on my quill. This is a little test sandwich that I'm working on. It really, really fun test of decorative stitch quilting, a little bit of ruler quilting, a little bit of free motion quilting. And in this case, for this particular new design, we had to have those edges. You can see how much a travel stitched against those edges while I can't travel stitch against the decorative stitches because there isn't really a line to stitch along.
You know, I would end up making myself crazy trying to get in there and do that design right? So I needed that little bit of a buffer. I needed that outline to be at it. I did that with Ruler Quilting. You can find another video on that on my website.
Now if you have to, If you're kind of estimating your space and can't quite figure out how big of a shape you can go, you can go with the outside by the outer echo line first and then stitch your paisley inside of it. So that's kind of cool, you know, never feel like you have to start from the center and work your way out. You can also work your way out and then do the outside first and then work your way in with the other shapes.
And that can be really helpful if you have a small space or it's a weird area and you're not quite sure how it's going to look, we'll just go on ahead and stitch the biggest shape first and then fill in your inside.
So I think this is looking really, really good.
I hope you enjoyed learning how to quilt piece Paisley with me. We are practicing so many cool quilting techniques on this panel.


