Skip to content

Free quilting video tutorials from Missouri Star

Quilting Tutorials
Double Take - Bowtie

Double Take - Bowtie

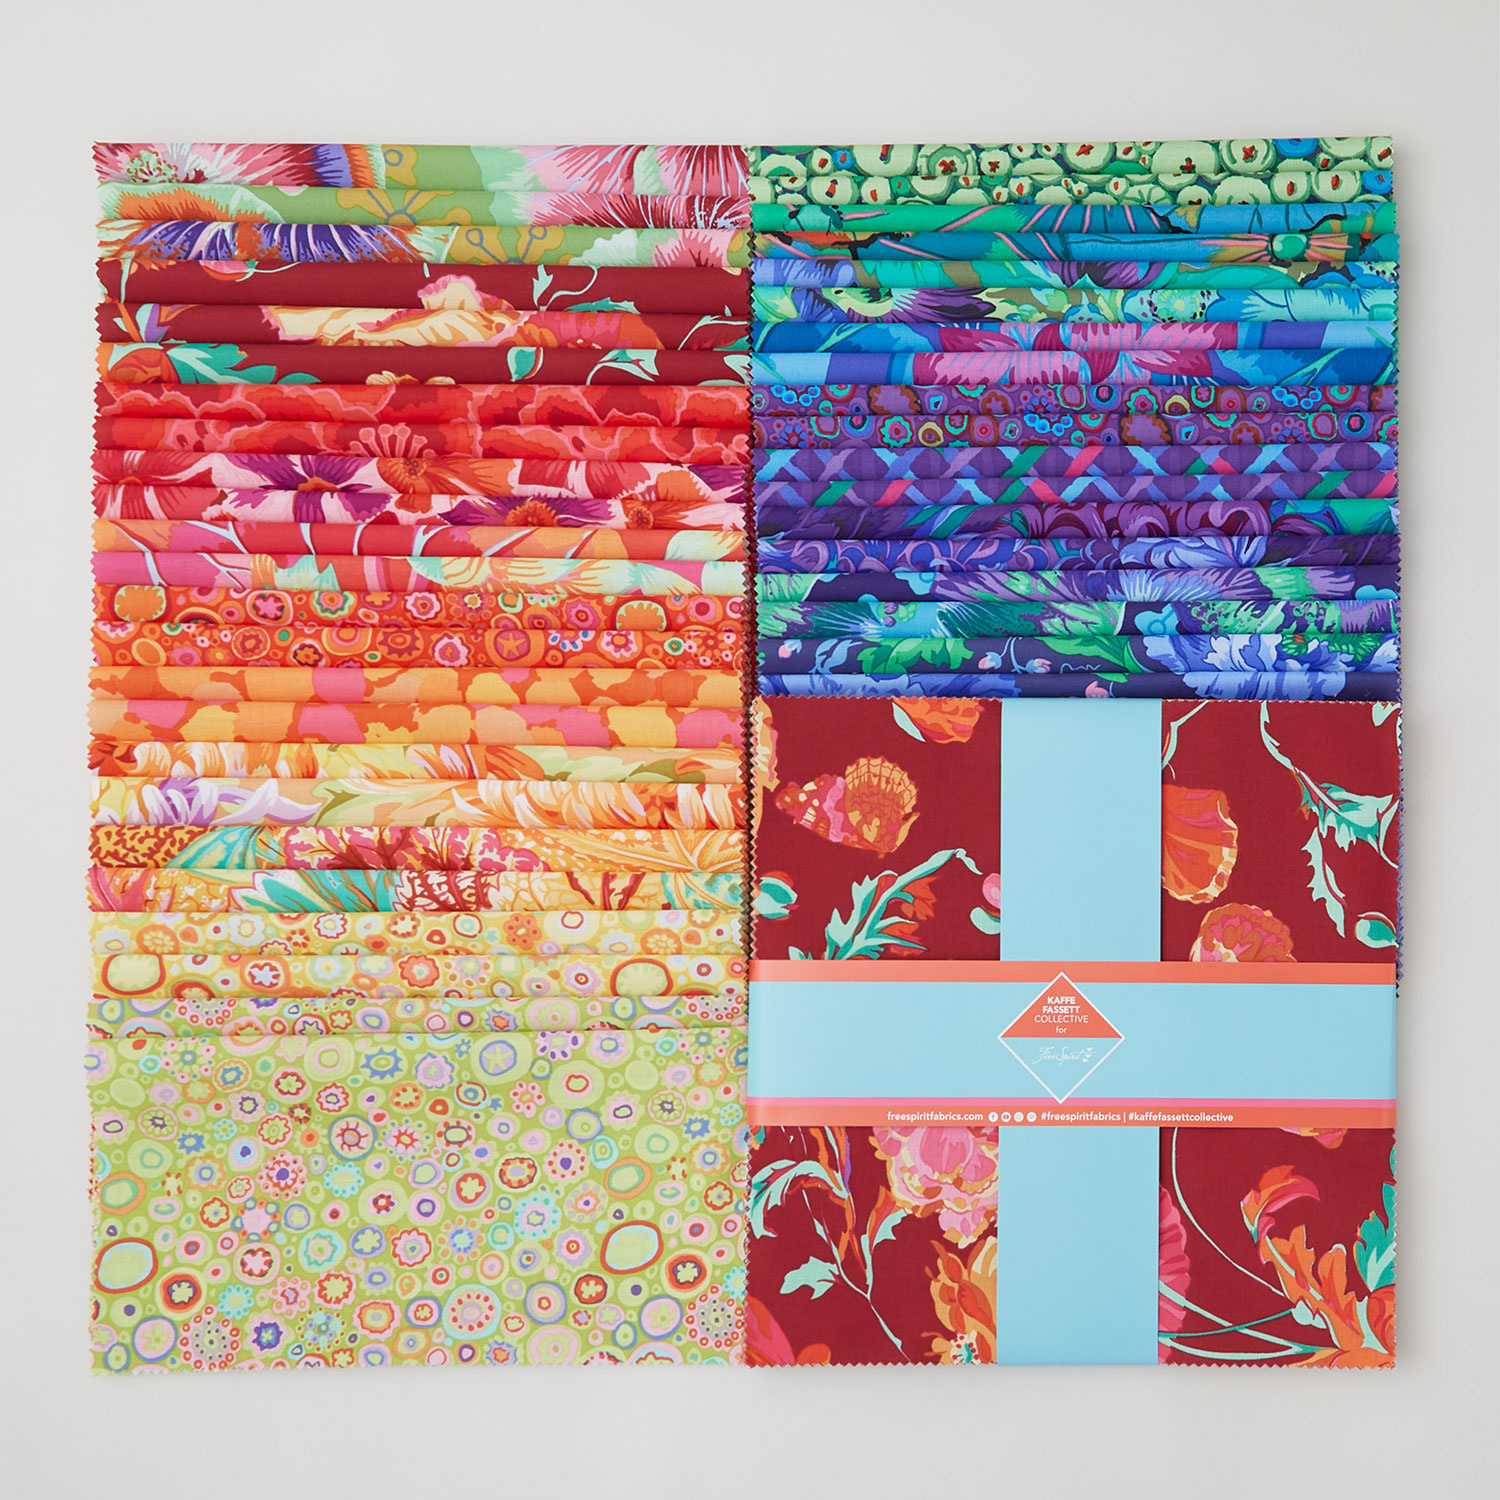
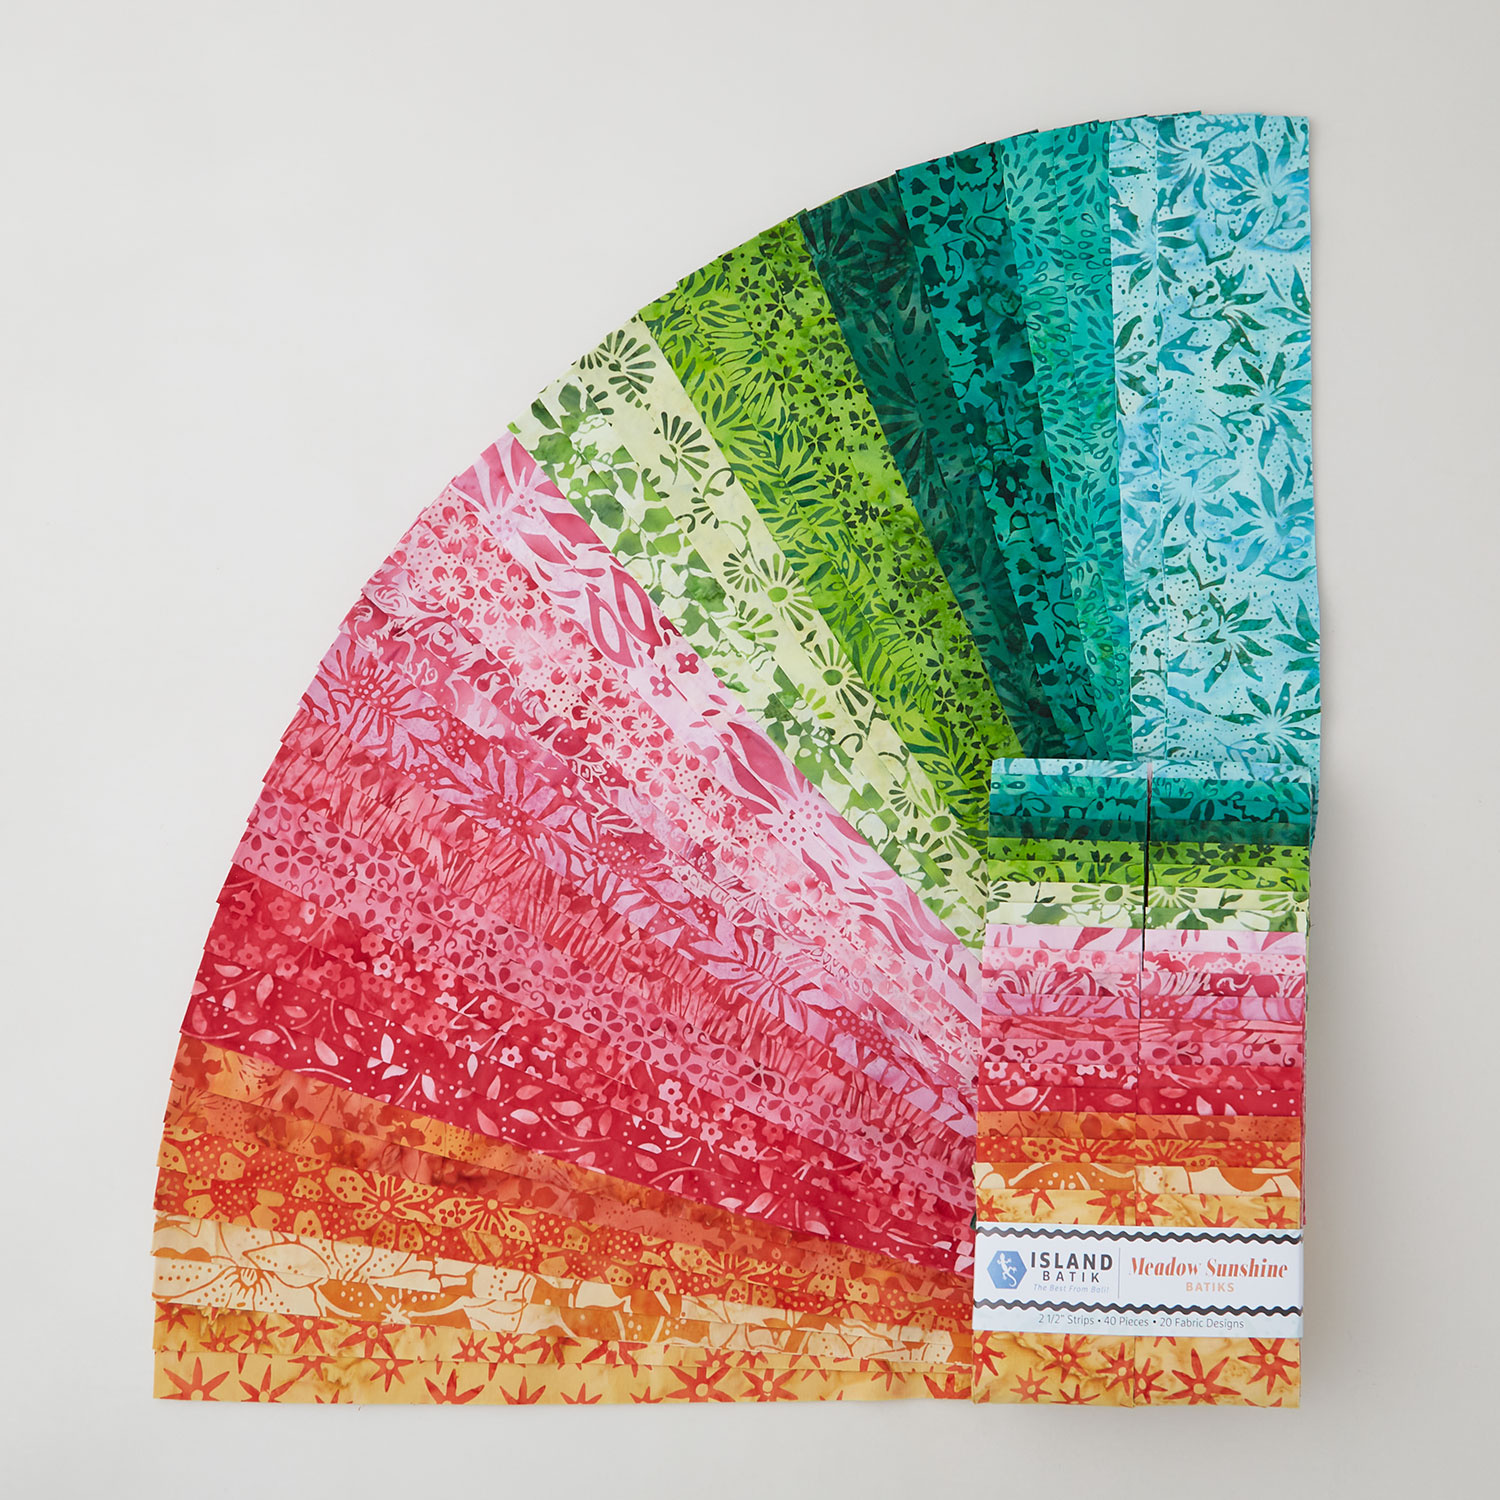
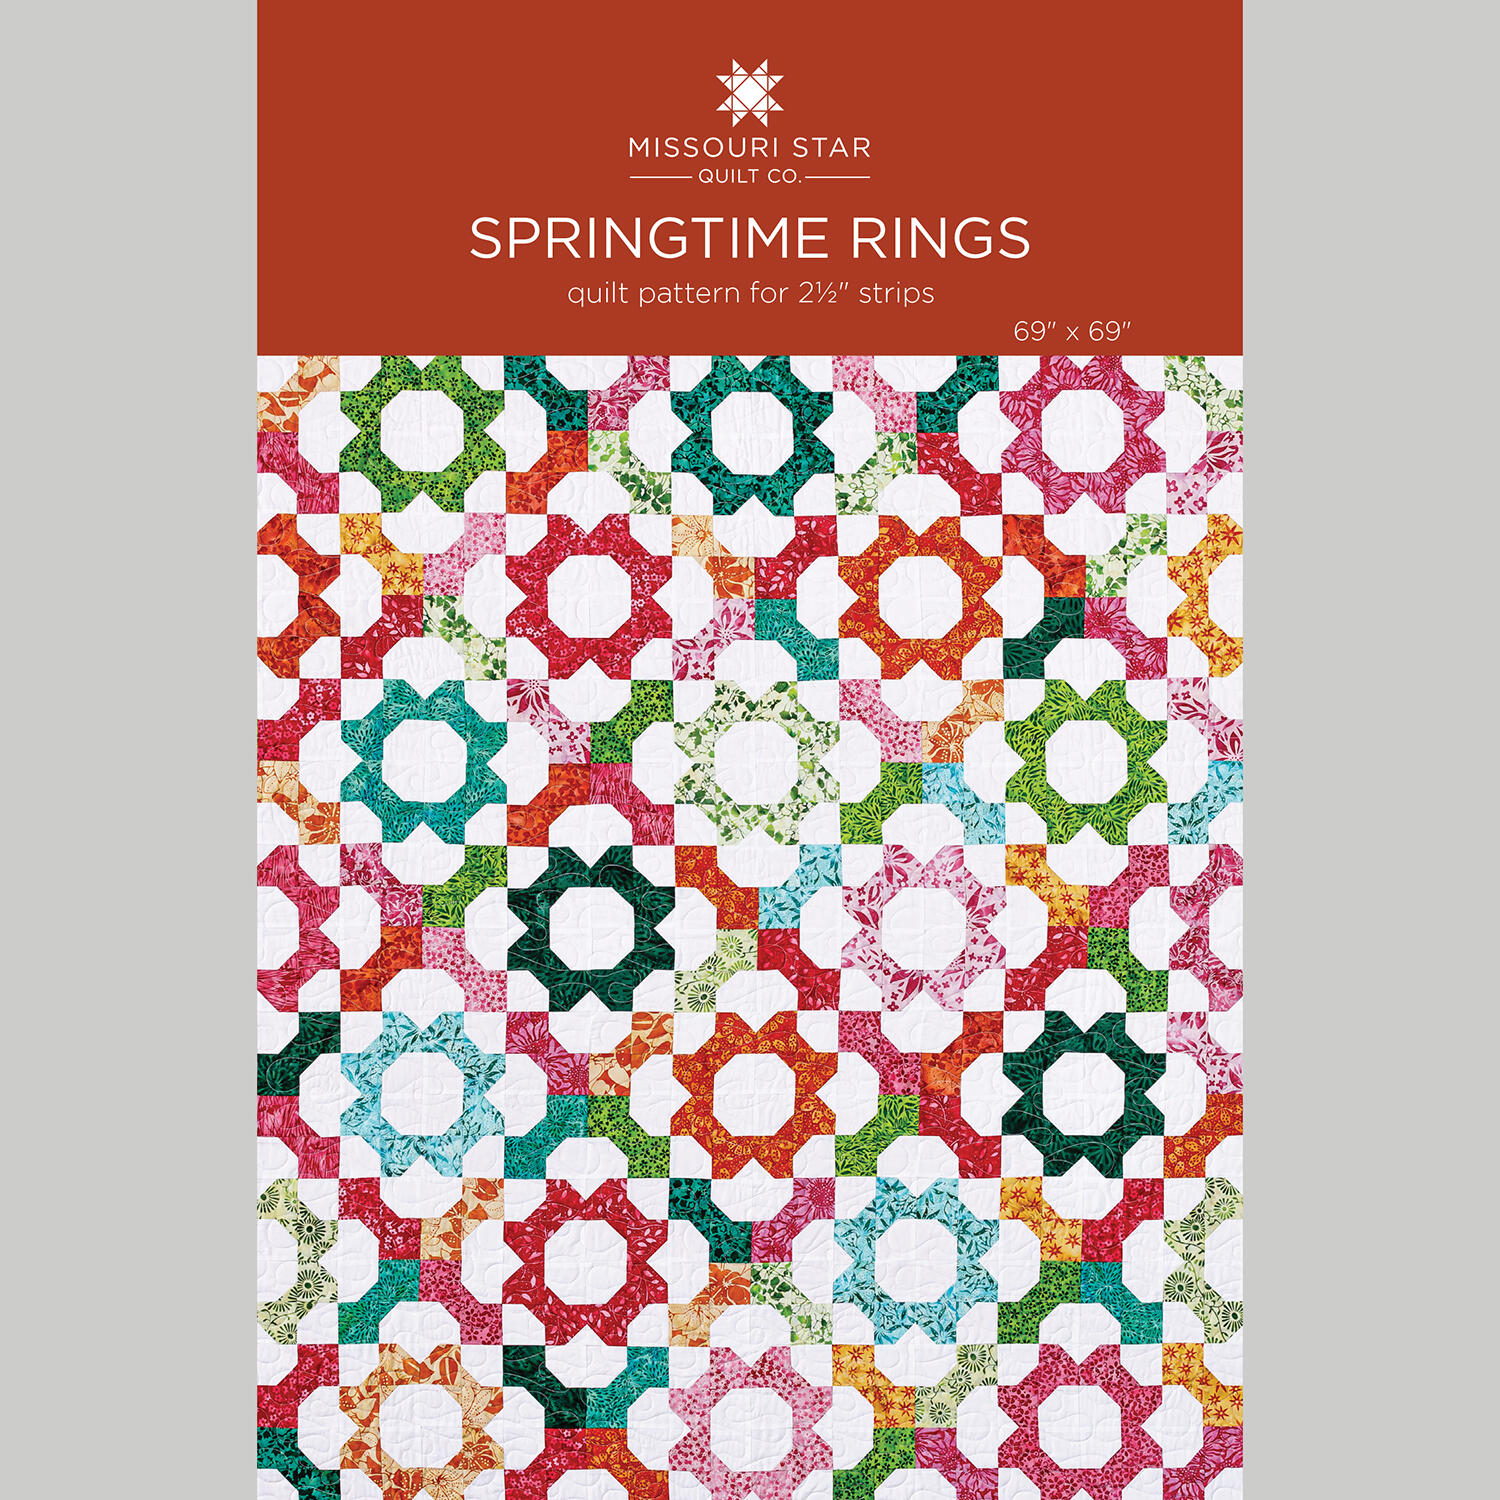
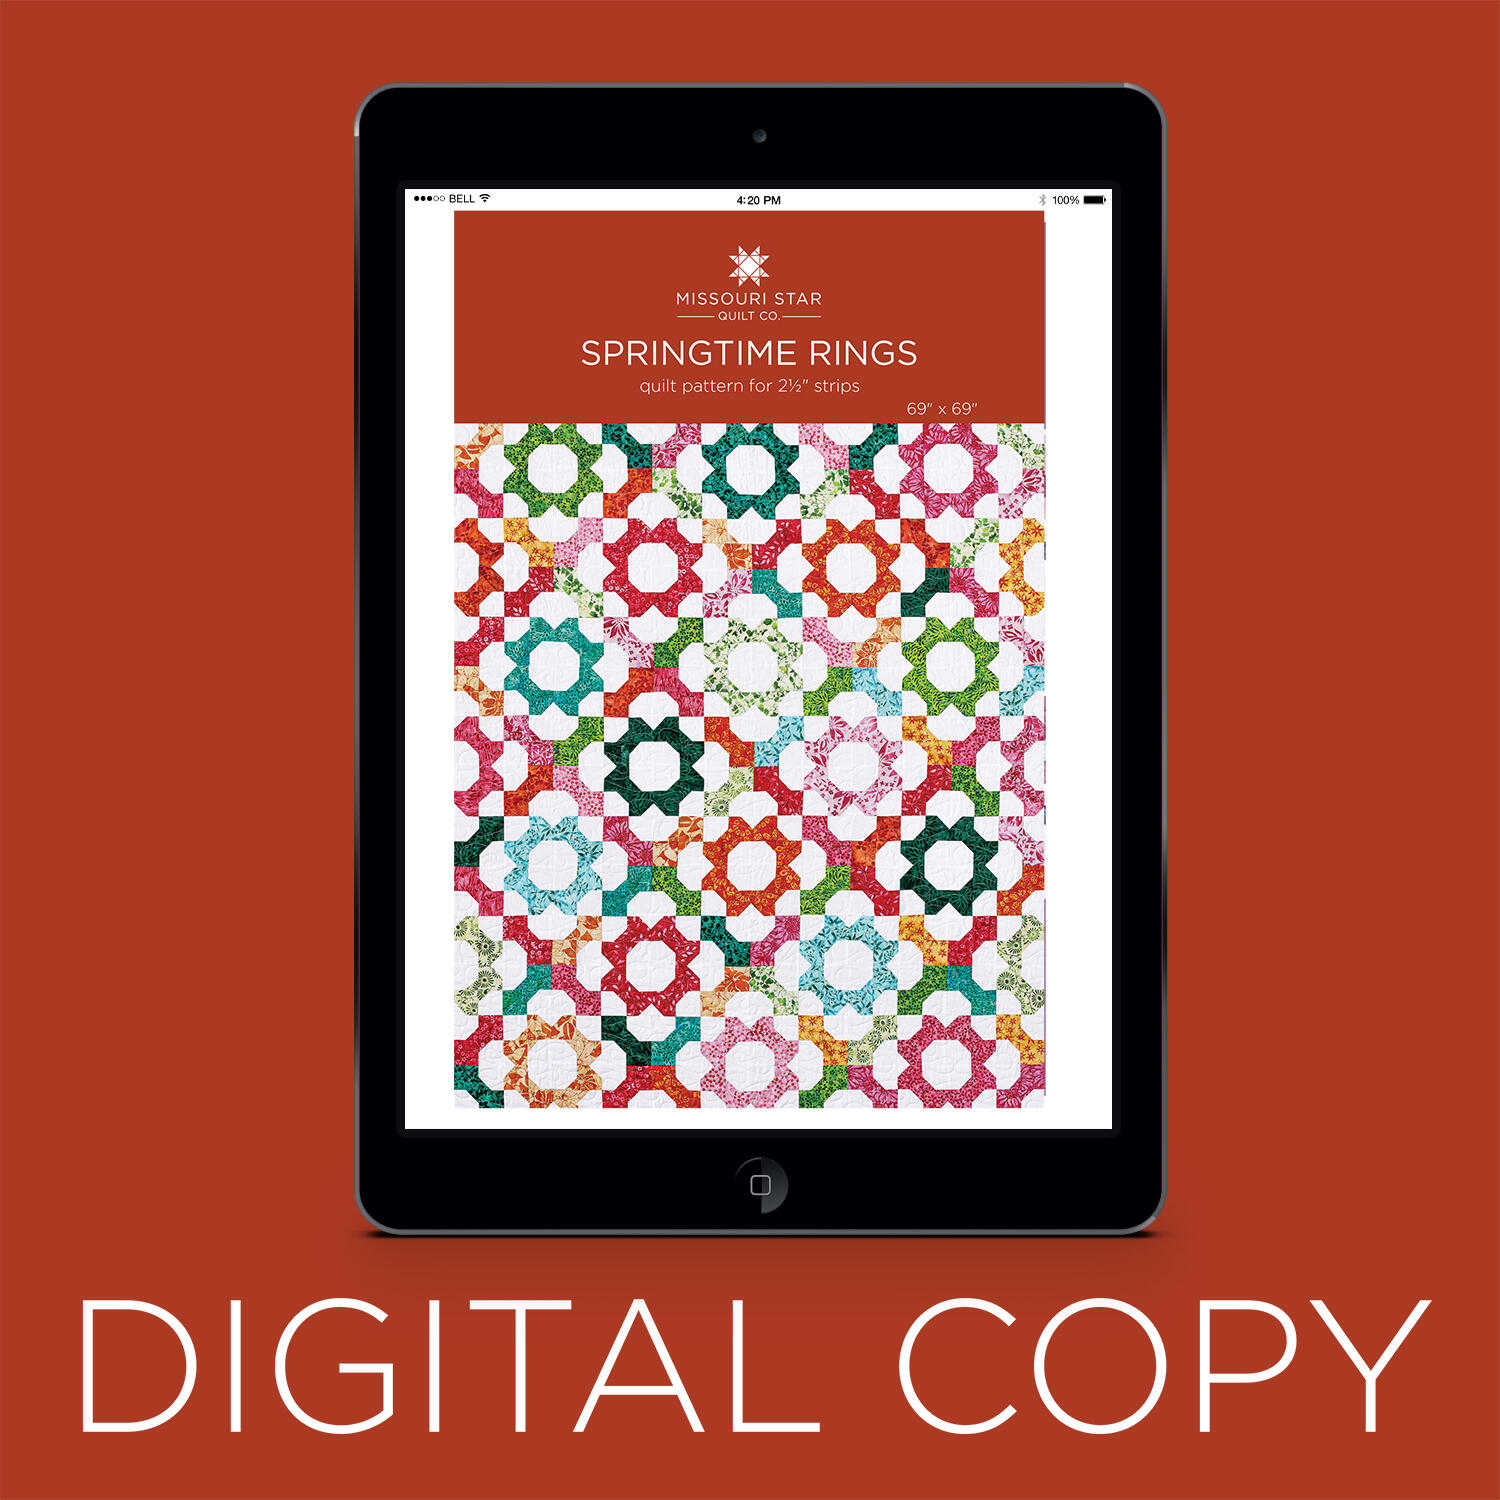
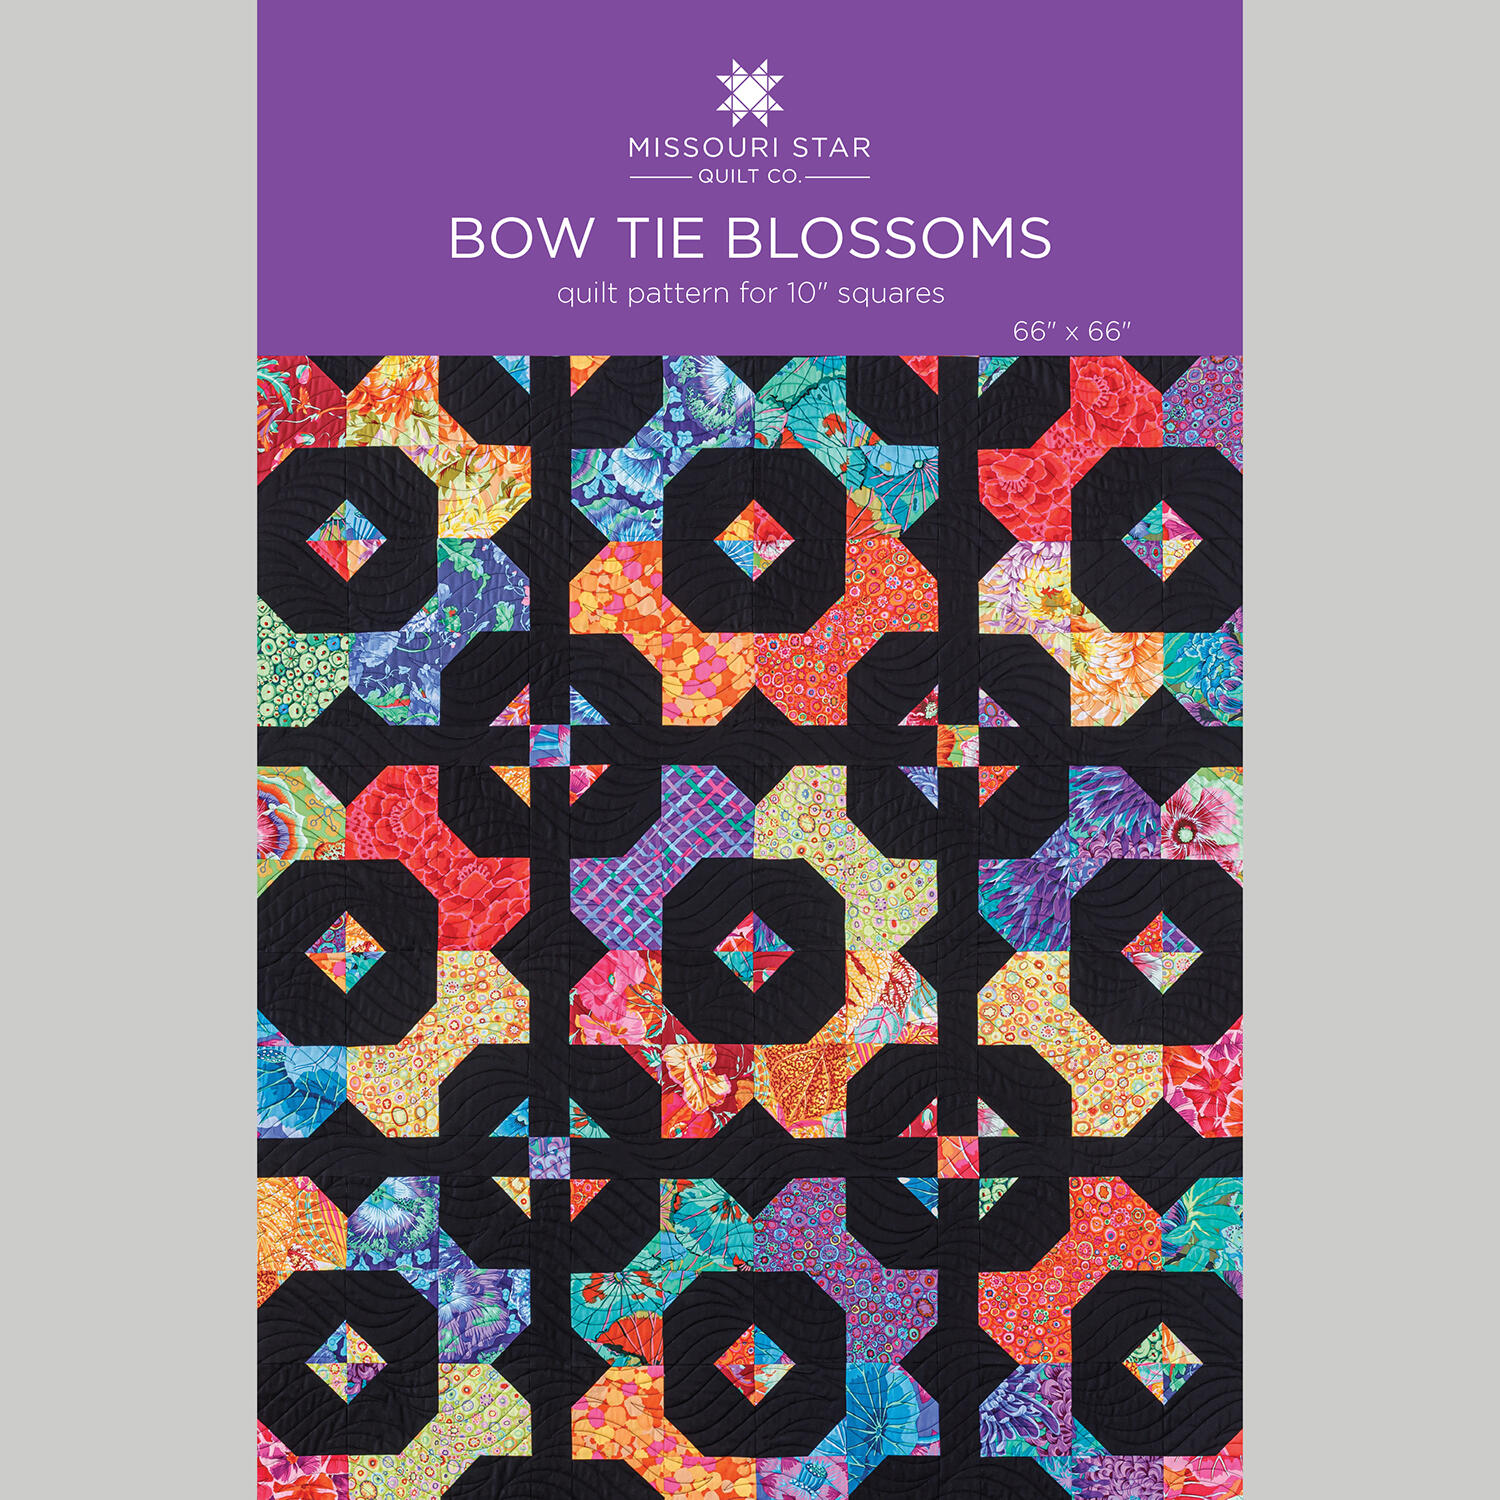
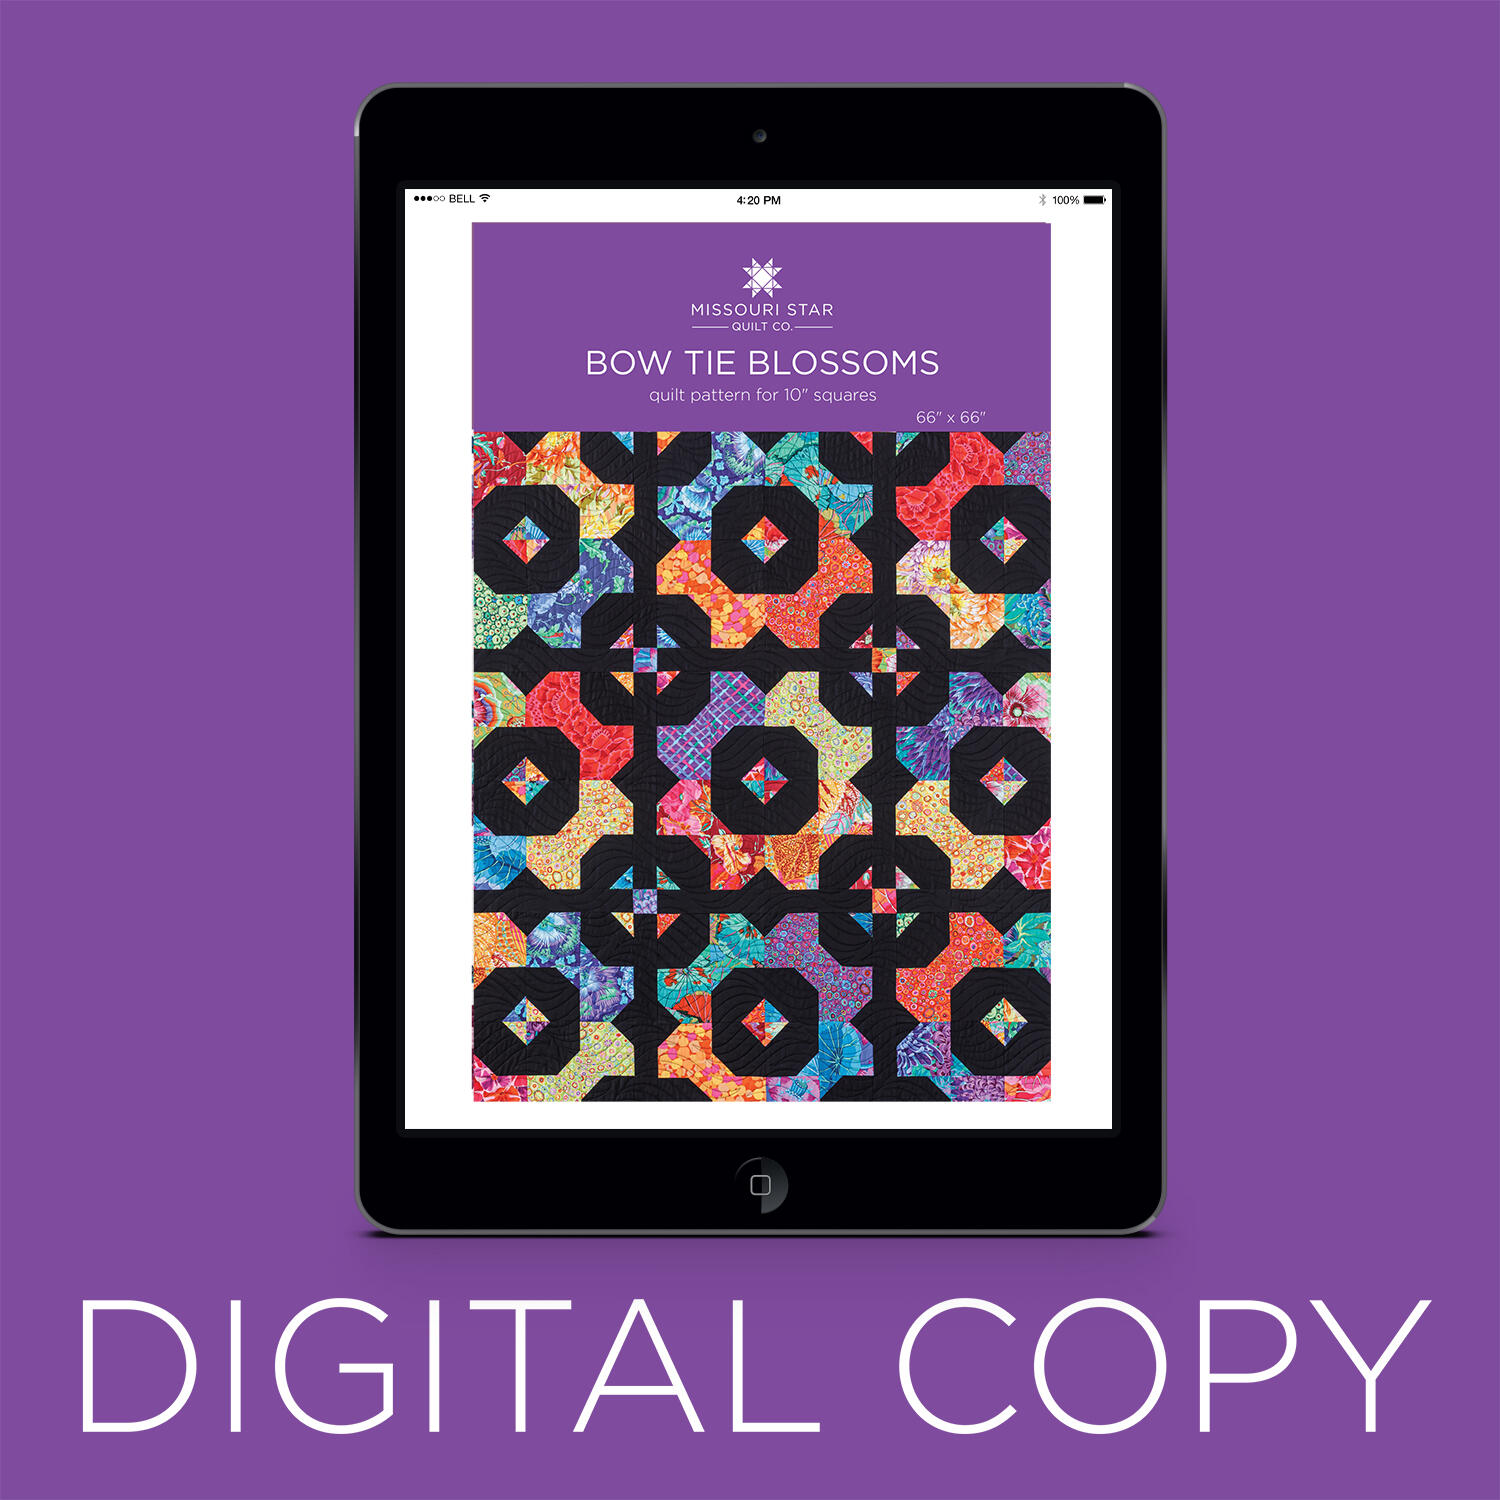
If you could time travel to a late-1800s quilting bee, there’s a good chance they'd be working on a Bowtie quilt. This beautiful block has been made—and remade—for generations. Today we’re making two new variations: Misty’s Bowtie Blossoms is made with a brilliant Kaffe layer cake, and when the blocks come together, a little shoofly appears at every corner. Natalie’s Springtime Rings combines two bowtie blocks: an X and an O. Together, they shine with Meadow Sunshine Batiks by Kathy Engle.

Instructor

Natalie Doan

Natalie is the host of Quilting 101, Embroidery 101 and the Creative Strategist and Editor of Block Magazine at Missouri Star Quilt Company. She was taught how to sew by her mom, of course, and began quilting when she grew up.

Common Questions

What is covered in Double Take - Bowtie?

If you could time travel to a late-1800s quilting bee, there’s a good chance they'd be working on a Bowtie quilt. This beautiful block has been made—and remade—for generations. Today we’re making two new variations: Misty’s Bowtie Blossoms is made with a brilliant Kaffe layer...

How long is the tutorial video?

The tutorial video is 00:27:37.

Are supplies listed for this tutorial?

Yes. The tutorial page includes the supplies and materials connected to this project.

Video Transcript

hey everyone welcome to this month's double take i am Misty and of course I'm here with Natalie i love double take week it's one of my favorite things it's so fun and we're super excited because this month we're going to show you two great ideas for the bow tie block yes bow tie block is classic and it really is such a simple block to make but it can give you some really stunning quilts i agree it's going to be a lot of fun all right well do you want to go first sure absolutely great let's get started [Music] all right so this is my quilt i called it bow tie blossoms and it's so cute i love how it looks like flowers how they just come together in a little wreath i love it too and then you get this little secondary uh shoe fly which is Yeah I love that yeah and I thought the capes were just perfect with those nice beautiful brights those colors always pop so great against really against any color you put them with because they're so bold i love it i love it too so to make this quilt you are going to need one package of 10in squares and I use these beautiful Cave Classic Spectrum colorway which just means we get all those beautiful rainbow colors then for your background fabric you are going to need three yards that includes your little sashing and for your backing I used a 108 but if you use regular fabric you need four and eigh yard you'll just need two and a quarter if you use a 108 and I use this pretty little kind of crosshatch for my binding and you'd need 5/8 of a yard of that so let me show you how to make this [Music] so you are going to take your pack of 10in squares and you're going to pick your 36 favorites that's all we're going to need for this particular quilt and so I'm going to use this beautiful floral right here on top and we are going to cut all of our 10in squares the exact same way okay so I'm going to use my little 5 inch wide ruler here and we're going to start by cutting our 10in square in half both directions so that we have four five inch squares just like so and then I'm going to stack two of those 5 in squares up because we're going to need those for a quarter of our block okay I'm going to set one aside for another project for another project or later and then we are going to cut this one in half both directions to have two and a half inch squares perfect i love the versatility of layer cake squares they are just they work so well they really do you can get so many different amounts of sizes from things they're just combinations and fun inspiration exactly and so we're going to keep two of these and then I'm going to add the other two to a pile because I want part of this block to be a little bit scrappy okay and then for our background fabric we're also dealing with 5 in squares and 2 and 1/2 in squares so I have those ready to go so to start with let's take our print squares and we are going to take one of our background 2 and 1/2 in squares and we're just going to lay those on one corner and we're just going to sew point to point on both of those yep perfect and you can chain piece those if you want yeah I love these snowballs are really one of my favorite thing to do because it can change the look of a block so much exactly it's a very simple thing that you can do to really mix things up right make it your own or make it look completely different yes and again I'm using the diagonal seam tape but you guys could draw a line or press a line there's lots of different ways to do the sewing diagonally right point to point seam tape works great for me yeah and if you were to draw that line point to point you would be sewing right on the line not next to it that's what we're looking for that's right all right perfect these two are ready for you okay i will trim those apart and then cut this off to leave my quarter inch seam allowance there's one and two sweet so we'll press these back really quick all right all right so that part of our blocks that's all you have to do so now we're going to grab two of our 5 in background squares and we are going to put the same color print on one corner okay and then remember that pile that we added our other sets of two we're going to pick I I did matching in the quilt behind me so like within a block they're the same color so I've got two matching squares that are a contrasting color to the block itself but they didn't have to be you could really just put any any fabrics you want on that other corner exactly and honestly you could mix all these up and it you won't notice but this is just how it worked for my brain right and so then we will just sew point to point um on both of these okay we'll do it easy peasy nice i'm going to go ahead and chain piece them because it's a little less um picking up and cutting exactly it saves some thread along the way a tiny bit yep just a bit perfect there you go all right so then just like on our other squares we're just going to trim off our excess leaving our seam allowance these perfect all right so then now I will just press these back i just roll them back seems to be the easiest for this block yeah these little snowballed 5 in squares can make so many different types of blocks too that's the X block or the you know X's and O's like that's just such a so versatile it really is so then we are going to put our print corners in and we're going to match the same fabric color perfect that's what makes the little bow tie that's what makes our cute little bow tie and so if you want to sew these together they're just like a a four patch of course there's the first one there you go there you go then we can open these up we'll press them in opposite directions so that I wasn't sure if you wanted me to go ahead and stitch that seam you could have it's totally up to you but it's it's no big deal we'll just press them i'm pressing them towards the print in this side since it's kind of it's fairly dark i'm not sure they're all dark there's not really like a light dark but there's some that are a bit lighter but as long as you're going opposite directions so that that middle seam it'll nest nicely and not have too much bulk exactly that's all you're looking for excellent here we go just going to make sure it stays lined up as I go down yep i want to go fast but not too fast the good news is that whole middle is the same print so even if you're off a bit it won't show it's pretty pretty forgiving excellent i love that all right so we will press this and our a quarter of our block is done i did go ahead and make four of these that I then put together and that's what I call the the block in the quilt okay and so you can see Yeah this is so cute it's fun how those all come together and it gives you this beautiful blossom and so I love it when they're sewn together it looks like this yay which I I just think it's a really fun and simple block and it's very striking it is so let's take a look at the quilt behind me so I just did three box blocks across by three down so just nine of these big blocks i did go ahead and put a sashing strip in here with a cornerstone which gives you this little shoefly which I think is really cute and I did notice after I finished this quilt that it would be pretty easy to add another border out here and finish off your little shoe flies so let me just show you how to do that because I did include that in the pattern you could just stop here if you wanted but you know why why not have options why not have options i love that and so to do that it's the same size strip as your sashing which it should measure 18 and 1/2 in but just measure your block and cut your sashing strips to that size and so then I've done that here and then all you're doing is snowballing two sides in opposite directions and you can see how that's going to fit in along the side here and we would just add one more border all the way around get all those little squares from the 5 in squares we set aside earlier exactly perfect so there's there's plenty of fabric for you to do that um and so this finishes up at 66 in square with the extra border if you add that that's what it would measure i quilted it with time warp and here is this beautiful big print on the back love those backings so pretty cave has such beautiful backings so that is it that's my quilt quick and easy and I guess Natalie you're up next all right i'm excited all right so this is my quilt i'm calling it springtime rings because it's it's just fun these just they ring up together and make these cute little circles and the rest of it is scrappy it's definitely I was going for X's and O's because I think they're so cute and uh I decided to keep these fabrics together which I think gives it like a little bit of cohesiveness and piece piece a place to rest exactly exactly but it's really fun to make very easy and sort of similar to yours i know it's so similar but it looks so different which is really really fun yes all right so let's get started so to make my quilt you're going to need one package of 2 and 1 half inch strips and I've used Meadow Sunshine Boutiques by Kathy Angel for Island Boutique you're going to need some background fabric and that also includes our inner border um we will need 2 and 3/4 yards of that i've used a white so you can use whatever you want with you know your fabric but I thought white would be much more like springy and fun if you wanted to make it a little more moody you might use black or dark gray that could be kind of fun too for my outer border you'll need a yard and a quarter and I just used a I did a 5 in border i typically like to do halves so if the inner is 2 and 1/2 the outer is five that works for me but you know that makes sense whatever you like if you want to make your quilt bigger add another border that's right and then for my backing I used this lovely pink floral i think it's really cute so this is a 45 i used 4 and a3 yards of that with a vertical seam if you have a 108 you would only need 2 and 1/4 yards perfect all right so let's get started it's super easy [Music] okay so because I had 2 and 1/2 in strips to work with that is why these are all so much smaller than yours which is totally fine you can make a whole bunch of them and it's super fun so from your background you're going to need 2 and 1/2 in strips and 1 and 1/2 in strips and these will all be subcut into squares okay so you'll take your um your background strips and cut them down into one and 1/2 in squares and 2 and 1/2 in squares and so I'm just going to cut a few of these so we have enough to get started one and a half i love this little ruler for this kind of stuff because it's just so handy and it doesn't feel like it takes up too much space on the cutting table i agree it's one of my favorites all right so we've got background 1 and 1/2 in squares and then we will also have background 2 and 1/2 in squares and then we'll do prints because we need roughly the same same pieces out of our print now I'm just going to cut this from the end and then I'll cut that fold off when I flip it around i find that especially with background I can cut through at least four layers and boutiques too you can actually add more because they're so fine and flat that's true and it's almost like they've been starched so they Yes they're It's Yes boutiques feel like they've been pre-starched for us all exactly i love that i do love boutiques they're just really easy to work with it's true so if you struggle with your fabric fraying or stretching and you're a beginner you might want to give boutiques a try because they're so easy to use they don't fray very much they have very little stretch it's true honestly it's like the difference between you know working with something like a jersey knit and a cotton it's very it's different and it might give you a better result if you're struggling to keep things straight and flat that's a great tip so just something to think about may not be everyone's cup of tea but they certainly make the job easier as far as um you know solid flat blocks and fraying oo look at that yeah just about perfect just barely have to trim it i love it when that happens all the stars aligned okay so we're going to need similar size pieces from our um our print strips and one I don't know if this is how it's written in the pattern but one of my little hacks is to kind of cut them all at the same time so I'm going to have my my pieces lined up here and I need um to make each bow tie block which this is the bow tie unit that I'm talking about so to make each of these you need two 2 and 1/2 in squares and two 1 and 1/2 in squares okay so I've got them folded so you're automatically going to get your two cuts at the same time so I'm going to do my two two and 1 halfs and then because I want to keep all of these like stacked up and ready to go I'm going to do next my two 1 and 1/2 so I'm just going to cut a 1 and 1/2 in strip off of this and then subcut it down into its 2 and 1 halfs you just have a little bit of waste which you can throw in your crumb bucket if you want to or just tiny little rectangles get rid of it all right so then I'm going to stack these up so that future me doesn't have to think too hard about what I'm doing here i'm going to make sure that I put two um background squares with each set and also these white squares i'm not going to line these up yet because they're for the secondary block okay so we're going to hold on to those for just a minute cuz I'm getting a little bit ahead of myself on that part that's okay okay the first block and the reason that I am going to say this is because we want these to match okay and because of the way that the um fabrics are lined up in the block and the fact that you have a ton of flexibility with um scrappy ones you're going to want to set these aside first so choose the ones that you want to match get them all cut and stacked and lined up and set those aside because the rest of them can all just go with their friends and all the leftovers yeah so each uh each strip set you're going to get enough to make this block and then you'll have at least one bow tie block left over from your strip set i believe you get five all right so we're going to go ahead and make our block this is our block A okay and um and again it's just because it all matches and we want to so we want to gather together four that match and these ones um we're going to put together a block just like this but then the one difference is we're going to add a snowball to these corners and that makes it have that shorter petal shape a petal shape yes all right so all we're going to do we are going to put a snowball on one side of our print squares okay they're just little you can draw a line you can eyeball it or you can follow your seam tape and then we're also going to put our um our print one and 1/2 inch squares to make these little blocks here in the middle okay so we're going to go ahead and snowball these corners as well and you can just chain piece them all yes 100% perfect it goes nice and quick it seems small and fiddly but really this comes together fairly quickly yeah [Music] all right there we go all right so this is great i want to like you know not not at all critical or anything at all but I wanted to point out like sometimes these little edges get caught and my policy is if it's going to be caught in the seam I'm not going to worry about it so I would not pick any of this out i would just go ahead and use it as Yeah that tiny little corner just kind of folded up as it went under the presser foot since I was chain piecing and it happens it happens a lot especially with these little snowballed edges but no big thing all right I'm going to go ahead and trim these off we'll press them all and then we can sew the whole block together cuz that's as hard as it is it doesn't it doesn't get any easier I think bow ties are so simple but you can so much with them yes it's always fun to revisit a block you know a good old standard like like the bow tie block and then just try all these new things and see how it comes out i agree it's a good idea to set your seams i'm neglectful of that sometimes but we all are we can get in a hurry and forget to do it you know yep but it does help it gives a much flatter block yeah keeps everything in line makes those threads really bond together yep all right so now what we're going to do here is we are going to put our two print the print two print large squares is really where I start just because you you know you know exactly what you're doing from there and then we're going to put our print um snowballs to the middle and that is our entire block okay for this square and I will have you sew these together and you can go ahead and stitch the whole block just do the two then chain piece or open them up flip them back together i like to do that especially with smaller blocks just because then I'm not up and down so many times and um and really the the seams will nest just fine with a little finger press so I'll I'll do my full pressing after I'm done with all those seams and this way yes okay okay I'm going to open those up and fold them together i find too that they almost automatically nest just naturally kind of the way they want to go it's true they kind of have a mind of their own yeah and I'm good with that let them let them do their thing nothing is set in stone yet that's right all right so just took a few anchoring stitches and I'll line up that middle again perfect sail down there we go excellent it's so cute tiny little bow tie it's so adorable so on these I'm going to go ahead and set this seam make sure it's all good and flat i find that boutiques just iron beautifully they really do they're so satisfying mhm all righty and that is our little bow tie block for this one so this takes four and I've got them here so we're going to go ahead and put them together i put all of my little um background squares to the middle so that it makes this beautiful little circle perfect and we'll just do four of them together just like that and then you join it and it looks like this so cute the magic of television that's right yes so this is our A block and they are just that easy perfect all right now all of our B blocks are made even simpler so what you're going to do is grab your two squares these print squares stay completely solid you do nothing to them you'll grab two of your background squares and you will add the uh little 1 and 1/2 in so you're only snowballing those snowballing just these corners and we put that together we have time let's go ahead and just put these together real quick so you're going to sew from corner to corner on the line if you draw a line and on the little fold line if you press it or you can follow your diagonal seam tape or you can eyeball it it's corner to corner and it's an inch and a half and you do all of these in this whole quilt you'll be so good at eyeballing by the end so good that's a lot of practice i will agree with that yes you'll get over your fear of eyeballing things especially that small it's so true it's just pretty easy perfect all right trim them yeah we can at least set them in there so they'll get the visual yep yeah cuz it I mean this it's very repetitive and super simple so I think pressing is so satisfying it's one of my favorite things okay so again we're going to put this together as a four patch using our prints and we're going to put these little print snowballs to the middle it makes a really lovely little bow tie block very traditional all right so then you're going to put together put these together in sets of four all different colors scrappy using all the um all of those fifth blocks i mean and we're you'll have enough to make all kinds of stuff of course yeah so that is this block and once that's all sewn together it looks like this these are so cute so then I'm just alternating these blocks and I start with my X block right here it's every other one and then we're adding in this O block which creates this really cute little blossom look as these I love how um the backgrounds come together to kind of create this little extra blossom around the Does that make sense like around the little O block it's almost like this is the flower center and then we have this cute little background flower petaling around it that's really cute i think it turned out really great i'm proud of it and I uh I hope everybody else enjoys making it cuz it's fun and simple but it looks really it looks a little bit more technical definitely it's so great now yeah super fun and easy so to finish out we added a 2 and 1/2 in inner and a 5 in outer my quilting pattern is called Dollip it's one of our newer ones and I just think it's cool because it has like this really wavy um it's like it's just a wavy pattern it's very much like a like a doodle exactly so kind of fun and whimsical a looser stipple yes definitely and then my backing I I mean you can't go wrong it's beautiful it is so pretty that pop of pink and it ended up being 69 in square so you could easily make it larger by getting another jelly roll and continuing or but it's the perfect size for like perfect for a picnic it's an absolutely perfect picnic and it's wedding season so picnic quilts of plenty yeah you're ready to go awesome well I just love our bow tie block quilts they turned out so great yes I agree it was so fun and like Natalie said earlier it's fun to use a great traditional block as your starting point because you can really be creative and play yes so we were a little bit on the same wavelength today but you can see they're so different even just with little changes exactly and uh I love it i hope everybody else is inspired and that you enjoyed our double take on the bow tie block yep we'll see you soon [Music]

More Layer Cake tutorials

See all