Double Take: Dresden
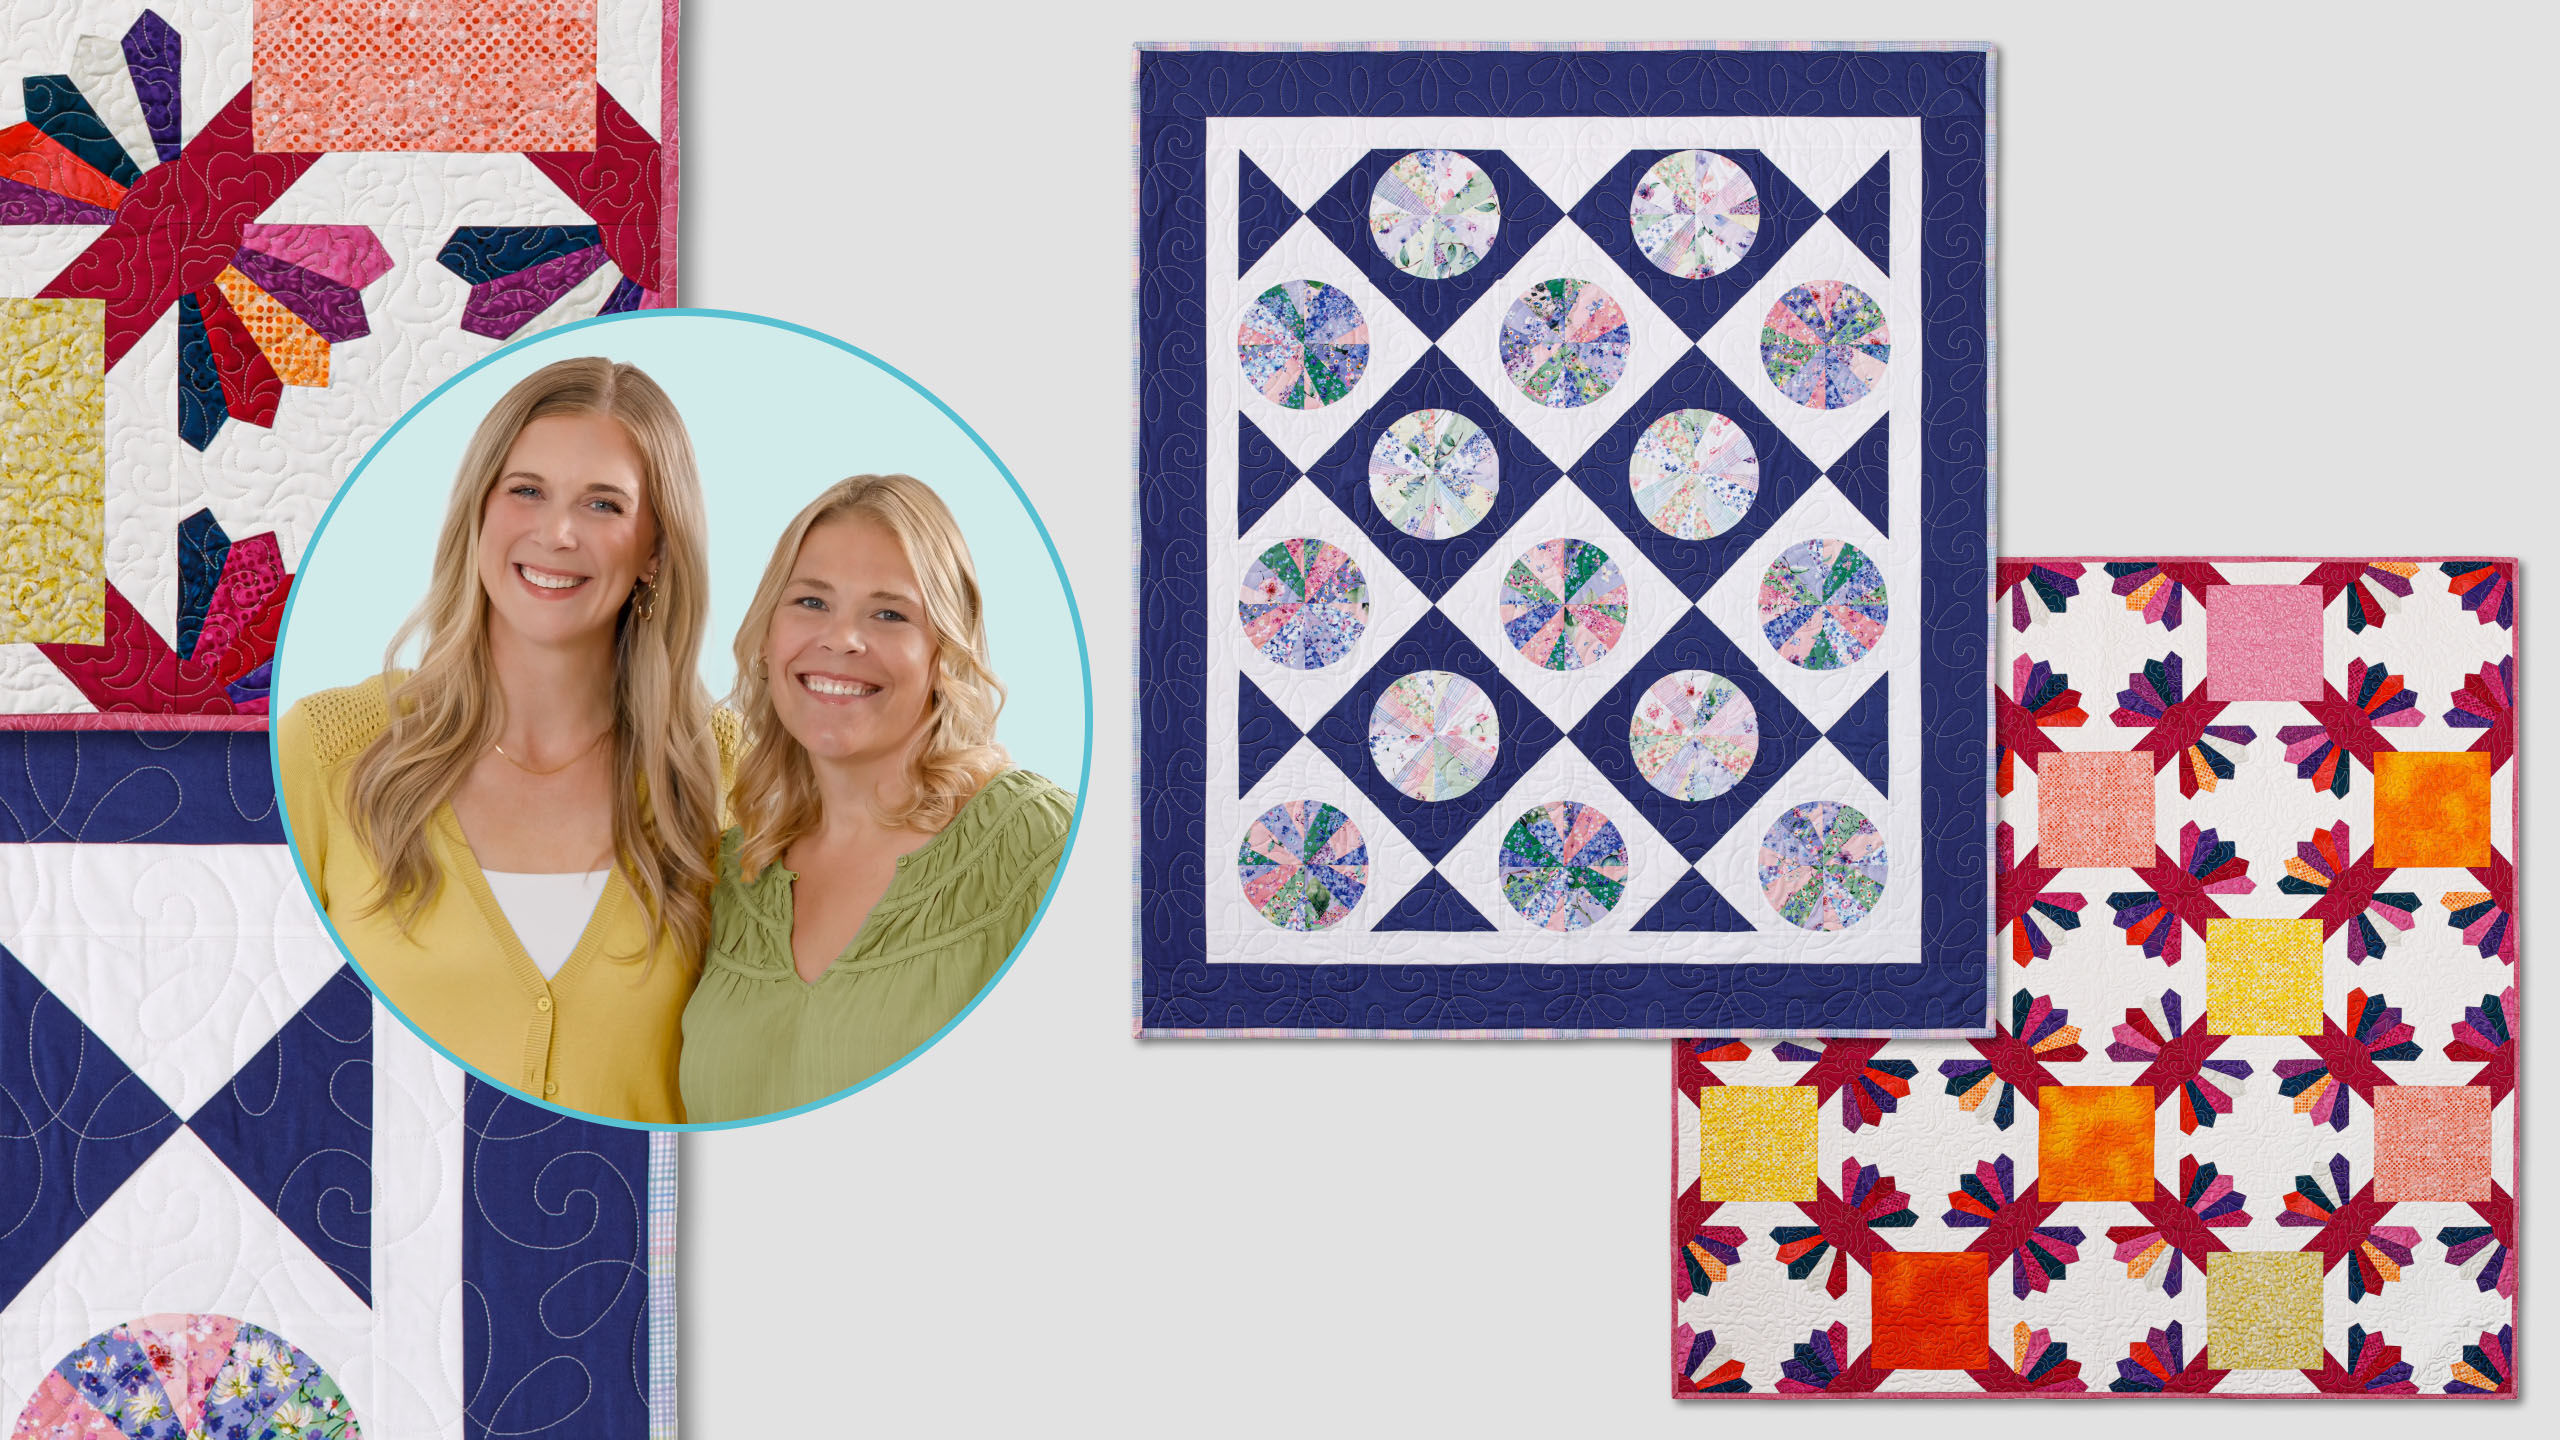
It's time to double down and start sewing, and lucky for you, we've got your next project right here! Natalie and Misty are back with another Double Take. This time, they're getting daring with some Dresden blocks! Natalie is making the Hydrangea Waltz with the Hydrangea Mist fabric collection from Robert Kaufman, and Misty is making the Dresden Flutter with the Solar Flare fabric collection from White Owl.

Instructor
Natalie Doan
Natalie is the host of Quilting 101, Embroidery 101 and the Creative Strategist and Editor of Block Magazine at Missouri Star Quilt Company. She was taught how to sew by her mom, of course, and began quilting when she grew up.
Shop this tutorial
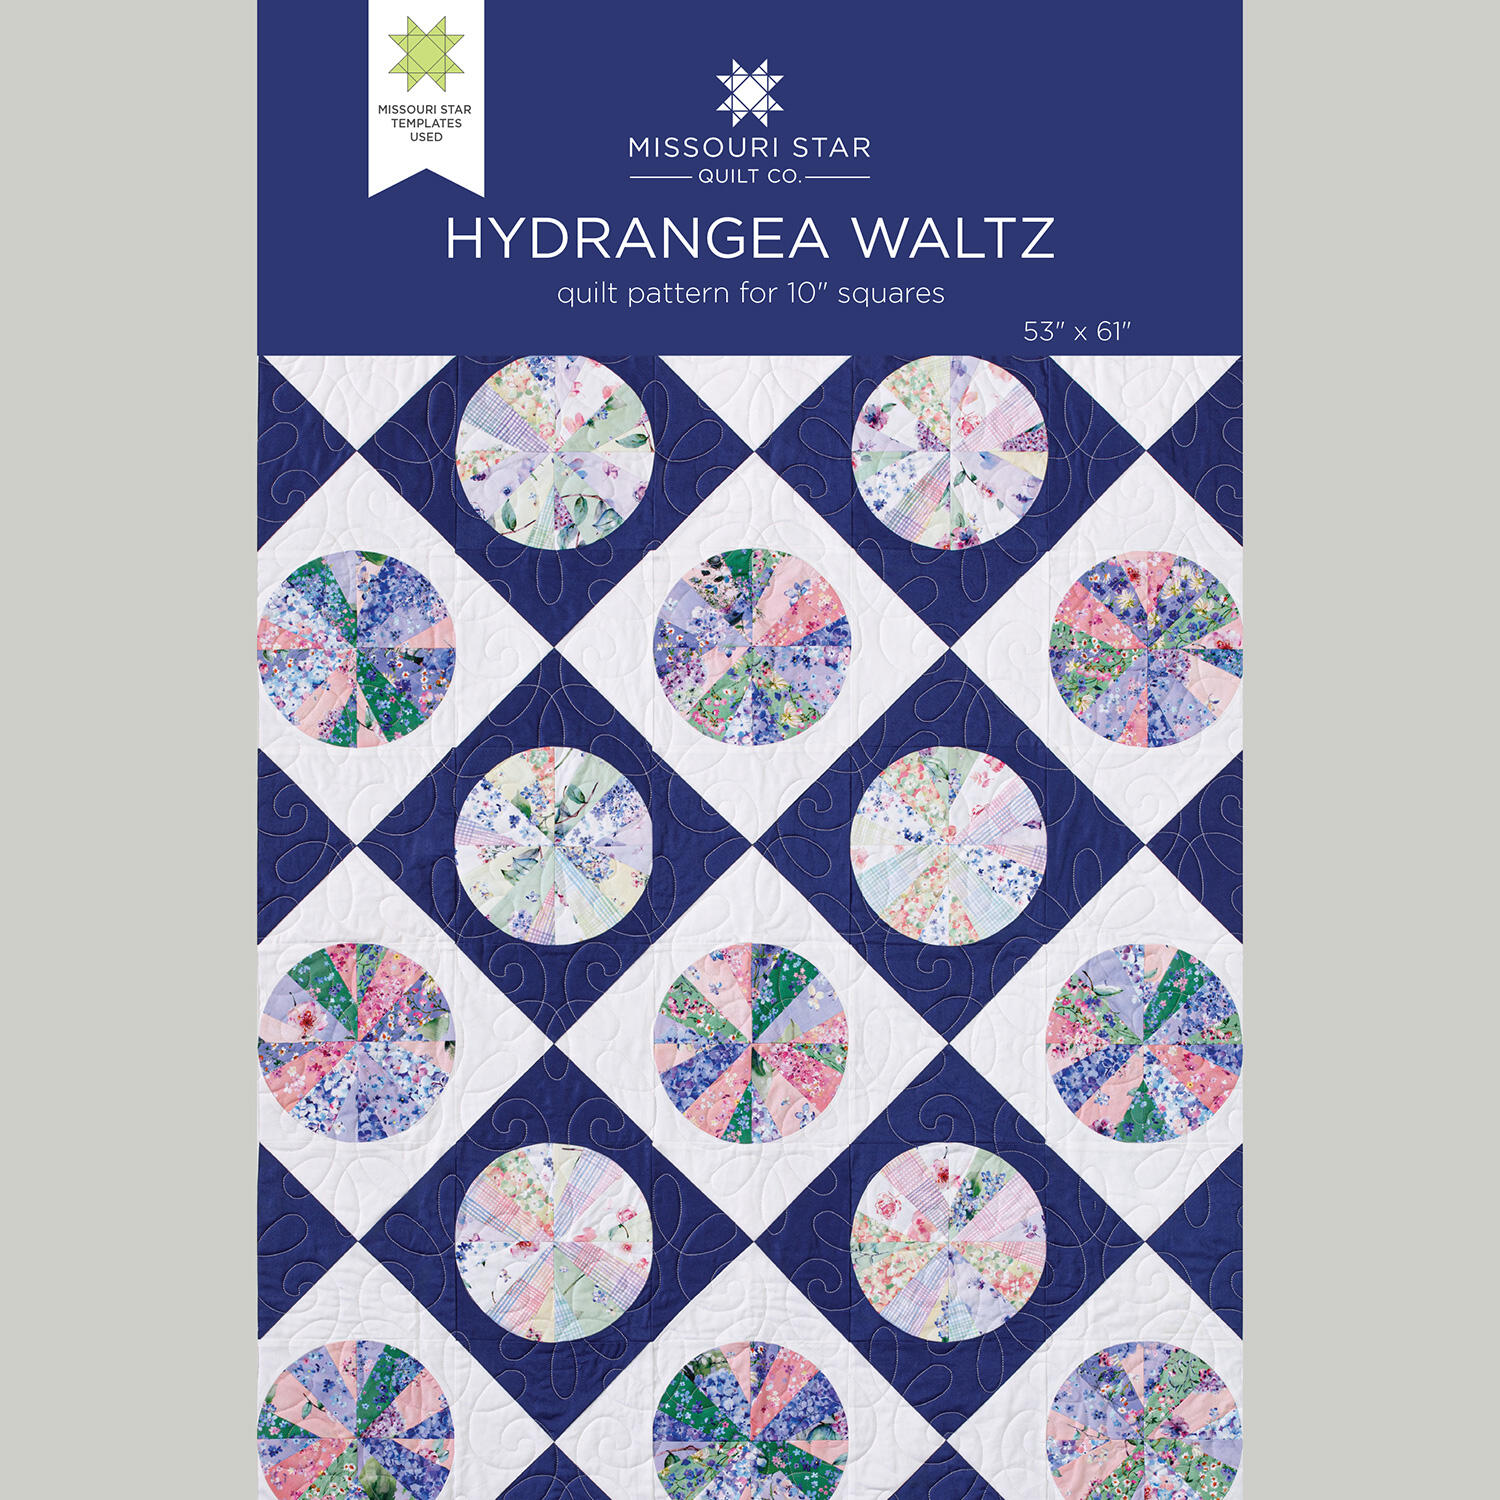 Hydrangea Waltz Quilt Pattern by Missouri Star$9.50Shop →
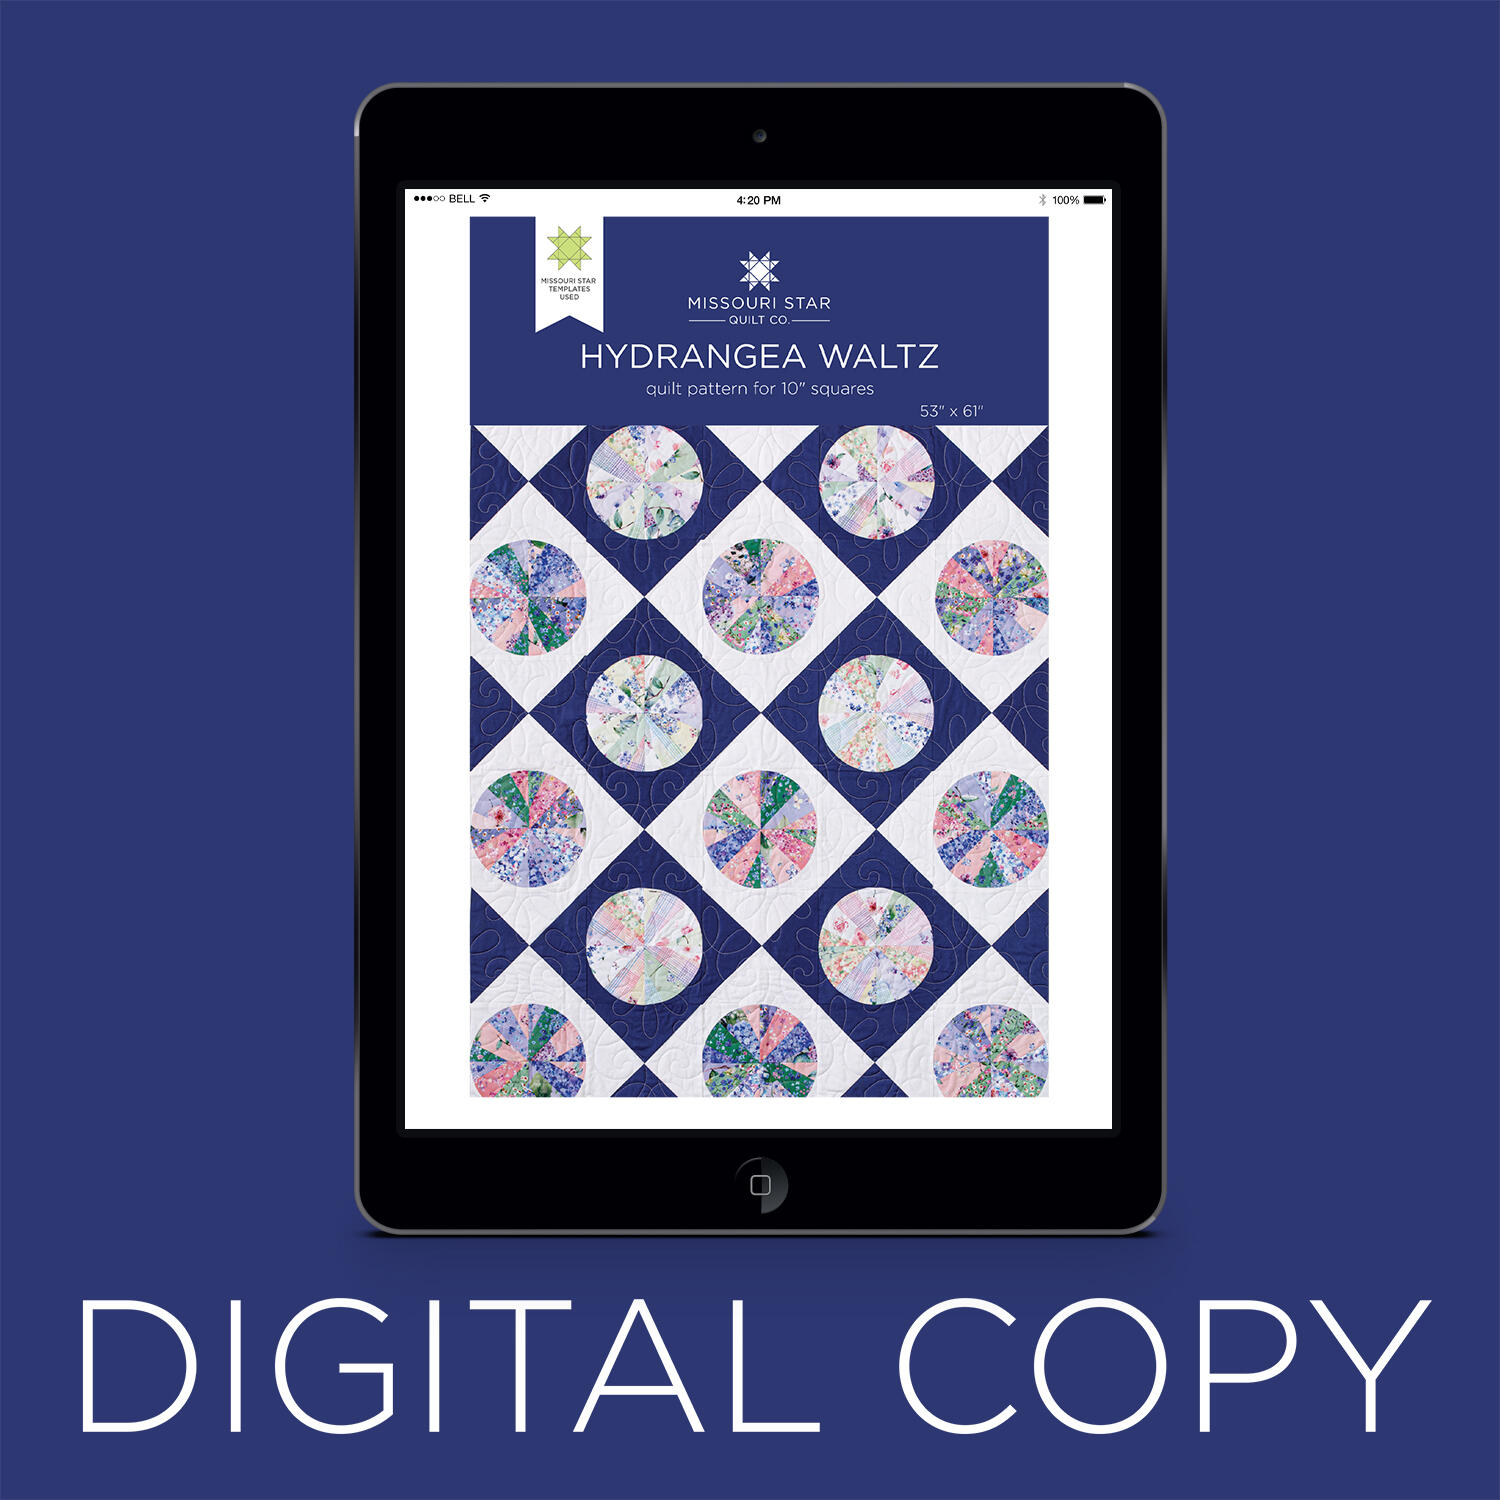 Digital Download - Hydrangea Waltz Quilt Pattern by Missouri Star$8.50Shop →
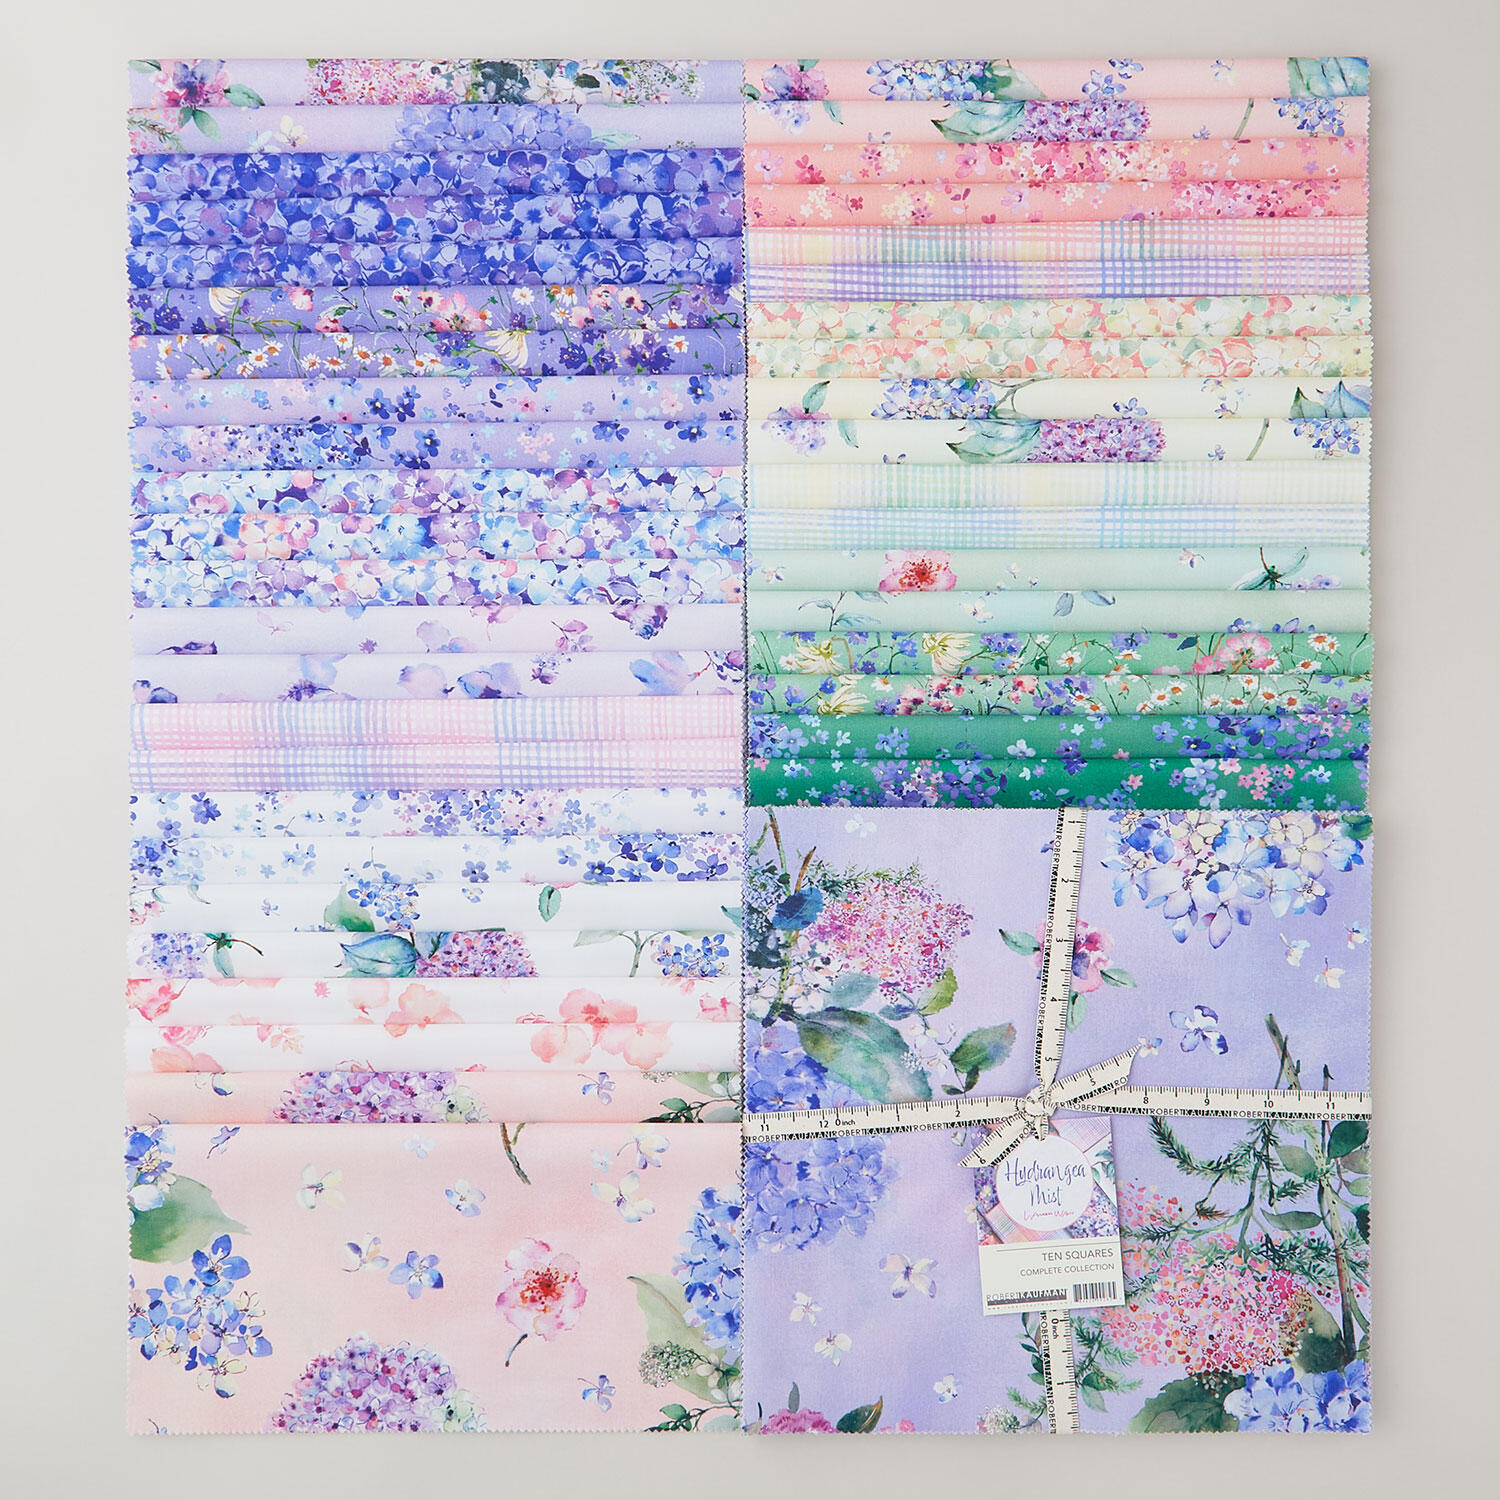 Hydrangea Mist Ten Squares$47.55Shop →
 Colorworks Premium Solids - Superwhite Yardage$8.96Shop →
 Colorworks Premium Solids - Galaxy Yardage$8.96Shop →
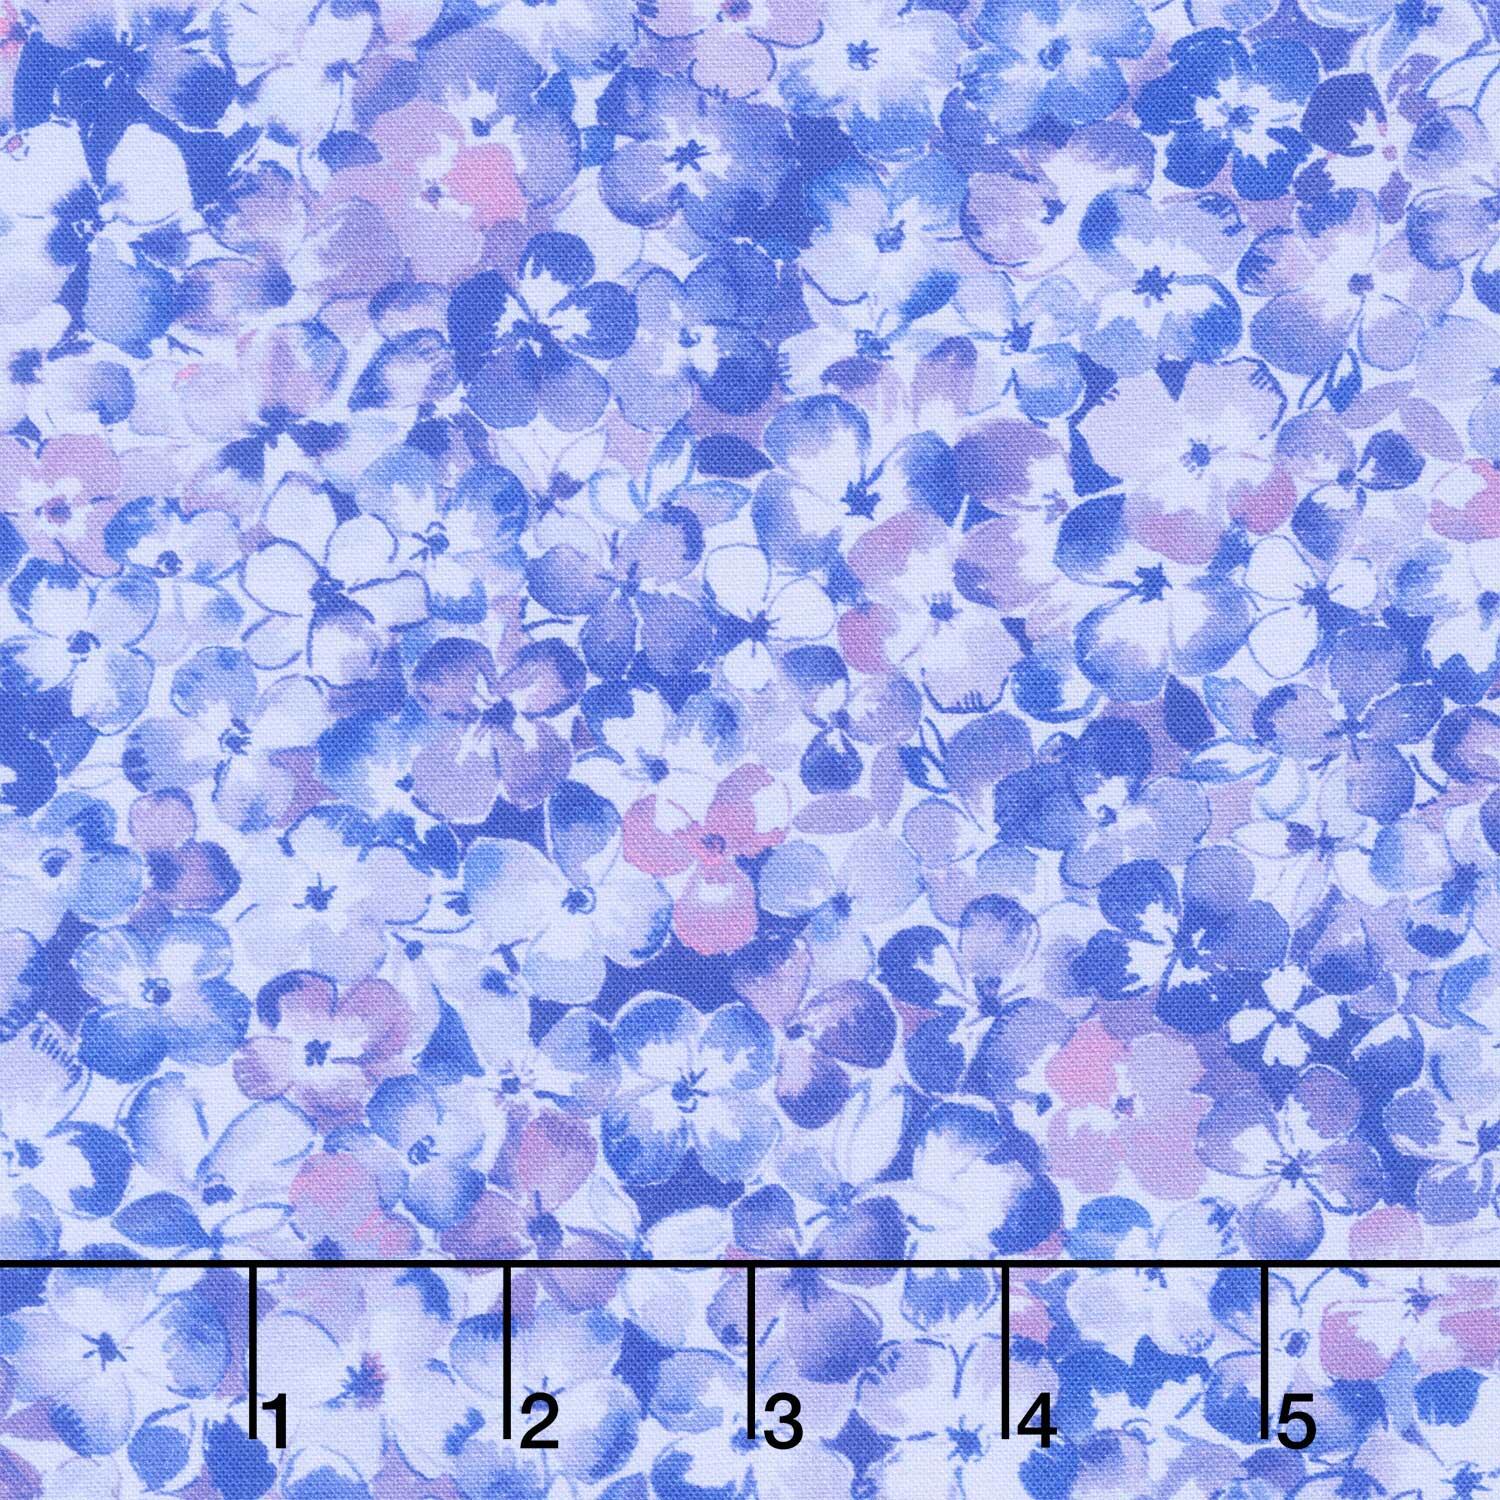 Hydrangea Mist - Hyrdrangea Flower Iris Yardage$12.04Shop →
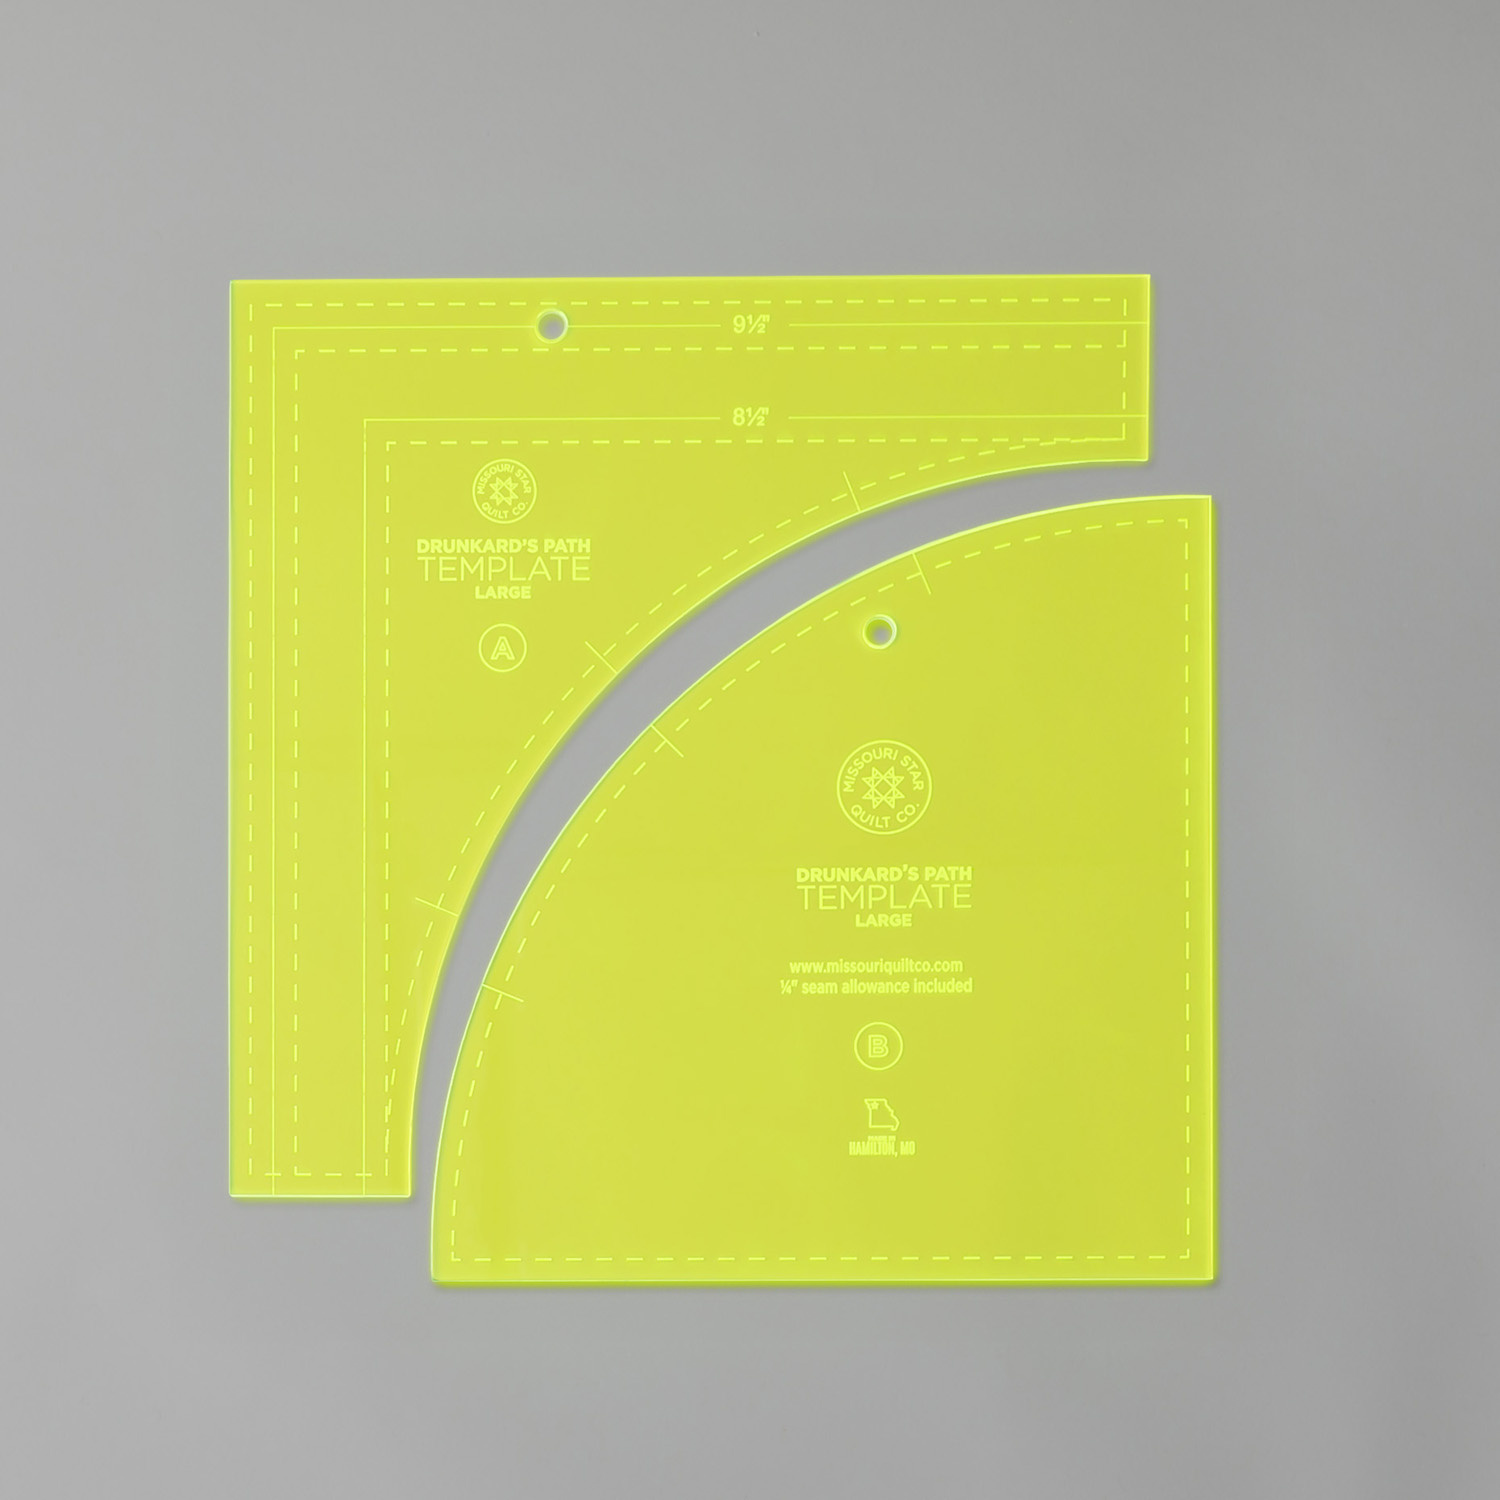 Missouri Star Drunkard's Path Circle Template Set$21.95Shop →
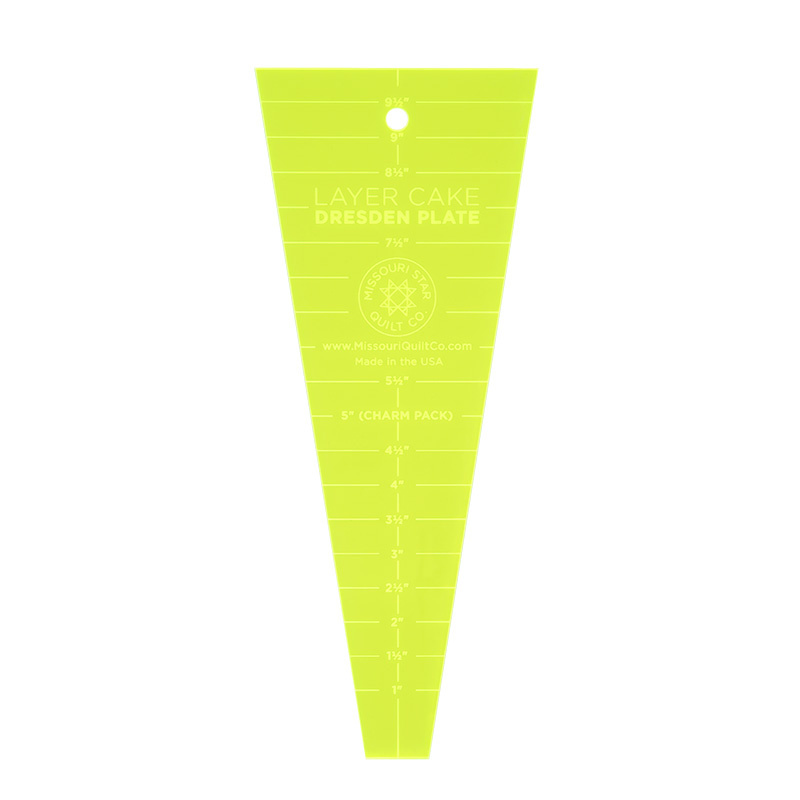 Missouri Star Large Dresden Plate Template for 10" Squares$13.95Shop →
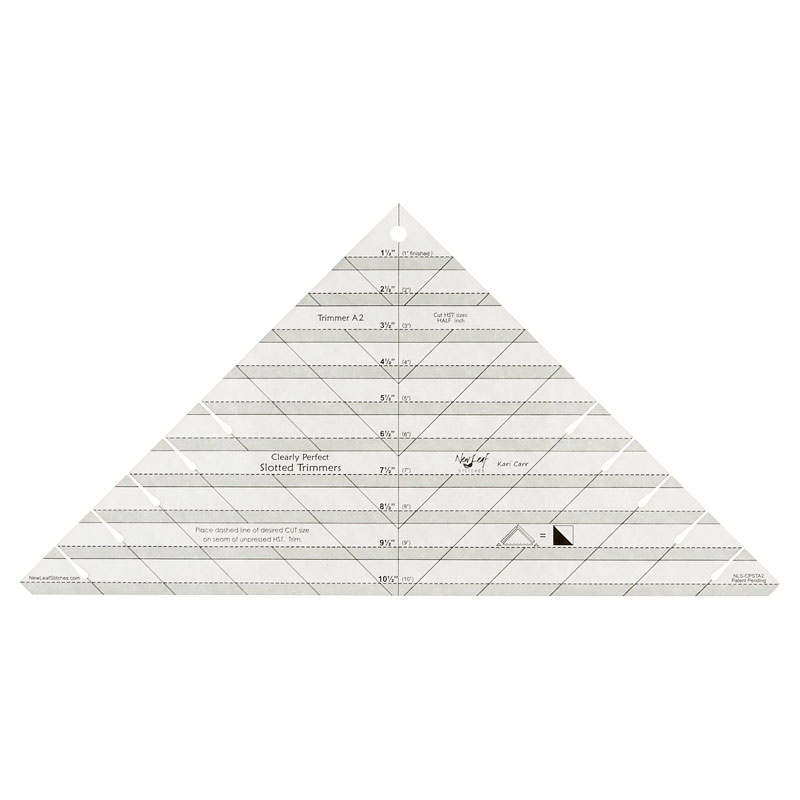 Clearly Perfect Slotted Trimmer A2$27.95Shop →
- Hydrangea Mist - Hyrdrangea Flower Iris Yardage$12.04Shop →
 Missouri Star Quilter's Best Blend Throw Batting$21.95Shop →
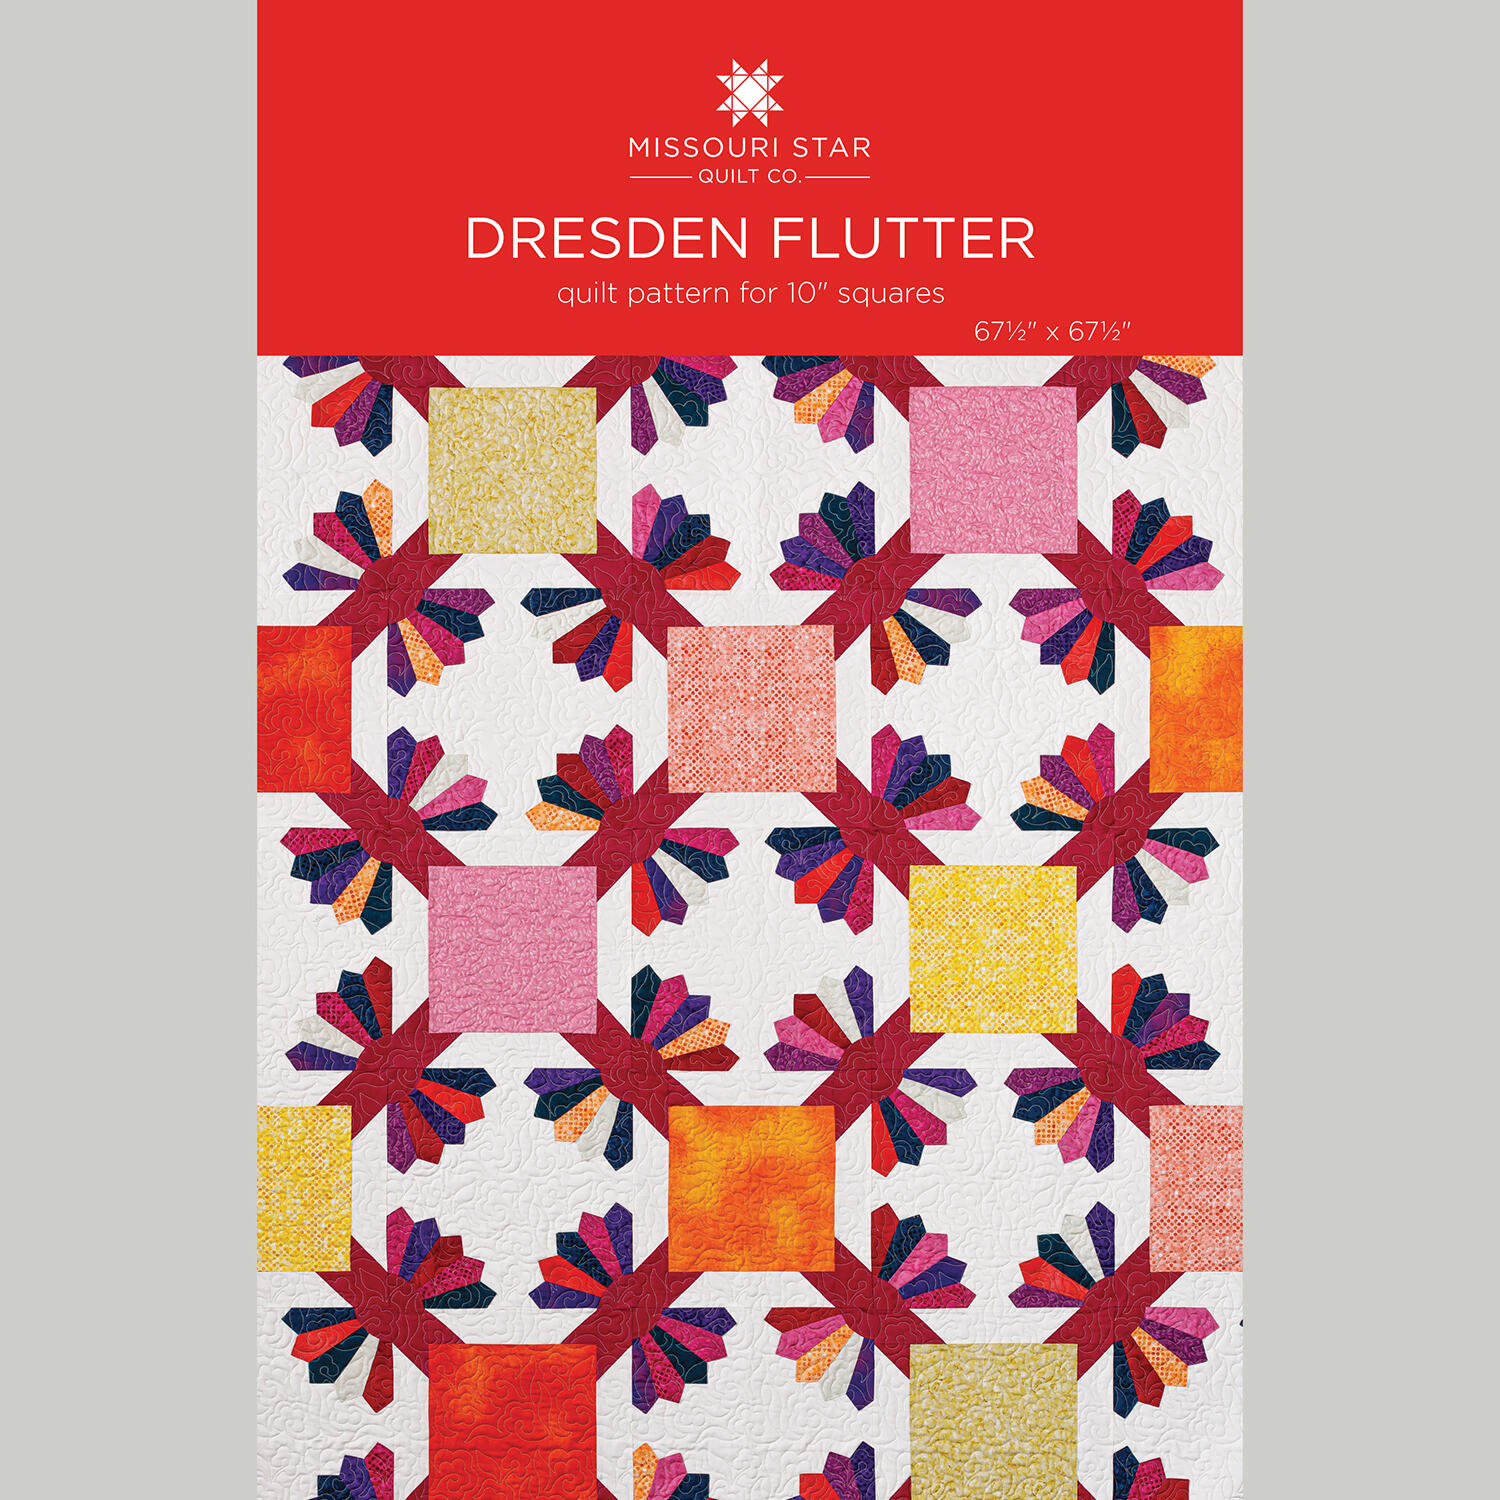 Dresden Flutter Quilt Pattern by Missouri Star$9.50Shop →
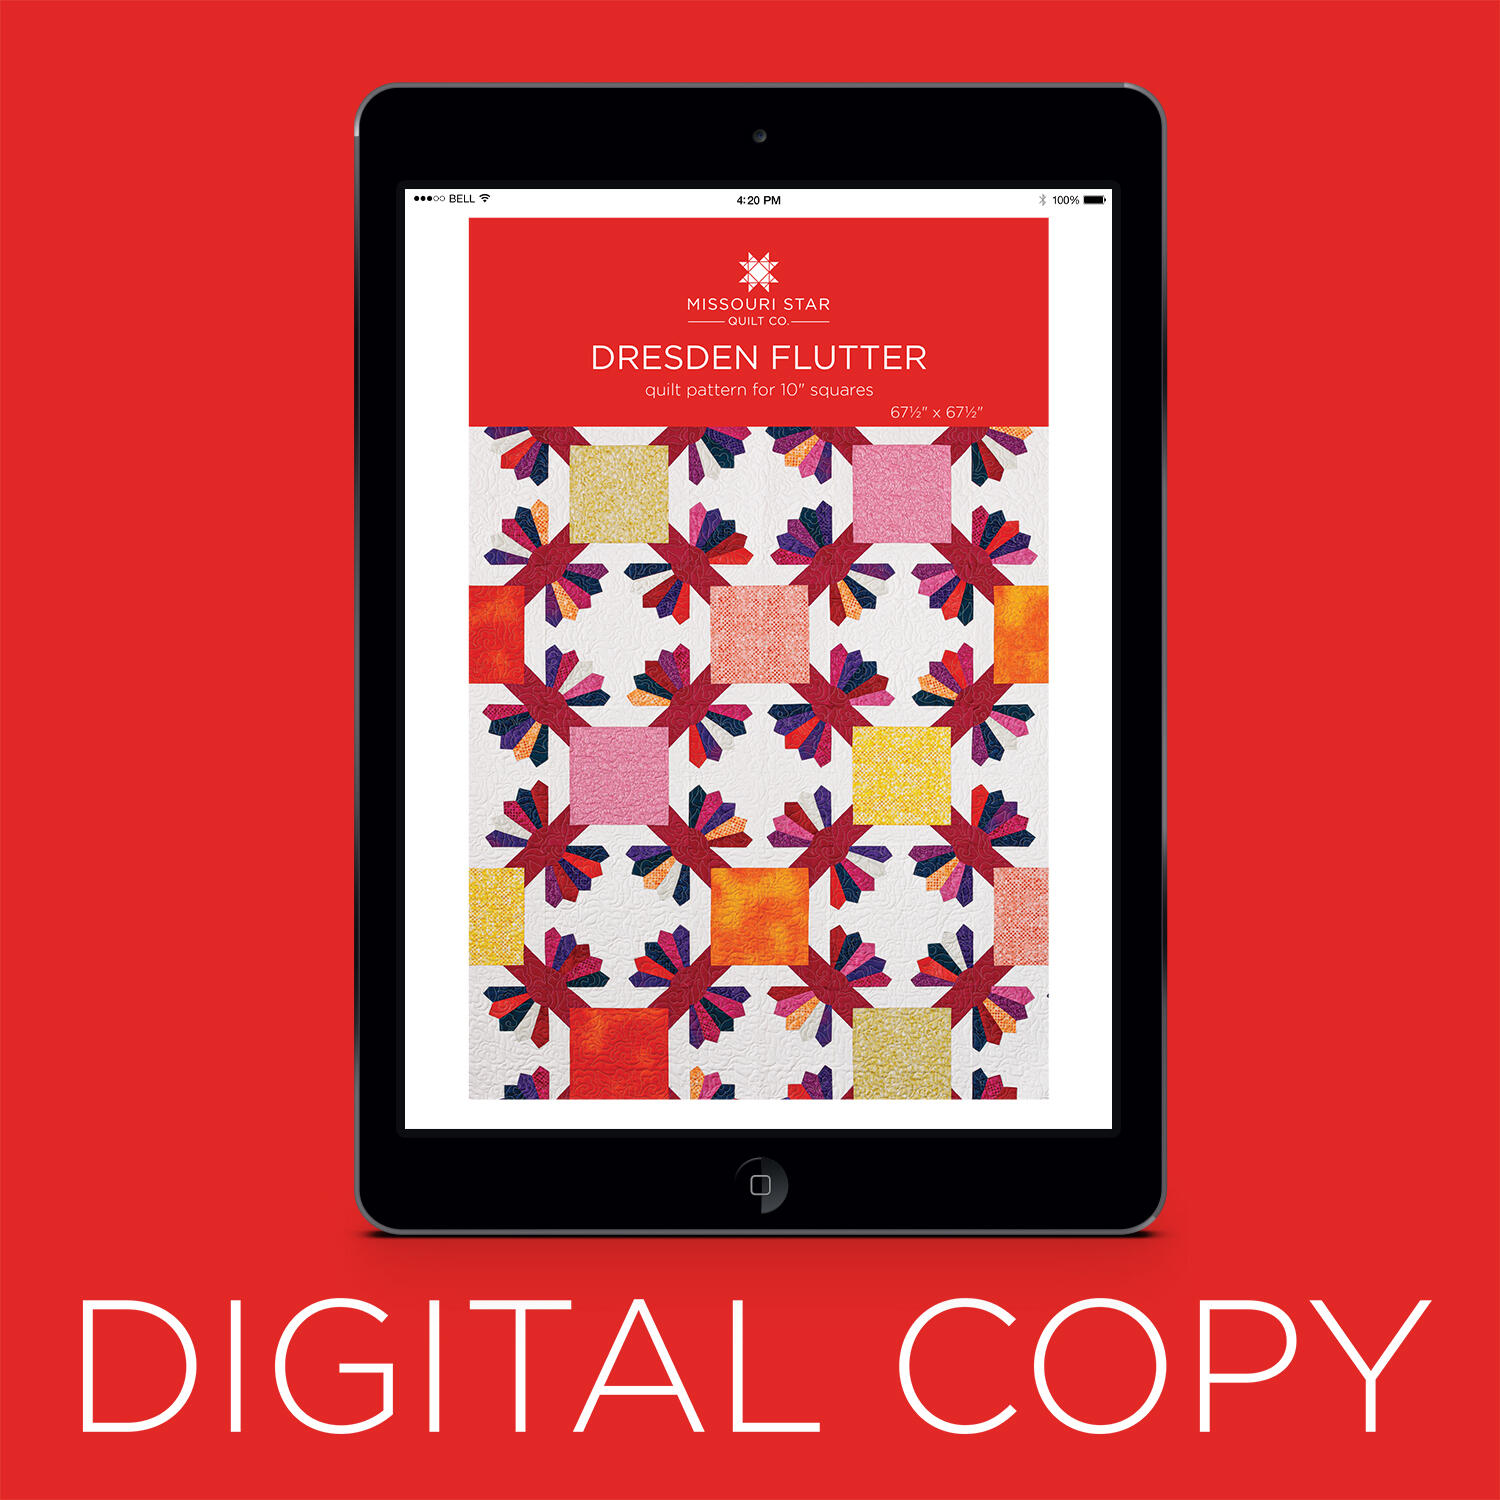 Digital Download - Dresden Flutter Quilt Pattern by Missouri Star$8.50Shop →
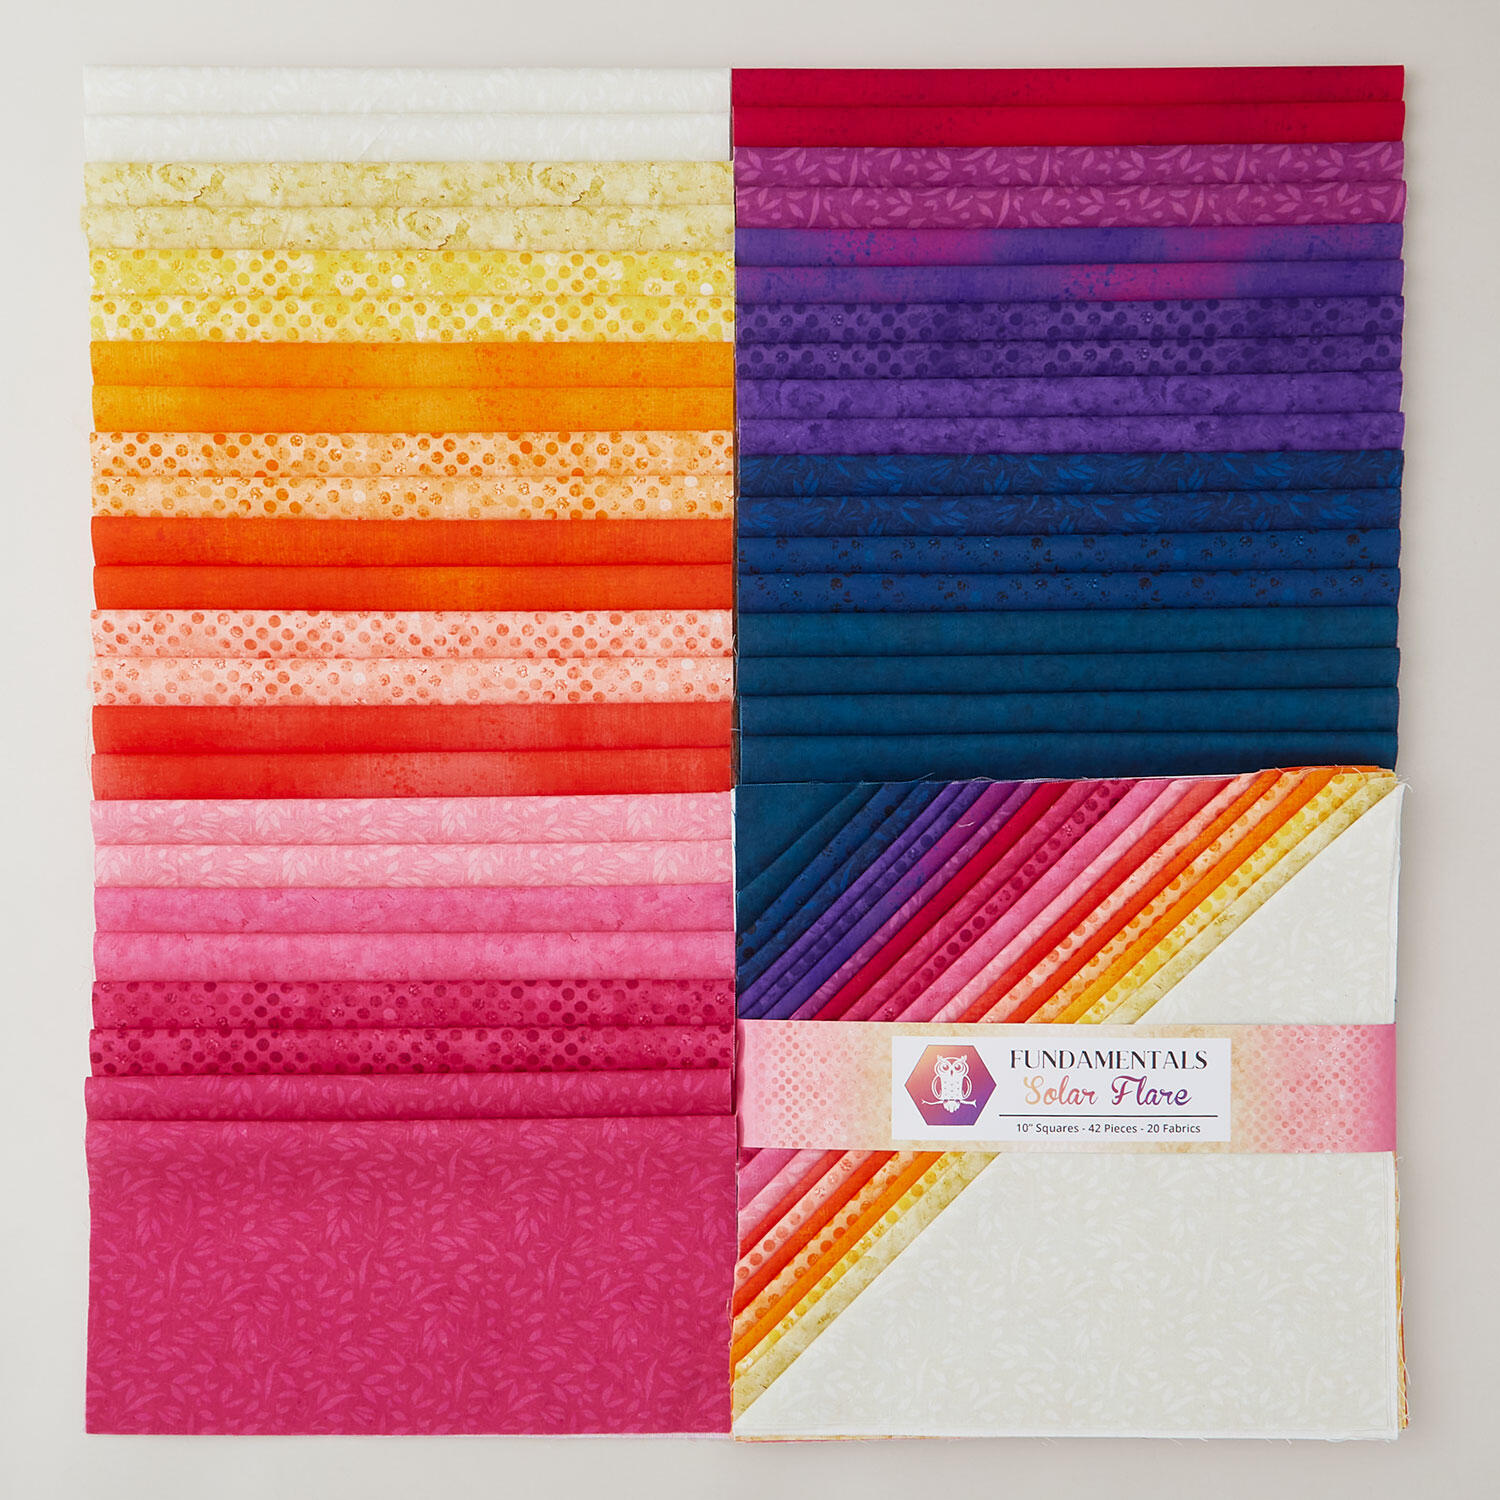 Fundamentals Solar Flare 10" Squares$47.65Shop →
 Colorworks Premium Solids - Snow Yardage$8.96Shop →
 Colorworks Premium Solids - Morning Glory Yardage$8.96Shop →
 Missouri Star Sew Light Fusible Adhesive - 17" x 2 yards$4.95Shop →
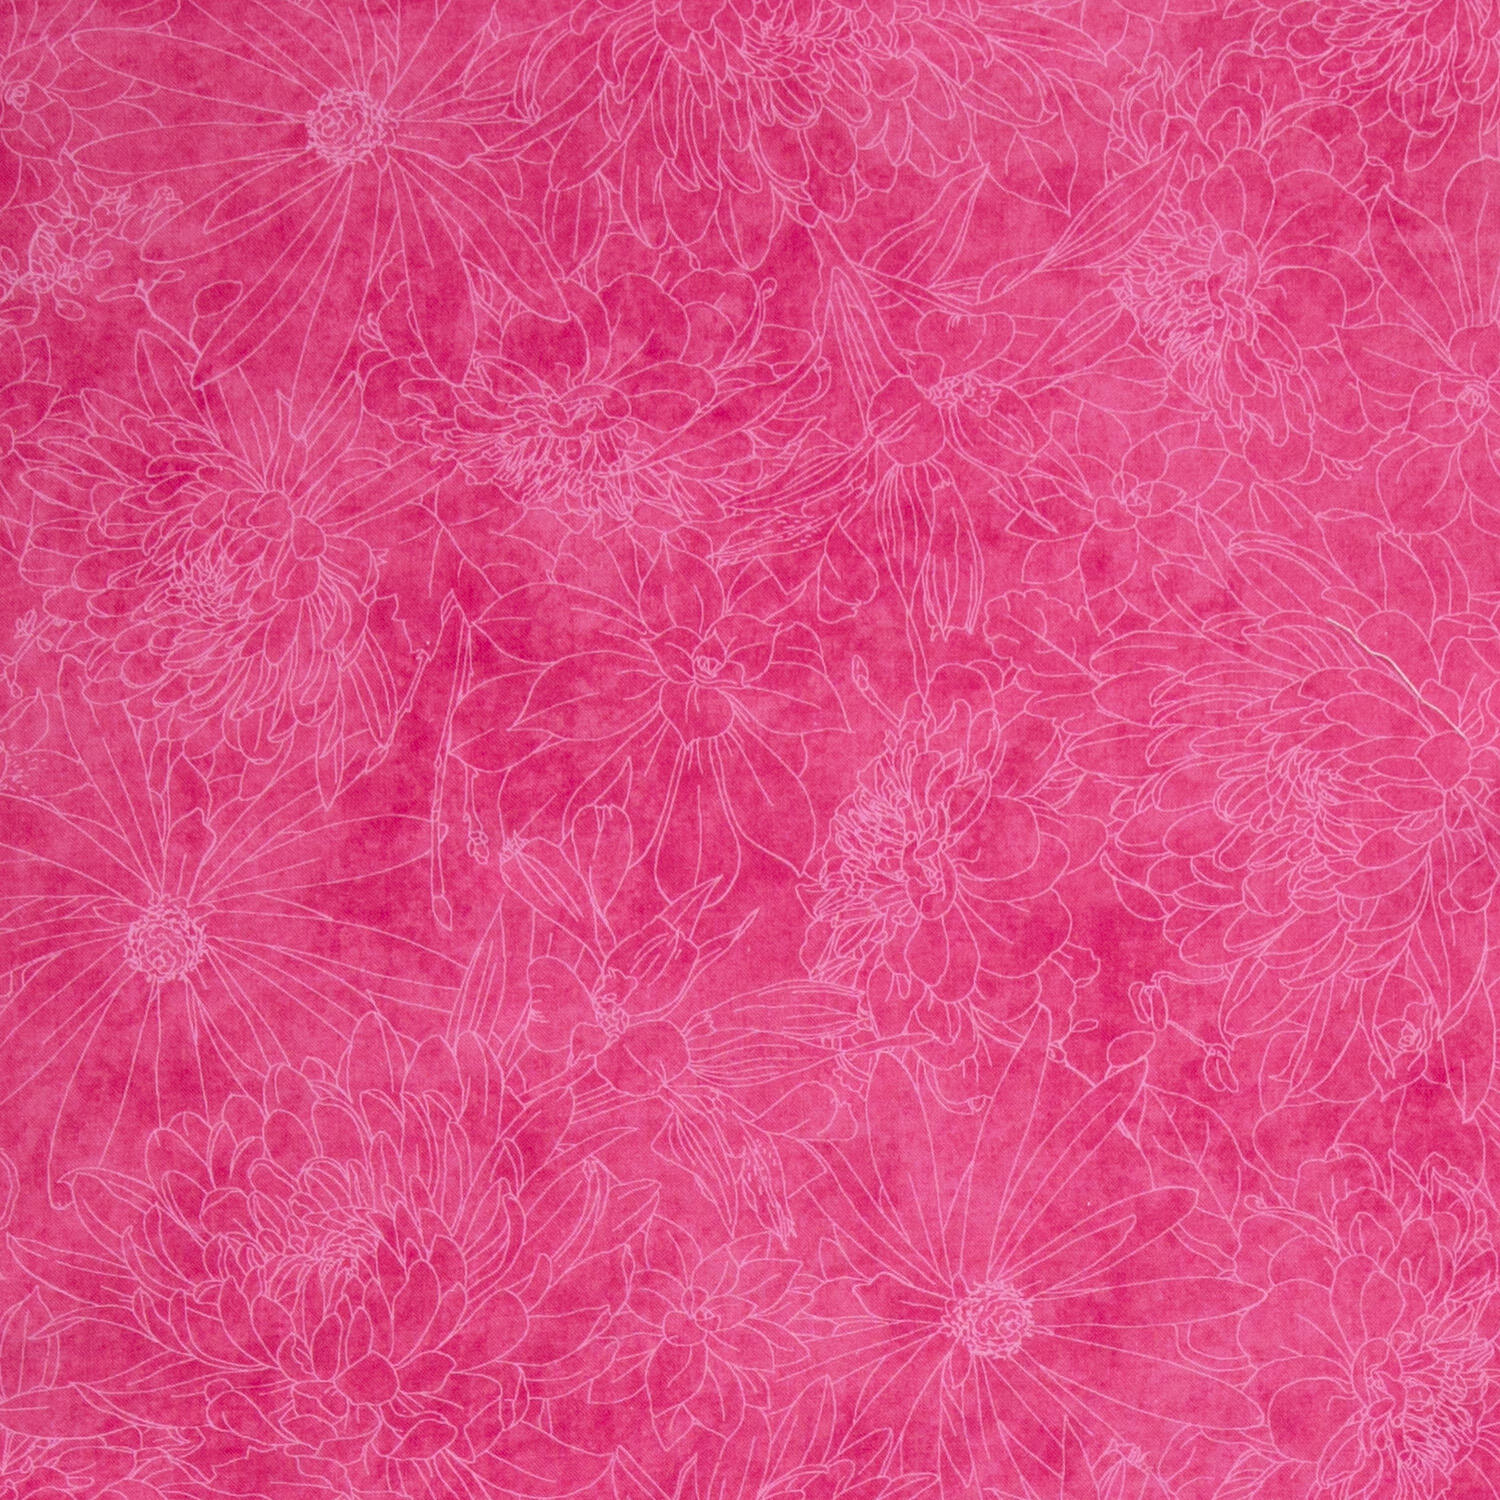 Fine Line Floral Quilt Backs - Bright Pink 108" Wide Backing Yardage$20.24Shop →
- Fine Line Floral Quilt Backs - Bright Pink 108" Wide Backing Yardage$20.24Shop →
 Missouri Star Nature's Best 100% Cotton Twin Batting - Natural$29.95Shop →
 Bernette 77 Sewing and Quilting Machine$1699.00Shop →
 Missouri Star 50 WT Cotton Thread White$7.95Shop →
 Missouri Star 45mm Rotary Cutter - Olga$19.95Shop →
 Missouri Star 4.5" Everyday Scissors - Elna$9.95Shop →
 Missouri Star 6" Everyday Scissors - Lulla$12.95Shop →
 Missouri Star 8" Everyday Scissors - Amelia$19.95Shop →
 Missouri Star Seam Ripper - Frida$9.95Shop →
 Missouri Star Glue Pen - Aqua$2.45Shop →
Video Transcript
Hey everyone, it is time for another double take. I am Misty and of course I'm here with Natalie. Hi everybody. We are doing a fun one today based on the Dresden template. That's right. And I think I'm up first. So let me show you what we're going to make. All right. So this is my quilt. I'm calling it Dresden Flutter. And it has two blocks. And I just love this kind of little butterfly shape that comes together in between them. It's really cute. Thank you. I think it turned out really fun. And so to make this, you are going to need one package of 10in squares. And I use this fundamentals solar flare from White Al fabrics. You're also going to need 3 and 1 eigh yard of your background fabric. And 1 and eigh yard of an accent fabric, and I use this beautiful kind of deep pink. You'll need, of course, the Dresden template. A little bit of our So Light fusible adhesive. And then for your backing, you are going to need 4 and 1/4 yards with a vertical seams or 2 and 1 eighth of a 108. And I also use this same fabric for my binding, which you'll need 2/3 of a yard for that. So, let me show you how to make this. So, the first thing we're going to do is we're going to cut some Dresden blades from our pack. You only need to use 38 of the print squares. So, if there's one in there that you aren't a big fan of, you can for sure leave those out. And so, I have one of mine here. You're going to cut all of these the same way. And what I did is I just took my 5x15 ruler and laid it along one edge because we're going to do 5 in Dresdens. And so, we'll just cut a strip here. And then we can turn this. And now we can line up our Dresden template on the 5 in side. And then just turn this back and forth. So, I'll spin this one around to trim that off. And you could stack up several layers and cut a bunch at once. That I did that for mine as well. That saves a ton of time. Yeah. But then this way you can just turn your template back and forth and it gives you less waste than if you were to cut it into 5 in squares. Yes. You get an extra blade. Mhm. And so I will just keep cutting across. And you'll do that and you'll throw all of these into a pile until you have a whole bunch of different prints. And then the Dresden is so fun because all you're going to do now is you're going to take the longer side of your well, not really the longer, how would you say that? The longer of the two short sides. And we're going to fold those right sides together. And we are just going to stitch right across the top. So Matt, I'll let you do that. Perfect. And this is a fun chain piece because a lot of times like you'll you'll pull it out and you just have like this big old like a little banner. It's so cute. So much fun. There you go. Perfect. And so then once you've stitched across that straight little side, I like to use my finger or a pencil or something to just poke that out. And then we want the seam to run right down the middle. And we'll give this a press just like so. And of course, assembly line this because it makes it go much faster. So, like Natalie said, chain piece all of those so you have all your blades ready to go. Then you can sit and press. Just makes the whole process really quick. And so now we're going to make sets of five of these blades. So you can start just by sewing two together. And here's my five different prints. Oh, I've got more than that. I think we'll use that one instead. And so I'll just have you sew couple sets of two. A couple sets of two. And then we'll add them together into five. Okay. Perfect. So now she's just sewing down one of those long straight sides with a our normal quarter inch seam. Yes. The Dresden is one of those blocks that like seemed so intimidating initially, you know. Yeah. And then for me it was super fun because actually what made me realize is that it was something I could probably make is my husband made me a Dresden quilt for our anniversary. A and so Jake made a beautiful king-size. Let's go ahead and Yeah. So then you can see how those look and we'll just stitch those two together and then add one more. Do you want that one in the middle or do you want whatever your heart desires. I think it was like this maybe how you had it originally. I don't remember. It doesn't matter to me at all. So, however you'd like. All right, then. It just matters if there's some contrast between them and just stitch them all together. Okay, we'll do. Once you have it all in the quilt, you're going to love it. Can't remember. Exactly. I could see this looking really cool in a like a light to dark. Oh, that would be beautiful. Yeah. Kind of ombre effect. Thought about that. Yeah. Yeah. Yeah. And you do want to make sure your points line up at the top. The bottom's going to get covered up. Exactly. The top. That's the part that matters. The more important for matching The other thing that you can do if you're ever worried about these popping is you can back stitch at the top there just to secure it. Yep. Um which I I do that occasionally. And so now I'm just going to roll these gently so that it lays nice and flat. And you are going to make four of these per block. And so I have some other ones done here. And then from our background squares or our background fabric, we're going to cut some 14inch squares. So I have that ready to go. Nice big block. It Yeah, it really is. And so then now we're just going to place one of these onto each of the corners. And I just pinned. Okay. For this part because it seemed easy enough to me. And so I'll just set one of these so it lines up right with the edge of our square, which makes it really easy to make sure you have everything where it needs to go. And then I'll just put a few pins in these. Nice just to hold them in place. You could also put a little bit of um heat a fusible adhesive. You totally could. And or even a glue stick over like a fabric. thought about doing that, but honestly the the more I was stitching on it, this was just easy and it was laying so flat, I just did one at a time and had no trouble. Okay. And so now you could just top stitch, which is what I did. Or you could do a decorative stitch, whatever you prefer to stitch this down, or you could hand stitch if you wanted to. Absolutely. If you are, you know, into that, go right ahead. Yes, [laughter] we all have our preferences. That's exactly right. But I just used invisible thread and did a straight stitch right along the edge here. Okay. Um but I'm just going to set this aside for a minute because let's go ahead and add these circles um before we put it under the machine. And so to do that, okay, I cut some 5 in squares out of my accent fabric. And then I traced a 4 and 1/2 in circle onto the paper side of my heat and bond. Okay. And so, of course, that circle size is in your pattern, but if you want to trace something, you want it to be at least four and a half inches. That's kind of that magic size. Yeah. It just has to fit on the 5 in square. Exactly. Well, and cover our our open open corners there. And so now that's fused to our fabric. And I'm just going to grab some scissors and cut this out. Just like so. We're concentrating. I'm concentrating for you. Thank you. I appreciate the support. I just realized I was like holding my focus, right? Yes. Yeah. So funny. So, we'll just make our way around here. Perfect. All right. And so then now I'm just going to fold this in half once. and twice. And these are going to become my cut lines. So, I'm lining up that first fold. This is just how I did it. If you if you have a better way, feel free to do it, but this worked for me. It was close enough. And so, now I'm just going to line my ruler up right on my crease line. And I'll make sure that the line of my ruler is going the other way just to keep everything nice and straight. Excellent. Make that first cut. And then I can turn this and again make sure I'm keeping everything as straight as possible. Perfect. And so now we can bring our block back here. And then we will just sit our little fusables onto each corner. And I'll go ahead and fuse these in place. And then once I did this, I actually just waited to do all the top stitching from this point on. Yep. Just cuz it made it really easy and fast. Yeah. It's It's good to do things in batches because then you're not changing your thread around. Exactly. You're only under the needle so many times. Oops. I've lost it. Which one has the fabric? There it is. Okay. And so we'll put this last one on the corner. I don't know how you get that stuff to peel off so easy. Mom does it, too. And I'm just like, I can't. Sometimes it cooperates and sometimes it doesn't. So, and here you looks like you one of them fell off. Maybe they're going every which way. I should have just lined it up here first, but that's okay. Yeah. Or bring your like a pressing mat over to your area. Yeah, that one of those transferable things. And so I'll just hit that with a nice hot iron until it fuses that corner in place. And I'll do that on that does also help to keep everything exactly attached how you want it. Oops. I think I lost one more in transit. There it is. Nope. I found it. Perfect. The block is just enough bigger than my mat that it's hard to get it all lined up. the exact same size loopwise, which makes it not easy. Yep. That's funny. There we go. And one more on this corner here. Perfect. All right. And so then now from this point, that's when I did all of the top stitching. And I have one block finished that I thought I would just show you. And so you can see I went all the way around my little half circle. And then I actually stitched the outer edge of this as well, just so I didn't have to fight with it when I was putting the blocks together later. It just kind of tacked that in place, right? And it was super easy. And I just used invisible thread with a straight stitch. And I absolutely love how it turned out. So that is block one. And let me show you how to make block two. All right. So this is the second block we're going to make today. And this is a technique that I've done quite a few times now in different quilts. If you've been following along, thank you. I think it's really fun and it just shows how versatile that this technique can be. So, you are going to need one of your print 10in squares for the center. So, I've pulled this purple one aside. And then from your background fabric, you're going to need four 2 and 1/2 by 10in rectangles per block. And then you're also going to cut some uh rectangles and squares from your accent fabric. And so you'll need four that are 2 and 1/2 by 4 and 1/2 and four 2 and 1/2 in squares. And so to begin with, we are going to take our rectangles here and our 2 and 1/2 in squares. And I'm going to place one on each end. And let me just get a pen here just to make this easy. And then we are going to draw a line corner to corner. just like so. And you're going to stitch right on this line. The other side is going to point in as well. So, they're going to be kind of snowballed in opposite directions. Make sure I'm on the middle there. There we go. Okay. And so, I'll let you stitch on those lines. Perfect. got a little wonky on you. Well, it just Yep. It got crooked. There we go. There we go. Beautiful. So, now we can go ahead and trim off the excess. So, leaving our uh quarter inch seam allowance on each side of those. Trim that one off and this one. Whoops. And then now I can take this to the pressing mat. I'll set those seams and roll those back. And it should leave your rectangle at 10 in because of this method. And so you're going to make two of those. I have another one all ready to go. And so now we're going to move on to use those 2 and 1/2 x 4 and 1/2 in rectangles. And so it's the exact same idea here. I'm going to take one of my 10in background strips and I'm going to place this so it kind of makes an L. And just like we did before, we are going to draw that line so that it runs from this point of our background corner to this point of our print in the in the exact same way where we want um them to point inwards. So there's that one and one more here. There we go. Make sure I can see that little corner. There it is. Beautiful. And so Natalie, I'll have you just stitch on those lines again. All righty. Just want to make sure that that's lined up. Yep. This is one of those techniques that takes a little getting used to, but once you've got it, it's really quick and easy, and you can do so many things with it. I I really love it as a like to sash a block. It's just such a cool such a cool sashing. Thank you. All right. And so just like before, we're going to trim this off. And then we can roll these back. Take it over here and give it a press. There's one side. and the other. All right. And so you're going to make two of those as well. I have the other one ready to go here. And so now, let me clear some of this off. We'll bring our 10in square in. And then we're going to have the wider part of the accent fabric pointing towards the center. Actually, I'll do them on the sides here, just like so. So, you'd sew those on first. And then you'll do the same thing with these larger strips, top and bottom. And then when you stitch them together, it looks just like that. It's so quick and easy. And so then all I did is alternate between these. So this is a square quilt. So it starts and ends with those Dresden blocks. And then in between I've set my kind of sashed squares. And I just love this kind of beautiful flutter shape that appears when you set those blocks together. I think this is so great as an embroidery per like cool. I was going to say I love everything. Anywhere you can add like the embroidery embellishments, you could put them here or here. Like exactly in both places. It would just be so fun. You have so many options and possibilities. If you wanted to add some applique, like you know, the possibilities are really endless with this one. And so don't be afraid to play. I think it's super fun. I thought about, you know, adding little antennas or something to the butterflies. Yeah, you could do so much. Yeah, totally. And so I quilted this with a uh panto called Merrily, which I think is really, really fun. And I used this pretty pink on the back, which turned out nice. And it finishes at 67 and 1/2 in square, so a nice throw size. So hopefully you guys enjoyed it. And Natalie, I can't wait to see what you made. All right. Okay. So this is my quilt. I'm calling it hydrangeanger walts. And the hydrangeos comes from the fabric line that I used, but I do think that these little circles just remind me of like little circular dancing. It's super fun and easy to make, and I think you're going to love it. So, to make my quilt, you'll need a package of 10in print squares, and I've used Hydrangeanger Mist by Lauren Juan for Robert Kaufman Fabrics. You're also going to need a 1 and 3/4 yards of a light background, and that includes your 2 and 1/2 in inner border. And then you're going to need some yardage for your back, your dark background, two and an eighth yards. And that includes your outer border. Okay. For your backing, I just used a really lovely print from the line. And you'll need 3 and 1/2 yards with a horizontal seam or if you have a 108, 1 and 3/4 yds will do it. There are a few templates involved here. So, obviously we're going to use our layer cake size dresden plate uh template and then our drunkard's path template in the small size for MSQC's drunkards path templates. And then also because we're doing hourglass blocks, I like to use my Clearly Perfect trimmer. And this is the larger A2 size um because we're going all the way up to 8 and 1/2. So, that is what you'll need. And I think it's time for us to go ahead and make some blocks. Let's do it. All right. So, the quilt is made up of two blocks, which is kind of three because I have these two different background colors, right? So, I've got this hourglass block, which goes in between all of them. And then each of these Dresden um blocks are just on different fabric colors so that they look like they're framed in by the backgrounds in the hourglass block. So, it comes together a lot uh a lot quicker and easier than it looks. I know it kind of it might be a little bit intimidating, but you're going to love how this goes. Okay, so we're making sets in both colorways and we're making hourglass blocks. So, from your background fabrics, you're going to need 4 and 1/2 in squares of each color and 10in squares of each color. Okay. So, should we start with our Dresden or our Hourglass? Let's start with the Dresden. Okay. All right. So, just like Misty did, you're going to cut your 10in squares in half and then cut out a bunch of um Dresden shapes using that 5 inch line. And I've got mine already cut just because we just saw Misty do it. So, no big deal. All right. So, those are cut and ready to go. And then we're not going to peek the tops of our dress because we're setting them in. We don't we can skip that step and just put together sets of four. Okay? because I'm making quarter blocks and then we join them all. So, now we're going to get into the fun part. Okay, so we've got um this this is what these blocks are going to end up looking like. So, we're going to choose the background color that we're working on, which I'm going to use one of these darker blocks. And then, um we're going to need to get our drunkard's path template. The first thing we're going to do is cut our petals. Okay. And these have these really nice lines for centering things up. So, I centered it right in the center on that midline. And that's the only thing that I looked at. And it doesn't really matter if you go like up or down, you know, but kind of just try to make them all consistent. And so, yeah, I just cut my little little drunkard's path inner circle by lining up with the seam line, that little center. And I'm going to turn this so that I'm not reaching around myself. Make sure everything stays lined up with that one center seam. And that's it. So now that is ready to go. So cute. And then we're going to take our our background section, the uh the A part of the template. We're going to line that up on the four and a half. Oh, you can't hardly see that under there. That dark mat makes it tricky. Yeah. Maybe I'll maybe I'll cut on the light one just so that it's easier to see. Um, but I'm going to stack them that way. We'll get them both cut at the same time. Good idea. How about that? Okay. So, I've got those lined up. We're going to push some of this out of the way so you can see that better. We're lining it up on the 4 and 1/2 and just cutting this inner curve. And it's such a gentle curve. You can use your regular rotary cutter as you saw. I think people worry about that, but it works great. Yeah, it's fine with me. And then you can save these for one of your projects. That's true. Something else. Cut that down for the other one. Okay. So, now what we're going to do is press this in half. We'll do a little finger press and make a little crease. And then we're just going to line that up with the middle. Just like that. And you can choose if you'd like to add a little piece of glue or a little pin or whatever to get them started. I find that any of those methods kind of really get me a little bit hung up. Sometimes I like to put um maybe like a little clip right here so that at least the the center stays, you know, so you have like Yeah, you have the same amount of give on both sides. And then we're just going to do a little gentle easy seam and put together our drunkard's path blocks. Testing my skills here. You got this. you do so great at at any kind of stitching, but I know you love curves, so I'm not even worried about it. And I always just, you know, kind of get started. And then the thing I love about these curves is they just kind of settle in once you start stitching. Yeah. And it's just really slow and gradual. And just take your time. Absolutely. And when you get to that middle, just pull that little clip off. Put my little needle down there just to hold it. and then make sure that my fabric is still going where I want it. Mhm. I'll just do a little bit at a time. And I know there's some debate about whether you should have the concave or convex on top. I say practice. Try it both ways and see which one works best for you. I have found what what uh is the rule for me is the smaller piece on top. Yeah. Yeah. Whether it's the convex or it's just easier to manipulate the fabrics if you have the bigger one on the bottom and the littleer one on top. I I think that's accurate. Yeah. So, but really it's just a personal quilters's preference thing. There you go. Awesome. Okay. And then I love how these how these just roll right back. They're so great. Like a little magic trick. A tiny little bit of that and then they just press right out and look good. How'd I do? Do all right. Perfect. Okay, great. No little pleats. We will. Nope. Not that I can see. And then if you wanted to, you could do a little like, you know, a little squaring on it, but they should all end up 4 and 1/2 in. And then we're going to put these together in sets of four. And I'd say just, you know, mix and match your whole your whole uh your whole layer cake. So, you've got all kinds of fun different things together. And then you're going to put these together in little four patches. And um I mean, do you We've got one finished right here. We've got two. So, they go together really easy. I think they're great. They line up really well. And I love these little like um secondary wedges, little secondary things. Like I almost think it would be really fun to do these in a color pattern just to see like the starburst effect. I think that would be super cool. I agree. That would be really neat. Okay, so those are your Dresden blocks. Easy peasy, right? Yep. All right, so now we've got to make some hourglass. So we're going to take our 10in squares and we are going to draw a line on the back side of or just pick a back side. Pick a side. We're going to draw this line and we are going to stitch on both sides of one line. Just one line. Got it? And this set makes two blocks so they go pretty fast. And I do love I do love the way an hourglass can set off your blocks and really make things look framed. Well, I was going to say that earlier when you talked about the two blocks how it looks harder. When I first saw your quilt, I thought you had set them on point and I didn't I didn't realize it was the hourglass block. Nope. The hourglass block makes all the difference. So fun. Mhm. It's very fun. and using this clearly perfect template just it's life-changing for squaring up hourglass blocks. All right, so we are going to go ahead and cut these apart. We're going to not square anything, but press them open. So, we'll set our seam and roll these back to the dark side. If you roll them both the same, you know, onto the dark side, then your seam's going to nest really well when you put them back together. So, okay. And then what you want to do is draw a line going the opposite direction of your seam. And you're going to sew on both sides of that line as well. Still have that pen? Yep. Perfect. All righty. Lining it up and going straight across the seam. Okay. So, now we're going to lay these on top of each other, right sides together. And we want to make sure that our fabrics are on the opposite sides. And make sure this line, this seam nests really nice and tight. If it's not super tight, you'll have space there, and you don't really want that. You want your point to be good. So, yeah, that's more important really even than the edges lining up perfectly. Yeah, the center seam is the part that cuz when you fold it back, you'll see if it's not lined up, it's going to give you that little crisscross. So, you just want to make sure that that seam is lined up right next to the other one. And they should lock in place pretty well if you've pressed them in the opposite direction. All right. Okay. So now, and really the place you have to worry the most is right here when it crosses. All right. So, we've got that lined up and we're going to have I'm going to have you sew on both sides of this line. All right, let's do it. Excellent. My eyes had to readjust on that dark fabric. Dark. Yes, I know. I lost it for a second. Well, and this is a place where if you have dark fabric, you can use a permanent black marker. Yeah. Because it's going to get cut through on both sides. You're not going to have to worry about it bleeding through even on the light fabric cuz it will be you're because you're not sewing on the line. You don't you're going to cut through it and it won't show. Yep. It'll be hidden in those seams. It'll be completely cut through hopefully. You know, it won't even be there. So, okay. So, we're going to go ahead and cut this in half. And so, like I said, you're going to get two blocks, two hourglass blocks. And look at that. Beautiful. Great. So, before we press, we're going to use our Clearly Perfect to trim them up. And this is this is my favorite thing to use a Clearly Perfect for. You're going to line up your seam lines, and you're going to use this center line to line up with the middle. And we're going to do eight and a half. Keeping everything nice and straight. This keeps your points in three places at once, which is just so pretty magical. So magical. It's my favorite thing. All righty. You can go ahead and cut off those little dog ears. And and that's it. You've got your hourglass blocks. So now you can come over to the iron, set Oops. Wake up. Set your seam and press it back. Just roll those back. Okay. So now if you take a look at the quilt. So our hourglass blocks go in here. And then we've got our dresden blocks. So it's going to go hourglass, dresden, hourglass, dresden, hourglass. And then you'll notice that the hourglass blocks are all up this way for this row. And then these are on the dark blue background. For the next row, we're going to turn our hourglass so that our back our light backgrounds match up. And then we've got our light dresdins in this row. So they alternate all throughout the quilt. And we've got 1 2 3 4 5 by 1 2 3 4 5 6. And that was just to use as much of the fabric as possible. So then I went ahead and added a 2 and 1/2 in inner border just to frame it up. And then a 5 in outer border. And that makes the quilt top. I machine quilted it with this uh Chantelli lace pattern. It's very pretty. And then the backing is this lovely print from the line. I you know, you can hardly not use one of those gorgeous prints. So pretty. All righty. So yeah, this quilt is perfect for like a picnic size or a toddler bed. Honestly, it's so fun. It's 53x 61 and I called it hydrangeanger walts cuz it just reminded me of like walting skirts and then the hydrangeas. I couldn't help myself. That's beautiful. So, yeah, that's it. So, hopefully you guys enjoyed these two great ideas using our Dresden template. I think they turned out pretty fun. Me, too. Yeah, I enjoyed these quilts. I love them both, and I can't wait to see you all make them your own. And we will see you guys for the next double take. Bye.