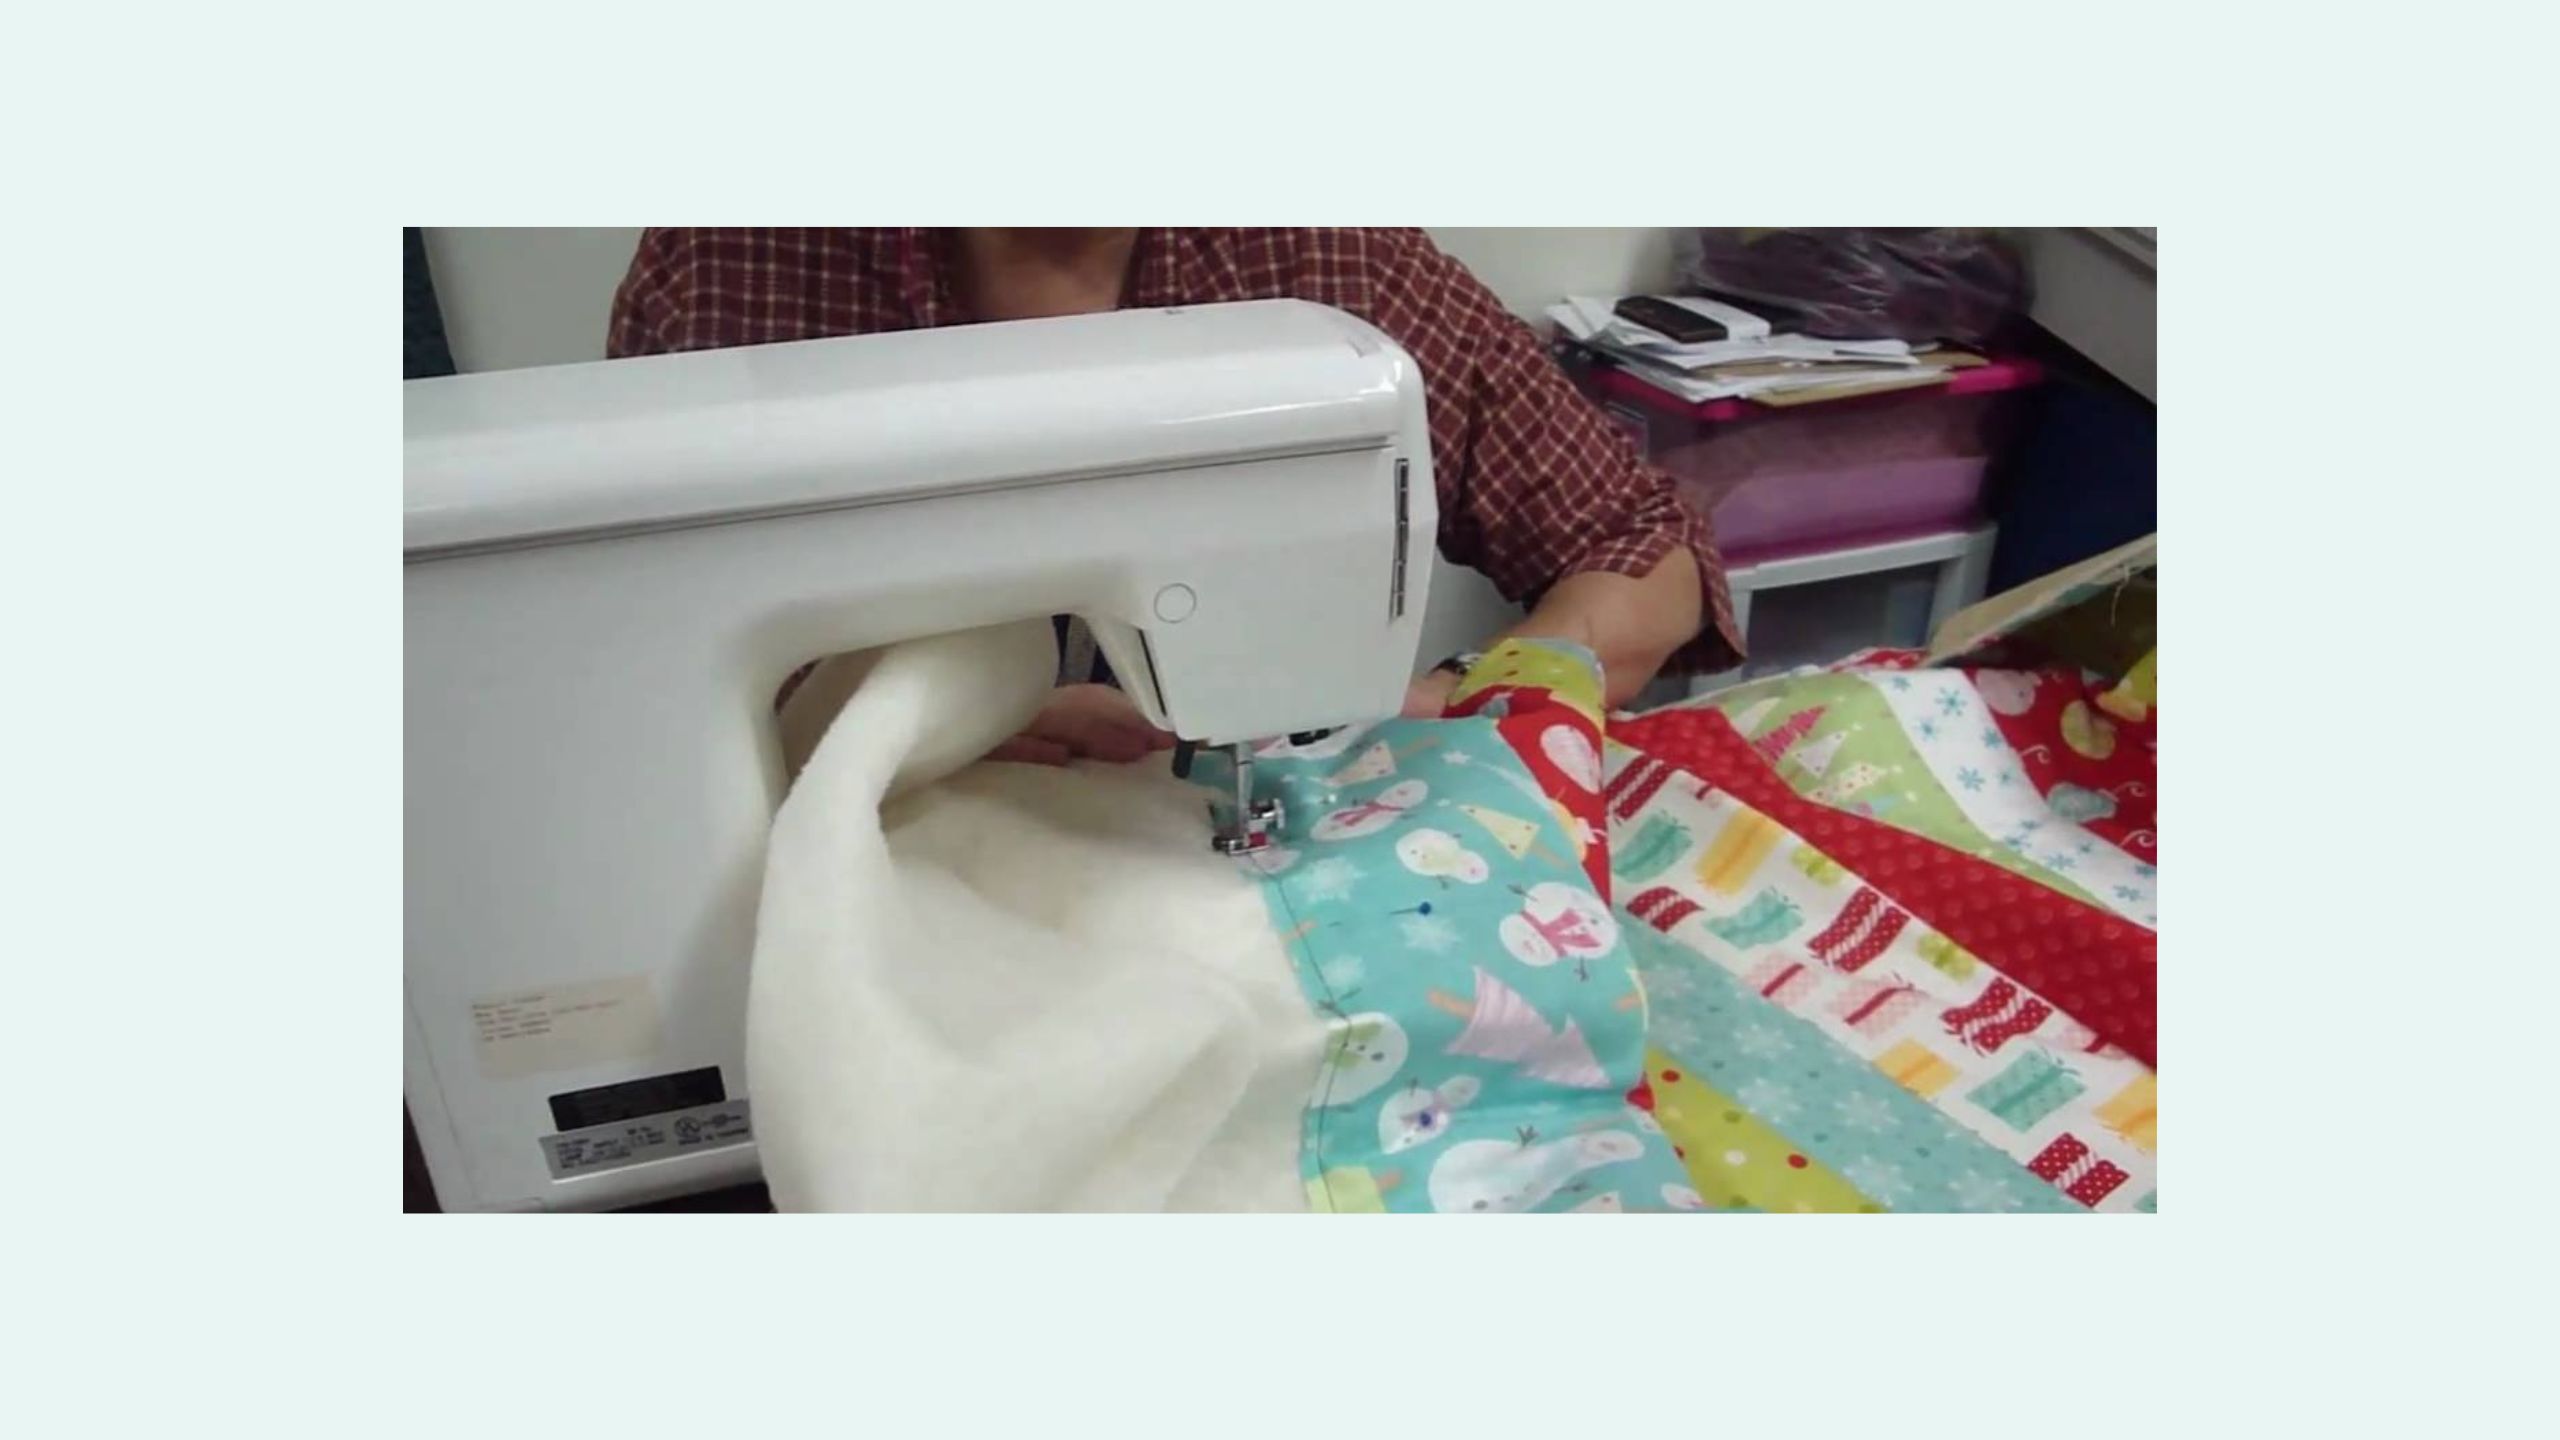
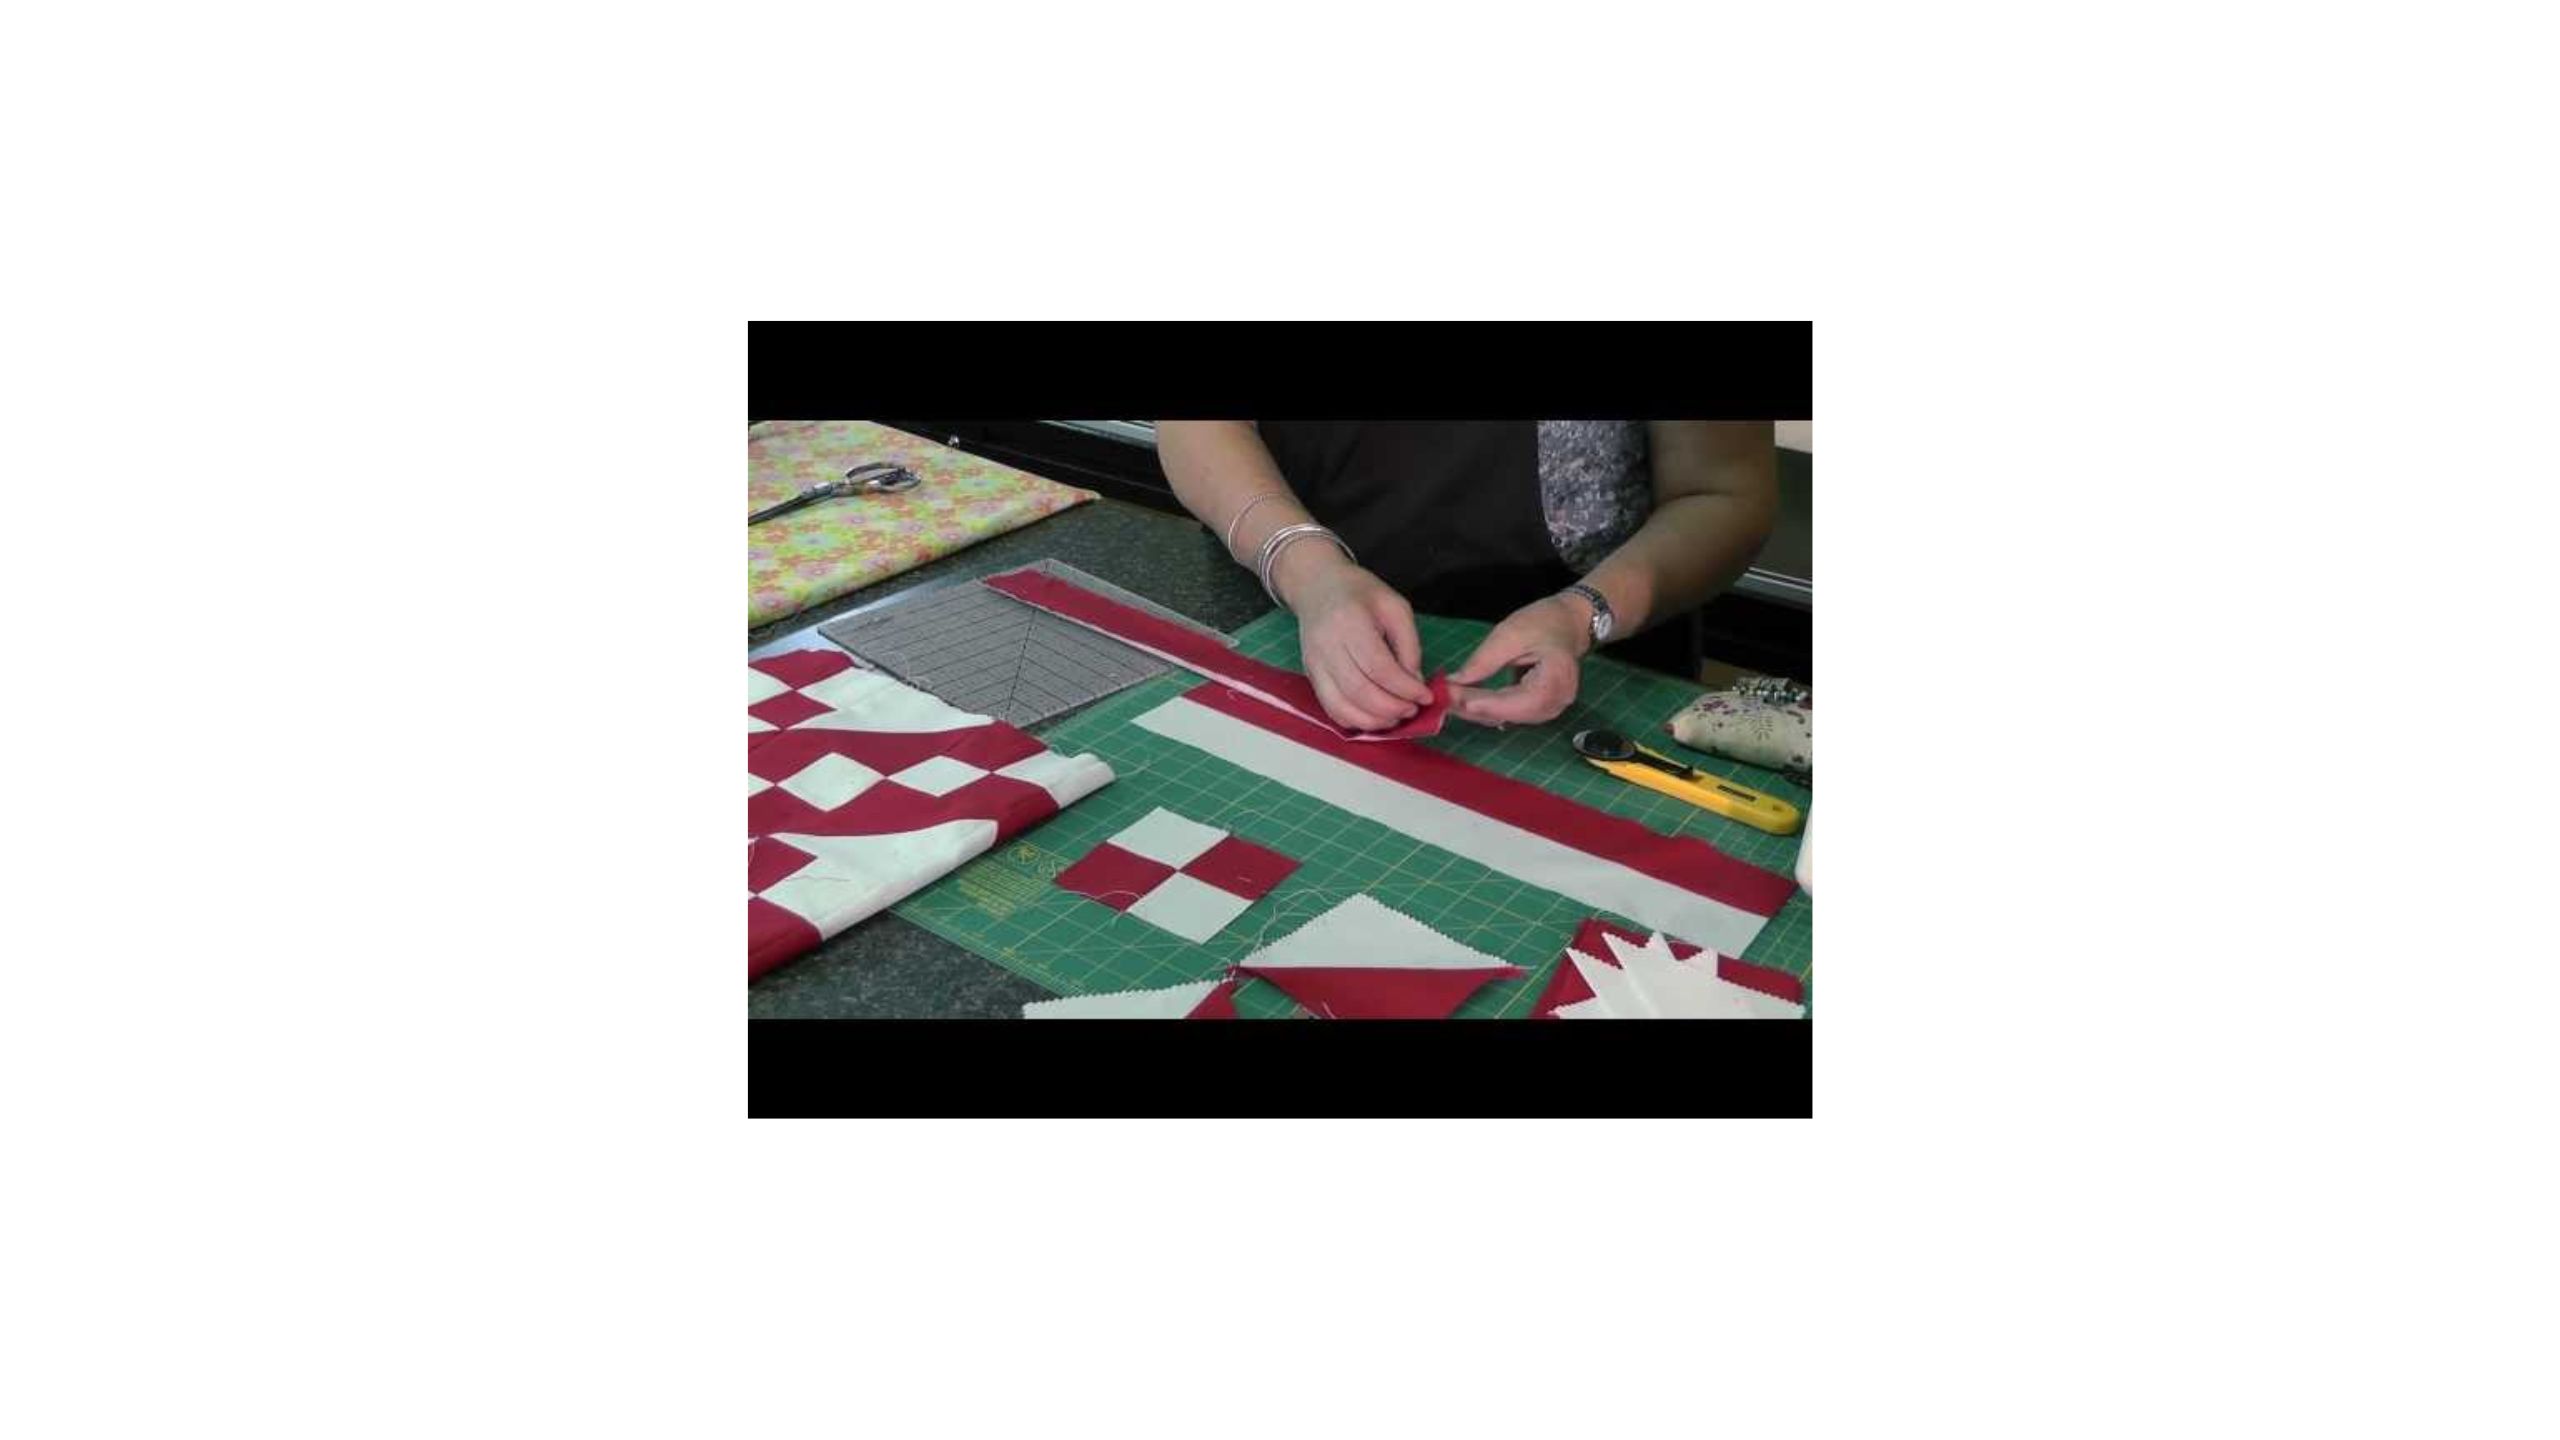
In this Double Take tutorial, Natalie and Misty are each giving the classic Four Patch quilt a fresh spin using two distinct floral fabric collections from Windham Fabrics. Same block, two beautiful perspectives—proof that your fabric choice can completely transform the final quilt!
Natalie is the host of Quilting 101, Embroidery 101 and the Creative Strategist and Editor of Block Magazine at Missouri Star Quilt Company. She was taught how to sew by her mom, of course, and began quilting when she grew up.
Common Questions
What is covered in Double Take: Four Patch?
In this Double Take tutorial, Natalie and Misty are each giving the classic Four Patch quilt a fresh spin using two distinct floral fabric collections from Windham Fabrics. Same block, two beautiful perspectives—proof that your fabric choice can completely transform the final...
How long is the tutorial video?
The tutorial video is 00:25:54.
Are supplies listed for this tutorial?
Yes. The tutorial page includes the supplies and materials connected to this project.
Video Transcript
Hey everyone, it is double take day. That's right. And Natalie and I have two fun quilts to share with you. This month, we chose the simple for patch as our inspiration. So, I guess we'll get started. It's going to be a great one. That's right. I'm excited. All right. I'll go first. [Music] All right. So, this is the block that we'll be making for my quilt. You can see it behind me. I think it turned out really pretty. It's so beautiful. Thank you. So, it's a fun one. And so, to make this quilt, you are going to need one package of 10in squares. And I use this beautiful collection called Lush Life by Jennifer Moore for Windom. You'll also need 4 and 1/2 yards of your background fabric, 1 and 5/8 of an accent fabric, and this is your border, these little cornerstones here, and the cornerstones in your block. And then you'll also need your backing. And I used this beautiful print with these cute little birds that is 5 and 3/4 yards with a vertical seam if you have a regular 45 or 2 and 1/3 yards with a 108. So let me show you how to make it. So to begin, let's go ahead and make our four patches. And so to do that, we are going to take a couple of our pink squares and I've just paired them up with background in the same size. So 10 in. And we are going to cut this in half. Where did I put this? Just right on the side table. We're going to cut this in half both directions. I'm pretty sure I made mine the same or very similar way. I bet you did. We're going to get real good at four patches today. That's right. So we will just cut this so that we have five inch squares. And then now I'll just give you one set of these. Okay. And if you want to sew a quarter inch seam on opposite sides. Sounds great. Perfect. Whoops. I didn't make it all the way through these. So I'm going to stitch a little quarter of an inch seam down both sides. Yep. Opposite sides. Okay. There we go. Beautiful. All right. And so we have this one that she has just sewn. And I'm going to lay my ruler on here. And I'm going to measure over 2 and 1/2 in because that's the center of my block. And I'm going to cut this in half like so. All righty. And I'll press these. And then I'm going to do this other print that I used as well. And we're going to cut that in half. And I'll take this over to the ironing board. Set the seam. Roll those back. There's one and two. And then we are going to place these so that we have the prints on opposite sides. And those seams that we took are going to nest in the middle there. And then Natalie's going to sew a quarterinch seam on these two sides intersecting that first seam that we took. Perfect. So if you want to do that and then I'll get this other set ready. We can chain piece these. Here's the other one. Whoops. That seam didn't lay very flat. Make sure these missed. There we go. There we go. Took off like a rocket. Yeah, it got away from me a little bit there. Perfect. And then I'll have you sew this one as well, cuz we need four of these four patches for our block. Okay. And so then just like before, since this width is still 5 in, I'm going to measure in 2 and 1/2 and cut these in half. And there's our little four patches. So, let me go ahead and press these One, two. Perfect. There you go. Thank you. I actually think I have a few others already done, so we can skip ahead here. But we do need four. So, I'm just going to set these aside for now, and we will keep working on the next step. So, now that we've finished our four patches, we are going to make our middles. And so, we're going to take one of our 10in squares. This doesn't need to be matching anything else. It's just for the center of the block. And we're going to trim this down to 9 and 1/2 in. So, let me lay my ruler on here. Make sure we're at 9 and 1/2 both directions. And then we can just trim this down. Beautiful. And then the next thing we're going to do is we're going to take some 2 and 1/2 in background squares and we're going to place those on each of the corners. And when we say we're going to snowball something, this is what we mean. And we're going to sew from point to point. And it kind of rounds out that block. And once it's done, it looks just like this. So easy peasy. That's step number two. Since I already have this done, I'll let you skip this. Perfect. And then now we're going to work on our flying geese units. Now for these, you want to have two matching 10in squares from your pack. So I'm going to go ahead and stack these up here. And to start, I'm going to trim off a half an inch from just one side. So that these are 9 and a half by 10. And I'm going to turn this. And now we're going to cut this in half. So we have two rectangles that are going to measure 5 by 9 and 1/2. Okay. Awesome. And so then now we're going to take our 5 in background squares. I'm just going to have you do this to one of these because I have some other ones ready to go. I love that. And we are going to again, same idea as the snowball, but I've drawn one line corner to corner and I did another one a half inch away so we can save these half square triangles. Awesome. So, if you want to do the first one, then we'll trim and add the next one. Okay, that sounds good. So, she's going to sew on both of those drawn lines. Cool. Just got to get that lined up just right. Yep. Perfect. And so now I am just going to cut right between those two sewn lines. And this little half square triangle I'm going to set aside. There's a fun little bonus project in this pattern that you can use those for if you'd like. And now we can roll this one back. And then we will add our other 5 in square going in the opposite direction so that we intersect that first one. Excellent. And again, she's going to sew on both of those seams. I'm going to do it from this direction just for ease of going over that seam, which probably be fine, but we'll go back this way. Perfect. All right, there we go. Yep. So, we'll trim this one as well. And you will just repeat that same thing four times so that you have each side of your block. And then you can see how our little flying geese unit looks. Now the next step on this is we are actually going to trim these so that they're only 4 and 1/2 in tall. Okay. And so we're going to cut off this little bottom piece. And I opted to do it this way cuz I wanted just a little bit more space on either side of my flying geese. All right. I like that. Just for my brain. So it looks really cute. Thank you. And then we're also going to add an inch and a half background strip. So it's an inch and a half by 4 and 1/2 onto each side of that. So if you want to go ahead and sew that. Perfect. Would love to. There's one. And then she'll just flip it around and add it to the other side. There you go. All right. So, now let's go ahead and press this. And we have these four all done. And so now we're going to go back to our middle and we are going to add a sashing strip to each side of this. So, this is just another 1 and 1/2 inch strip of our background by 9 and 1/2 in tall. So, if you want to sew one to each side. Okay. And then once she's done with that, I also have some 9 and 1/2 in uh by 1 and 1/2 in that we're going to put our little accent fabrics on two sides to finish out this center section. Beautiful. Oops. And there you go. While I press that, if you want to sew these little one and a half inch squares to each side. Absolutely. Perfect. Oops. Slippery. Beautiful. And then we'll set these little strips in here. Gorgeous. Okay. And if you want to sew that first one on, I would love to. I will press this and it will be ready for you. [Music] Yep. It's always good to take your time. There we go. Let me give this a press. And then we get to lay out our nice big block. This block has a few steps, but you get this awesome giant block when you're finished. And you don't have to make very many of them. Very pretty. It's fun. I think this is one of those blocks that you can do so much with. You could actually put embroidery in that center. It would be beautiful. You could use it just for those fabrics that have the bigger prints that you just don't want to cut down too much. Exactly. I love that. Beautiful. All right. So, we'll place this in the middle. And then our flying geese are going to come in on each side. And we're going to place the wide part towards the middle just like so. And then we'll finish it out with our four patches. And I put the lighter of my two fabrics towards the center. That's just how I did it for my brain. Very cool. Just like so. And then when you sew it together, it goes together just like a nine patch. Super quick and easy. And then let's talk about how it goes into the quilt because this does have a 2 and 1/2 in sashing and cornerstone. These cornerstones are also from that accent or your border fabric. Same fabric. And so I just did one, two, three big blocks across by four down. And I added this little 5 inch border and it finishes at 74 by 95. So it's a really nice size. I quilted it with Daisy Days which is just a fun floralally pattern. And here is this beautiful backing. Oh, that's really sweet little birds. I love it. So that is it. That's my whole quilt. Excellent. And Natalie, you're my turn. That's right. All right. All right. Well, this is my quilt. I'm calling it patchwork play, and it's easier than you think. It is so cute. I I love a little curve here and there, so I think you're going to like it. Awesome. To make my quilt, you're going to need one package of 10in squares, and I've used Daypring by Jesse Phoenix for Windom Fabrics. You'll need some background fabric, and that is 3 and 1/4 yards. Your outer border is a 5 in border, so you'll need a yard and a quarter for that. And your backing you'll need four and a3 yards unless you have a 108. And then that is going to be two and a quarter yards. Perfect. All right. So, we have a couple of background cuts that we're going to make. We're going to cut a 5 in strip and a 4 and 1/2 in strip. So, I've got these ready to go. Okay. And then what we're going to do, we're going to set these aside and cut down our 10in squares to 4 and 1/2 in squares. So, we'll just take one or two of these cuz you'll need some variety. Okay. I think I have more than two. I do. I have three here stuck together. Yep. I felt that. That was an interesting little pile there. What a beautiful fabric collection. It's really pretty. So many bright colors and beautiful designs. All right. So, we'll make our four patches first. And they are done very, very much the same way as yours. Okay. Oops. I think we might have a nick in our blade. Probably. It's kind of sticky today. Yes. Okay. And then from this 5 in strip, oops, we're also going to cut, we're going to subcut some 5 in squares. And before we get too far along, I forgot I was going to show the block. Oh, so let me pull that up because that way we can we'll have like a much better idea of what we're doing here. Yes. Okay. So, let me grab the block. So, this is our block. The entire quilt is made up of just this one block. I love it so much. So, it has these little drunkard paths in the corners and then four patches that chain this way and then this one just chains the opposite direction and they're all the same. So cute. So, that's what we're going to be making today. And all of our four patches are mix and match. So, um you can just make a bunch of them and set them aside and mix and match throughout your whole quilt as you go. Okay. Okay. So, back to where we were. We've got our 5 in squares. And just like you did, we're going to stitch on both sides. Okay. And of both sets. And then Oops. How did I get those together? Are these together, too? Nope. They're separate. All right. Sometimes you just have to double check those things, you know. So, we'll sew a quarter inch seam on opposite sides. Yes. And I will have you do both of these. And then I've got the other four patches made. Okay. So, do that one. And I'm going to cut this in half on the 2 and 1/2 inch line. Okay, there's All right. And I will cut this one as well. Then we will press them back and stitch them together going the opposite directions to get two set that seam. Okay. And again, these are going to be lined up going opposite ways. And when you press towards the print, both of your seams should be then going opposite directions and nest really nicely. And we'll stitch down both sides crossing that seam. Perfect. Okay. All right. Now, the the counts for all of the things you you're going to use 5 in squares from your 10in square pack. And so, the counts for how many to make a four patch and how many to turn into drunkard's paths, those are all in the pattern. Yes, that's too many numbers for me to remember in my head. But each block you will need three sets of four patches. Okay? And these look great. I would go ahead and just make all of mine ahead and then mix up all of my blocks so that you're ready to go. That's right. The other thing that we'll need from our background, and this is just a super easy step, is this 4 and 1/2 in square cuz you've got those in this little midsection here. So, we'll just subcut some 4 and 1/2 in squares and set those aside so that they are ready to go. And I want my salvage out of there. Line that up and then flip it around. And because this strip is cut in half, I'm getting two at a time here. Or not cut in half, folded in half. There we go. Sorry. I'm just uh you know, slipping up on my words today. It happens. No worries. There we go. So, these are ready and our four patches are ready. I have a few more of those over here in my little nifty pile of things that are ready to go. There we go. Okay, now it's time for our little drunkard's path blocks. So, we're going to grab some of our 5 in squares and we'll cut our using our template B, we'll cut out the middle. All of your middles are going to be print fabrics. And then your little outer piece is going to be made out of your uh background. Okay. So, what we'll do here is line this up. And you'll line that up with the four and a half. I guess I need to turn this to a different angle because it was going to be kind of weird to cut that way. All right. So, I'm just going to do this little curve this way. And then this is ready to stitch onto our Okay. corner. So, I'm going to go ahead and finger press a center. And then I'll finger press this center as well. And we can put them together so they nest nice in the middle. Kind of like this. And then I don't know if you pin or don't pin. Um you can put a little dot of glue at the beginning, but typically I line mine up so they look a bit like this. I like to keep the smaller piece on top. It just makes it easier to stitch. That's how I do it, too. Okay, good. If you have any helpful hints or hacks that you want to throw out. You covered them all. Honestly, you just kind of you you'll want to keep your middles together so that you have the right um amount of fabric on both sides of that center point. Otherwise, it can get a little wonky. But other than that, these curves are very gentle, and if you go slow and take your time, it's going to be a easy breezy. Yep. There you go. All right. So, lining these up against for sure have one of these ready somewhere. Kind of a mess today. There it is. It's easy to get things all out of whack. Well, I'm hoping everyone's sewing room is a little bit of, you know, creative creative chaos. That's kind of how we operate, right? Exactly. There we go. I'm getting to the halfway point. And then I kind of like to just bring this to the Yeah. opposite side. Line it up. And then let the fabric just join. Yep. Exactly. Sometimes when I'm sewing drunkard's ps, I like to think of it like like a sort of a reverse zipper merge. Yeah. You're like, "Okay, we're going to go in a little bit at a time from both sides." And then everybody ends up where they need to be. There we go. And my favorite part is pressing these back because they just lay down so nice and that curve just comes out and it looks so pretty. Yep. You don't have to clip it or worry about it. Nope. just lays down. Although, I did see somebody um somebody was doing some applique not too long ago and they were clipping with their pinking shears and I thought that's brilliant for curves. So, if you're cutting the curve after that will be a that's a good hack. Definitely. All right. So, we've got all of our pieces. We're ready to lay this out. So, our little drunkard's paths point to the middle. And then we've got our four patch that's also going to line up with those drunkards path blocks. Cute. And then these ones line up the opposite direction so that your um prints are facing out like that. Cute. And then we'll put in our little background squares. And this is just a simple nine patch block that we'll stitch together and have our little blocks just like this. So cute. I love it so much. Yeah. So they go together in the quilt. So they start up here and of course I turn them. So, we've got one, two, three, four, five across by five down. It's a square quilt. So, we quilted it with our new pattern that's called Mexican Tile. The quilt ends up being 69 in square. I've got a 5 in border. And let's take a look at this backing. It's really lovely. You can kind of see the quilting. I think you can see it good on from both directions. That's really pretty, Nat. But that's just it. It's nice and easy. I love this little secondary block that kind of just looks like a little curtain or a diamond. It's kind of sparkly and fun. I called it patchwork play. Adorable. And I think you had a bonus you were going to tell us about. I just remembered that. You're right. I forgot. I want to see that quilt. So, I'll bring that out. All right. All right. So, remember I had all those half square triangles left over from my quilt. And so, this is the little block that I came up with. It's super easy to make. You're just going to grab a yard of two contrasting colors. I use this pink and this navy. They're so cute. And this is the little bonus throw. I love it. This feels a lot like to me like this is like a mommy and me. Yes. You know, here's one for the baby and one for mom. And one for mom. And so it's great. You get both of these patterns in this garden windows quilt pattern. Oh, the other thing is this easily could be like four table runners. Oh, of course. Instead of putting it all together. I love that. Just a little gift idea. That's a fun bonus for you guys. Excellent. And so here is my quilt and here is Natalie's. And so now you guys have a couple of fun new ideas to use with using the four patch. Hope you enjoyed this double take on the four patch from the Missouri Star Quilt Company. Bye. See you later.