‘Twas five months before Christmas, but you can bet your bobbin—the quilters were stirring!
July is prime time for holiday sewing, and the Doan girls have dreamed up two festive patterns using the Hunter’s Star block and our new Christmas in Quilt Town fabric.
Natalie is the host of Quilting 101, Embroidery 101 and the Creative Strategist and Editor of Block Magazine at Missouri Star Quilt Company. She was taught how to sew by her mom, of course, and began quilting when she grew up.
‘Twas five months before Christmas, but you can bet your bobbin—the quilters were stirring! July is prime time for holiday sewing, and the Doan girls have dreamed up two festive patterns using the Hunter’s Star block and our new Christmas in Quilt Town fabric.
How long is the tutorial video?
The tutorial video is 00:42:05.
Are supplies listed for this tutorial?
Yes. The tutorial page includes the supplies and materials connected to this project.
Video Transcript
Hi everyone. Welcome to Double Take. Natalie and I. My favorite week. Yes. The best week of the month. We have a really fun project for you, but also we have really fun fabric. Oh yeah. This fabric is so great. So I love our quilt town line. Me too. And this one is even better cuz it's Christmas. Christmas in Quilt Town. So super fun. And our inspiration block for this month is the Hunter Star. Oh yeah. And so we have two really fun quilts to share with you. I think they turned out so great. I can't wait. Me, too. Let's get started. [Music] All right, Nat. So, you're up first. Yes. I'm very excited. So, you guys can see the quilt behind me. I'm calling it curved hunter star because that's searchable and easy to remember. Y um it's really fun, though. You're going to use your drunkard's path template and you're also going to use some half square triangles. This is the block and it's it's a lot easier than it looks, I promise. But I think it has some really cool wow factor. I agree. All right. So, to make my quilt, you're going to need a package of 42 inch 10in squares. And I used Christmas and Quilt Town by Missouri Star Quilt Company. You're going to need a background print as well, which it can be plain, but I call it a print because ours has this lovely tonal print. It's snowflakes. Also, Christmas and Quilt Town from Missouri Star Quilt Company. So cute. This is just it's the most fun fabric that I've seen this year. It's so cute. You'll need a little bit for your inner border, about 3/4 of a yard, and your outer border about a yard and a quarter. I did bring up my fun little binding because, of course, who doesn't love a diagonal stripe that you can use straight grain and your stripes still look like they're on the bias. So, it's super easy to use. Obviously, you know, binding is always little. You can usually get away with 2/3 of a yard or 3/4 of a yard. Yep. Ours is 2/3. Okay. So, for your backing, we have some really great 108s that come with this line. I chose to use this red snowflake, and you'll need um 2 and 38 yards of a 108. If you're using 44, you're just going to need uh 4 and 3/4 yards. Some of the other fun things that you'll need are the drunkards path template, and I used Missouri Star's drunkard's path large template um for for all these beautiful curves. And then you may want a glue stick to to secure those ends. And we'll talk about that later when we get there. And then you're going to need some squaring tools. I used the Clearly Perfect Trimmer A. Or you could use a regular 9 and 1/2 in or 10in square. Any squaring tool will do. Yep. But that's about it. So, let's get started. All right. So, this quilt is really pretty easy to make. We've got a block that uses half square triangles. And then the other one is the drunkard's path. So, we're going to start with our half square triangles. And all we're going to do is do the make eight method where you put your prints and I am going to put them right sides together. And we're going to draw the line corner to corner. Stitch on both sides of that line. So, we are going to draw the line going both directions. And we're going to draw it until it shows up. Oh, there we go. Sorry about that, Misty. It It spun on me. Oh, you are fine. Honestly, it won't matter too much cuz we're going to square them anyway. Square them anyhow. But stick with the line that goes into the point into the corner. That's what you're aiming for. That's Yeah. Oh, man. I did it again. You know what? It's good for everyone to remember. It's on the back. It's not going to show. But yeah, we're going to sew a/4 of an inch on both sides of the drawn line that goes into the corner. Hey, perfect. Then we'll cut them all apart and we'll square them up. We're squaring these to four and a half. Now my fabric is sliding. No worries. I always feel like this is something we've done a hundred times, but there's probably someone out there who this is their very first time. So, I I want to like rush through it cuz we we all know how to do this, but we want to make sure that if it's your first time watching and you have never made half square triangles using this method that you get a really good really good idea of how to do them. That's right. Well, this has been some of my worst half square triangle sewing. So, I'm very glad we're going to be squaring these. You know what? We all have those days. I mean, it was my worst line drawing ever. Go. They're just a little wonky. And the good news is it doesn't have to be perfect. That's right. It's all inside the quilt in the end. Okay, there we go. All right, close enough. So, the next step on these is cutting them apart. And the the rule of thumb is cut the lines you can't see first because the ones you can see are going to be there even if everything gets all mixed up. That's right. So we'll do our horizontal. We're going to just cut it right in half. Our vertical and horizontal cuts first and then we do our diagonal cuts. And then so these ones you're just going to cut in between the stitch lines, corner to corner, going both directions. And we will begin squaring these. Now there are two ways to square. One is your clearly perfect and then the other is to use regular squaring tool. So I'm going to show both. All right. So, on the clearly perfect slotted trimmer, you're going to line up your stitch line on the um the dashed line on the tool, and you're just going to cut both directions. If one side is really, really straight, you can line up and then just have to cut that once. So, we'll do a couple of these. Beautiful. Yeah. Do you want me to press some of the other ones so they're for you? Yeah, that would be great. Okay, just do a couple um that we can do with the squaring tool. And then I've got four already squared. Oh, perfect. So, we don't have to square them all, but this way you get a good idea of all of your options. And when you're making your quilt, you'll want to pick whichever squaring method is most comfortable for you. Um there's a lot of different ways to get to a squared 4 and 1/2 in half square triangle. That's right. I'll press these two. All right. So, I'm going to do these two using our square ruler. And I always look when you're doing it, you want to make sure that you have the one in the corner, whatever makes sense to your brain and do them all consistently and the same. So, for me, it's easiest if I'm looking at my ruler and my ones are up in the top right corner because I'm right-handed. If you are a lefty, I believe it would go this way. Ask mom. Yeah, we'll have to ask her when she gets back. That's right. Okay. So, I'm going to make sure that my 45° angle line, which is the one that goes corner to corner on your square, lines up with the seam line of my half square triangle. And I'm first I'm always just going to cut this over because you have plenty of room on all four sides. And I want one good square corner. Yep. So, I'm going to cut that first. I'm going to lift my ruler, flip my half square triangle around because now this line is going to set right into the half mark where my 4 and 1/2 is. I'm going to keep my seam line and my 45° angle line lined up. That way your your seam goes right into the points and keeps it nice and crisp. That's really the most important part is keeping it right in that corner. Yep. And then we're good. So we've got four and a half inch squares all the way around here. Wonderful. One more just for just for reinforcement. Making sure that we have plenty of room and all that. So, trim that first one. Flip it around. Line it all up. Always double checking that we've got our 4 and 1/2. that the seam line is still right on with that 45° angle that we've got 4 and 1/2 here. And then we make our final cuts and we are all done. Beautiful. Okay. So, we're looking for two different blocks. We're going to do our little um these little units right here. They look like they would be identical, but they're actually just slightly different. All right. So these line up so that you're I start with my prints that are going to be facing to the bottom left corner. And so these ones are going to stay in both sets. They're they're identical. And then it's the ones in the middle that move. So this one for our first block faces down and this one faces up. So be we'll be making this little point. Okay. And then the next one, these these are the same and these ones flip. So this one faces down and this one faces up. Okay? So it changes the part that is a whole diamond and the direction that they face. And it looks like when you look at it, you're looking and you're going to think, "Oh, I those are all the same. We can make them all the same." But they really don't work that way. Okay, that's a really good I promise you have to do both blocks cuz I tried it. All right, so one is like this. Uh, yep. Down. Down. And it just flips it from one end to the other. So, it does look like it flips, but it really doesn't. Okay. So, now that we know how they look different, I'm going to go ahead and let Misty start stitching this one. Okay. But first, I'm going to set up the second block because I like to make sure that everything that I do them. I do one of each first before I massproduce the quilt. Right. You want to make sure that you've got a little model block so you can reference. So these two still face bottom left. And then we're going to do this one opposite. So instead of having it face bottom left, it faces up. And instead of having this one face up, it faces down. Beautiful. So you can see how they're different but similar. All right. You ready? I'm ready. Okay. So I'm going to keep these lined up so you can chain piece them. Just keep them nice and straight. And then we'll do this one as well. [Applause] Okay. Okay. I would go ahead and keep those connected, fold them, make sure they look right. Yep. And then nest those seams and our block, our first part of it will be done. Okay. Line up the middles here. Perfect. I find that with these ones, like as you're chain piecing, it's easier to um press them afterwards because then you can force the seams or well, not force them, you can let them go the way they want to go. Yes. All right. Awesome. That looks great. Okay. I'm going to let you go ahead and stitch that one together and I'm going to press this block. I'm going to set my seams first and then we will go from there. Beautiful. We'll set these aside and we'll do our little drunkards paths. Drunkard's path blocks. I am excited about this. This is such a fun quilt. I love it. I love that it worked. I know. That's kind of the best part of the design process for me, too. You're like, "Ah, I have an idea and then to see it actually come into Yes. to fruition and like make sense and I love it. It's magical. It's also fun to see it in different fabrics because I originally had this in as a two-color quilt, which looks really cool, but it also looks cool in print." Yeah, absolutely. So, okay. All righty. So, this is our Whoops. Which room? There we go. This is our block A. And I'm almost done or unit A or whatever. It's not It It's part of a block. There we go. All right. I don't know what gets wrong with my brain, but when I look at them, I still think they look the same. Yeah. You can't trust it. No, I can't. But here's the deal, right? They make the they look different. They are definitely opposites. They are opposites and there's no way to like make them not be opposites, but this is how it needs to be in order to make the Hunter Star quilt. Yep. All right. So, now we're going to make our drunkards path blocks. And I used the large template. We're going to grab a print and a solid or a background of um of each. And I love how well these things just go together. You use an equal amount of fabric for both parts of the block and it comes together right so so neat. It's very um satisfying and efficient. Very little waste. That's right. Okay. So, what we're going to do first here is we're going to cut our curve. I like to get the big cut out of the way just to make sure I have enough room for everything. And there is plenty of room on this. It's a 10in square that we're cutting down to 8 and 1/2. So, we'll have plenty of space. We have a nice little sharp blade. And I just have some tiny little spots that didn't go all the way through. I think it's cuz like sometimes your mat flexes when you're cutting. Yeah. Or gets little nicks in it after using it for a good amount of time. Yeah. And we use ours like crazy. Yes, we do. All right. So then your uh your A template, you're going to line up this 8 and 1/2 in straight line with the edge of your fabric corner. And if it's not square, you will want to square that. You want to make sure that it's like nice clean edge that you can put your corner into. Yep. Mine is looking great. I'm not worried. And I'm just going to go ahead and cut this. And there. So, you have a little bit of little bit of waste for your crumb bin, but that's not a lot. All right. Now, these we're going to set aside and we are going to place the opposite pieces with each other. Um, this is where if you're if you're new to curves and you want a little bit of extra security, you could use a little glue stick to glue the edges. I also like to do a little finger press and put my middles together just to make sure that I don't have um stretch that goes one way or the other so that you have like a lot on one side. It can get kind of wonky and out of shape. So, I like to have a couple of checkpoints. There is this whole hills and valleys thing with drunkard's path. And you want to do one side where you fold it in on the print and then the other side is the opposite so that they nest into each other like a perfect little Yes. perfect little book kind of. So, if you got one going opposite, just just flip it. It makes life easier. And so, I'll put a little pin there. Just one in the middle. I don't know. Do you pin yours? I I do pin the center, especially on these larger ones. And then where did that There's that glue stick. So the glue stick, you can just put a little dot right here on the edge and glue that little space there. And then another one right up here on this edge. And glue this space here. Just helps those two line up. This is a great like it's so large. It's such an easy curve. and having the pin and the little bits of glue, it should help to make it a lot easier. So, this is great practice, right? It's a This size drunkard's path is perfect if it's your first time tackling curves. I think you'll be surprised at how easy they are to stitch. Yes. And very satisfying. Yes. All right. I'm going to do the same with this. Okay. And I will start stitching this one. And you just have to slow down and take your time on these curves a little bit. And that's all right. Go slow. Let it Okay. So, that one needs to go out. [Applause] I'm just making sure as I go that my two fabrics stay lined up. Awesome. And it's crazy cuz it I always think there's no way these are going to fit together, right? But then they do. And then they do. And so they look so good. I'll pull that little center pin out. And then just keep making my way down. Awesome. Got a little dab of glue on there for you. Perfect. I find that I don't like to glue the entire thing because I like to have a little bit of flexibility as I'm sewing. The curve makes it it gives it enough stretch that it goes where it needs to go. But if I pin or glue too much, then I end up feeling like I have tucks and things like that. I feel like I have to fight it more. And so there's just a few little things that make a make it really helpful. Okay, I'm going to press this back. It's one of my favorite parts cuz the pressing on these just it's so satisfying. Okay, I'm almost there. Sorry. No worries. It is one you want to take just a little bit of time to make sure you've got it how you want it to be. I got a little tuck there, but I don't think I don't think it's going to show at all. That's the nice thing about these. That little corner piece is so in the corner that it pretty much gets caught in the seam anyways. And you just it just blends right in with the block next to it and looks so pretty. Yep. All right. So now these guys, they go opposites in your block. And then your little hunter star blocks, they go into the middles like this. So if you're looking at it like so I when I look at this, I see this as like part of a a lemon star basically. So those pieces are going to face out opposite because they create the star as part of the secondary block when you put them together, right? So these ones you face out. And then the other thing you're looking for is do your dark prints all touch and your light backgrounds all touch because this is also part of the hunter star look. Right. Yeah. So now we can sew these four together and our block is made. And I'll show you how it goes in the quilt. This beautiful big block. It's it's so big and beautiful, but I still think it has just this really lovely whimsical but also like elegant. So much movement. It's really fun. Yes. Then someday I might go just a tiny bit crazy and make it with two and a half inch triangles because it would look so cute. Would be beautiful. I love the idea of it. I'm not sure that I can have the patience for it. But a little mini. Just a little mini to hang on the wall and say you did it. Yeah, I might do that. All right. The other nice thing about it is once you've got your once you've got your pieces together, your little half square triangle pieces, there aren't a lot of points or places that you have to really worry about things matching or it looks off. You know, this is one that that's very forgiving, very easy. You don't have to worry too much about stuff cuz it's so large and so so easy to put together. Been very fun to sew. It's definitely on my favorites lists of things that I got, you know, that I got to do this year. I love it. That's awesome. There we go. All right, one more quick press. Let's do some seam setting here. We'll set these ones as well, just a little bit to get everything to relax and lay flat. Don't be upset. We're just going to press you out. There we go. So fun. Yes. Pressing is so satisfying to me, too. I agree. I love a good flat block. All right. So, there you have it. This is the block. Oops. Let me show you it right here first. I almost got I got a little over anxious and wanted to show it on the quilt. Yes. But look at that. So, these go like this and then like that. Just back and forth and like that. Yep. So, it's four blocks across by four blocks down. It makes a quilt that is 77 in square. And um I went ahead and had it machine quilted with Baptist fan. I think it's really pretty and elegant, but it would also look super fun in like a cute Christmy floral print or machine quilting pattern, I mean. But yeah, I love the fabric. Okay, so I also added a 2 and 1/2 in inner border, a 5-in outer border, and you can see this really fun binding stripe. Yes. Along with this beautiful 108 backing. I love how we mimicked the same print but enlarged it so it's like has more impact. I agree. I just think it's so great. Yep. It is such a fun collection. Yeah. So, that is my quilt. I guess you're up next, Misty. I can't wait to see yours. All right. Let's do it. All right. All right. So, this is my quilt. It's so cute. Thank you. It It gives you a fairly traditional Hunter Star look, but I think you guys are really going to enjoy uh the trick to assemble this block. It's very fun. It's one of my favorite tricks that you do. Favorite little trick. Love it. And so the other thing that I really love about this is as I was designing it and with it being Christmas in July, I thought maybe it would be fun if we had gifting in mind. And so if you're making quilts for a gift, you can actually make two quilts this size that you see here or a larger version. They're both included in the pattern. And so I'm going to give you the supply amounts for the larger version. Um, but if you want to make two, just refer to the pattern itself, and it'll give you all the specifics, right, for what you need. So, let me show you what you need to make this quilt. Okay, up first, you're going to need one package of 10in squares. And of course, I'm also using this adorable Christmas and Quilttown collection. For your background, you are going to need 5 and 1/4 yards. I use that fun tonal just like Natalie. You also need some accent fabric, and that is the um red that you see here. You need 2 and 1 eigh yard. And then for your border, you are going to need um just under a yard if you make the large quilt. And if you do two, you'll need a little bit more than that cuz you know, you have bulk up on your border when you've got two quilts going. Exactly. I use the same print for my binding. And then for the backing, I use this beautiful 108 that is in our collection. Such a cute little cheater print. I love it, too. And for that, you're going to need 2 and 5/8. If you use a 108 or if you use um regular quilters's cotton, you'll need 7 and 2/3 yards with horizontal seams. Perfect. So, let me show you how to make this. So, this is the block that we're going to be making for this quilt. It's all made exactly the same way. And up first, we're going to make our little hourglass units. Okay? And so the reason that um it's fun to get two is you get enough for two blocks out of your matching 10inch squares. So if you grab two 10in squares, the first one we're going to pair up with our background. I always have to check and make sure with these little tone on tone prints that I actually have right sides together. And so we are going to do that. Line up our 10in squares. And then I'm going to draw a line. Just one corner to corner here. Nice. I think about it every time I do it. But if I start from the top, sometimes it'll drag the fabric. And since you started from the middle and went out, it reminded me that that is a habit that I have, but we don't often we don't always talk about it. So when you have to draw the line, sometimes your your pencil or your pen will pull the fabric. And if you start in the middle and go out, then it it's very smooth. Yeah. And it can be a little more accurate for you. Yeah. And so then now you'll sew a quarter inch on both sides of that drawn line for me. Perfect. I think I might be a little close, a little narrow on this one. It'll be okay. Okay. Beautiful. All right. So then now we can cut this apart. There we go. And then I'll press these open. I do love making hourglass blocks because you don't have to square that first half square triangle and it feels like a little bit of a cheat. Just a little win. Like I'm like, "Oh, goody. I don't have to square these twice." Yes. So, I am going to press these both to the dark side. Just roll my fabric back that way. And then we will put them right sides together again. And I always make sure that those seams are kind of locked. You can kind of feel when they catch each other. Yep. Little bit up there. That block lock tool where you can feel it kind of grip. Same idea. And I'm more worried about those locking than the corners matching perfectly because we're going to square all this up. Yep. And so then just like we did before, now we can draw a line. Cool. corner to corner and then I'll have Natalie sew a quarter inch on both sides again. Excellent. All right. Beautiful. So then we will cut those apart as well. Okay. And so for the first one, I have this larger clearly perfect slotted trimmer. This is trimmer B2. And the size you're looking for is 9 in. And just like Natalie, you can use the Clearly Perfect or I'm also going to square one with a regular square just because you don't have to have a special tool. Sometimes it just makes it easier. And I do particularly love the Clearly Perfect for an hourglass and I'll show you why. So, we're going to line up that dashed line right on our stitch line. So, I'm looking for 9 in. And then you'll also notice that there is this um vertical line on the trimmer as well. And so if you line that up with the vertical stitches on your hourglass, you know, you're going to have this perfectly centered and everything is going to go right into your corners. And so I am going to I love that tool for that reason. Square this up. It's the best. It really is. And then we can trim off these little notches. And there we have our hourglass block squared. Easy peasy. Yep. So, if you have these tools or have been looking for one, this is another great reason to uh get the Clearly Perfect. It's really wonderful for these. But like I said, I will show you how to do it without. Yep. So, we'll press this one open. Beautiful. It really is. Okay. And so, just like Natalie showed before, I like to start with the one up in that corner. And we're looking for 9 in, which means I need the 9 in mark to line up with the the seams that are going into my corners. And then I also need this 45 to be in line. So, that's what I'm checking. And I'm just going to start by cutting these two sides. Beautiful. And then now I can flip this around. There we go. And put this right on right 9 in mark again. Making sure I'm running corner to corner. Love it. Beautiful. So either way, you get a beautiful hourglass that's all squared up and ready to move to the next step. And so what I did because I opted to do the two quilts, I just put one of these in each pile, right? So you have um you know, one for each ready to go. And so now we're going to move on to the border part of this block. And so remember we had matching 10in squares. And so the next step is we are going to cut 4 in off of this off of one side. Make sure I'm all straight. It's kind of hard to see it with this dark print on our dark mat. Yes. Whoops. So I've cut four inches off. And then this can go in your scrap bin. This is extra. Okay. So we'll just set that aside for now. And then now I'm going to cut four two and a half inch strips across the width of this. Again, just making sure I'm straight. It's hard to see. And one more cut. There we go. And so we're going to need two of these per block. So again, enough for both, right? And so now we're going to actually pair one of these 6 in strips up with some 2 and 1/2 by 4 in rectangles out of our background fabric. So I have those cut and ready to go. And so what we're going to do is we are going to lay these on here like so. And then I like to go ahead and mark just because it makes it easier so you can see kind of where it point at the end. Yep. Got it. And so we're going to sew right like that. And then on the opposite side, we're going to line that up and go in the opposite direction. And go the opposite direction. Just making sure I'm actually in the corner there. Just like so. And so we're going to make those two seams. So we're sewing on the line. Right on the line. Exactly. Got it. Reline that little baby up. And here we go. And once you've sewn enough of these, I didn't have to mark it every time, but I think it's really helpful to mark. Yeah. At the beginning. I think so, too. Yeah, it's very helpful. All right. And so then now we are going to trim off our excess here. Spin this around. Just leave our quarter inch seam allowance. And now we can press these open. And we just roll them back just like so. And I have the other one already done. And so you're going to make two exactly the same. Just like so. And we can actually go ahead and attach this side to our block. And so the narrow side of the print is going to meet up with the print in our hourglass. Okay? And so if you want to just sew those one on either side, I'd love to. We can go ahead and do that. Almost lost it. The like of that. Okay, that's right. There you go. Perfect. Thank you. You're welcome. All right. So, I'll go ahead and roll those back and then roll this side back as well. That block by itself is really cute. I thought the same thing. So, you know, this would be fun by itself. But we are going to now use our background and our accent fabric to finish out these other two sides. So, we have a square block. Okay. And so, I have those cut as well. This is all based on 2 and 1/2 in strips. So that's you're going to subcut your your yardage into two and a half inch strips. Okay. And so we have um 2 and 1/2 by 6 in of our red. Awesome. And this is kind of opposite. So we have two of those and then we have one 2 and 1 half x 6 in of our background. Okay. And so same idea though. We're going to put our red on the two sides of our white. And so let me mark that line for you again just to make it easy. Here's our first one. And you're going to stitch right on that line. And then this one as well. So then I'll have you stitch those. Okay. And then while she is doing that, I have two little background 2 and 1 half inch squares. And I'm going to make sure that I'm marking on the back side. And I'm just going to draw a line corner to corner on the back of those. And again, this like if you have the diagonal seam tape, once you get the hang of all of this, you don't have to mark it every time, but I just want you to know it's an option to make it easier for you. It does make it very easy. Yeah. All right. So, again, we're going to trim this part off, leaving our seam allowance. Roll these back. There we go. And so then just like before, we want to make sure that when we roll this back, the angles are going to be matching, right? Creates that Le Moine star point exactly. And so they should be going in opposite directions. And we'll sew right on that line again. And just like we did with the print, you're going to repeat this exact same thing. This is what we'll we'll get in the end. I have one of those ready to go. We're doing two of them. Two at a time. Yep. Two per block. Yep. You got it. I love that little tap to check. Yep. There you go. Okay. Beautiful. And so then again, we're just going to trim. This is definitely a block that you kind of want to build a little nest for yourself. Yeah. Cuz you're kind of back and forth with the iron and your pencil and your cutter. Exactly. Yeah. And so then we will roll these back and this other side. Okay. And then just like when we added our first strips, we want to make sure the narrow part of our background is going to go in towards the white. Okay. And just like here. And so we'll add these top and bottom. Perfect. If you want to do that. Yep. And that's pretty much the whole block. It's that easy. I love how they come together. It's just like a fun little surprise. It's unexpected. It definitely is. There we go. Yeah. And she can flip that around. Make sure the narrow side goes in. Side in. Yep. And then here we go. and there you go. All right. Beautiful. Let's give it a good press and then we can look at it in the quilt. So satisfying when you roll it back and all of a sudden you've got those little star points in your corners. Yes, they show up so great. I love how it looks with the accent fabric and how all these little hourglasses are so cohesive. Thank you. Beautiful. It turned out super fun. And so for this the small quilt, which is what I have behind me, we just laid it out four by five. And so you can see this is how the block sets in. And then you just rotate it back and forth. back and forth. And that is it. I didn't opt to do an inner border. I just let this go all the way to the edge. And I finished it off with this 5 inch outer border. And this size that you see here is 59x71. The larger version is 84 by 96. So great size quilts. This one's perfect for a picnic. And let's look at this beautiful backing. Oh, that's gorgeous. I just love it. Such a fun cheater print. Mhm. And I quilted it with I think it's called Advent. Just a fun little Christmas uh panto. Excellent. And it's super fun and quick. So, I think that's it. I hope you guys liked it. These quilts turned out so great. We had a I had a lot of fun working with this fabric and the Hunter Star block. It's classic and beautiful every time. I agree. It's one of my favorite blocks of all time and I think they both turned out so fun. So, thank you guys so much and we'll see you next time on Double Take. Bye.


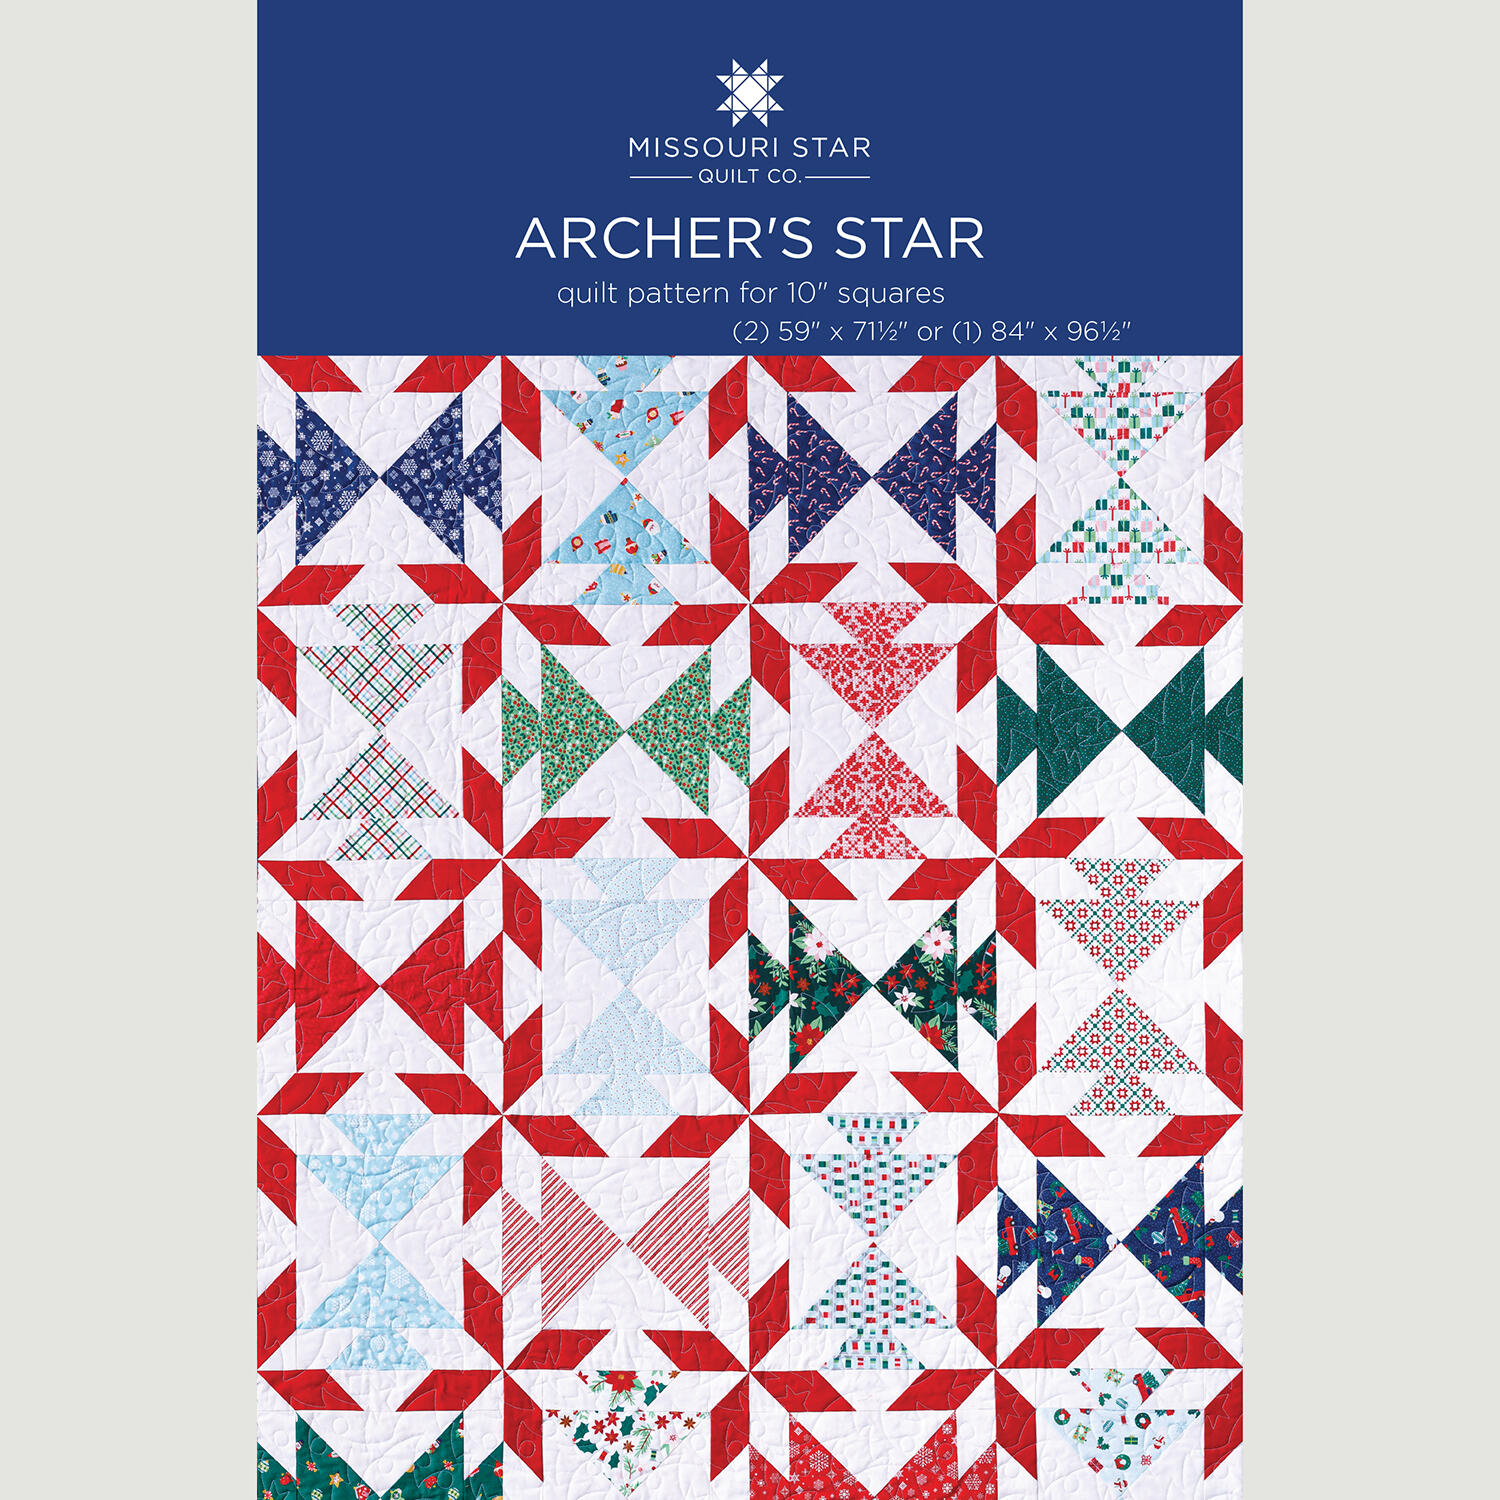 Archer's Star Quilt Pattern by Missouri Star$8.50Shop →
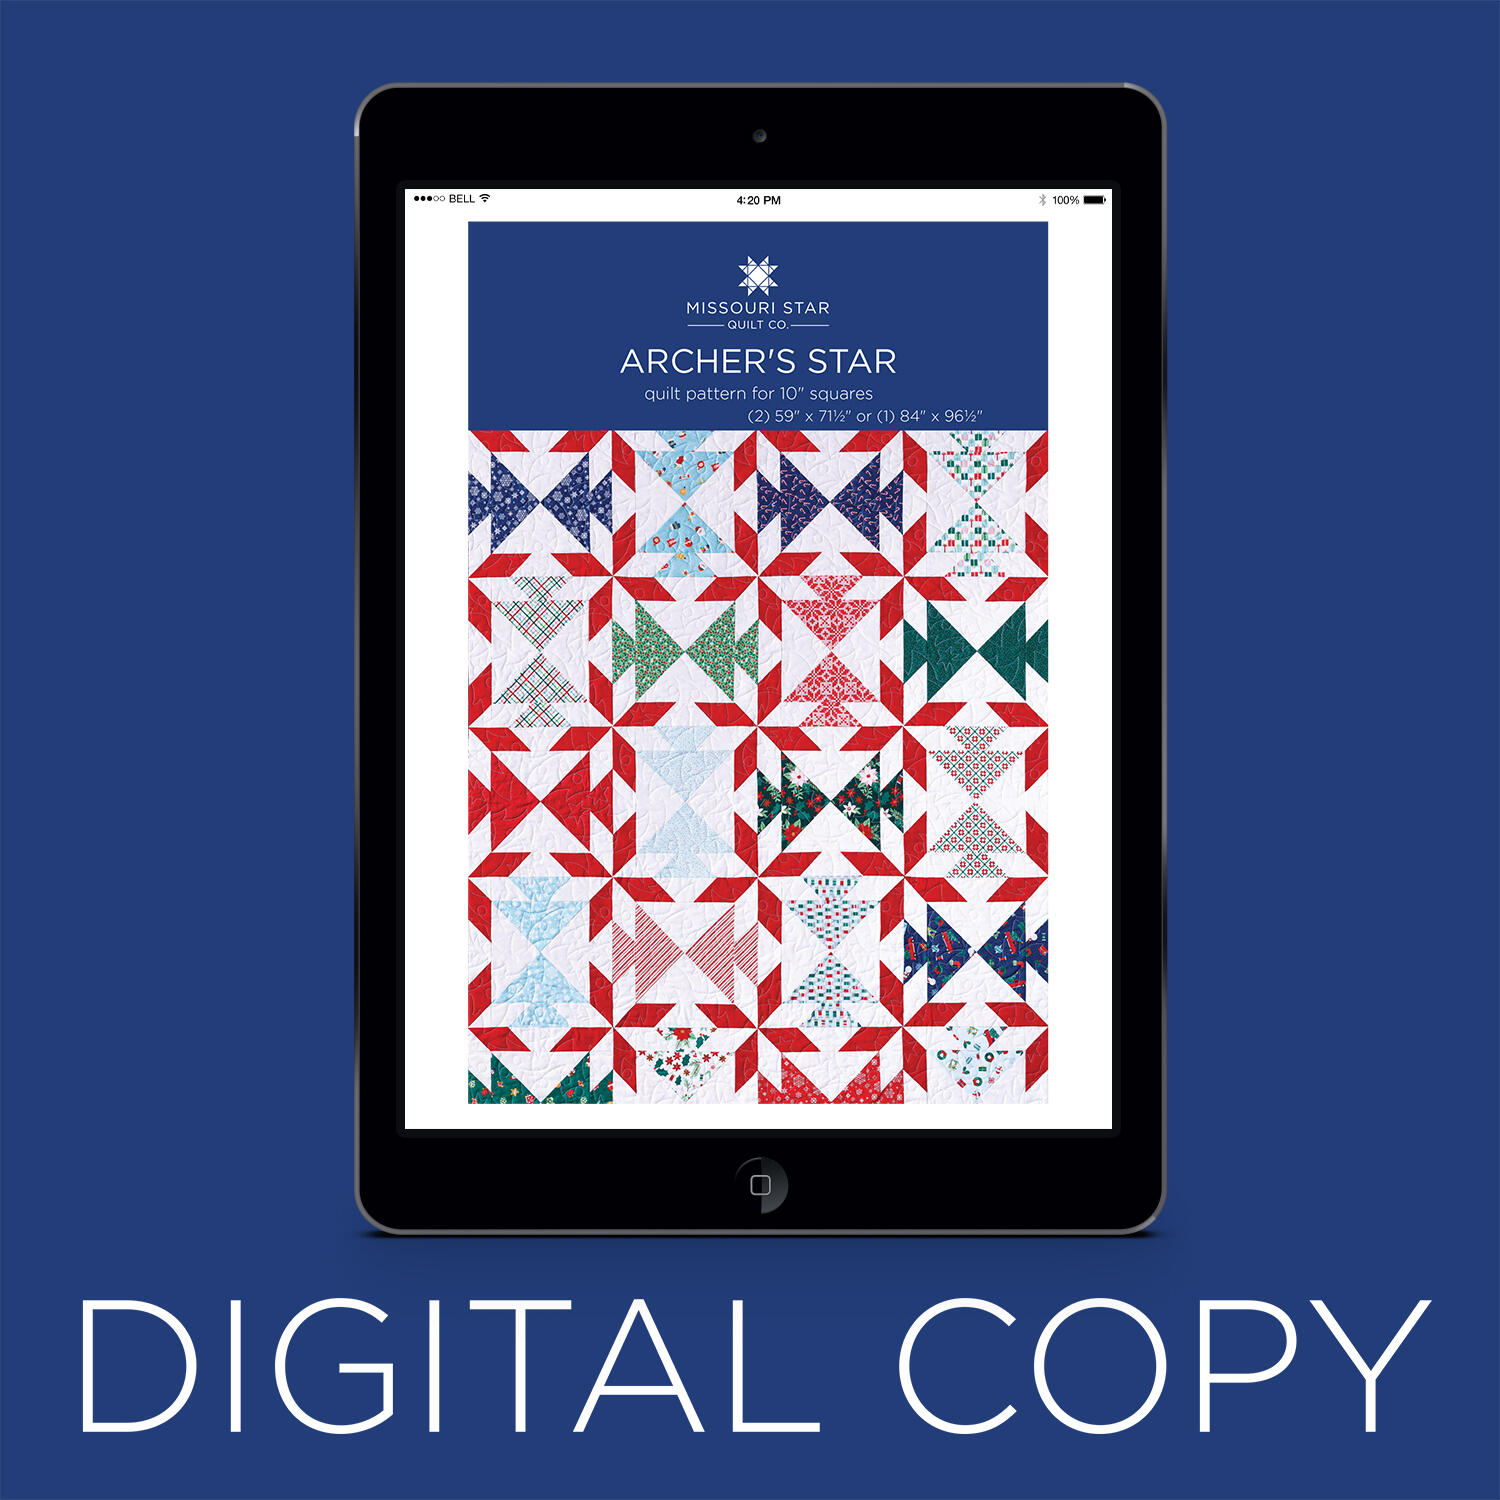 Digital Download - Archer's Star Quilt Pattern by Missouri Star$6.95Shop →
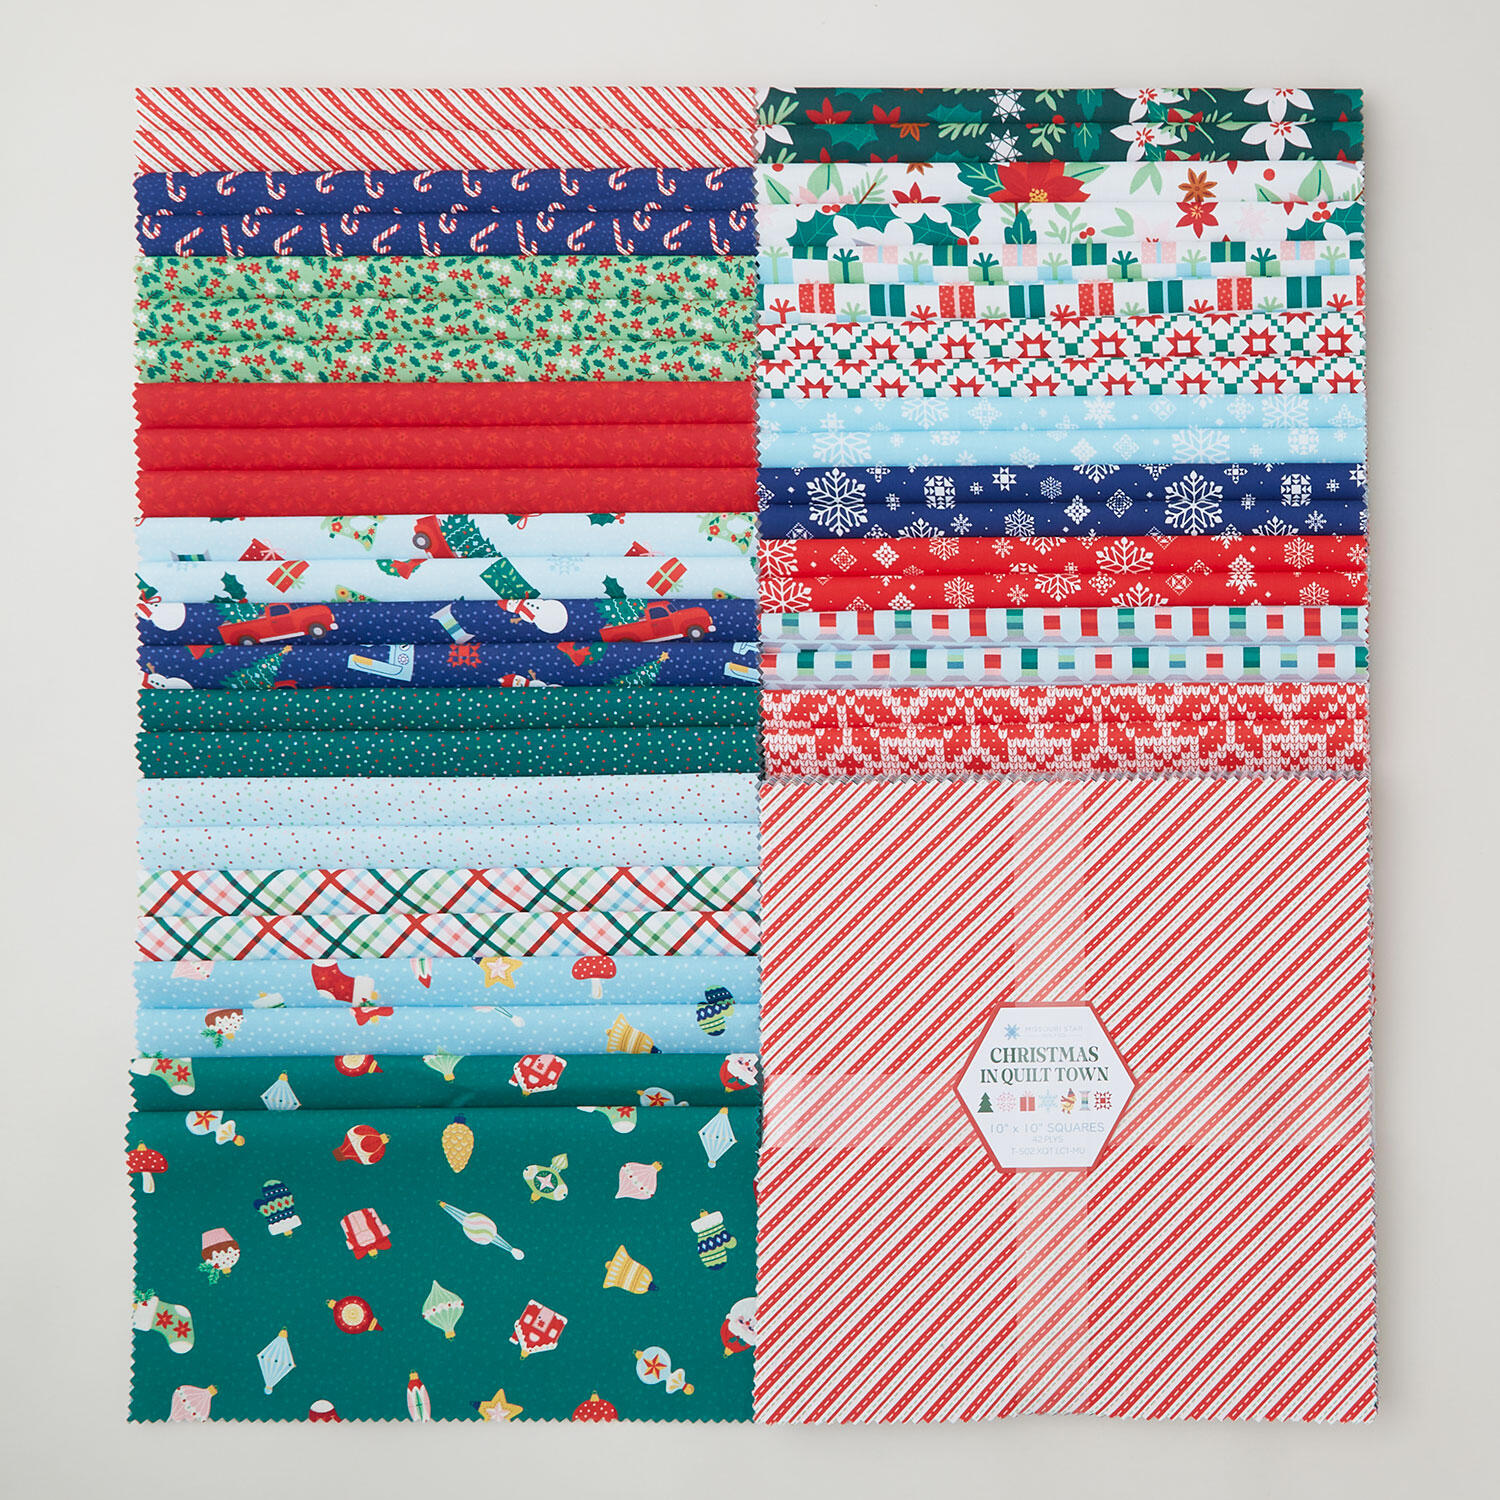 Christmas In Quilt Town 10" Squares$42.95Shop →
 Kona Cotton - Poppy Yardage$7.48Shop →
 Christmas In Quilt Town - Snowflakes White on White Yardage$10.44Shop →
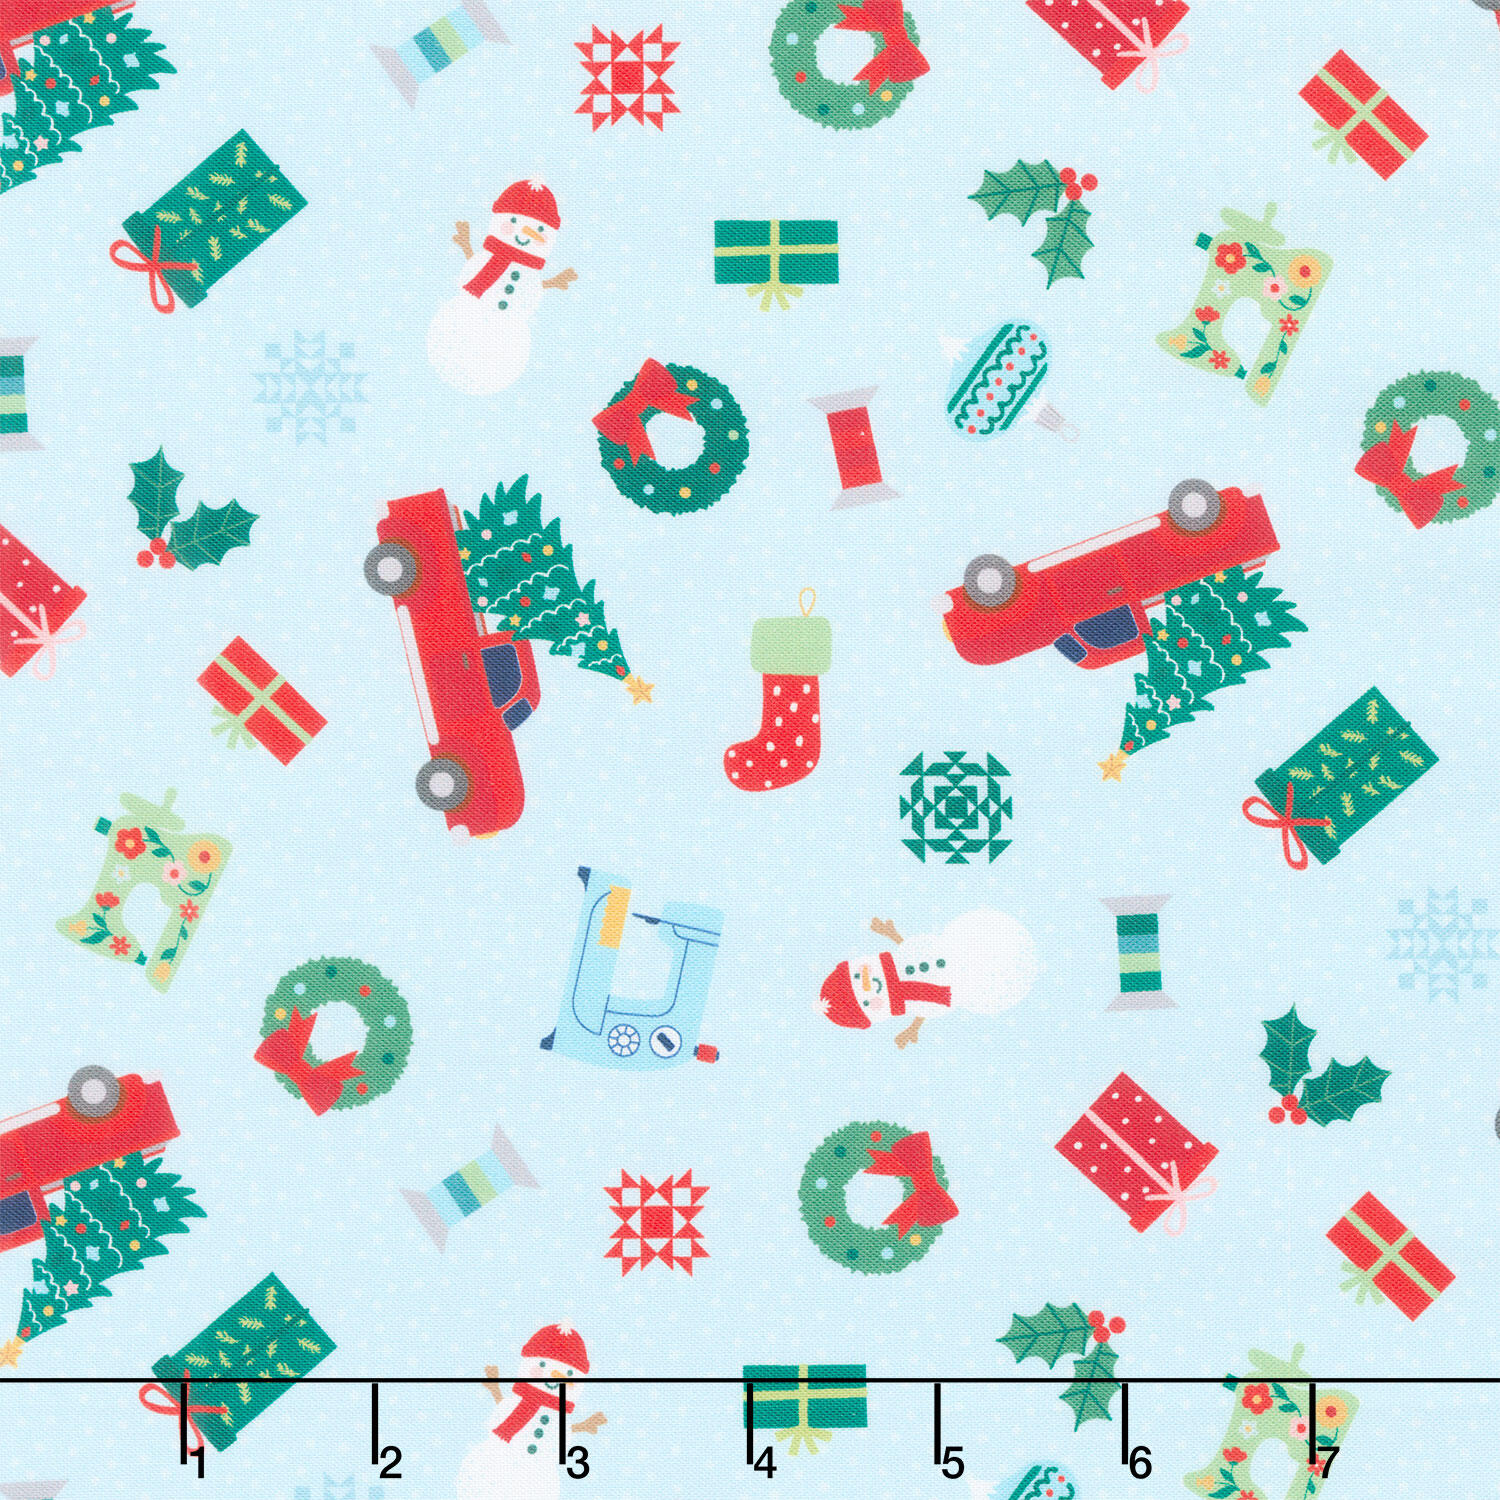 Christmas In Quilt Town - Christmas Tossed Motifs Blue Yardage$10.44Shop →
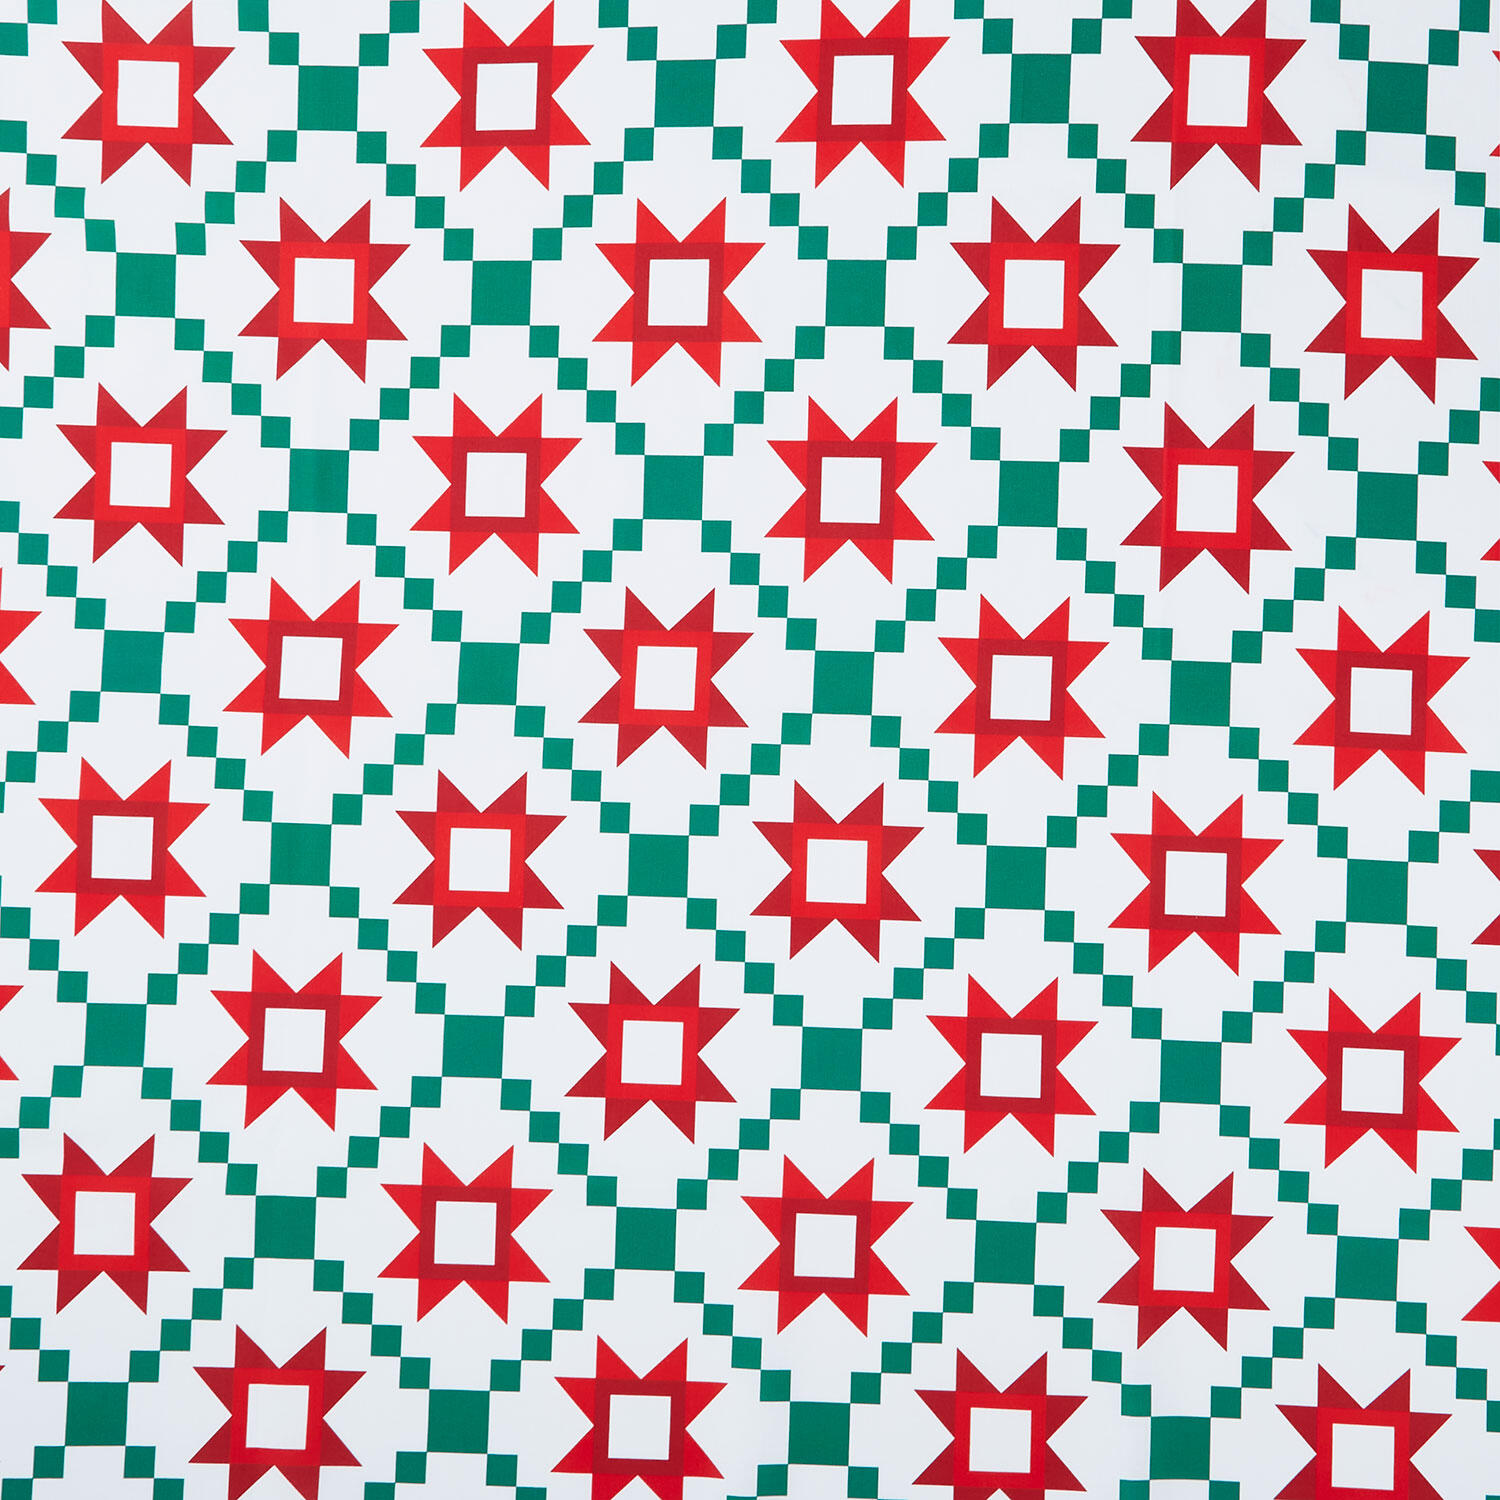 Christmas In Quilt Town - Quilt Poinsettia 110" Wide Backing$18.76Shop →
 Missouri Star Quilter’s Best Blend Queen Batting$37.95Shop →
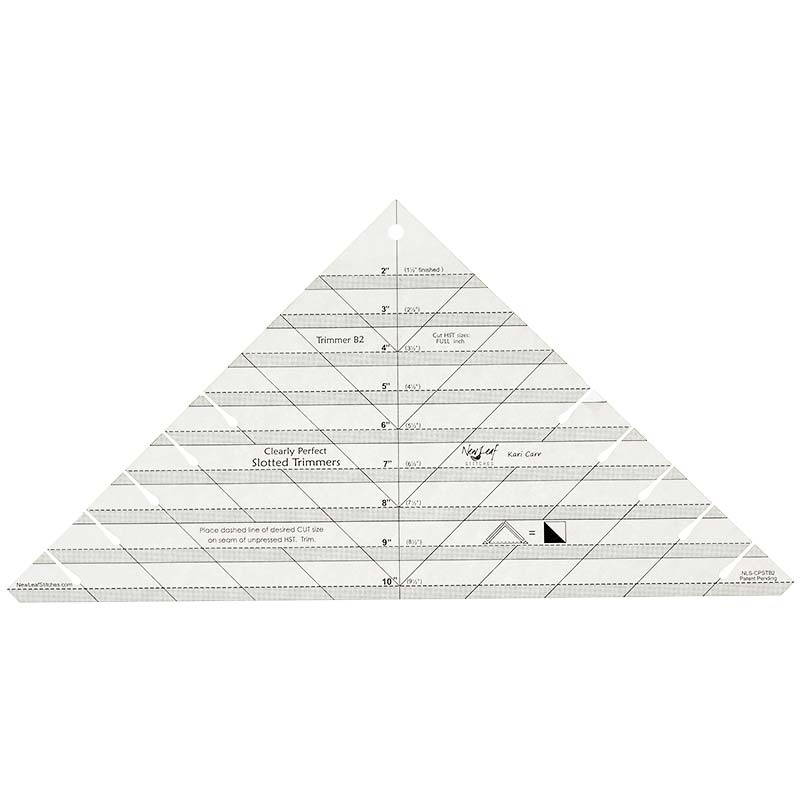 Clearly Perfect Slotted Trimmer B2$27.95Shop →
 Missouri Star 5" x 15" Ruler$19.95Shop →
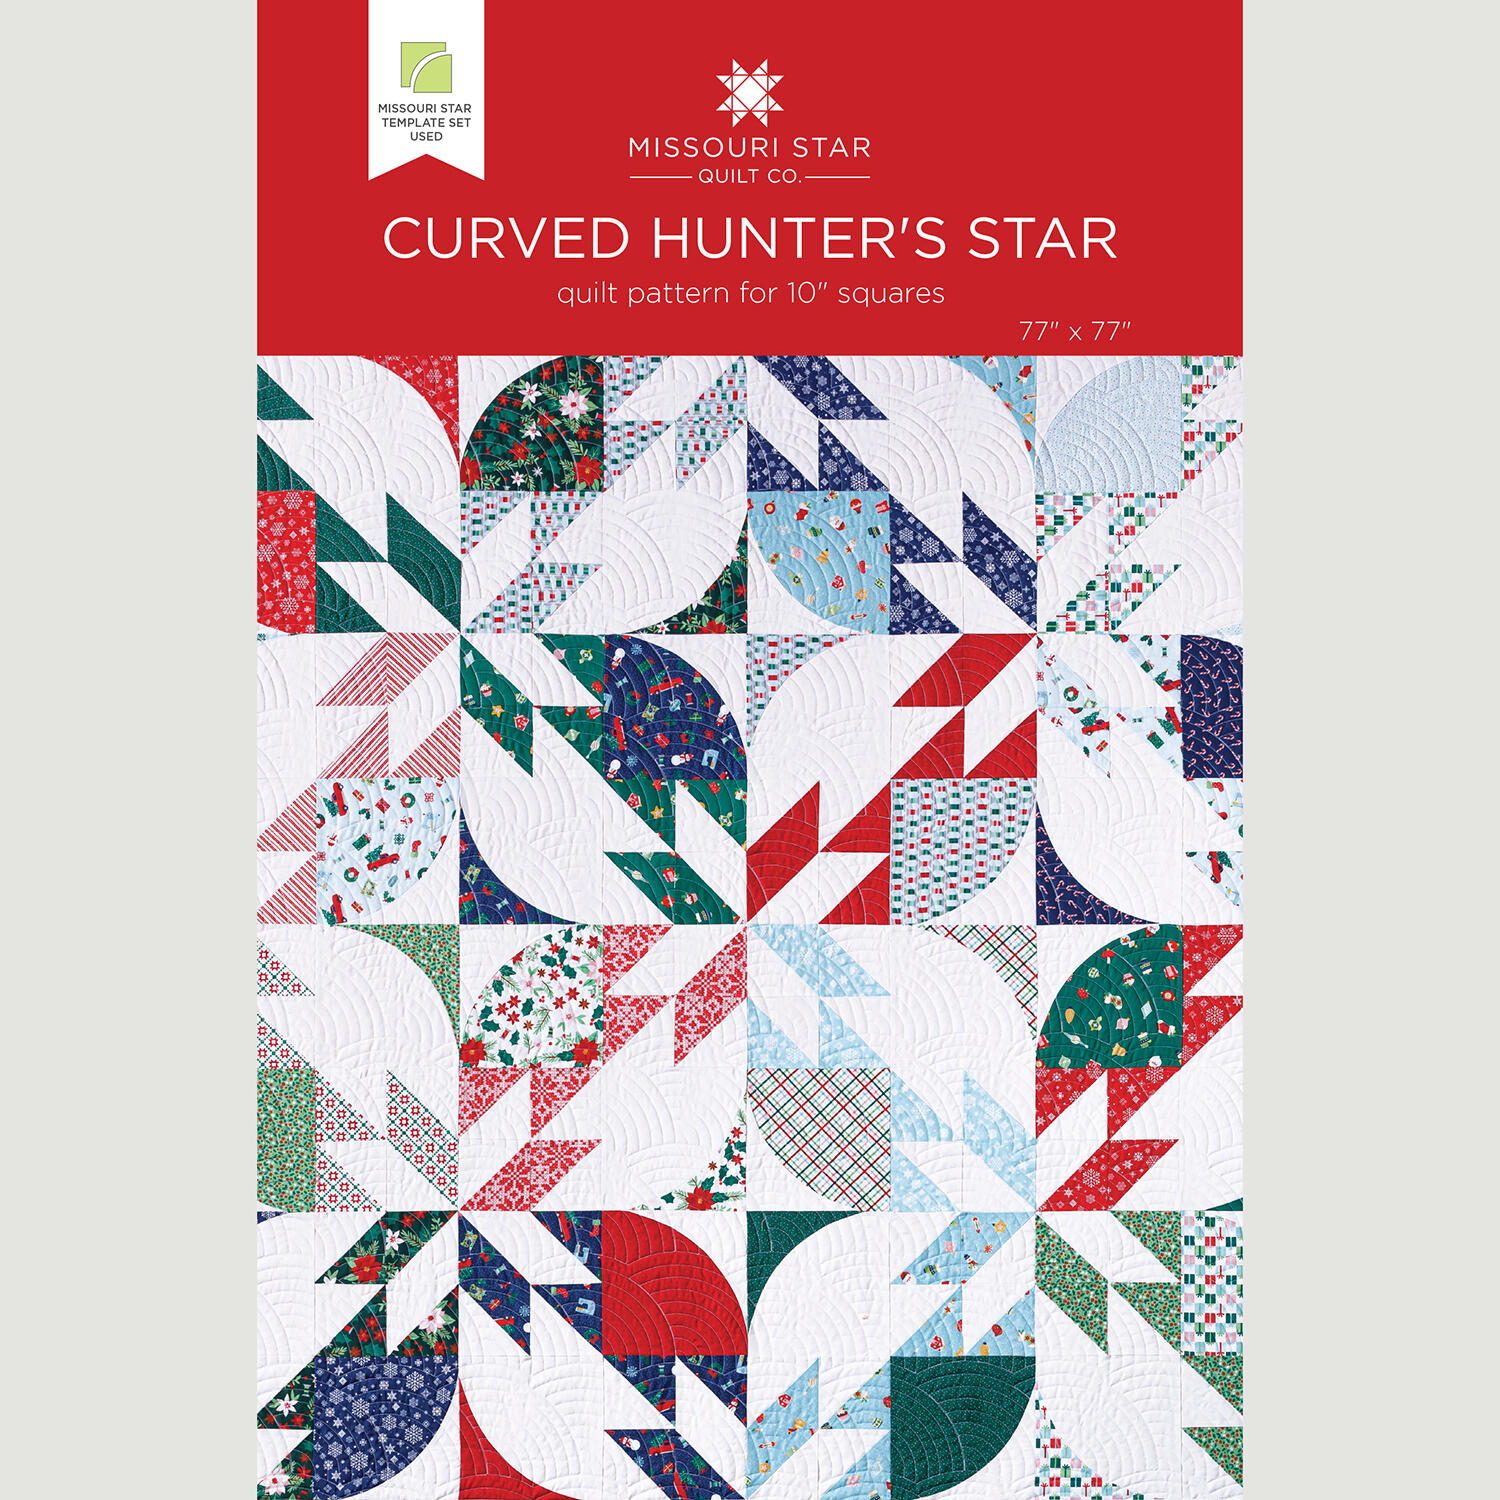 Curved Hunter's Star Quilt Pattern by Missouri Star$8.50Shop →
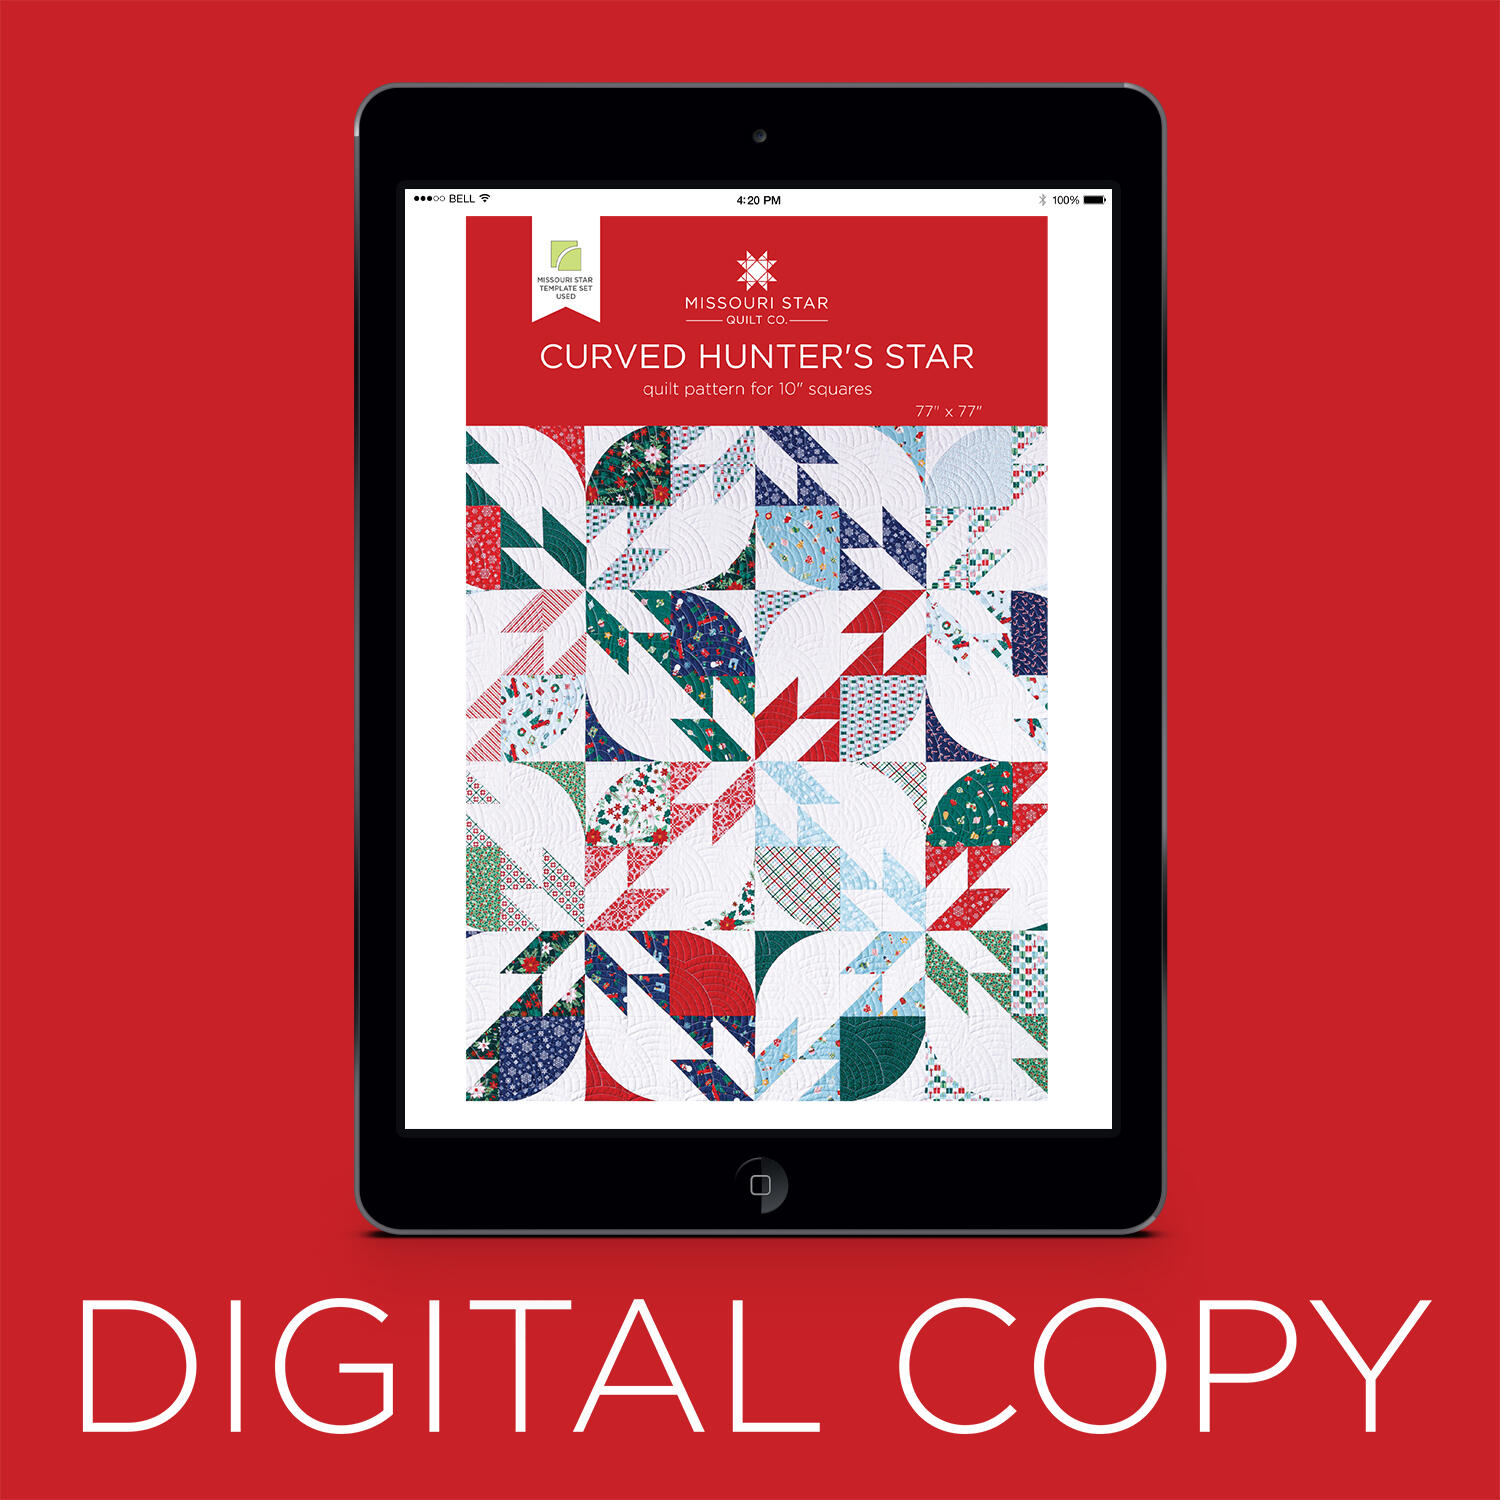 Digital Download - Curved Hunter's Star Quilt Pattern by Missouri Star$6.95Shop →
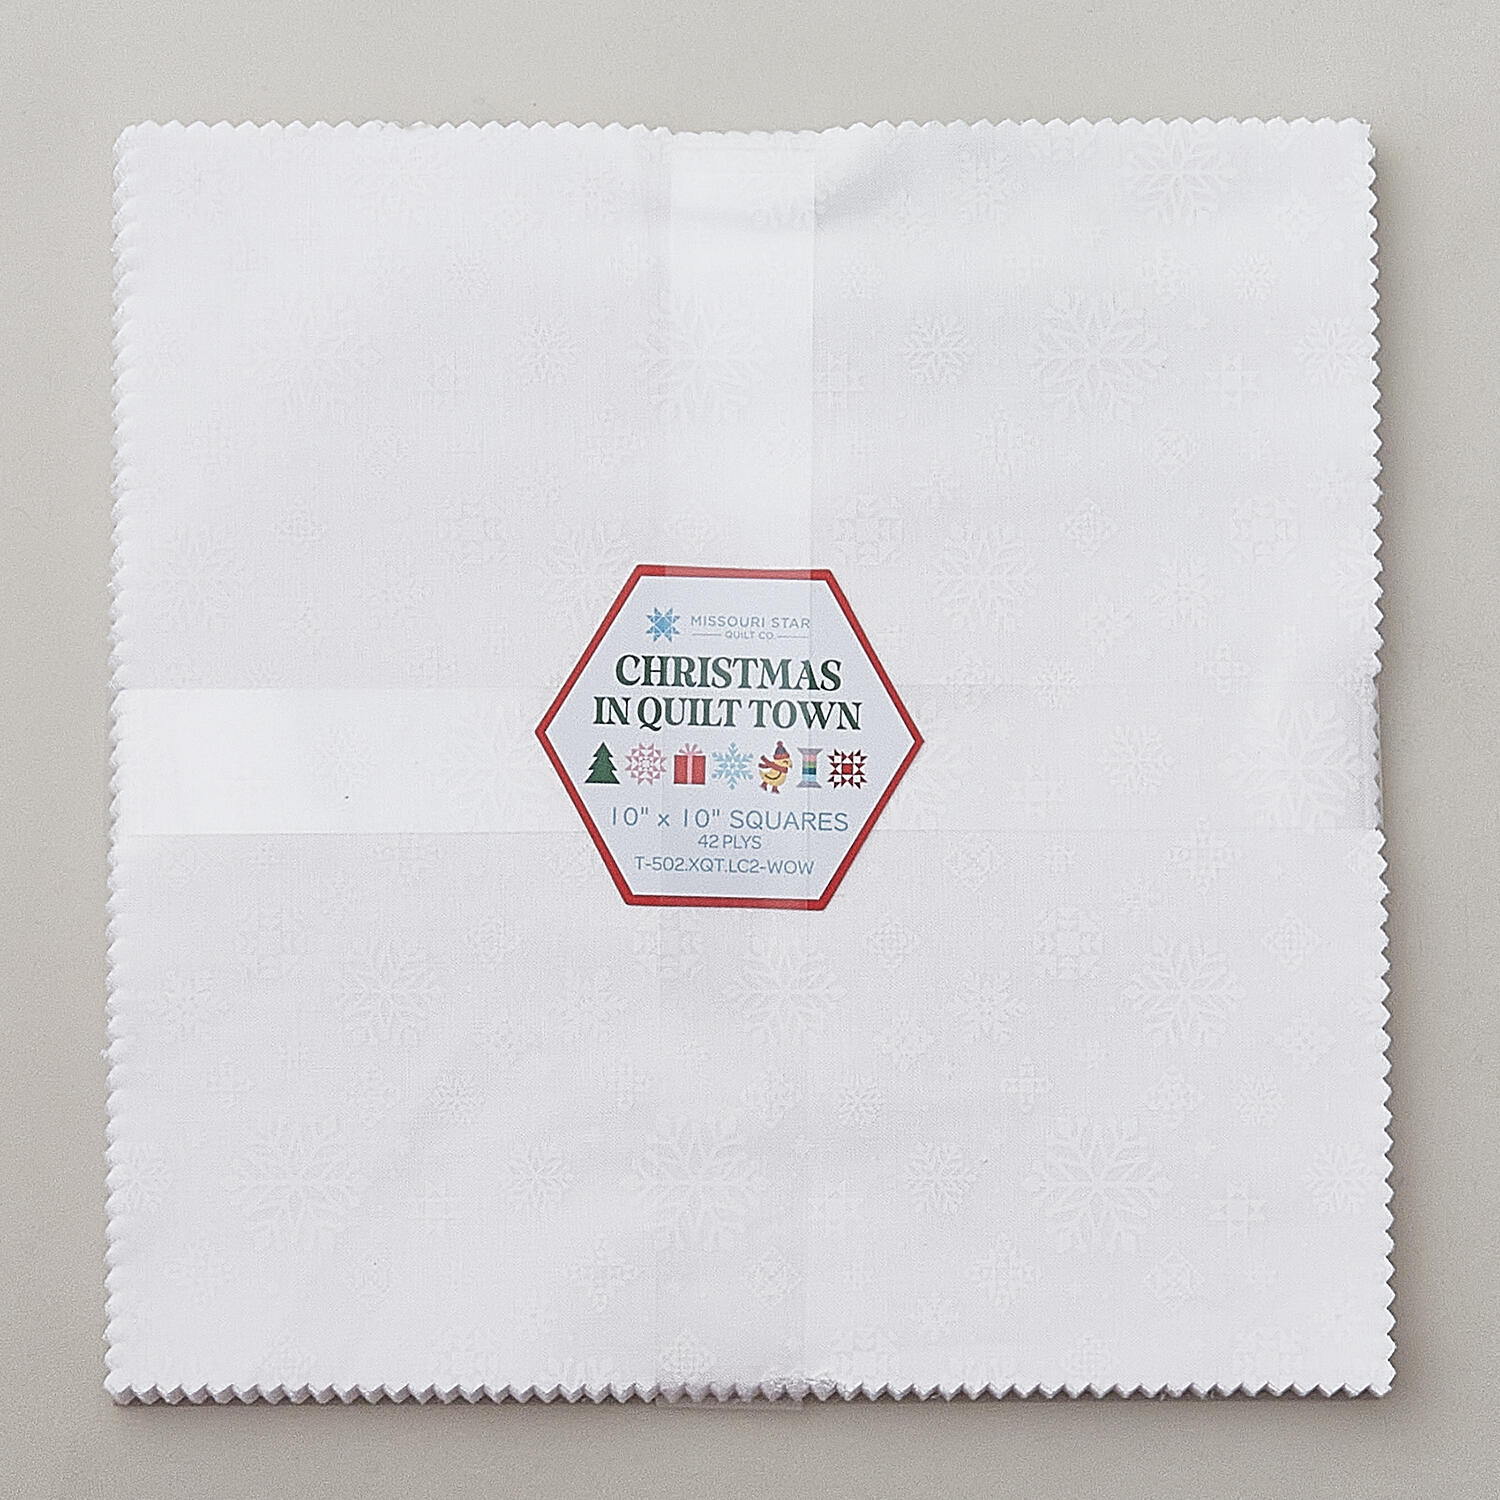 Christmas In Quilt Town Snowflakes White 10" Squares$42.95Shop →
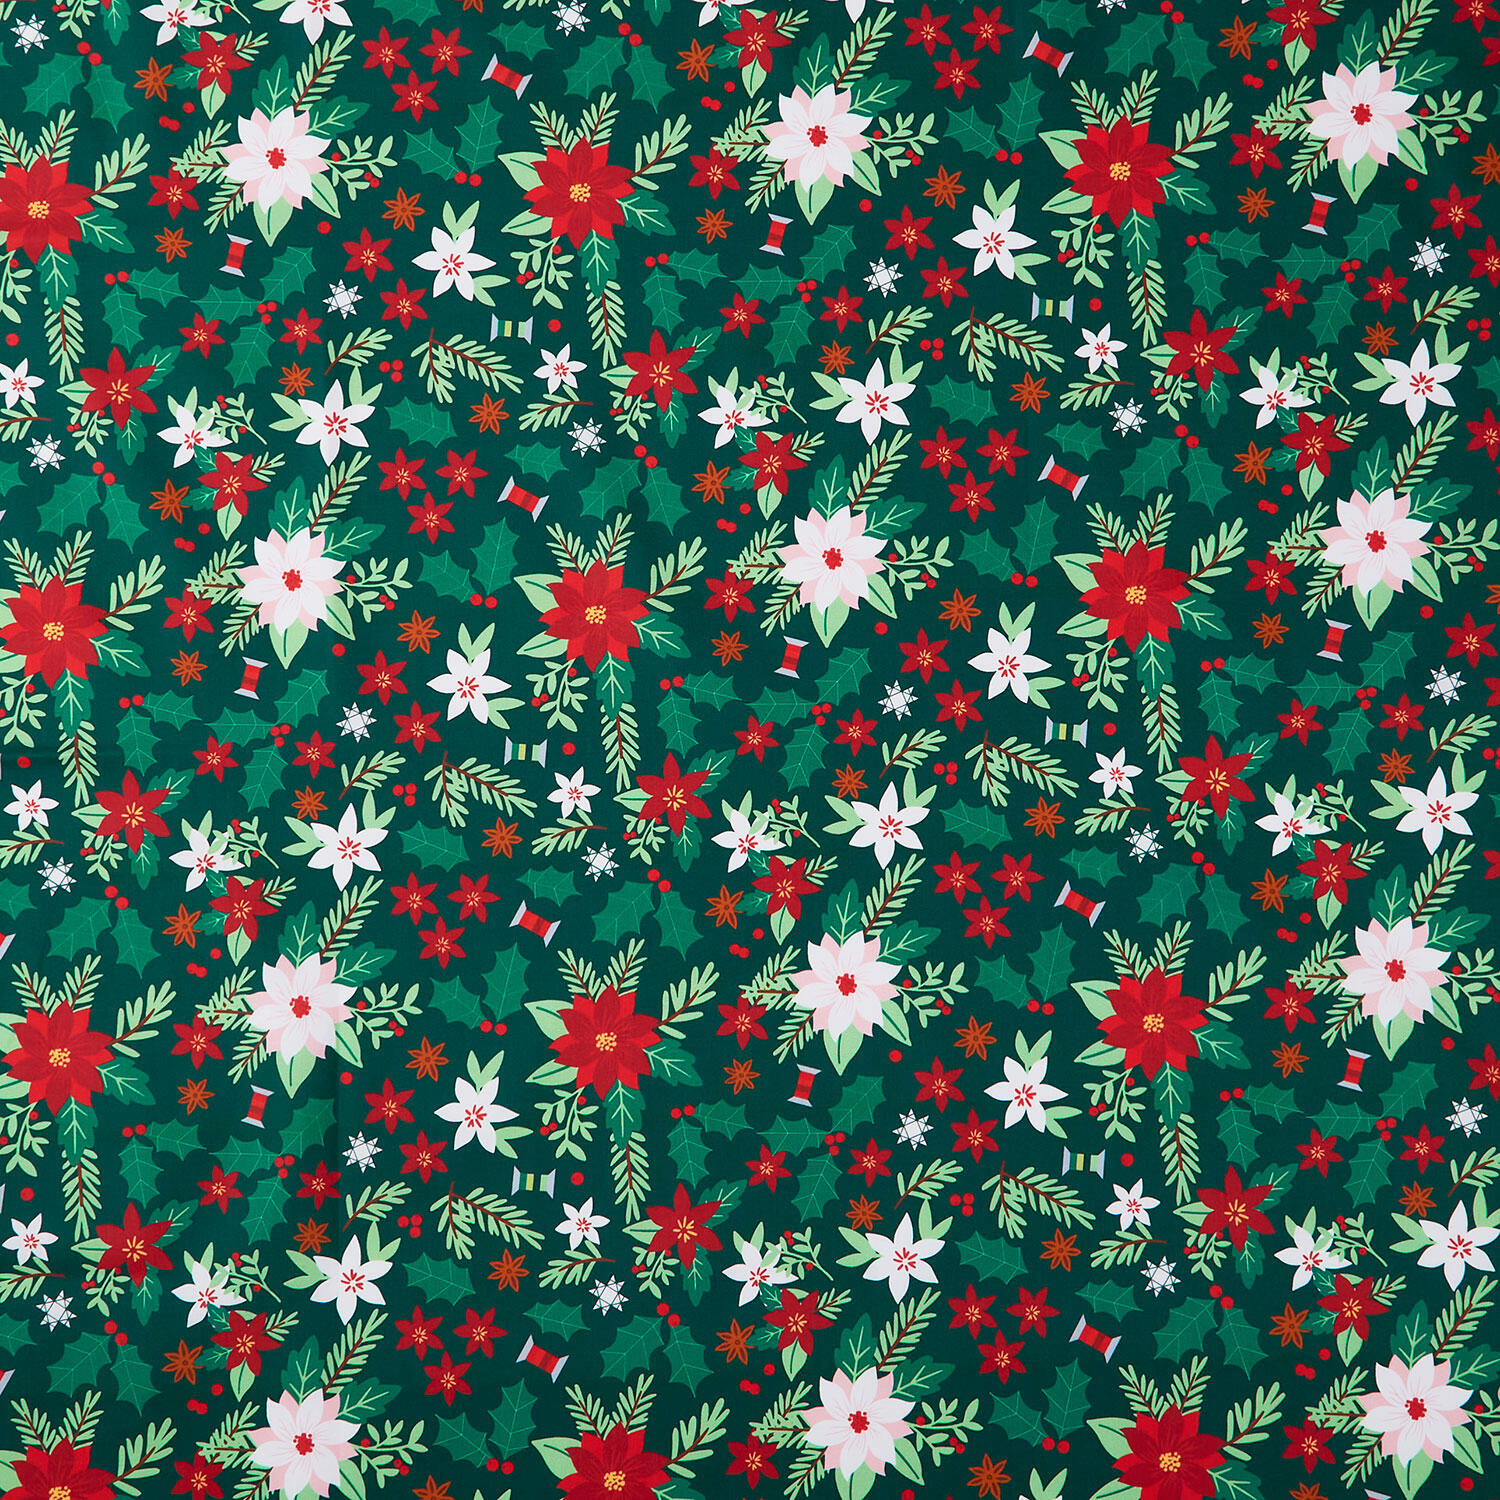 Christmas In Quilt Town - Poinsettia Tossed Green Yardage$10.44Shop →
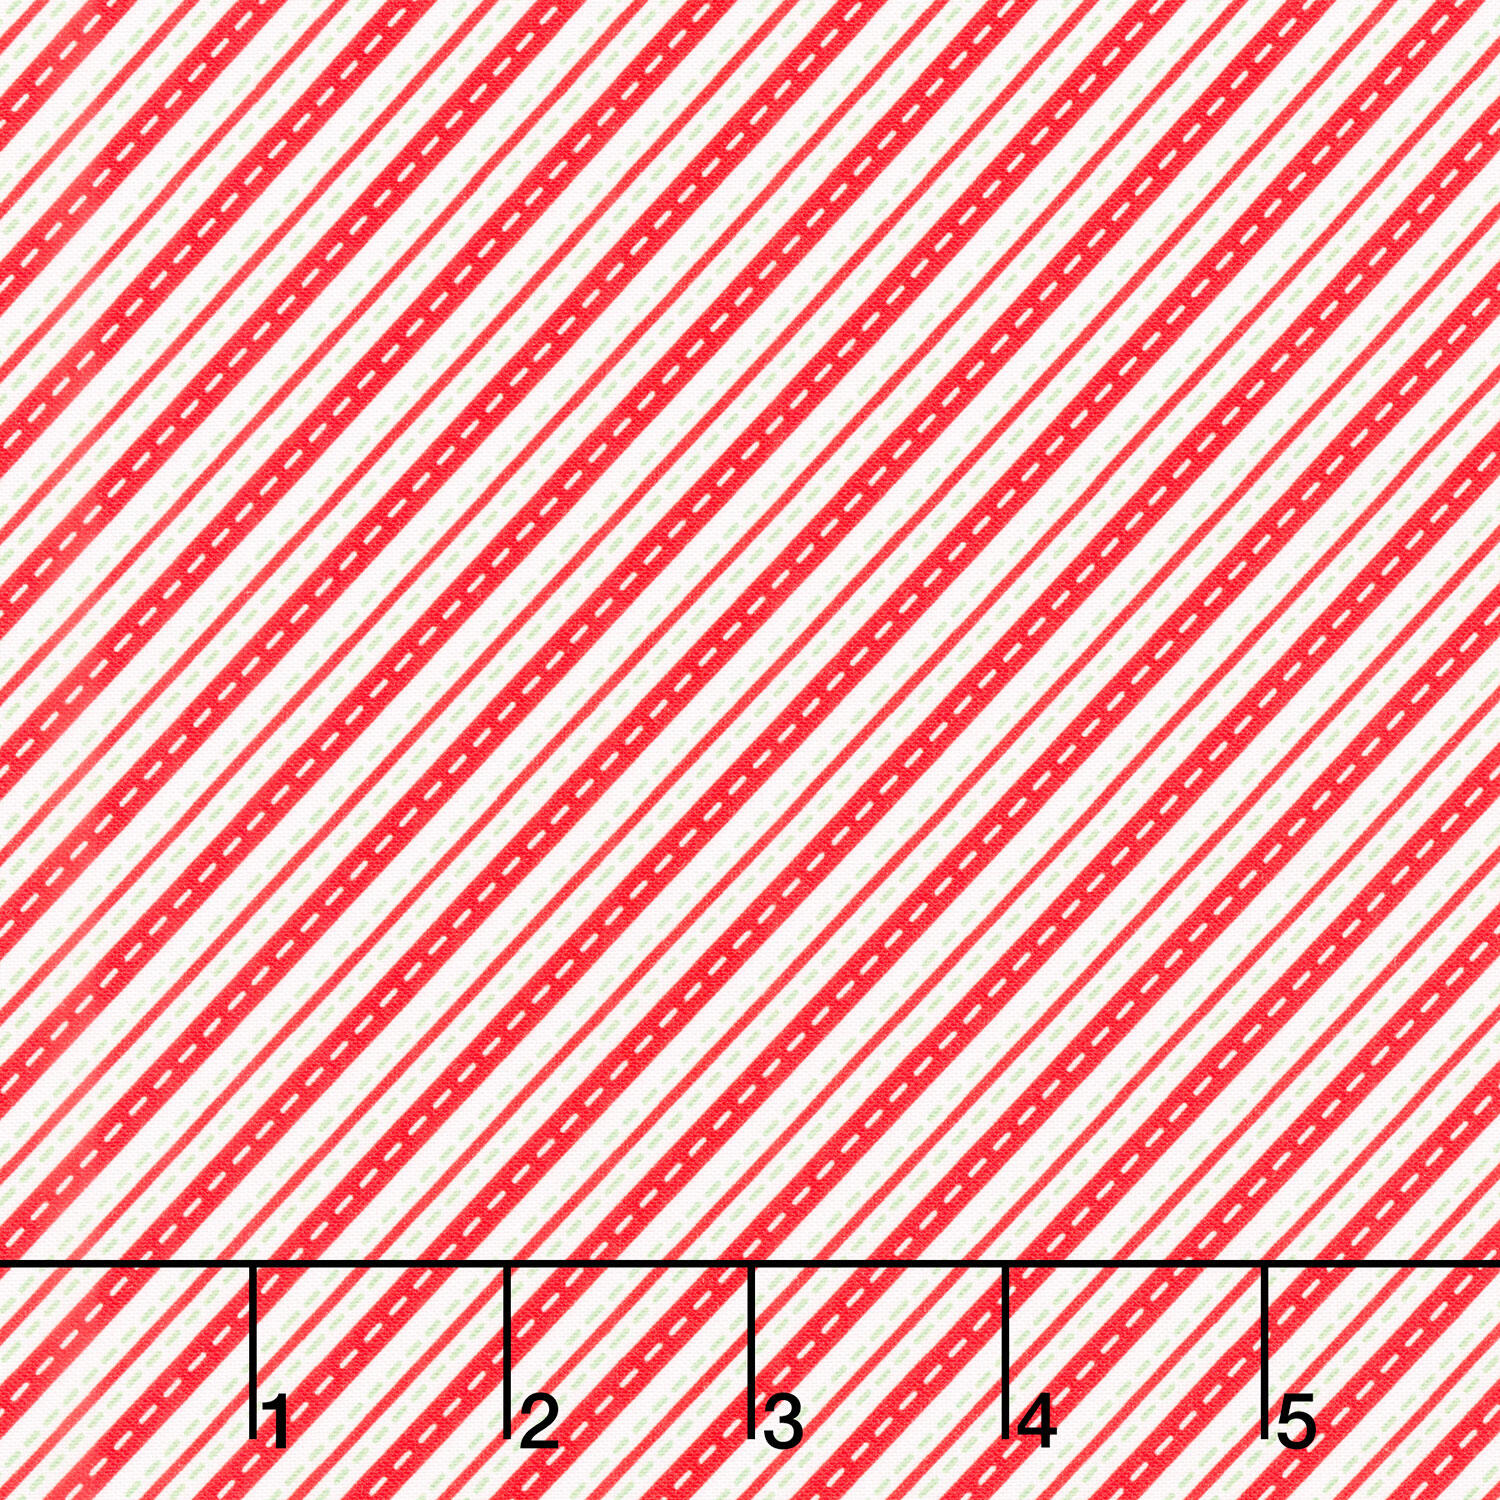 Christmas In Quilt Town - Candy Cane Stripe Red Yardage$10.44Shop →
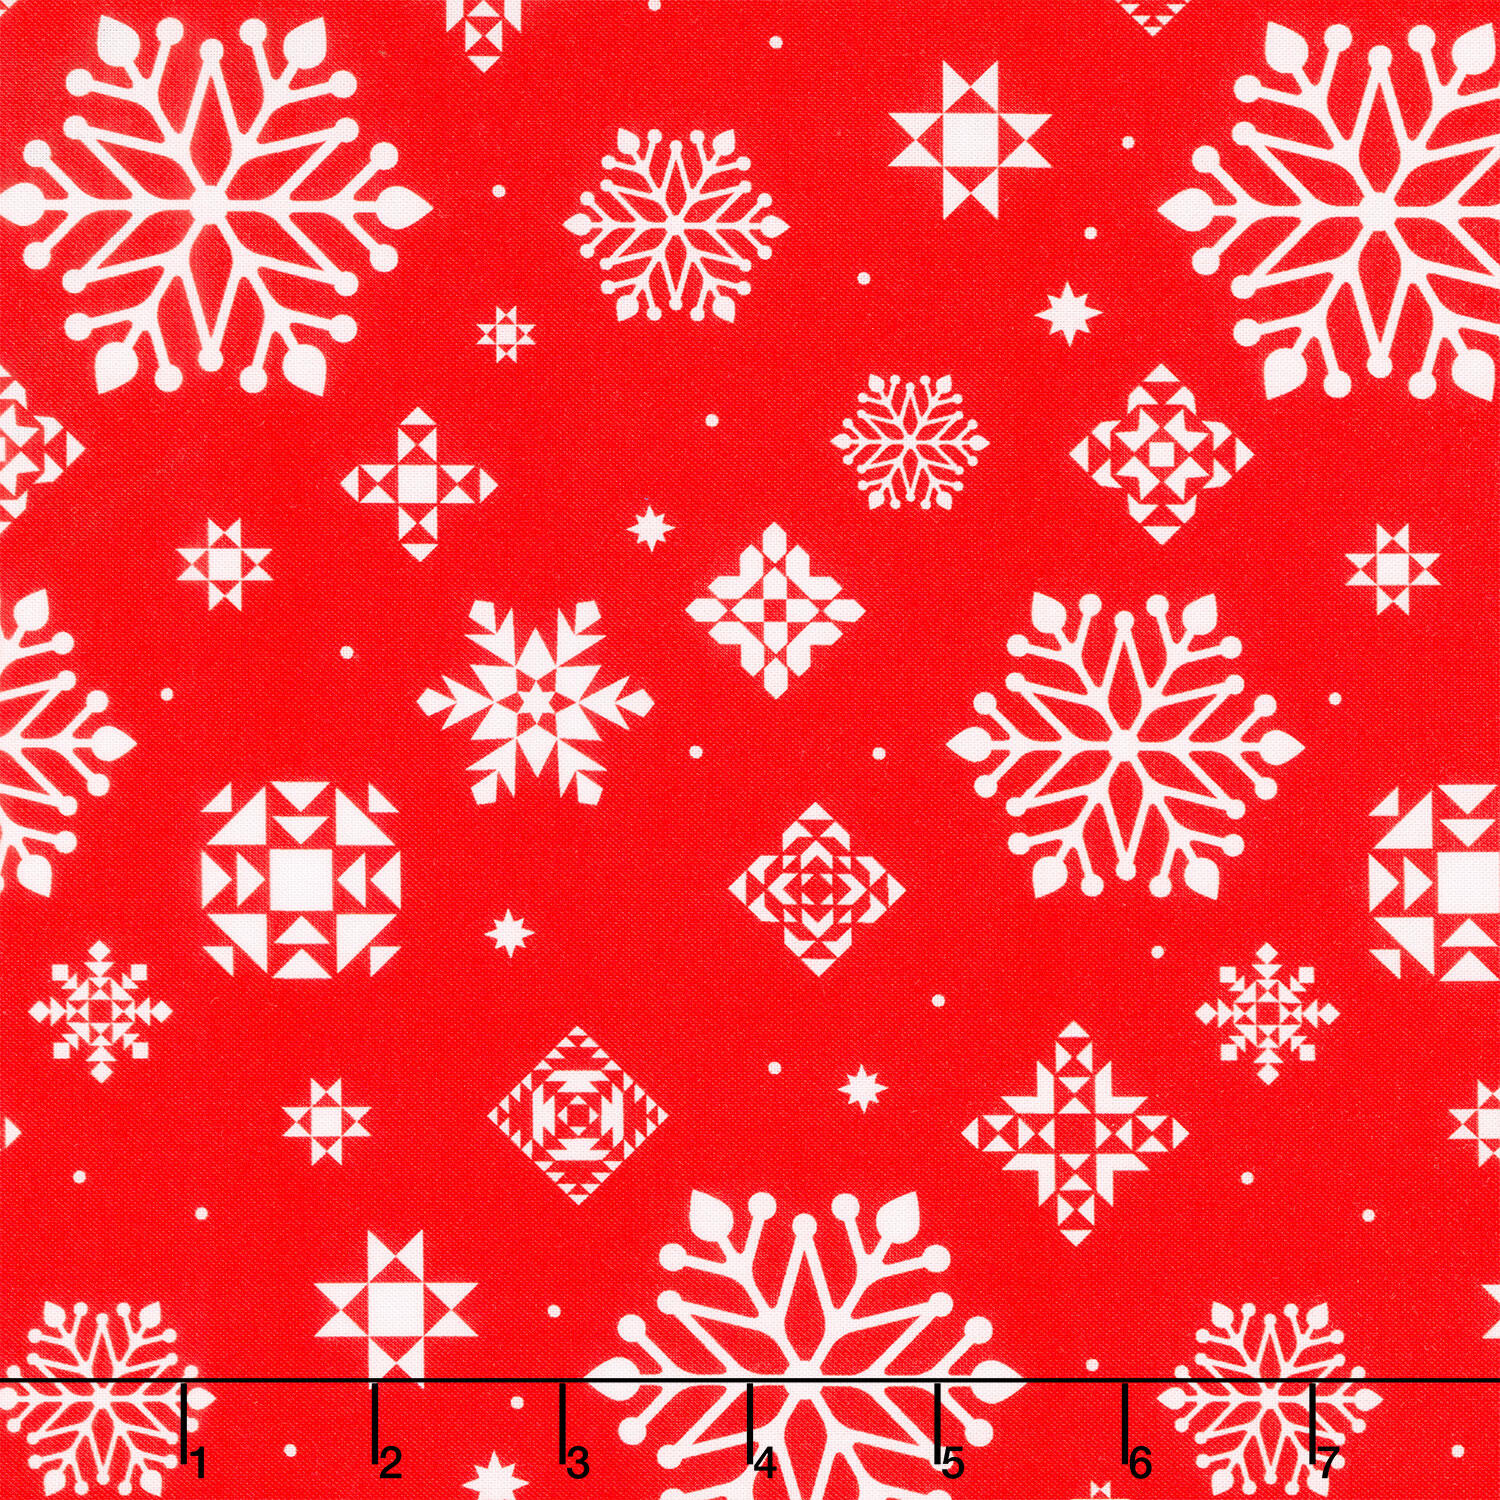 Christmas In Quilt Town - Snowflakes Red 110" Wide Backing$18.76Shop →
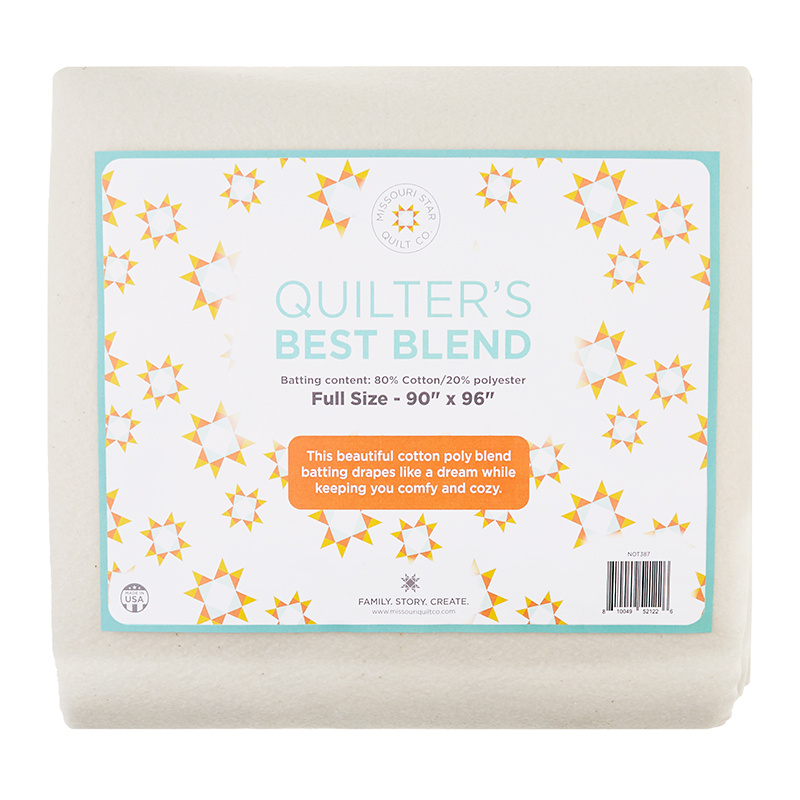 Missouri Star Quilter’s Best Blend Full Batting$32.95Shop →
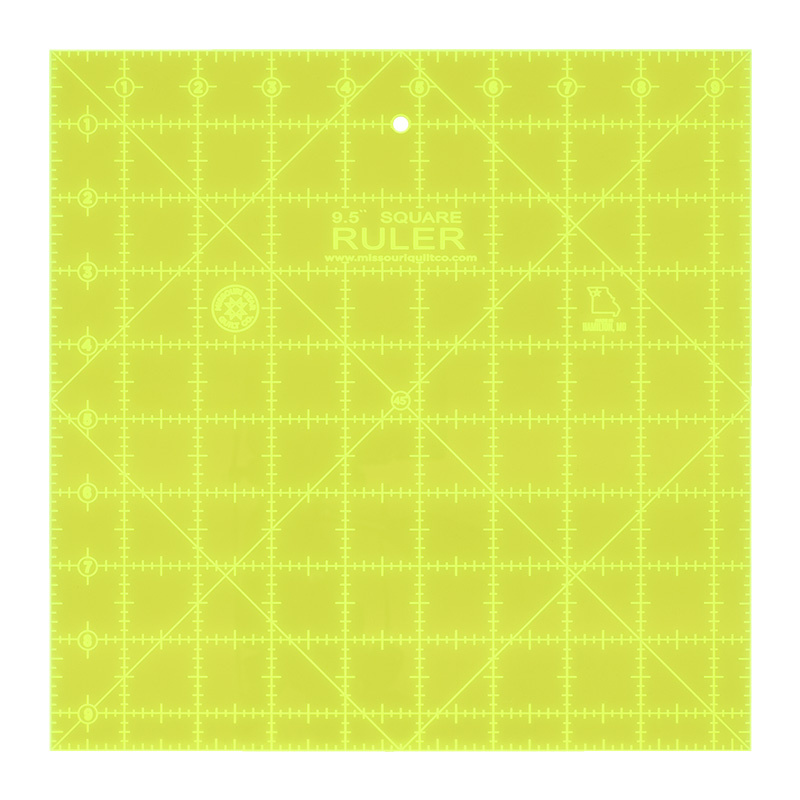 Missouri Star 9.5" x 9.5" Square Ruler$19.95Shop →
 Best Press Spray Starch Scent Free 16 oz$9.95Shop →
 Roxanne Glue Stick$7.75Shop →
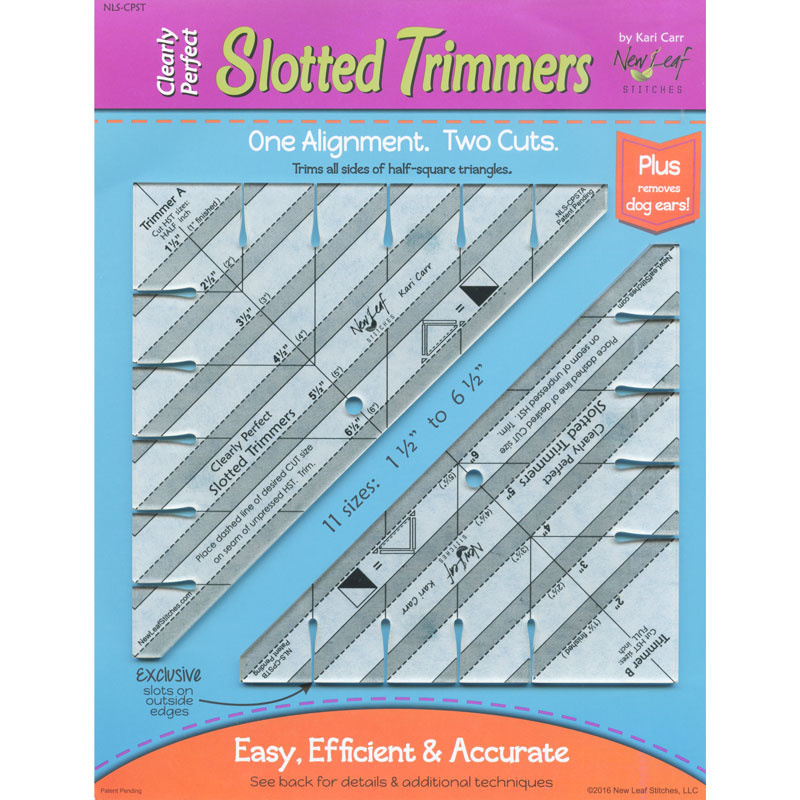 Clearly Perfect Slotted Trimmers$33.95Shop →
 Baby Lock Accomplish - 1500 SPM Straight Stitch Machine$1199.00Shop →
 Missouri Star 50 WT Cotton Thread White$7.95Shop →
 Missouri Star 45mm Rotary Cutter - Olga$19.95Shop →
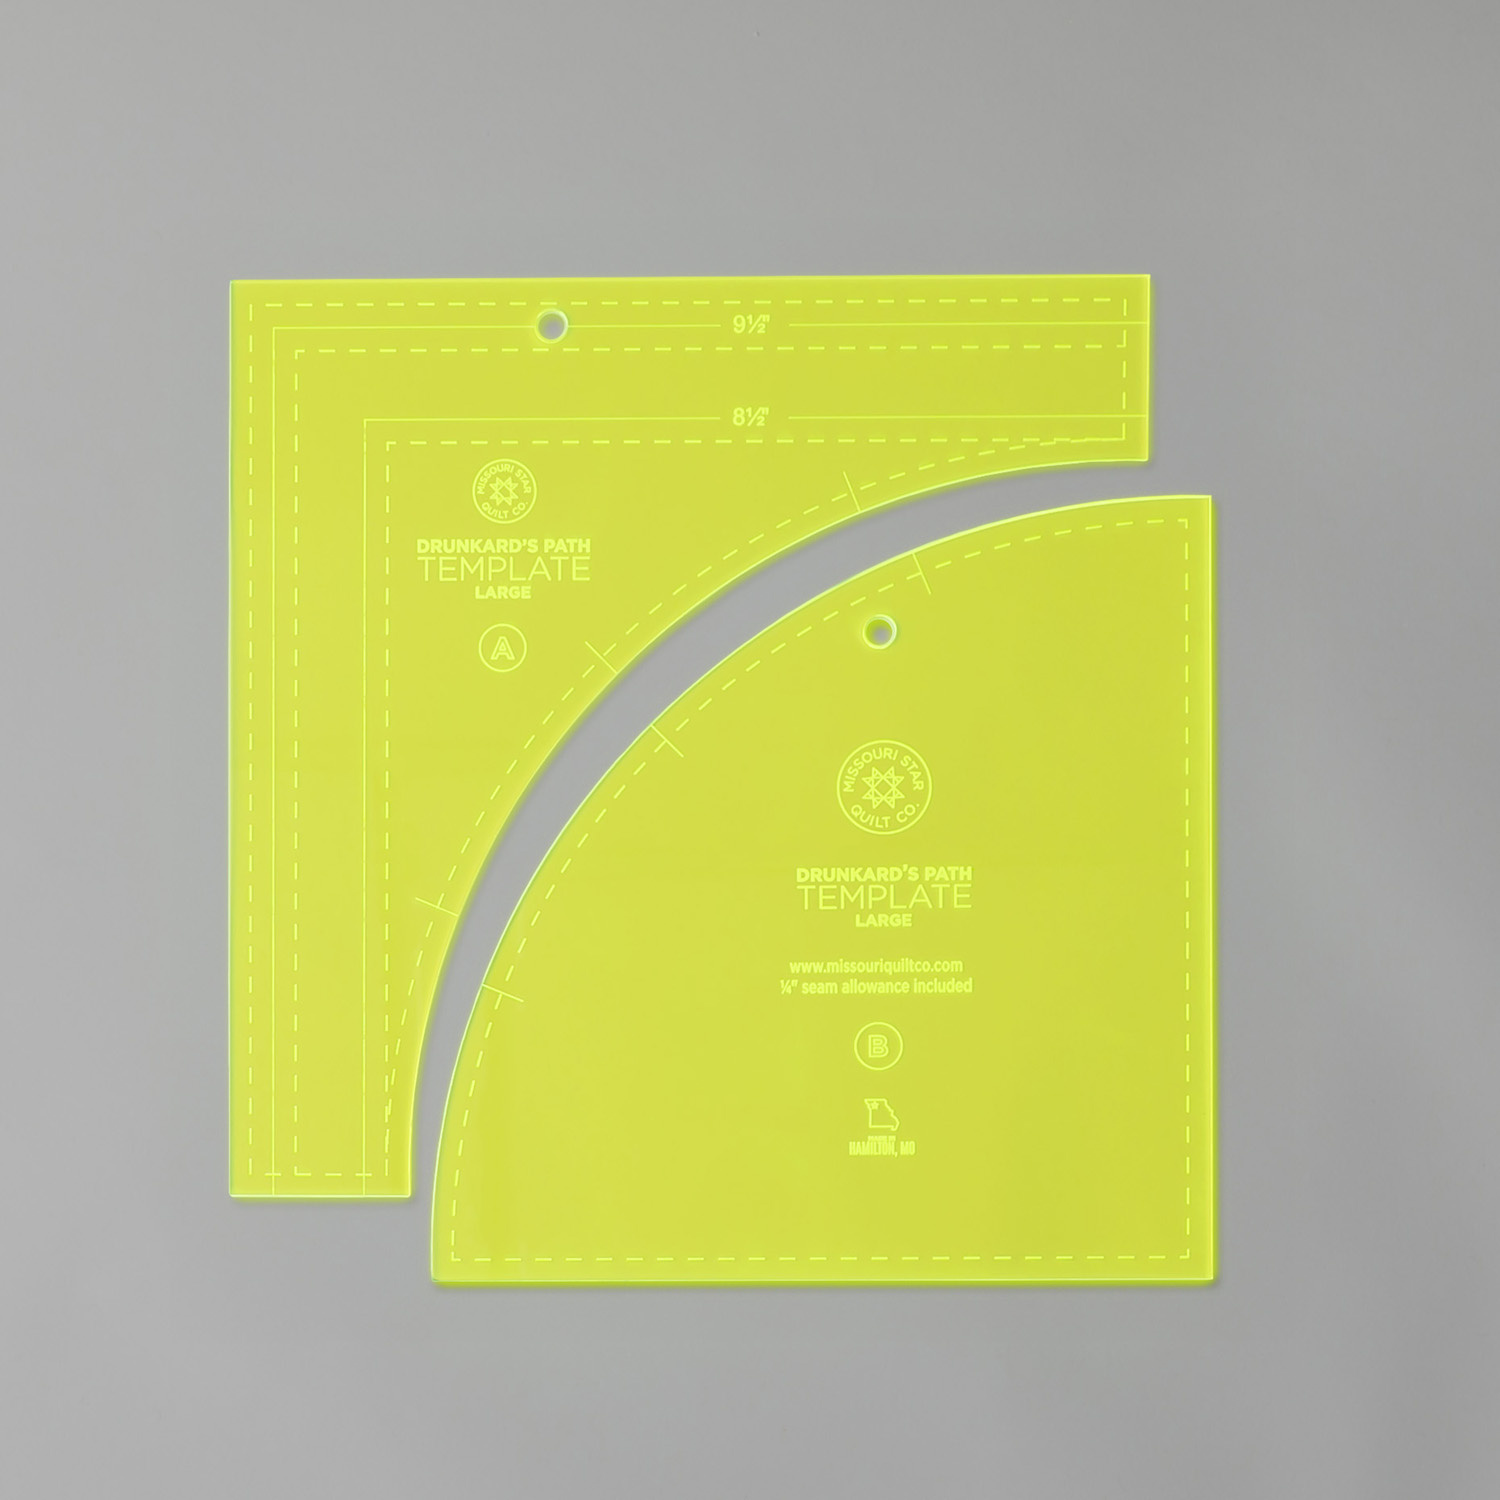 Missouri Star Drunkard's Path Circle Template Set - Large$21.95Shop →



