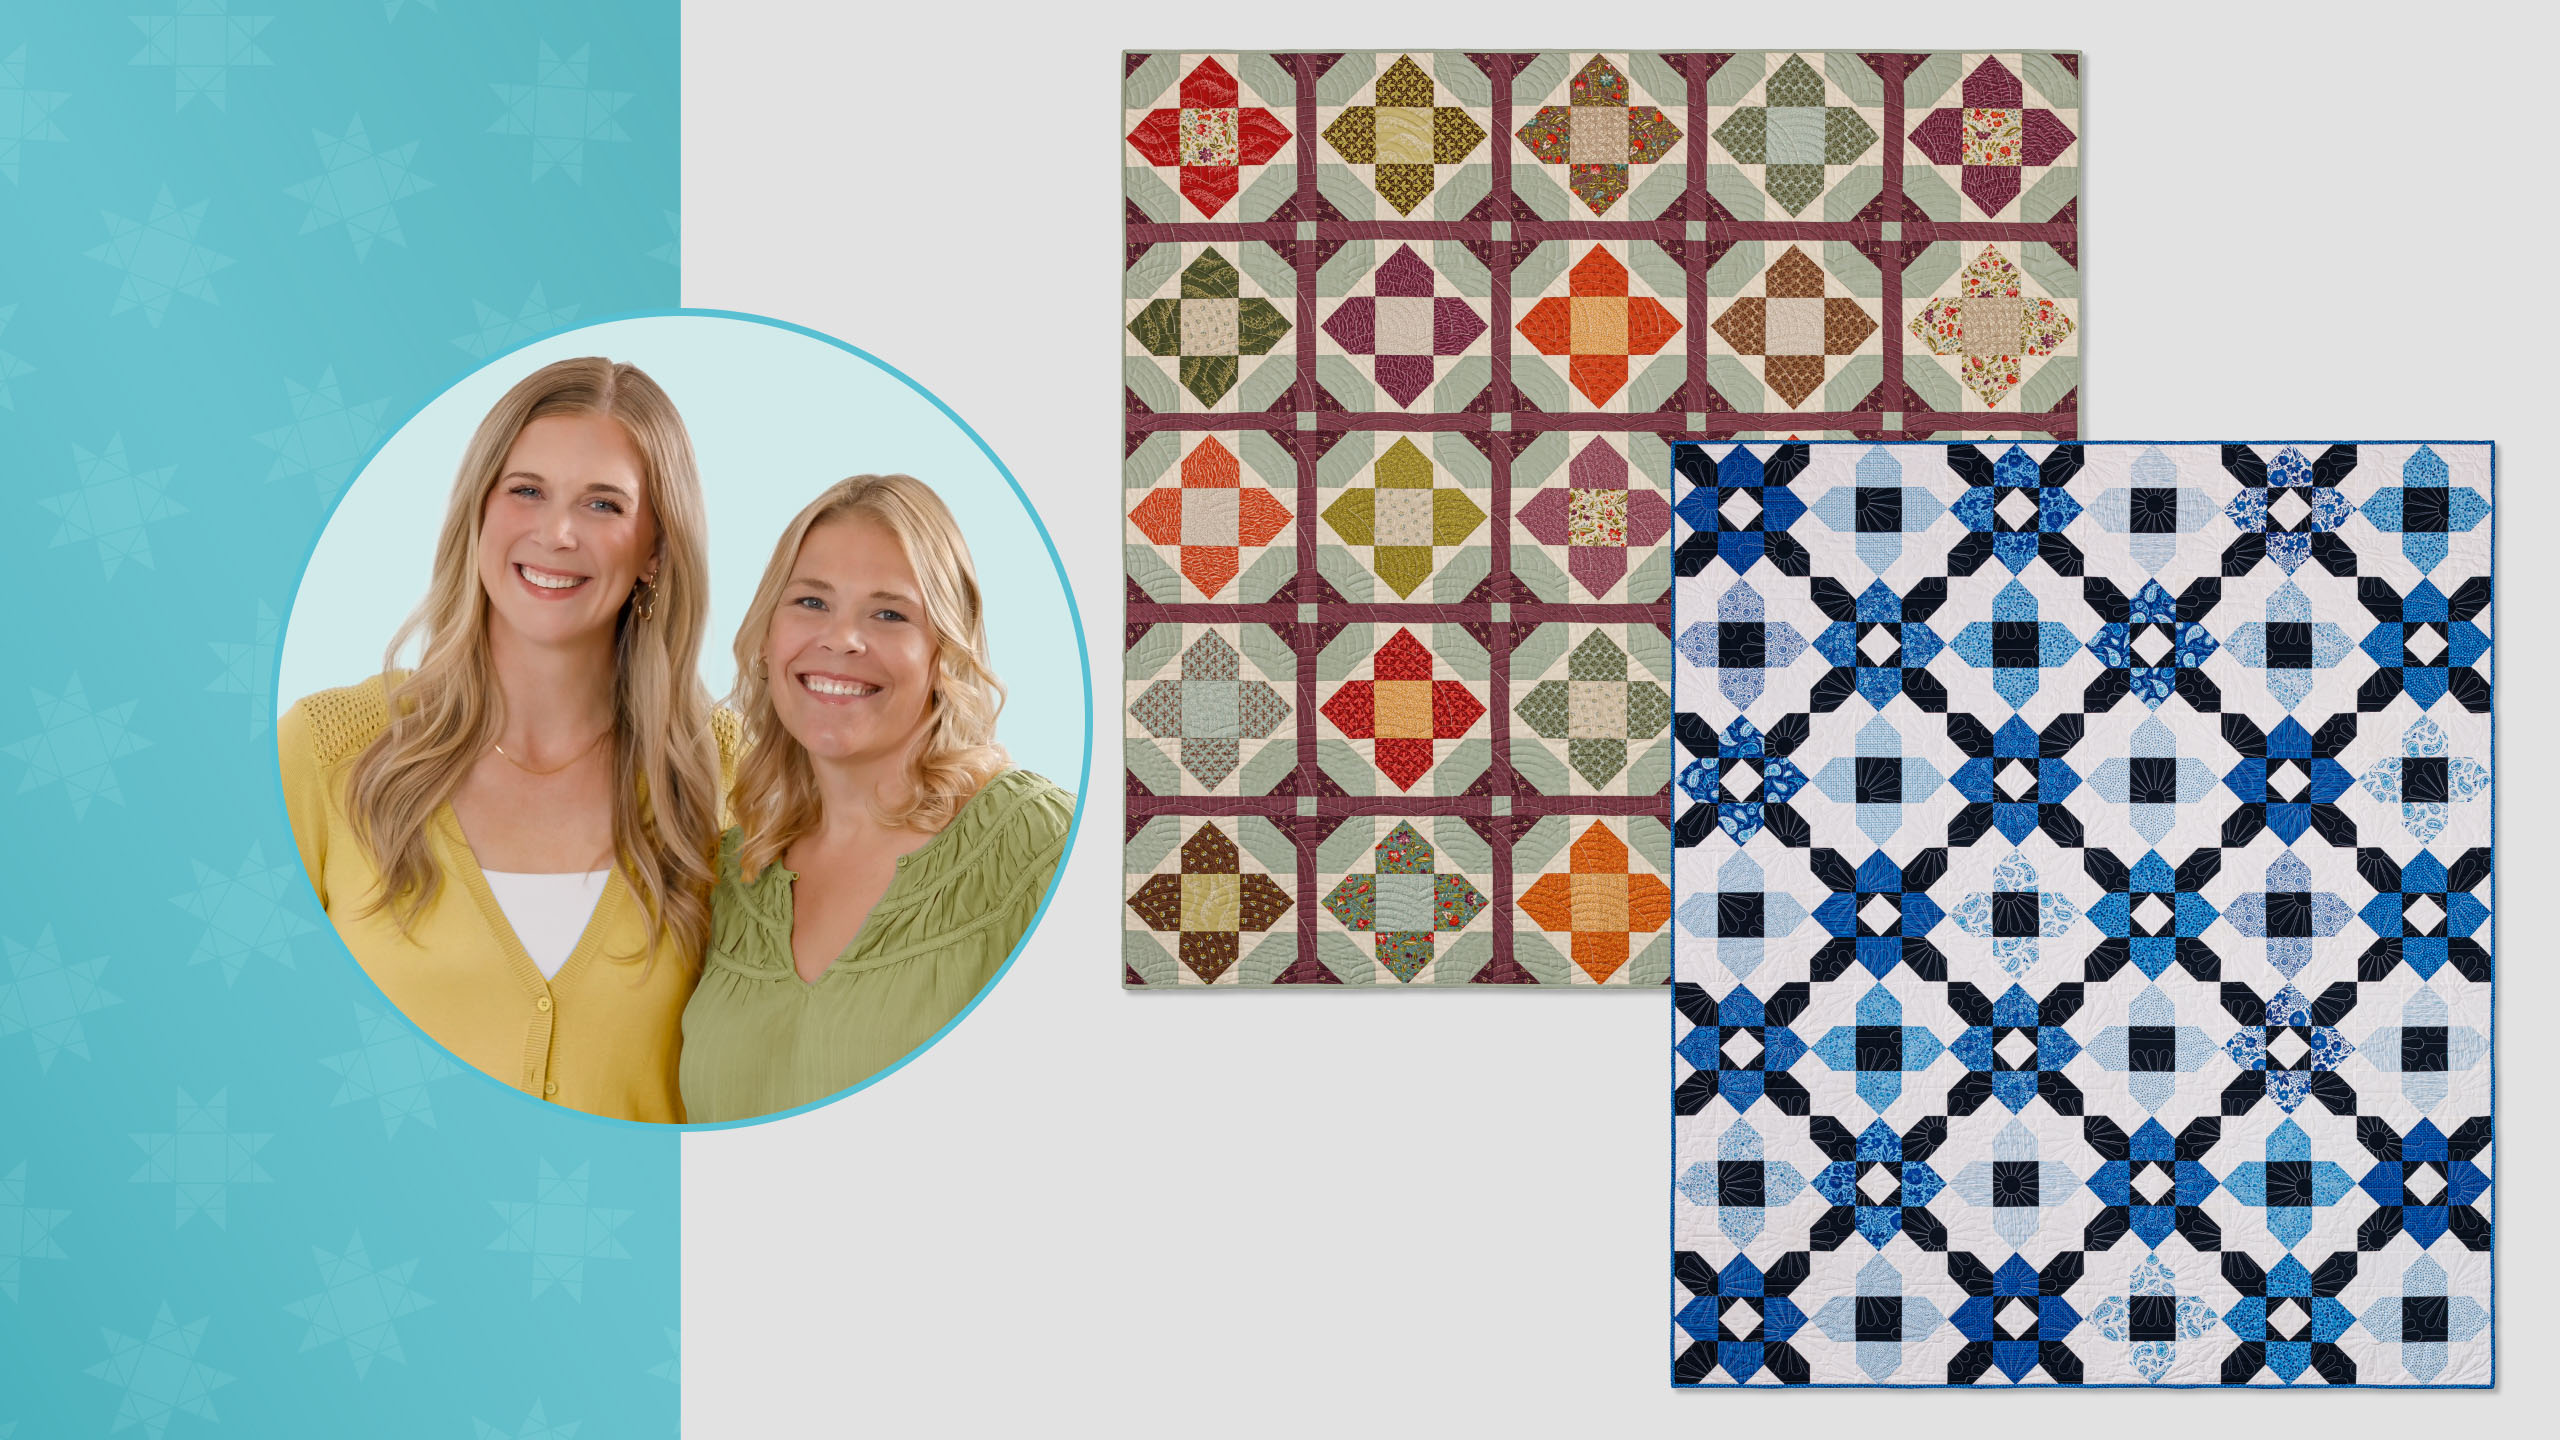
See the Prairie Flower pattern in a whole new light in today's Double Take! Natalie puts her spin on this blooming beauty with the soft, dreamy prints of Paradise by Andover, while Misty takes it in a deeper direction with the rich blues of Indigo Lane from White Owl.
Natalie is the host of Quilting 101, Embroidery 101 and the Creative Strategist and Editor of Block Magazine at Missouri Star Quilt Company. She was taught how to sew by her mom, of course, and began quilting when she grew up.
See the Prairie Flower pattern in a whole new light in today's Double Take! Natalie puts her spin on this blooming beauty with the soft, dreamy prints of Paradise by Andover, while Misty takes it in a deeper direction with the rich blues of Indigo Lane from White Owl.
How long is the tutorial video?
The tutorial video is 00:00:00.
Are supplies listed for this tutorial?
Yes. The tutorial page includes the supplies and materials connected to this project.
Video Transcript
Hi everybody. I'm Natalie with Missouri Star Quilt Company and I'm here with Misty. Hey guys. And it's Double Take Week. We're super excited. We have a fun block for you today. We're focused on the prairie flower and I think our quilts are really good. They turned out so great. We've got two great ideas and I think I'm up first. That's right. Let's get started. [music] All right. So, this is my quilt. I'm calling it Prairie Flower Plaid. And it just has two blocks. And one of them gives you this nice chain effect that's pretty close to the original block. I love it. And then some negative space around that secondary one. So it comes together really quick. And to make this quilt, you are going to need one package of 10in squares. And I use this beautiful line of all these blue prints. It's called Indigo Lane by Jenny Faw for White Al. You're also going to need 2 and 2/3 yards of accent fabric. I use navy. And then for your background, you need four and 78 yards. I didn't have any fabric left of my back uh backing fabric actually, but let me show you that this beautiful floral here. And of your backing fabric, you need 8 and 5/8 yards with a vertical seam or 2 and 1/2 yards of a 108. So, let me show you how to make this. So, like I mentioned, my quilt uses two blocks, and we're going to start with block A, which is this one you see here. And so, the first thing we're going to do is I chose my darker prints from the line for this block. I just decided to split them up that way. I think it gives really good contrast between like the chaining blocks and then like the more backgroundy blocks. It kind of pulls it forward. It gives it a little bit of dimension. I thought so as well. And so, we are going to begin by just cutting this in half. both directions so that we have four five inch squares. So there's one. Make sure I'm still nice and straight here. And two. And so then from my background, I've cut some two and 3/4 inch squares. Make them a little bit bigger. Yep. So that we keep our points. And so then we are just going to begin by snowballing, which is just placing that smaller square. And we're going to sew from point to point. You can either mark that or press it or if you're comfortable just sewing from eyeball cuz we've got our seam tape on here. Yep. And also we do this a lot. So [snorts] I feel pretty good about it. Perfect. Get that. There we go. And of course you could sit and chain piece all of these one after the other. I have some of them already done. So, we'll just make one. Perfect. So, now I can leave my seam here, the quarter inch there. Trim that off. And we'll go ahead and press this one back. Nice. So, set that seam and roll it away. There we go. And then we're going to do the exact same thing on the other corner so that those squares will intersect. And that's going to leave that little quarter inch seam allowance so we'll keep our point in the end. Excellent. Do you want to sew point to point again? Yes, I absolutely do. I knew it. There you go. Beautiful. All right. So, just like before, we'll leave our quarter inch seam allowance. Press this back. And you're going to do this exact same step to all four of those print 5 in squares. And so, you'll have four that look just like this. So, I have those ready to go. And so, then now we can start working on our little corner units. And so, we are going to take our 5 in accent square. And with the exact same size background squares, we're gonna place these on opposite corners. So, it's the exact same concept except for we can technically just stitch one and flip it around and stitch the other. Nice. So, point to point on both of those. All right. And you'll also make four of these. Our blocks are so similar today, which I mean makes sense because they're both the prairie flower. inspired by the prairie flower. And I love this block. I do too. As I was designing it, there's so many things you can do with just little tweaks. Yeah. It's just really, really a fun one. And it's simple to make. I had fun with it, too. I had a lot of I might want to do that one over cuz it got off a little bit. I bet it's fine. I bet we'll just catch it in the seam. Okay. Yeah. Yeah, you're right. You're right. Don't be too worried about it. It's all good. That's I always say like yeah, if it's within a quarter of an inch and it will hide in the seam, it's no big deal. Then we're not worried about it. If it's going to bother you, of course you can always fix it. But yeah, we can make it work. We all get off a little bit, right? It's not just me. Yep. Exact. Oh, no. It's totally normal. I know you and I both got kind of distracted. I was like, "Oh, [laughter] you were probably just daydreaming or something." As I do. And you know, I haven't made a single quilt without using a seam ripper. Like that is why it's a necessary tool. Yes. So now we have four of those done. They're all made exactly the same way. And so all that we have left is our little center block. And so it's essentially made just the same except for we have a 5-in background and our 2 and 3/4 in accents. Okay. And so we'll do those opposite corners just like we did for those corner units. Yes. Then we'll trim those and then we'll add our other two. So if you want to stitch those for me. Yes. A chance at redemption. There we go. Try to try to keep her straight this time. Go a little slower. Oh, it's all good. There we go. No, I got it. I got this. It is funny though how you can do the you know similar things like over and over and over and then all of a sudden it's like how did I what did I do there? I don't know what I'm doing. That's so funny. I did that the other day with binding. It's like how many times have I sewn binding on and I just like could not join my ends correctly. My brain was not working. So, I was working on some crazy quilt blocks the other day and I like I was going to put the next piece on and I flipped it over and it had right side up and I thought, "No, I put this fabric on upside down." And then I flipped it back over and it was still right side up. So, I had two pieces wrong sides stuck together. I just left it in. I was like, "You know what? It's cotton. You know, there's velvetine, there's corduroy, like there's all kinds of other stuff. It's going to be fine. It's just part of the story." Yeah, I have like [laughter] the right side on both sides of one of my blocks. I love that. Oh, well. So, we've we've done just like we did for those corner units. And now we're going to take our extra two more of our accent squares here and do those opposite corners so that we're making that square and a square block. So, same way you would just stitch there. I have one done. And so, now all of our components for our block are ready to go. And so, we can just lay this out. This is our center. And then I always kind of call these the little petals. Oh yeah. Of the flower. I call them like the pointy blocks. There [laughter] you go. And so we're going to put the the wider part of the print towards the center. And then each of these is going to set into the corner. Beautiful. Just like so. And so these are going to make up half of the blocks of your quilt. And you'll see how we just alternate between the two. and you just sew them together like a big nine patch and it looks just like this. Super super easy. So, let me just clear this out really quick and I'll just show you the differences for block B. So, this is the B block. Very similar, but even simpler. And so, the construction of those petal blocks is exactly the same. You're going to make four, but I've used one of the light prints for this one. The center is just a solid 5 in accent square. And so, of course, you're just going to build around that just like so. And then your corners are just your 5 inch background. Nice. So, this one is so easy and so quick. Yep. Half the work. Exactly. And I love the the addition of that dark print in the or not print, but the dark accent in the middle. It makes them It makes it pop and it also kind of coordinates it with that beautiful shade. It makes the whole pattern really cohesive and ties it together. And so in that same way, you're going to stitch up your nine patch. And I've just alternated one after the other. So, you know, you've got 1 2 3 4 5 six blocks across by seven down. This quilt ends up a really nice size. It's 81 by 94. And I didn't put I didn't put a border on it, but if you wanted a king-size quilt, it would get there pretty quick. Yeah. An inner and outer. And you're you're there. Yeah. Exactly. So, I love how it turned out. I quilted it with Daisy Days, which is a really fun quilting panto. Just gives it that fun little floral effect, and I just love it. So, hopefully you guys enjoyed it. And Natalie, you're up next. All right. Okay. So, this is my quilt. I'm calling it Country Garden. I think it's just beautiful. It comes together really quick and easy. Same sort of pieces as yours. Yes. So, um, let me just go through the supplies needed real quick. You're going to need a 10-in a package of 10-in print squares. And I've used Paradise by Renee Nanaman for Andover Fabrics. You're going to need some accent fabric. I've used this beautiful dark purple from the line. About 7/8 of a yard. You'll need a light accent as well. Um 2 and 1/4 yards and that includes the cornerstones. Okay. And then your background is also 2 and 1/4 yards. And I've used this cream color. These are all color work solids. They're beautiful. Um, and then for your sashing, again, a dark uh dark from the line, but I mean obviously you can put your sashing in whatever fabrics you like, but this is a yard. Okay, perfect. So, this is the block. And you'll notice there's a few differences. So, Misty had her corner squares turned in. Well, I turned mine out. So, it kind of creates this like little circle thing. I love it. And then the other difference is that these cornerstones or not cornerstones, sorry, the snowballed corners are different colors. So then that makes this sort of like blend into the sashing and create this little sort of secondary. I don't know what to call it, but it's I I just love it. I love how it turns it out and makes it look like things are floating and different things are connected and it's all just color play. Yep. All right, so let's make the block real quick. We'll walk through some of the steps and do a couple things even though it's very similar. That's okay. That's the whole point of double take. That's right. Okay. Well, let me get rid of this. All right. So, from your um light accent, you're going to need some 5 in squares from your uh and some 2 in for your sashing or your cornerstones. Okay, perfect. So, your sashing and cornerstones are 2 in. The squares that go um on your snowballs, I made mine 3 in. And that is because these overlap a little bit, which kind of causes like this little bitty frame to sort of appear behind and kind of pushes this block forward a bit. It helps it float. It's beautiful. Yeah. Yeah. So, but if you wanted your points to match up, two and 3/4 is the [laughter] size you'd use. Just the same as Misty size. So, that that's like one little difference. So, just to to reiterate, three inch squares of background and then um three inch squares of your uh light or your dark accent fabric to do these little outer snowballs. Okay, perfect. All right. So, and again, just the same as before, we're going to cut all of our print squares into 5 in squares. Okay, so we'll start. Let's see. I'm going to grab this one and this one. And then we're going to make some of our little components. And I've got some of them made already. So, from our um our main print, and I I kind of just did like like kind of like a big and little or a light and dark. You could either you could mix and match these however you want, but my center square is different than my four prints. So, these ones match and you can make little sets and just kind of pull that together. You don't use all of the prints in the line. You only need a we're a few less. So you have some play with like what's light, what's dark, what blends in with your background, what colors you want to accentuate. There's a little bit of play room for creativity. All right. So we are going to go ahead and snowball our tops and make that little pointy block or the petal. We'll do one side first and then our second side. Okay. And I've drawn the line on these so it's ready to go. Awesome. Look at you so prepared. I had help to be honest. I had help. So, we've got great teams here that really keep us going. We have the best team. Yes. So, all right. So, we'll go ahead and trim this off. I think these might be big enough if you wanted to do a half inch away and save your little triangles. You could, but again, that might be a little much. I'm just going to I'm just going to sew it just because I can. You know, why not? All right. Make a little set of teeny tiny pre-done things. Right. And then you get this, you know, who knows a scrappy these fun little half square triangles, you know. Exactly. You're right. It's too close to All right. So then this overlaps the next one and you get quite a bit of space there, which I like because it really pulls that petal block forward, right? Pops it out. Whatever you want to say. And again, yeah, we're sewing on the line, corner to corner, getting a nice big crisscross. and trimming it off and pressing it back. Cut that. Setting our seam and rolling it back just as before. Okay. So, we'll make four of this unit and set those aside. And then our outer corner unit is going to be made with our um light accent. And then one corner gets your dark uh dark accent and the other corner gets your background. And so we can set these up overlapping in the middle just like that and just stitch corner to corner. And it doesn't matter which one cuz you can rotate them. As long as they're on opposite diagonal corners, you're good. Yep. Can always flip it around. Yes. I love the simplicity of this quilt. It's This is a great quilt for beginners because it's so it's so simple and you know it's it comes together. It's nice and big. It's true. It it looks like you've worked harder than you did. It's still a beautiful result, but it's really simple to make. Yeah, it's gorgeous. A good use of fabric, too, because [clears throat] you keep everything at that 5 in charm square. So, if you did um you know, if you had five inch squares to begin with, there's like half your cutting gone. Absolutely. So, pretty fun. All right, I'm trim those both at the same time. We'll press or set both of those seams and then roll these back. All righty. So, we will do four of these as well. We're going to start with our middle and add our prints. And our print um print touches the middle, the points, the petals point out. Mhm. Same as Misty's layout here. And then these blocks go in the corners and they kind of make the back the backgrounds touch here. So you have that little framed up. I really love that thing. It's kind of cool. It's interesting how just changing the block size even by a half inch makes a big difference. Exactly. Yeah. So and spinning that corner just makes it so interesting. And there you have it. This is the whole block. You'll assemble it in a nine patch. And then you'll notice I set them all straight together. We have a 2-in by 14in sashing and then a 2-in cornerstone. And that's it. That's the whole quilt. There's no inner or outer border. Although, if you wanted to, again, enlarge the quilt however you want it to be. This quilt at this size is 73 and 1/2 in square. So, let me show you the backing. So, I chose to use a print from the line. And if you did, you know, if you wanted to do that, you would need four and 58 yards with a vertical seam. If you have a 108, two and a third yards will work. Our machine quilting here is Baptist Fan. And I love how like sometimes when you use a more traditional pattern, it actually makes the quilt look a little bit more modern. It's kind of a weird little trick, but I think we came up with two really great quilts. I think so. We had great designs this month, and hopefully you guys enjoyed them and got a little bit of inspiration. That's right. and we'll see you on the next double take.


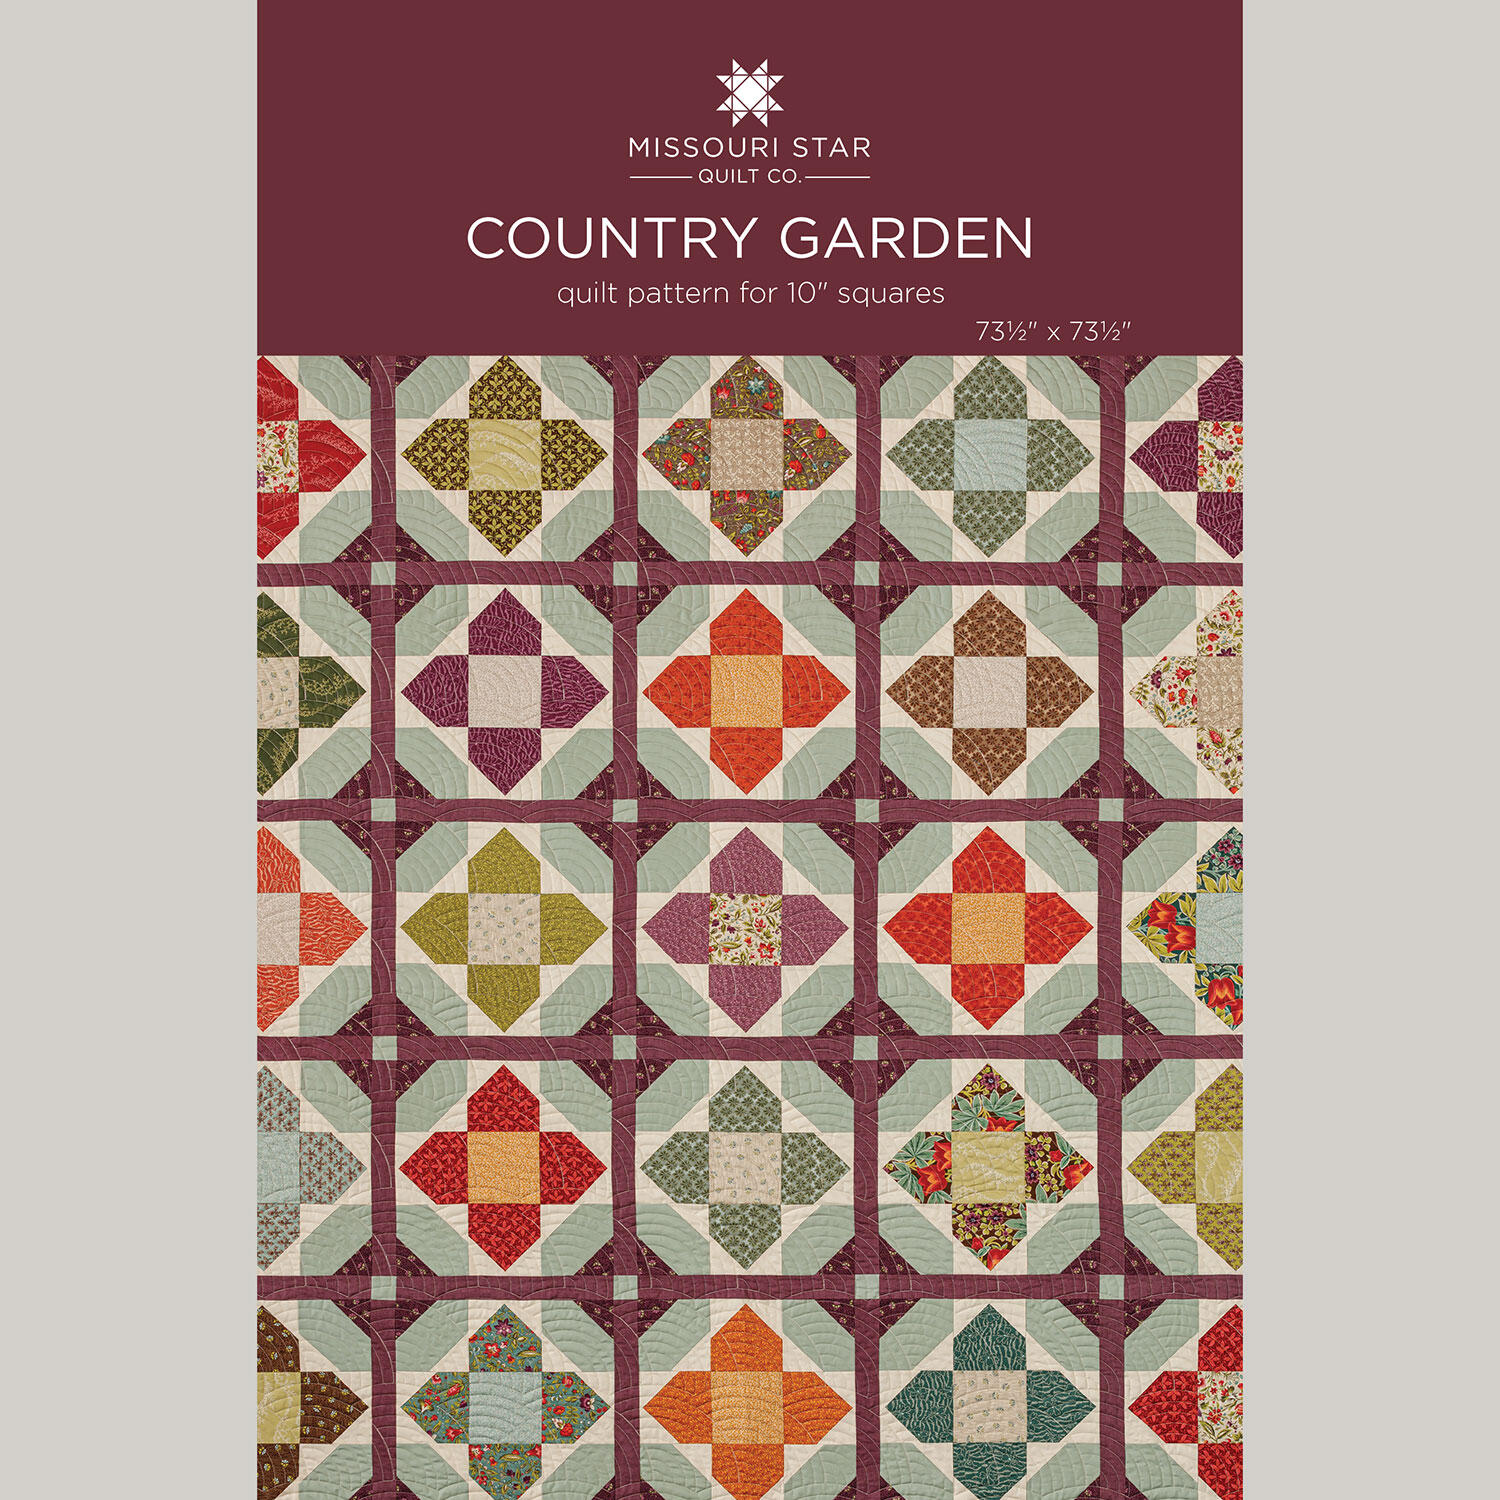 Country Garden Quilt Pattern by Missouri Star$8.50Shop →
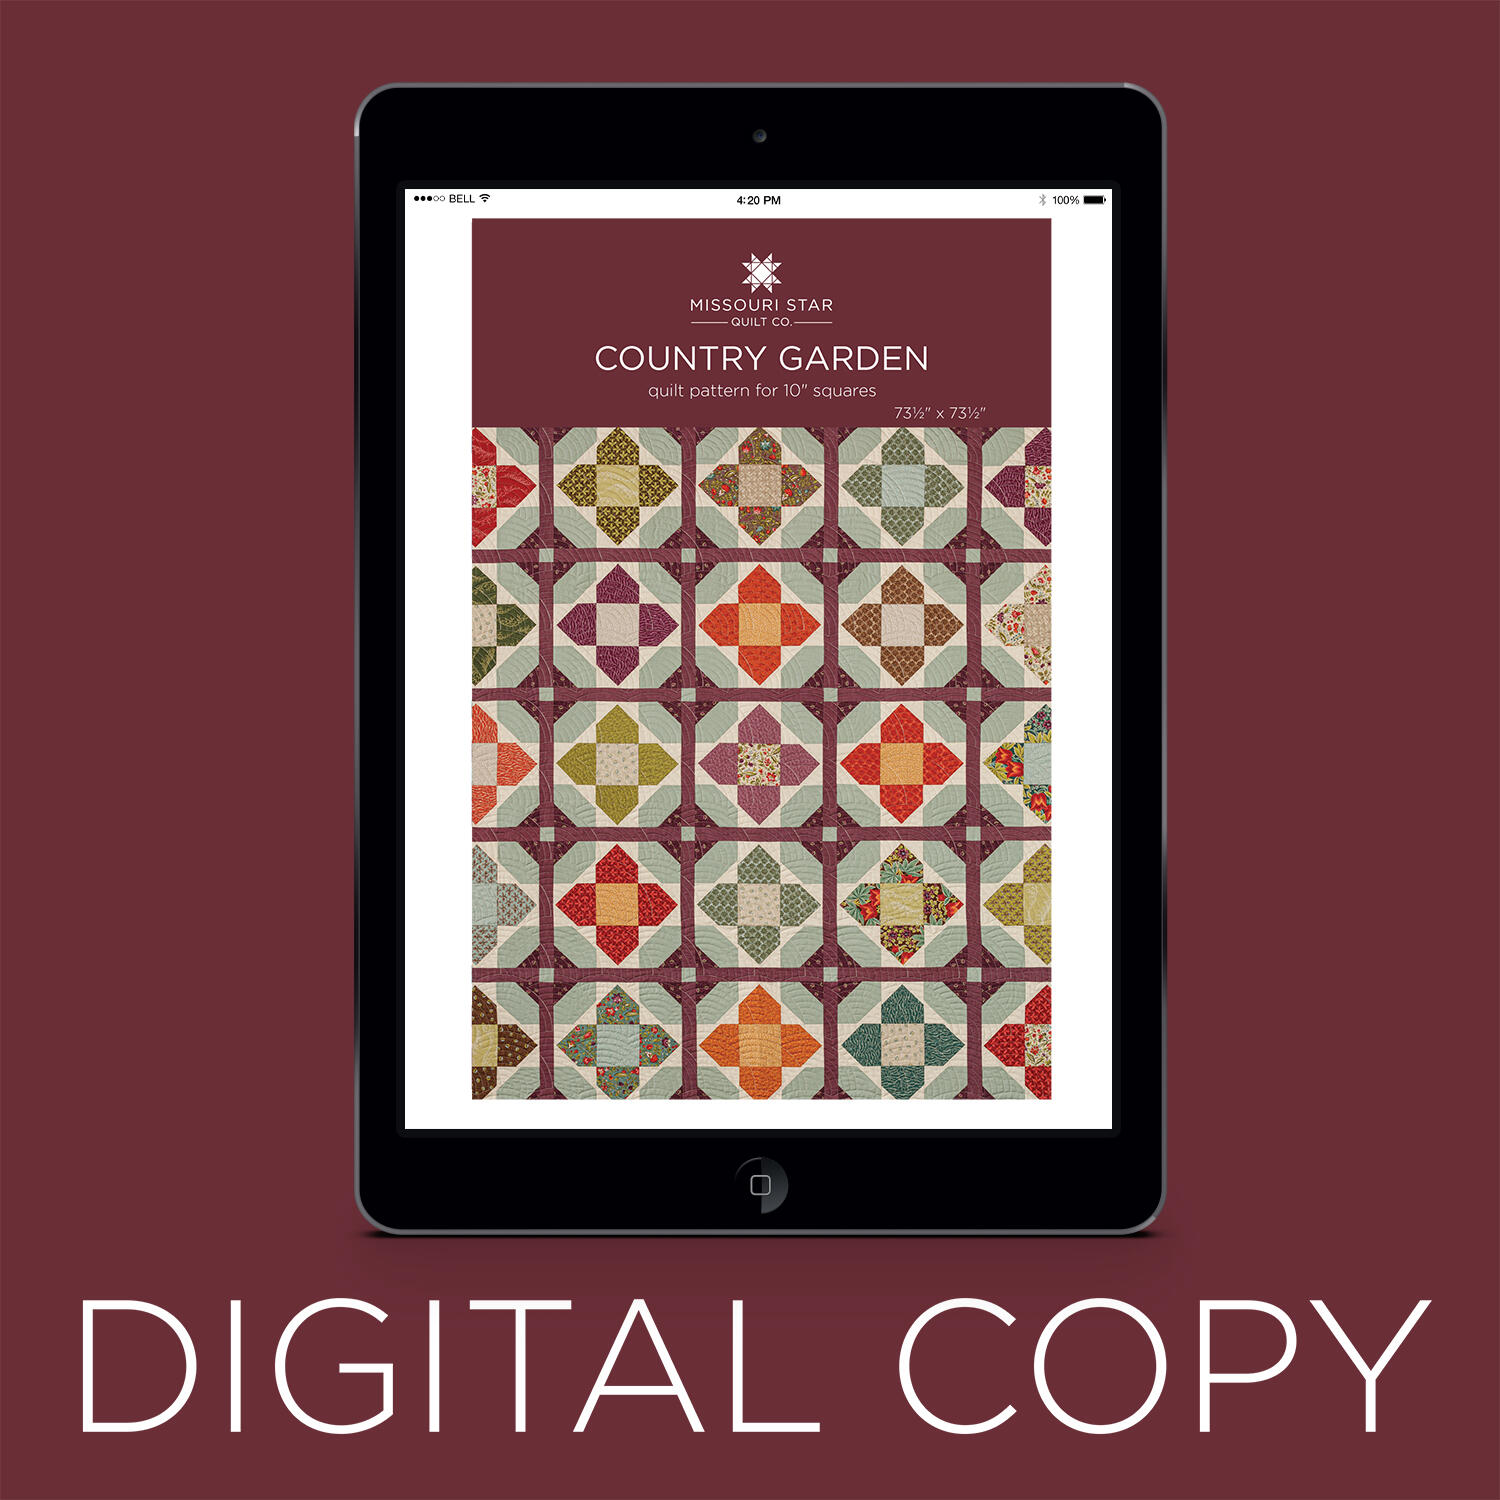 Digital Download - Country Garden Quilt Pattern by Missouri Star$6.95Shop →
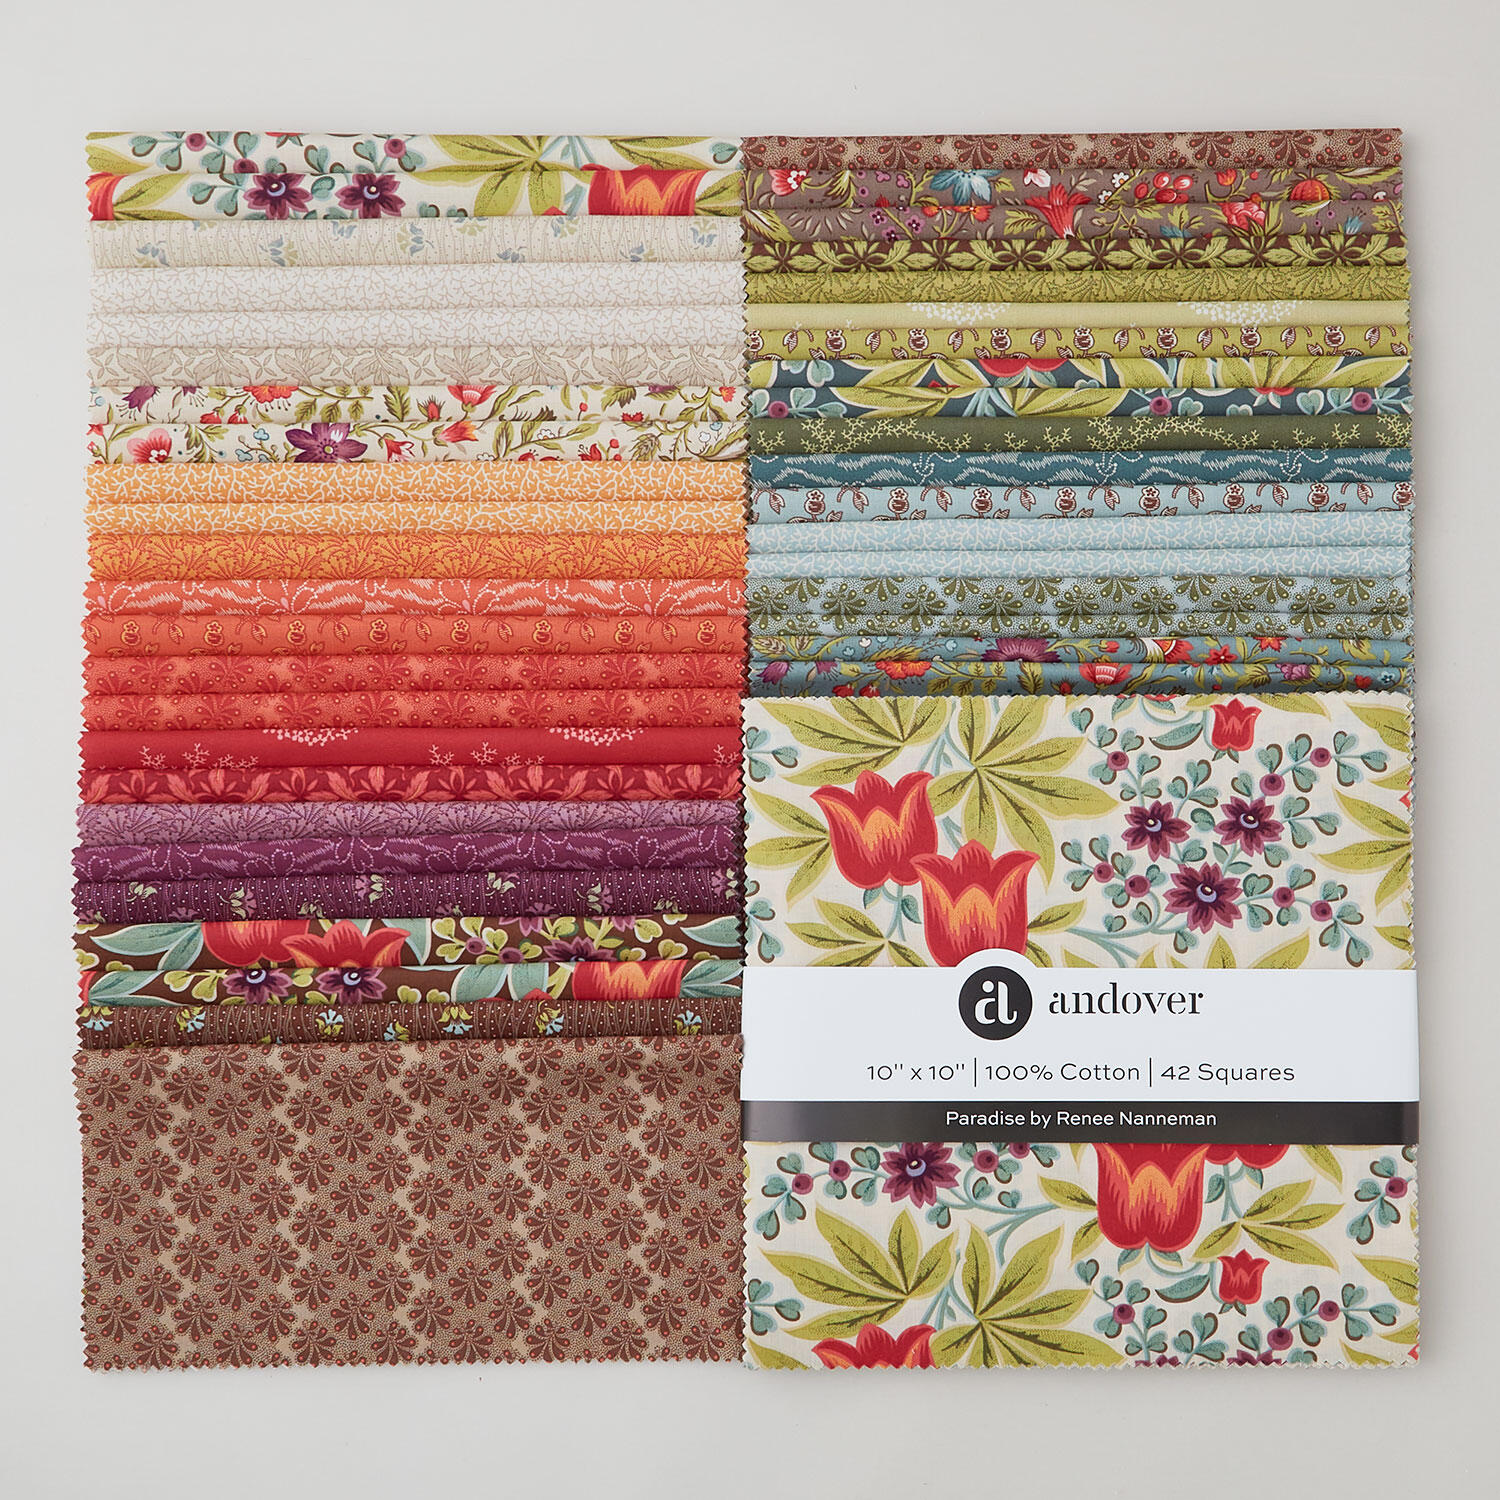 Paradise Sundaes$47.95Shop →
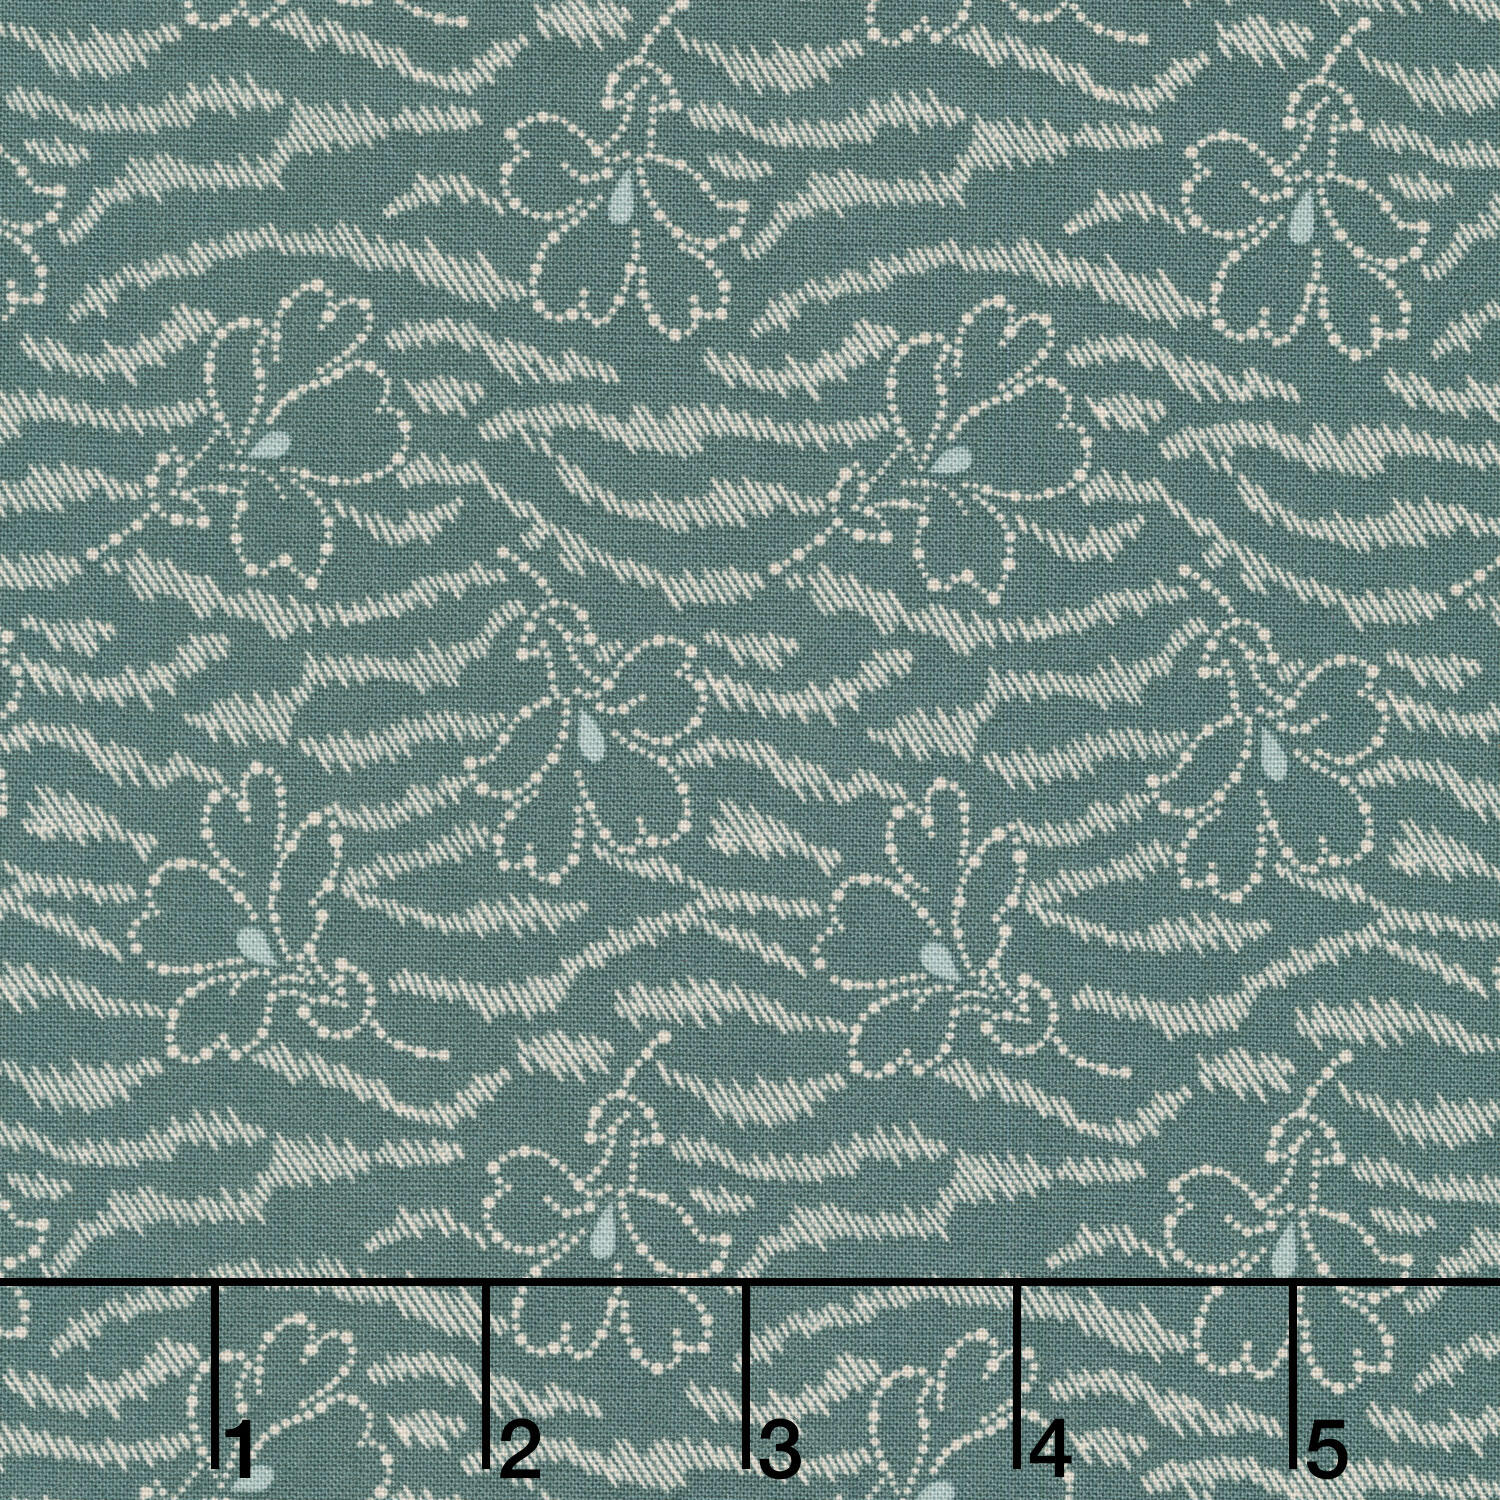 Paradise - Oleander Lagoon Yardage$12.08Shop →
 Colorworks Premium Solids - Elderberry Yardage$8.96Shop →
 Colorworks Premium Solids - Frosted Pine Yardage$8.96Shop →
 Colorworks Premium Solids - Ivory Yardage$8.96Shop →
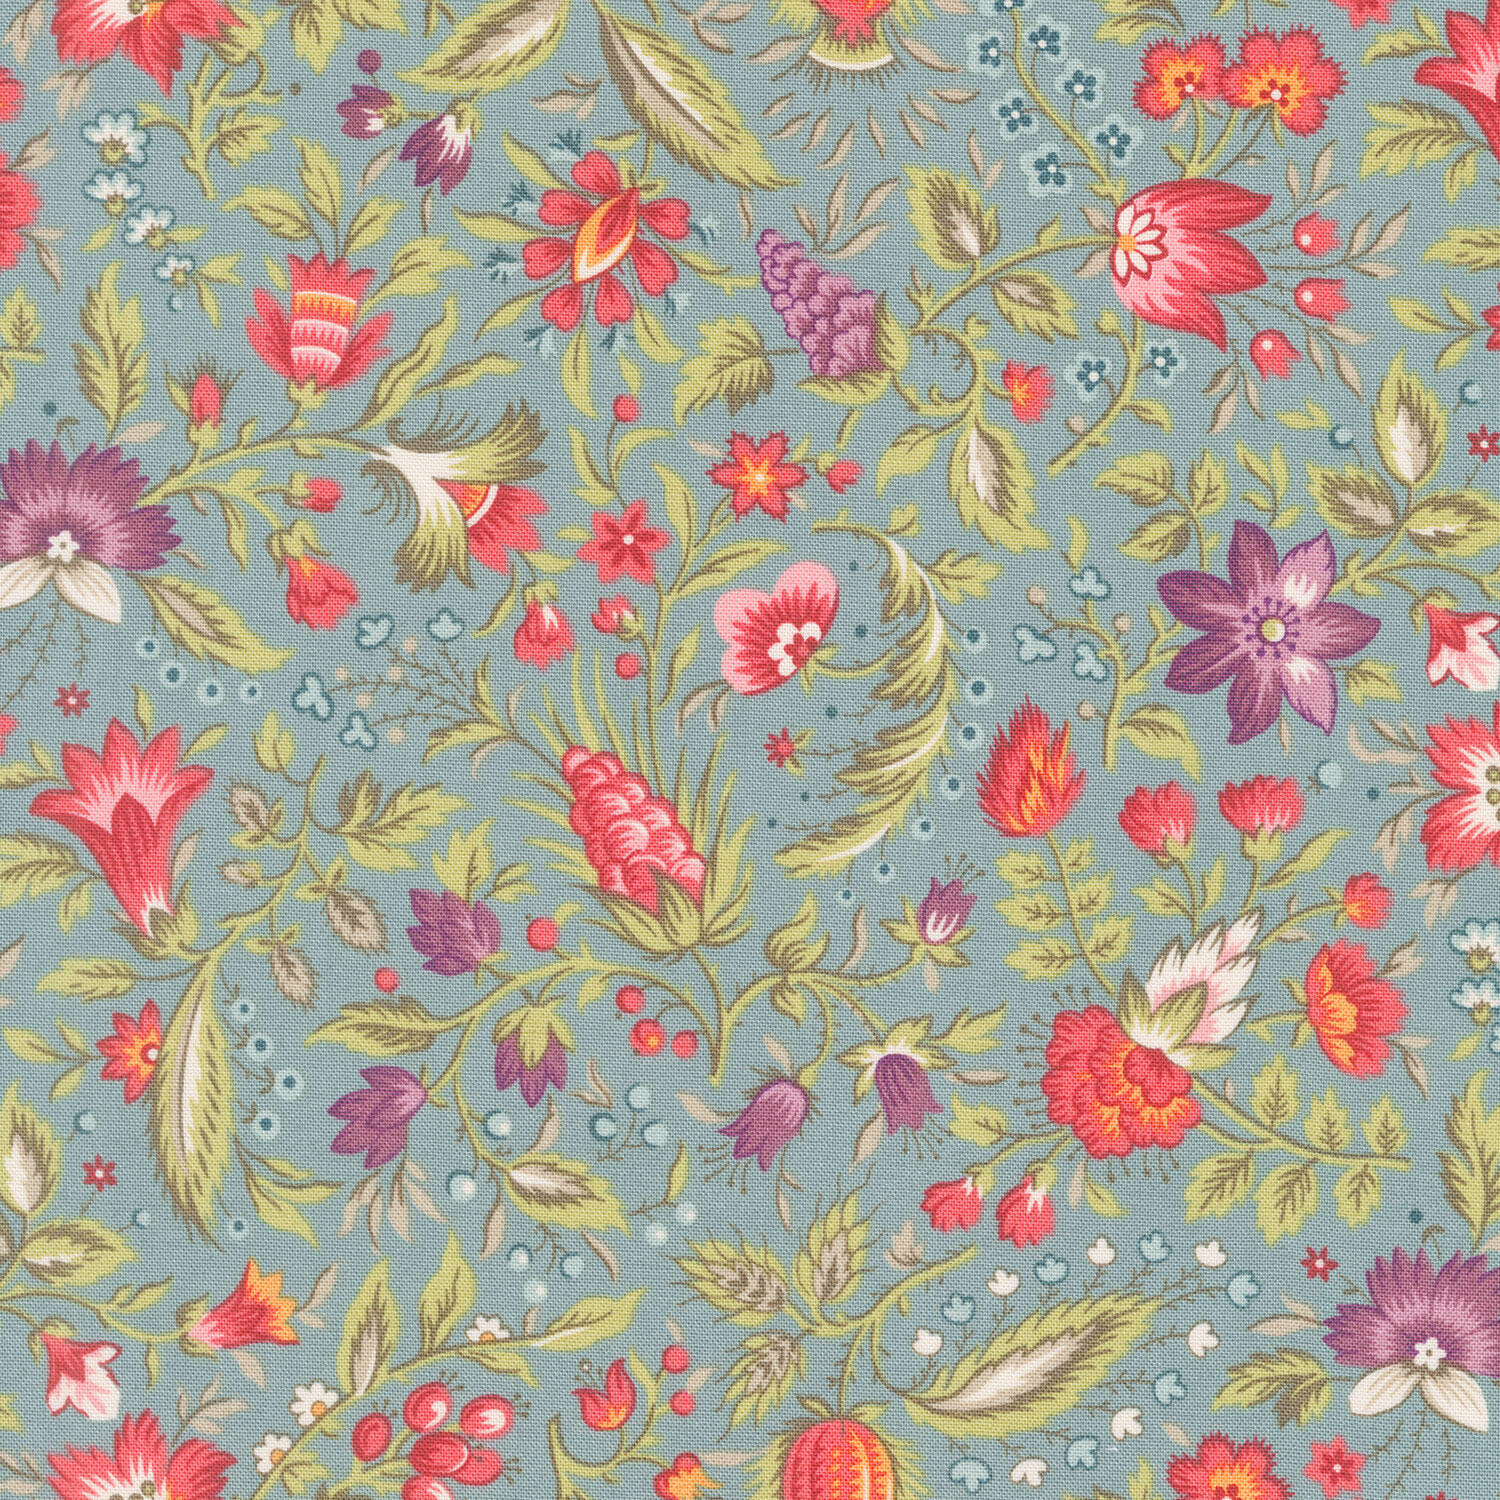 Paradise - Tropical Lagoon 108" Wide Backing$20.56Shop →
 Missouri Star Nature's Best 100% Cotton Full Batting - Natural$37.95Shop →
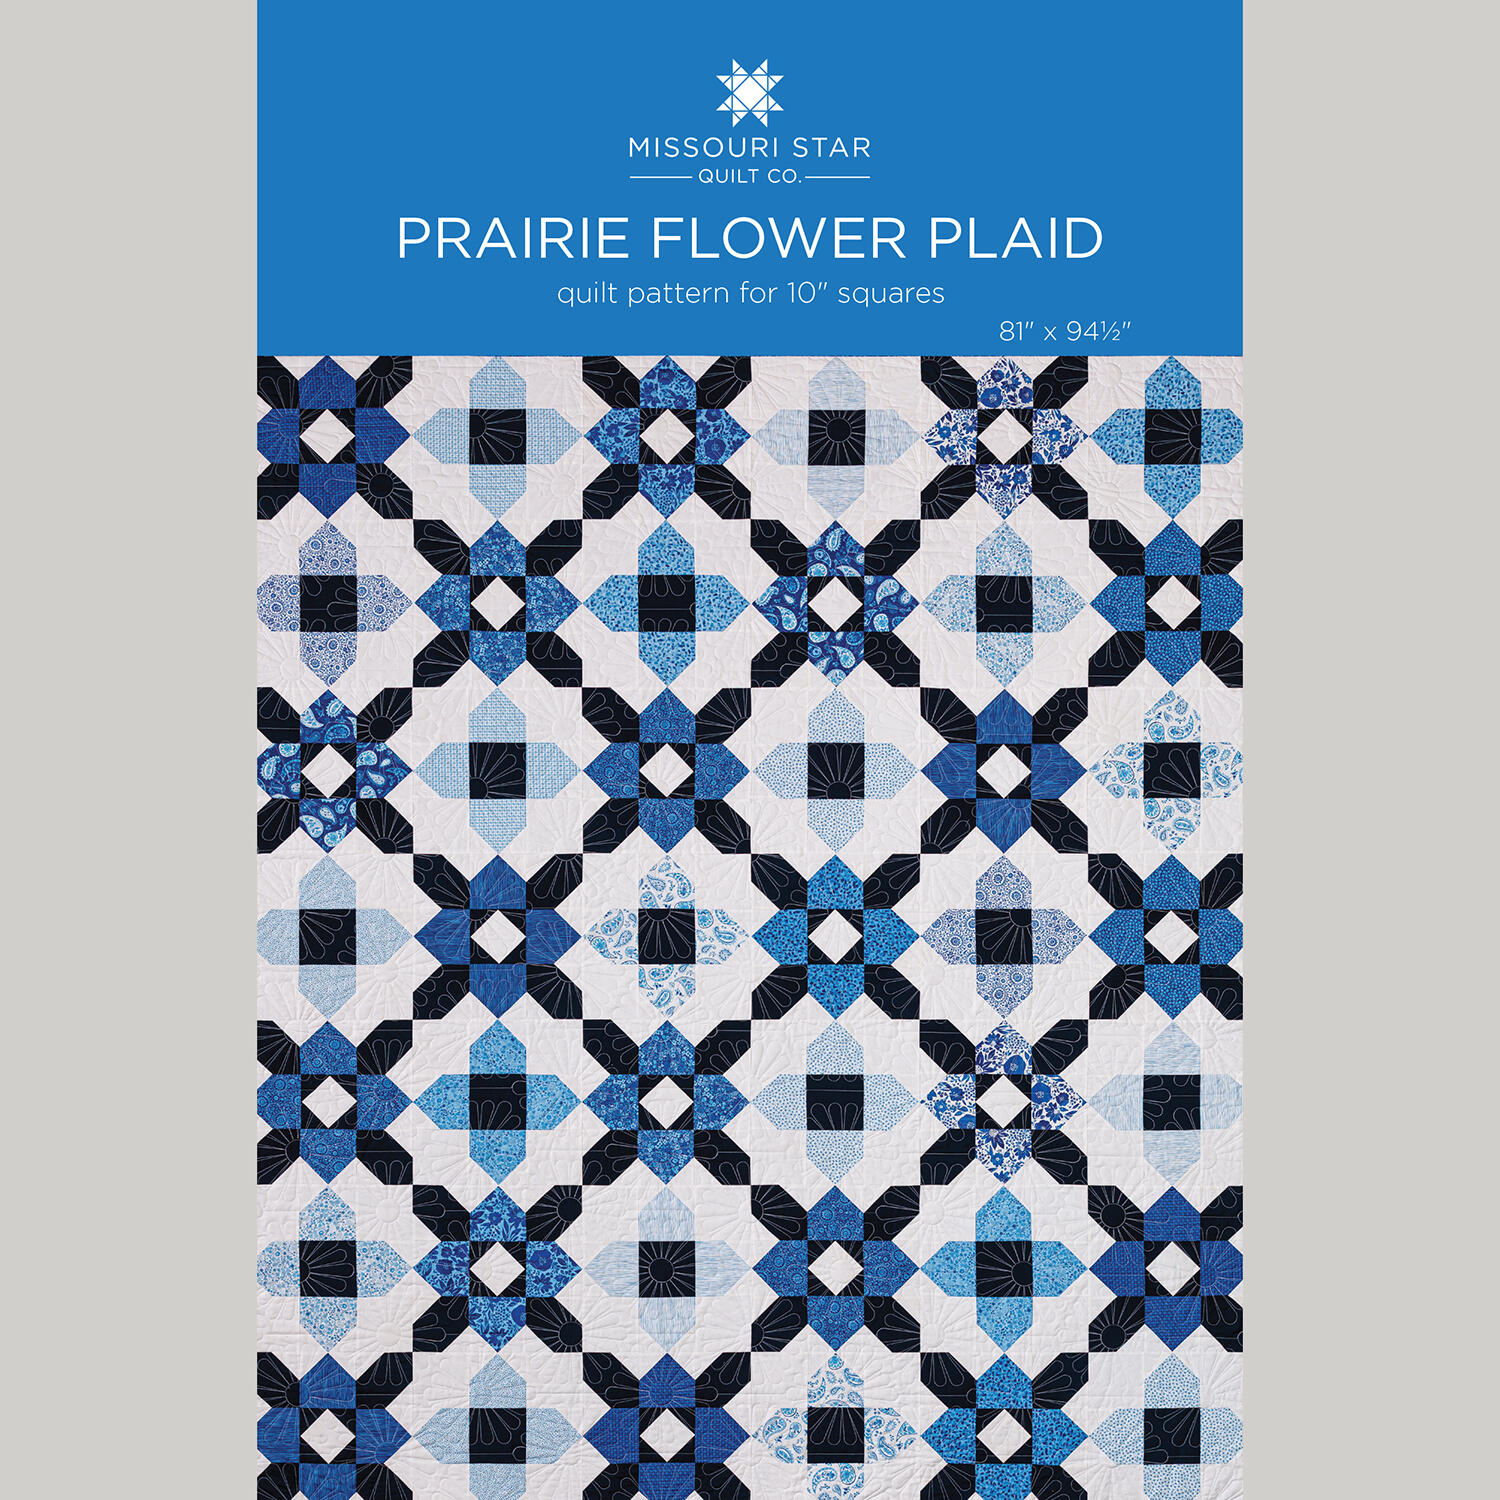 Prairie Flower Plaid Quilt Pattern by Missouri Star$8.50Shop →
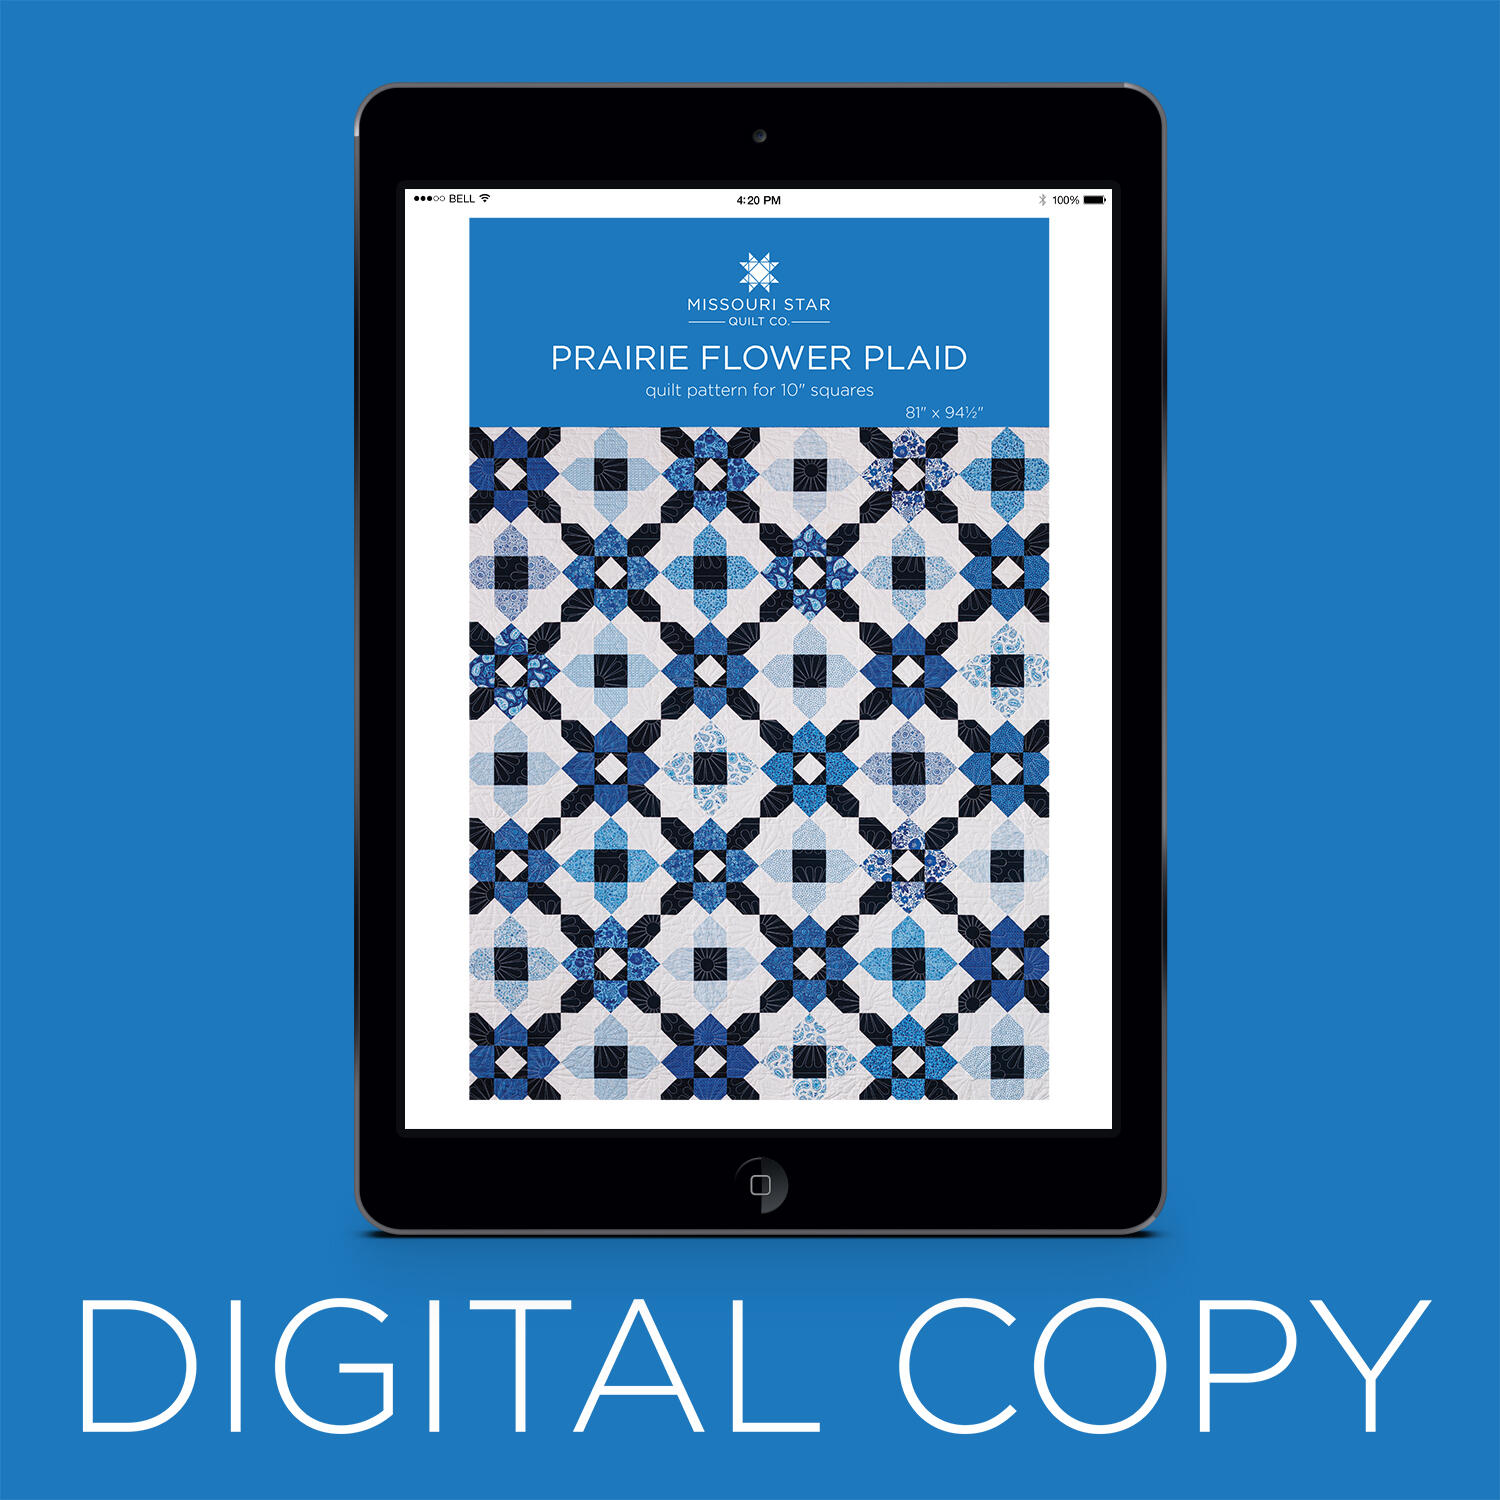 Digital Download - Prairie Flower Plaid Quilt Pattern by Missouri Star$6.95Shop →
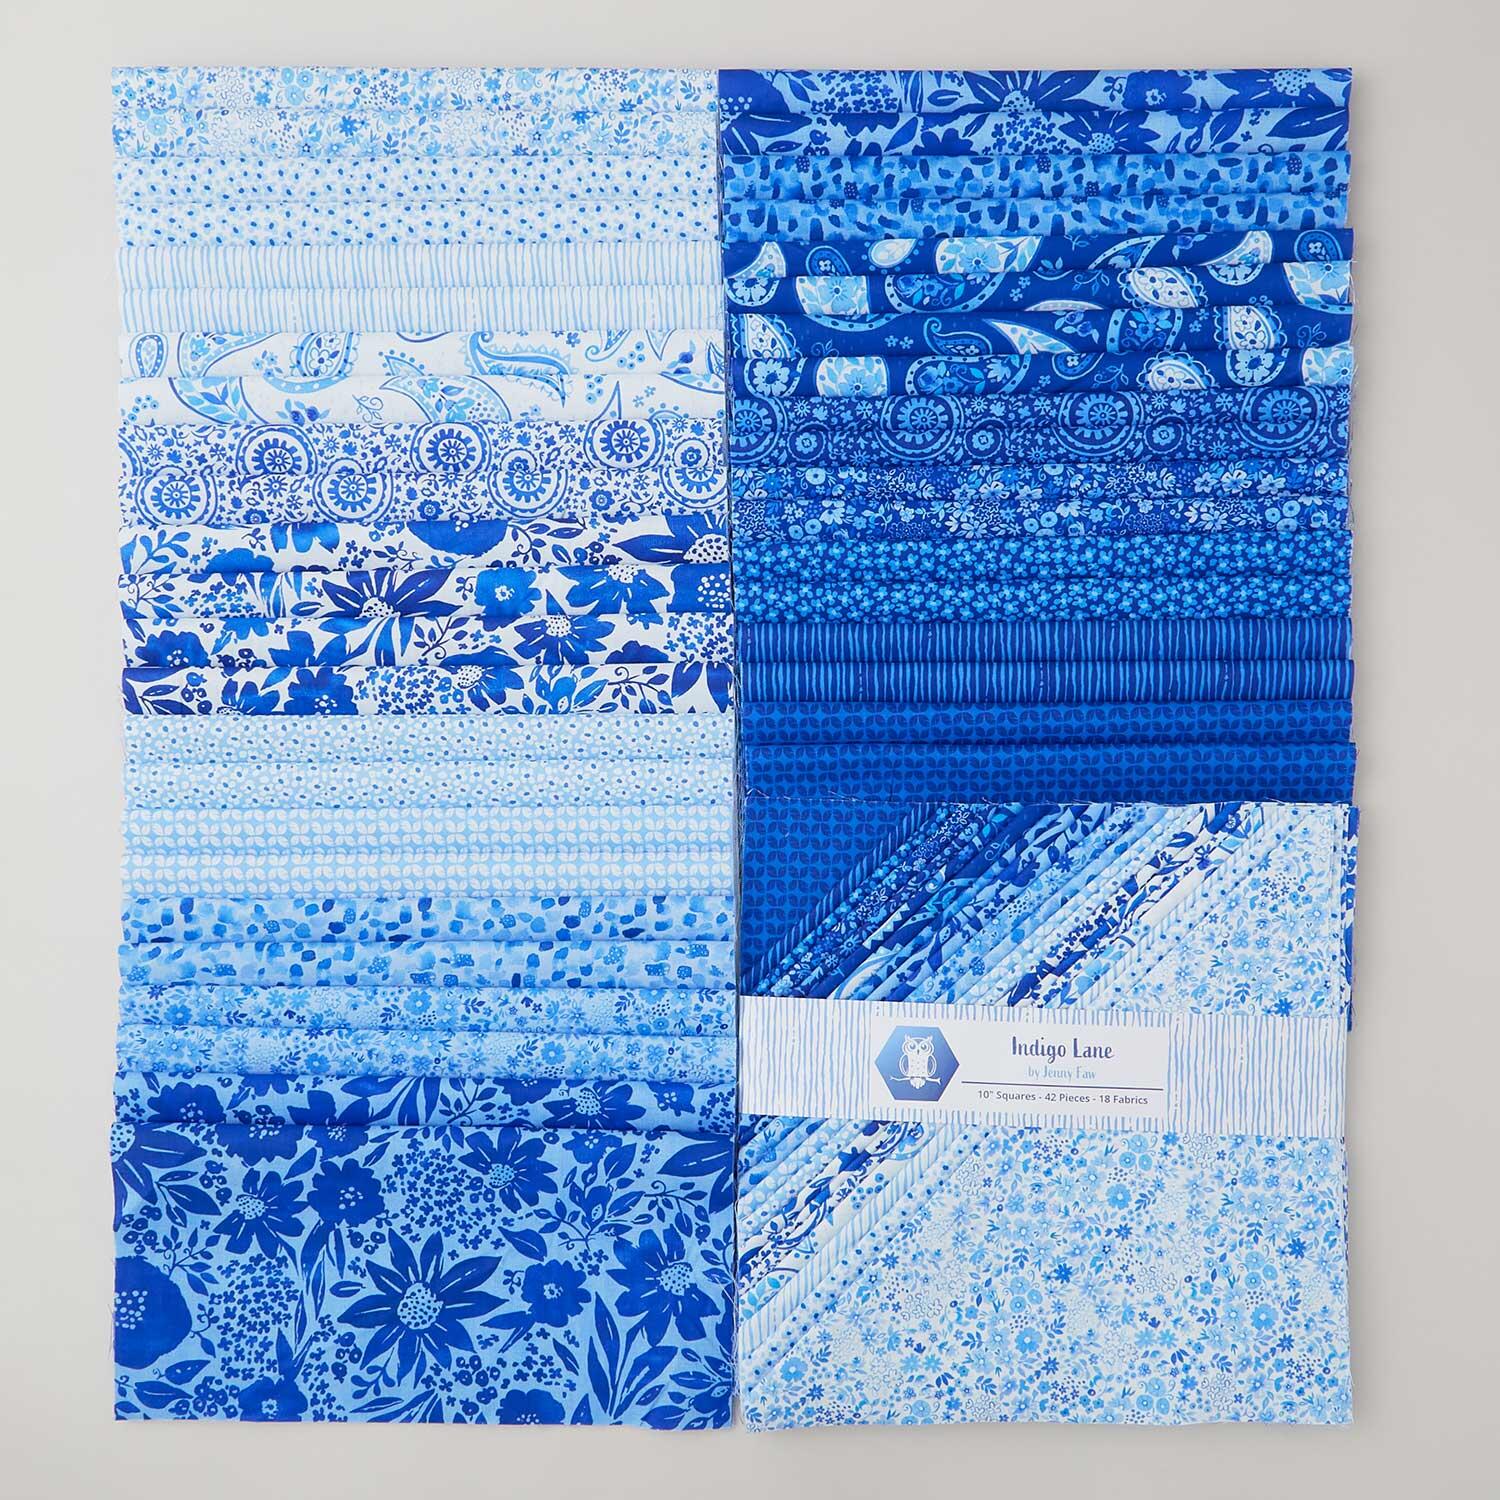 Indigo Lane 10" Squares$47.75Shop →
 Colorworks Premium Solids - Navy Yardage$8.96Shop →
 Colorworks Premium Solids - Superwhite Yardage$8.96Shop →
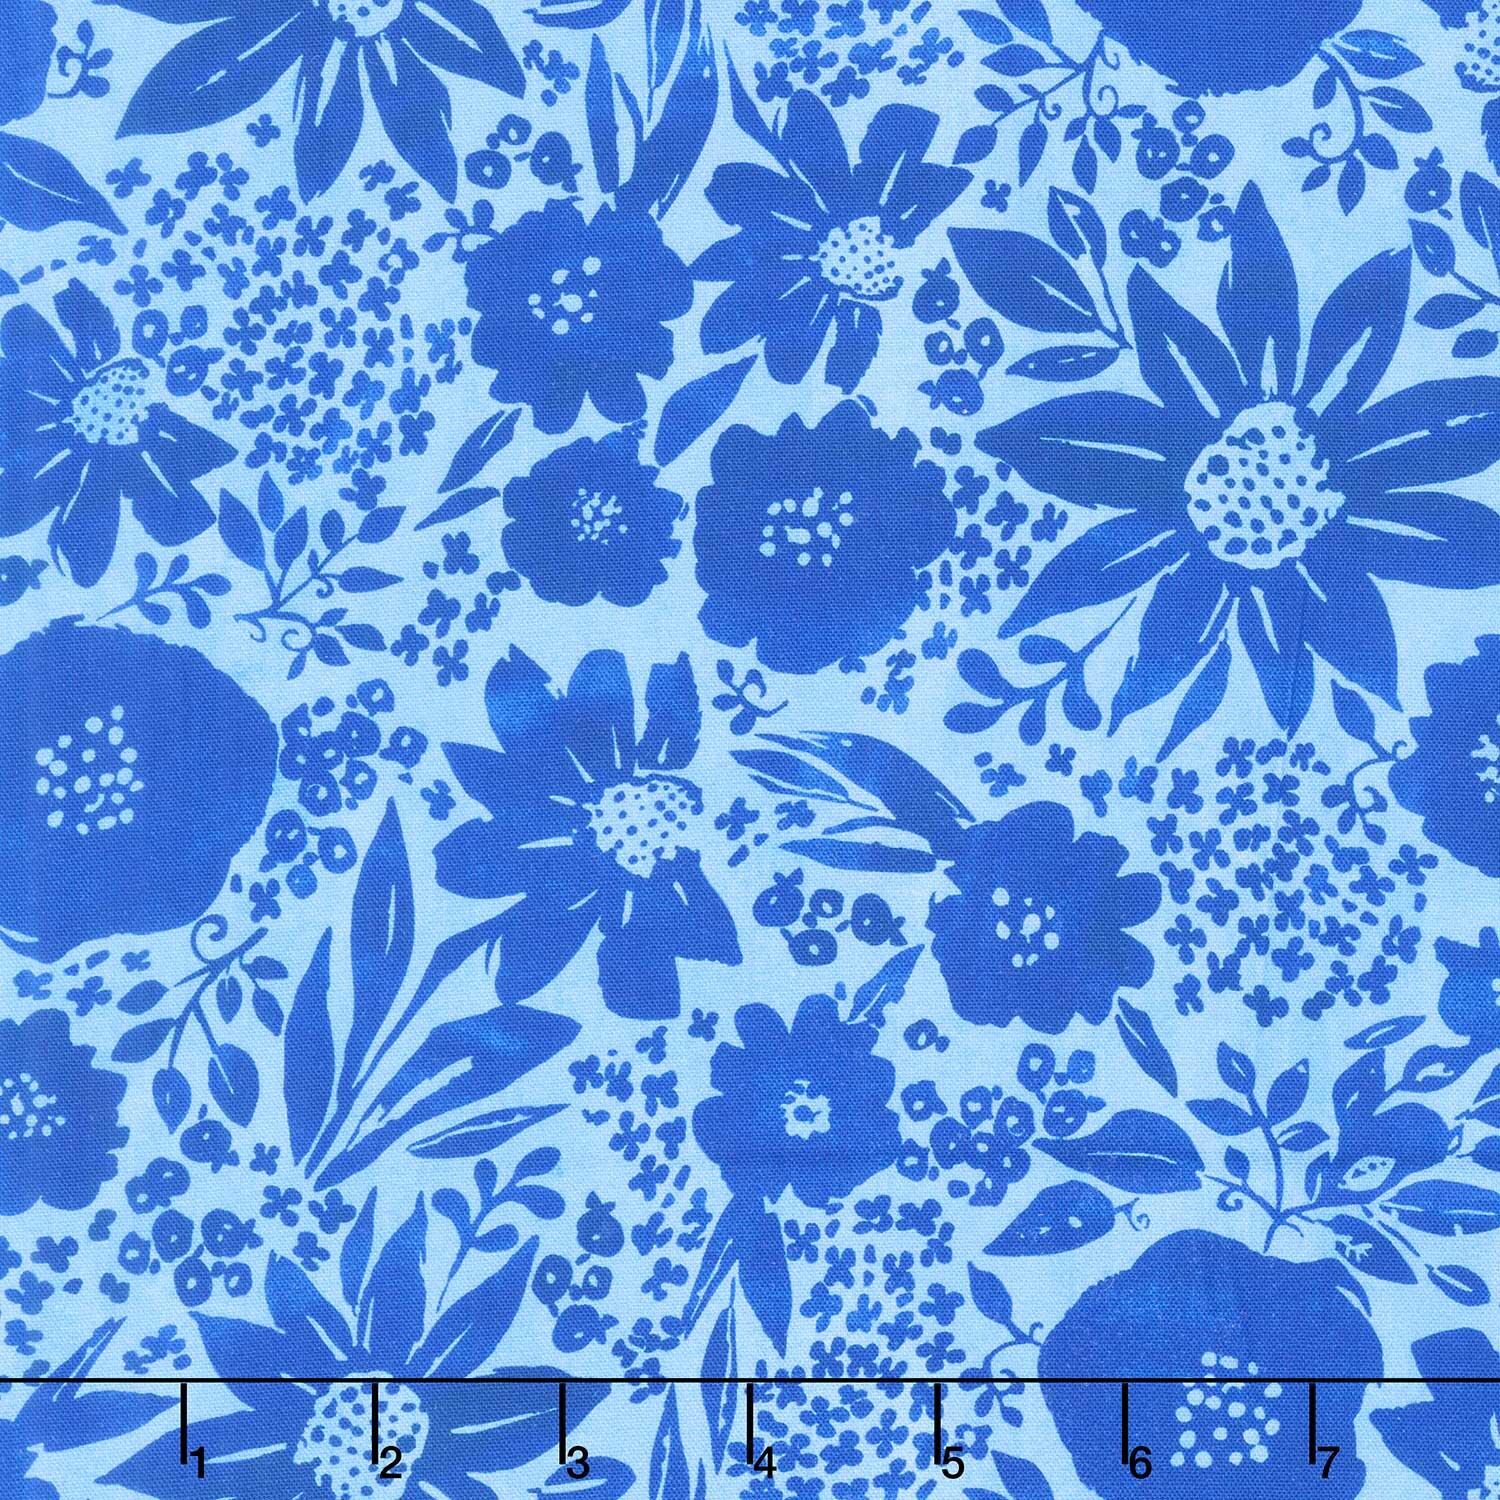 Indigo Lane - Large Floral Blue Yardage$12.40Shop →
 Missouri Star Nature's Best 100% Cotton Queen Batting - Natural$42.95Shop →
 Missouri Star 50 WT Cotton Thread White$7.95Shop →
 Missouri Star 5" x 15" Ruler$19.95Shop →
 Missouri Star Seam Ripper - Frida$9.95Shop →
 Missouri Star + Oliso TG1600 ProPlus Iron$209.95Shop →
 Bernette 77 Sewing and Quilting Machine$1699.00Shop →



