In this Double Take tutorial, Natalie and Misty switch things up—each creating a different quilt design while exploring the versatility of the Rhombus ruler with Colorworks fabrics. Follow along as they share tips for working with the Rhombus ruler and see how two different designs - and two distinct color stories - come together in stunning, modern ways.
Natalie is the host of Quilting 101, Embroidery 101 and the Creative Strategist and Editor of Block Magazine at Missouri Star Quilt Company. She was taught how to sew by her mom, of course, and began quilting when she grew up.
In this Double Take tutorial, Natalie and Misty switch things up—each creating a different quilt design while exploring the versatility of the Rhombus ruler with Colorworks fabrics. Follow along as they share tips for working with the Rhombus ruler and see how two different de...
How long is the tutorial video?
The tutorial video is 00:34:56.
Are supplies listed for this tutorial?
Yes. The tutorial page includes the supplies and materials connected to this project.
Video Transcript
Hi everybody. I'm Natalie with Missouri Star Quilt Company and today I'm here with Misty. Hey guys. And it's double take week. That's right. We love this week every month. It's such a fun challenge. My favorite. And today we're doing the rhombus tool which I think we've got some really really cool quilts to show you. And Misty, you're up first. All right, let's do it. All right, so this is my quilt. I absolutely love it. I'm so excited to share it with you guys. And I'm calling it Prism Stars. I think it just turns out really cool. It is so cool. I love it. Thank you. Sometimes they just come together better than you even imagine. And this is one of those for me. So to make this quilt, you are going to need one package each of black and white 10in squares. And all of the fabrics I'm using today are from Northcott's Color Works. Then of your lightest accent fabric, you need 1 and a3 yards. This is called aqua. Uh 1 and a3 yards of your medium as well. This is sealass. and 7/8 yards of your dark accent. This one is called seaside. I used charcoal for my background and you need four yards of that. For your backing, you're going to need 8 and 1/2 yards with vertical seams or I used a 108 in which case you need 2 and 3/4 yds of that. You're also going to need, of course, the Missouri Star rhombus ruler and a marking tool. So, let me show you how to make it. So, these are the big blocks that we're going to be making today. You just make a total of seven of them. So really it goes together pretty quick. These are so much fun to make. That's really cool. I actually think you could just make one and do a cute little table topper. It would be adorable. That's a great idea. So to begin, we're going to pair up all of our black and white 10in squares. And I'm going to have you sew a quarter inch on all four sides. Okay. So we're just going to make some half square triangles to start. Perfect. And you will do this with your entire pack. You're going to need every single one of those. So, awesome. Perfect. This and see if that Okay, it's probably enough. It looks great. And notice that the fabric was shifted. Not exactly. Yeah, that's okay. We are going to have plenty of excess on here. So, this part is very forgiving. Nice. So, now I'm going to cut this corner to corner in both directions. And that's going to give us four half square triangles. There we go. And because I'm trimming this down into a rhombus, I don't have to worry about squaring this up or anything like that. So, we're just going to press all of these to the dark side to make our half square triangles. Just one after the other. All right. And so then we want to arrange these all into pin wheels so that they'll be spinning all the way around just like so. And I went ahead and sewed one together just to save us a little bit of time. So, you're just going to sew that together into your pin wheel. And you do you want to make sure they're all going the same way or does it matter? Um, yes. You need every single pin wheel to be exactly the same so that they'll match when you put them together. Great call out there. Okay. And so then once you have your pin wheel made like this, we're going to take our rhombus ruler now and we are going to line this up and we're going to find that center intersection. Mhm. that runs just like so. We want to make sure that point matches our center pin wheel. And then we can trim this off. So, you have some waste here, but it was the easiest way I could find to do this, so I'm not mad about it. And just going to spin this a little bit. There we go. Make sure everything stays lined up. There you go. And so for every single one of your stars, you need six of these. Okay. And I do want to point out too, if you want, you can use a little ruler and you can save these little half square triangles. Yeah, it looks like about about 3 in from each corner and you get some little strips. So, some great things that you can still toss in your stash for later. Excellent. Yeah. Perfect. All right. And so now I have a few more of these cut. And we're going to begin by placing these right sides together. And you'll notice because of that pin wheel, we get this alternating black and white. And so I'm going to lay these and then we're going to set our template. So you'll notice on the ruler we have those little holes that are marked. Those are our quarterinch seam guides. And when you're using Y seams, that's going to be your start and stop point. You don't want to stitch past them. Perfect. So, we're going to mark that on the wrong side of our fabric once we have our two pieces together. And so, when we begin, we'll put our needle down right in that spot. Back stitch a little bit to lock it in place. And we'll go till we get to this other side. You do want to kind of watch and make sure that this little joint will match up as best as you can. Perfect. So, I'll let you go ahead and do that. You're going to do great. I'm nervous. I don't do a lot of Y seams, so we'll see how this hopefully I'll get. They're really not scary. Once you figure out, you just have to leave that quarter inch so that everything can nestle together and you will be set. Okay, I'm going to go nice and slow. So hopefully it turns out good. I believe in you. I'm glad you do. I'm not known for precision. Sometimes I think it's good to do projects like this and I and honestly a quilt like this with the blocks being as large as they are, it's the perfect way to tackle a Y seam. I went a little bit past can we just pick it pick it back like two stitches. Absolutely. Cuz it it just kind of I mean it kept sewing. It's the machine, not the user, right? It's it's habit, right? To just sew off. It is. Yeah. Okay. Perfect. So I got that backed up a little bit. Okay. And so you can see now we've just sewn from point to point there. That's perfect. And so now we will gently press this back. Because we have a lot of bias, you do want to be really careful not to stretch. Yeah. Just really just press. There's our first one. Excellent. And so we're going to do that same thing. Do you find that um starch helps? It does. So, like if you want to start at the beginning before you cut all of your uh shapes, it's totally worth it and it will okay it will be helpful in the long run. And so, this one I've already marked. Again, we have our start and stop points on the wrong side. So, we're just going to line that up and sew from point to point. And I assembled these kind of half stars to begin. Okay. I'm nervous. Don't be nervous. I promise it really is more forgiving than it looks. I hope so. Okay. And she's just going to zoom from one point to the next. Zoom. I'm not I'm going to turtle zoom. You're doing great. Whatever speed. Okay. There we go. Perfect. All right. So, we've got this first half. We'll do the same thing. Just gently fold this back. Give it a nice press. Beautiful. There is our first little half. You did so good. Yay. And so, you're going to do that same thing again. So you have two. And then we'll place those right sides together. And this time, no Y seam. You just have one long piece. But you still have to stop at the the quarter inch. Exactly. Okay. And so I've got that marked for you at the start and stop. And you're just going to really watch that middle cuz it can be kind of bulky there. And then your little I actually love having little places like this to go as you, you know, as you go along. Sorry. Especially if it's a long seam. Um because then you have a place to like make sure that you're not pulling one side farther than the other. Exactly. It's a little checkpoint to keep everything lined up. I feel the same way. Yeah. And so if you feel more comfortable with pins or wonder clips, use them at those points because it keeps you on track. Exactly. So I will let you stitch that. Helps me keep things square. Perfect. I should have glasses maybe. like those little dots. Yep. I should have used red or something so it would have been really obvious for you. Well, I do love that about that particular pencil. It has several colors like Well, not several, three. Yeah. Pink, white, and and pencil. That way you can see them on all your fabrics, whatever. Whether you have light or dark. I'm going to slow down and make sure that whole thing goes in there. Now, this might be one of those quilts where um if you are more comfortable pressing your seams open, yes, it could make things a little bit flatter. It will definitely reduce the bulk in the middle. I was going to say when we press that, I am going to press that center seam open just so it will lay smoother for quilting cuz there's lots of little seams meeting up there in the middle. Yes. Just remember to stop at that little mark. Perfect that time. And so then we will open this up and we will press that seam flat down the middle. Do you have any like um hacks for making that easy? Cuz sometimes I feel like it's just so fiddly. Uh, not really. Yeah. You know, I think it's like so many things in quilting, the more often you do it, the faster you get at it. Mhm. Um, but no, I don't have any great hacks. If you guys know any, leave them in the comments because I am I just take my time. Yeah, I do feel like I need to press it a little bit from the top first just because I want that to lay nice and smooth. There we go. And then we can come back and make that lay flat. And again, it's just to reduce that bulk in the middle because we've got all those seams joining together. Your quilter will thank you. Or if you're quilting it by hand, you will thank yourself. Yes. less layers to fight with. True. All right. So, there is our star. Isn't that so fun? So pretty. I love how the It's just It looks so complex, but putting together is really fast and easy. It really goes together quickly. It looks like you've pieced all these intricate little little gems or something, but it's it's really not that hard. I love it. So, now we get to add our accent colors around it. And so for all of the accent colors that you see, you're going to cut 8 in strips by the width of fabric. And so we are just going to take our rhombus ruler and it will sit on just like this. Okay. And so we can make this first little cut. And then I can flip this one around. Now, I in my experience with this ruler, I was always trying to start this way, but I ended up cutting a little bit too far, which made it so that I couldn't put the ruler right on the fabric. So, I found that if I cut the long side first and then pull it away and then cut the notch, I save myself on being able to continue. Yeah, exactly. Yeah, that's a great call. So, just a little tip that something I I started doing. And, you know, once you do it, your muscle memory kicks in and you're like, "Okay, I I can do it this way now." That makes great sense. But I just had a few issues. Hey, and those are the things that as we do, we learn, right? And so if we can save you guys a little bit of fabric. Exactly. That's the perfect thing. Okay. So now I'm going to mark all three of my points here. Let me see if I can switch to the white. So I've got this one, this one, and this one. Those are our quarter inch points. those three little dots. And so now we're going to begin by adding just one here. Stopping at that point. And then we will adjust our fabric, line up this other one, and you'll have set it in. You'll do a set in Y seam. All right. This will be like my second time ever. You got this. I know. The first time I did it was with Courtney. Um, we were doing the It's the honeycomb uh summer frames, I think. Yep. Still scary. It can be. It is one of those um sewing skills that used to really make me nervous, but yeah, especially like I said on blocks this big, it's very forgiving. Oh, and it is a Yeah, it this is a really nice way to practice that specific skill. You just want to let the feed dogs do the work. Don't do a lot of tugging. And um it'll work out. Okay. Makes make sure you back stitch when you get to that. Oh. To the point or the dot. The dot. Okay. Because as you adjust it, you might do a little bit of tugging and you don't want this. You don't want to pick have it pick out because then you'll end up with like a a hole a hole in your quilt, which where's the back side on here? Oh, there it is. Yep. I don't know if I'm there or not. I can't see. Almost. Okay. Perfect. All right. So then now we can see she's got to that point almost. It looks great. It's good enough. And so now we're going to fold this over. Okay. And we're going to line up just like we did before, starting at that same point and stitching till that one. And you just flip your fabric out of the way. All right. And it's really that simple. So really, you're still sewing straight seams. And if you get confident, you can leave your needle down there and just pivot and pivot under the machine. Oh, see that might be something I would want to do in the future because I don't like the idea of like lifting it and then potentially having that space that gap that gap exactly or hole where you know is what it looks like after you get when you pull it back. Just want to make sure it stays nice and straight. And it looks great. Do I want to back stitch here? Yeah. Honestly, I try to make a practice of backstitching every time when I'm doing Y seams just cuz I don't want to risk those popping loose. Okay. Perfect. Yeah, it looks so good. Look. And it rolls back. Is it okay? It's perfect. It looks beautiful. Yeah. Okay. All right. Looks really great. So, let's go ahead and give this a press to mark some more of these. Or are we going to do some more? I don't think we need to. I've got some finish blocks. And so, you just repeat that all the way around until you've set all of those in. Excellent. And just be really careful, like I said, as you're pressing because you've got that bias, you don't want to distort these blocks. So, just be be gentle. And then once you you've added one to all of your little star joints, you get these big hexi blocks. which are so fun. And so you can see this one sits in here, right? And I alternated on these outer ones between the light and the mediums. Uhhuh. And then the dark is just in the middle. And so then I finished it off with kind of this diamond block that you see here. And so that's just my uh rhombus shapes, right, that are just set in. And then we've got a giant hexagon. That's so cool. And I just cut some triangles out of my background fabric to finish off these outer corners. Squared it up and put a 2 and 1/2 in border around the whole thing cuz I wanted it to float. Yes. Yeah. I love it. Thank you. I think it turned out so fun. It finishes at 90 by 94. Wow. And I quilted it with Baptist fan. And this is the backing. Oh, that's perfect. It really worked out great. So anyways, that is my Prism Stars quilt. Goodness, I love it so much. And it really is a great way to practice those Y seams without it being too fiddly and tiny. I think so, too. So, I hope you guys will give it a try. And Nat, I think you're up next. All right. All right, Nat. So, this is your quilt. It is so cute. Oh, I'm glad you like it. It's fun and easy to make. So, let's get started. All right. So, to make this quilt, you're going to need some solids. And I've used all Color Works premium solids for this one. You'll need a yard and a quarter of a light, and I've used ultraviolet. You'll need 2/3 of a yard of a dark. This one is called Heather. A yard and an eighth of an accent color. This one is called Frosted Mint. And that includes the 2 and 1/2 in border that I put on the quilt. Perfect. And then your background fabric is um this one is porcelain. And you'll need 2 and 5/8 yards of that color. And then the backing um 3 and 7/8 if you want to put a vertical seam in it. or if you're using a 108, which I have used. It's this beautiful case, it's uh a yard and 7/8. Perfect. The other thing you'll need is whatever your favorite squaring tool is, cuz we have some half square triangles, and then the rhombus ruler, and you should be good to go. All right, let's do it. Okay, so this quilt is made up using two blocks. So, we've got our square and a square or kind of hourglassy looking block made with half square triangles. And then we have our rhombus block, which I think is kind of fun because we just added these two pieces and then square it. So cute. I think what we'll do is start with our half square triangles. It'll be the a quick and easy one. Um so you're going to want to cut some 10in squares from your fabrics. You'll need to cut your background and your light and your dark. So I've got those strips cut and then I've got my 10in squares. And what we're going to do, I've already got the dark squares made. So, we're just going to do a light set. Okay, perfect. We're always going to pair a background with a color and we're going to draw um a line corner to corner because we're making eight for this method. Line that up. I guess I'm not going to draw with my rotary cutter. You could try, but I could try. Get in the habit of just picking up whatever tool is closest to. Not always the right one. All right. So, drawing a line corner to corner and we're going to stitch on both sides of both lines. Okay. Trying to get a quarter of an inch. These blocks um they come out kind of tight. It's a really good use of the fabric. So, make sure and give yourself an accurate quarter of an inch as best you can. Okay. There we go. I really love this method for making half square triangles because you just get such a big bang for your buck. Exactly. So, we're going to do equal an equal number of sets of light and dark because we mix and match. We're going to cut our vertical and horizontal cuts first because if they get mixed up, then you have the lines drawn to cut the other directions. And I try to keep everything really um just let it be still. And then move your body from side to side when you're cutting. That way I don't necessarily need a spinning mat. Although it can be helpful if you if you need one. Exactly. This is a great a great time to use that. All right. So we've got eight here. We only need Oops, that didn't quite cut all the way through. No worries. Okay. We've got eight and we only need two of the lights and two of the darks to make our block. Perfect. So, I'm going to go ahead and press these. Setting my seam and rolling it back. You can use your clearly perfect if you'd like, but because these are four and a half and our block lock has a four and a half size, it's very convenient. I like being able to just lock it in and trim all the way around or line it up with one straight side and just trim those two corners. I feel like it works very, very nicely for me. I love when I can use the four and a half block. It's just so precise. It is. And it makes it you just know it's it's right. Exactly. All right, one more. See, these are very close. There's not a lot of waste. It's perfect. Okay. So, I like to get these all laid out. And what I'm going to do is make sure that I've got my opposite colors. So, I have my light and dark and light and dark. And then I like to stitch these together using this open side because if sometimes when I stitch at the pointed side, I get the fabric caught underneath my presser foot and it sucks in. So the other thing that's really nice about these is because they are identical, you can flip all your fabric around like this, you can stack them up just like so. And then just chain piece the entire pile so the whole quilt gets together starting at one end. That's the nice easy end. that's not going to get caught up. So, it makes your piecing go a lot more smoothly and you'll get through all those blocks faster. Exactly. And Yeah. And you don't even have to then lay out each block individually. You can just make sure they're all stacked the same way with the dark up and you'll be good to go. Perfect. So, go ahead and stitch those two together using a quarter inch. Not a lot to line up yet. Okay, there's one. I always love something that makes it so I can do the whole the whole thing. I can do all of it without having to think too much about it. All right, so now we're going to go ahead and press these. And I do set my seams. And then I press them back both the same direction towards the dark. And then when you flip them, they're going to automatically nest, which is so nice. So handy. And then you can just take this whole stack and stitch them back together because you'll see that you're going to have your lights and darks and they just work. So we'll sew those up. Got an automatic nest there. Perfect. I love the way that I think because we used lights and darks, this quilt has a a little bit of a dynamic effect, but it's very simple to put together. It has great movement. I love that. There we go. Excellent. Oops. And there you have it. Now, this block should measure eight and a half unfinished. Block one is done. Block one is done. All right. So, now we're going to make our little rhombus block. So, these This is kind of a fun thing for me because um I really wanted to try and figure out how to make the rhombus into a square. Sure. And so it was a little bit of a challenge. So we are going to use all 4 and 1/2 in strips from our fabrics. And we only need our um our green and our light purple and our background. So we'll cut from our purple and green our rhombus shapes. And these are a little bit long. I was looking to make it match the 8 and 1/2 perfectly. So it needed to be 4 and 1/2 wide. And then I thought let's make them a little bit longer. So it looks kind of cool. So they're five long but four and a half wide. Perfect. But cutting all of your strips at 4 and 1/2 helps to keep everything straight. You can really tell which way it's supposed to go. So it's not it's not as crazy as it sounds. You know, sometimes we like if something is only an inch difference or a half inch difference, you worry that you'll put it in sideways. Yeah. Turn it the wrong way or something. Exactly. It's It's not really possible here. Okay. Awesome. All right. So we've got four and a half wide. So, we're going to line it up with our five. And look at our five inches here. We want to make sure that our point doesn't hit like our salvage. Okay. So, slide that over just enough. And then I go ahead and cut that straight off. Move it. And then cut my little notch. And then I'm going to just flip it around. And I'm actually I'm going to flip the fabric, not the ruler. Line that up with your five inch on the edge there. And then cut the other side. Perfect. All right. So, those are cut and ready to go. So, now I'm going to cut our background squares. So, what I needed to do was cut a piece that could go on the top and bottom um but not have so much waste. So, these ones end up being 4 and 1/2 by three. Okay. So, you'll get quite a few off of that. Same idea though. You cut the rhombus. I'm cutting the rhombus shape here. It just made it very straightforward and easy for me. You don't have to worry about measuring and whatever. Like it's just very straightforward, beginner friendly, I think. So again, I'm going to flip that around and then we're going to line it up with the 3 in mark. So these are 3x 4 and 1/2. And then we've got all the pieces that we need for laying it out. So to lay this block out, and we're going to do them all the same. We're gonna have one that goes with with the green on the left and then our light purple oops on the right. So you can see how that lines up. And then these ones you just put in opposite. And it's really nice because if you were using a print you would need to make sure that these were all mirrored. So you just to do that all you have to do is fold your fabric in half and they will automatically mirror. Right. But with backgrounds or I mean with solid fabrics you don't have to stress. Yeah. And you can use them either side. I love that. So, um, just keep that in mind, though. If you did decide to use a print for this, you want to make sure everything mirrors. All right. And then we're going to put one on the bottom. And you just keep them going in the same direction. Then we'll sew this all up and square it to 8 and 1/2. Okay. So, the first thing we'll do is go ahead and stitch this one here using your quarter of an inch. Oops. Seam. And I love how those notches let everything line up so nicely. Yes. It's very easy to keep everything straight. You don't have to guess about, you know, laying something over. And then now you're going to just add this one to the bottom. I didn't cut that notch, but it's still going to line up on the bottom side. Perfect. And if you don't cut it, you just have that quarter inch overhang on the top. So you're fine either way. And I've already st sewn the green one here, so it's ready to go. I'm going to press these back. Whoops. I keep stepping on the iron cord. Not great. Don't do that at home. Yeah, it's getting in our way today. Okay. Now, we're just going to go ahead and line this up like that and stitch these together. You might want to make this one just a tiny bit scant because we want to be sure that um that we have our 8 and 1/2 inch wide. Okay. So, and I think you want to make sure that your points get lined up. Lined up. Okay, you got it. Let me just make sure. Yeah. So, on these, if you wanted to, you could do one set where you press towards your background fabric and then the other set where you press towards your um your colored fabric. That would help with the nesting of the seams and the bulk. But, it's really it's not too much. So, if you don't, no big deal. Okay. I tried to make it a little scant. No worries. This is going to be great. All right, I'm going to set this seam and then we'll press it or roll it back, however you want to say that. So fun. Even just columns of these little blocks would be such a fun quilt. Very, very cool. I do love the rhombus shape. I feel like it's there's so much opportunity for soatile design and um yeah, I really love it. I agree. Okay. So now all I'm going to do here is square that to 8 and 1/2. And I've got a it's a 10in ruler. But what we're going to look for is um our 8 and 1/2 width, which this is pretty pretty straight on. So then the other thing I'm looking for is here. I'm going to do about a/ inch here and a half inch here. So I'm looking for my 8 and 1/2. And typically I will just start with my point because that is very straightforward. It's right there at that half inch mark. And that way all of your blocks end up being centered. That's how I center them up. That makes sense. Yeah. So this center line, the seam line should be on your four and a quarter. And then your little half inch marks on the tops and bottoms um should be at 8 and 1/2. And you're going to go in. Yeah, it it looks a lot of words. All right, so let's cut this one. So we've got that there. I'm going to go ahead and trim this little side just a tiny bit. Makes it nice and square. Flipping that around and then lining it up with our 8 and 1/2 in marks. Double checking that I'm still lined up here. I'm still at half an inch. I'm still at 4 and 1/4 there. And then you can see these ones here. We're still at about that half inch mark. And if yours aren't exact, just center them and try to make them all consistent. Yeah, that makes sense. a big deal one way or the other as long as they are pretty pretty similar. Well, and honestly, they're not really lining up with anything. They float. So, in the end, you probably won't even hardly notice. Exactly. This is just my brain looking for things. I always have to have something that I look for, right? So that I can get things that come out consistently. Perfect. And it does. You've got that half inch on both the front and the back. So, it works perfectly. So, it works out really nicely. And that's it. This is your block. So cute. So now what I did is I just um I started with my center. This is sort of a center out quilt. And you'll want to just lay it out. And then you've got some blocks that turn all the way around. These ones I went ahead and just mixed them up so that you know you've got like darks coming through here and lights. They're you could do them all going the same direction if you wanted to. It really doesn't matter. That's so fun. But yeah, they just fit in just like this. They're all the same. And then your little half square triangle block just sets right next to it. Just alternating between just alternate a little bit. Not not super crazy. That's so cute. And then is it just a little two and a half inch border? Two and a half inch outer border and it comes together really quick. That's so so fun. So let me show you the backing here. So I've used this really beautiful cave print. I love the large florals and the bright colors. I think it's really fun to put something a little bit wild on the back of a solids quilt. That is gorgeous. It's machine quilted with KP Mexican tile, which I feel like is just it adds so much movement and dimension to the quilt. So, this quilt ends up being 60 by 60, which I think is a great size for um picnic. It's a great wall hanging size. Good for toddler beds or whatever, whatever you want it to be. And obviously, if you wanted to just make it bigger, you could just keep on going. That's right. So fun. And I think solid quilts are just great. They really are. These turned out so fun. I loved them both. These both turned out so fun. I love the rhombus. I have so much fun playing with the rhombus, too. I feel like there's so much opportunity for creativity. Yes. And a wide variety of quilts that can be made with this tool. I love it. I think so, too. We gave you two fun ideas. I hope you guys will give them a try. And we will see you next time on another Double Take. Bye.


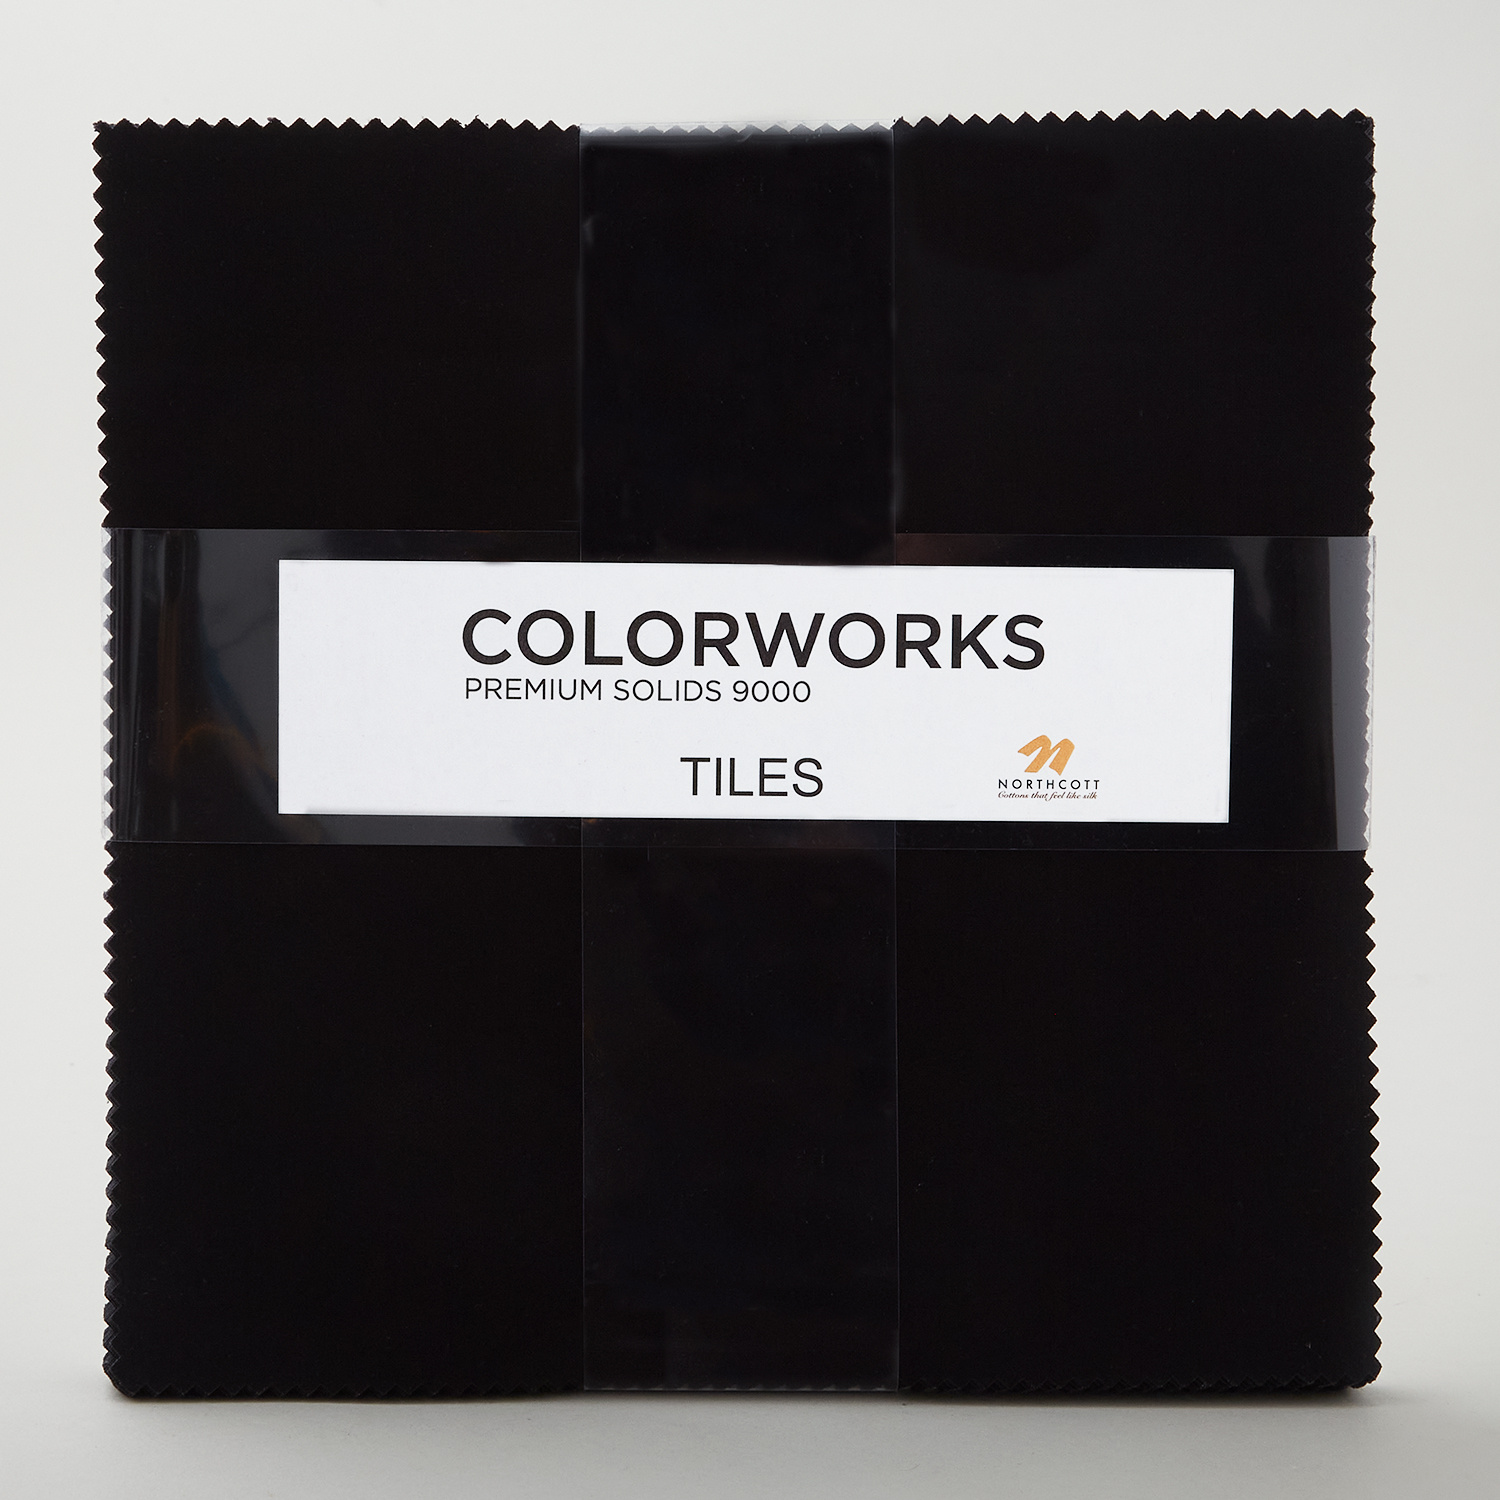 Colorworks Premium Solids Black Tiles$37.10Shop →
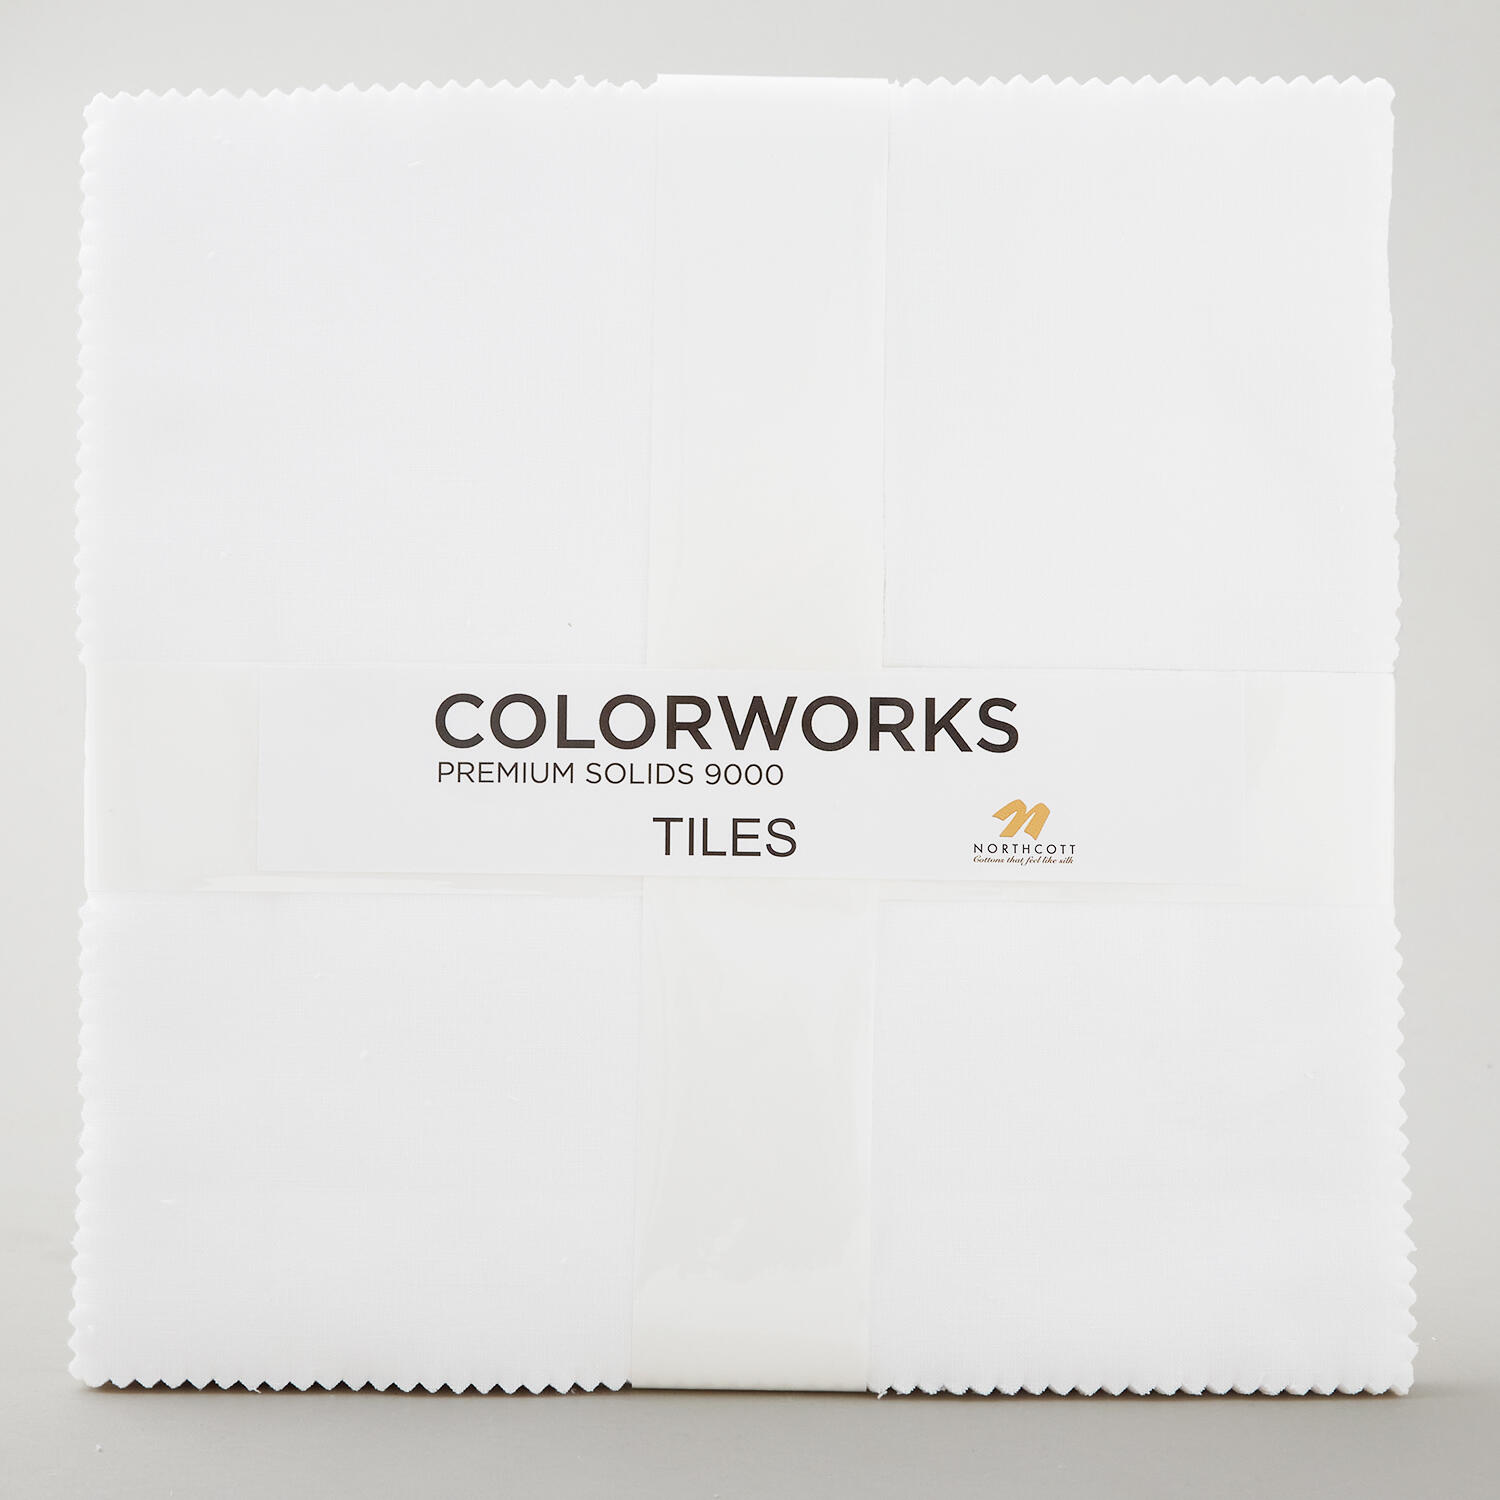 Colorworks Premium Solids White Tiles$37.10Shop →
 Colorworks Premium Solids - Shadow Yardage$8.96Shop →
 Colorworks Premium Solids - Aqua Yardage$8.96Shop →
 Colorworks Premium Solids - Sea Glass Yardage$8.96Shop →
 Colorworks Premium Solids - Seaside Yardage$8.96Shop →
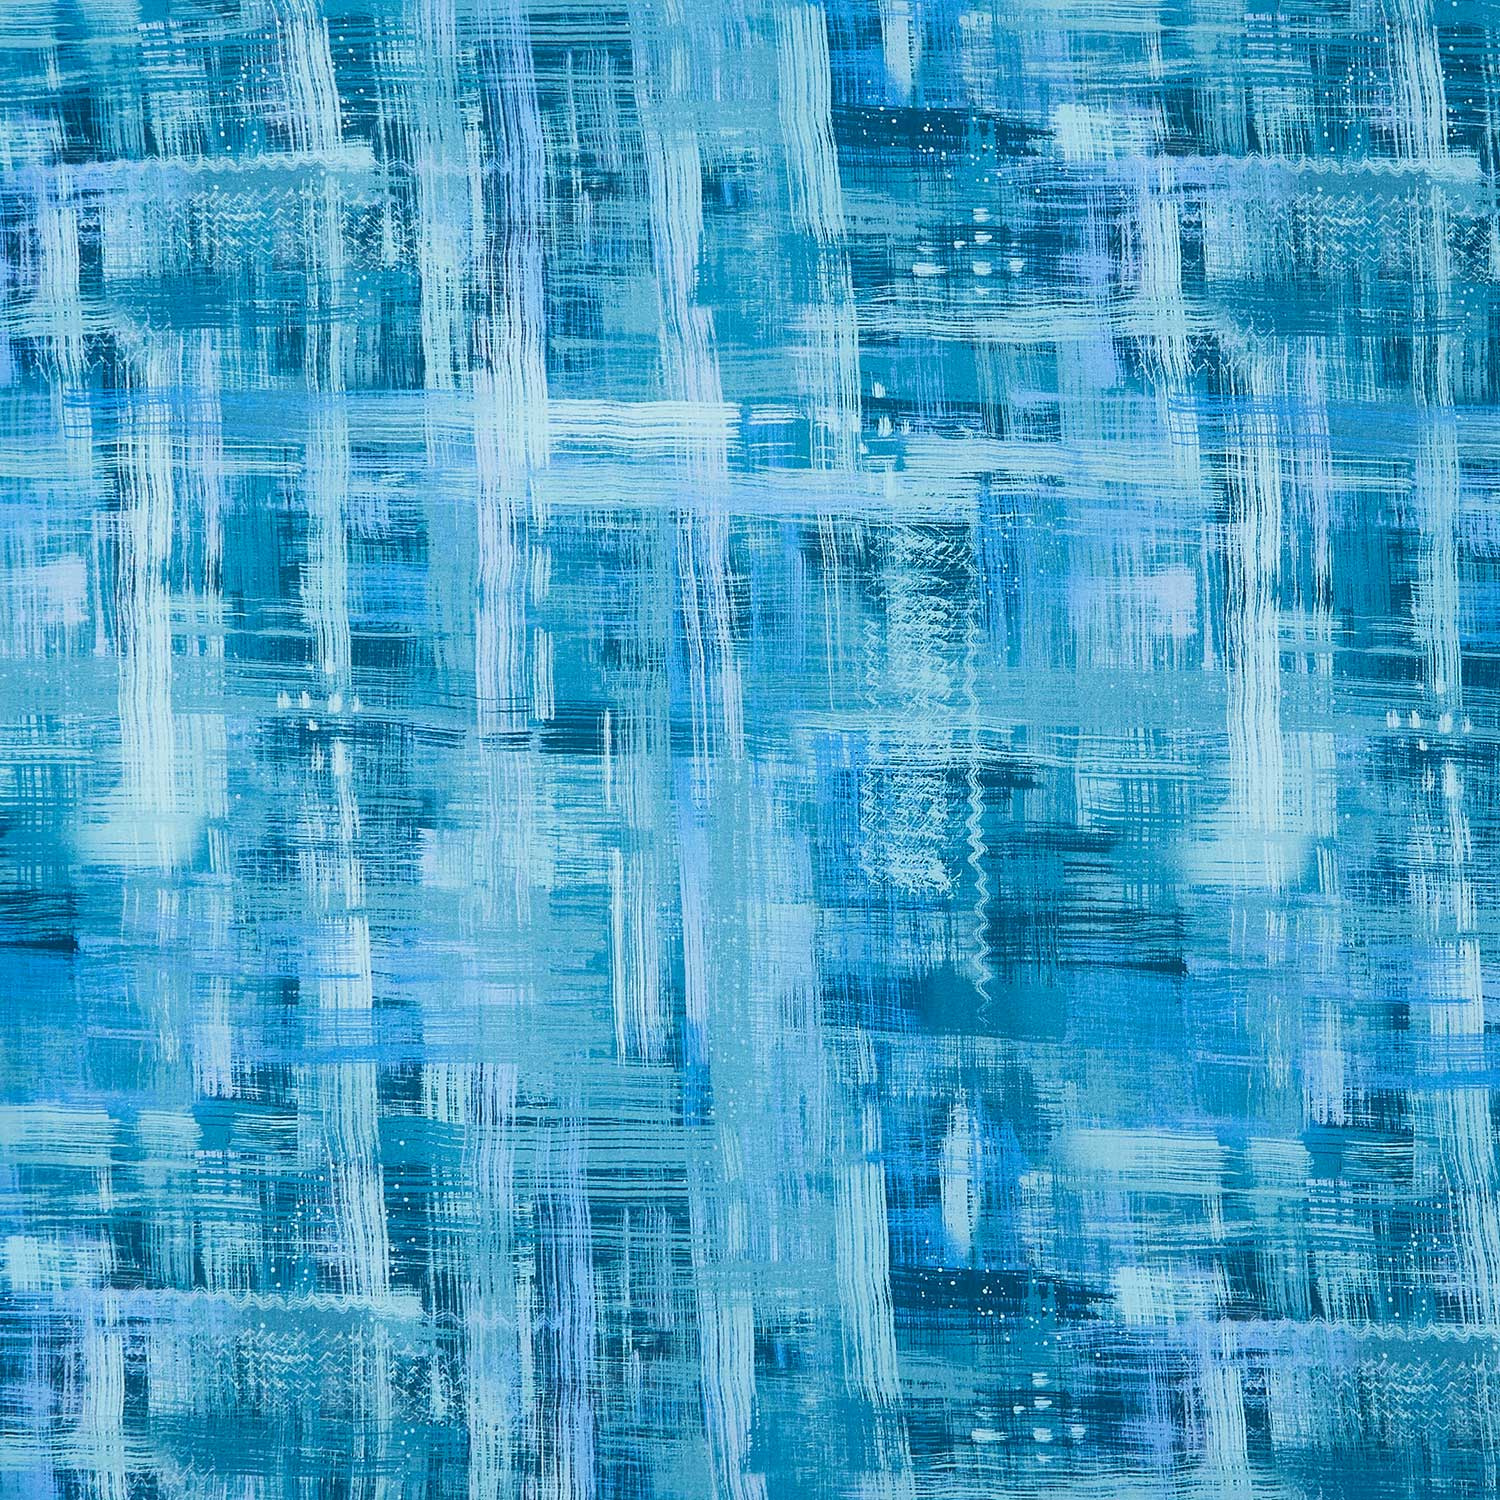 Colorfield Quilt Backs - Aqua 108" Wide Backing$20.00Shop →
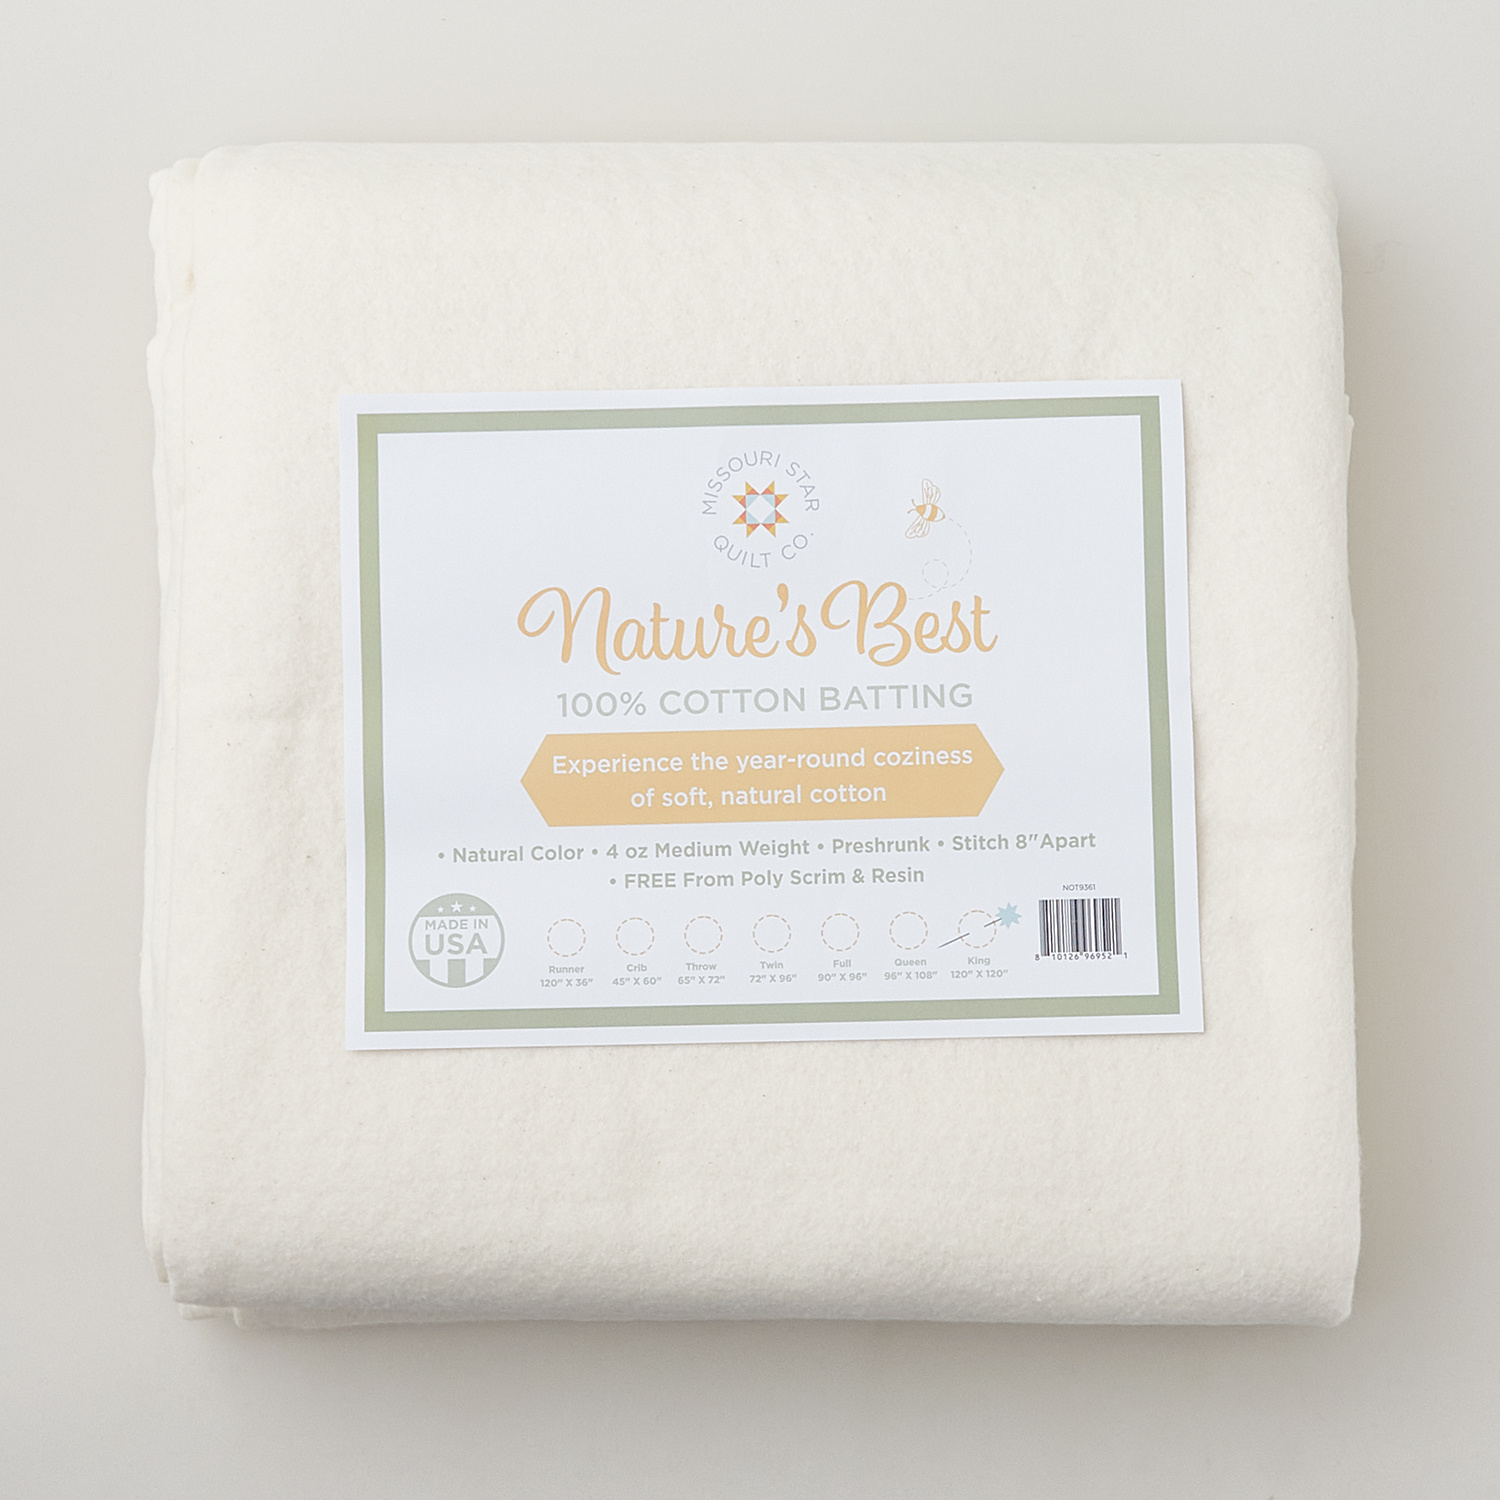 Missouri Star Nature's Best 100% Cotton King Batting - Natural$54.95Shop →
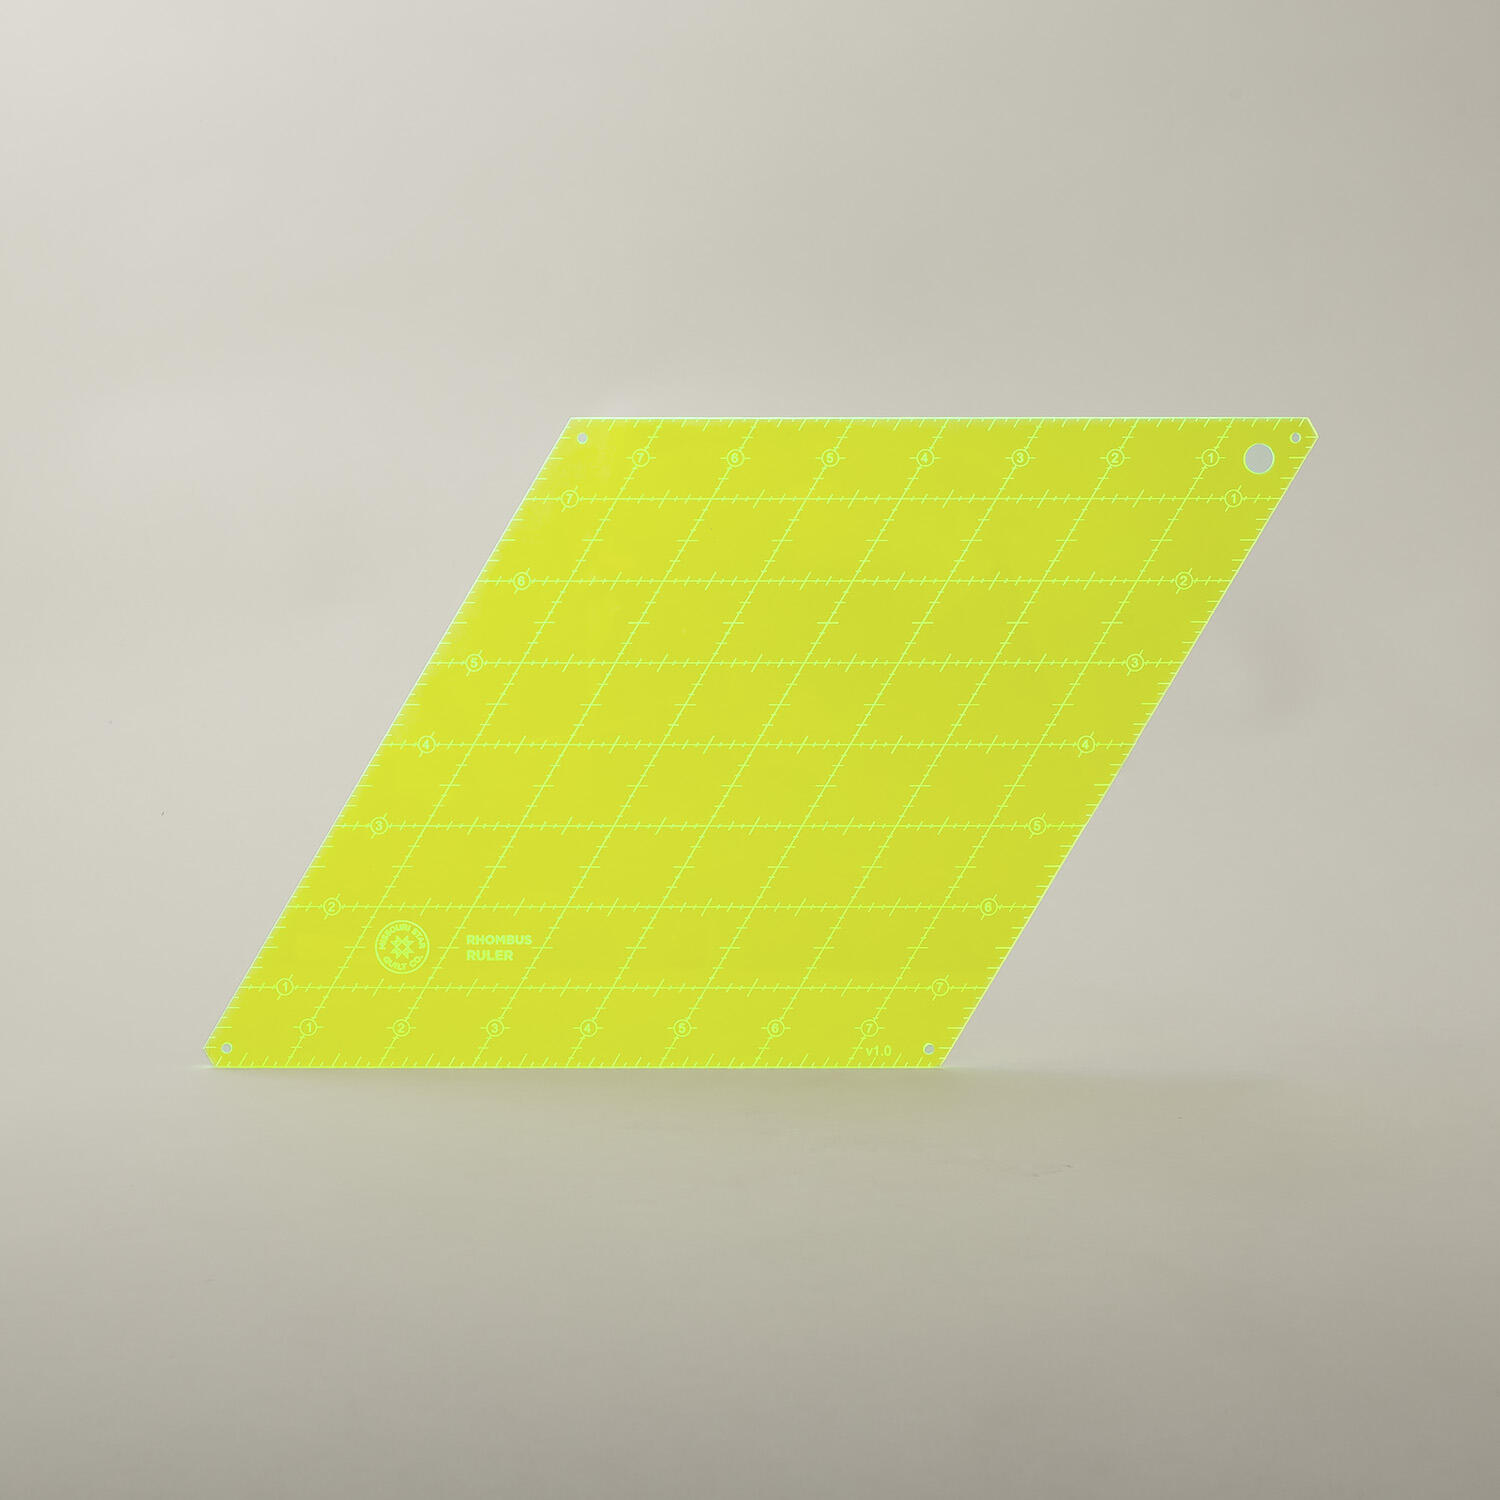 Missouri Star Rhombus Ruler$19.95Shop →
 Colorworks Premium Solids - Ultra Violet Yardage$8.96Shop →
 Colorworks Premium Solids - Heather Yardage$8.96Shop →
 Colorworks Premium Solids - Frosted Mint Yardage$8.96Shop →
 Colorworks Premium Solids - Porcelain Yardage$8.96Shop →
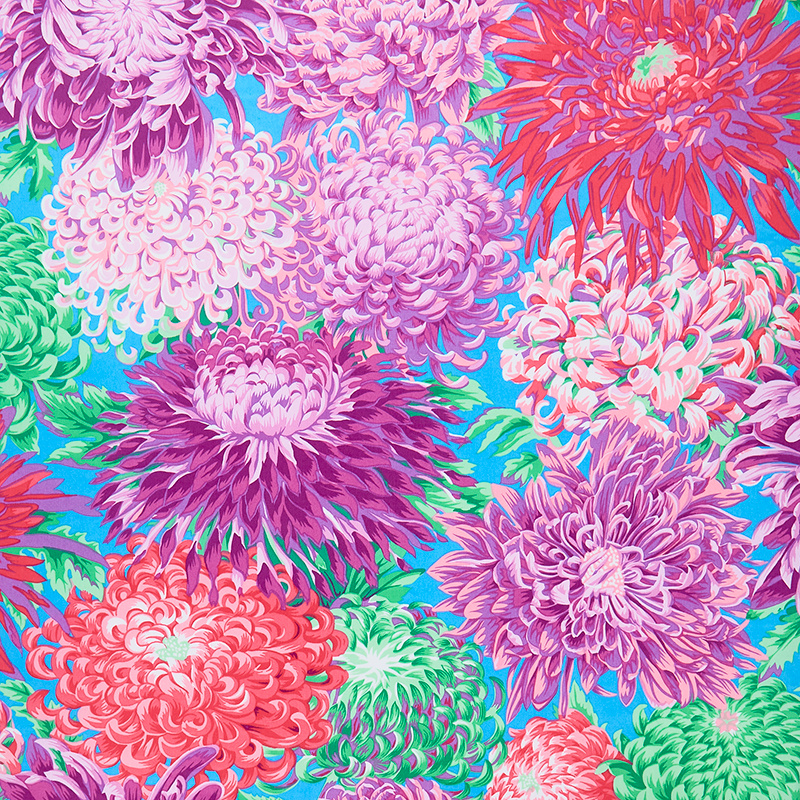 Kaffe Collective - Japanese Chrysanthemum Magenta 108" Wide Backing Yardage$27.76Shop →



