Skip to content

Free quilting video tutorials from Missouri Star

Quilting Tutorials
Double Take - Ribbon Star

Double Take - Ribbon Star

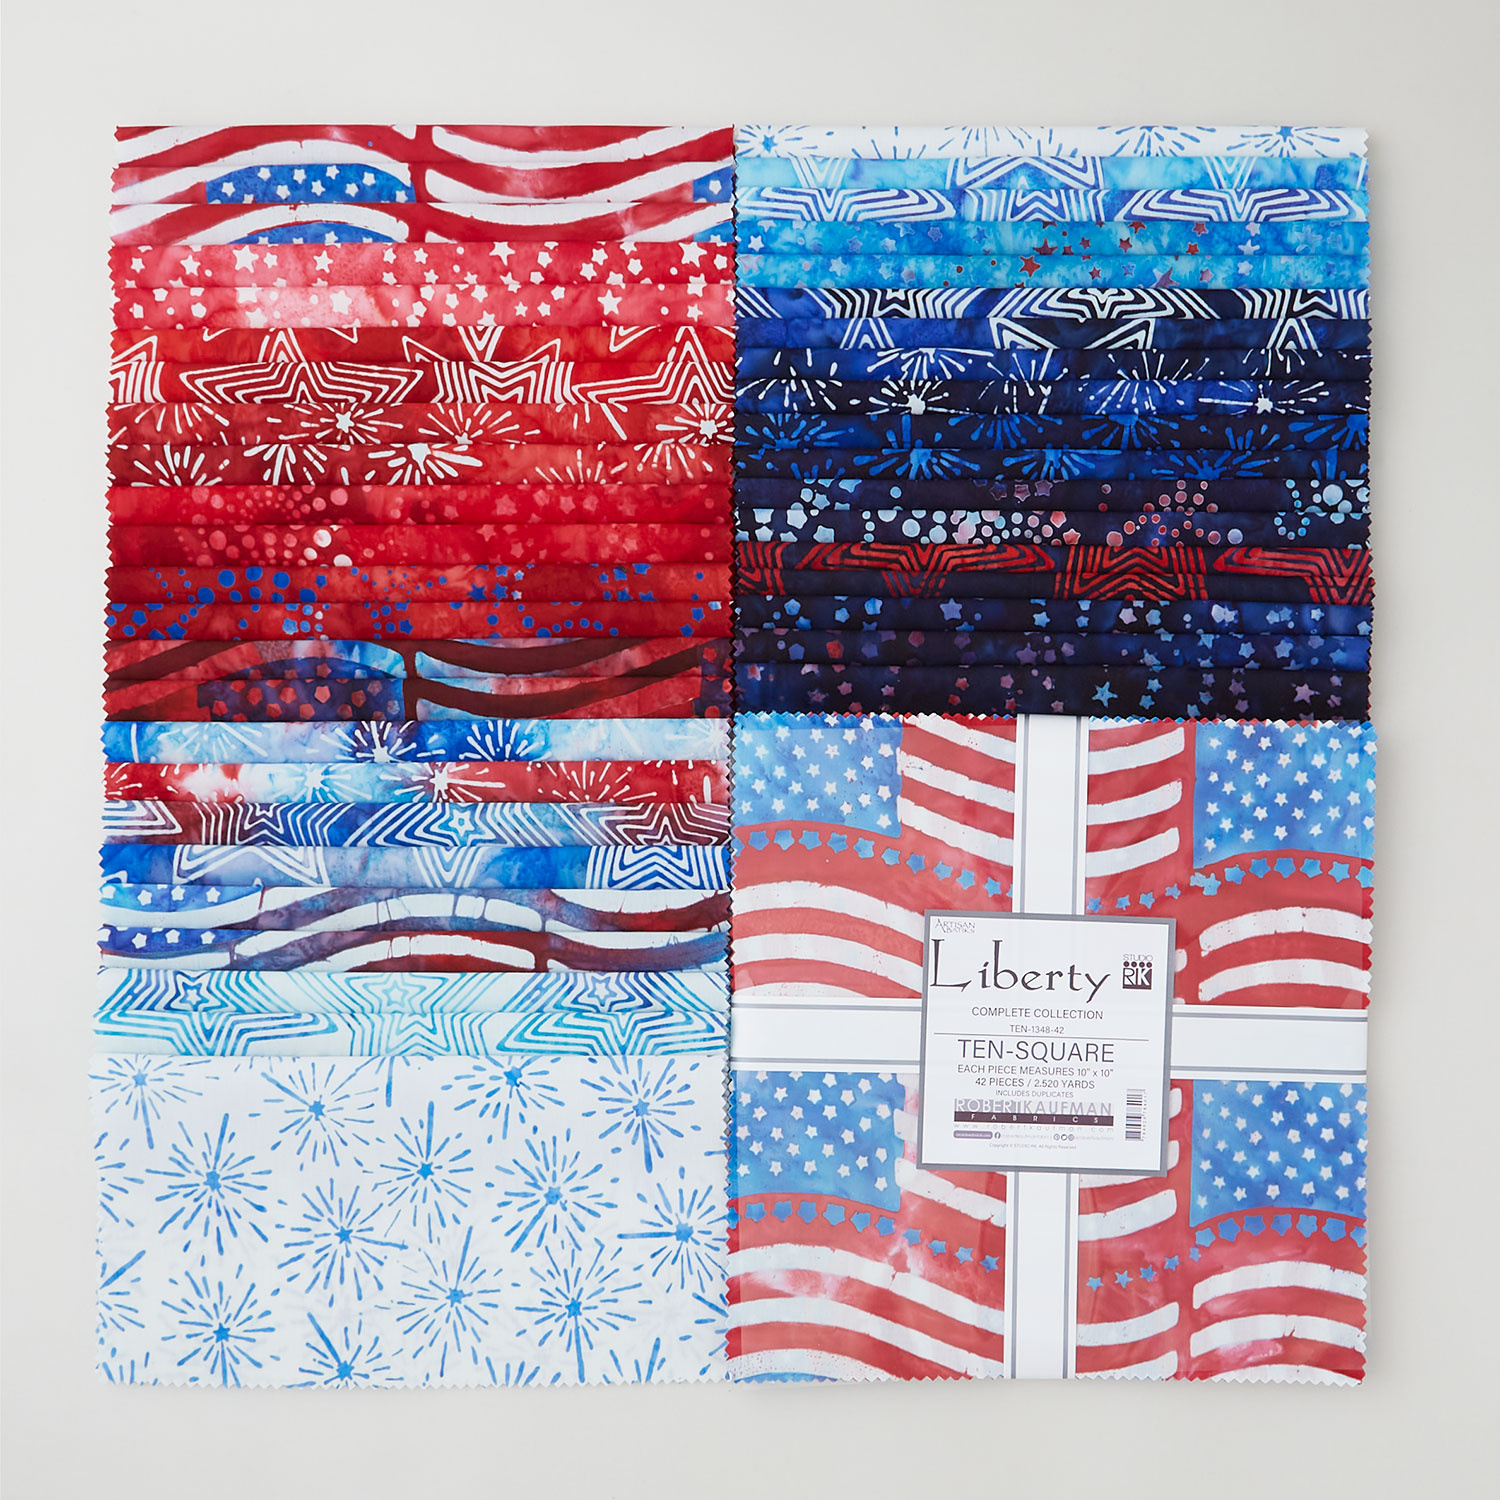
When Jenny made the Ribbon Star quilt in 2015, she said: “If it wasn’t easy, I wouldn’t be teaching it!” 10 years later, Misty and Natalie have two new takes on this Missouri Star favorite. Each quilt is made with precut layer cake squares, and they’re just as easy as Jenny’s original! Natalie’s Jubilant Ribbon Star quilt is made with Star Spangled Beauty by Maywood. And Misty’s Radiant Bursts quilt is made with patriotic Artisan Batiks Liberty 2 from Robert Kaufman.

Instructor

Natalie Doan

Natalie is the host of Quilting 101, Embroidery 101 and the Creative Strategist and Editor of Block Magazine at Missouri Star Quilt Company. She was taught how to sew by her mom, of course, and began quilting when she grew up.

Common Questions

What is covered in Double Take - Ribbon Star?

When Jenny made the Ribbon Star quilt in 2015, she said: “If it wasn’t easy, I wouldn’t be teaching it!” 10 years later, Misty and Natalie have two new takes on this Missouri Star favorite. Each quilt is made with precut layer cake squares, and they’re just as easy as Jenny’s...

How long is the tutorial video?

The tutorial video is 00:20:40.

Are supplies listed for this tutorial?

Yes. The tutorial page includes the supplies and materials connected to this project.

Video Transcript

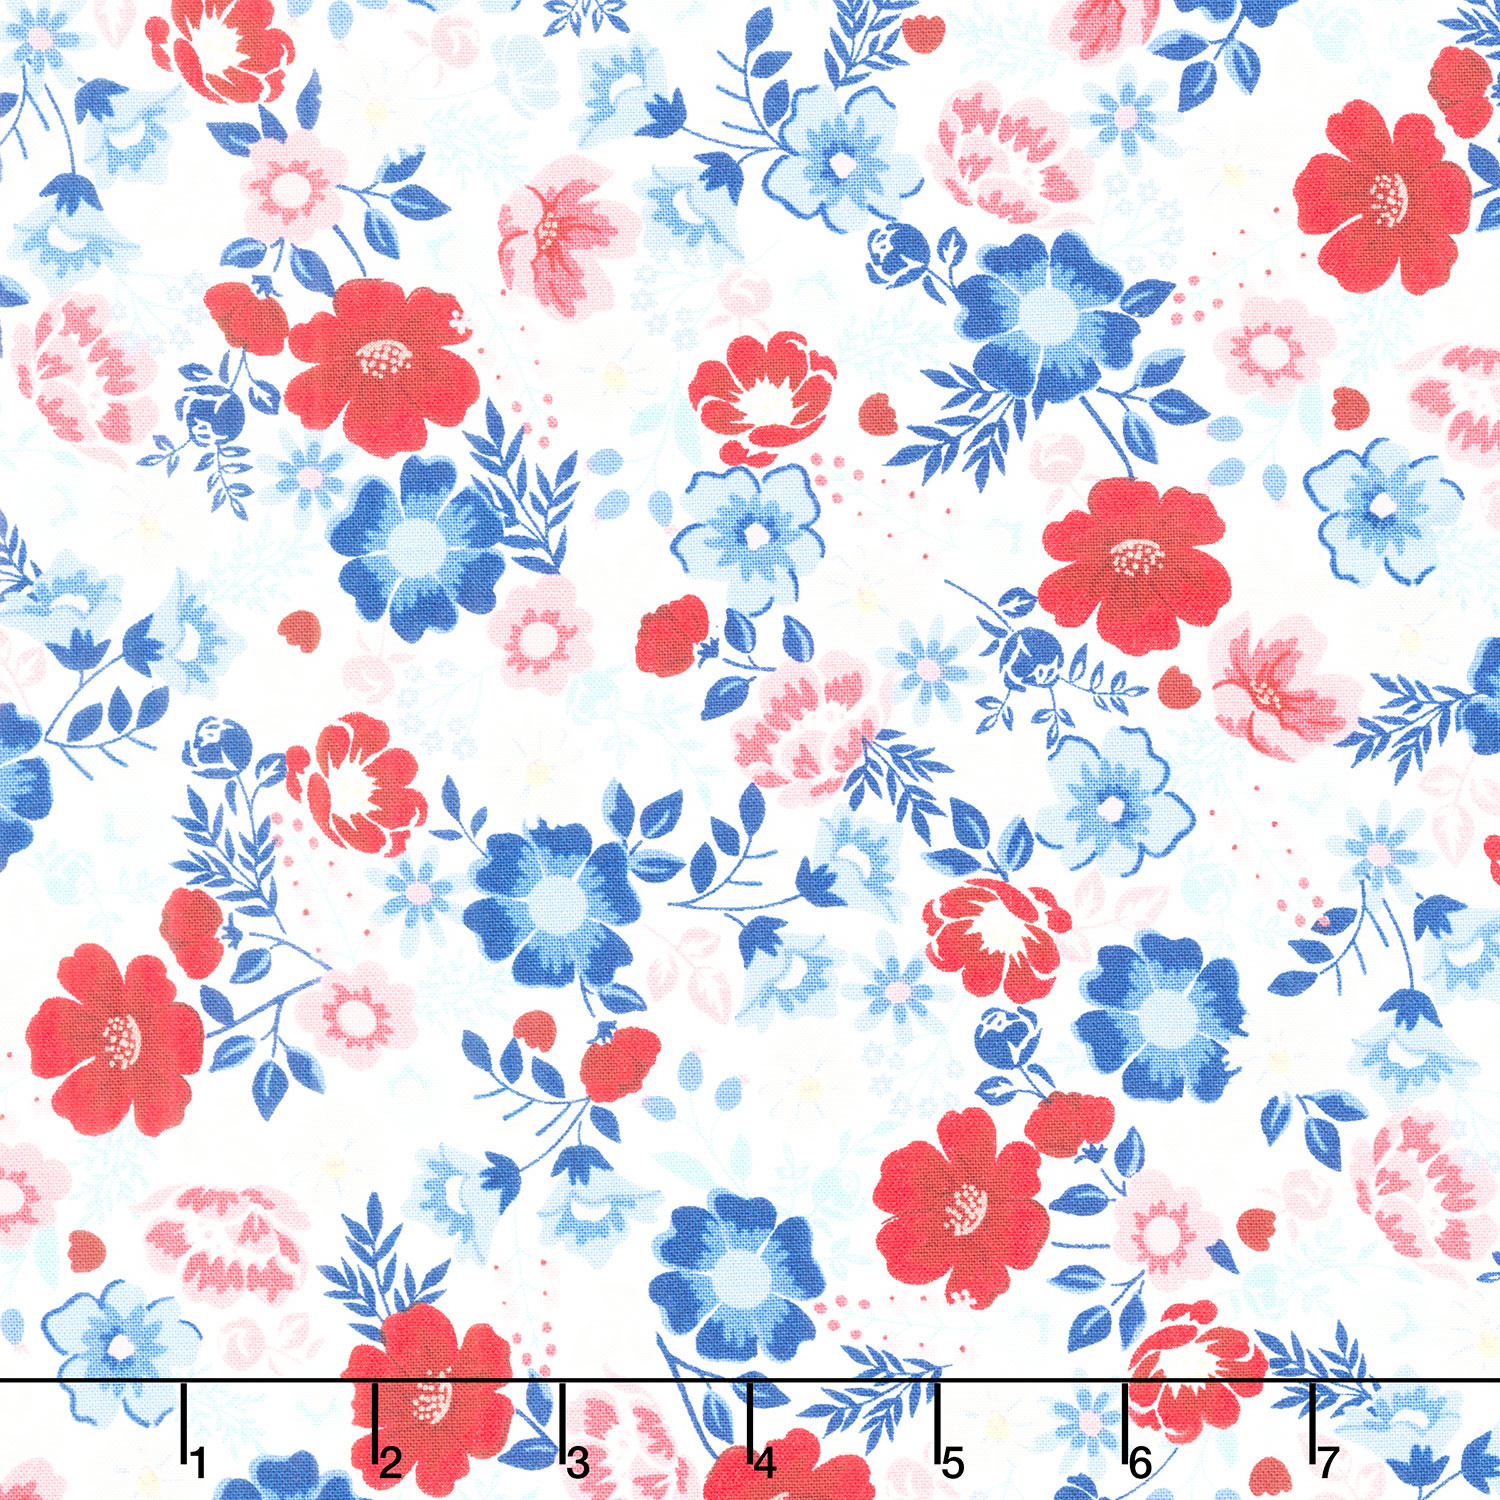
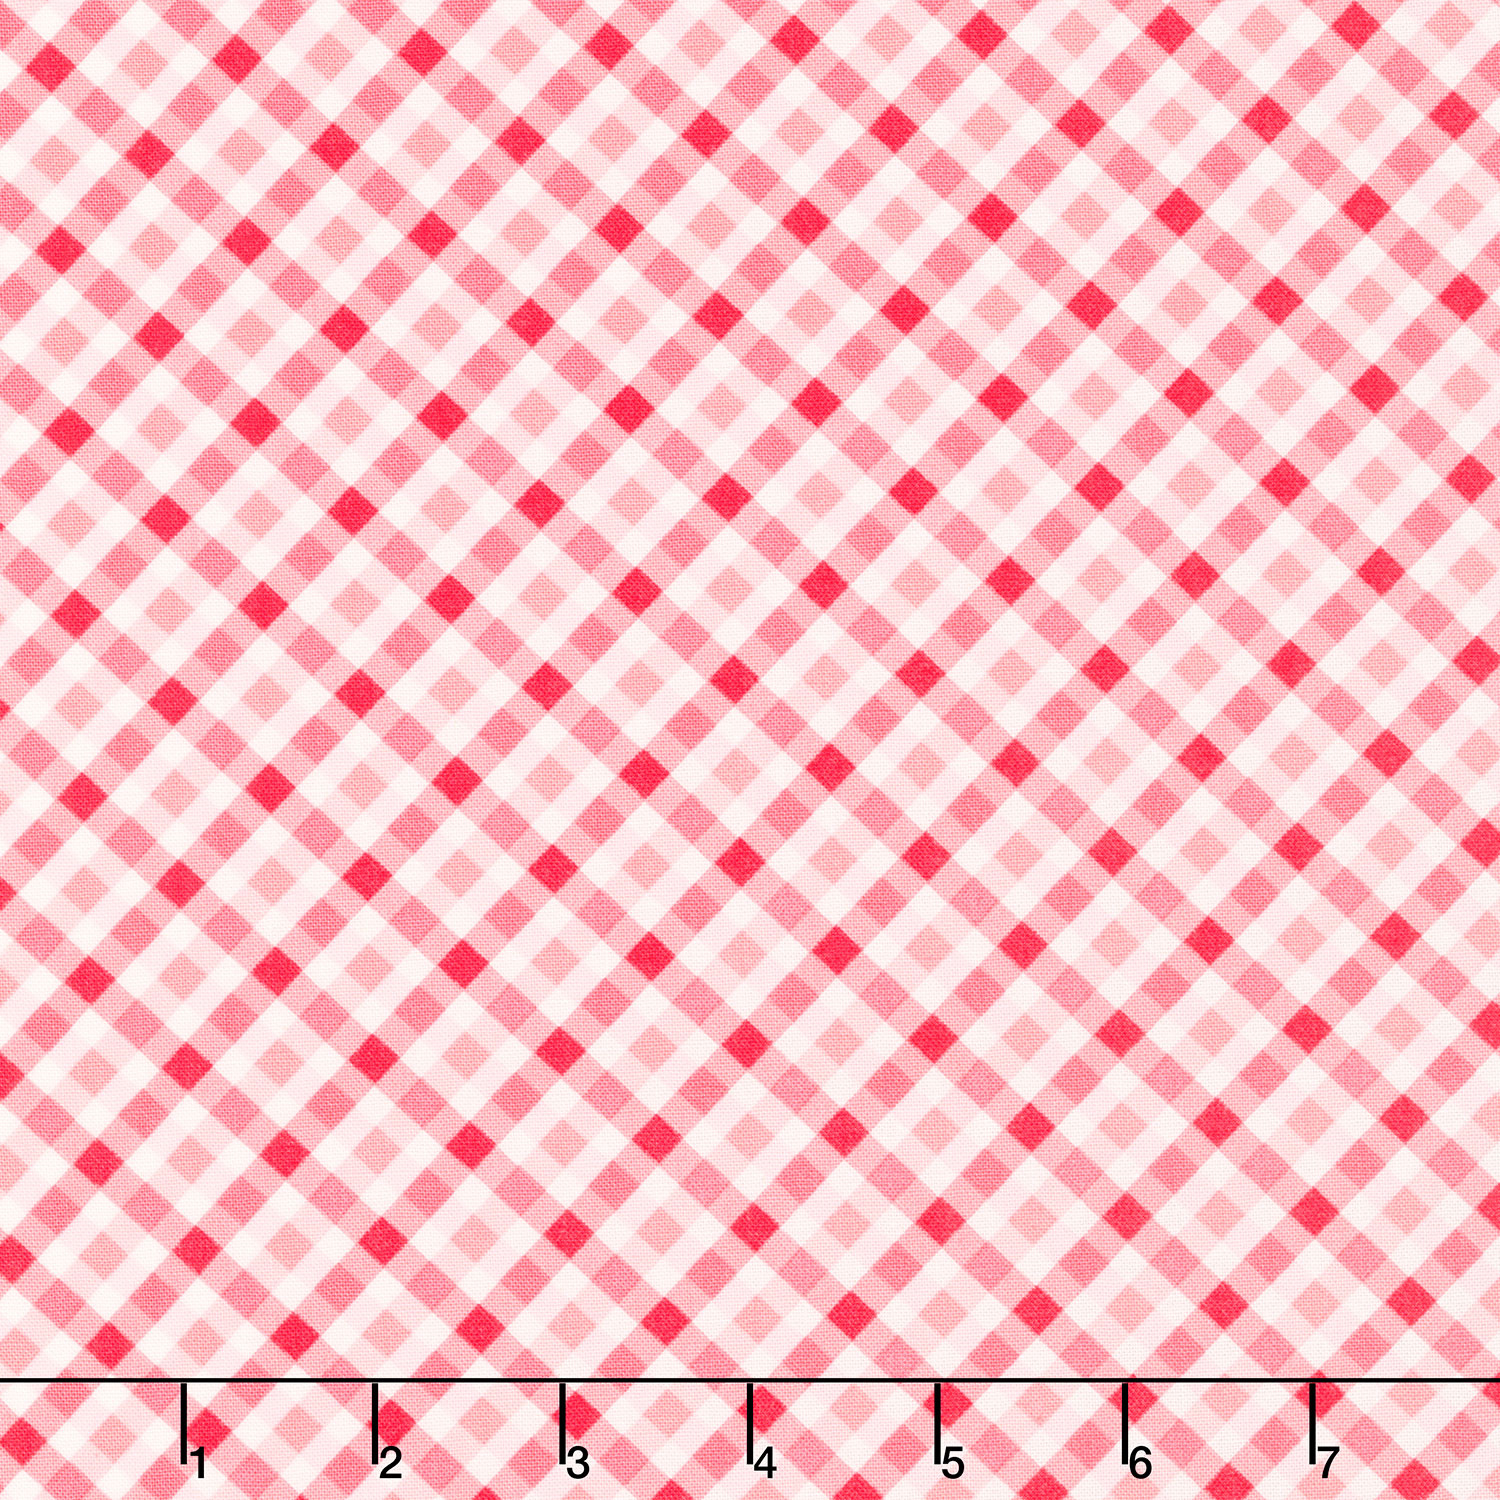
hi everybody I'm Natalie with Missouri Star Quilt Company and I'm here with Misty hi guys it's double take day absolutely it is we have two great projects for you using the ribbon star that's right and I think I'm going to go first awesome I can't wait all right so it looks like I am up first so this is my quilt this is so great I love it than you I really love it as well and I think you guys are going to be really surprised when you see how simple it is because you get all I'm going to be surprised too because I did a ribbon star and I don't think mine came together in quite the same way probably not so that's half the fun right we get we get to two takes one block that's right so let me show you how to make this and to make this quilt you are going to need one package of 10-in squares and I use this Liberty Artisans Boutique from Robert Kaufman you are also going to need four yards of your background Fabric and then one and a/4 yards of accent fabric I opted to use accent fabric if you don't want to there is enough left over in your layer cake okay I just wanted it to all have the same print same fabric so keep that in mind you kind of have a choice there yeah you could do it Scrappy or not exactly and then from uh for your border you need one and 1/3 yards and for your backing you need 7 and 1/2 yards with vertical seams or 2 and 1/2 yards of a 108 so let me show you how to make it [Music] so the entire quilt is made of this block right here and it's all just in the layout it's very cool thank you and so let me show you how to do that we are going to cut all of our 10in squares the exact same way so I'm just going to grab a couple here and stack them up I love that anything to be more efficient right that's exactly right and so up first just want to make sure they're straight yes that matters it does matter all right so we're going to cut a 2 and 1/2 in strip and then I'm going to subcut that into 6 and 1/2 sorry 6 and 1 half and 2 and 1/2 and I'm just going to keep these different sizes in piles cuz I'm going to I pretty much mix them up nice um but you can mix and match the whole thing huh yeah well so I actually kept the same prints within a block just cuz it worked for my brain but but it I don't think it would matter if you mixed them up because once you set them together they're all Scrappy anyway so we're going to do the same thing on this second strip so 6 and 1/2 and 2 and 1/2 there we go little bit of waist and then we need to cut one more 2 and 1/2 in strip and we are going to sub cut this into 4 and 1/2 in rectangles cool cool just like so so I'm just going to add those to the piles that I have over here so I have some variety okay and then let's talk a little bit about our background size as well so you are going to need some 2 and 1/2 in squares of your background some 2 and 1/2 by 4 and 1/2 in rectangles and then also some 6 and 1/2 in squares and so I have those cut and ready to go and then now we can go ahead and start assembling the star portion of our block nice and so to begin with we are going to pair um a background square with a print 2 and 1/2 in square and just sew those together all right right I do love working with boutiques I do too they're it's like almost like they're pre- starched yeah it's so nice and so then I'll press that back just like so and then we are going to attach our 4 and 1/2 in rectangle to that one okay and is there a specific side I need need to stitch on or does it matter um I don't so technically it needs to be this side if that's how I did it but it'll all work out in the end as long as long as you you know turn your block the right way right okay it won't really matter just checking I didn't want to it will matter once we add the next pieces for sure there we go go ahead and press in between there there we go and so then now we are going to add our 4 and 1/2 in print to this side here okay so if you want to sew that down and then we'll add our 6 and 1/2 in strip to the other side do you want me to press again or do you want to just add it either either way is fine with me cuz we're just going to fold this back here finger press really nicely and then we can add this 6 and 1/2 in strip there on that side awesome I also love the satisfaction of these pieces being like perfectly preut and going back together so well yeah when you take the time to go ahead and cut all of it ahead of time then you can just sit and grab from your pile and it goes really quick very satisfying it is all right now I will give this a press really quick and then the last step for this little portion is to take two more of our 2 and 1/2 in background squares and we're going to set these on those opposite print corners and we're just going to sew point to point so uh we have the diagonal seam tap mine is so far very similar perfect she can just swing that around and do the other one yep and when you're piecing many of these um you can chain piece one after the other with all these snowballs and it makes it go really really fast all right you love to get those done yes so then we can trim off our EX here there we go press these back this one here and you are going to make two of these for every single one of your blocks and so I have two done and then the next step is we are going to use our 6 and 1/2 in squares and I used accent Fabric and all you're cutting out of your accent fabric is 2 and 1/2 in squares and they get used on the 6 and 1/2 in squares and on these and so all right so we are going to now add to the tip of both of these uhhuh a little snowball that goes this way perfect so if you want to sew those I do and then it looks like I need to cut a few more more of these little accent squares I thought I had more ready so I'll do that while you're stitching those down sometimes those little Fabrics just run away from do they just disappear but that's okay so I'm just going to cut a 2 and 1/2 in strip and subcut these into 2 and 1/2 in squares there we go they go on yep and so then two corners does it matter which one Corners nope as long as they're opposites that's all that matters all right cool I love your take on these blocks sometimes it's just so out of my box that I'm like how did you even come up with that thank you I love it I really enjoy playing with all the all the designs it's my favorite part yeah I feel the same way with yours though I'm like where did you get that idea right it's so fun just so different interesting perfect and I'll trim these while she adds the other snowballs one last corner here so I'll just trim off my excess of these little points there we go go ahead and press these back do you me to go ahead and trim this for you sure that'd be great figure we both know how to do that part oh absolutely then I'll give this a press and then just like your little star leg units you're going to have two of these as well and so you just are going to put these in opposite corners and then our little quarter stars are going to come together so it makes this diamond in the middle awesome and then when you sew it together it looks just like this and the rest of this quilts magic is all in the layout yeah I love that so let's take this back here so I can show you so here is our block right here and then this one it's just right next to it this one turns and so you can see as you're laying it out they're all just spun different ways and it gives you this kind of like half so you kind of have to watch the layout and go with the diagram in the pattern right abely definitely you're going to want to pay attention to that but it's all this block and so let's count the blocks so we have 1 2 3 four five six across by 1 2 3 4 five six down ni Square yeah nice Square it measures 81 by 81 I did add this 5 in outer border and then I just used this nice Navy on the back and then you can really see that quilting pattern which I think is super fun that's a great pattern yeah this one's called Athena yes very cool super pretty and so that's it easy peasy it's so much simpler than I thought it was going to be I love it thank you I really was excited with this one and I cannot wait to see yours so you're up next right yep okay all right well this is my quilt I'm calling it jubilant ribbon star and really it's so similar to the first um iteration of the ribbon star block but what I did is I took this little square here and I flipped it I love that so it's pretty simple I think it turned out really cute though it's adorable and this fabric is so cute it's really cute okay so to make my quilt you're going to need one package of 10-in print squares and I've used Star Spangled Beauty by kimberbell for Maywood Studios you're going to need some accent fabric that's this Navy 2/3 of a yard background is a yard and 5/8 your border I did a 5 inch border you'll need a yard for that and your binding is 5/8 of a yard and I just thought this little gingham diagonal plaid was so cute um I used the same fabric for my backing this beautiful floral and for your backing you'll need four yards with um horizontal seams or if you have a 108 2 yards will be plenty perfect way more than you need cuz this is just a it's a great little size it's 62 Square so um you know you could make it bigger if you wanted to but I think it's just cute for a little picnic or lap quilt it is I love it so fun all right well let's get [Music] started so this is our block that we're going to be making and it's super similar to yours but also totally different a little different okay so we're going to take our um our print squares and we're going to cut two different different types of cuts so you can stack them up you'll you'll divide and conquer as you go and and the numbers are all listed in the pattern for how many of each thing that you need so from your first print Square we're going to cut 2 and 1/2 by 6 and 1/2 and I went ahead and did a 6 and 1/2 in cut across so 1 2 3 four five six and a half and then we'll subcut these into four and or six and a half two and A2 by 6 and A2 same thing we're just turning it and cutting sub cutting sometimes those numbers get confused when I try to speak them out loud happens to all of us and I would go ahead and divide these and just put my sizes in piles because um you know you'll you'll be able to grab from those you can scrap it up if you want to or keep them the same all right so we've got those and then we're going to cut this into 2 and 1/2 in squares all right now this one we're going to do a 4 and 1/2 in strip and subcut that into 2 and 1/2 in by 4 and 1/2 in strips getting all your little pieces yep getting them all ready I just love this fabric it is so cute it's very cute all right then you can cut another strip of 2 and 1/2 in squares and this is where I got um you have this extra piece right so you could cut your 1 and 1 half inch squares from this for your little cor all of your Corner Stones um but you can also get them out of a layer cake square and so I used the um the Plaid one and did all the same colors so you can do that as well there's plenty to go either way right yep plenty to go around CU I didn't quite use all of my layer cake pieces I've been doing that lately just because I want um to play with color and design and sometimes I just don't use it super efficiently mm I'm just as long as you can get all the colors you want right okay so let's get started so the first thing we're going to do is we're going to put together we're making all these little units but because this is spun we're going to put this together and then snowball it first okay so we will grab our little we've got a plaid oh and your background you're going to need some background almost forgot you need 2 and 1/2 in squares and then you need some 2 and 1/2 by 4 and 1/2 in strips so you'll get those all cut and set aside and then we're going to start of course same way we did with yours just by sewing these two together okay make that cute little unit yes and then if you're comfortable we can just finger press that and add our white side does it matter which way it goes no as long as we Snowball the opposite corner I think we're going to be just fine perfect and sometimes I get them all the same and sometimes I don't y and you can't tell once the put together don't die over it right nope sometimes you know the seam Direction matters but not usually not in this case let me scoot this out of the way so I can do some pressing here all righty so then we're going to go ahead and snowball this corner and you can see I mix and matched a lot of my um my 2 and 1/2 in squares so that there was a lot there's a lot of different fabric combinations here yeah once you have all the cutting done you can just kind of scrap it up as you like yep well Scrappy but also not Scrappy so my six and halfs are the same my four and halfs are the same and then I've got my two and 1 halfs that match on the corners and in this little the diagonal that kind of makes it look like it's got a kind of like a triangle behind it you want me to press it or that's all right I'll just give that a little press there and add press that corner okay all right now let's snowball those Corners here we go cuz we love snowballing of course it's one of my favorite ways to make a quilt a little bit more interesting right well and it's so funny because like this is so similar to like constructionwise to mine and then you know the quilt looks so different and they're both so beautiful and fun I love that about quilting yeah me too there you go all right just do diagonal stitches point to point that's right well and I love how simple it is to create these star legs without a lot of effort it's you know adding that little snowball just makes it so easy so true okay there we go all righty we've got all four pieces ready to go we're ready ahead of time that's right give that a little press it's all ready there it is so cute I love how because you use the different sizes um and then you put them in the same place they just alternate and it creates this really beautiful woven look yeah which I think is fun about the ribbon star block and there you go so you put it together like a little four patch now these end up being 12 1/2 in um unfinished okay so your sashing strips are all 1 and 1/2 by 12 1/2 and then all of your cornerstones are 1 and 1/2 Square so cute and it just goes together in a 4x4 so there's 16 blocks total and it's cute little the outer border is 5 in and we've used you see this beautiful backing it's just so pretty it's very picnicky really beautiful will this turn out really fun now I love both of these qus so great yes we have two fun ideas for the ribbon star absolutely so we hope you guys enjoyed this Double Take and we'll see you next time bye

More Layer Cake tutorials

See all