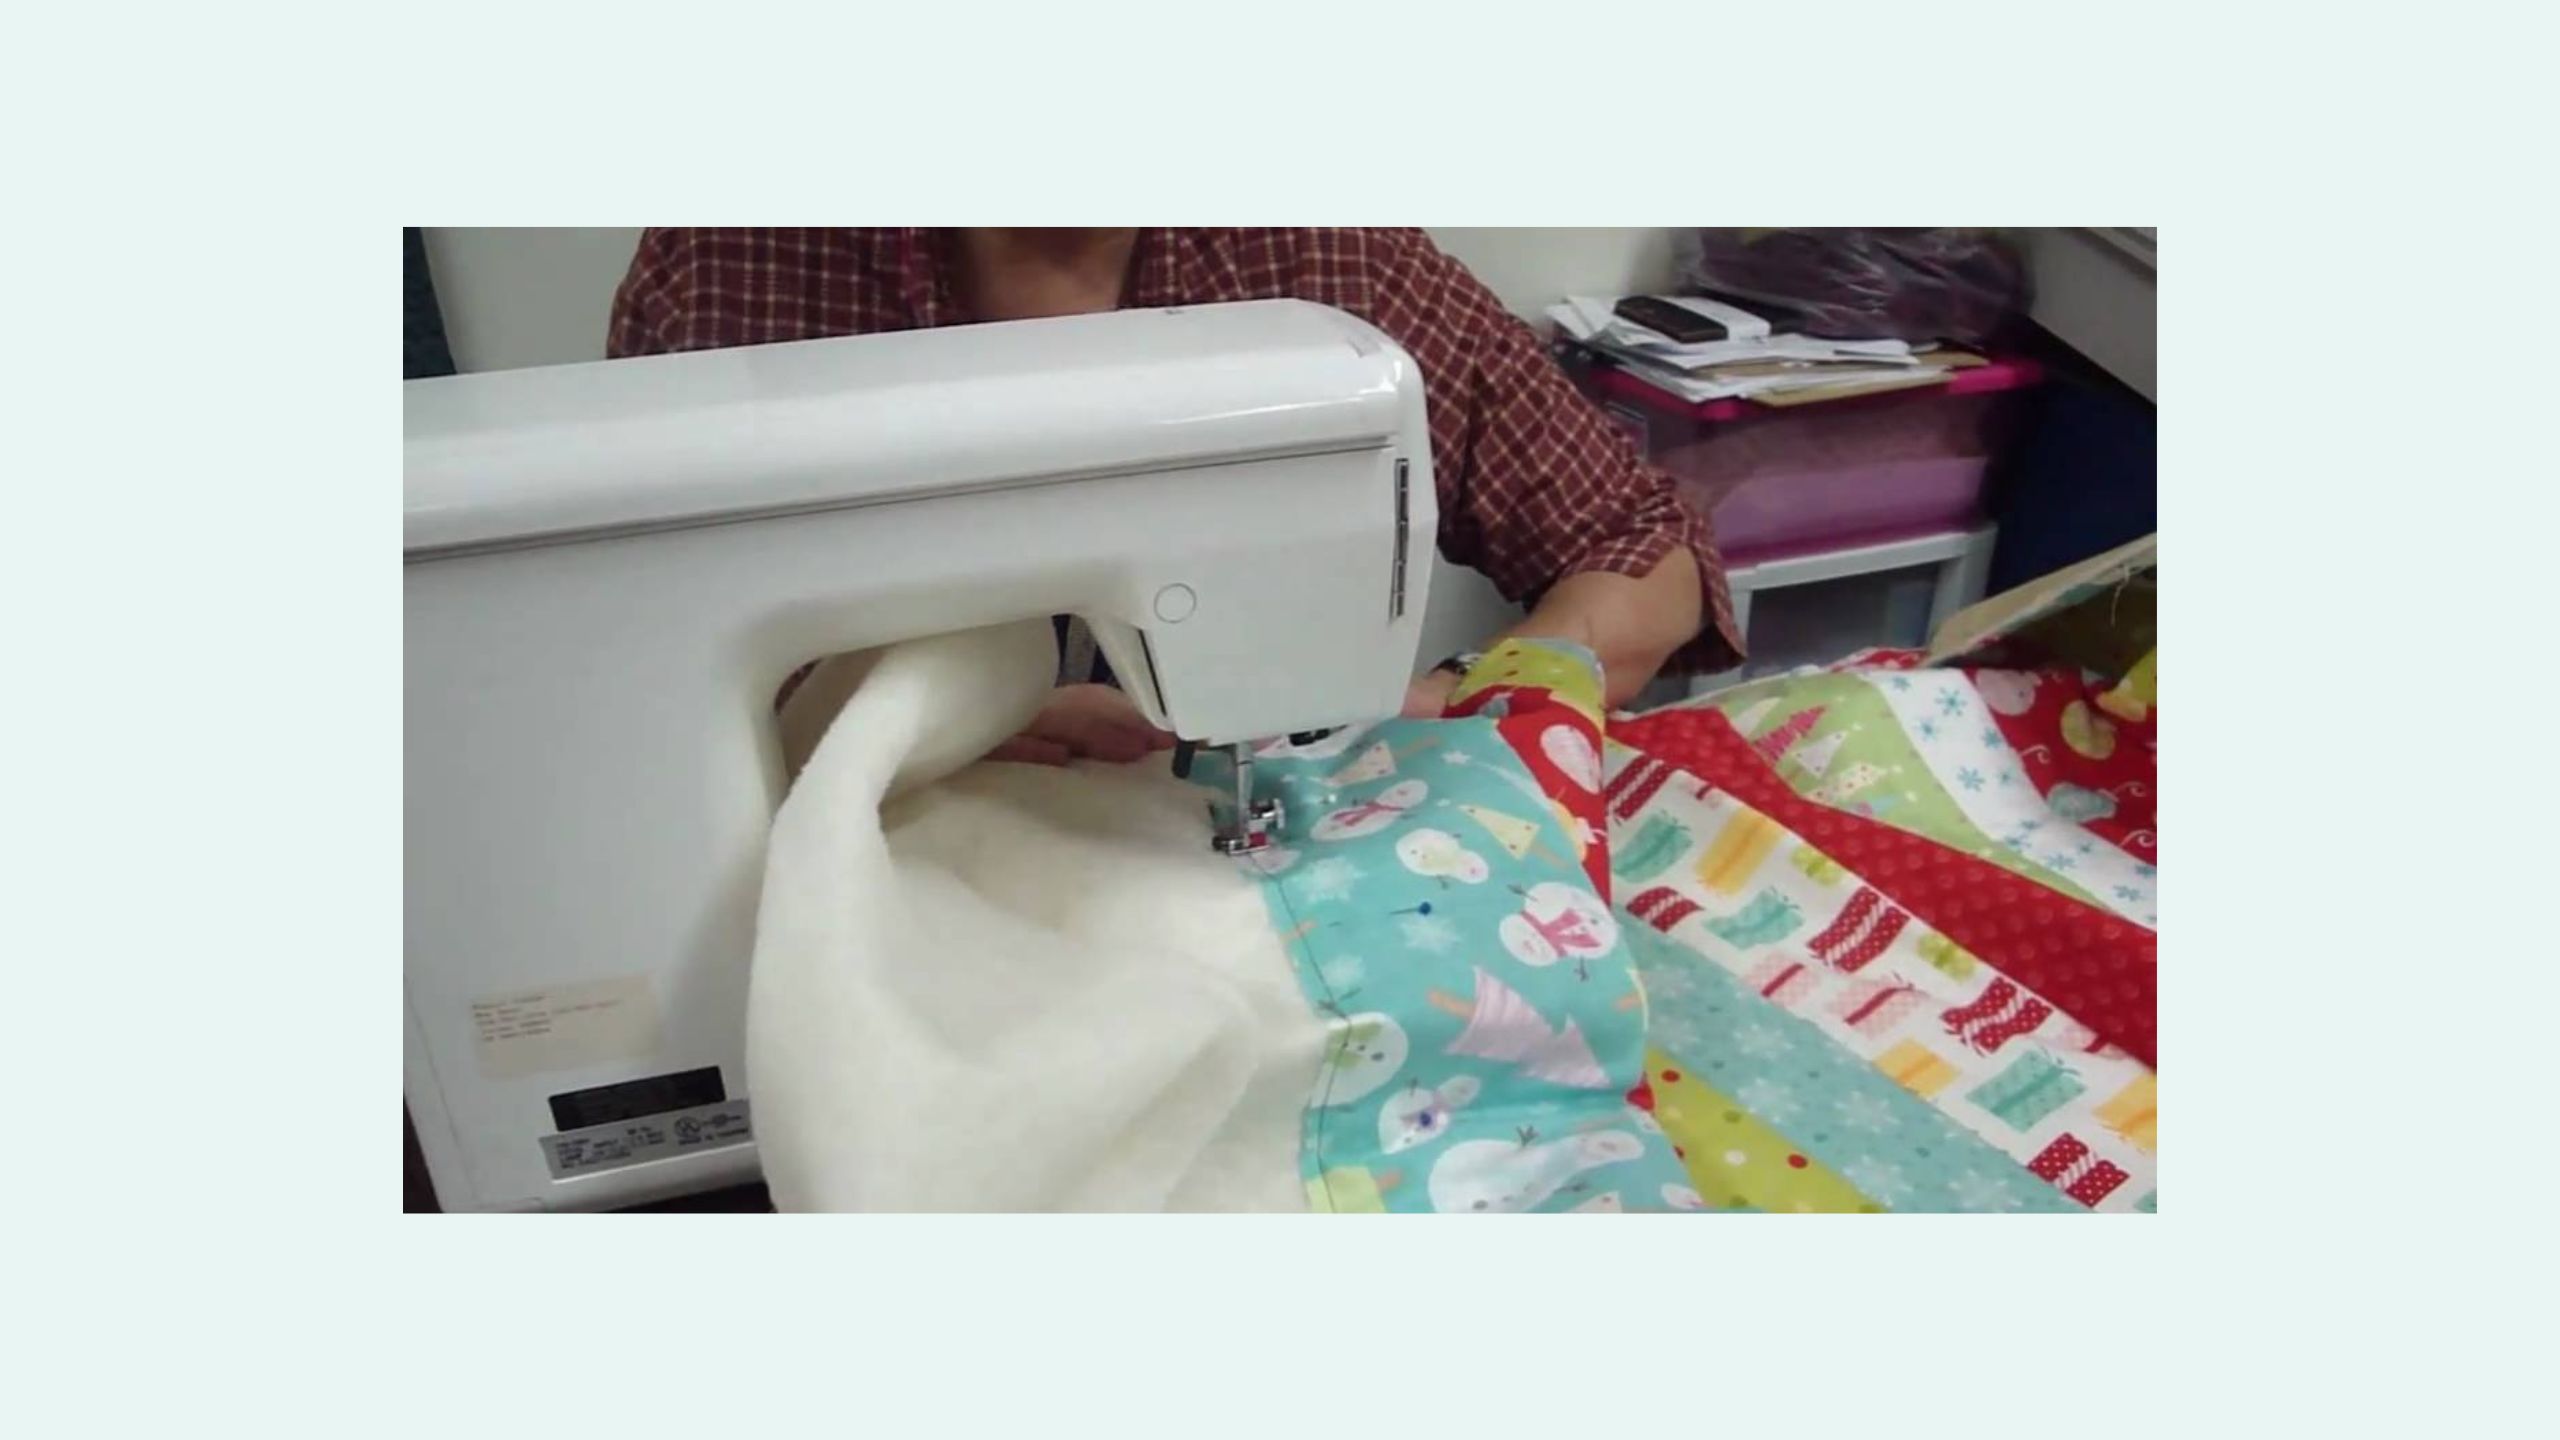
Welcome to Quilt Town! The Doan girls are back with two great quilts + an all-new fabric collection inspired by our hometown. (Look closely to see tiny quilt blocks, sewing notions, and even our mascot, Chuck the Duck!)
Natalie's Churn Dash Dance combines churn dash blocks with a delicate crisscrossing chain. And Misty's Star Dash features opposite blocks: A star inside a churn dash - and - a churn dash inside a star.
Can you pick a favorite??
Natalie is the host of Quilting 101, Embroidery 101 and the Creative Strategist and Editor of Block Magazine at Missouri Star Quilt Company. She was taught how to sew by her mom, of course, and began quilting when she grew up.
Common Questions
What is covered in Double Take - Welcome to Quilt Town!?
Welcome to Quilt Town! The Doan girls are back with two great quilts + an all-new fabric collection inspired by our hometown. (Look closely to see tiny quilt blocks, sewing notions, and even our mascot, Chuck the Duck!) Natalie's Churn Dash Dance combines churn dash blocks wit...
How long is the tutorial video?
The tutorial video is 00:37:26.
Are supplies listed for this tutorial?
Yes. The tutorial page includes the supplies and materials connected to this project.
Video Transcript
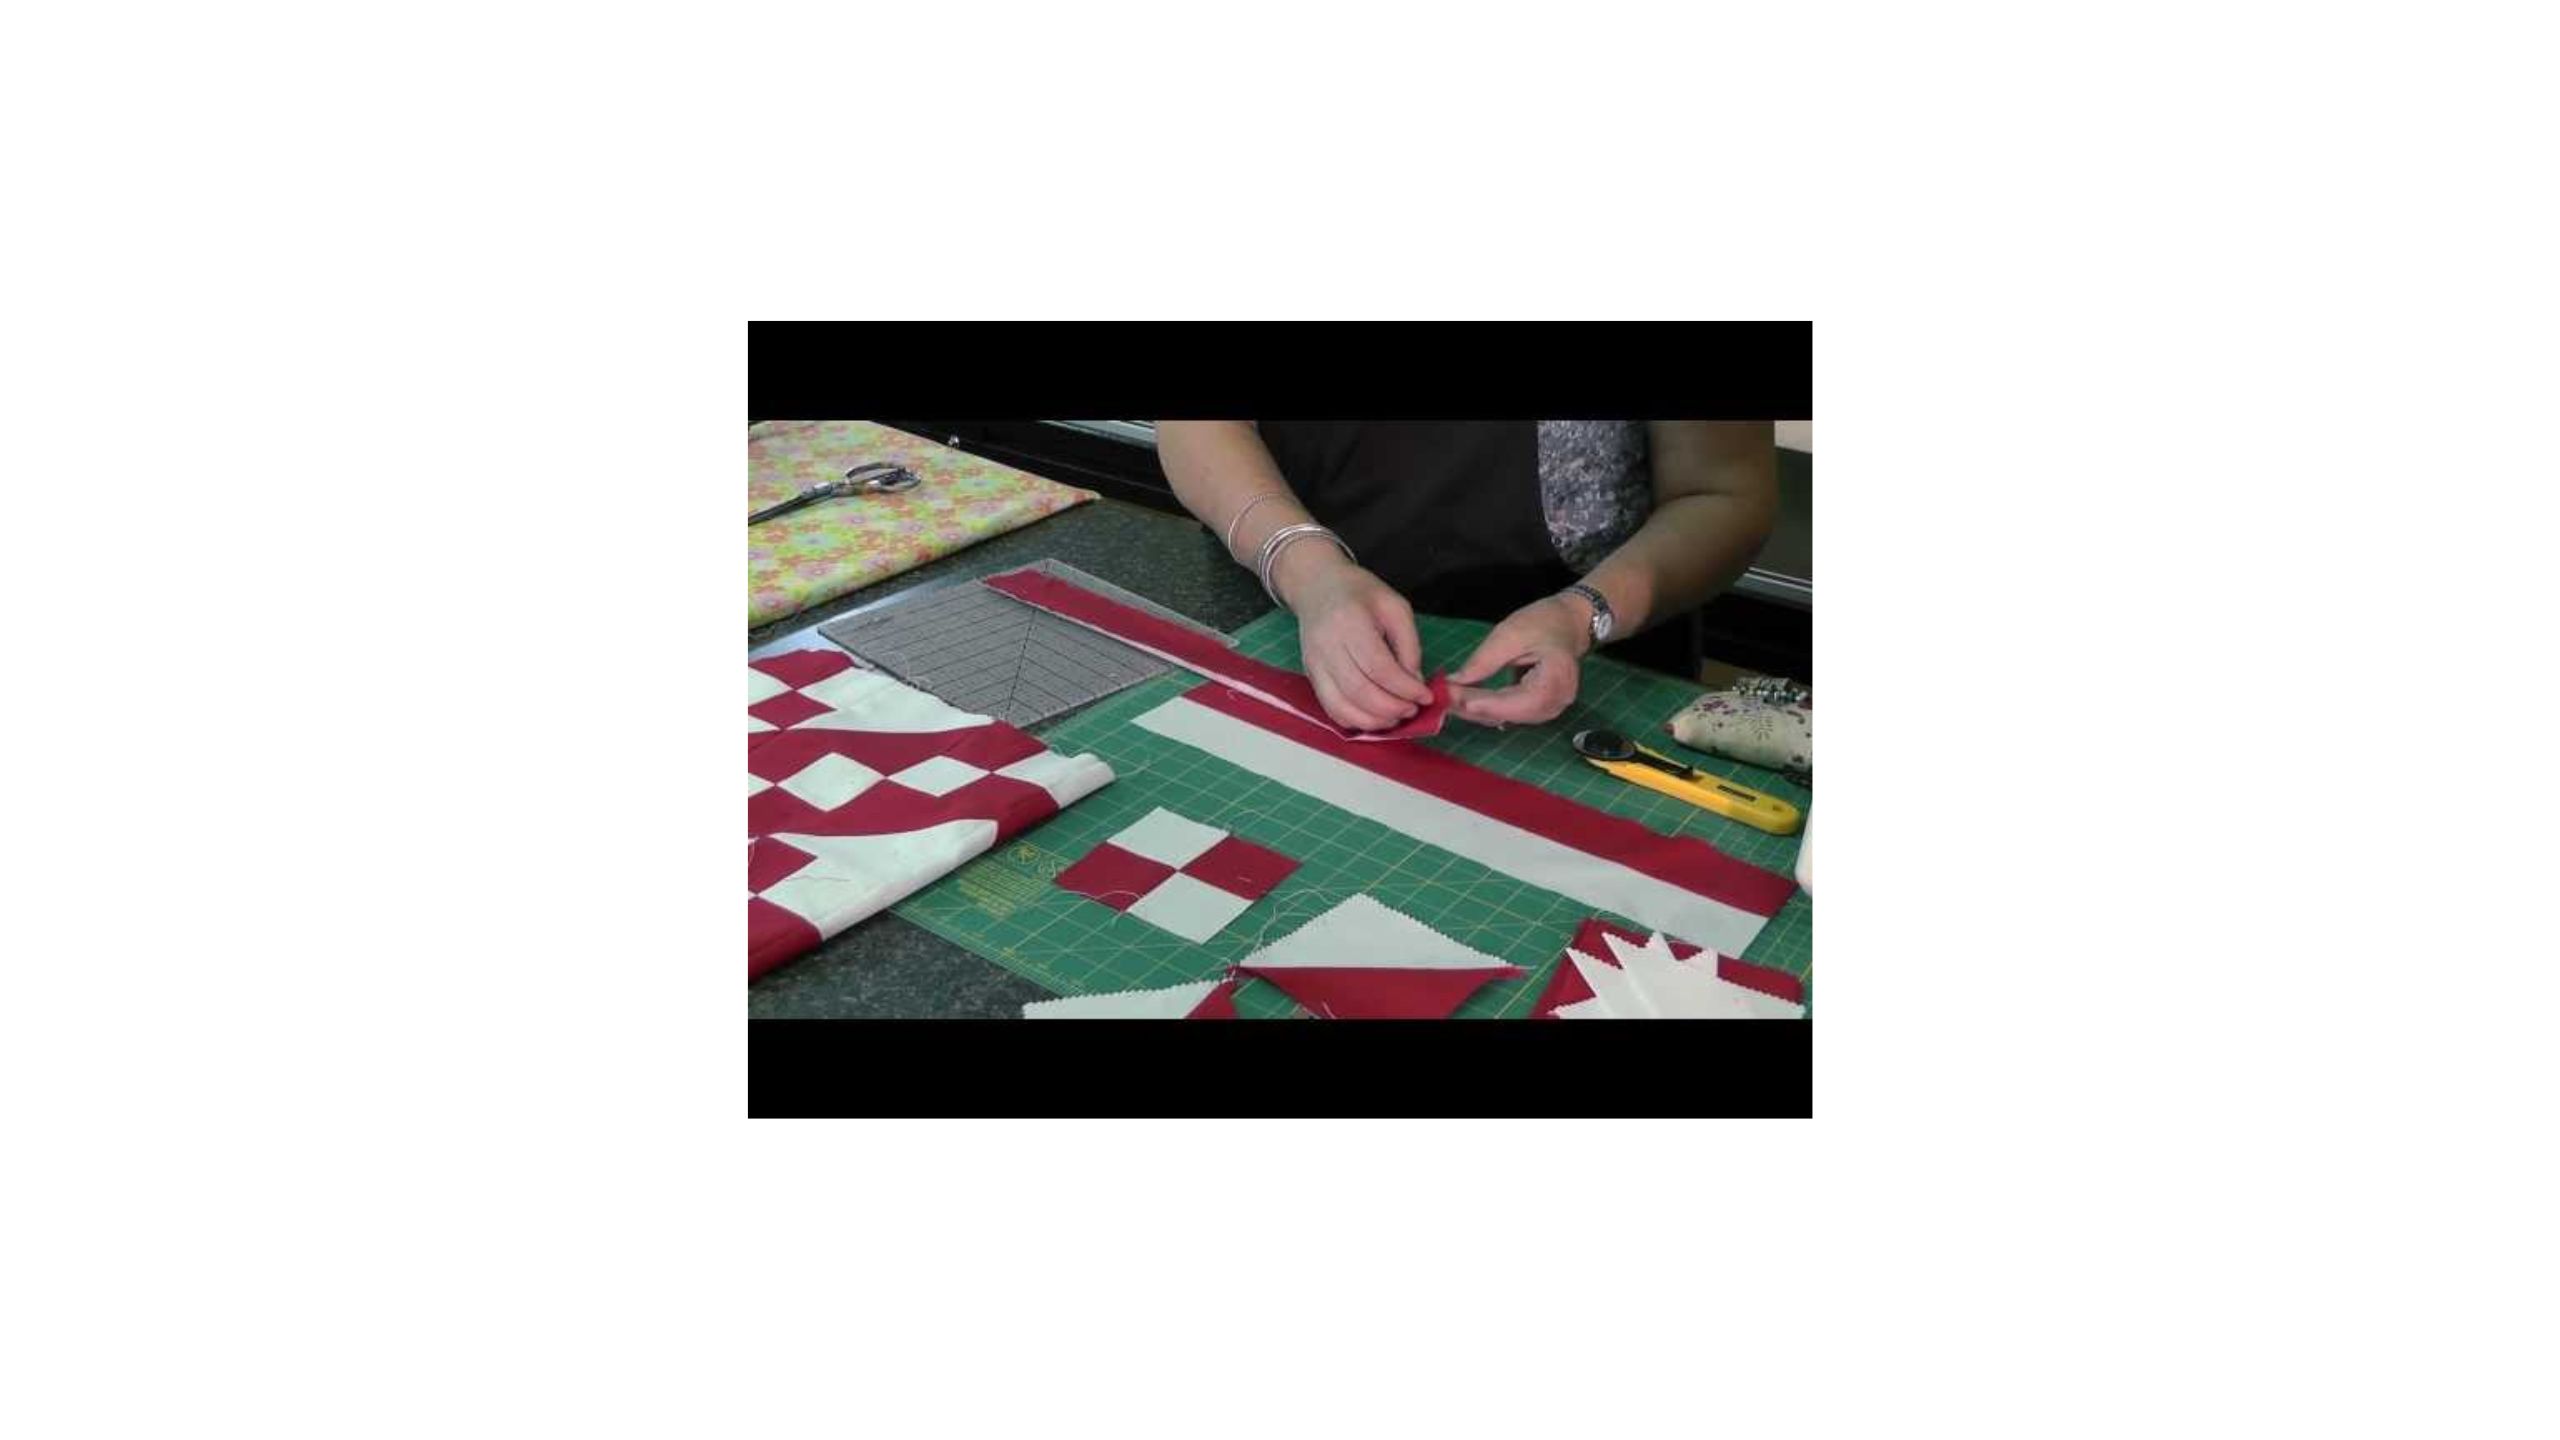
Hi everybody. I'm Natalie with Missouri Star Quilt Company and I'm here today with Misty. Hi guys. It's Double Take Day and National Quilting Month and we have a really we have fun things to talk about today. We do. We absolutely do. We have a brand new line. It's called Welcome to Quilt Town and we get to use it today for our double take. And this is so cute. We've done a few of these now that are kind of star every time. I agree. This one is so cute. And it even has this little panel. It's so fun. It shows a lot of our shops, but it also has cute little things in it like Chuck on a little Vespa. Yes, exactly. And you know, a little truck and the hot air balloons. I just think it's so cute. And if you've been to town, it's a great way to kind of remember your visits. Or it's just like this adorable baby panel with a border on it stitched up and ready to go. It's super cute. Exactly. And the rest of the line we have used in our quilts. Um, and our our block for this month is the turn dash. So, and I think I get to go first this time. So, I'm excited. All right, let's get started. [Music] Well, I guess I'm going to go first. All right. I love your quilt, Natalie. It's so Thank you. I had a lot of fun making it, and I like how the four patches crisscross through it. Yes. It's really cute. It's great. All right. So, to make my quilt, you're going to need one package of 10-in print squares. And I've used Welcome to Quilt Town by Missouri Star Quilt Company. It's our fun new version of our line. Um, you're going to need a little bit of accent fabric, about 78 of a yard, 3 and 1/4 yards of background, uh, a yard and a third of border, and then binding is 2/3 of a yard, and our backing is 5 yards if you're using 45, but we have this beautiful 108. So, you'll only need two and a/4 yards of 108. And it's gorgeous. I love this. Yeah, that's beautiful. It's so fun. All right, so you'll need a squaring tool. You can use Clearly Perfect or Block Lock. I'm doing some half square triangles. So, whichever one you like to use. Perfect. Let's get [Music] started. Okay, so my quilt is put together with two different blocks. They're both pretty simple to make. You'll need to start out by cutting your background fabric. Um, you'll need some 10in squares, some 4 and 1/2 in squares. I need to subcut this strip still. You'll need some two and a half inch strips from your accent fabric. And that makes all of your four patches in the quilt. They're consistent, which I think gives it a real look of like I love that. It really makes it pop. Yeah, I think it's great. I love it. So, 2 and 1/2 in strips, 4 and 1/2 in squares, and 10in squares. And that will put together the quilt. So, I'm going to finish cutting these guys. So, we have a few and then we'll work on our churn dash block first. Perfect. So, we've got a little bit of cutting prep and then everything will come together nice and easy. So, to start the churn dash, we're going to make some half square triangles. And you're going to make eight. So, you have enough to do two blocks with those. So, you'll set them aside. You only need four per block. And I'm going to go ahead and draw the line. And we'll sew. Oh, try and find you a pencil. Yeah. Excellent. There you go. We'll sew on both sides of both lines. All right. I'm ready. Excellent. I love it. Do it. The reason I'm drawing on the print fabric is because this fabric is so It's very subtle. It is. And I just didn't want to draw them all on the wrong side. Yep. Double check that tone on tone. It can be tricky. So, you're doing right sides together and stitching on both sides. Perfect. There you go. I find that if I set it on something else, I can see where the um where the print shows up really well and then on the back side it doesn't show up as well. So, but I will say even if you get it all mixed up, it won't matter. It's true. Excellent. There we go. All right. So, typically I cut the the sections horizontally and vertically that don't have their Yes. They don't have their lines drawn. That's the hack for mom, which I will always remember. All right. And then comes our squaring, right? Whoops. I don't know why that didn't want to go. So, I'm going to put most of these away. And I think I'll use the clearly perfect this time. Okay, great. Get these trimmed and then we'll press them. And our corners will be all ready. That's right. I just I do love that it it's less cuts. Yeah, it's so true. Well, and squaring is just so satisfying. It really is. Here, I'll come around and press while you're Oh, thank you. just to save us some time. Good idea. Yeah, I love that squaring makes everything look so neat and tidy. Exactly. And it all fits together so well, right? And it makes the whole process so much more enjoyable. Yeah. Instead of having to fight with all those little seams that don't want to line up. It's one of those things where taking the time at the beginning pays off in the end. All right, last one. There we go. Okay. So, we've got our four half square triangles made. So, the next thing we're going to make are these little um the bar blocks. Okay. So, we're going to take our print and our background. We're just going to stack those up and cut them into two and 1/2 inch segments and stitch those together. Just down one long side. Yep. Okay. If you just do two of them, this also also gives you enough to do two blocks. So, if you want more variety, you can use more um more prints. You'll notice I didn't use any of the light prints in here. If you had a different background, you could switch it up. because I have accent fabric added, um, I was able to get quite a bit of of of a quilt without using all of the print layer cake. I have I have quite a bit left over. That's great. So, all right. So, I'm going to cut these now into four and 1/2 inch segments and we will be all set on our bar blocks. We'll press them and then we'll put that block together. It's so quick. Yeah, so quick and easy. I love the churn dash block. I do too. It's one of my favorites. Yeah, just a great classic. It was the one that I have always requested when we had the um when we first opened the shop, we had our Friday night. So, that was the one that I requested when we did the little block um the block lottery and everybody made blocks for each other. Yeah, that was so fun. That's awesome. I still have it. I still love it. All right, press these back or open or however you say it. And again, I was cutting those into four and a half inch segments. Everything in this block, it's a 12 and 1/2 inch unfinished block and all of the pieces are 4 and 1/2 unfinished. That's great. So, goes together really well with all of our measurements and math. All righty. So, our print goes to the middle in our four corners and then our bar blocks also go to the middle. We've got this one square here, 4 and 1/2 inch background square. And just like that, you've got a little churn dash that looks like this. So cute. I love it. All right. So, we probably don't need to stitch this together because you got the idea, right? We chain piece it and sew it up like a nine patch. That's right. Right. Okay. So, now we're going to take our long 2 and 1/2 in strips of our background and our accent. Okay. We're going to sew those together, right sides, and cut them into a thousand little pieces. Perfect. I do have to say I love that you have to double check on the the white-on-white background as well because it was a little difficult. It is it's tricky to see. So, a good lighting and then um always just I set it on my sewing machine or my even my jeans would work if you know if I couldn't really tell I would something something to show me which side was which. That's great. Just always making sure my strips are lined up here. Yeah. Zooming down. Yep. There we go. You get quite a bit. You only need a little less than a yard of this accent fabric to do the whole quilt. Oh, that's awesome. There we go. All right. And I will um typically fold them in half because as long as I'm lining up my seams and everything is pretty much straight, I think I can cut through. But if you don't feel comfortable, don't do it. I'm just not too worried about it. It's a great little tip to save some time. Yeah, I like to line stuff up. The other thing is because I did all of this at once, I lined up several of these strips in a row and then cut the two and a half inch squares um while they were still folded. But I would cut, you know, two or three of them and get all those cuts at once. So, let's just do one because I've got all my other little four patches made. But once these are cut down, it's very simple little stitch them up, you know? Yeah. Nest those seams. Mhm. nest them and Okay, great. We'll get that done. Make sure these are going the way I want. Yes, nesting matters. There we go. Excellent. All right. So, these are fun. This block has um all of the they always run all of the color runs um diagonally from your top right down to your bottom left. So, you'll see that here reflected. And then these two both face the opposite direction. So, as long as you have your blocks lined up like that, your quilt will look perfect. It looks just like it lines up. So, um, when I was putting this together, I always look for like little hacks like, can I just make a bunch where I stitch all of these together? And you can, but this one is different. And and um, these two you can make identically and then just turn them in. Okay. So, you can do that, but I found that it was easier for me just to lay out the block and stack them. Yeah, that just works so well. So, whatever we can do to keep it straight in our brain so we don't get mixed up. The organization, it matters and it makes life so easy when you're just sewing along. Anything I can do to make it pleasant and quick. And that is it. Oops. These ones point to the middle and these ones go that way. I love it. And then again, you're sewing it together just like a little nine patch. You make I think it's a 15 of each block. So cute. Yeah. And they go into the quilt. So you'll see we just alternate. We've got the churn dash and the four patch block or the chain block. I'm not sure. It's just probably unit A or unit B in in the pattern. In the pattern. But yeah. So we have one, two, three, four, five by one, two, three, four, five, six. Adorable. And that's it. I added a 5 inch outer border and it ends up being 69 by 81. It's a great size. Yeah, I quilted it in abacus. This is one of our newer patterns and I just think it's so cool. I think it's a very it's modern and um it has the lines, but it's also soft because they curve instead of being like real blocky. Exactly. And then I want to show you this beautiful backing. It's so pretty. Very fun. Awesome. All right. So, I think it's your turn. I can't wait to see what you came up with. All right, let's go. All right, so this is my quilt. Oh, it's so cute. Thank you. It's It's a lot of fun. I called it Star Dash because we have the stars and the turn dashes kind of inverted on each other in our two blocks. And I love it. It's a lot of fun. So, to make my quilt, you are going to need one package of print squares. And of course, I also used our new uh Welcome to Quilttown line. It's so cute. You're also going to need one package of 10-in background squares. I use that same tone on tone that Natalie used. You'll also need an additional one yard of your background fabric. For your border, you're going to need 2/3 of a yard. And for your backing, you need five and 1/8 yards if you have 45, but I also used 108. We have some great backings for this line. Yeah, they're really cute. This beautiful nice large floral. And so, you just need 2 and 1 eigh yard of that. You also need your preferred squaring tool, either block lock or clearly perfect. So, let me show you how to make [Music] it. All right. So, like Natalie's, my quilt also has two blocks. So, here is the first one. It's our little churn dash inside of a star. I love it. And then the second is the reverse of that. A star inside of a churn dash. I love that. That's so cute. So, we are going to make the star first. And so, just like you made the outside corners of your turn dash, I did the eight at a time method to do the star legs. And so, so convenient. Very convenient. So, we just draw the line, sew on both sides, and square to four and a half. So, I have that done already. Nice. So, those are ready to go. We walked through it just a few minutes ago. Exactly. And so then you will also need some 4 and 1/2 in squares for those outside corners. But let me show you how to make the turn dash in the middle. So to do that, you are going to need a little cutting chart. Yes, I did give myself a little guide so I could remember how I managed this. So I paired up a print and a background 10in square. And our first cut is 4 and 1/2 in. And we're going to subcut these into four and 1/2 inch squares. Oops. There we go. Almost cut it three and a half. I would have been sad. Yeah. Okay. There we can't put it back together once it's cut. All right. And then we are going to stitch on all four sides of one of those. If you want to do that, I will. And then the next strip we're going to cut is 3 in. And we are going to subcut this into 3x 4 and 1/2 in rectangles. one and two. And then this little bit of our print is um waste or you can put it in your stash. You just don't need that. And then we are going to subcut our background. This leaves a 2 and 1/2 in strip. And we're going to cut this down in to 2 and 1/2 in squares. And we will use these later. There we go. All right. Sometimes I hit that button a little too soon. We're just not patient enough for me. And so then now um you can either cut this corner to corner and square your half square triangles to two and a half. If I have my clearly perfect, I just put it right on the line and just cut them out of my square just like this. So, we need two and a half inch. And so, you have room in the middle for things to overlap. Exactly. You don't have to worry about it. That's great. Saves you cuts. Exactly. So, there's one. You're just lining that up on the stitch line. And we'll make our way all the way around this little square. Again, lining our two and a half line up right there. And you see we have plenty in the middle that we don't have to worry about not having enough room. And it just saves us a little bit of time. I love those hacks. Well, and all those little seconds really add up when you're making a quilt. Too. Yeah. Yes. If you don't have to cut the same fabric twice. Yeah, exactly. There we go. Saves your shoulder. And just one more here. Do you want me to press these? Sure, that'd be great. And so you get enough because you have two of those um little four and a half inch squares that we sew around. You get enough for two middles. Nice. And so then we can press those and then we can make our little bar blocks next. Cool. Cool. Perfect. Got one more. There we go. These are ready. Awesome. Thank you. Thank you. You're welcome. All right. So then remember we cut those 3x4 and 1/2 inch rectangles. Okay. We are going to sew on both of the long ends of these and then we'll cut them in half when we're done. And that's how we'll get our our little bars. Slick. So it doesn't feel like you're sewing teeny tiny little strips. Exactly. I like that. Just a fun little hack. Nice. And I'm just going to feed this one in behind it. It's a great opportunity to chain piece for sure. Yeah. Oh, perfect. So, then let me cut these apart here. There we go. And since these are three inches wide, I need to find the middle, which means if I line up an inch and a half on my edge, I can just cut this in half. And here is our little bar unit. We get two at a time, but we didn't we didn't have to piece those little strips. So, I love it. A fun little little way to save some tedious sewing. There we go. I love all the hacks. Yeah, it's fun. And then now we get to put our block together. There you go. Thank you. All right. So, to begin with, we are going to use one of those 4 and 1/2 inch background for our middle. And then we'll put our little bars in with our print going towards that. Just like so. I mean, this is just a cute little uh churn look on its own. It's true. Absolutely. It's tiny and fun. And I love that you've got all these the matching print. Yeah. And then you have the option of like mixing them up. It looks so cute both ways. The cutting gives it so that they can match. And in the quilt behind me, it the small ones all match. But in this one, it's like why not try to see how it looks scrapped up and it's really cute. So don't be afraid to, you know, mix and match and sew it together. Yeah. Let's sew that together and then we'll add our star legs to the outside. All right. I love this little way that Natalie's sewing it because this the threads will kind of hold it together almost as pins when we open this up. It's great. Add our next little half square triangle. It helps me keep things together a lot. I I do this frequently. Yeah, as often as I can, right, when it works. It's really convenient. And our last little half square triangle. Do you want me to press it or do you like to just go ahead and I like to stitch this together and then press press at the end. Perfect. Because that way I can nest my seams exactly how I want them. Yep. while sewing. That's how I do it, too. But if you like to press, of course, you could press in between. We're just living on the edge. You know, I just like for my my seams to go a certain way. I like the middle to go in. Yes. And then the outside edges to go out. So, this gives me the opportunity to make sure that I get that done because sometimes when I'm pressing, I don't realize which direction things are going to end up. It's true. Can be kind of tricky for me. And so then at the machine, you just make them go the way you want them to. That's right. And and often I'll stitch with my um my seams on top so I can see and then force the back ones whichever way they need to be going. Yes. Make them behave. That's right. There you have it. All right. Now I can press this and hopefully it all worked out. It looks great. Looks I always get a little nervous when I have to sew on camera because it's like now we'll really see. Well, and if anything's going to go wrong, it's going to go wrong while you're filming. That's what I've learned after all these years. True. Yes. And it's it's okay because I think it's a good reminder that for all of us when we're working on these things just happen. That's right. You do the best you can. Yep. Make sure this lays nice and flat. There is our cute little churn dash for the middle. I love it. And now we can come back with those half square triangles that we made at the beginning for our star legs. And so these are just going to surround it just like so. They're so cute. I really like it. And then we finish it off with our four and a half inch squares in the corners. Trying to make sure I have it the right way. There we go. That was so great. And that's it. And you just sew it together. And here is our first block all complete. I love that. So, let me show you block two. All right. So, this is block two. Just the reverse of the first block that we made. And so, let me show you how to make this one. So, up first, we are going to pair our print and background. And I went ahead and drew some lines. So hopefully this would be nice and clear to you. So first up, we're going to cut this in half and cut two five inch squares. Okay? And so let's do that. And then these are going to give us our churn dash, our four churn dashes for our corners. We're just going to draw on either side of these drawn or sew on each stitch on both sides. Yes. Of the drawn line. Okay. And then for this, we're going to cut these into four and a half inch squares. And these are going to make our little star legs for the middle. Okay. And I did um mix these up so that I had variety between the, you know, from block to block. Yeah. So you made your half square triangles large and set those aside and then you have your little ones. But you get um this way where we're getting everything. So, these are for your little star legs and these are for the turn dash corners. Okay. And then on these, am I stitching around the outside edge like we did before? Just like we did before, but I have those because I wanted to do a different print. I have that done already. So, the only ones I need you to sew are these right here. Excellent. Just wanted to clarify the differences in stitching. Yep. So, for these little guys, like Natalie said, we'll sew on all four sides, but I just used a different print so we would have a scrappy block. So, you know, basically the same technique as when we do the easy8, but we're just using two 5 in squares because we need fewer for the turn dash block, right? That one got upside down on me. Beautiful. There you go. All right. So, we'll cut these apart and cut on that line that I drew. Need them pressed. Are you going to block them? I thought maybe we would. That way if people have one or the other, we can show how to do both squaring. So, if you want to press those, I will. Then we are we're squaring these to four and a half again, but I'll show you how to do that with the block lock. I do love the block lock. I do too. My favorite squaring tool. And so then if you've never used this before, um if you press your seams to the dark side, then the block lock writing is going to go on your background. And that there's a ridge in this ruler that just kind of locks on that seam. And I am just going to trim. It's just so precise and it stays precise stays in place for cutting. And this particular one is exactly four and a half which makes it even easier. It is so easy. Yeah, they have several sizes. Yep. So, we're just going to trim this up. Sometimes you can avoid um trimming multiple sides if it's, you know, pretty straight. Straight on one side. Yeah, I like to do that, too. All right, a couple more here. And I do like to get rid of that little notch that's left over. Yep. Reduces bulk in your seam. Whoops. Almost. And squared blocks, they just they're so pretty. They are. I know a lot of people don't enjoy squaring, but I find it very satisfying. And like I said earlier, it just is always worth it to me in the end. Yes. There we go. All right. 100%. There are our four little corners squared to four and a half. And so now all that we have left for this block is to make our bar block units. Okay. And so on that I have again paired up a print and a background and I just used my ruler here and I drew a line down the middle. And so we are going to sew a quarter inch seam on both edges and on both sides of that center line. Okay. I could have done mine this way too. Yes. Awesome. Save a little time. Yeah, we both just think of different different hacks and construction methods. And that's what's so fun about um getting to film this together is because we both I think always learn something and have different ideas that inspires us. 100%. It's really fun. One more seam. One more on that last side. Yep. There you go. Perfect. All right. So once she has pretty easy. It's pretty great, isn't it? Yeah. And so then now we're just going to cut this in half. So right on that first line that we drew. And then we can just use our ruler and measure in two and a half because we can cut these in half. And then I'm going to go ahead and turn these because they only need to be 8 and 1/2 long. So I like to I'm just going to do one at a time. You could cut them before and then you could and then cut them in half. Yeah. Whatever way is easier for you. I like to turn my ruler so I know I'm at eight and a half. So then let's do it first this time. Either way works, right? Yes. So we'll trim that off. And now turn with our two and a half inch measurement. There we go. So, let's go ahead and give these a press. I like to just set that seam and roll it back. And I have a few of these already ready to go and pressed. Makes them nice and flat. Nice and flat. And so now, um, let's go back to remember I said those four and 1/2 in squares that we cut I was going to mix up so that it was scrappy. Yes. And we were going to sew on all four sides just like we did in our previous block. So, I have that done here. You're going to do that to two squares, but I just already did one. And so, we're just going to cut these just like before. Trimming them to two and a half. There we go. And now, if you want to press, that would be awesome. Of course. Thank you. I like this fabric with the tiny little pins on it and scissors. So cute. There's so much that's interesting about this fabric. Even the floral prints have little sewing notions. Yeah. Kind of like little surprises hidden in there. Little Easter eggs. I love that. Jackie from our design team did such a great job on this collection. She's so creative and super talented. Yeah. Yes. Very talented. There we go. All right. There's our last little one that we need to square. All righty. And you'll do that to both of your four and 1/2 inch squares. And then so you'll end up with eight of these little half square triangles. And then we're going to go ahead and sew them together. Put our little star legs into little star legs. So, I'll let you do both of those. Cool. And then it's almost time to assemble. Getting close now. So close. I do love to make little blocks. I do, too. I I can't help myself sometimes. Yeah. All right. So, I will just press these back. Okay, there we go. All right. Now, if you remember, we had an extra 4 and 1/2 in square from our cutting in our first block. That's actually the middle cool of our star. Perfect. And then we also cut our background square. So, we had four more two and a half inch squares in that first block. that comes over and we use that here. And so that's where that comes from. Everything gets used up. There's hardly any waste. Exactly. And so did you use every piece in your layer cake? So I I tried not to use the lights. I have like this one here. It's a little bit hard to see those stars. Exactly. They kind of get lost. So I tried really hard to use the prints where they would shine, you know. But I do think you need almost all of it. almost all of it. Yeah. And so then these So really efficient use of the layer cake. Yeah, it definitely is. So there's our little star and then these guys are going to go in the corners. All right. Do you want me to go ahead and stitch this up? I think they get the idea. It's pretty similar to the the tri. So let's just finish laying it out. Okay. Okay. And so then once that's sewn together, then you're going to add, of course, your bar units to the outside. That just like so. And finish it off with our churn dash corners. I love those. So fun. Whoops. Those two are stuck together. There we go. And just making sure our prints go into the middle. And then we have our cute little block all finished. This is so cute. I love this quilt. Thank you. I love how it turned out and it finishes. Let me check the size here. 68 by 84. So, it's a really nice size. And I just alternated between those two blocks. So, we have one, two, three, four across by five down. And I just did a tiny little 2 and 1/2 inch border. I love that. I just wanted something to frame it. It is. Yeah. It's a sweet little frame. Yeah. And I didn't think it needed a bunch of extra size. It was a great size already. And so, here is that backing again. And I used this beautiful floral. I just love it. And like Natalie said, there's lots of little like, you know, sewing surprises, hidden things in there that are really fun. I quilted it with our MSQC uh chick panto, which is really, really fun. Hopefully you guys can see our little chuck hidden in there. Yeah. But I just think this quilt turned out super fun, and I loved yours as well. This was a fun double take. I enjoyed it. It definitely was. Well, I had a lot of fun using this fabric. I think it's great and I love the churn dash block. I do too. It's one of my absolute favorites. And I hope you guys really enjoyed these two great ideas um for National Quilt Month. And so we will see you next time on our double take. Bye.