

Dresden Sunburst Quilt
Jenny teaches us how to make a quick and easy Dresden Sunburst Quilt using 10 inch squares of precut fabric, the Layer Cake Dresden Plate Template, the Small Simple Wedge Charm Pack Template, and yardage.

Instructor
Jenny Doan
Jenny Doan is an American quilter, author, and YouTube personality. Jenny started Missouri Star Quilt Company in 2008 and today it is the largest quilting supply vendor in the United States.
Shop this tutorial
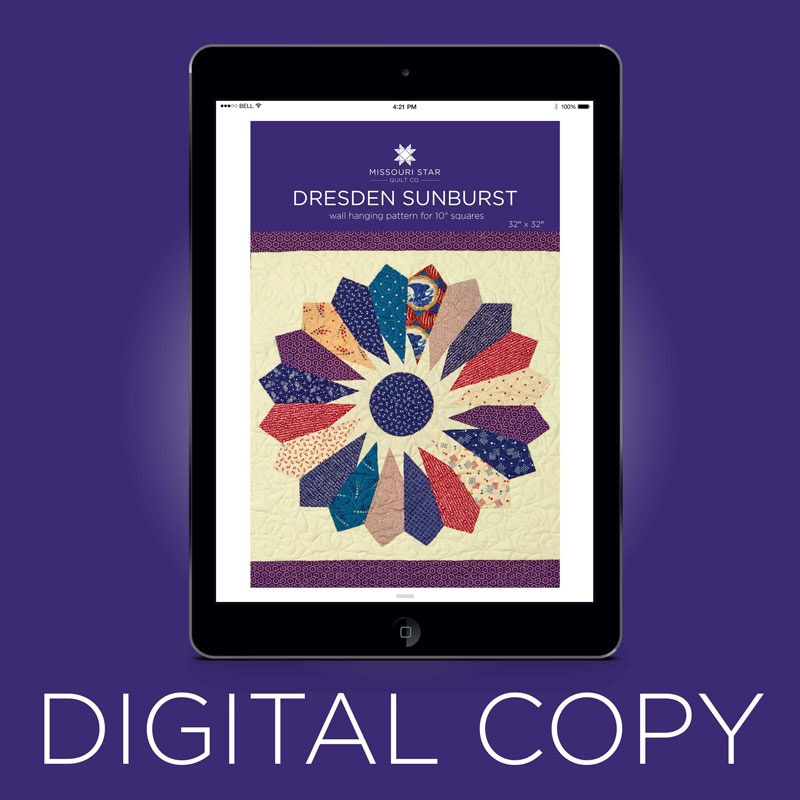 Digital Download - Dresden Sunburst Quilt Pattern by Missouri Star$4.95Shop →
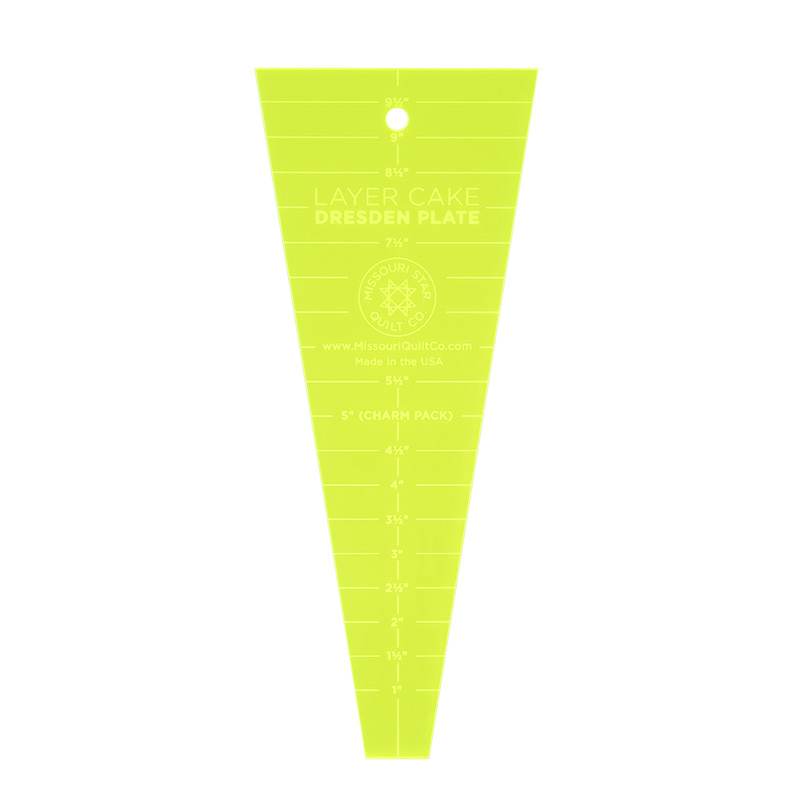 Missouri Star Large Dresden Plate Template for 10" Squares$9.95Shop →
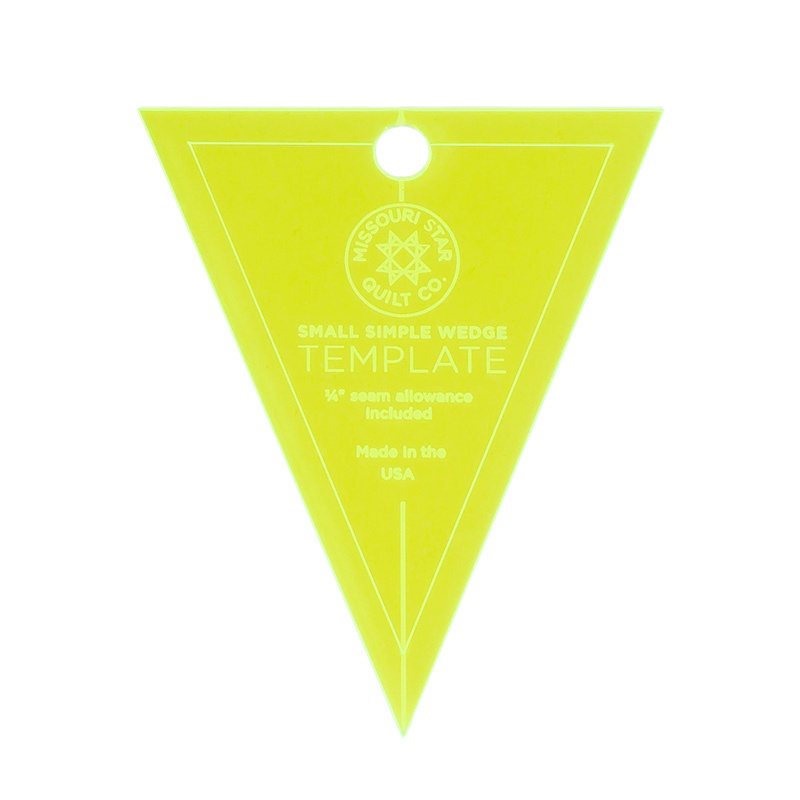 Missouri Star Small Simple Wedge Template for 5" Charm Packs$5.95Shop →
 Heat N Bond Lite$3.25Shop →
 Olfa Splash Aqua 45mm Rotary Cutter$18.75Shop →
 Missouri Star 5" x 15" Ruler$15.95Shop →
Common Questions
What is covered in Dresden Sunburst Quilt?
Jenny teaches us how to make a quick and easy Dresden Sunburst Quilt using 10 inch squares of precut fabric, the Layer Cake Dresden Plate Template, the Small Simple Wedge Charm Pack Template, and yardage.
How long is the tutorial video?
The tutorial video is 00:18:48.
Are supplies listed for this tutorial?
Yes. The tutorial page includes the supplies and materials connected to this project.
Is a transcript available?
Yes. A written transcript is available on the tutorial page.
Video Transcript
Hi! It's Jenny from the Missouri Star Quilt Company, and I guess I need to up my game. Did you
guys see that darling video that my grandson did on this quilt behind me? Oh, it’s so cute. If you
want to see it, there's a link below, but he is just adorable.
Anyway, I want to show you how to make this quilt. Let's take a look at it. So, this is the
Sunburst Dresden quilt and it’s just beautiful and so simple. I love how big they are. I love the
sunbursts. And it's just a technique you'll be able to use in a lot of things. So to make this quilt,
what you're going to need is one packet of 10 inch precuts. We've used “Lime Twist” by the
Henley Studio for Makeover Fabric. I mean...it's... you can see by the lime behind me, it's
gorgeous!
We have used about 3/4 of a yard for our Sunburst Middles and the little pokey, pointy things
that stick out, and then this first border is about 3/4 of a yard of background fabric. For the piece
that you set your Dresden on, you can do two things: First, you can buy regular yardage. It's
going to take you about 3 yards because these are like 27 inch squares. However big your plate
ends up, you want to measure 2 more inches bigger than the plate is. So that, you know, if your
plate ends up 25" you're going to want it 27" block. So that's a big block of fabric and it's going
to take about 3 yards of regular fabric. I actually used backing fabric. Now, backing fabric is 108"
wide, and so I only needed a yard and a half of that to make my big blocks out of that. And I felt
like it used, it was a little more efficient. But you guys can do whatever you want. The other
things you're going to need: you're going to need a Dresden tool. We also use the small, simple
wedge for our little rays of the sun in the middle. And then, just the normal, regular things. So,
let me show you how we do this!
So I want to show you how to make this quilt from start to finish. You're going to need to make a
lot of Dresden blades. There's 20 in each plate so we're going to have 80 of those. I have
several videos on Dresdens and, you know, they're just really fun to look at. You guys know I'm
a little obsessed with the Dresden plate! And there's just all kinds of things you can do with
them, and this is just another fun idea.
So, one of my favorite things about this is that our ruler goes actually from top to bottom, so
there's very little waste. So on this, on this 10 inch square you can get 3 cuts. So, let me show
you how we do that. We're just going to go ahead and we're going to cut up one side, and if you
have a nice rotary mat, you can flip it or just turn it like I did. And then we're going to go down
the other side. And you've got your, your blade. And you're going to need 20 of those for each
plate. So here's our blade. And to make this Dresden, it's so easy. What you're going to do is,
you're going to fold this straight in halflike this. So, right sides together, straight in half. And
you're going to sew right across the top. So let's go to the sewing machine and do that.
Alright, stitching down the middle. And you do a quarter of an inch, right across the top. Now
you're going to...what I would suggest doing is going ahead and cutting out all your blades and
then just sewing them one after another after another. I like that assembly line kind of sewing
because then when you're ready to get into the meat of the project everything's done. So now
what we're going to do, is we're going to take this blade and we're going to flip it. Now I kind of
like to... You can trim off this corner but it's just as easy to kind of fold it over with your finger
and push it through. It makes a nice, clean point . And then we're going to press that down. And
just put it down. You want your seam to line up on the middle of the Dresden. And you want it to
lay nice and flat like that. Now what you're going to do is, you're going to set those aside
because now we have to make the sunbursts...the part that makes the sunbursts.
And to do that, we've used the simple wedge tool right here. And...we just need to cut out a row
of these. And you're going to...you're also going to need 20 of these for each plate. And so as
we cut them out you're just going, you’re just going to rotate them . You can lay them, set them
on the bottom edge of your fabric like this. And so you'll cut one here and the next one will line
up right alongside it. So you only have to cut one side after you cut that first one. So let me
show you how we did that. And I think, yeah, my fabric isn't quite even, so you need a nice
straight edge to start with. Let's start that.
Alright, now we have a straight edge. And we're going to lay our little template on here, like this.
And we're going to cut up one side and down the other. And then we're going to come and we're
going to lay this template right here by the line. You can see it lays right up on that line so now
we're only cutting, we're only cutting that one side and across here and if you cut out your strips
so it's exactly the size of your, your simple wedge, then you, you don't even have to cut across
the top. So very quickly, you're going to get lots of these little, little triangles. And it just goes
together really quick.
Alright, so now that you have your little wedges, this is going to make your sunburst. And what
we're going to do with these is we’re going to go to the ironing board, and we're going to fold
them right in half, like this. Now one of fun things about these solids is that there really is no
front or back so we're just going to iron them in half. And we're going to do that just to all of
them. I'm going to do it to a few here just to show you how it goes. There we go. Alright, so now
you can see these are like folded right in half and ironed in half. Now we're going to show you
how to make the sunbursts.
So what we're going to do is we're going to start sewing our Dresdens together but they’re going
to be sewn together in two’s. And we’re going to lay this wedge right here on our blade so the
bottom of our wedge goes right here and the point goes right along the edge of the Dresden so
you can see how that looks. It goes right along there. We’re going to catch that in our quarter
inch seam. So what we’re going to do then is we’re going to lay our next Dresden on top like
this. And we just probably ought to stick a pin in here so that nothing moves. And then we’ll
head to our sewing machine.
Now, you want to start from the top up here because this is what ...we’re worried about this
looking good. Down here in the bottom that’s going to be covered with a circle so we don’t worry
about that too much. So right here we’re going to come and we’re going to do a quarter of an
inch all the way down making sure that our little wedge here gets caught in that quarter inch
seam. So let’s head over to the sewing machine and do that.
Alright, now I’m just going to peek in here and check and make sure that it’s still in there, pull my
pin out. So then what you get is a piece like this, where that little wedge is just stuck right in
there. We’re going to go ahead and iron this open. And then you just keep doing that and
making, you know, sewing two’s and two’s together and adding it to your circle.
So right here I have one that’s almost done. And as it gets big like this, see these two last ones
are going to go right in here like that. But you can see I still need to put my wedge in here and
over here. So I’m going to lay my wedge in here like this. And I’m going to take my little set of
two’s, and to make this one, I just did two’s, two’s, two’s. Then I put my wedge in there and did
four’s, four’s, four’s. You know you just, you just want to get 20 in a plate. So now we’re just
going to stick this in here like this, make sure it lines up, lay our piece that we’re trying to sew on
top on top of that, put a little pin in there to hold it, and then we can head over to the sewing
machine and stitch that down.
Alright, here’s this one side. And I’m just going to peek to make sure that the top of my wedge is
still in the seam. And pull this pin out. I don’t want to sew over that. And then we just have to
add one more set to finish it up. I mean, one more wedge in here, so we’re almost ready to
close our circle . So here’s our last little wedge. Let me press this so it lays down a little bit
better. I think it got pressed when the iron wasn’t very hot. Alright, so then we’re going to lay this
in here just, just like we did every other time. We’re going to fold this over. We’re going to lay
this one on here, making sure that this one doesn’t get caught in the seam. So, you want to
make sure that only, the only blade that’s in there is the blade you want to be in there. Because
otherwise you’re going to have to do a little rippin’! And that’s not our favorite.
Alright, so then we’re just going to sew this down again...like this. And take my pin out. There
we go. And now we have a plate. So let me move this stuff out of the way. We’ll open it up and
you can see, there’s our plate. Now, what we want to do is, we want to press all of our wedges
going the same direction. So, to do that, I like to press from the top so I can see which way
they’re going. And you just press them down like this. And then I just move out to the outside to
make sure that everything lays down nice and flat. And so, there you have ityour finished
plate. This is your finished Dresden plate right here.
And so now we need to add it to the background square. And what I do with my background
square, this one I’ve cut out already and it’s 2 inches bigger than my plate, I’m going to fold it in
fourths, like this. And I’m going to find the center. And to find the center right here, I’m just going
to iron, put my iron on the edge of it. So it’s going to make a little crisscross in the center and I
know that that’s where my blade is going to lay. Alright, so we’re going to put this on here like
this. And you can see that little folded crease right there. I’m going to center that up right there.
Now I need to make sure that this doesn’t move. So what I’m going to do is I’m going to go
ahead and put some pins in here. You can also slide some scraps of heat and bond under here
and just iron it on and stitch it down that way. It is a really good idea to make sure it’s adhered
on here really good. As these plates get bigger, you know, they tend to shift a little more so you
want to make sure that there’s no movement in them or you won’t have a nice, flat blade.
So now we’re going to talk about the circle in the center. That’s this one right here. And you
want to make sure that you find a circle that’s large enough to cover your points. When you put
your plate down, you’ll see that these little points on the edge of the wedge, they come up a little
bit, so you want to make sure that your circle is big enough to cover those, because you want to
cover all your raw edges. So, what I do is, I go around my house until I find just the right size
object and I trace it onto my fabric. I have it traced. I have two pieces cut out here. The tracing
line becomes my sew line, so I don’t have to be perfect. I just have to...I mean my cutting
doesn’t have be perfect. My circle should be perfect but not the cutting. So now I’m going to go
over to the sewing machine and sew on the sew linecompletely enclose it. And then we’ll flip it
right side out.
So let me show you how we do this. We’re just going to sew on this line right here. This makes
this... these are a really clean way to do any kind of applique. It’s just a turn method. There we
go. Alright, so now I have my two circles, right sides together, sewn together. I’m going to trim
up this edge a little bit so I don’t have so much bulk inside. And then, there we go. And then
we’re just going to flip it rightsideout. And to do that, we’ve just got to pull these pieces apart
like this. We’re going to cut a little, make a little cut in one side, and then cut us a slit so we can
turn it. And then we’re going to, I’m going to run my finger right along the seam so I get all those
little folds out of there. And we’ll come over here and we’ll press it down so we have a nice, flat
circle. Make sure all your little folds are pulled out of the edges. You don’t want, you want it to
be nice and round, not angular.
Alright, so then you have your circle for the middle of your Dresden. And we want to stick it on
there. So one of the things I like to do is I just take a piece of heat and bond, a little scrap like
this. And it doesn’t have to be round or anything because we’re just trying to get it to hold on. So
we’re going to put that on the back of our circle. Make sure the nubby sides are down. Iron a
little piece on there. I’d rather use heat and bond than pins any day. I just like it. And since I’m
not hand quilting... Oops, I need to iron a little more. Since I’m not hand quilting, it doesn’t
matter if it gets another layer in there. Alright, let this cool a minute (I always get in such a rush).
And then we can pull it up. It’s very hot! Alright, here we go. There it is...perfect! Then you can
see this shiny stuff on here; that’s the stuff that kind of glues it down. So then what we’re going
to do is we’re going to slide this over to the board very carefully. Make sure all of our edges are
still covered in here. And we’re just going to set the iron on there and let that heat and bond do
its job and stick down.
And then what we’re going to do is we’re going to do a blanket stitch around the center of the
circle and around the edge of this big Dresden plate. So, no handwork on this. It’s all a blanket
stitch from the sewing machine. The blanket stitch is the little stitch that you’ll see that goes
along and it goes chickchickchick and then one up. It just reaches over to take, to grab that
fabric. And so it’s a great, little one. You could use a zigzag or anything that you’d like on here.
So carefully move your thing over here. I’m going to set my stitch up on here, make sure it’s the
right one. And you probably, I have done this so I know what’s going to happen but you
probably want to test your stitch to make sure that your stitch is going to look like what you want
like what you want it to. I hope you can see how this is looking as I go around here. Sewing the
center first will anchor your Dresden, your plate onto your fabric. Make sure your blades stay
laying down. And your little, your little wedges stay laying down tooyour sunbursts. And as
quick as that, your little circle is down.
So now we’re going to do the edges. Let me go ahead and cut this thread. So on these points,
when you go on these points, it requires a lot of turning because once you get to the point out
here, you want to make sure your needle is down, and then you’re going to turn down and go
the other direction. This is where it’s super helpful to have pinned your Dresden on really well
because you don’t want that moving. So you want to make sure your needle’s down and then
you turn and you’re going to go ahead and sew the entire thing on there. And, just keep going. If
you have a needle down, this is a great place to use it.
So now what you’ve done is you’ve sewed around the middle edge, you’ve sewn all the way
around the outside edge of your Dresden and, if you don’t like the blanket stitch, use a zigzag.
Use one of your other fancy stitches. You can even straight edge it if you want. You can actually
hand sew it down. So don’t be afraid to try some different things. But once you’ve finished this
one, you’re going to do that three more times. Then what you’re going to do is you’re going to
sew these great big blocks, here’s our big block right here. You’re going to sew those great big
blocks together. And you’re going to make like a giant four patch. You’re going to put your first
inch and a half border on and that border is included in the fabric that you have for the circles
and the starbursts. And so that’s about 3⁄4 of a yard. Your outer border is about a 6inch border.
We went for a pretty big border. And that’s about a yard and a half. And you’ll end up with a quilt
that is 62”x62”. It’s just a gorgeous quilt. And an awesome way to make a sunburst Dresden. So
we hope you enjoyed this tutorial from the Missouri Star Quilt Company.



