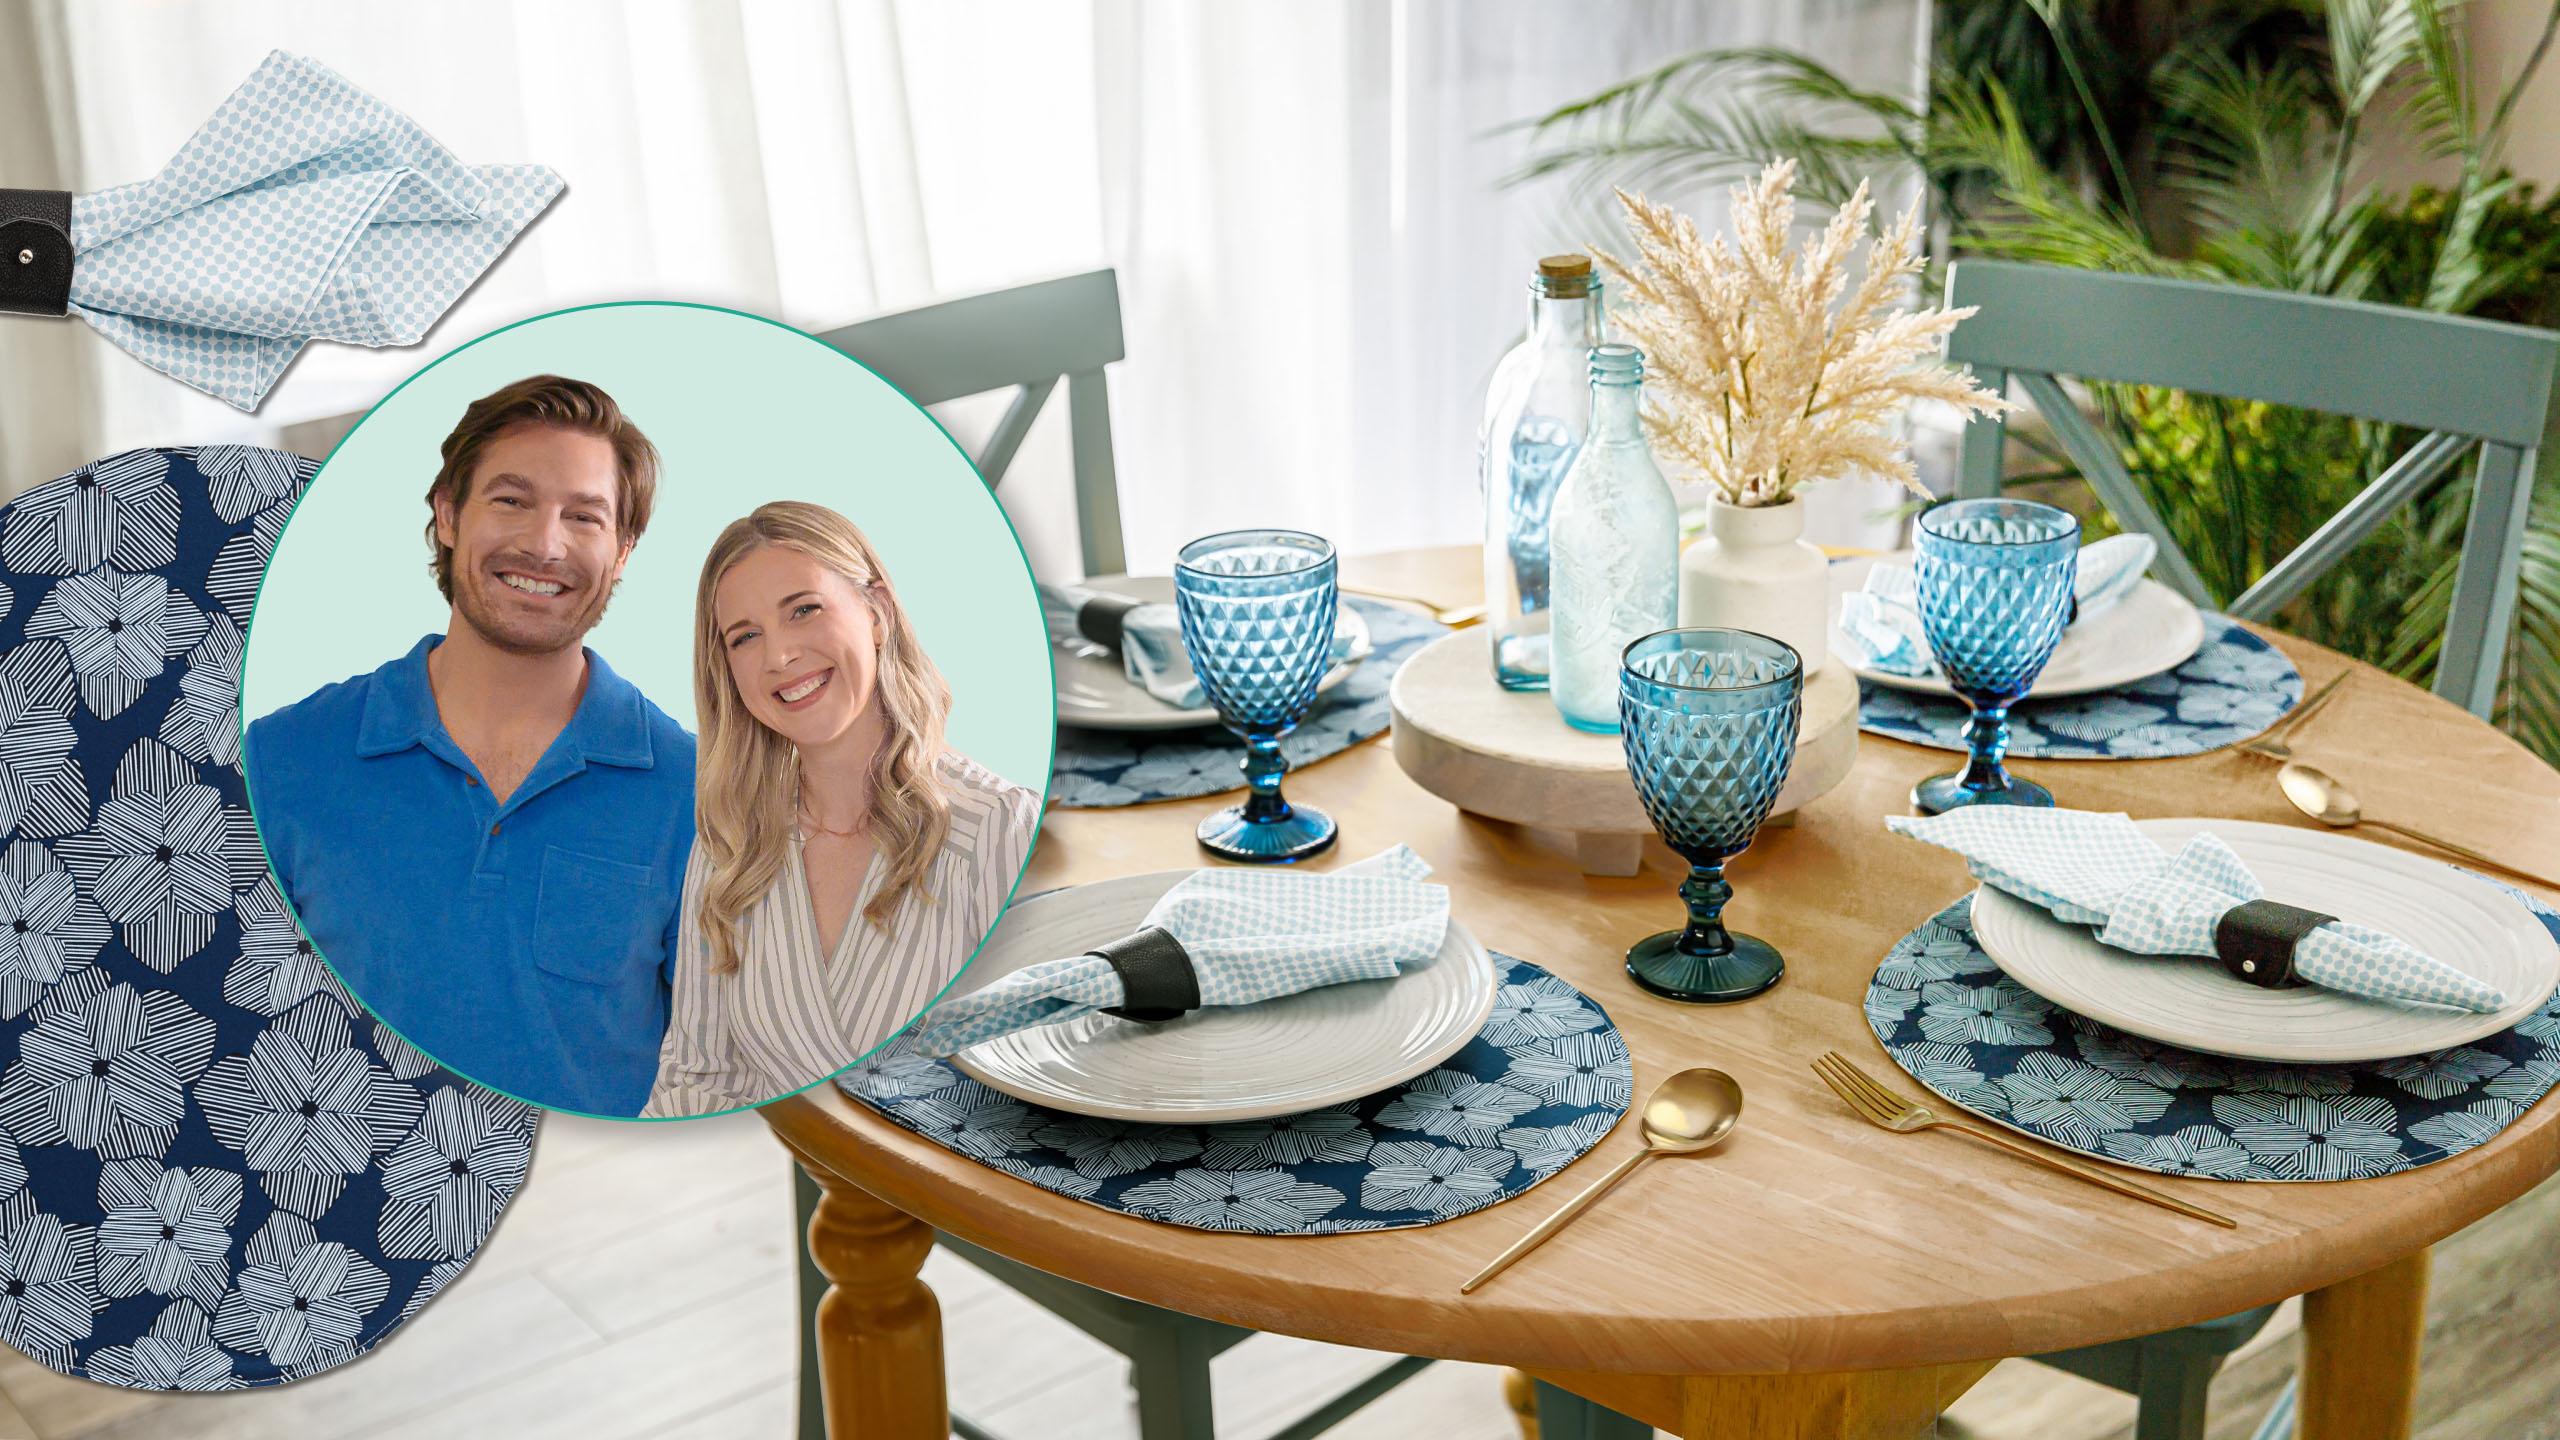
Craig Conover of Sewing Down South joins Misty to show you how to add charm to your dining table with an attractive table setting. Using Craig's Drift Into Blue fabric line, they'll make placemats and cloth napkins that will give your table next-level appeal. And for a little extra, make snap-to-close napkin rings with pebble-texture faux leather and Sallie Tomato hardware!
Instructor
Misty Doan
Misty Doan grew up surrounded by sewing and quilting. She loves spending time sharing tutorials each week each week, and when she’s not stitching up one of her fun sewing projects for home decor, most likely you’ll find her hanging out with her husband and three awesome kids or working on a house project.
Craig Conover of Sewing Down South joins Misty to show you how to add charm to your dining table with an attractive table setting. Using Craig's Drift Into Blue fabric line, they'll make placemats and cloth napkins that will give your table next-level appeal. And for a little...
How long is the tutorial video?
The tutorial video is 00:00:00.
Are supplies listed for this tutorial?
Yes. The tutorial page includes the supplies and materials connected to this project.
Video Transcript
[music] Hey everyone, it is Misty with Missouri Star Quilt Company and I am back with Craig, co-founder of Sewing Down South and Sewing Down South Textiles. That's right. Thank you for being here. Thanks for teaching me letting me be here. [laughter] Teaching me so many new projects every time you come in town. We're here at my sewing studio in Charleston, South Carolina. And uh I can't wait to see what we do with our blues. Uh, I love this collection. It's called Drift into Blue, right? It is so beautiful. Um, just kind of this perfect balance of modern and classic. It's what we use a ton at our store, our patterns throughout our pillows, outdoor and indoor. It's been my favorite color to wear, my favorite color since I was a kid. And to do a collection like this that we can share with everyone has been really special. Well, I'm excited about today's project. I think it's super fun. We have two quick things that we're going to make today. And that is a set of place mats. Okay, great. And then some napkins as well. So you can totally deck out your table in your own fabric, which feels right. We um place mats are very special in my family and we change them out seasonally. We use them at every meal. Something my dad gets a kick out of and my mom is always keeps her eyes out for different place mats for different seasons and spring, summer. I mean, this is perfect. Well, that's perfect. These are actually great because they're reversible. So you get to have one print on each side. And so we just selected these two great fabrics from your line. And I cut a 14 by 18 inch rectangle. And so the first thing we're going to do is we're going to place those right sides together. Let me clear some of this out. I love the shape, too. Well, it's just a nice classic, right? And so these uh we actually have a variety of shapes available at Missouri Star in these kind of pre-made sets of four to make your place mats. And so I just went with this basic oval shape, but there's like scallops and squares and all kinds of different options out there for you depending on what you like. And so we're just going to stack these up just like so. It doesn't have to be perfect because we have some extra space. Okay. And then if you have a pin over there, there we go. There we go. I'm just going to use this placemat form as my guide and just trace all the way around. Okay. Make sure that you can see the line though because this is going to become your stitch line. So, it doesn't matter what we use to mark it. No, it'll all be hidden inside. There we go. And then the next thing I'm going to do is I'm just going to take my ruler and I want to leave an opening that's about 6 in long. Okay, along the side. And so, I'm just going to make a little mark out here to remind myself. And that way when you put this under the machine, you know, all right, I'm gonna start here and stop when I get to the other one. And so now you're just gonna stitch right on that line that we drew. So I'll let you take this to the machine now. And if you want to pin your fabrics or clip your fabrics so that they're not shifting, that's totally up to you. It's a great option. You just want to make sure they're right sides together. Okay. I might throw a few on here just so Yeah. Just to keep it from Yeah. So you don't have to fight with it. If I was by myself, I would clip it. Well, that's what matters then. Okay, perfect. That's good. Right on that line. Yep. Right on the line that you drew. Take it nice and slow around this line that you gave me. Yeah, it's a really nice gentle curve. So, as long as you're not going too fast, you should be able to just gently guide the fabric on the line. So, if you want to stop there, remember we need to leave a little opening. And so, you can just trim your threads. Okay. And then we'll just leave a gap. Okay. Then we'll just start there at that other point. So, we can clip this later. I should have mentioned if you want to back stitch there at the beginning and end of those openings, it's a great idea because you're going to put a little tension on those seams. Of course, my pen marking was a little faint there. Sorry about that. Well, it's funny cuz it isn't you're when you were marking it, I was like, it's fine. You don't need to get every spot. Like, I'll be able to just follow the guide, but because it's round, it does help to Yeah. to really have it marked well, but I can see it. Good. Beautiful. All right. He has made his way all the way around leaving that 6in opening. And so, that is all set. And so, now, actually, I have another job for you. You want to grab your scissors and just trim away leaving about a/4 in except at this opening. Leave kind of like more like a half an inch. Like if you want to just cut out a little bit farther so it's easier to tuck that inside. Okay. No problem. Just cut at least a quarter inch away from all of those seams. Okay. Yeah, there you go. I just think these are so fun and easy. And like the idea that you could make place mats in whatever fabric you want for whatever season, like you said earlier, is pretty fun. Yeah. What an easy project to share with your family, too, cuz like you can do it during the day and then at dinner be like, "Hey, look what I did." Yeah. I got something for the table. It's interactive. I mean, it serves a all serves a purpose, but it's kind of neat. And then if you want to wash these, how do what would what do you recommend? So, you should be able to just toss them in the wash. I wouldn't dry them. I let them air dry. So, after you uh either clean it by hand or in the washing machine on a gentle cycle, um just leave kind of lay them flat to dry and then give them a press at the end to reshape them. Doesn't get easier than that, huh? You don't really ever need to buy place mats again, do you? No. Exactly. Right here. All right. Perfect. Let me see what we've got here. All right. Perfect. If I could see those scissors. I'm just going to clean up a little bit by our opening. So, I'm just going to cut this kind of straight towards where your seam stopped there and then come in a little closer to that quarter inch. Okay. Same thing on the other side. And then I'm just going to leave a little bit more fabric on this straight part just because it'll make it easier for me to turn this under later. Gotcha. And so then now we can open this right sides out. Kind of just like to run my fingers along the edge of that to make sure my seams are going to turn out really nice. Just like so. All right, we're getting there. You can see where this is headed, right? Taking shape. Yeah. And so I'll just kind of roll my fingers at first all the way around that to make sure that those seams are just kind of pop and lay nicely. And that's kind of like a little hack. If you don't want to press it yet, you just roll those seams and it makes them lay really nice. Yeah, that's neat. And so now we can take our little form. Okay. And I'm going to kind of fold it in thirds here. Smart. And pop it in that opening. Very creative. creative, nifty. Well, I I think that's what I love so much about sewing is people have so many great ideas and so I love that, you know, someone has taken the time to make these little forms that make this process so simple. And so now we just kind of have to maneuver and make this lay correctly inside. It's so funny. Who knew how placemats were made, right? And turns out it's easier than you thought. Just like so. And so then now I've got these little raw edges and I can make sure that this back one is going to cover smart that. And then if you want to press that all the way around now so it'll lay nice and flat. Oh, it's hot. [laughter] Like to just go all the way around that outside edge to just help it relax. Mhm. And now all that's left once you have it pressed is to just top stitch it and close up that opening. It is really as simple as that. So, you just want to make sure that fabric is laid in there smoothly like that. Yeah, I think that looks pretty good. And we trim it up a little bit. Yeah. At the end. So, what like uh where do you do it? So, I I usually when I'm doing uh top stitching, I'll do about an eighth to a quart of an inch just all the way around. So, you can secure it and it's just going to give you that start on this side. I usually would start just on the other side of your opening. So you secure that first so you know you're all set. And this would be a great place if you wanted to use like a contrasting thread or something like that that would show up. You could totally do that here. Like if you were doing a backyard barbecue, we could use like a thread. Yes, absolutely. So we will just let Craig make his way all the way around the outside of this with that top stitch. And then when we finish that up, I'm going to show you how easy it is to make matching napkins. All right, coming into the final stretch. Yeah, all the stripes are starting to blend together in my eyes. Yeah, I really love that print on the top there. So beautiful. You do so many things with it. The right fabric. It's funny cuz a fabric can inspire a project or a project can inspire you to find a certain fabric. Absolutely. Goes both directions. Yeah. There you go. You made it. All right. Let's see how it looks. Wow. That looks pretty great. And then you have a matching stitch. Not bad at all. It looks amazing. And so you could do different patterns in there, too. Top stitch around if you wanted. Yeah, you you totally could. And you could even add like embroidery or something in there to customize it for people. Funny thing about handmade things is this truly will last for it's going to last a long time. I mean, yeah, like this isn't going anywhere. 100%. And even if you wanted to do, you know, one for spring and one for fall, like because they're reversible, the options are really endless. And so, now that we've got the place mats, I thought we should make some little napkins as well. And so, these rings that I made um are actually a free pattern from our friends at Sally Tomato, okay? And it uses their faux leather. So, we'll link to that below. So, if you guys want to make the napkin rings as well, they're super fun. But to make the napkins, all you're going to do is cut out a 17in square of whatever fabrics you choose. Let me pull my pins out of here. Napkin rings is such an adult thing to have. Yes. Just really elevates it. And you know, for the couple like if you do happen to have a dinner party, you have them and you want it to look anywhere. Yeah. And so here is I've taken a 17inch square in this other great print from your line and I began by just turning it under a quarter inch and pressing it and then doing that a second time. So we've tucked all of the raw edges. And when I'm top stitching this, I like to sew from this side so I know I'm catching all of the layers. And I just try to keep it, you know, about an eighth of an inch away from that outside edge or as close to that inside as I can. Either way, whichever is easiest. And then all we do is just essentially the same thing we did on the placemat, right? We're just going to make our way all the way around this napkin. And then we have a great little reusable cloth napkin. So if you want just with a piece of fabric for my life, a 17inch square. Okay. So start from here. Any corner. Yep. Make our way around this. Making sure he captured both folds. Yep. And we're just making a really clean edge on this napkin. And if you wanted to use a zigzag or a decorative stitch, you absolutely could do that here. Very cool idea. Yeah. I just love the idea of you being able to set your whole dining table with fabrics that you designed. I thought that was pretty fun. It is pretty neat and special. It's really Yeah, it's worth celebrating. first handmade napkin [laughter] done in this sewing room. I think the more I learn about all of these little projects, the more exciting it is because it just opens up all of these possibilities. I mean, the fact that I can set my whole table with fabrics that we designed is really awesome, like you said. And and none of these projects take a ton of time either. They're really approachable and and, you know, easy to do. Such a good expansion from pillows, too. You know, I made pillows for so long just cuz I had never been taught how to make other things. And now it just it really does open up the world of possibility. I love it. Okay, here. Perfect. Oh, wow. So, there you go. Really is a napkin. It's a finished napkin. Simple as that. Very cool. I've got one more little napkin ring. So, we can just tuck that and it looks professional like you bought it from a store, but even better because it's Look at that. Made with love. So, now you've got a whole set. I bet a lot of people don't even know how to put a napkin in a napkin, right? Cuz I just learned too. Now, you know. Yeah. [laughter] So, now you are all ready. Look at that. All from our line. Exactly. Very, [music] very cool. You can go deck out your table and have a good party. That's awesome. Now I've got to find a I have a reason to have a have a party. [laughter] Exactly. Perfect. Well, thank you so much for being here and I hope you enjoyed it. I I certainly did. Awesome.


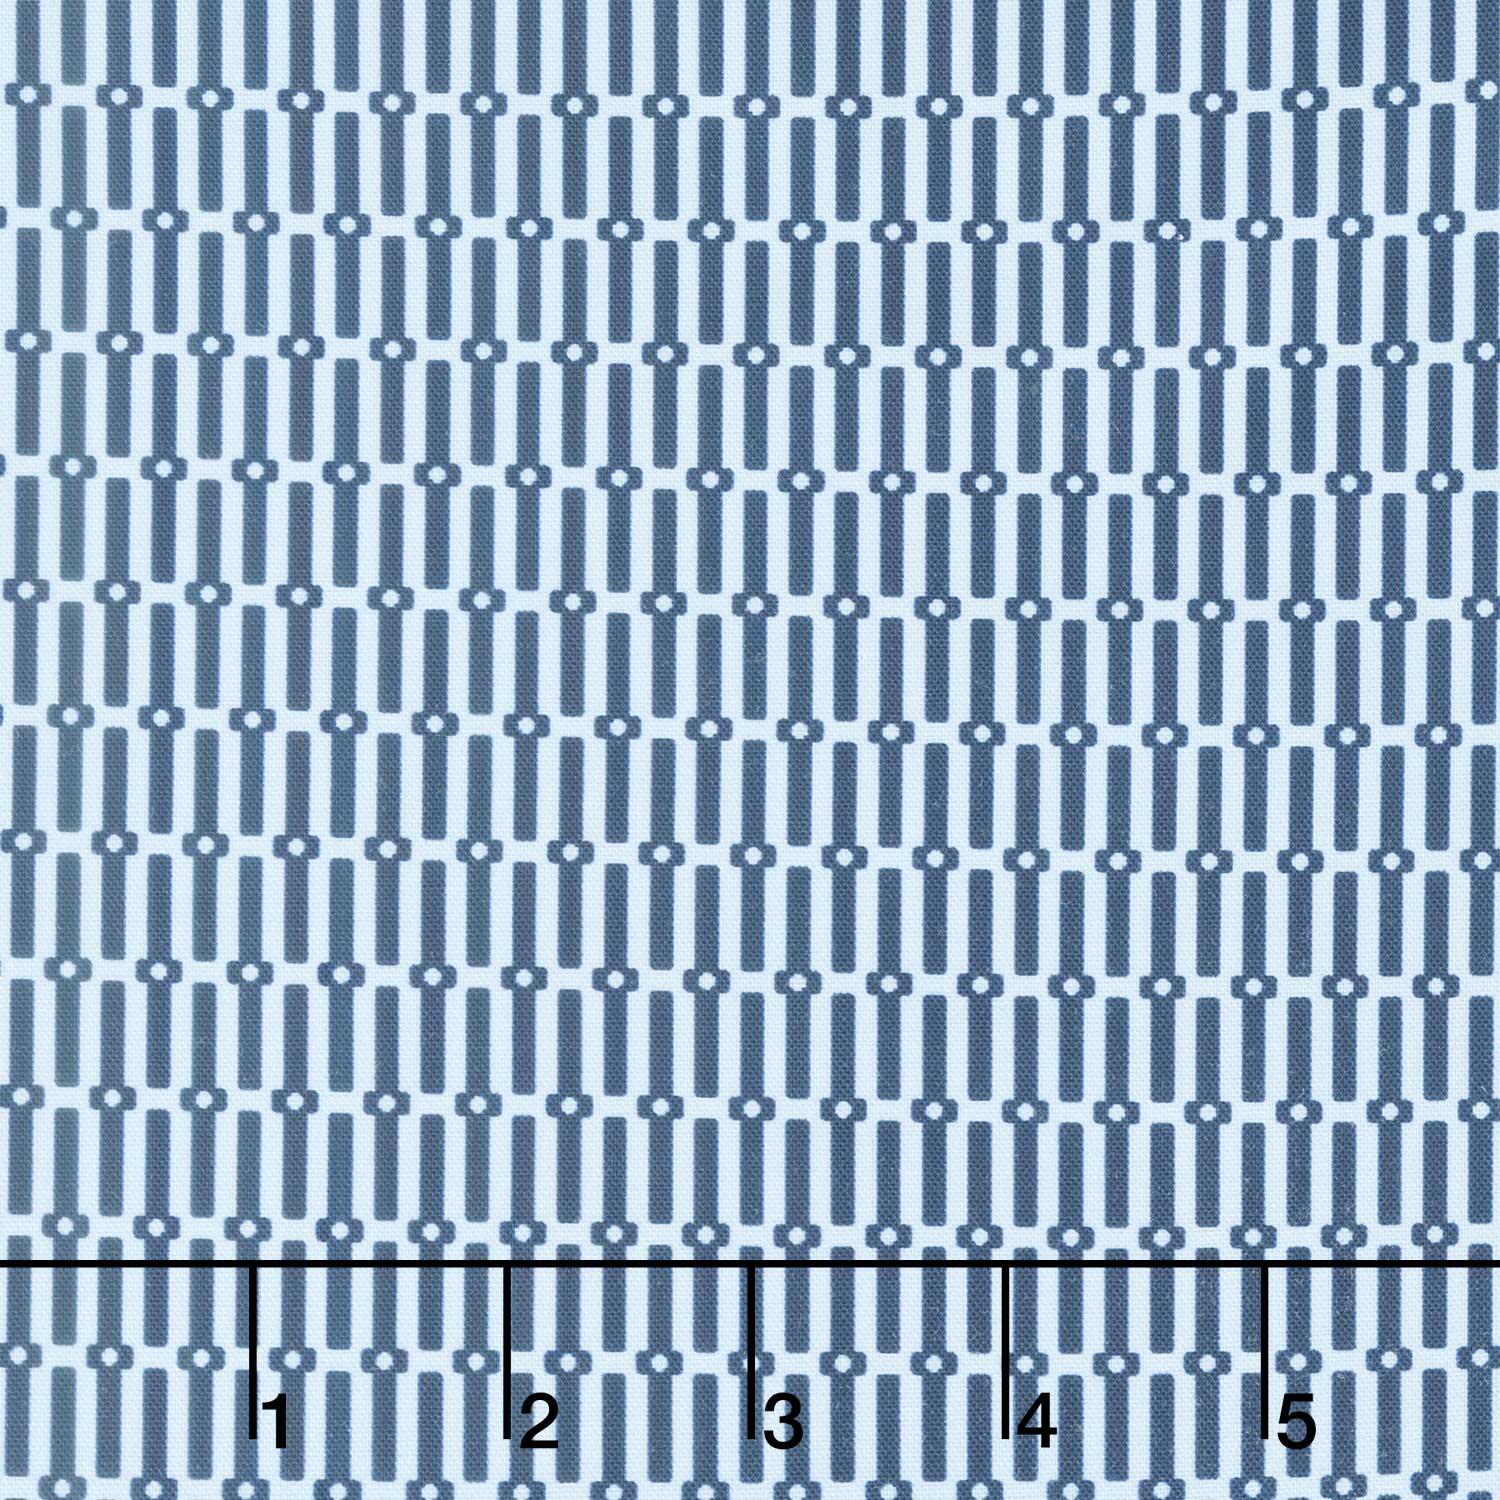 Drift Into Blue - Geo Design Chambray Yardage$12.24Shop →
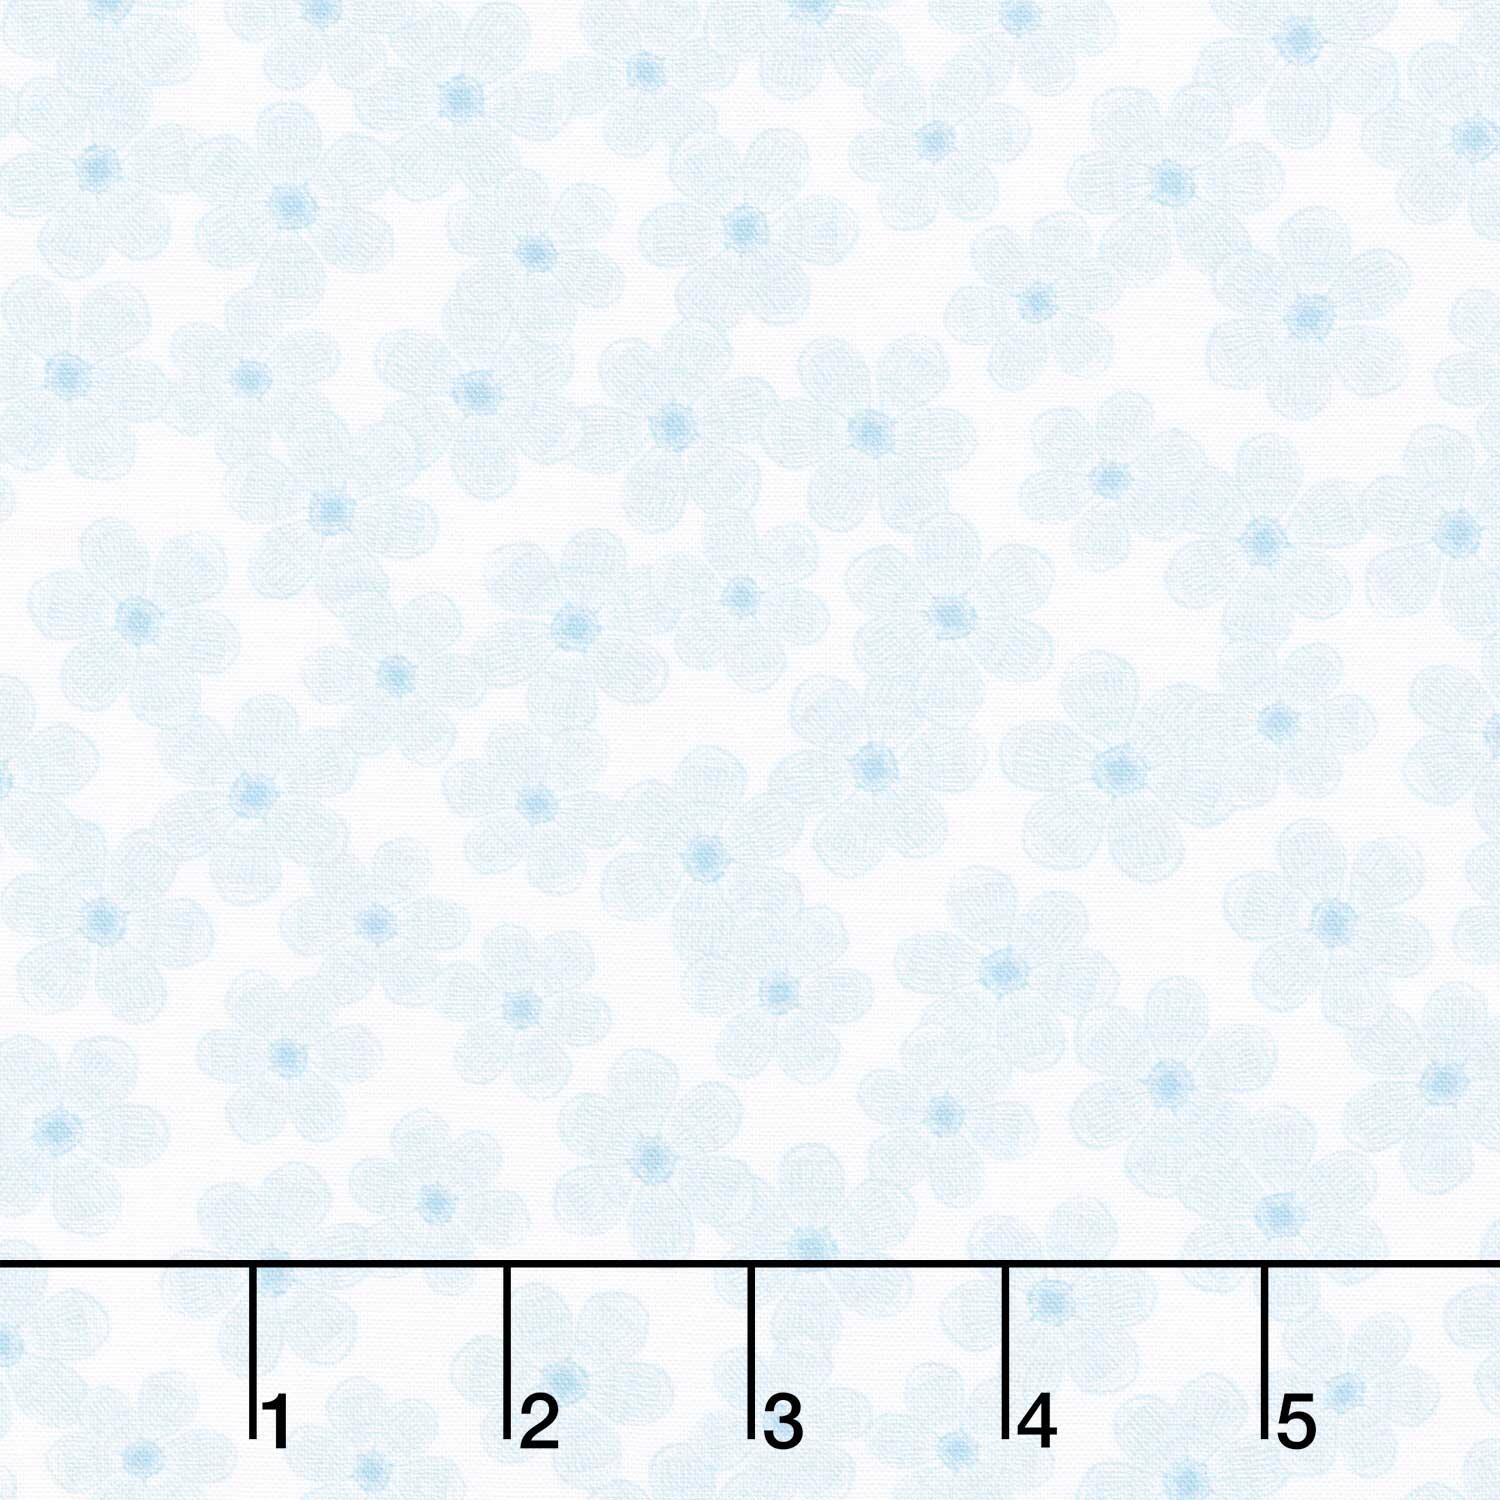 Drift Into Blue - Tossed Small Flowers Cloud Yardage$12.24Shop →
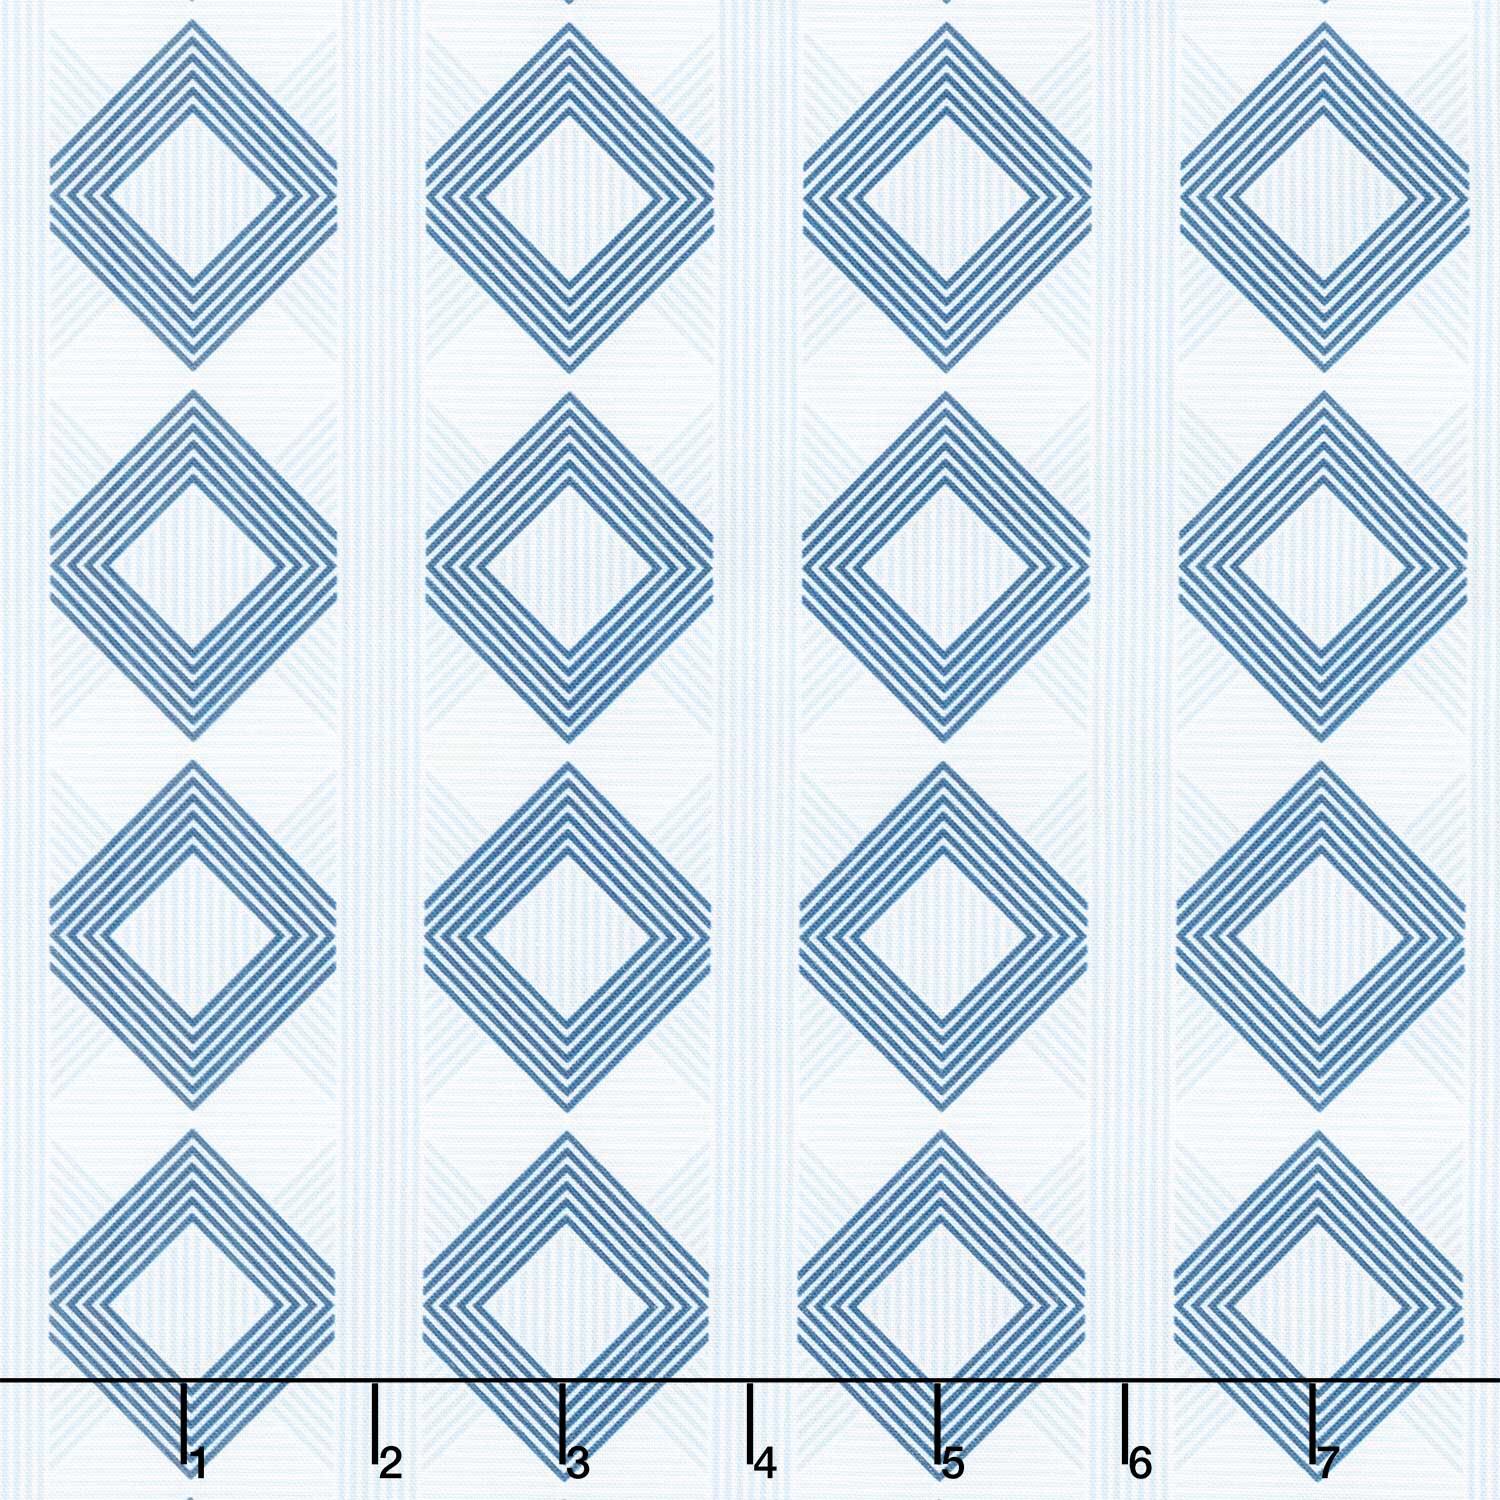 Drift Into Blue - Geometric Stripe White Yardage$12.24Shop →
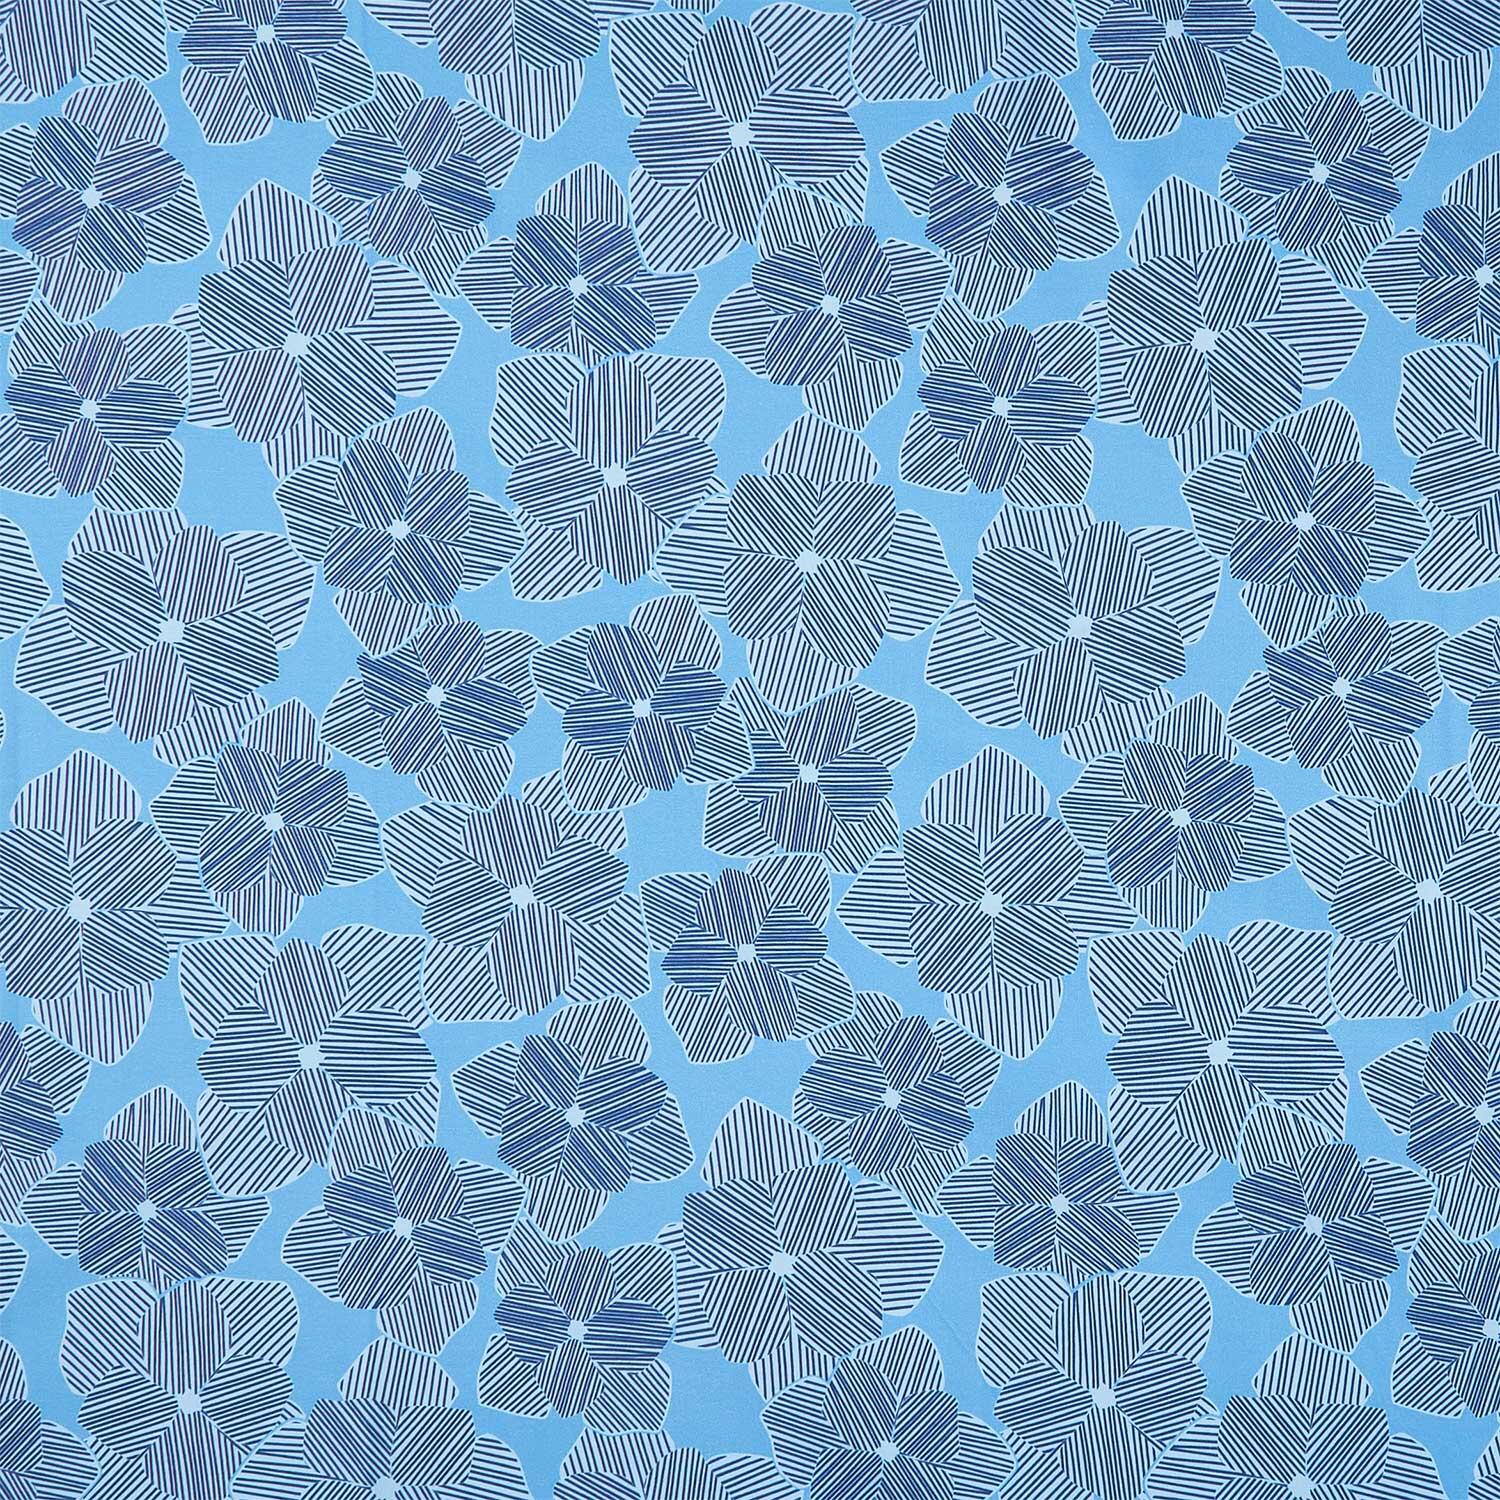 Drift Into Blue - Large Flowers Azure Yardage$12.24Shop →
 Black Pebble Faux Leather - 1/2 Yard Cut$11.45Shop →
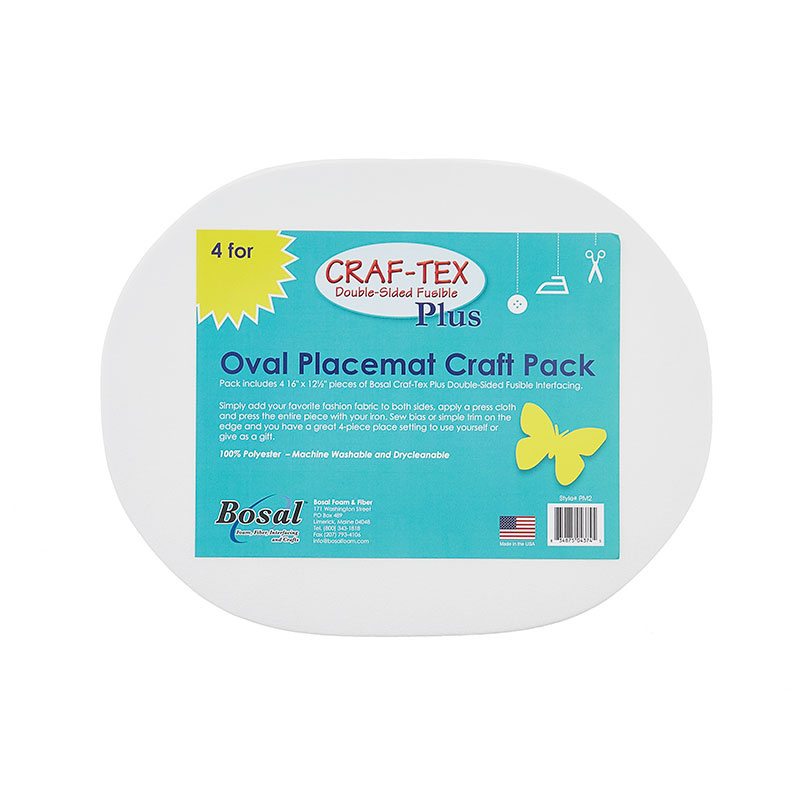 Bosal Craf-Tex Plus Double-Sided Fusible Interfacing Oval Placemats$13.95Shop →
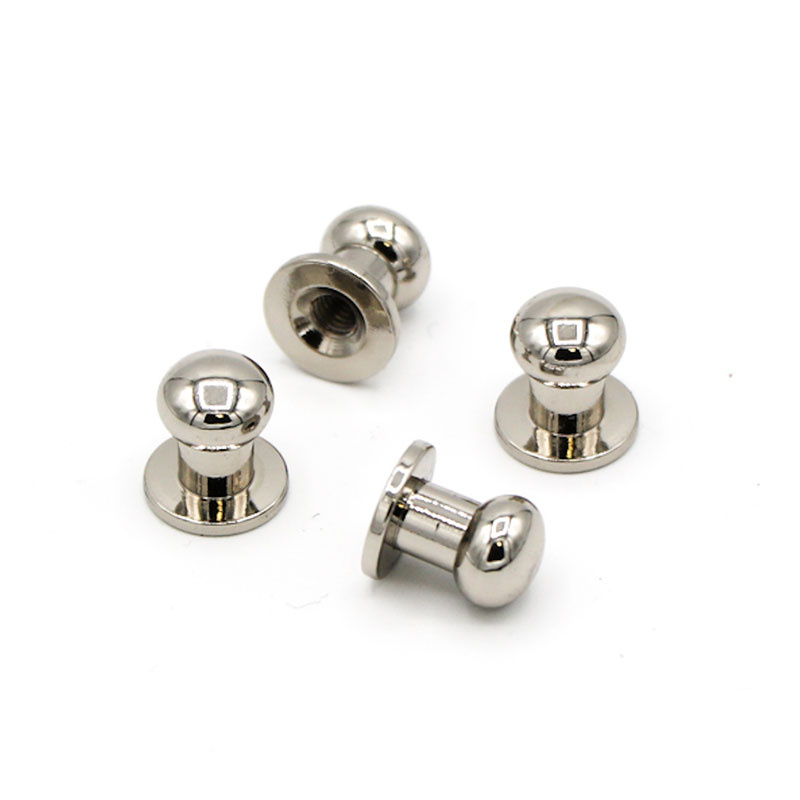 Sallie Tomato Short Stud Buttons - Set of Four Nickel$4.85Shop →
 Missouri Star 2.5" x 8" Ruler$11.95Shop →
 Missouri Star 45mm Rotary Cutter - Olga$19.95Shop →
 Missouri Star 8" Everyday Scissors - Amelia$19.95Shop →
 Missouri Star 50 WT Cotton Thread White$7.95Shop →
 Missouri Star + Oliso TG1600 ProPlus Iron$209.95Shop →
 Bernette 77 Sewing and Quilting Machine$1699.00Shop →
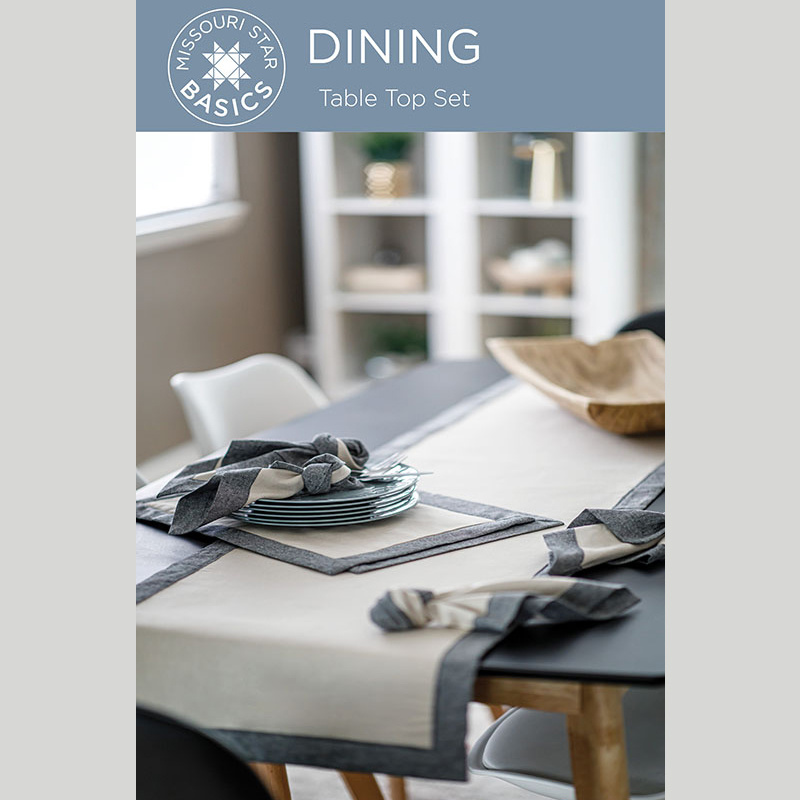 Table Top Set Pattern by Missouri Star$8.50Shop →
 Digital Download - Table Top Set Pattern by Missouri Star$6.95Shop →


