
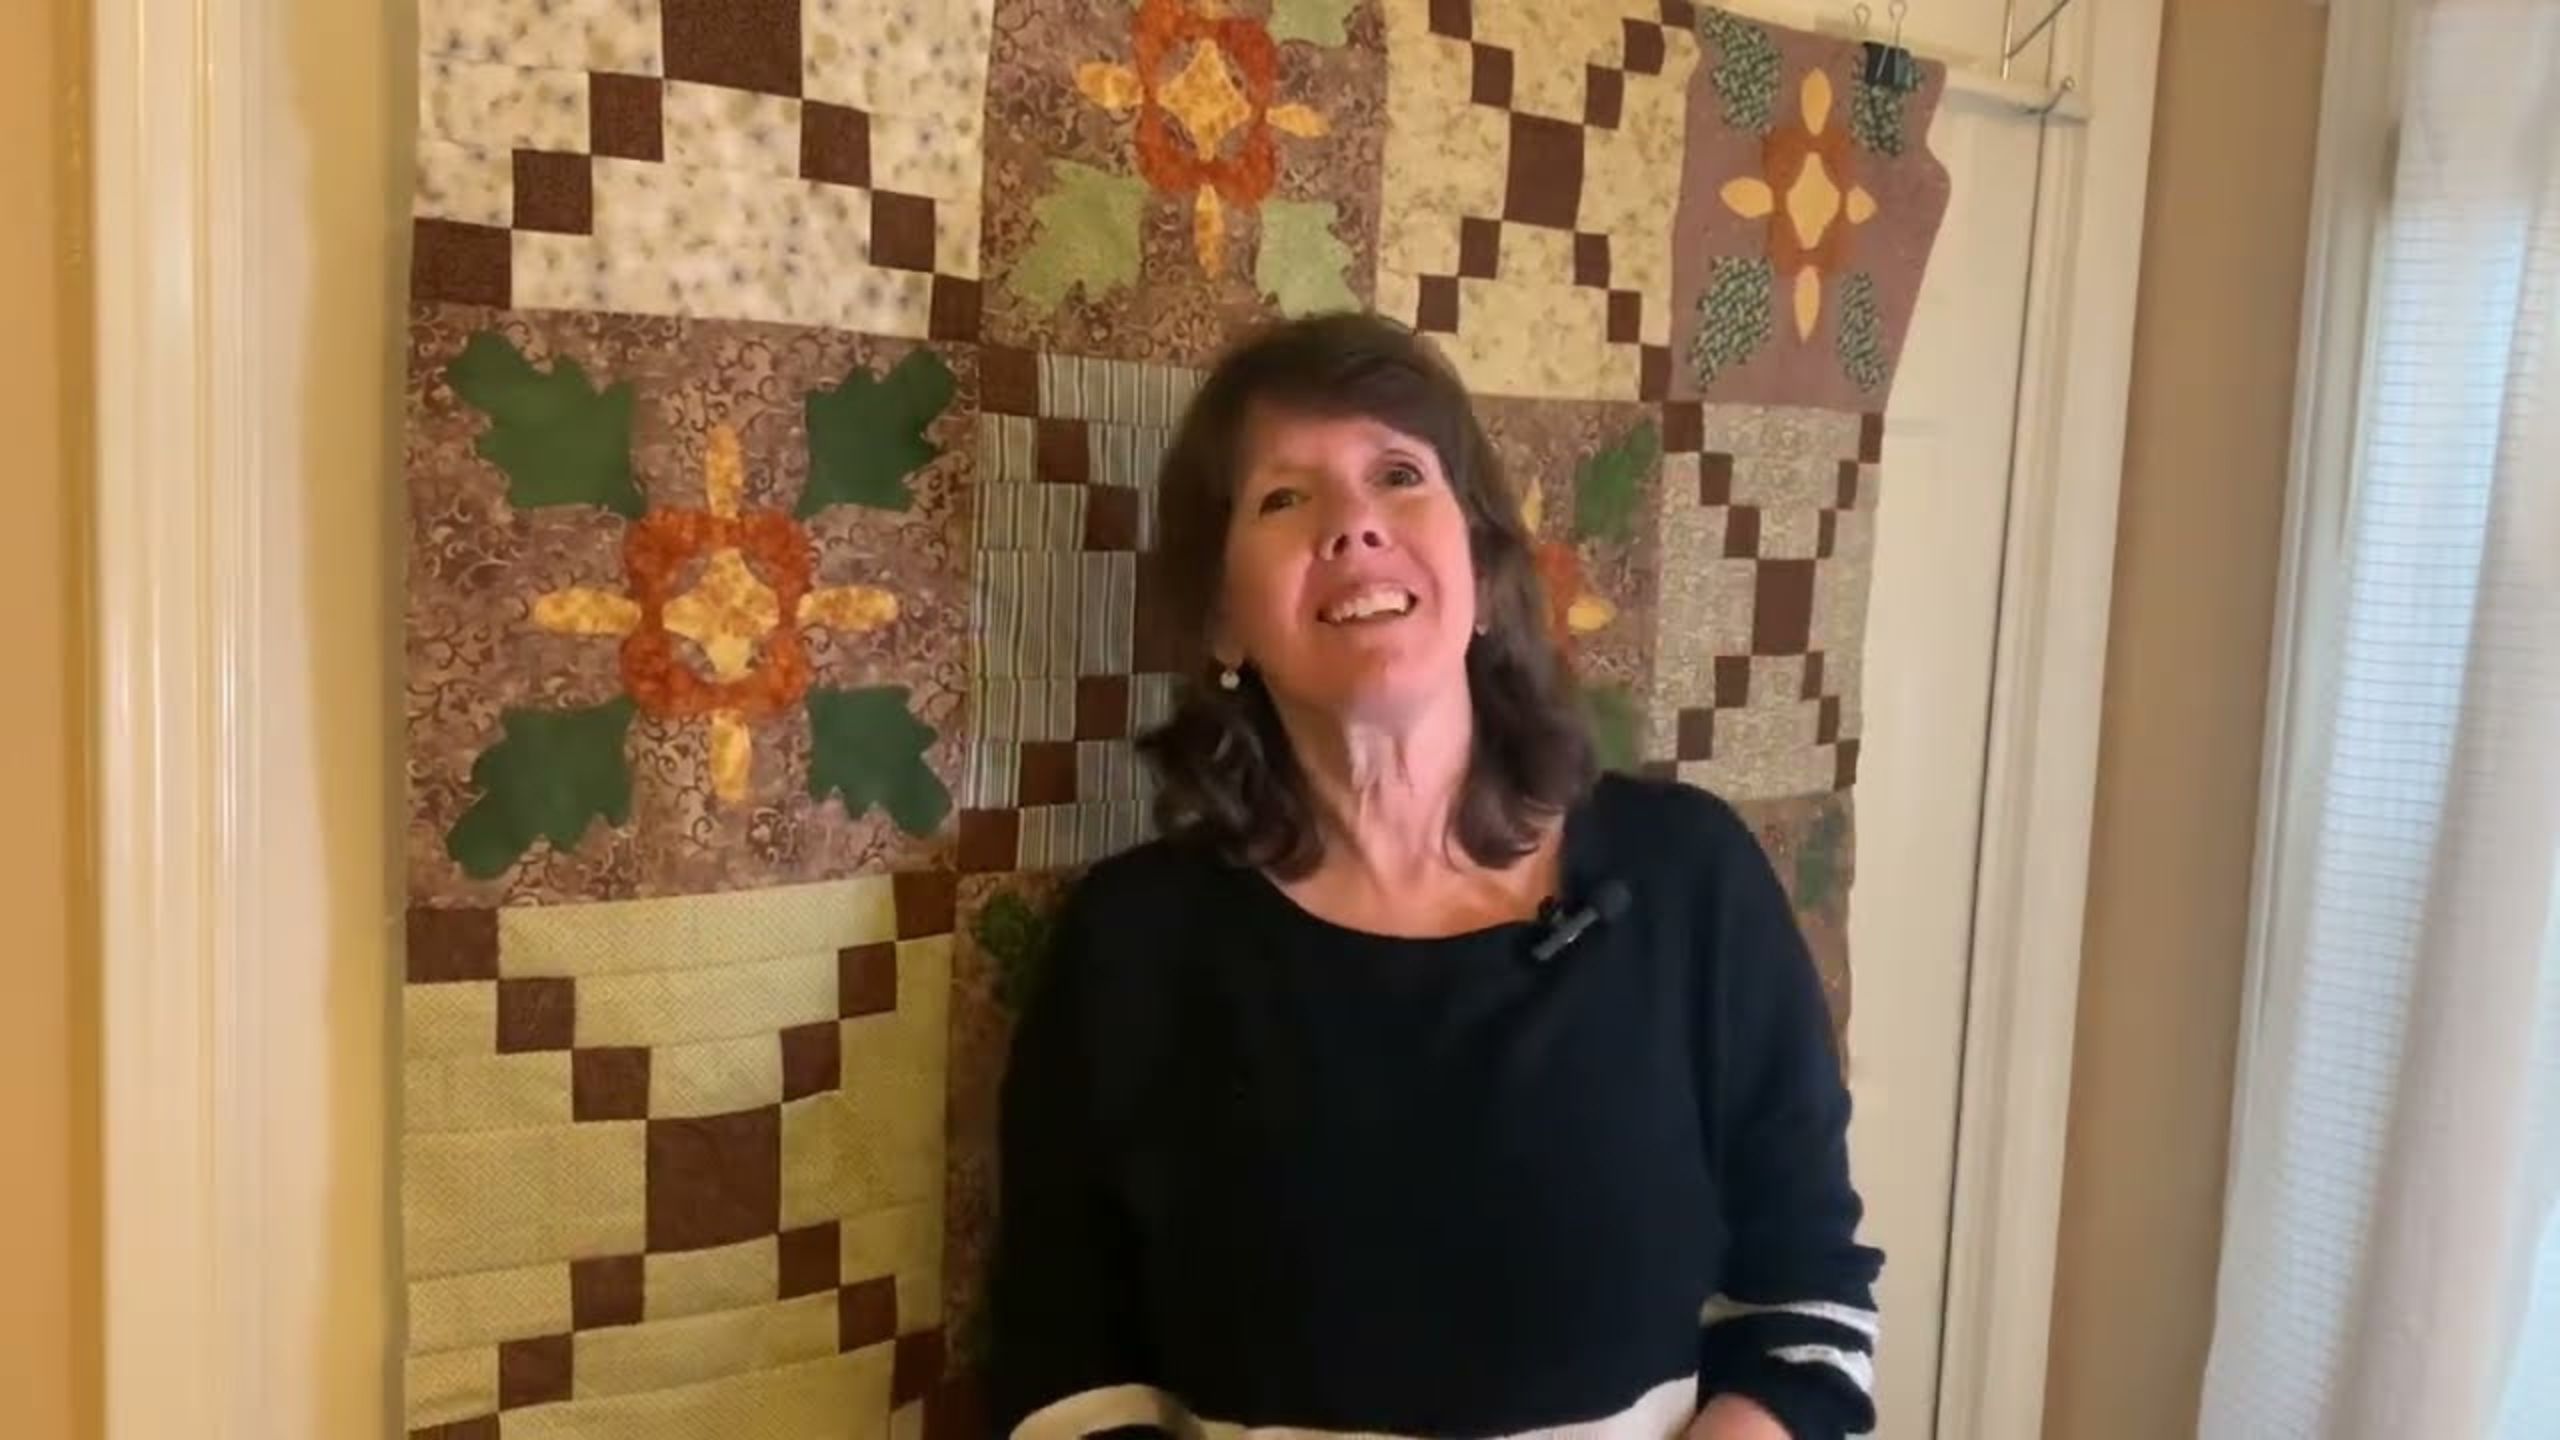
Easy Appliqué with Freezer Paper - a sewing tutorial with Beth Shibley
 Beth Shibley
- Fabric by Yard
- Traditional
- Twin
- Intermediate
- Quilt size 72" × 96"
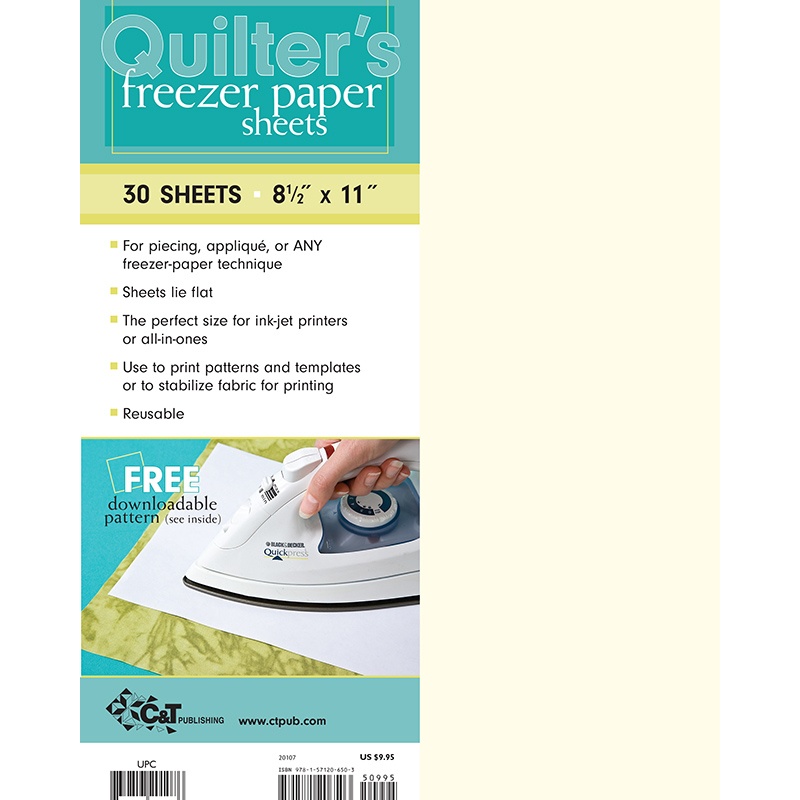
Today Beth Shibley teaches you how easy applique can be with one simple tool: freezer paper!
Instructor
Beth Shibley
Beth Shibley loves to create and share her adventures in quilting. Simple patterns and practical gifts are what she loves most.

Common Questions
What is covered in Easy Appliqué with Freezer Paper - a sewing tutorial with Beth Shibley?
Today Beth Shibley teaches you how easy applique can be with one simple tool: freezer paper!
How long is the tutorial video?
The tutorial video is 00:13:30.
Are supplies listed for this tutorial?
Yes. The tutorial page includes the supplies and materials connected to this project.
Is a transcript available?
Yes. A written transcript is available on the tutorial page.
Video Transcript
Beth's tips and tricks for applique:
1. First Beth traces her shapes onto her freezer paper and cuts them out carefully.
2. Next she presses her fabric, and irons the freezer paper to the back of the fabric.
3. Now she'll cut her fabric down to size, leaving enough fabric for for her seam allowance. She did snip down to the deepest parts so she can fold the edges down appropriately.
4. Next she uses Mary Ellen's Best Press and paints it around the edges of the leaves - on that fabric seam allowance.
5. Next she'll press the edges in using the freezer paper has her guide.
6. She presses her background square to mark her lines. This will help her place her pieces exactly where she wants them. As she places them, she removes the freezer paper.
7. She chooses threads that match her applique pieces and then she hand sews the applique pieces down, ensuring the the pressed edges fold under creating nice clean seams that lay flat.
8. Tip: You can always baste pieces down loosely as placeholders when you're putting down the initial layers.
1. First Beth traces her shapes onto her freezer paper and cuts them out carefully.
2. Next she presses her fabric, and irons the freezer paper to the back of the fabric.
3. Now she'll cut her fabric down to size, leaving enough fabric for for her seam allowance. She did snip down to the deepest parts so she can fold the edges down appropriately.
4. Next she uses Mary Ellen's Best Press and paints it around the edges of the leaves - on that fabric seam allowance.
5. Next she'll press the edges in using the freezer paper has her guide.
6. She presses her background square to mark her lines. This will help her place her pieces exactly where she wants them. As she places them, she removes the freezer paper.
7. She chooses threads that match her applique pieces and then she hand sews the applique pieces down, ensuring the the pressed edges fold under creating nice clean seams that lay flat.
8. Tip: You can always baste pieces down loosely as placeholders when you're putting down the initial layers.


