

Easy Toweling Projects
If you’re searching for a clean and simple way to dress up your table, toweling is the answer! In this week’s At Home With Misty, see how Misty turns toweling into a table runner and placemats, as well as a 60” wide throw. You won’t want to miss her easy finishing method of making tassels!

Instructor
Misty Doan
Misty Doan grew up surrounded by sewing and quilting. She loves spending time sharing tutorials each week each week, and when she’s not stitching up one of her fun sewing projects for home decor, most likely you’ll find her hanging out with her husband and three awesome kids or working on a house project.
Shop this tutorial
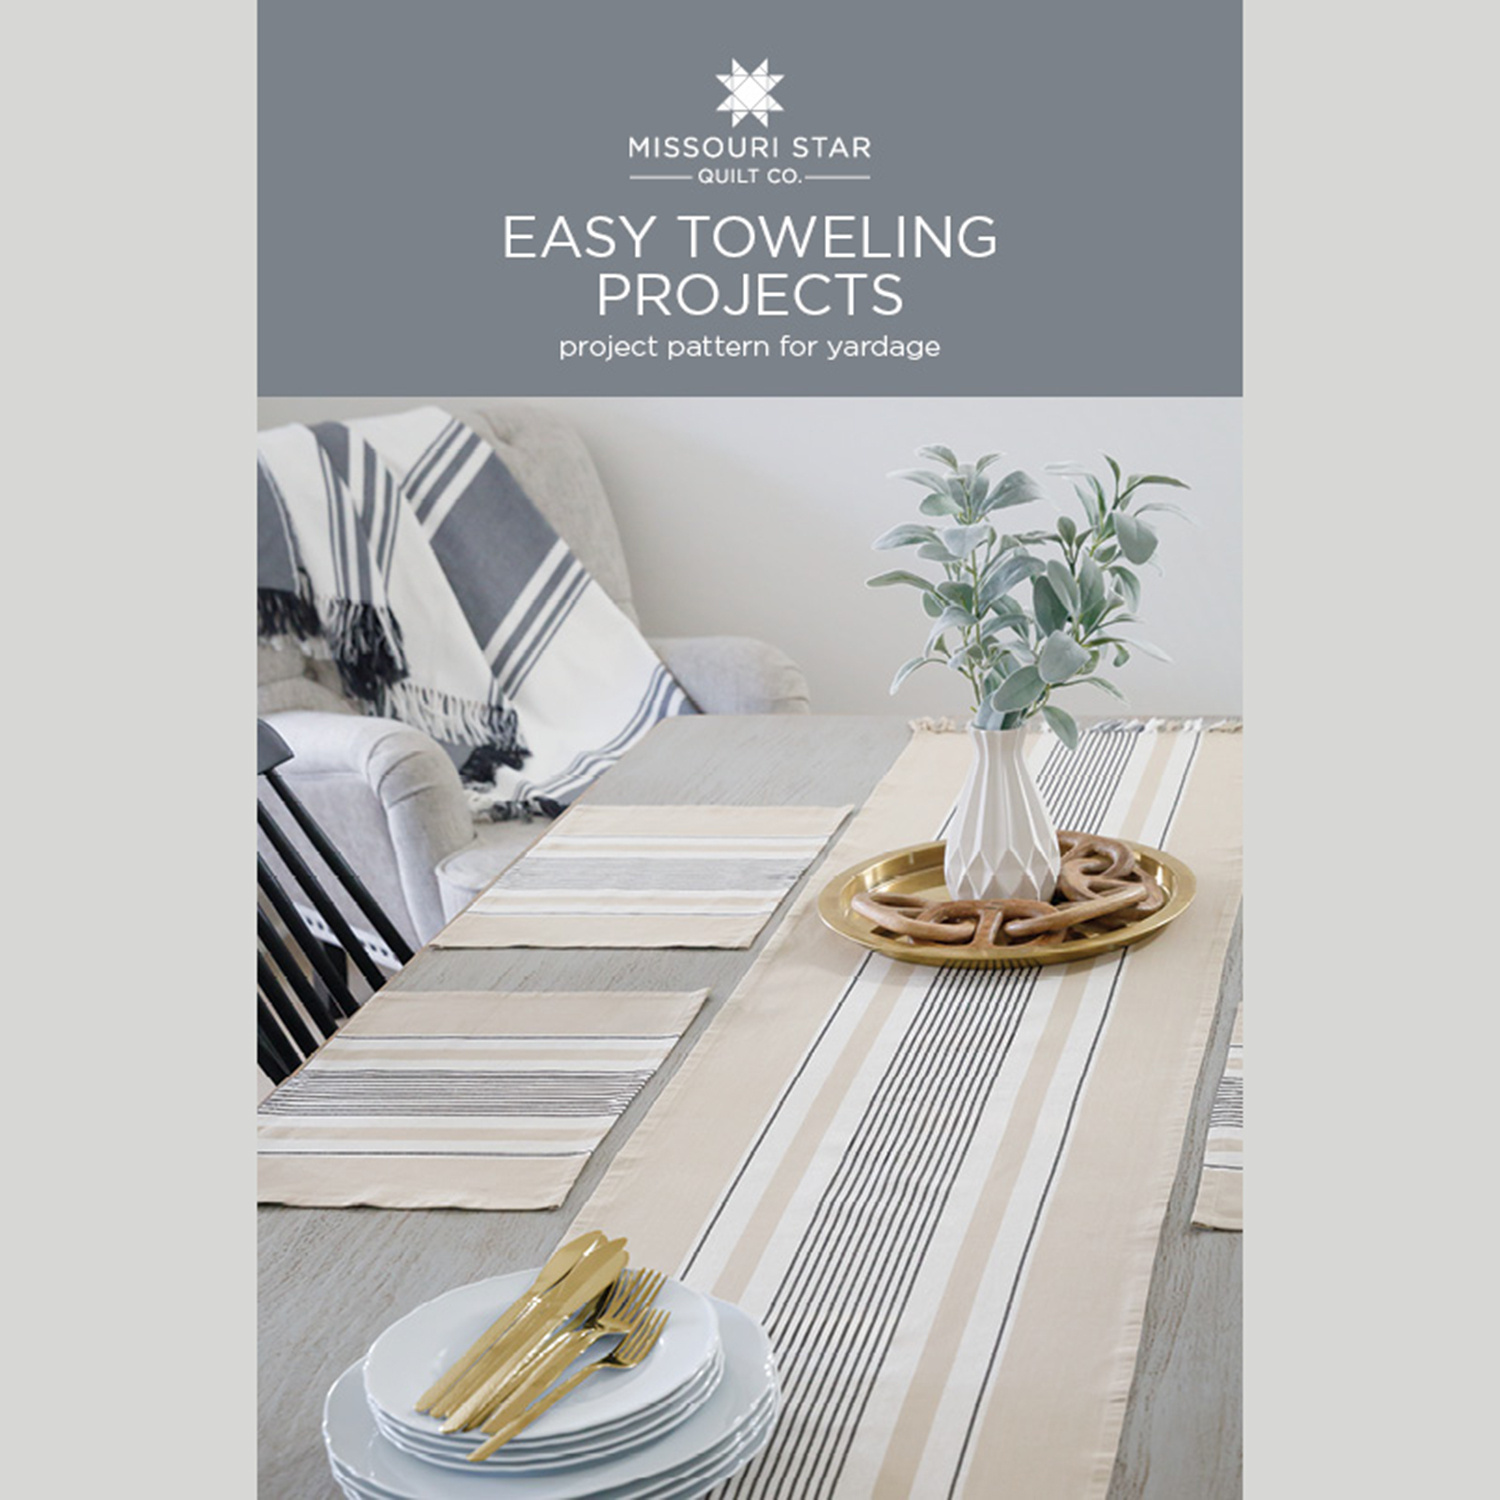 Easy Toweling Projects Pattern by Missouri Star$8.50Shop →
 Digital Download - Easy Toweling Projects Pattern by Missouri Star$6.95Shop →
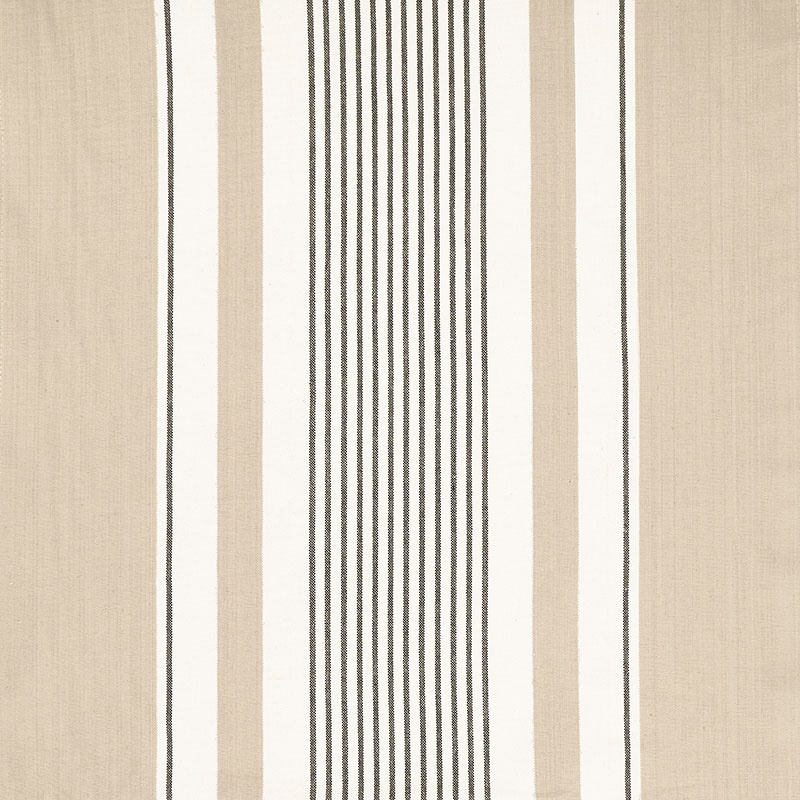 Easy Living Toweling - Multi Stripe Flax White 18" Wide Toweling Yardage$7.45Shop →
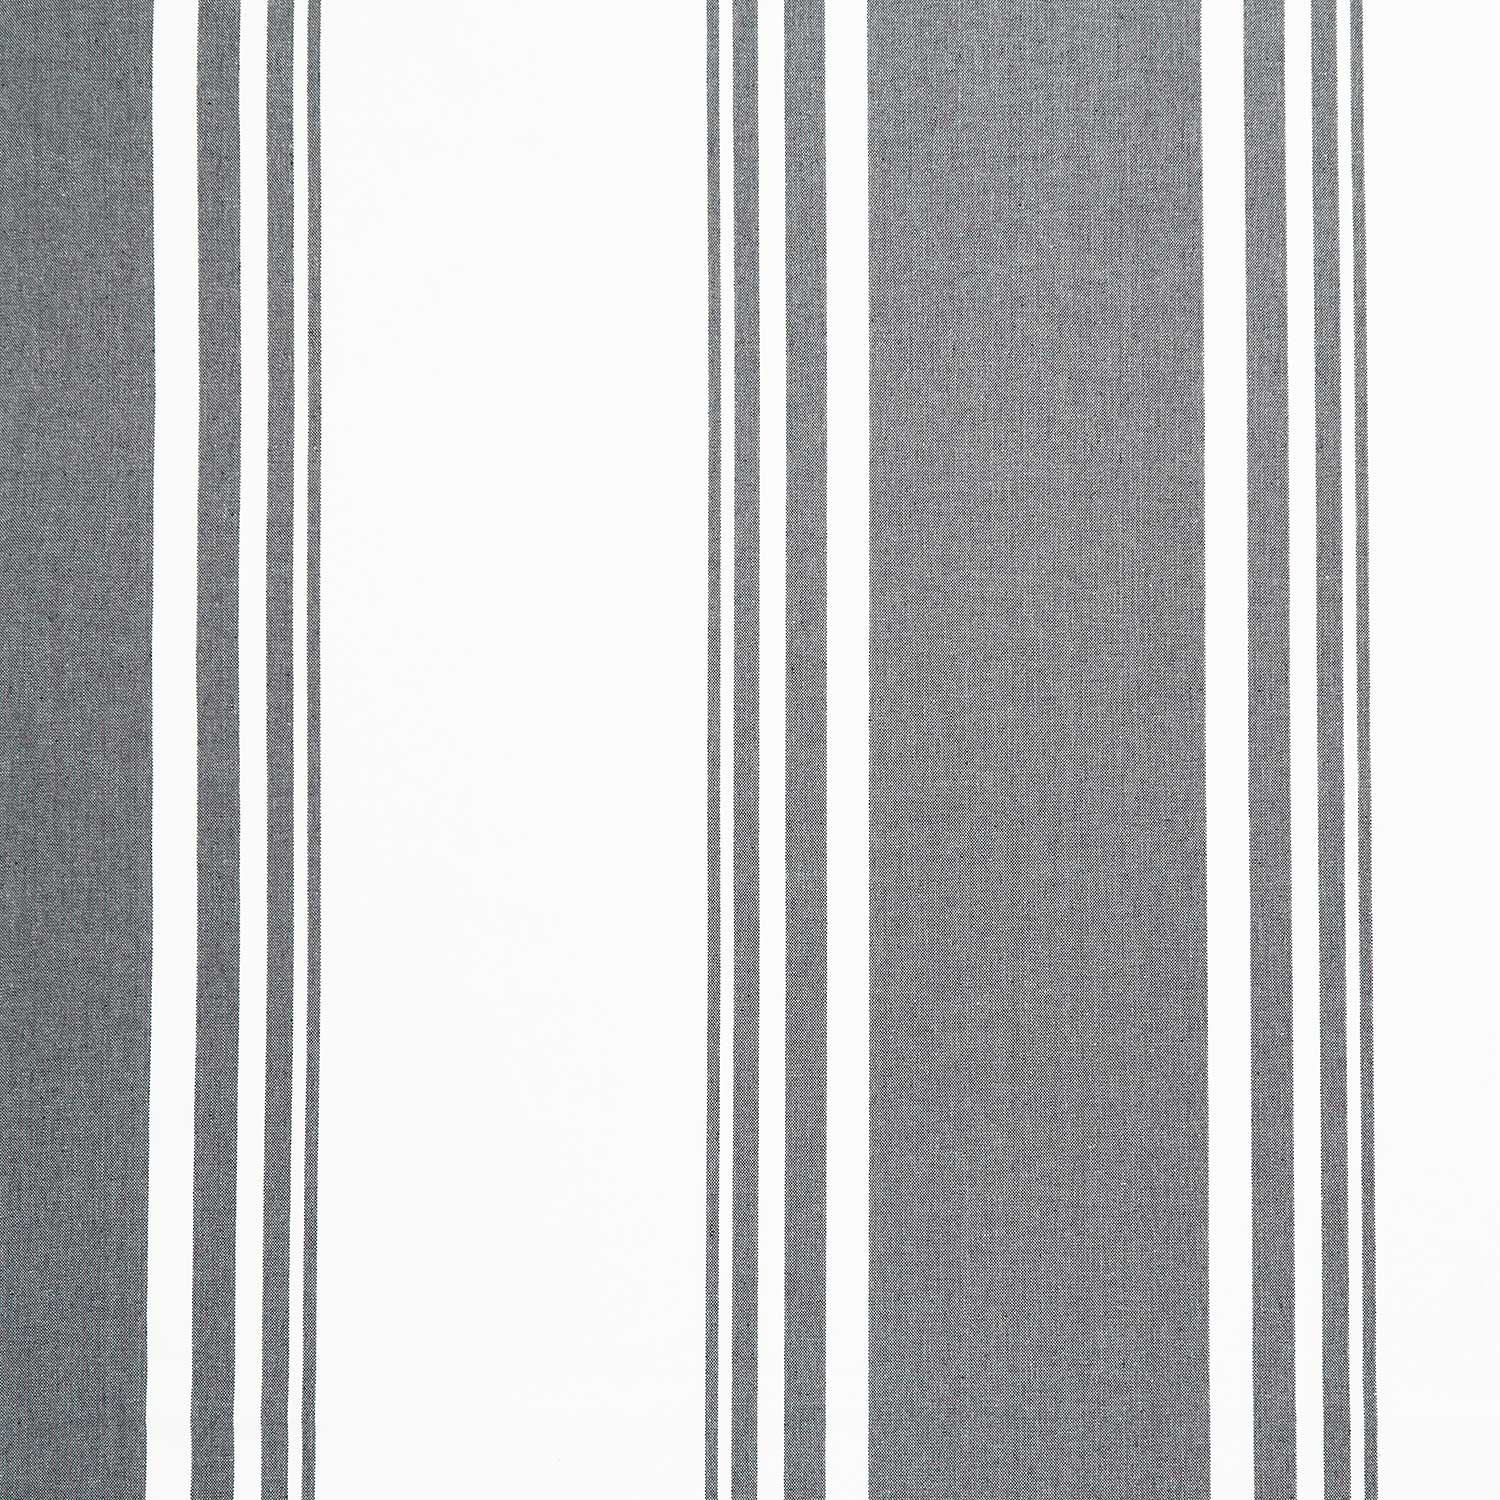 Panache - 60" Panache Toweling White Black Yardage$16.95Shop →
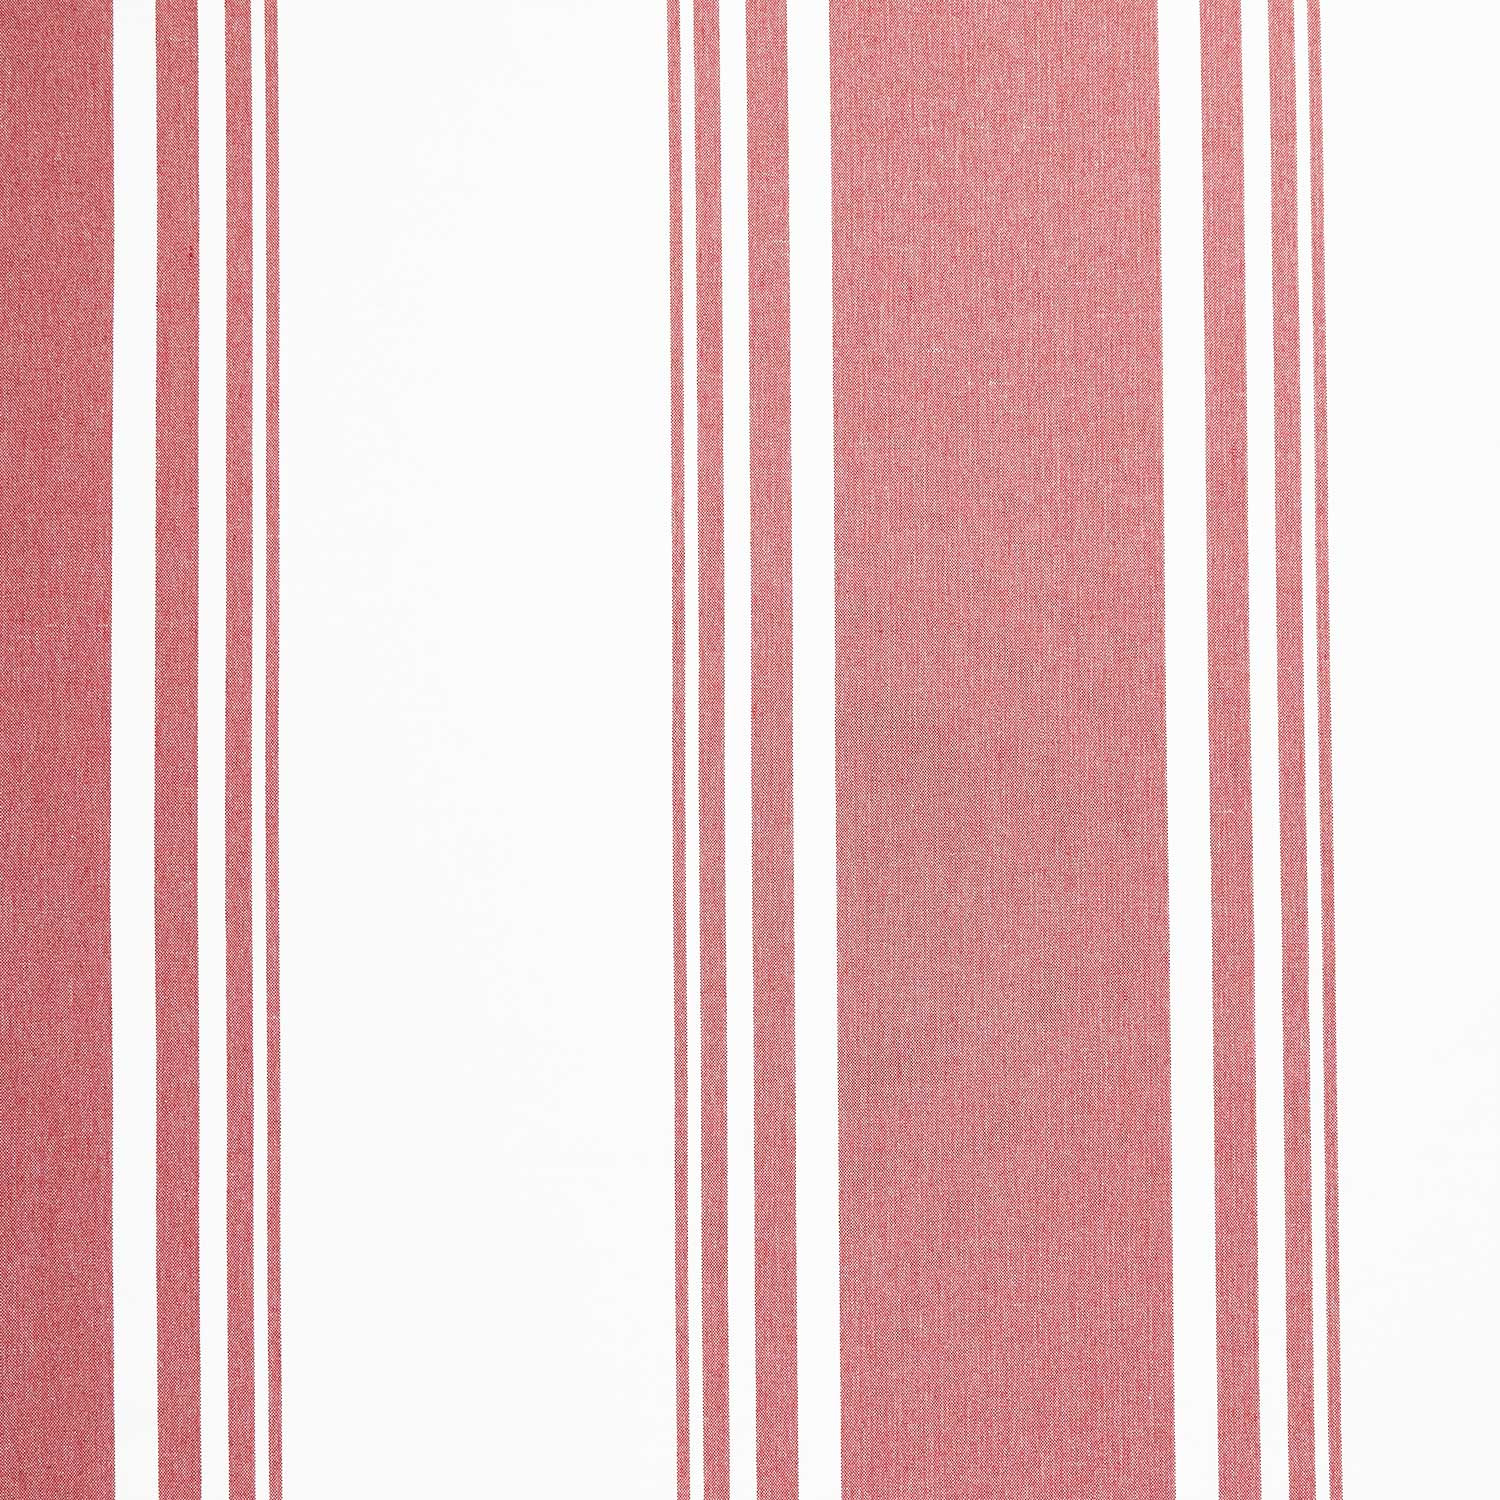 Panache - 60" Panache Toweling White Red Yardage$16.95Shop →
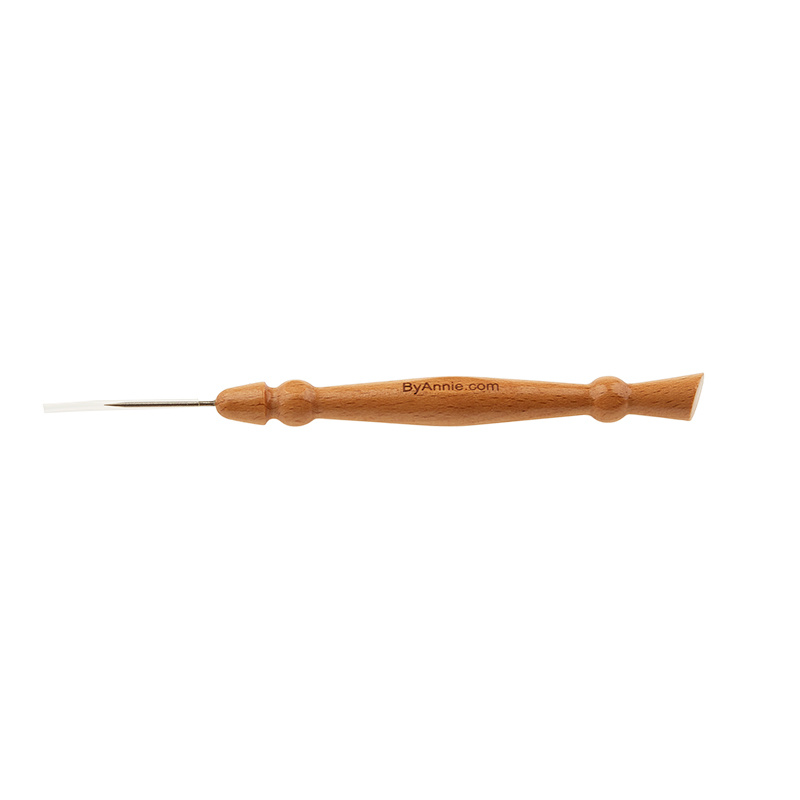 ByAnnie Stiletto & Pressing Tool$19.45Shop →
 Missouri Star 2.5" x 8" Ruler$11.95Shop →
 Missouri Star 45mm Rotary Cutter$19.95Shop →
 Missouri Star 50 WT Cotton Thread White$7.95Shop →
Common Questions
What is covered in Easy Toweling Projects?
If you’re searching for a clean and simple way to dress up your table, toweling is the answer! In this week’s At Home With Misty, see how Misty turns toweling into a table runner and placemats, as well as a 60” wide throw. You won’t want to miss her easy finishing method of ma...
How long is the tutorial video?
The tutorial video is 00:08:13.
Are supplies listed for this tutorial?
Yes. The tutorial page includes the supplies and materials connected to this project.
Is a transcript available?
Yes. A written transcript is available on the tutorial page.
Video Transcript
So we've been carrying toweling here at Missouri Star for quite some time. I just haven't ever really played with it. So it was really fun to check this out and kind of see what the options are. It comes in a variety of widths. There's either the 16 or 18 inch kind of standard width, which is what you see here and it just comes on the bolt. And the thing that's really cool about this narrower width is the two sides are already pre-hemmed, which is so handy if you're making a runner or place mats or even just tea towels. It just gives you a great option.
Of course you can embellish these as you see fit and we've put together a pattern that gives you dimensions and instructions for placemats, a runner, tea towel, and even a throw using the wider width. So let me show you some of that here.
So I've made a set of place mats and they measure, I believe, let me double check, 12” by 18.” It's just so cool how quickly and easily this comes together because you've got these two widths already done. Then you just add your hem to finish off the set. So really, really great little project to just make some quick placemats for your table or maybe your outside table, whatever you're looking for.
Then of course you can use the same width to make a runner and you could hem it like I did on the placemats, or you could also do this great little tassel finish which I really, really love. I'm going to show you how to do that on the wider fabric. So let's go ahead and set this aside for now, so I can show you this 60 inch width, which I think is so cool.
So here is the 60 inch toweling, isn't that awesome? So I just bought a little over two yards to make this great throw that ends up at 60 by 72 inches. The one thing I want to point out is that on the wider width it does not have the hemmed edge. So this edge you can see is unfinished. If you wanted that hem, you would just have to turn it under a couple of times to get that finished edge. I did not mind this little fray, it's not going to continue to fray at all. So I left mine just like that. Then we're going to go ahead and add these tassels to the end.
So let me show you how to do that! This one is all finished - I just think it makes such a cool lightweight throw. So let's set this one aside and we'll bring this in. I dropped my stiletto but you're going to want to have one of these handy, cuz it's super helpful. So if you don't have one of these, you could use a large safety pin or straight pin but something to pick apart this thread is what you're looking for. I found this to be the easiest.
So let's see here we're going to open up our fabric. It helps if you open
it all the way just because this thread goes all the way through this entire thing. So you're just going to use your stiletto and you're going to pull out this thread. I find if you work from the middle and then come back and get that little bit extra on the edge, that tends to be the easiest. It does sometimes tangle a little bit and so you just use that stiletto to kind of work it out of there. This is a great project to sit and do while you're watching TV because you don't have to pay super close attention, but it is kind of time consuming.
So we're just going to continue sliding this out of here. There we go. I want to point this out. Like I've only frayed about a half an inch and if you decide that edge is enough you could just come and do a straight stitch or a tiny zigzag so that the fray will stop. That's another way you could do that too.
So let's go ahead and keep doing this going the other way. There we go. So I'm just going to continue until we get a few inches of this frayed and ready to go, just in the same method, one string at a time. Once you get going, you kind of find a routine and a process that works. It's a loose enough weave that it's quite forgiving and you don't have to fight too hard with it. You just kind of pull and then come over here and pull. So I'm just going to keep at it and I'll meet you back here in a little bit.
All right, and through the magic of television we have finished off all of
that fraying. Like I said, it takes a little bit of time, but it's not hard. So just you know curl up with a good movie and just sit and pull those strings and
you'll have a good little pile that you can toss in the trash. Now let me
show you how we finish this off.
So I'm going to use a ruler and we decided to come in every half inch. Since I have some of these done on this end I'll just keep working this way. I just measured up a half inch, took those threads and then I like to twist them and then tie them. The twisting helps make it much easier to tie and then they'll just relax. So let's go ahead and do that again. I'm going to come up a half an inch, just split those strings, make sure I don't have too many. You can use the stiletto again here just to keep those extras out of the way. Then we're going to give it a good twist and then we're just going to tie a single knot. Slide that up to the top and then let it go, and it is as simple as that! Then we'll do one more here, just so you can see. We're going to slide that up looking for a half inch, come in here, split those strings with a stiletto or a pen whatever you have, and we're just going to twist. Then we'll come up and tie a super, super simple knot. It is such a simple way to finish this off and I just think it's such a fun detail.
I did a smaller tassel on the runner, but still so, so cute. So just play with this - it's such a fun product! I think it makes such a beautiful throw. It's like the perfect lightweight to take on a picnic or to keep in the car, just to have an extra layer there that you can curl up with. I hope you enjoyed this project and learned something new about toweling, like I did. I'll see you next time on At Home.


