
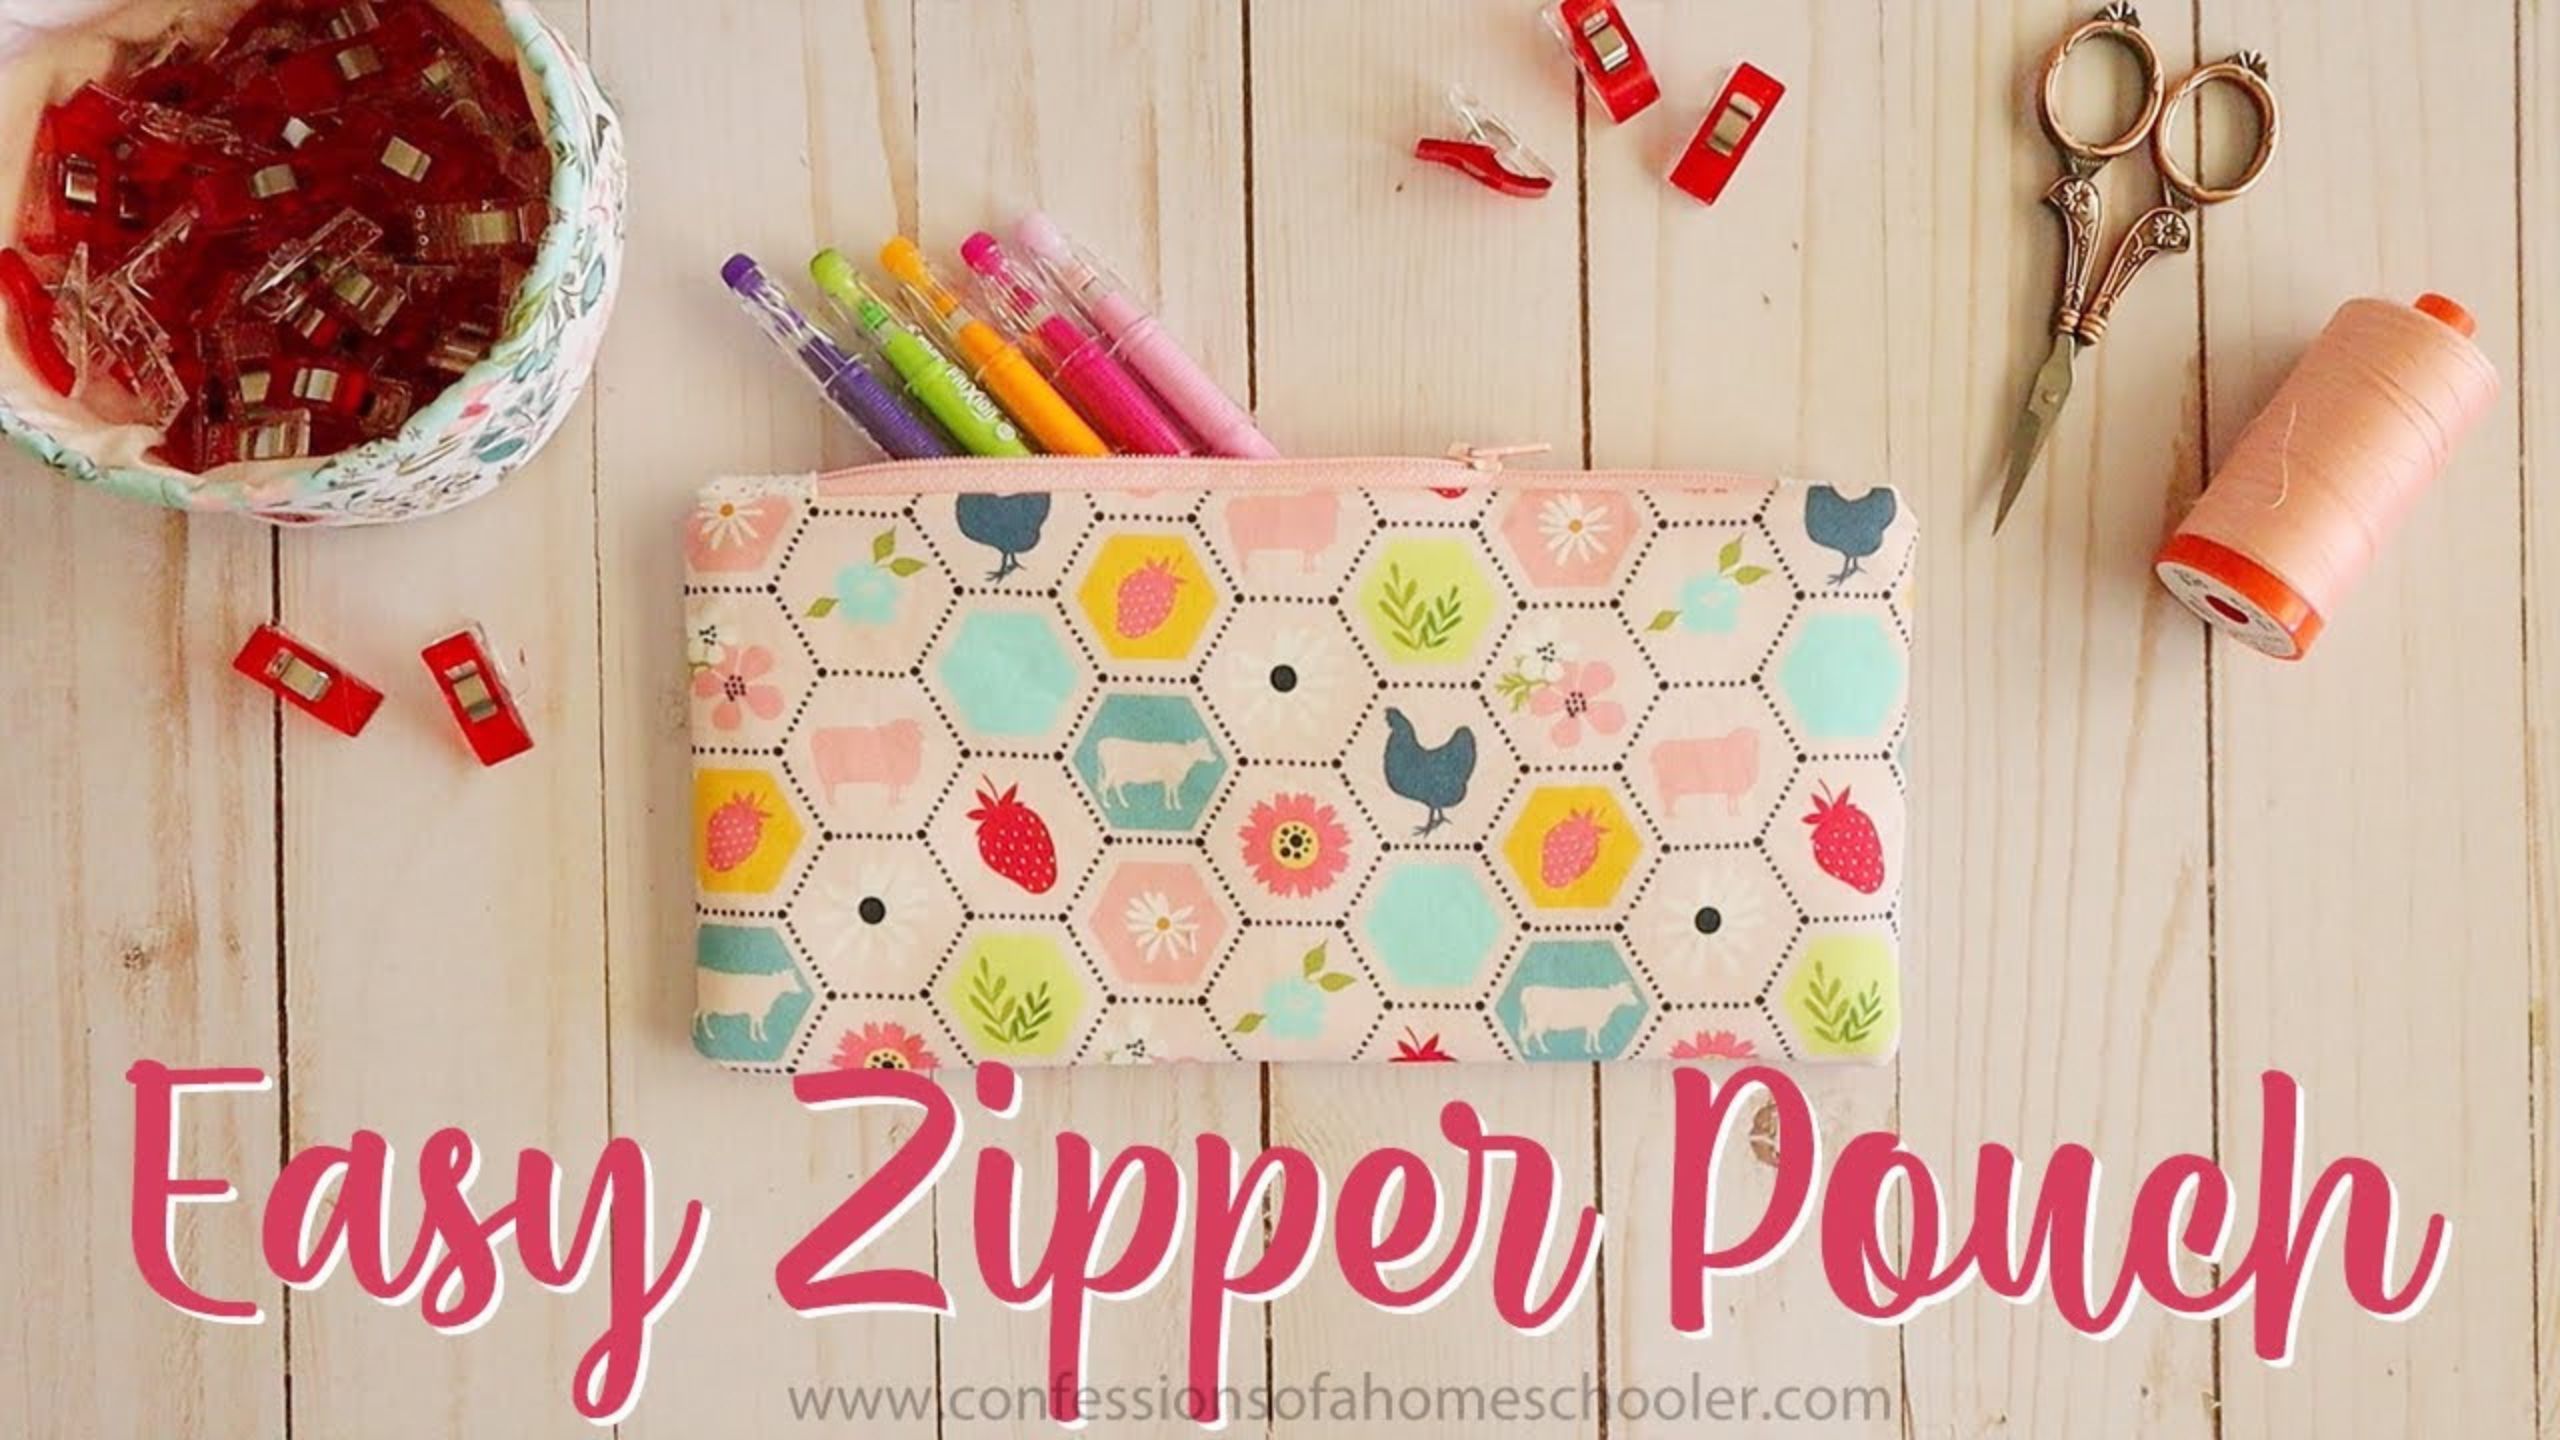
Easy Zipper Pouch (Beginner Friendly Sewing Pattern!) tutorial with Erica Arndt
 Erica Arndt
- Fabric by Yard
- Totes, Bag, Purses
- Beginner
- Quilt size 4" × 9"
Join Erica Arndt as she teaches you how to make this adorable and EASY ZIPPER POUCH! This project is a totally beginner-friendly sewing project and so much fun!
Instructor
Erica Arndt
Erica is a blogger, author, quilter, knitter, and maker of all the things! She is perhaps most well known for her homeschooling website, Confessions of a Homeschooler where she share homeschooling tips, curriculum, and organizational ideas, in addition to her quilting patterns and videos. She loves creating weekly video tutorials to share helpful tips, tricks, tutorials, fun projects, and inspiration for sewing and quilting.
Shop this tutorial



Common Questions
What is covered in Easy Zipper Pouch (Beginner Friendly Sewing Pattern!) tutorial with Erica Arndt?
Join Erica Arndt as she teaches you how to make this adorable and EASY ZIPPER POUCH! This project is a totally beginner-friendly sewing project and so much fun!
How long is the tutorial video?
The tutorial video is 00:07:55.
Are supplies listed for this tutorial?
Yes. The tutorial page includes the supplies and materials connected to this project.
Is a transcript available?
Yes. A written transcript is available on the tutorial page.
Video Transcript
To start with, you'll need the following supplies:
Outside fabric (Erica uses Poppie Cotton from Etsy)
(1) - 5" x 9-1/2"
Lining:
(2) - 5" x 9-1/2"
(2) - 2-1/2" x 2-1/2"
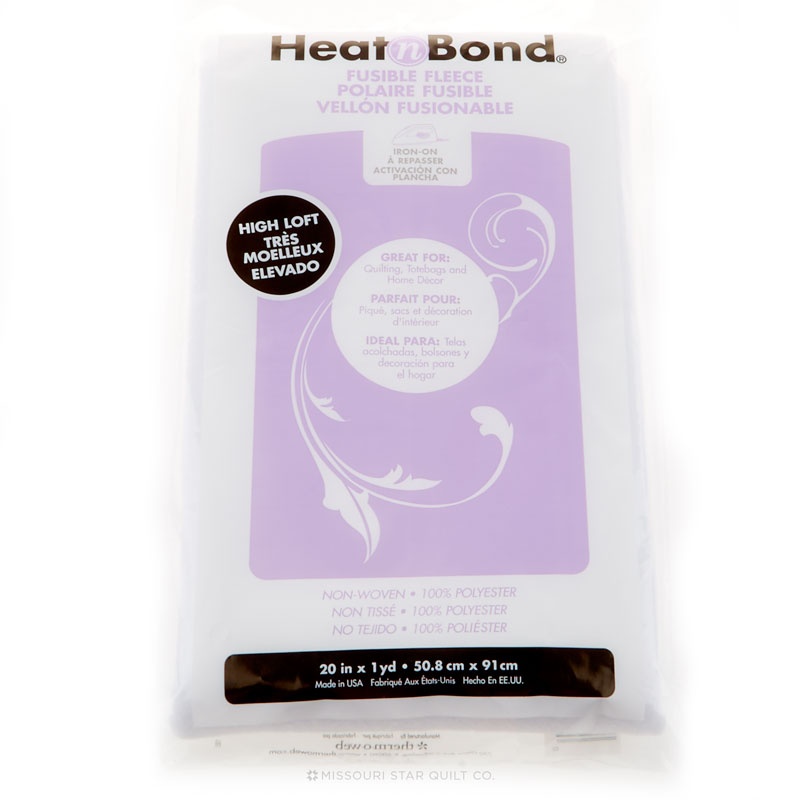
Optional: Fusible Fleece https://amzn.to/3SKFfax
(2) - 4-1/2" x 9"
12" Zipper
First we'll press the zipper tabs (the smaller bits of fabric). Press in a quarter inch in on each side, and then press in half.
Next, cut your zipper down to size (if necessary). Erica trims hers to 8.5", approximately 1" shorter than your pouch length. Then take it to the machine and sew across to create zipper stops, before you cut.
Next take your other outside fabric and place right side up on the board. Put the piece you just finished upside down (lining the zipper up at the bottom. Then add your second lining square right side down on top of that. Clip that in place, and sew with a 1/4" seam.
Now press everything open with both panels attached. Next add your fusible fleece to the outside pieces of the fabric.
Place each end of the zipper into a tab, and clip to hold in place. Topstitch along the edge to secure it in place. Trim off excess fabric.
Take one rectangle of the outer fabric and place it down on your board, right side up. Then place your zipper upside down and align the edge with the top of the outer fabric. Lay your lining fabric down (right sides together) and clip in place. Sew right down that edge, through all the layers. You can use a zipper foot or a regular foot. Raise your presser foot to move the zipper head if necessary. Press the lining fabric back.
Now place your second rectangle of outer fabric on the board, right side facing up. Place the unit you just completed upside down, with the zipper on the bottom. Place your second lining fabric on top (right sides together) and clip in place. Sew 1/4" seam. Now press the entire panel open.
Next you're going to add fusible fleece to your outer fabric pieces. Cut your fleece a little smaller than the outer pieces to reduce bulk in the seams. Then fuse the piece to your outside pieces (center it).
Unzip your zipper 3/4 of the way. Then place your lining panels right sides together and your outside panels right sides together and clip to hold everything into place. Now sew all around the 4 sides of the bag, remembering to leave an opening in the lining piece to turn the bag right side out. Back stitch at your starting point and ending point. Trim off the corners, but don't clip the seam!
Now turn the bag right side out. Then run a seam to close the opening in the lining. Use a point turner to turn out your corners.
Finally press your bag and you're done!


