
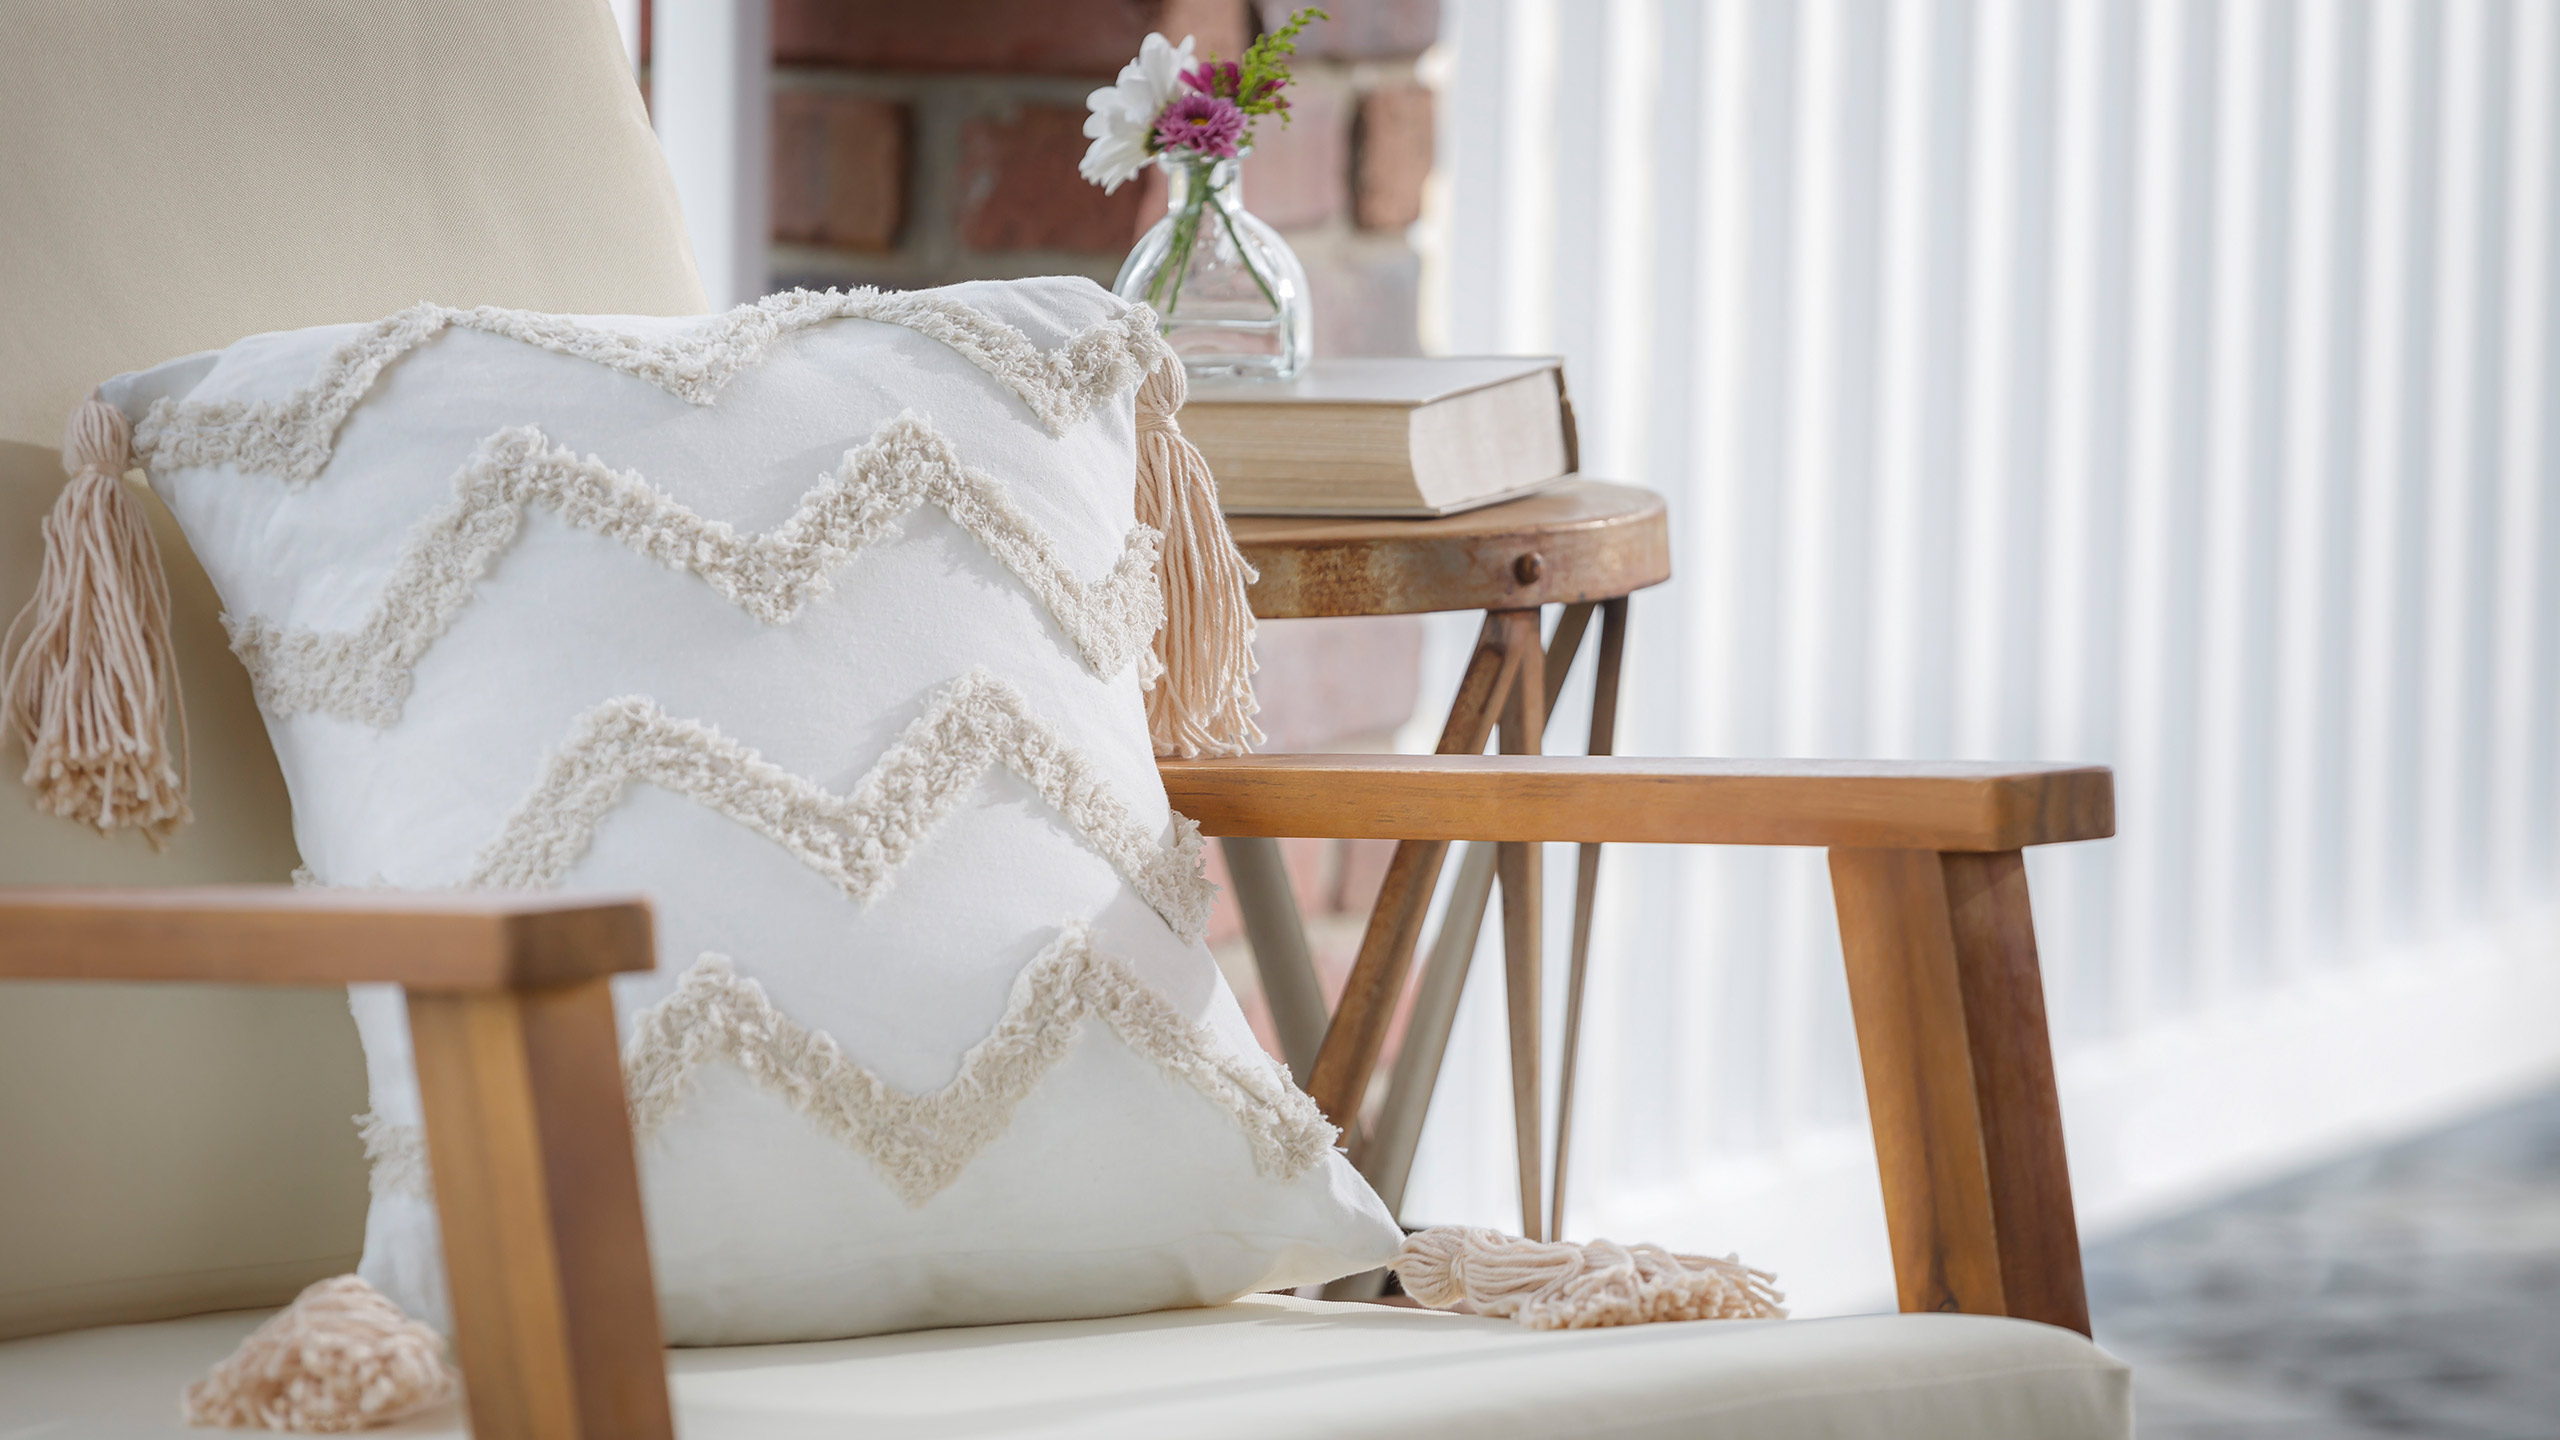
Embellished Pillows with Chenille
Let’s have a little pillow talk! These fabulous pillows are just what you need to breathe fresh air into your home décor this spring. Join Misty as she uses yarn, tassels, and easy chenille trim to create fun, funky and fashionable embellished pillows.

Instructor
Misty Doan
Misty Doan grew up surrounded by sewing and quilting. She loves spending time sharing tutorials each week each week, and when she’s not stitching up one of her fun sewing projects for home decor, most likely you’ll find her hanging out with her husband and three awesome kids or working on a house project.
Shop this tutorial
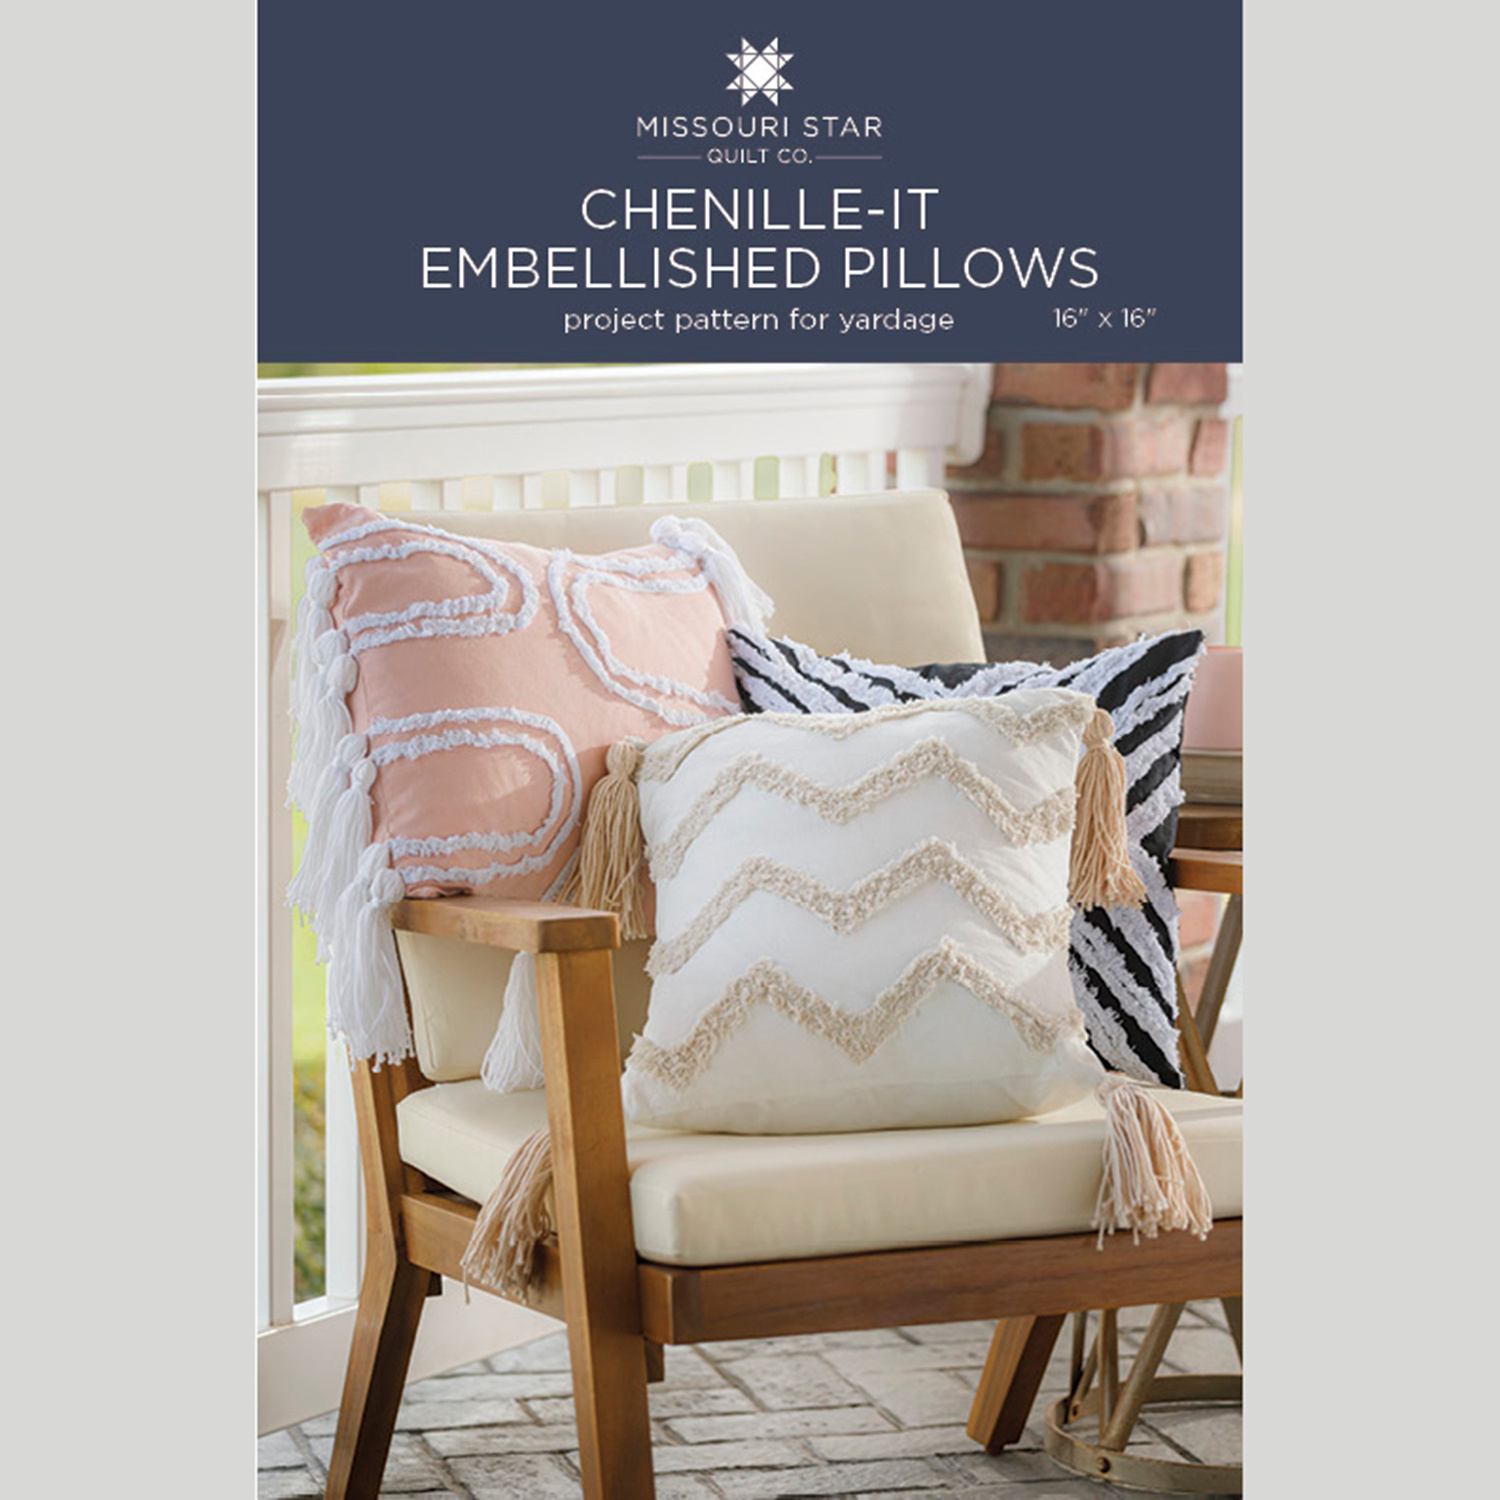 Chenille-It Pillow Pattern by Missouri Star$8.50Shop →
 Digital Chenille-It Pillow Pattern by Missouri Star$6.95Shop →
 Essex Linen - Black Yardage$11.96Shop →
 Essex - Solid Rose Bud Yardage$11.96Shop →
 Essex Linen - Linen Yardage$11.96Shop →
 Cascade Nifty Cotton Yarn$7.99Shop →
 Cascade Nifty Cotton Yarn$7.99Shop →
 Poly-fil® Premier™ Ultra Plush Pillow Insert - 18" x 18"$24.95Shop →
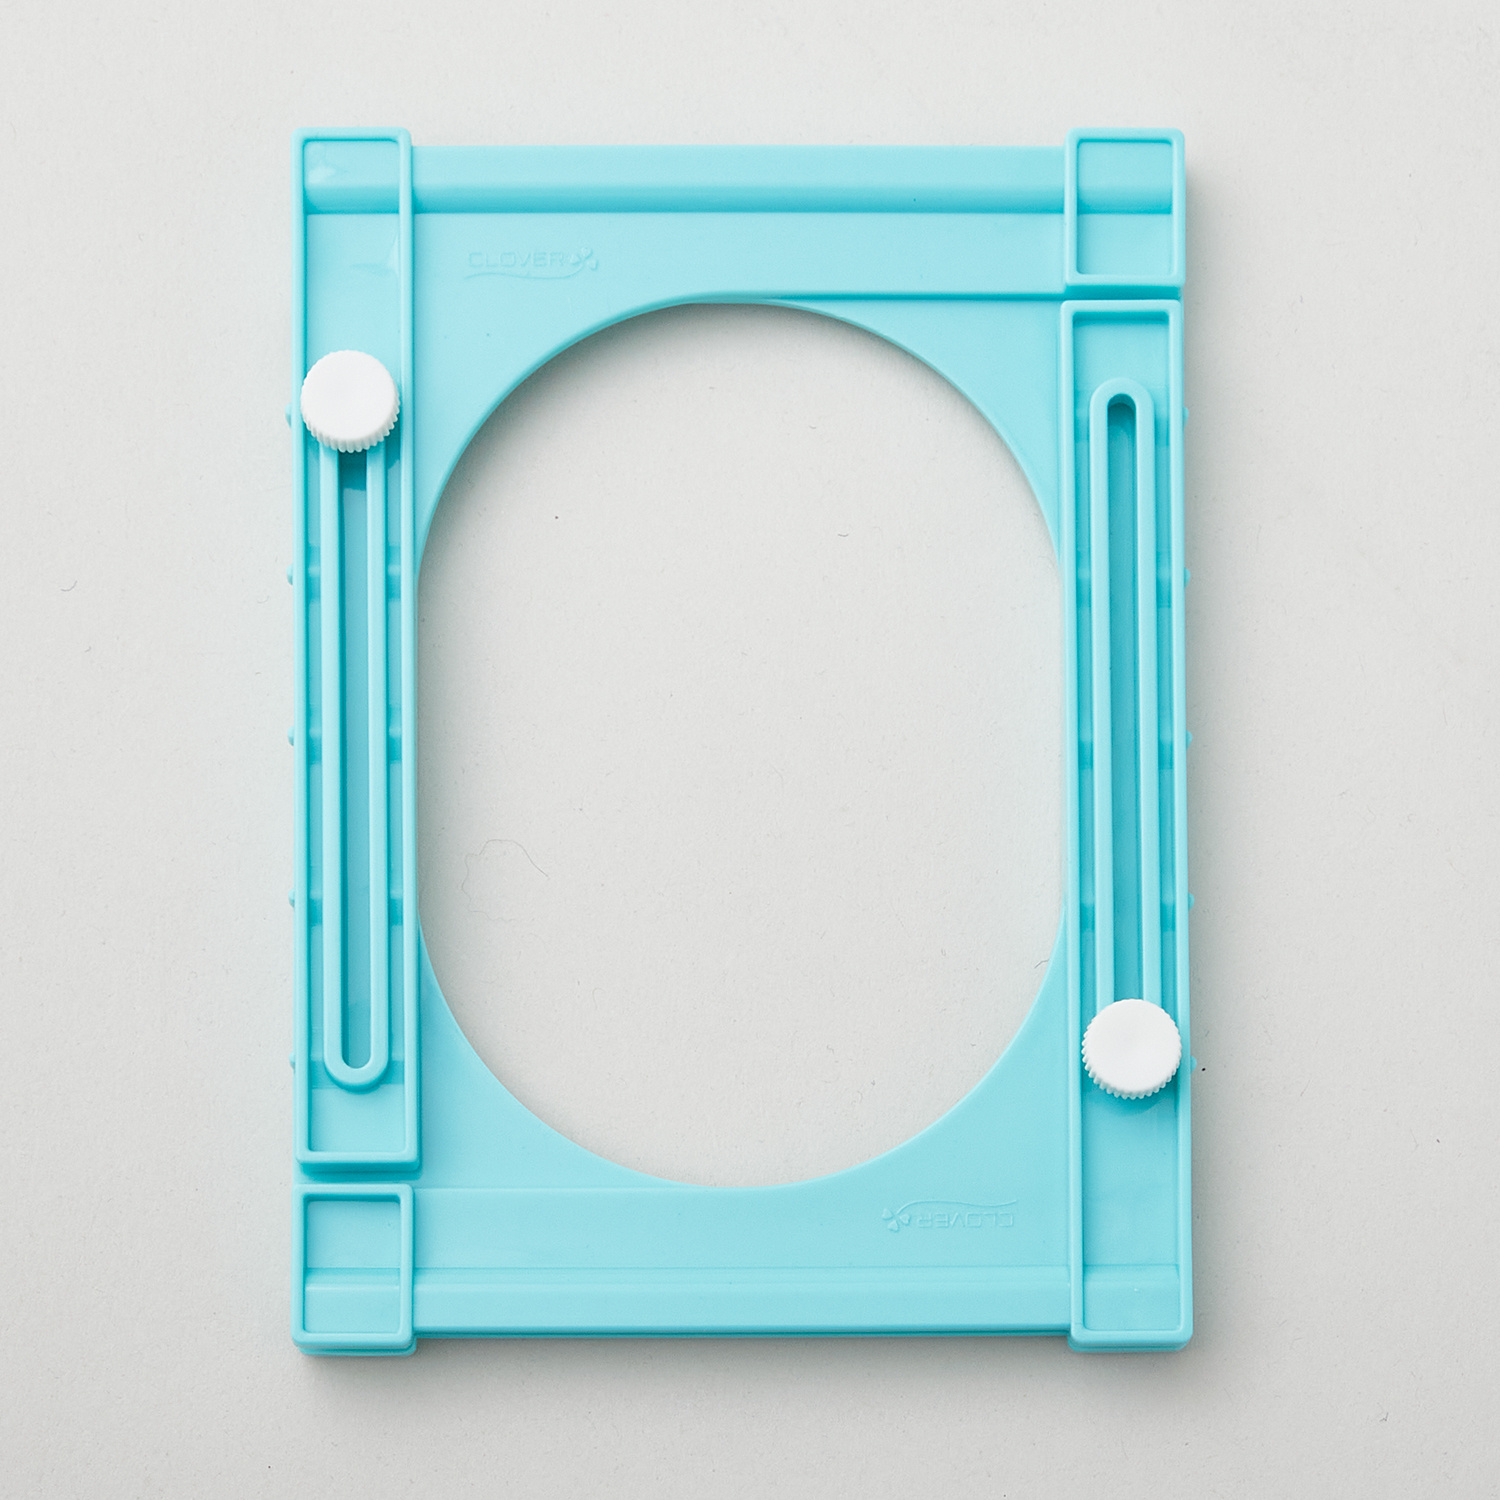 Clover Tassel Maker$13.75Shop →
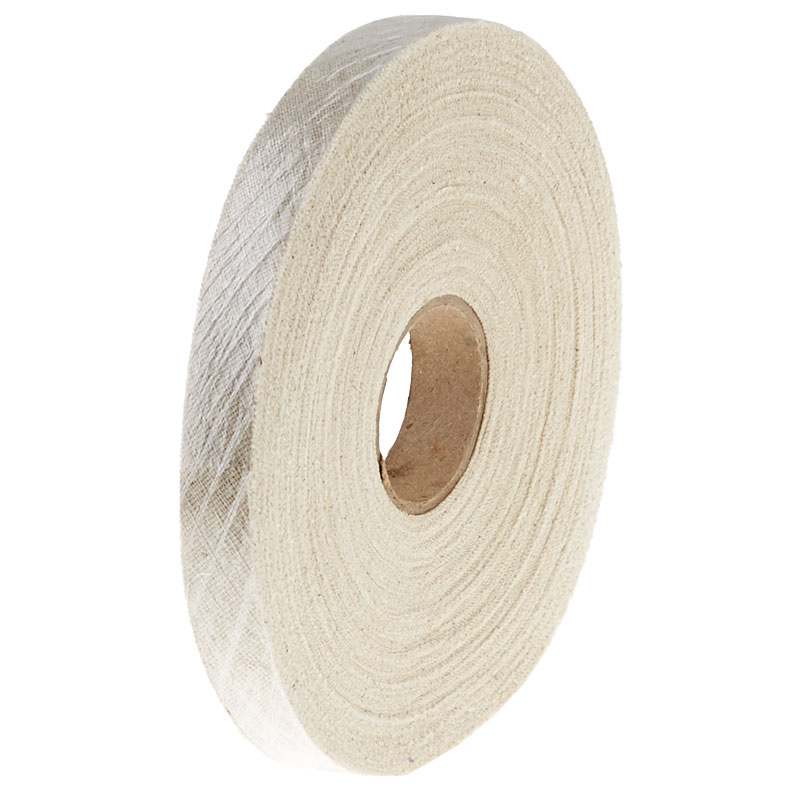 Chenille-It Blooming Bias Sew & Wash Trim - 5/8" Natural$18.95Shop →
 Chenille-It Blooming Bias Sew & Wash Trim - 5/8" White$18.95Shop →
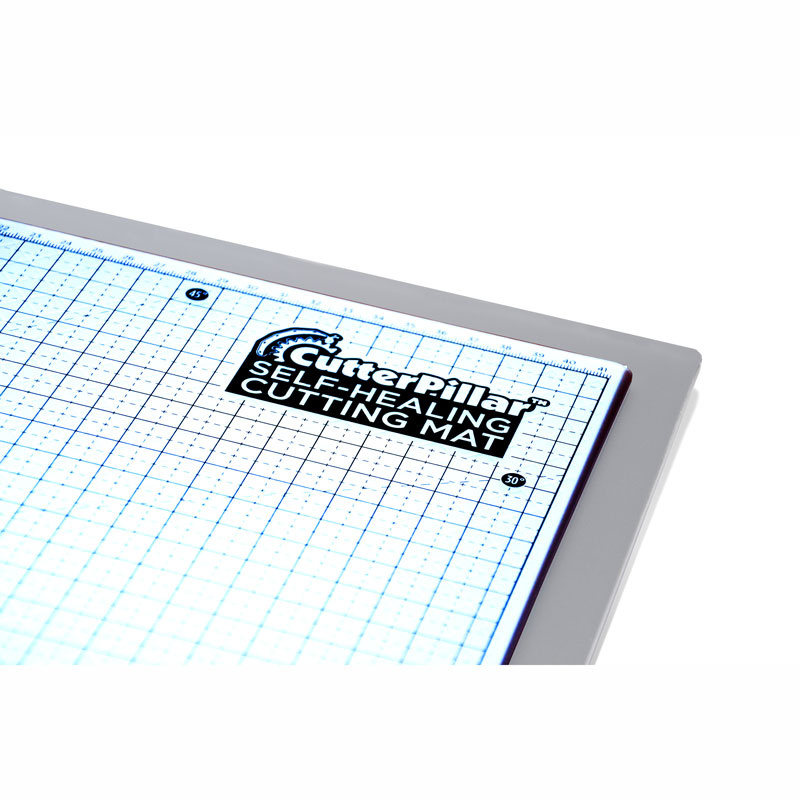 CutterPillar Glow Premium Light Board and Cutting Mat$169.99Shop →
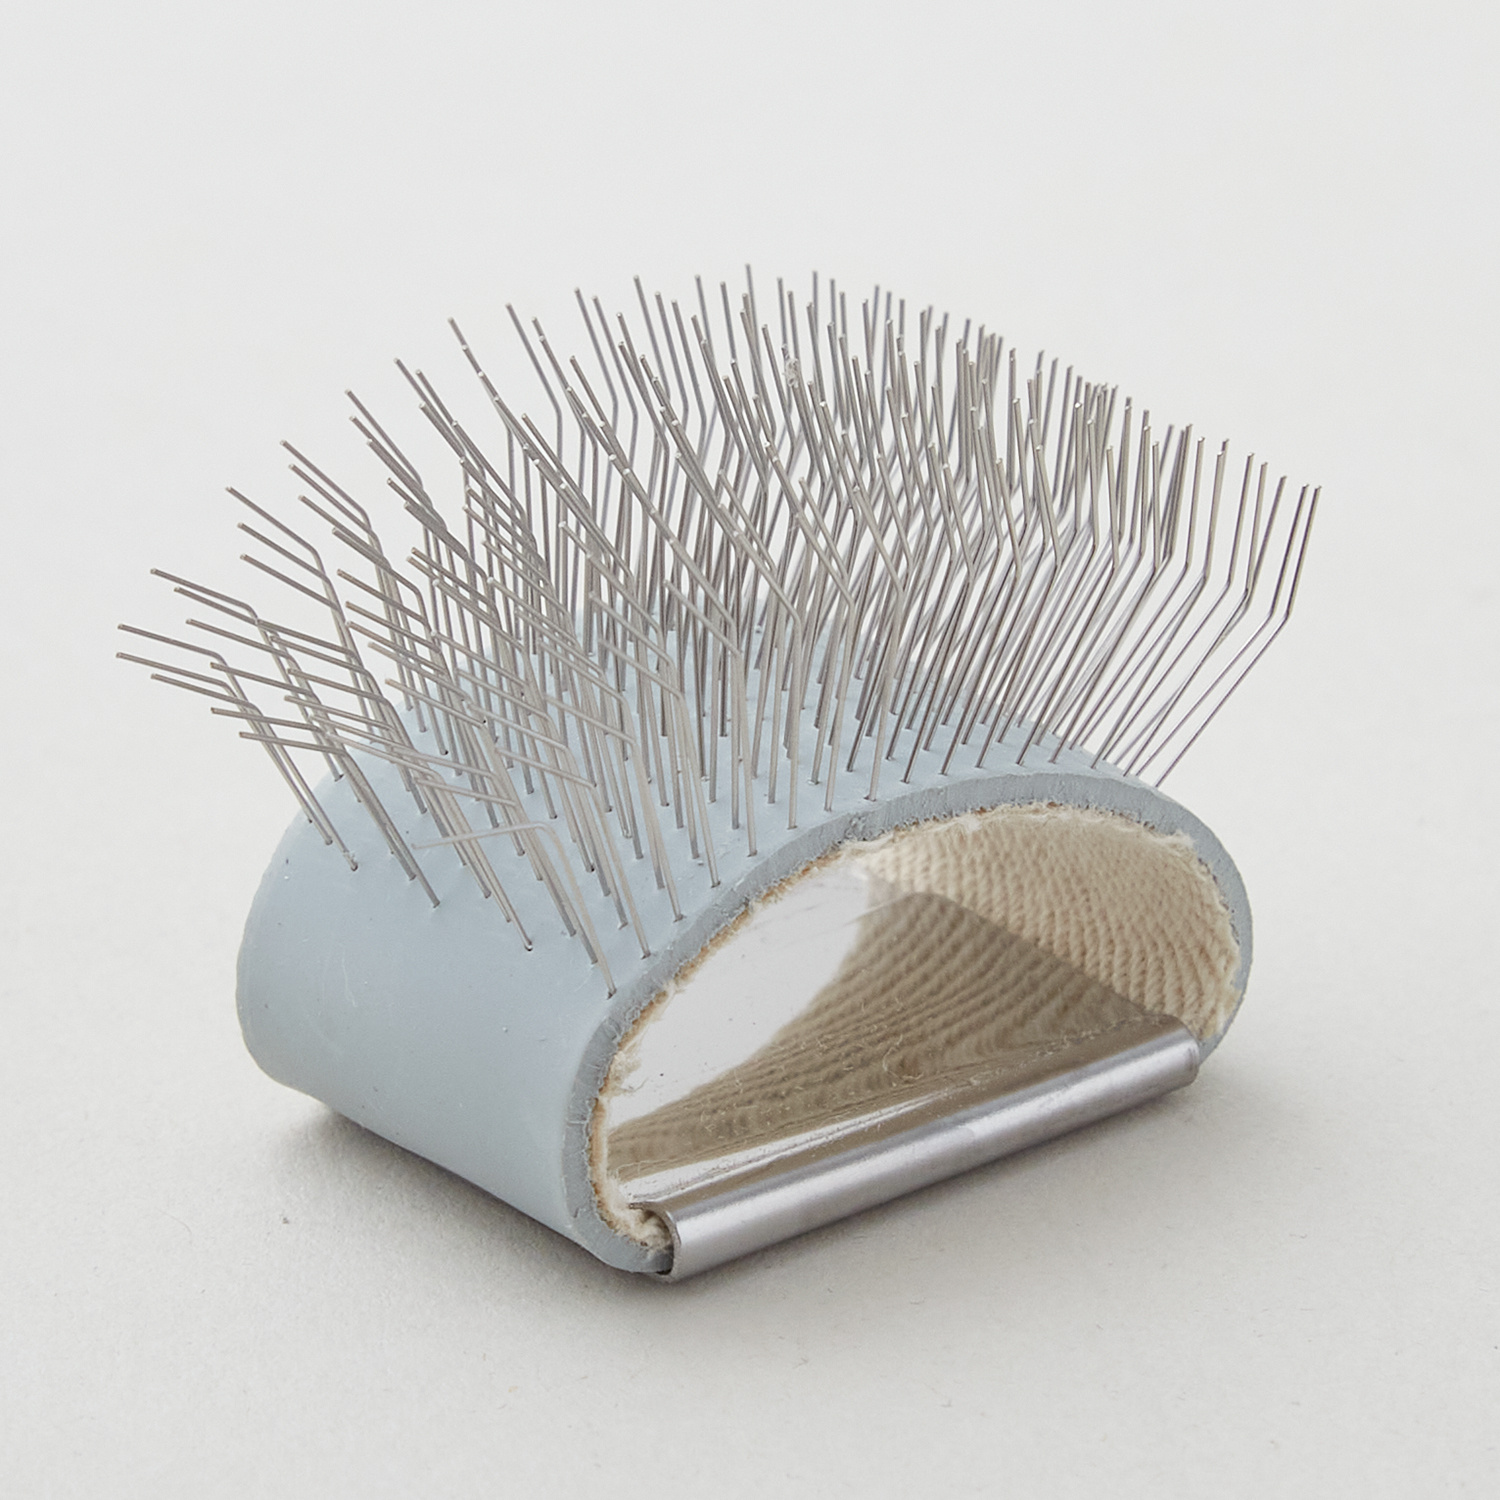 Chenille Fluff Brush$12.50Shop →
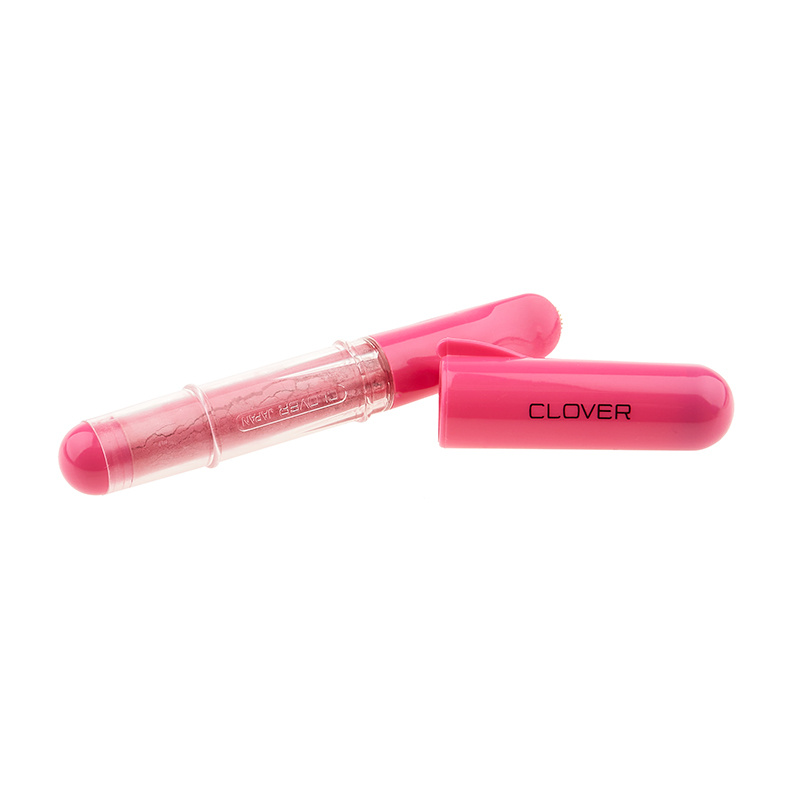 Clover Pen Style Chaco Liner Pink$9.45Shop →
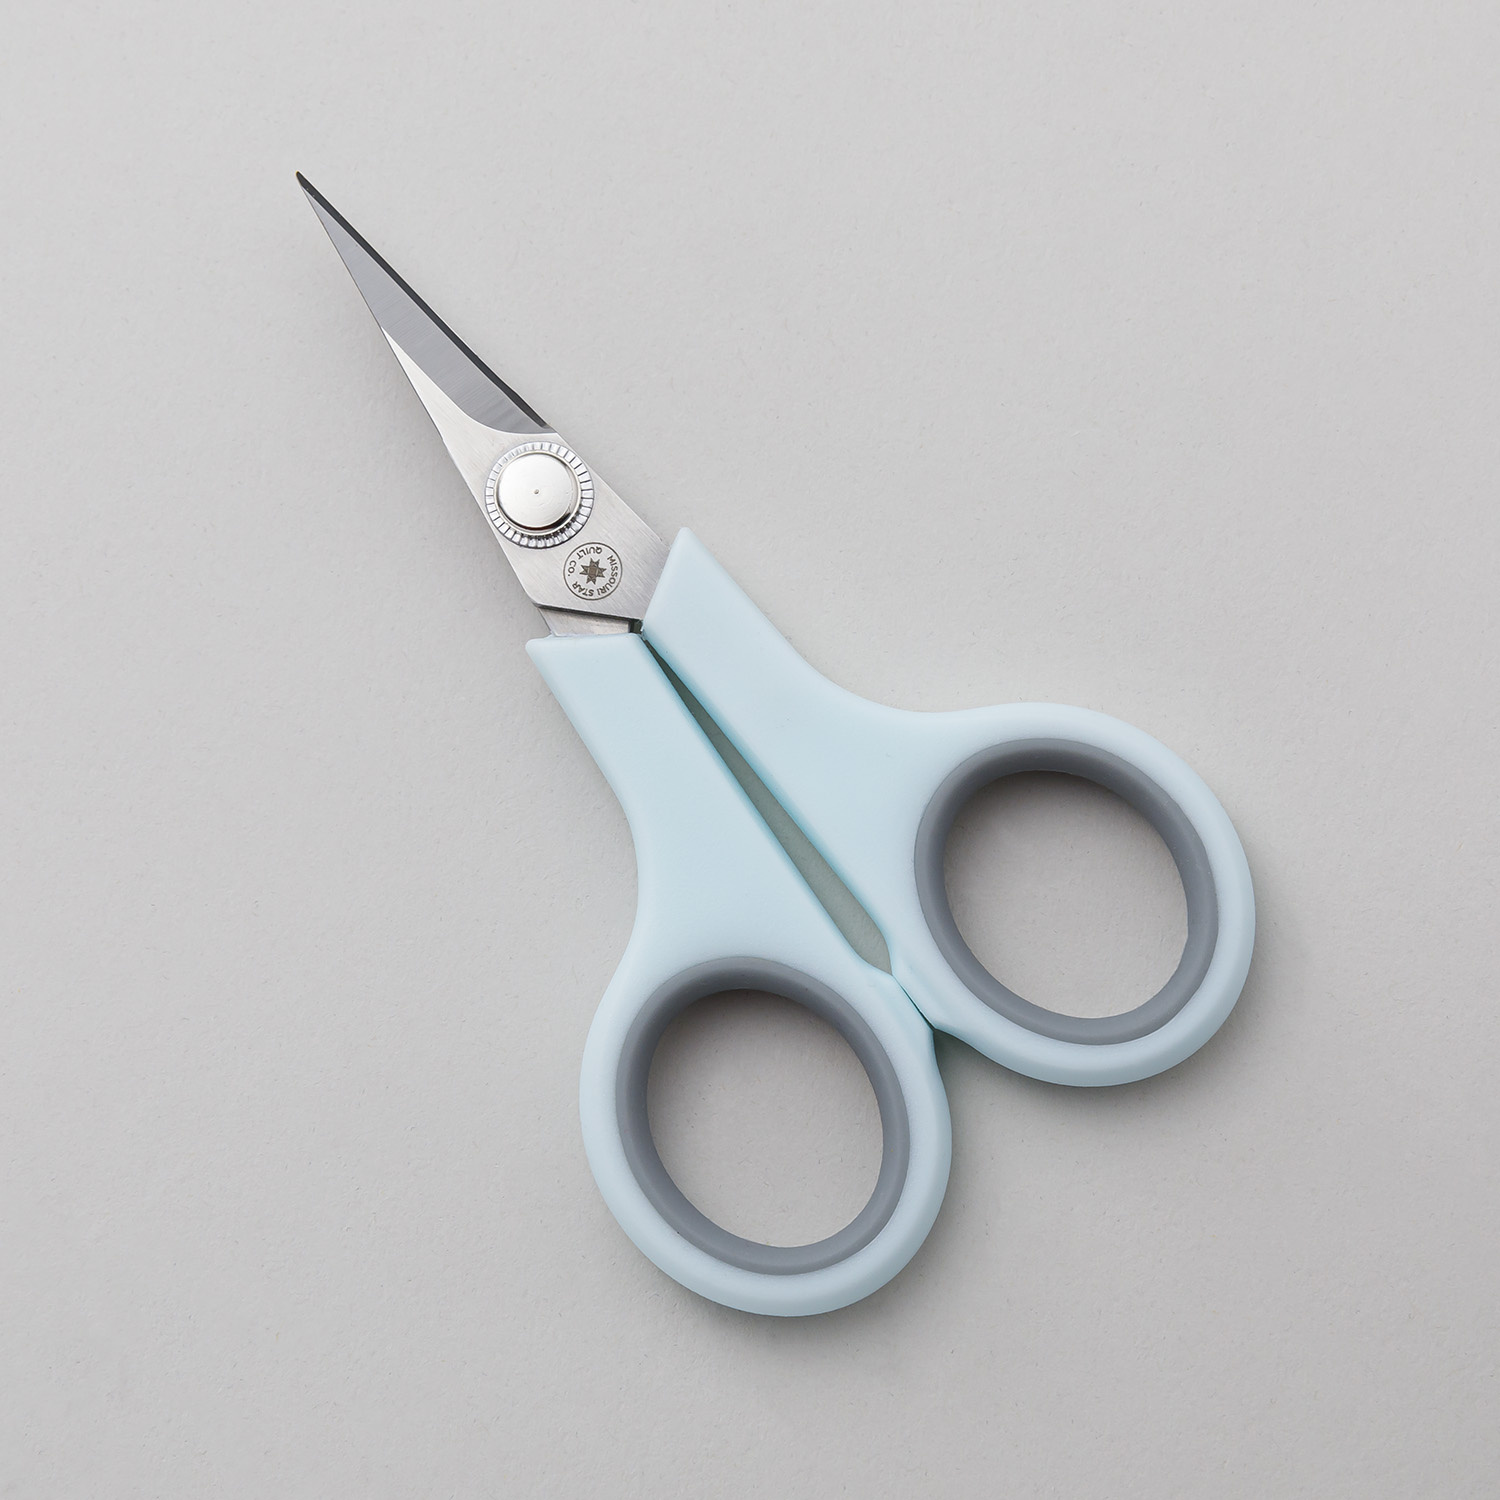 Missouri Star 4.5" Everyday Scissors$9.95Shop →
 Missouri Star 50 WT Cotton Thread White$7.95Shop →
 Bernette 77 Sewing and Quilting Machine$1499.00Shop →
Common Questions
What is covered in Embellished Pillows with Chenille?
Let’s have a little pillow talk! These fabulous pillows are just what you need to breathe fresh air into your home décor this spring. Join Misty as she uses yarn, tassels, and easy chenille trim to create fun, funky and fashionable embellished pillows.
How long is the tutorial video?
The tutorial video is 00:12:26.
Are supplies listed for this tutorial?
Yes. The tutorial page includes the supplies and materials connected to this project.
Is a transcript available?
Yes. A written transcript is available on the tutorial page.
Video Transcript
So I'm going to teach you this chevron pattern today, but in the printable there's actually a few different styles so you can select which one you want to make. Let's go ahead and set this back here, and dive into the supply list.
So the supplies give you enough to make three of these pillows. You're going to need just under two yards of whatever fabric you choose for your background. You'll need a roll of the Chenille-It. I'm using the natural to kind of match with that background yardage I chose. And then if you want to make the tassels you're going to need this great tassel maker from Clover and some yarn. So let's go ahead and dive right into this!
If you have a light box or a window that's going to be super helpful for this. I'm using this Cutterpillar light box and I've gone ahead and printed and taped together my template for the chevron shapes that we're going to be using. Then I have cut from my background fabric a 16 inch square, so I have this ready to go. Whoops if I can get it open, there we go. So you're going to have a 16 inch background square and then you're also going to have two 16 x 12 rectangles that are going to make your backing.
So let's go ahead and mark our lines so that we can add our Chenille-It to this. So I'm going to turn this on and this just helps make it so easy to see
through. I did go ahead and press some lines so I can kind of line this up
in the middle of my fabric and just have that for a reference point. I'm just going to start about an inch and a half down. I'm just eyeballing it here. Keep in mind, you're either going to want to use a wash away marking pin or you know this chalk marker that I'm using because you will see this on the finished project. So now I'm just going to use this and follow along with those lines and I will meet you back here when I have the markings
Done.
All right, so I've gone ahead and marked those first two rows. You would just continue down the pillow until you have four of these sets of chevrons made. I did want to point out that I used a ruler that just helps to have a guide to roll this along. So whatever is easiest for you, that's what you want to do. So now let's just pretend this is fully marked and we can talk about adding the Chenille-It.
Go ahead and set this out of the way. So I absolutely love this product
because it gives so much texture with very little effort. If you're not
familiar with this, this is a woven bias roll of fabric that we can just lay on
top of our marking and I like to just kind of center it up and then we're going to straight stitch right down the middle of that. We're going to work our way all the way down this. So they actually recommend that you cut little segments. Because it's bias I have found that I can pivot this and it goes a lot faster, so that's what I'm going to do.
So let's go ahead and take this to the sewing machine. All right, so we're just going to line that Chenille-It up right down the center of that mark that we made and then we're going to make sure our needle is centered on our presser foot. Then we can start. I like to keep the Chenille-It right centered with the presser foot, so that I know I'm stitching right in the middle there. Then I just watch as this next line approaches the needle and I leave my needle down, lift my presser foot and then I can pivot this whole thing. Because it's bias it will just shift right over and I just kind of keep and make an an eye on making sure that this is spaced consistently and that helps me stay right on that center line.
So now that I've shifted we can just keep on sewing and pivot. I just kind of use my finger or a stiletto under there to keep things nice and straight and and continue down. So I'm just going to finish this and make my way all the way down this first line of chevrons.
All right, we are to the end of that so I'm going to back stitch a little bit and we can clip our threads. Where did I put my scissors? There we go. Now that I'm at the end here, I can go ahead and snip this off just like so. Then we'll just continue in that exact same way one line after the other.
So now let's talk about finishing this off, because once you have that whole panel done it's going to look like this. You can see I've added all of my rows of chevron and it looks really great. So now we can either just add our back rectangles which I've just hemmed the long sides just like so. We can sew all the way around the outside edge toss, this in the washing machine and it will fray up. But if you want to add a tassel you actually need to wash this part first, so that the Chenille-It has the opportunity to really fray and kind of give it that texture that we want. I recommend that. If you wash these little yarn tassels they're really going to get kind of nasty in the washing machine and you have to add that after the fact. So it's up to you if you want to add the tassels or not, but this is where you would make that choice but.
Let me go ahead and show you how to make a tassel. So let's set this out of the way for now. I have been using this Clover tassel maker. It makes it super, super simple. We're just going to take this out of the package and I have extended it one little notch. There's a few different sizes that are built in and you just unscrew these and it slides. It's very, very simple to use. Then I've got my ball of yarn here. So I am just going to hold it along the bottom and we're just going to wrap. Getting started is the hardest part. We're just going to wrap this and I just kind of eyeballed it until it looked like it was going to be thick enough for me, but I'd say you want to do 20 or 25 times around. You want it to be nice and full. Whoops - there goes my yarn!
All right, I think that looks pretty good. So now let me grab those scissors and we can snip this one off even. Then I'm going to loop through this whole thing, and I like to give myself plenty of string here. We're going to tie a square knot. So left over right, right over left. Then we can trim this
off all right. And so once we have that secured in the middle there's actually little slots on each end where we can slide our scissors and it just trims through that. So now we'll flip it around and we'll do the same thing on the other side. I just like to hold the middle. Make sure it's still even there, cuz after you cut the first one it's not as tight. There we go, oops I missed one. There we go. So that first knot that you made - I'm going to hold that up - and we're going to fold the rest of these down just like so. Then we're going to make another knot with our yarn. I like to make sure I have plenty of tail. Whoops, hold on, slipping out of the way. Just slide that
down, there we go. We're going to knot that through and pull it tight, and knot it again. You can do two or three knots here. You just want it to be
really secure. So you don't want this to come out. It is hard to keep track of which little end of the yarn is the one you want to hold on to, but there we go. That's what we're looking for.
So once that's done I just like to brush all of these to one side and then kind of trim them even. So I'm going to trim this off, there we go, and there's our cute little tassel. Isn't that so fun? So now we can throw these in the trash and let's look at our finished pillow top again.
Sso when you lay this out, if you're going to add the tassels, of course you
would have washed this. This would be frayed up already and then you will lay your tassels in like this so that the long strings are sticking out of your seam allowance and so you would have one on each corner. You want to get it pretty close - like 3/4 of an inch from that edge. Then you'll lay these backs in and you're going to want to secure these with pins or clips so they stay out of the way, just like so. We'll pin all of that into place and then you'll just finish this off with your quarter inch seam.
And so then it turns out just like this in the end, which is so fun and so cute! I absolutely love it. We even played around a little bit depending on the design. Like this one here, we added some tassels on the top, just wherever those little swirls ended we added a tassel which I think is really fun and different. And then this one here is without the tassels, which is still super cute. So whatever you decide it's still going to be a great project. I hope you'll give it a try and I can't wait to see what you make!
I'll see you next time on At Home!


