Skip to content

Free quilting video tutorials from Missouri Star

Quilting Tutorials
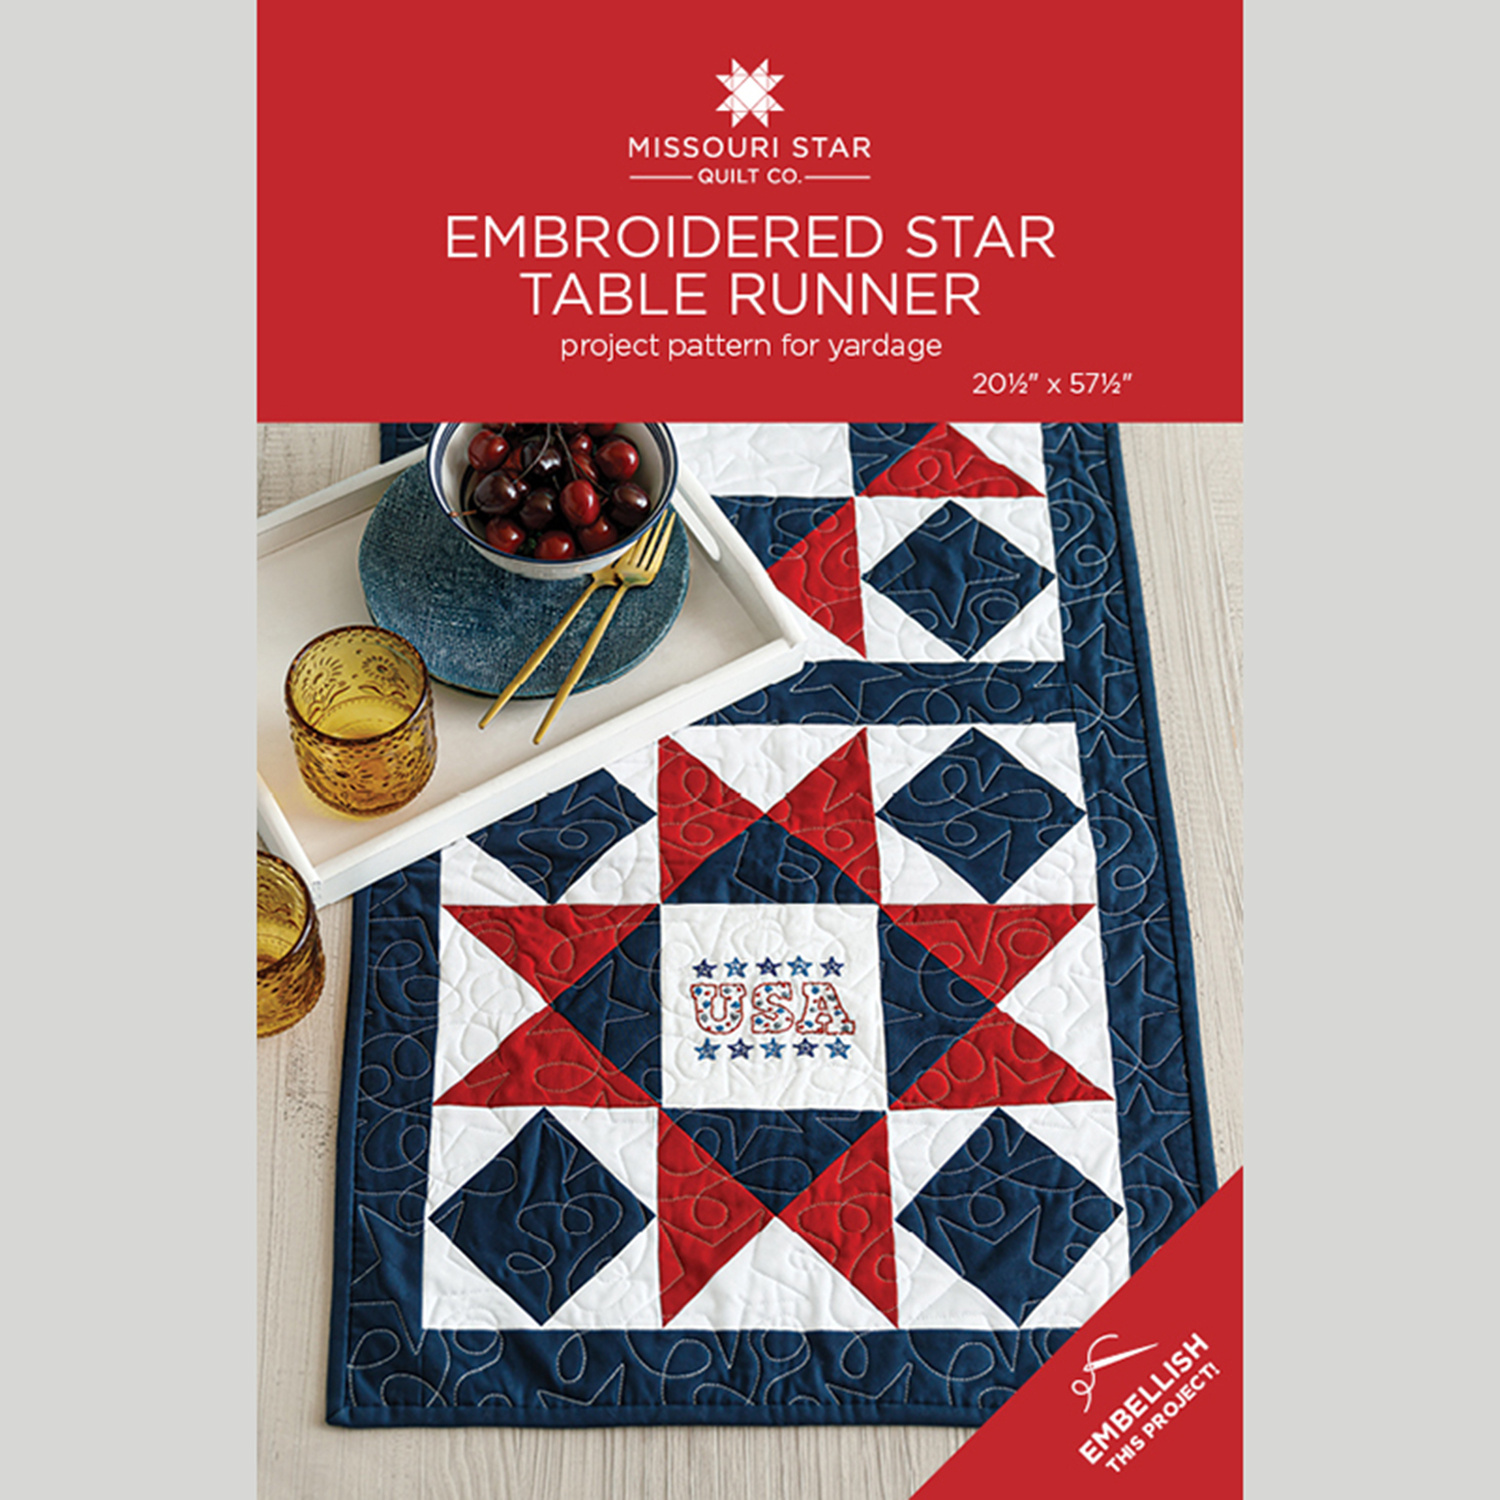
Embroidered Star Table Runner

Embroidered Star Table Runner

The centers of the quilted stars in this red, white, and blue table runner provide the perfect backdrop for embroidering sparklers and patriotic symbols! Make this versatile runner with other colors and embroidery designs to deck out your table all year long!

Instructor

Misty Doan

Misty Doan grew up surrounded by sewing and quilting. She loves spending time sharing tutorials each week each week, and when she’s not stitching up one of her fun sewing projects for home decor, most likely you’ll find her hanging out with her husband and three awesome kids or working on a house project.

Common Questions

What is covered in Embroidered Star Table Runner?

The centers of the quilted stars in this red, white, and blue table runner provide the perfect backdrop for embroidering sparklers and patriotic symbols! Make this versatile runner with other colors and embroidery designs to deck out your table all year long!

How long is the tutorial video?

The tutorial video is 00:18:27.

Are supplies listed for this tutorial?

Yes. The tutorial page includes the supplies and materials connected to this project.

Video Transcript

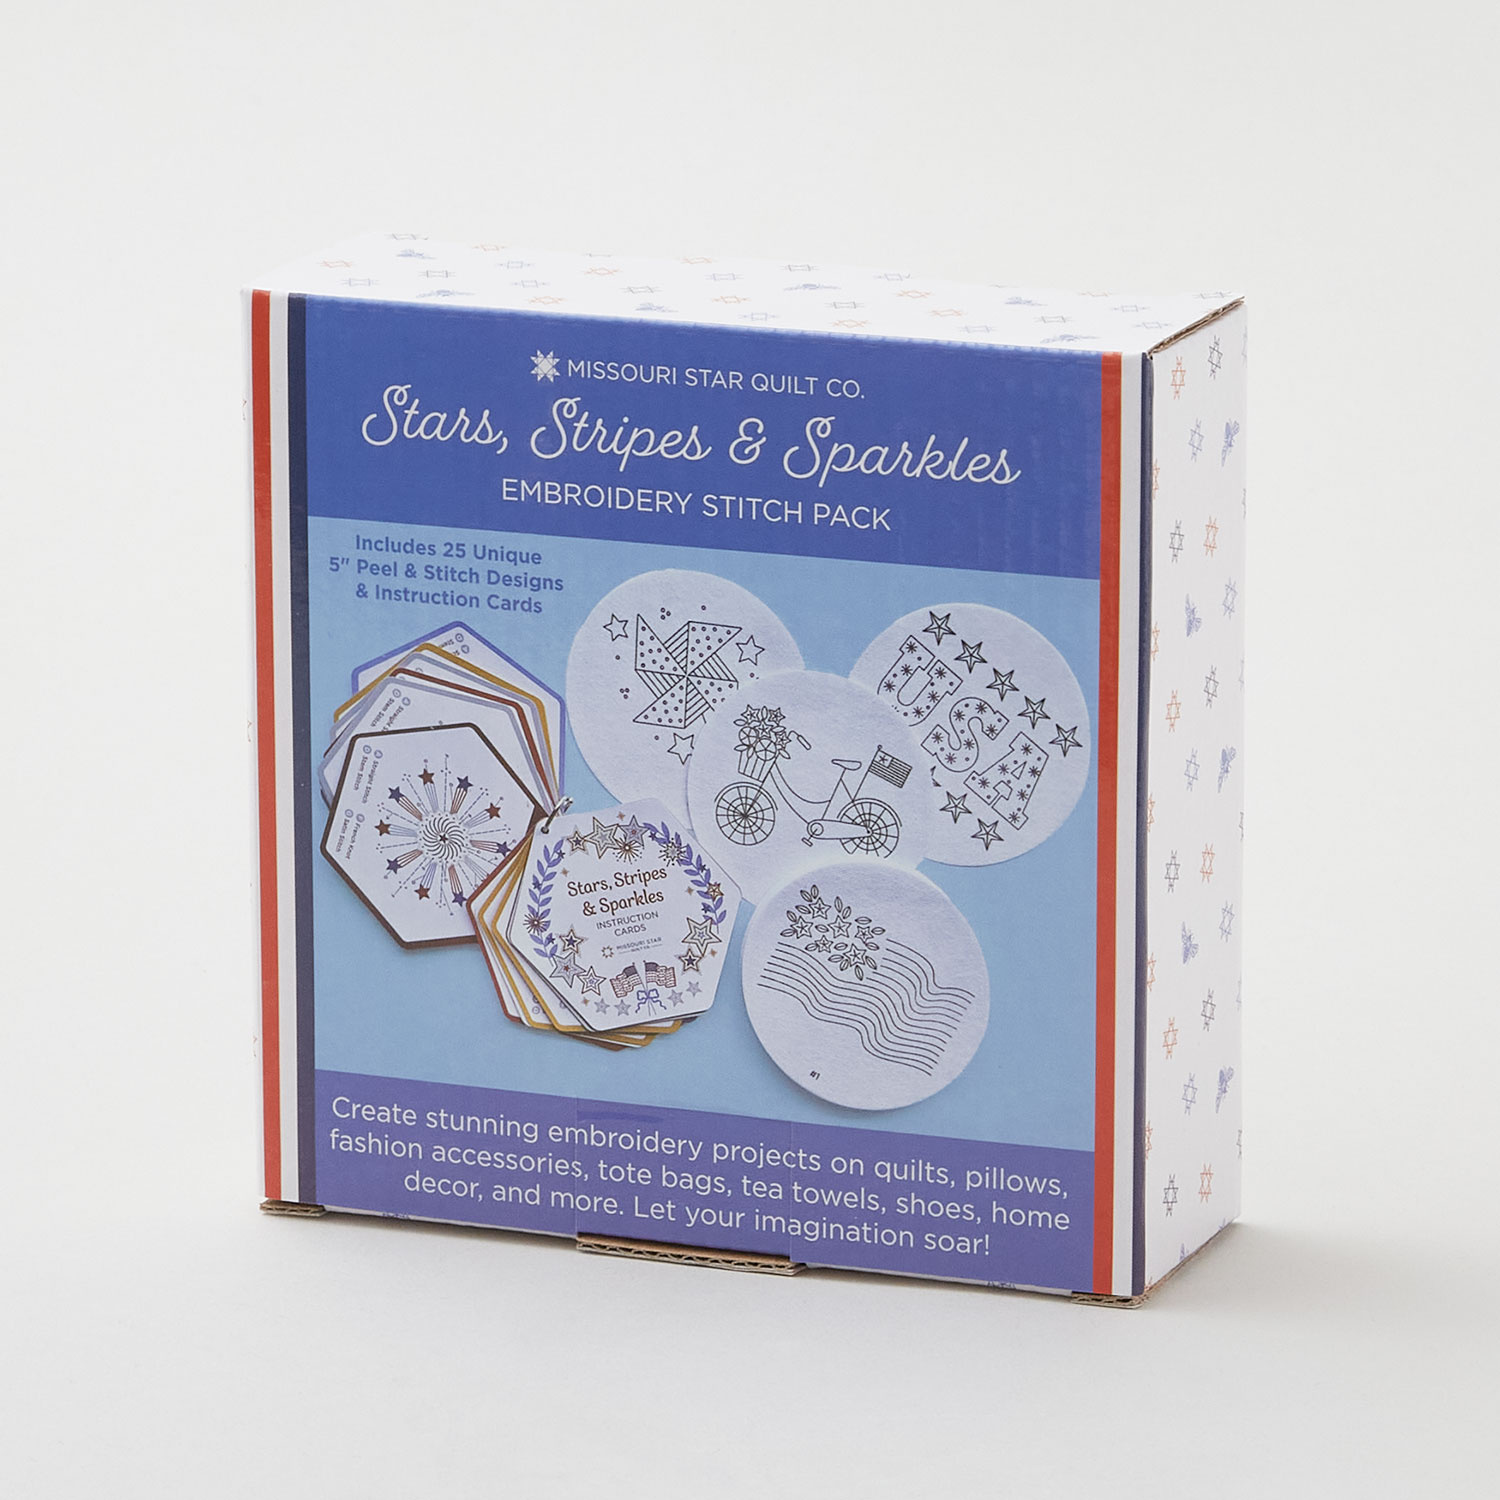
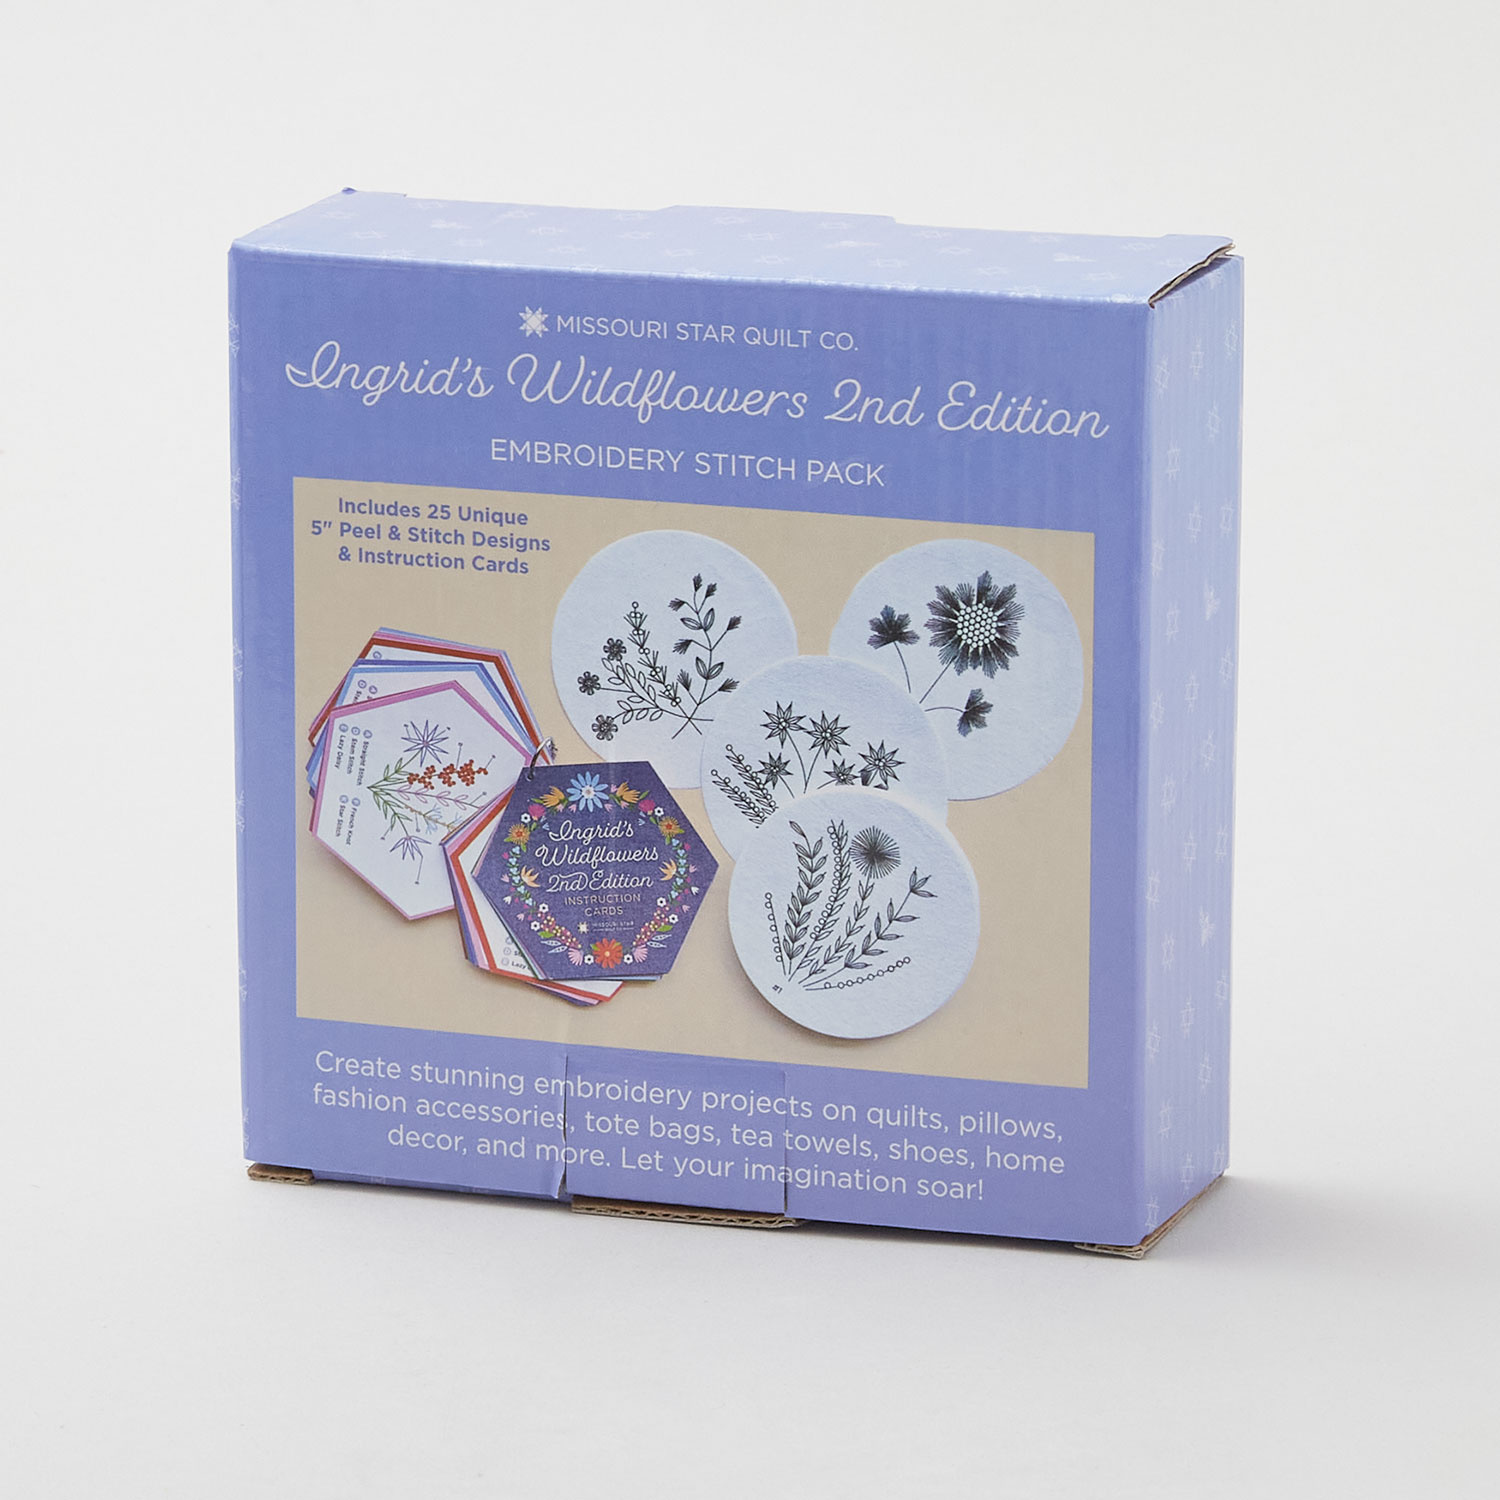
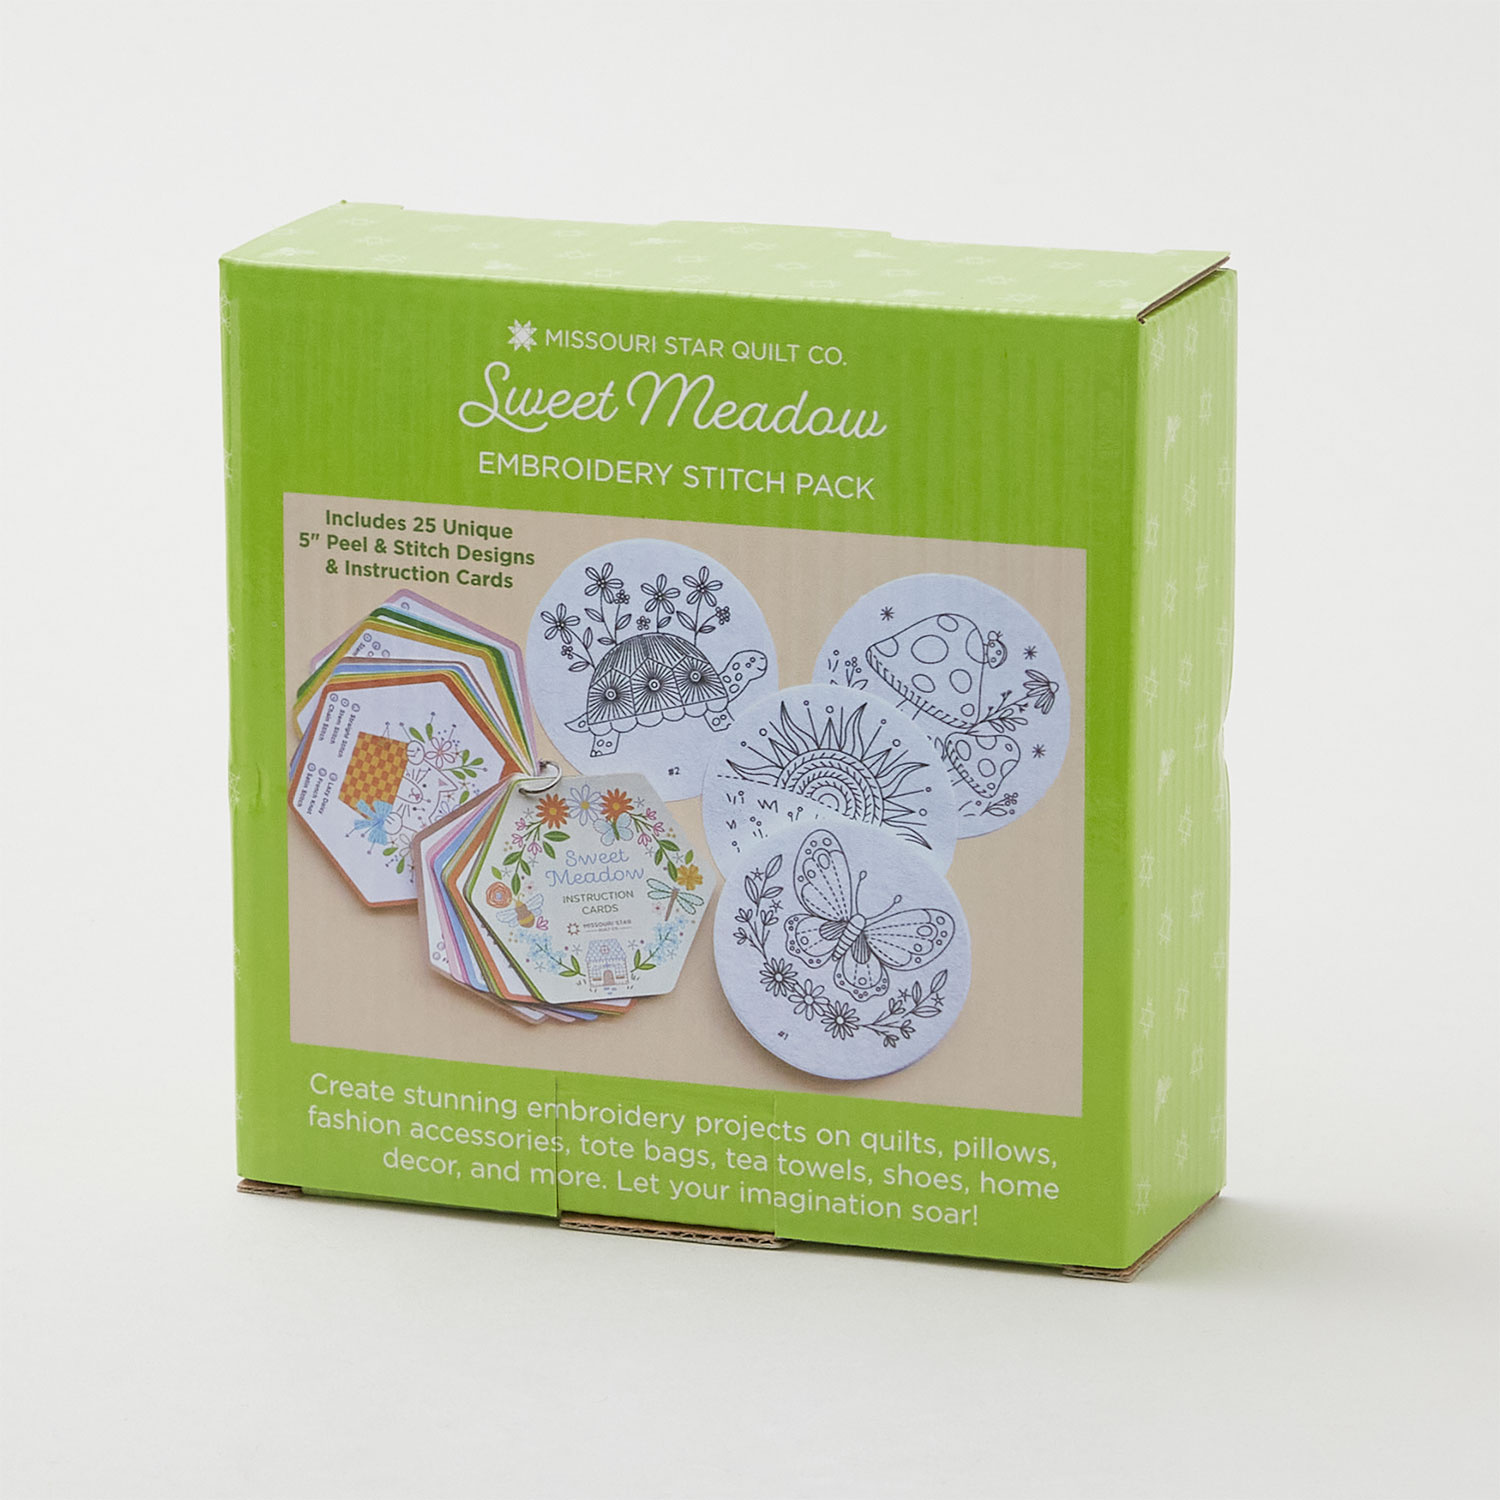
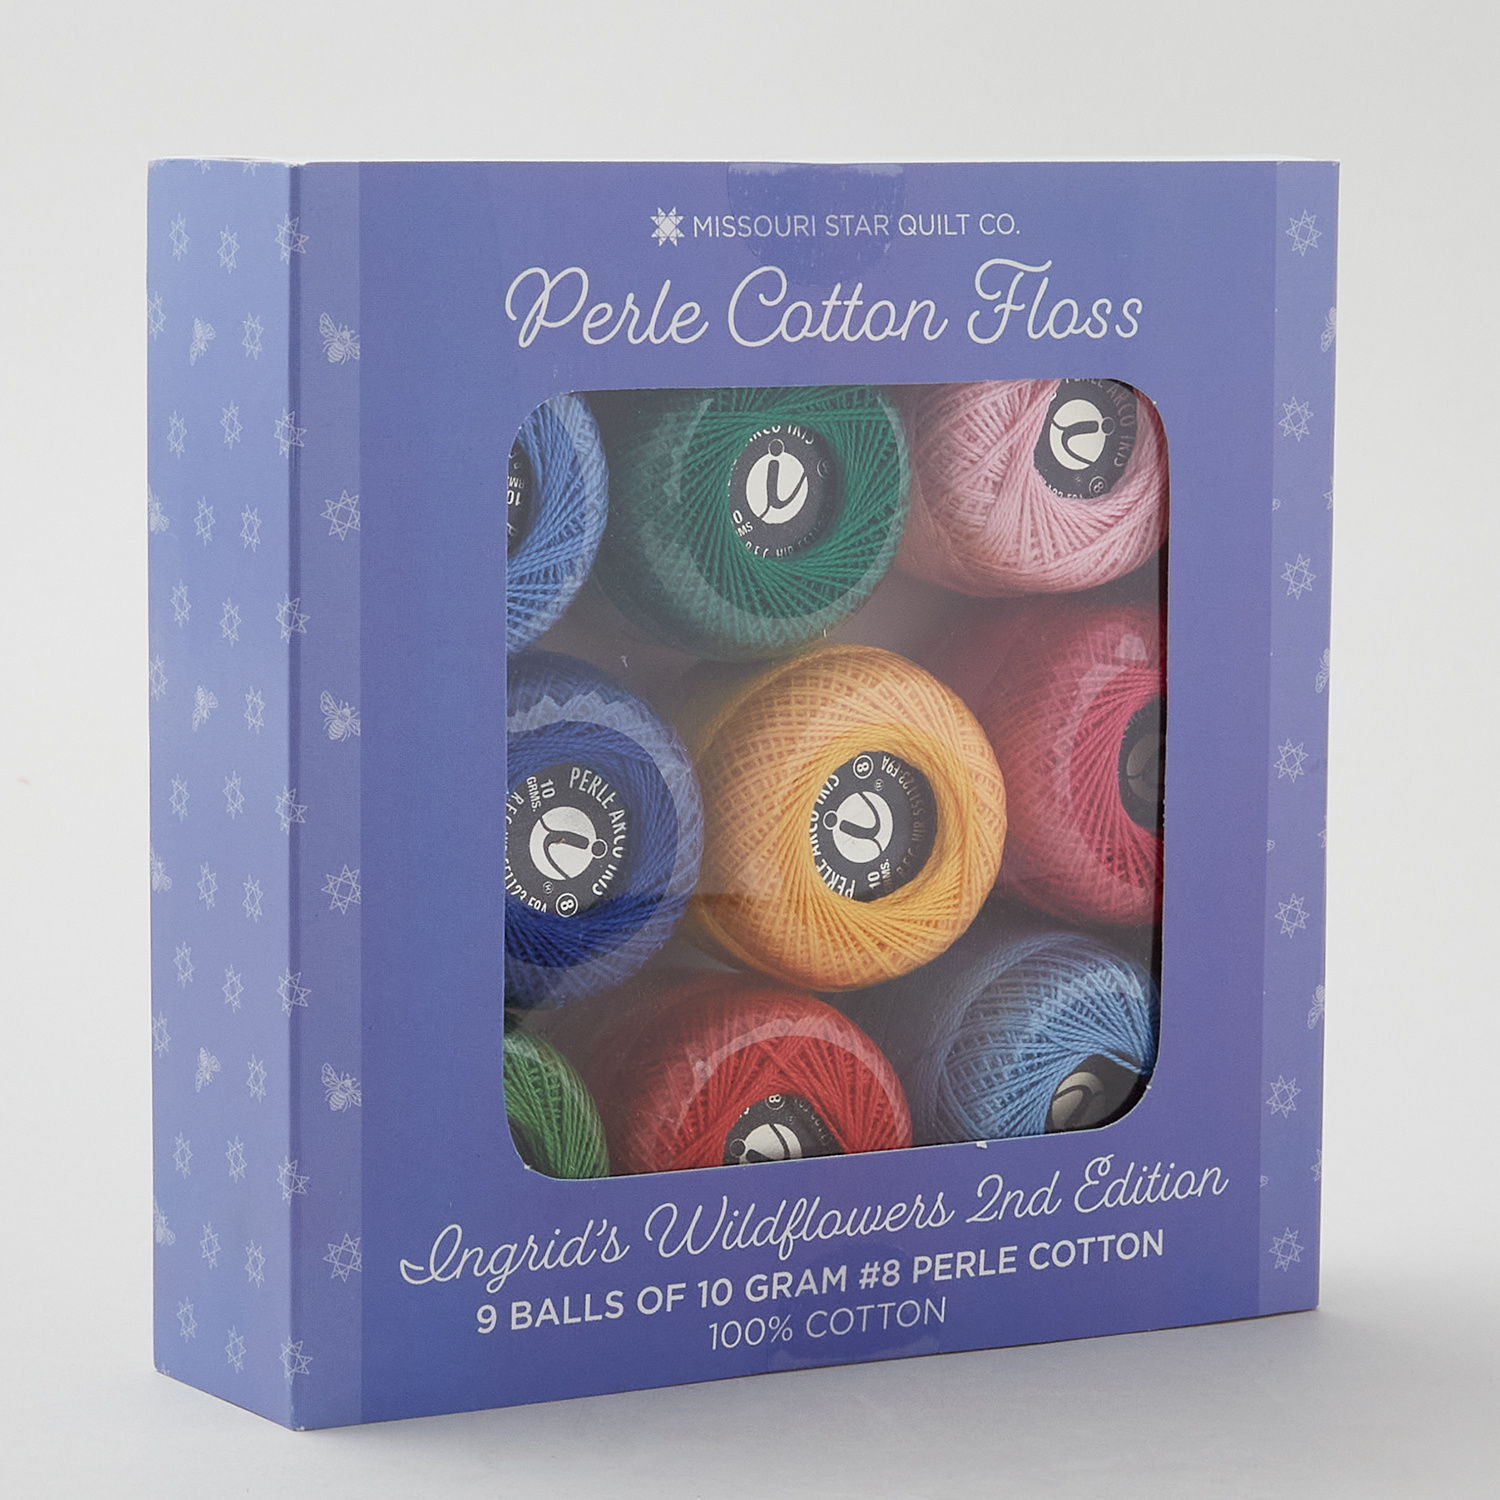
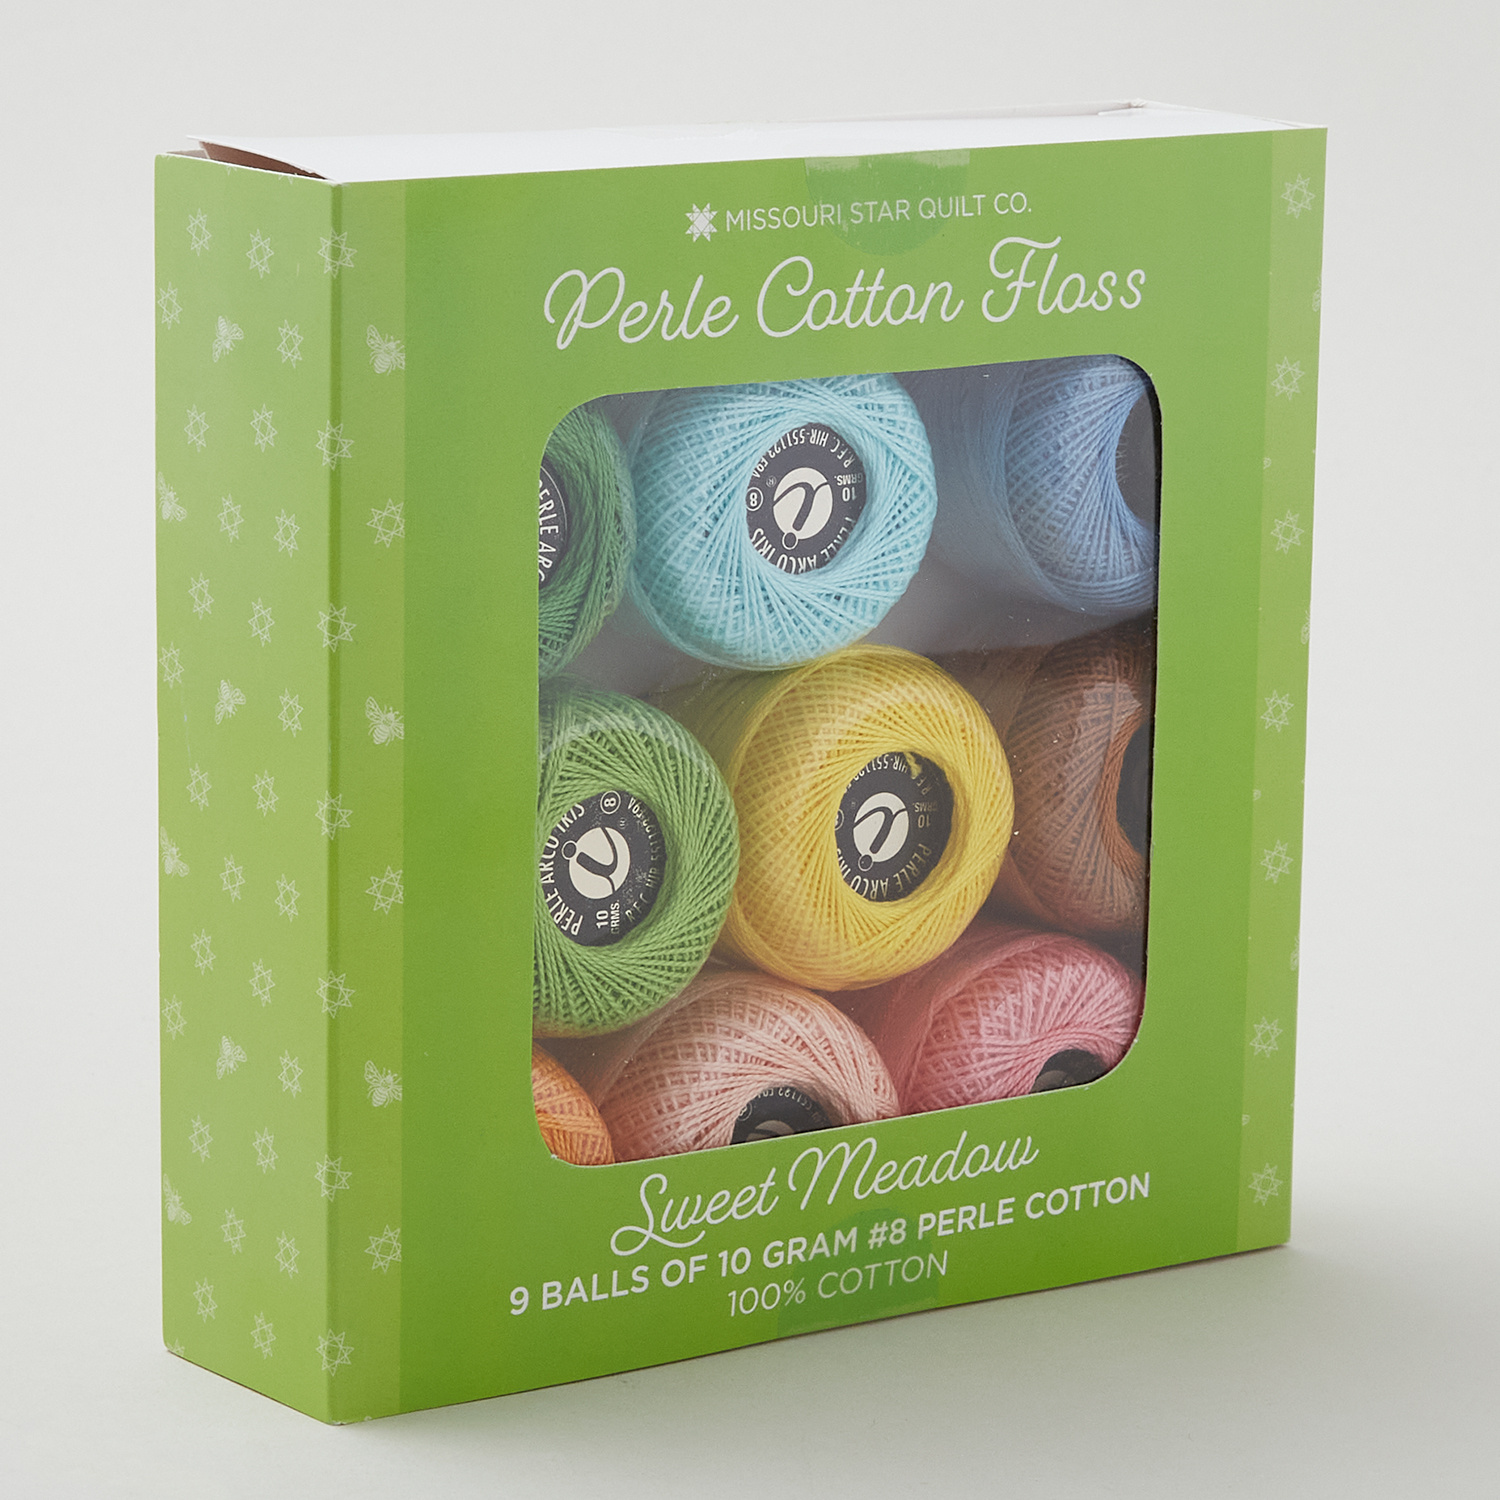
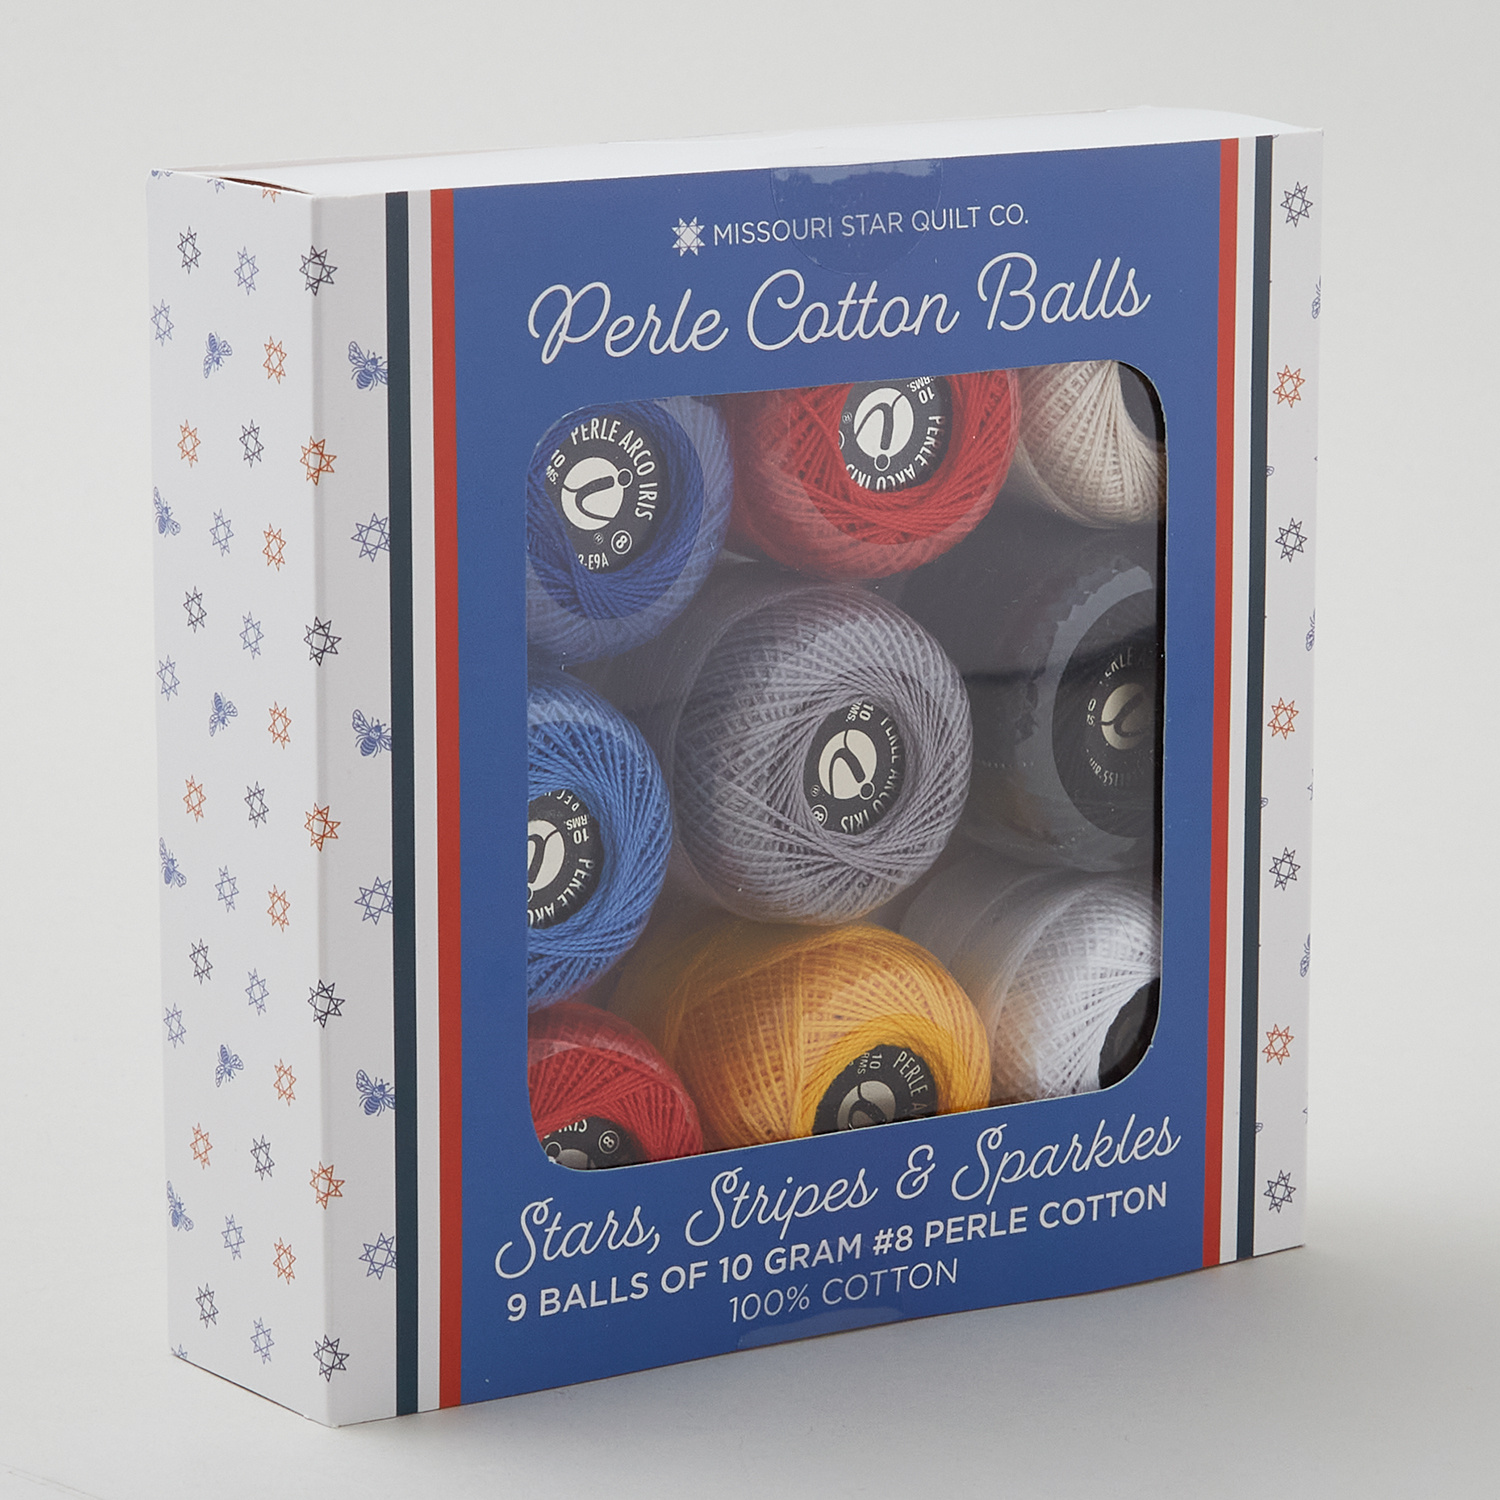
hey everyone today I have a super fun project for you using our embroidery Stitch packs it's this embroidered star table runner let me show you how to make [Music] [Music] it all right so like I said we're going to be making this adorable Runner and I was looking for a design that I could showcase some of our fun embroidery packs in and so I designed this basic star pad p and I opted to put the embroidery on either end so it's facing towards the end so there's not really a upside or downside to this Runner you can just view it from either end of the table so let's go ahead and set this over here and then we can dive into the supplies so you're going to need a third of a yard of the red fabric one and an eth yard of your Navy and one yard of your background you'll also need a squaring tool I use the block lock and we use these really fun uh embroidery Stitch packs I use the star stripes and Sparkles and they are just so cute so many fun designs in here but we also have some really fun this sweet Meadow Springtime and then Ingrid's wild flowers too so just grab whichever one you want and let's get started all right so let's talk a little bit about that embroidery first I used a couple of the different designs for just the two ends because I figure I'll put some flowers or something in the middle of my block if you're not going to opt for the embroidery then you just need a 6in square in the middle but if you are I recommend using a 10in square to begin so you can fit it in the hoop and have plenty of room to trim okay so we're going to trim this up to 6 in so I'm just going to use this 6 in square ruler that I have I love it so I can kind of see through it to Center up my design and make sure sure that it's evenly spaced so I'm just going to watch these little Starbursts here and make sure I'm close to centered that looks pretty good to me and now I can just hold this in place and use my rotary cutter to trim this up so I'll cut these two sides first and now I can spin this and trim up the rest I think this would be such a great block to do a whole quilt using these patriotic designs because the block goes together really quick and so now our cute little embroidered middle is ready to go and we can set it aside and start working on our star legs so for the star legs we are going to cut 7even in squares from our red our white and our Navy so I went ahead and took care of that and so we are going to make sets here I'm going to pair a red and a white and a red and a Navy just like so then I'm going to get a pin or a marking tool whatever you prefer and we are going to draw a line point to point in One Direction there's that one and we'll do this one as well there we go and so to begin I'm going to go ahead and take this to the machine and sew a quarter inch away from that line on both sides so let's go ahead and do that now so I'm just going to adjust my needle here make [Music] sure I'm at that quarter inch and I can go all the way down this side and then I can follow this next one in right behind it I'll go ahead and clip my threads and we'll bring this around and and go down the other side again just stitching a/ quarter inch okay there we go all right so now we can trim these apart I've got those little threads holding them together and we'll use our ruler to cut on that line that we drew we have those two and now these two so now let's go ahead and take these over to the iron I'm going to press them towards the red um both times just so that I can get these to Nest the way that I want so you might not consider the red the dark on this particular pairing but it will give me the outcome that I want to make my seams Nest just want to make sure we don't have any tucks or folds on those [Music] seams and again we'll roll these ones back towards the red oh I missed some stitches there let me go ahead and take care of that better to fix it now than have have to worry about it later there we go okay all righty so now once we have that done we are going to pair our red and white with our red and navy and we want to Nest these seams so the Reds should be on opposite sides of one another and you can feel with your fingers when they're pressed in opposite directions that they just kind of lock in place and that's what you're looking for going to go ahead and flip this over because it's easier to see my lines on this side so now I will take my ruler and same concept here we're going to draw our line corner to corner and sew on both sides and this is going to give us our Quarter Square triangles for our block so there's that one and let's do the same with this one remember we want red on opposite sides here I'm just going to [Music] feel and make sure that those seams are really locked in place you can kind of roll back and and test that's what you're looking for especially in the middle you want it to be nice and sharp so then let's go ahead and draw that line on this one there we go so again back to the machine a quarter inch away on both sides of our drawn line and I love this project because the chain piecing makes it go super quick and again we'll just flip this [Music] around and come back down this way okay so now in the same way that we did before we can trim these apart and cut right on that drawn line there's one and one more and now when we open those up we're going to have all of the quarter Square triangles we need for one block so let's go ahead and press these because I am going to use the block lock to square them up and so we'll press them first and the reason you really want to make sure that your seams are nested is so you get a sharp point there in the middle that's what we're looking for beautiful and one more all right so now that we have all of those pressed we can go ahead and square these up to 6 in so I really like to use the block lock when I am working with these I feel like it just gives me a really precise uh measurement and the you know size that we're looking for is 6 in and so I am going to slide this in here and if you've pressed it towards the dark or towards the Navy then the block lock is going to be on the side with your white background and so I like to give myself a little bit of room and on all four sides just so it's nice and square and so keeping that in mind that means I want the 6 inch marks of my block lock to intersect this seam that's really the only thing you need to watch for so six and six and now I can trim off these two sides and it's just a tiny bit that you're shaving off but it really will make a difference in the end and so then we slide this down now and our 6 in should line up exactly in that seam again and we trim off the other two sides just like so let me show you one more time so remember because we press towards the Navy the block lock logo is going to be on the side with the white we're looking for 6 in and so we want that to match exactly with our diagonal seam there we lock that in place trim these two sides spin it around slide it down down oops I missed this little corner let me get that before we move on there we go so slide it down to six [Music] inches and then we can trim off this last little bit all right I'm going to go ahead and square up these last two and I'll meet you back here for the next step so I have three of them squared but I thought I should go ahead and show you guys how to do this if you don't have a block lock if you just have a regular square ruler this one happens to be exactly in in which of course makes it easy um but it's really the same concept as the block lock and so again we're looking for 6 in and so I want these 45 Dee lines to be exactly lined up with my seams so that they're going into those corners and so let's watch for that that looks pretty good and the middle should nest right with the center of my square and again we're just going to trim this off so you don't have to have a block lock to do this project it's just my preferred one but don't let it stop you from making there we go and so again just checking that my 45 lines are lined up into those Corners my Center's on the middle and trimming off the excess perfect there we go so all of these are squared up to six and so now we can move on to our kind of square and a square blocks for our corner and so to do that I have cut a 6 in Navy square and some white 3 and 1/4 in squares and so we are going to start by snowballing which is just Sewing Corner to Corner to give a Roundy shape on both of these opposite corners and so if it's helpful you can draw a line here I have some diagonal seam tape on my machine so I'm just going to go point to point on both sides and then we'll trim that come back and add two more so let's go ahead and do this first adjust my needle so we're lined up there there's side one turn this [Music] around okay so now we can trim this off leaving our quarter-inch seam allowance on that side and turn it around there we go and then I'm going to grab two more squares here we'll take this to the ironing board press it open and then do the exact same thing in these two opposite Corners so we'll Begin by just rolling these back there's one and two and so then now we'll add these to our opposite corners and again we're going to sew point to point all right now we can flip this around and go to the other side same thing sewing point to point okay so let's go ahead and trim off that excess leaving our seam allowance there we go all right we'll press this back as well rolling those back beautiful now if you've done this correctly it's going to leave you your quarter inch seam allowance at all of your points so that you can keep those points in your finished block and I like to just sit my ruler on here and make sure that I'm still close to that 6 in sometimes when you're doing snowballs like this it can get a little bit wonky so it's worth just checking that looks great and so now I have the other three of these all done in the exact same way and we can work on assembling our block so let's go ahead and do that I have my cute little embroidery that I'm going to use for the center and then around that we're going to use our Quarter Square triangles to make our star legs and then we'll finish this off with our square and a squares in the corner just like so it's such a fun and easy block then you're just going to sew your three rows together and put those together like a big nine patch and I just used three Big Blocks for this Runner and I sashed it in between with a 2 and 1/2 inch Navy sashing and added that outer border as well let me look up the finished size of this one for you it finishes at 20 by 57 so it's a great size again I think this would be a super fun fun block to make a full quilt of so I hope you enjoyed this tutorial and I'll see you next time on at home hey everyone thank you so much for watching at home we're so excited to be almost a million Quilters strong here at Missouri Star and so if you haven't already joined our family be sure to subscribe and hit that notification Bell so you can be notified of all of our future tutorials and we'll see you soon [Music]

More Fabric by Yard tutorials

See all