Skip to content

Free quilting video tutorials from Missouri Star

Quilting Tutorials
Enchanted Christmas Embroidery Kit

Enchanted Christmas Embroidery Kit

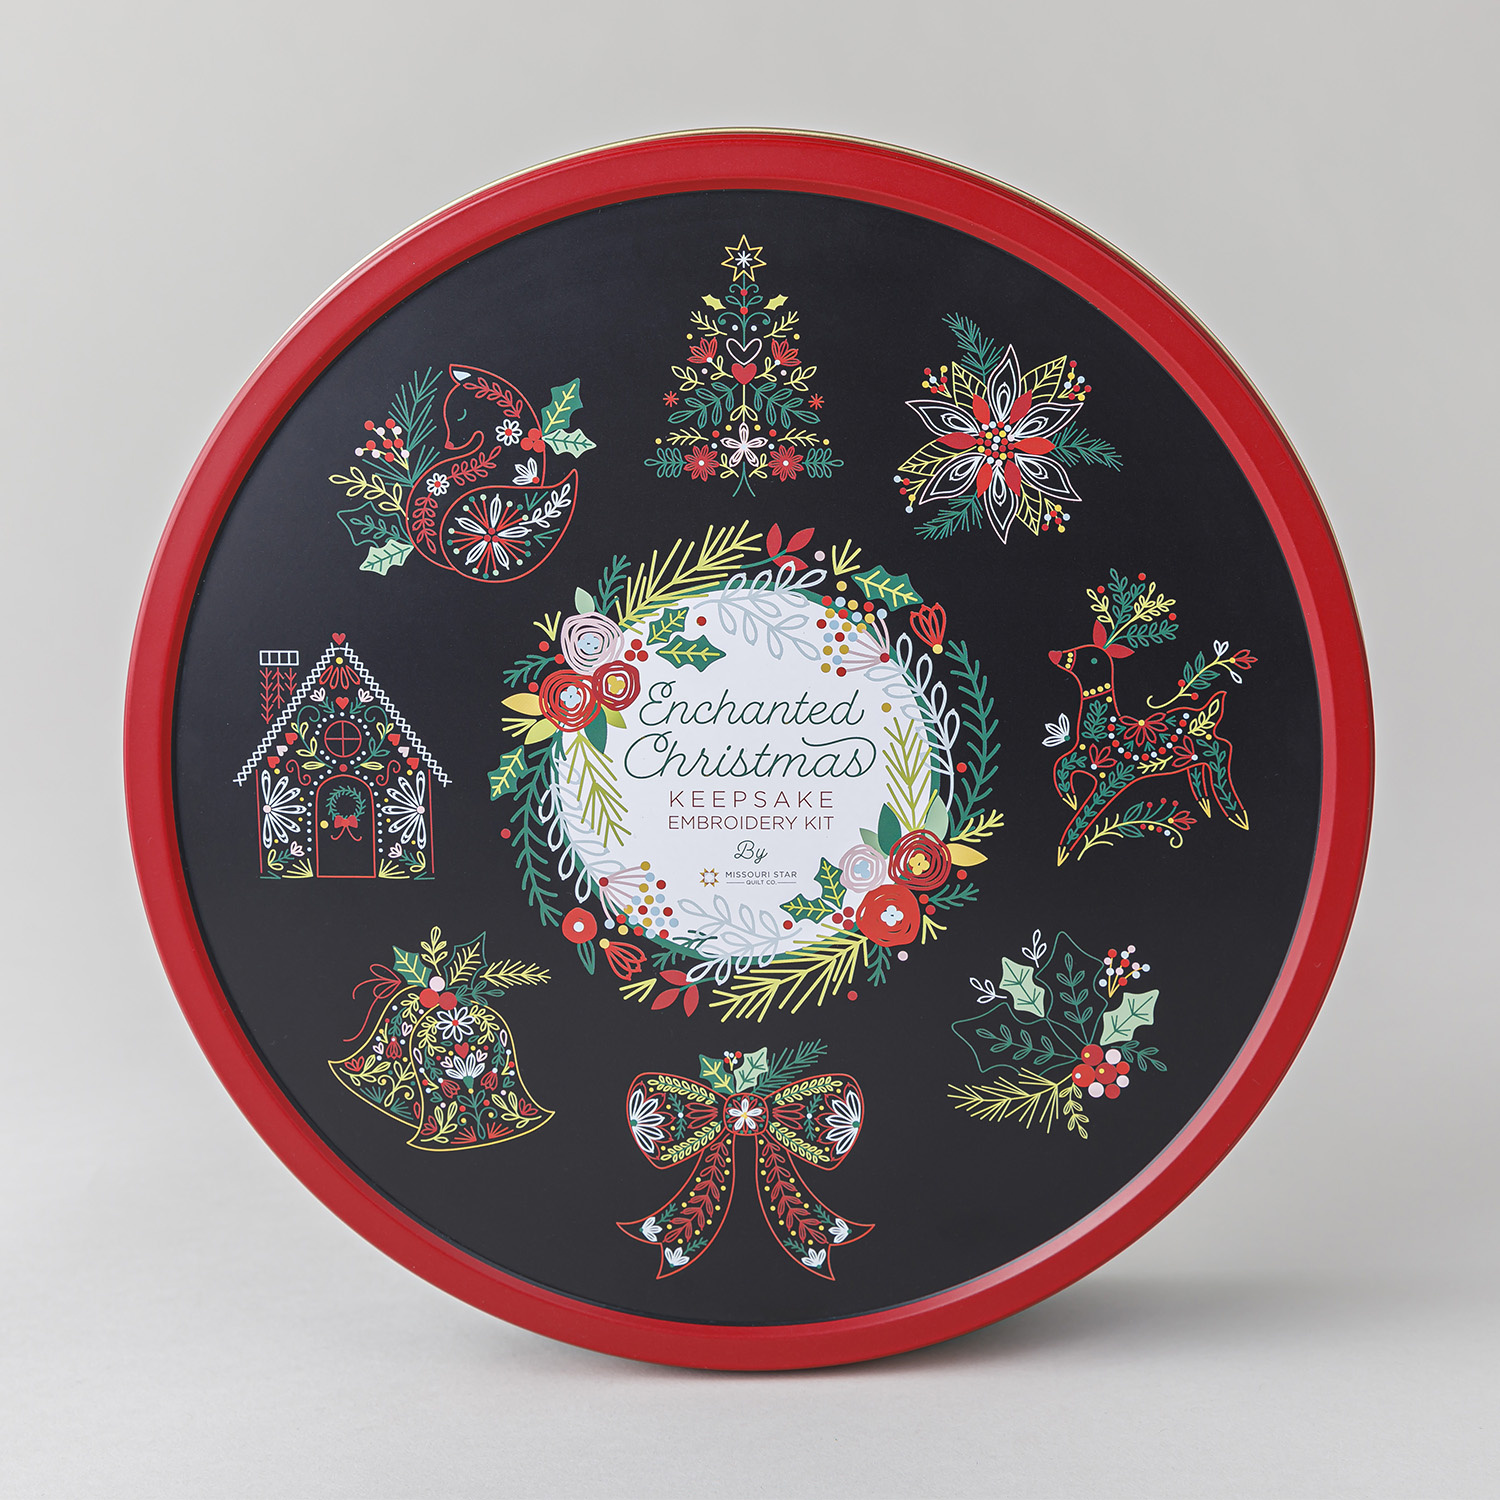
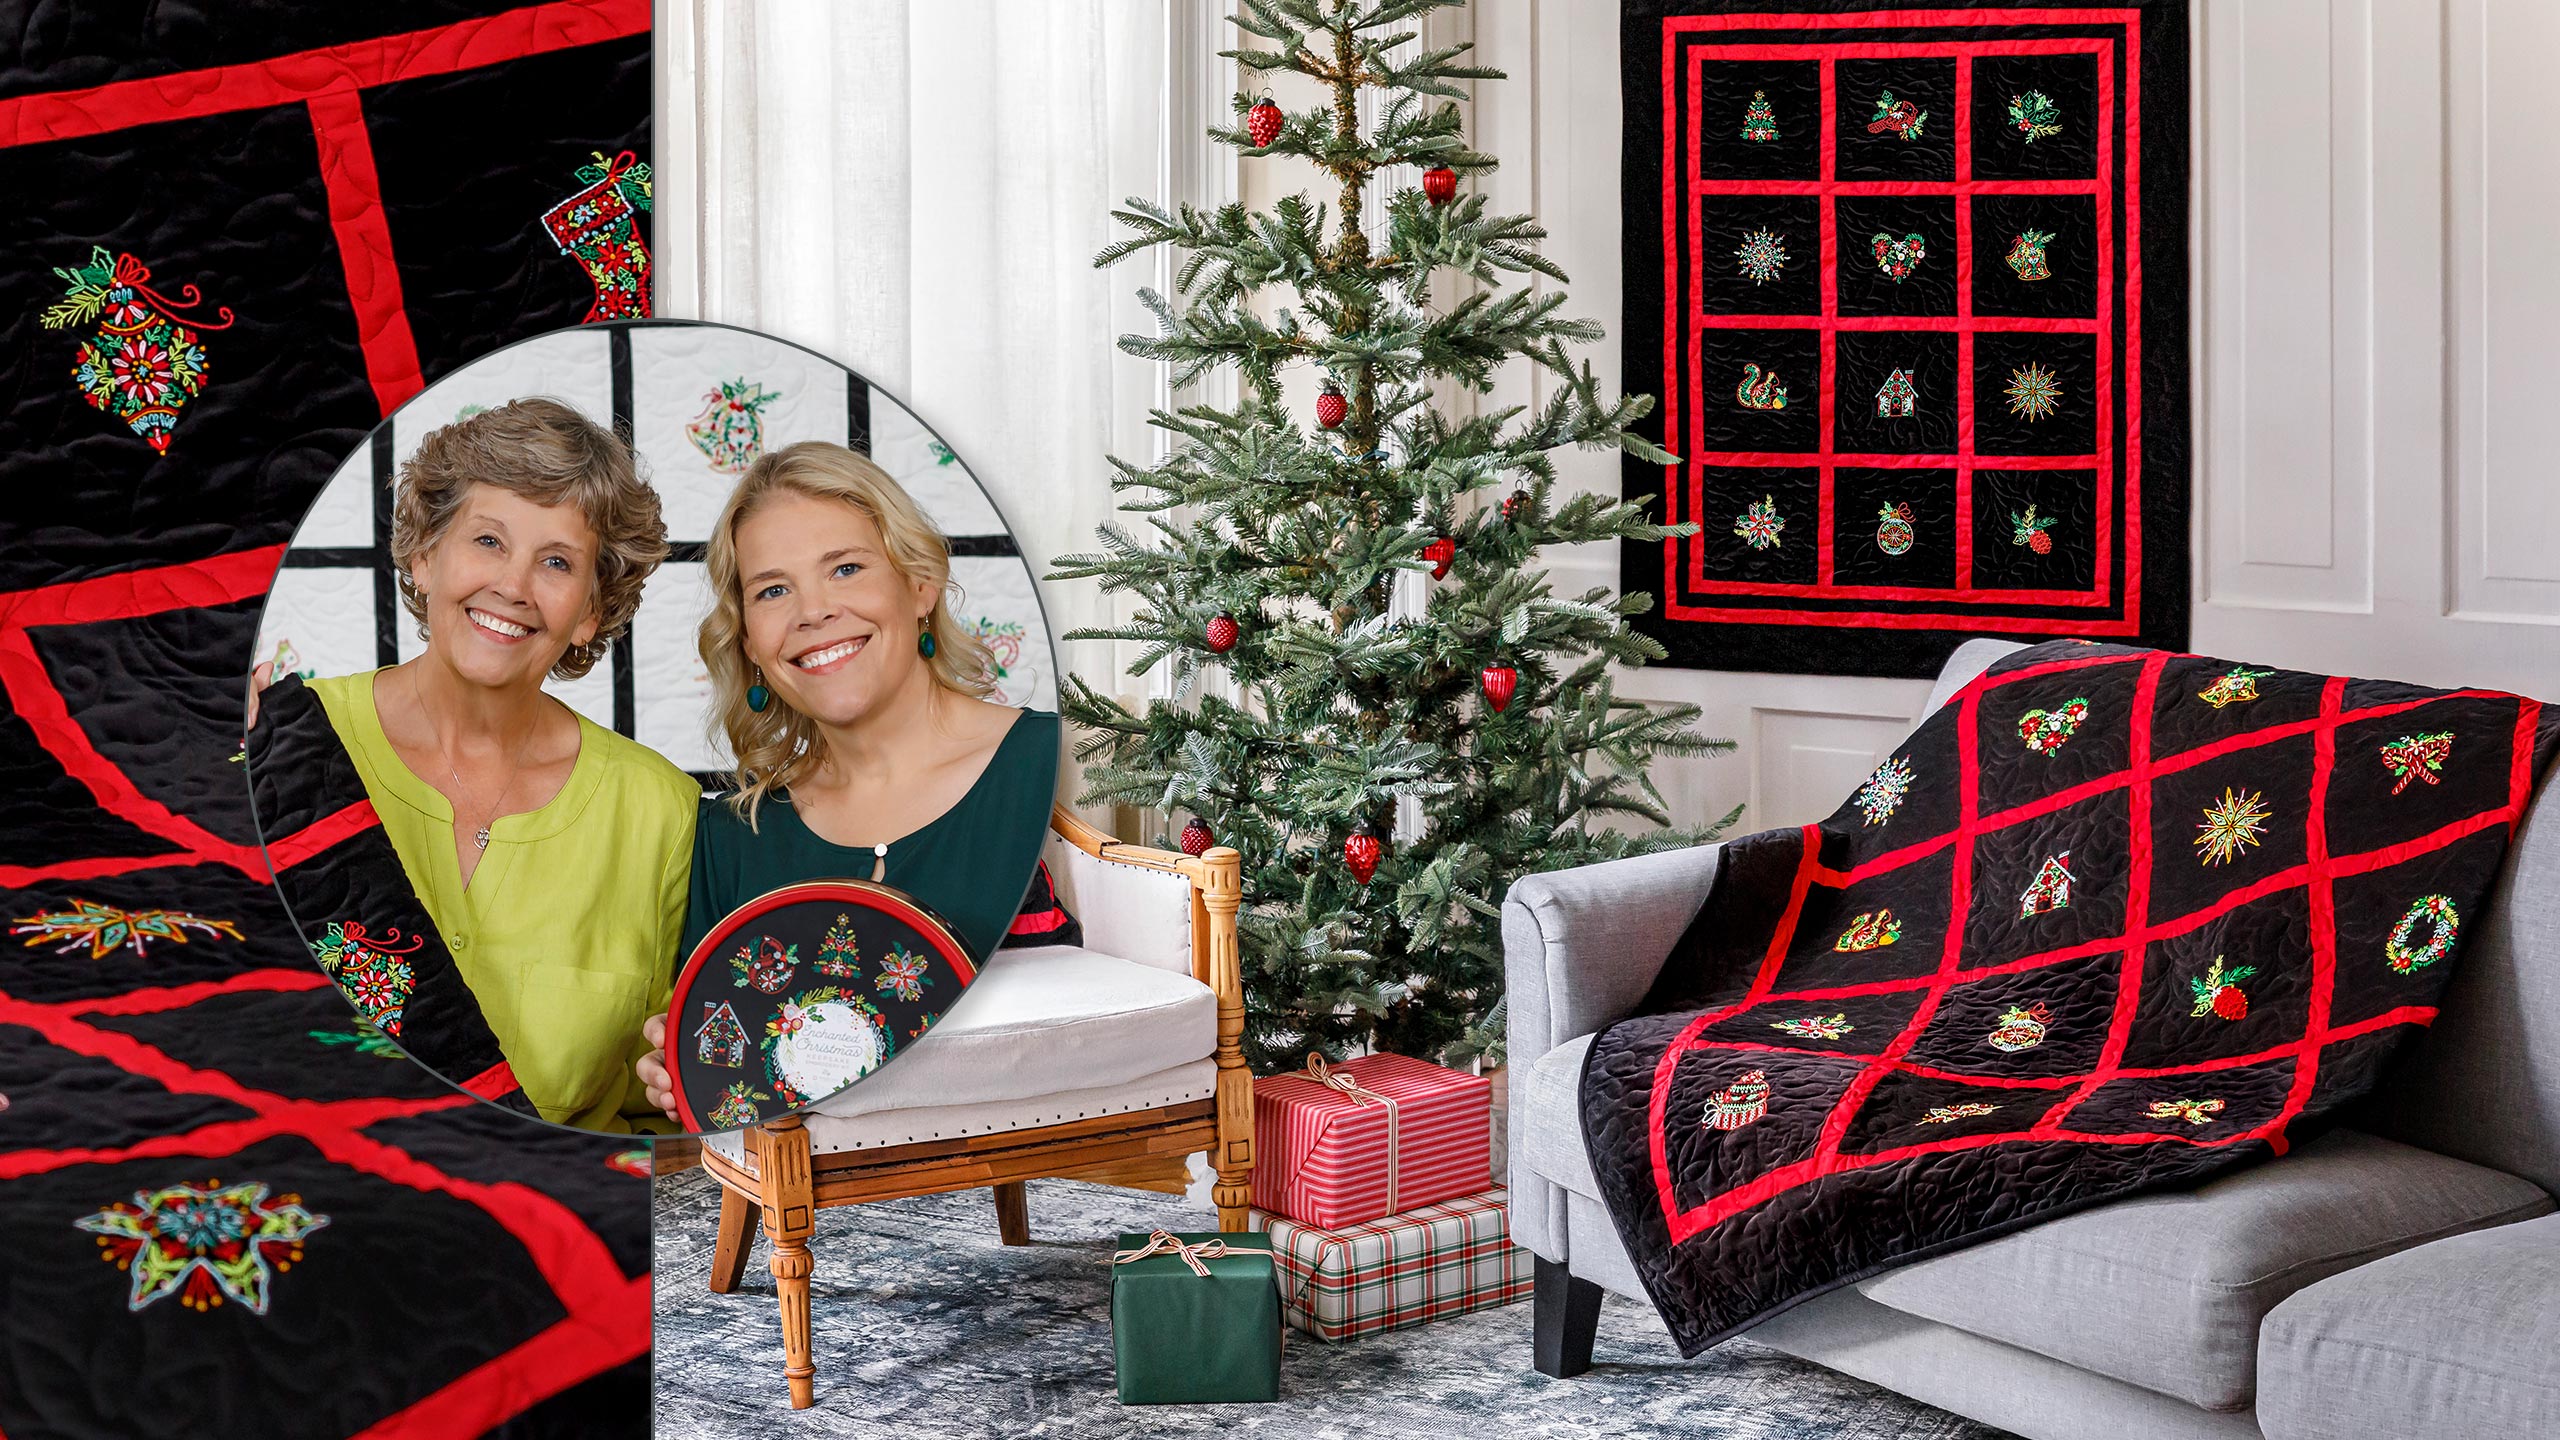
Stitch a winter wonderland! See how fun and easy it is to add hand embroidered details to your projects with the Enchanted Christmas Embroidery Kit. This gorgeous holiday project features beautiful motifs that can be added to a pillow or quilt for the heirloom project of your dreams.

Instructor

Jenny Doan

Jenny Doan is an American quilter, author, and YouTube personality. Jenny started Missouri Star Quilt Company in 2008 and today it is the largest quilting supply vendor in the United States.

Common Questions

What is covered in Enchanted Christmas Embroidery Kit?

Stitch a winter wonderland! See how fun and easy it is to add hand embroidered details to your projects with the Enchanted Christmas Embroidery Kit. This gorgeous holiday project features beautiful motifs that can be added to a pillow or quilt for the heirloom project of your...

How long is the tutorial video?

The tutorial video is 00:19:15.

Video Transcript

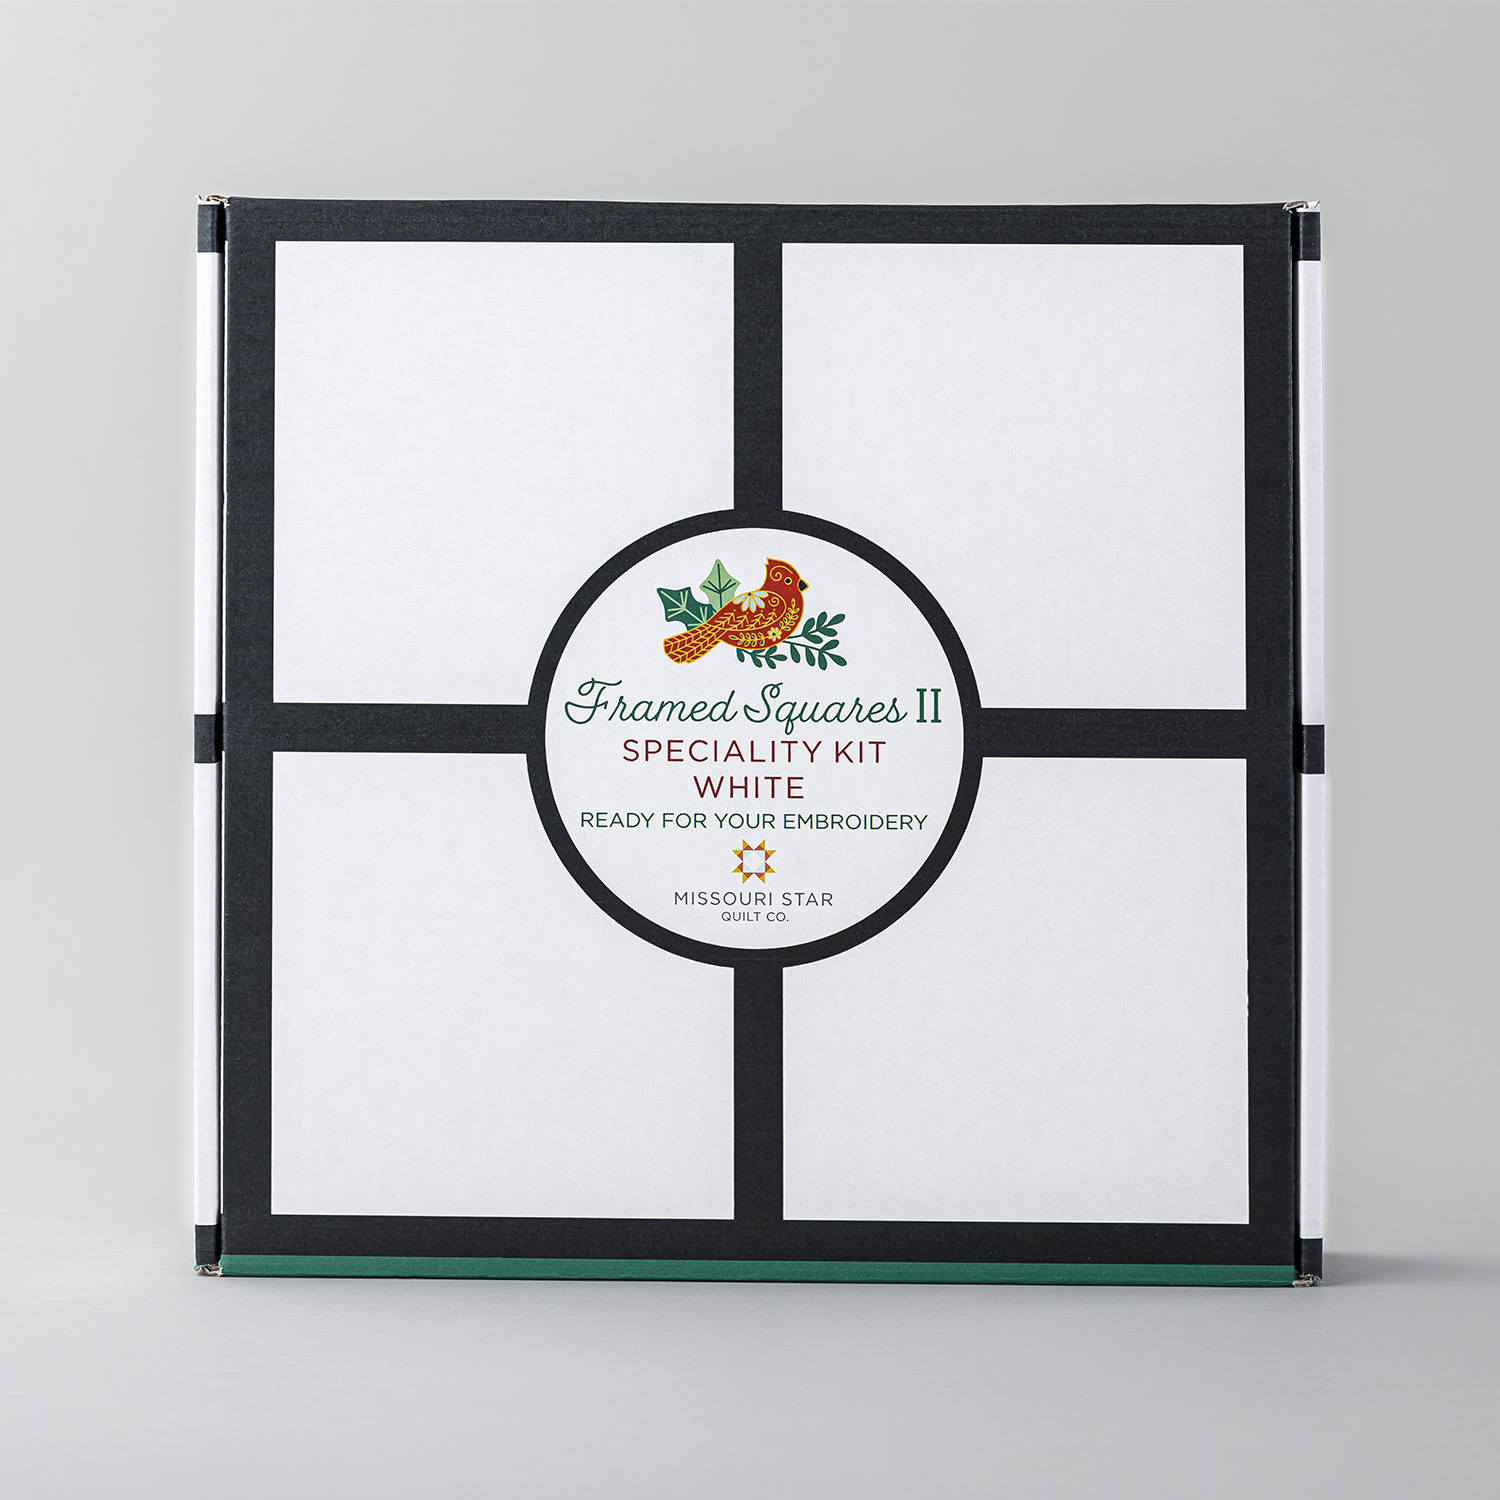
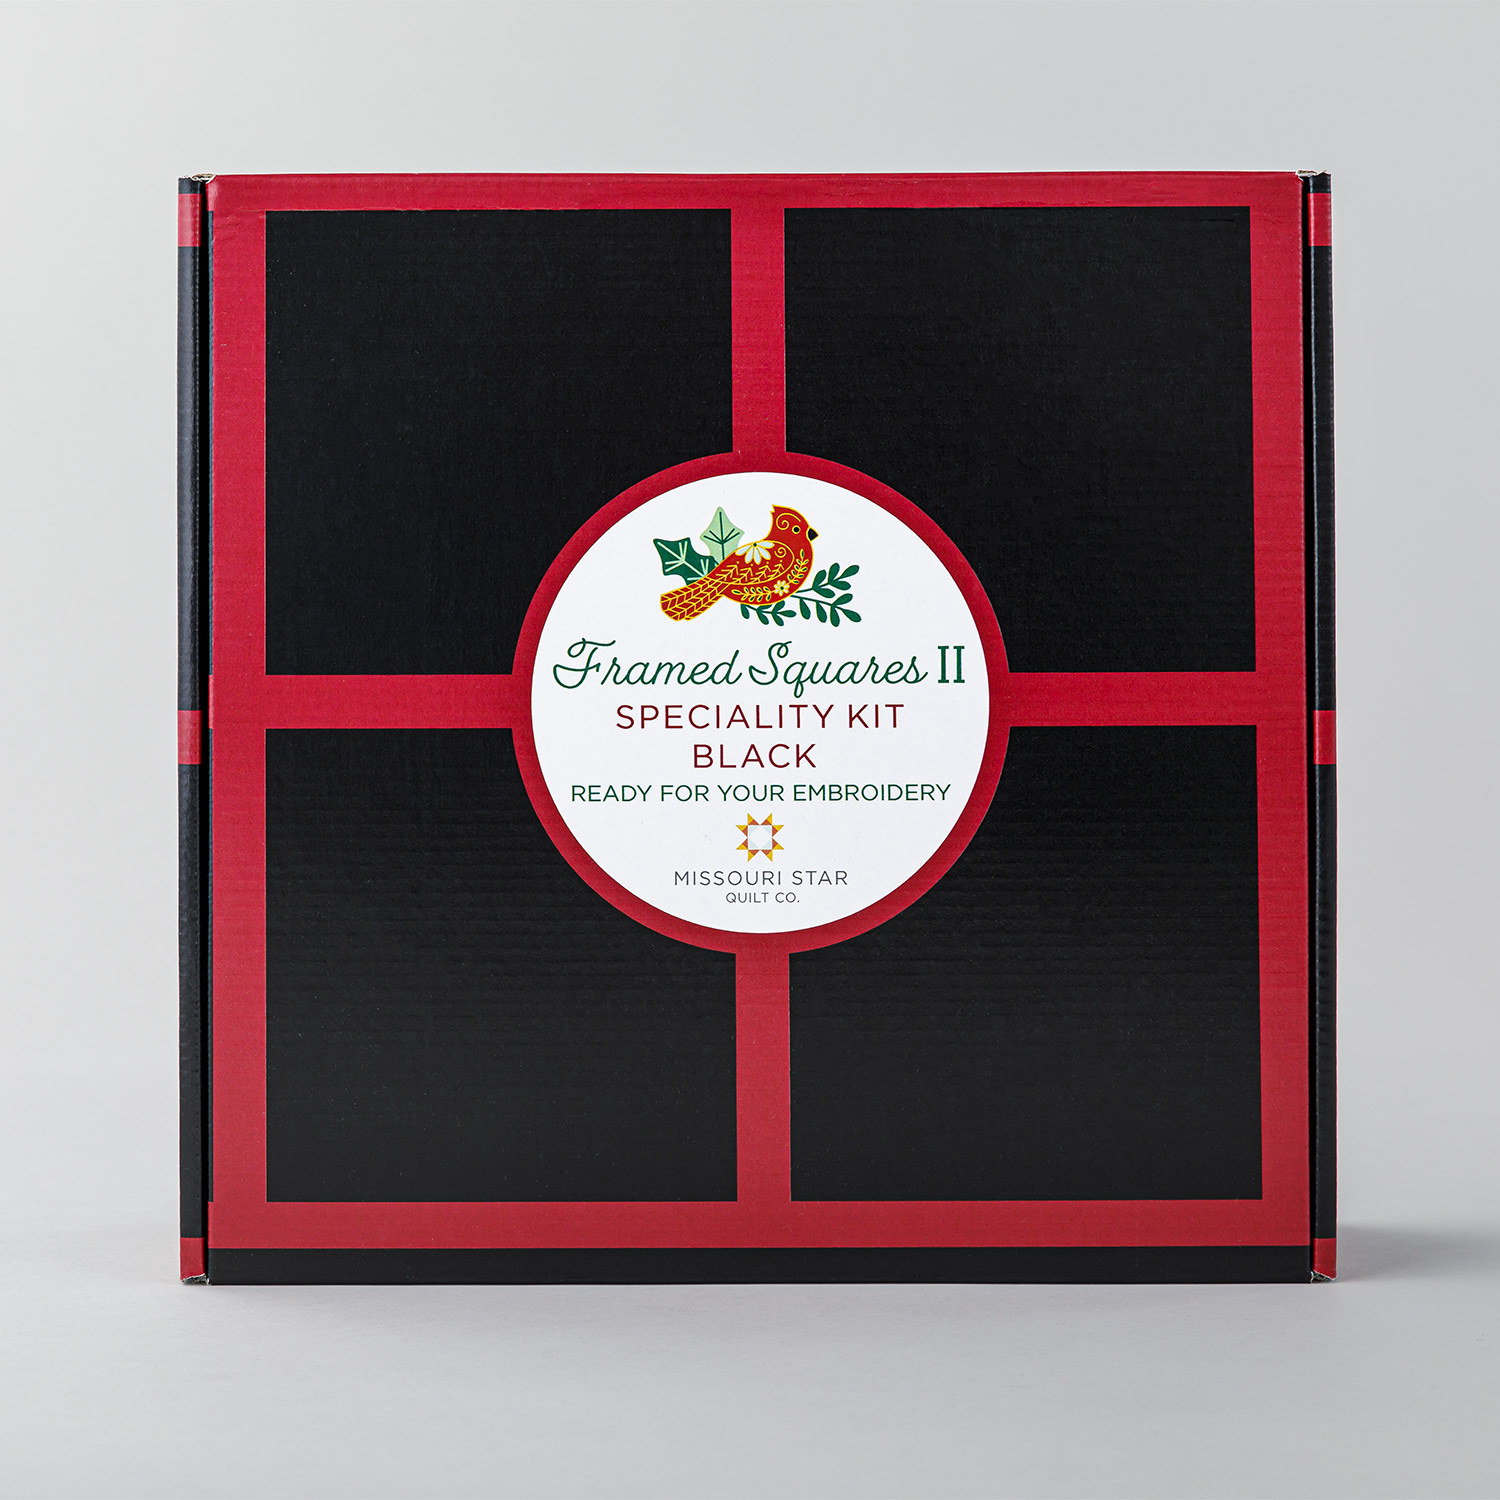
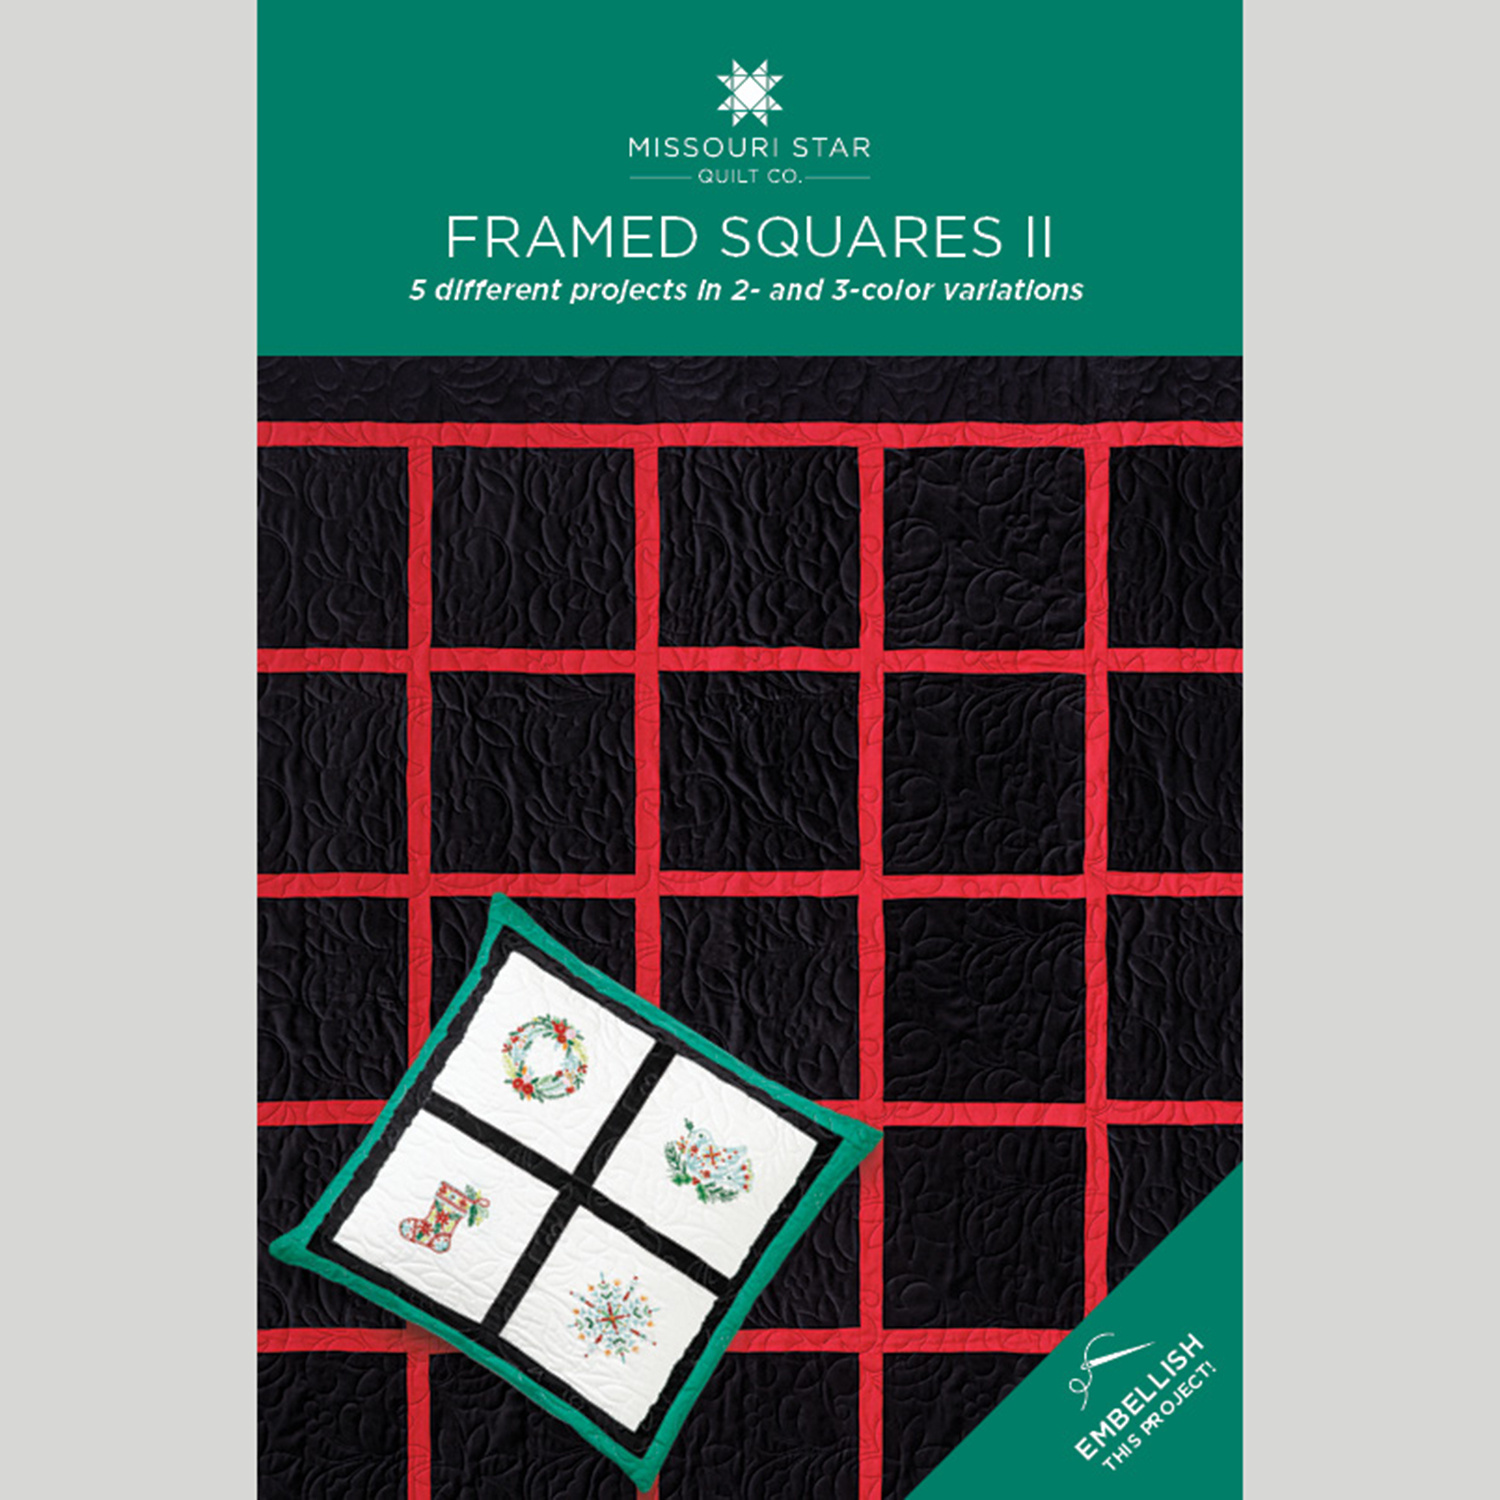
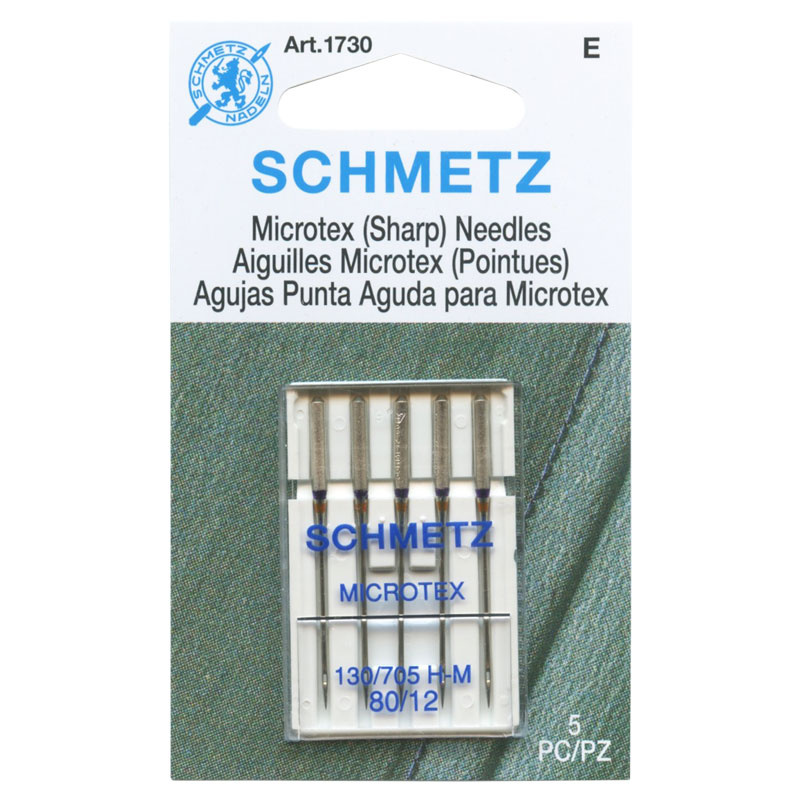
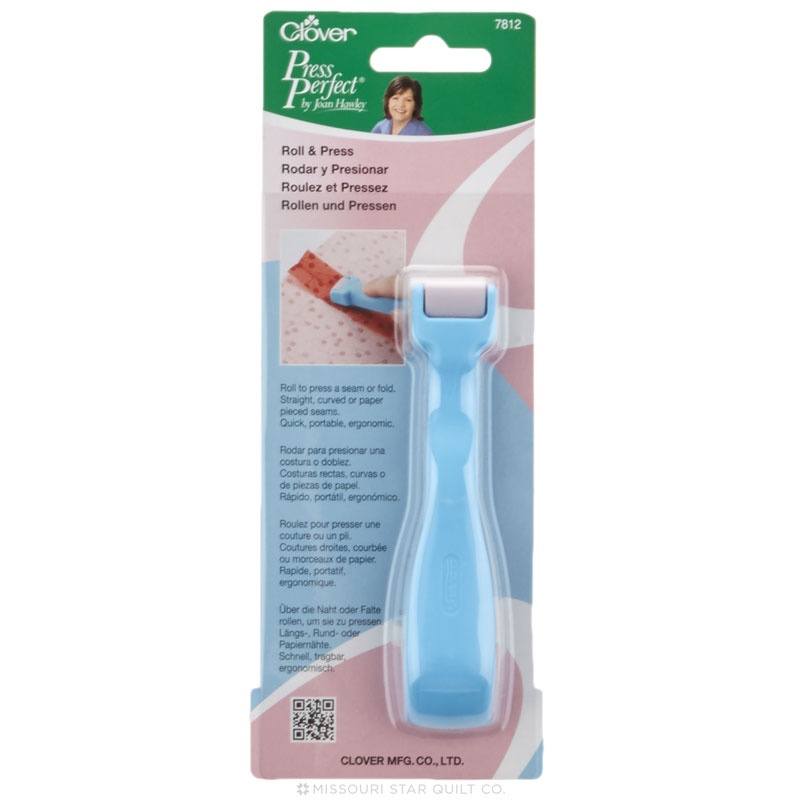
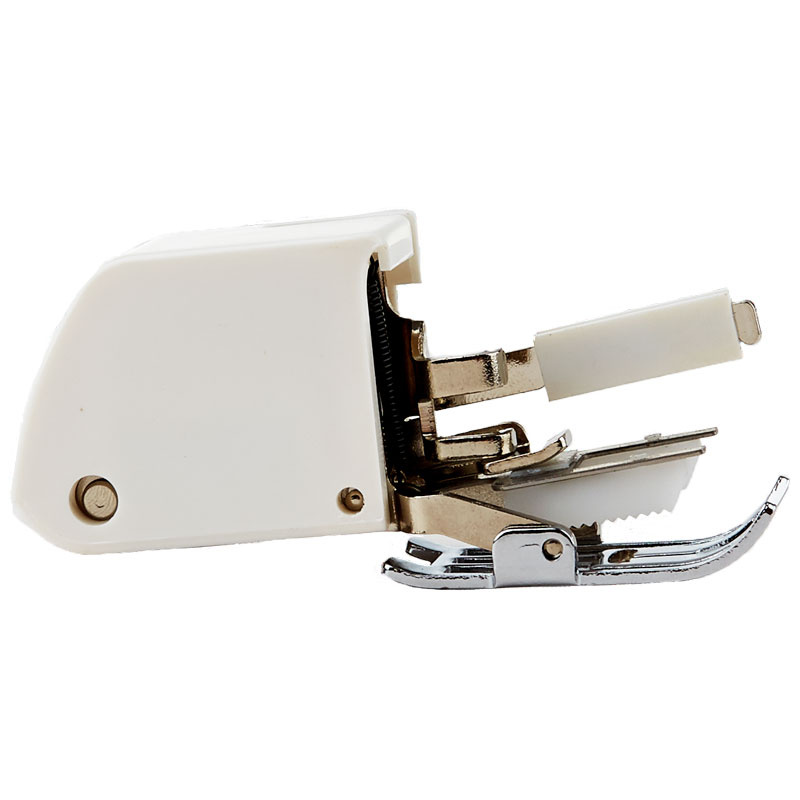
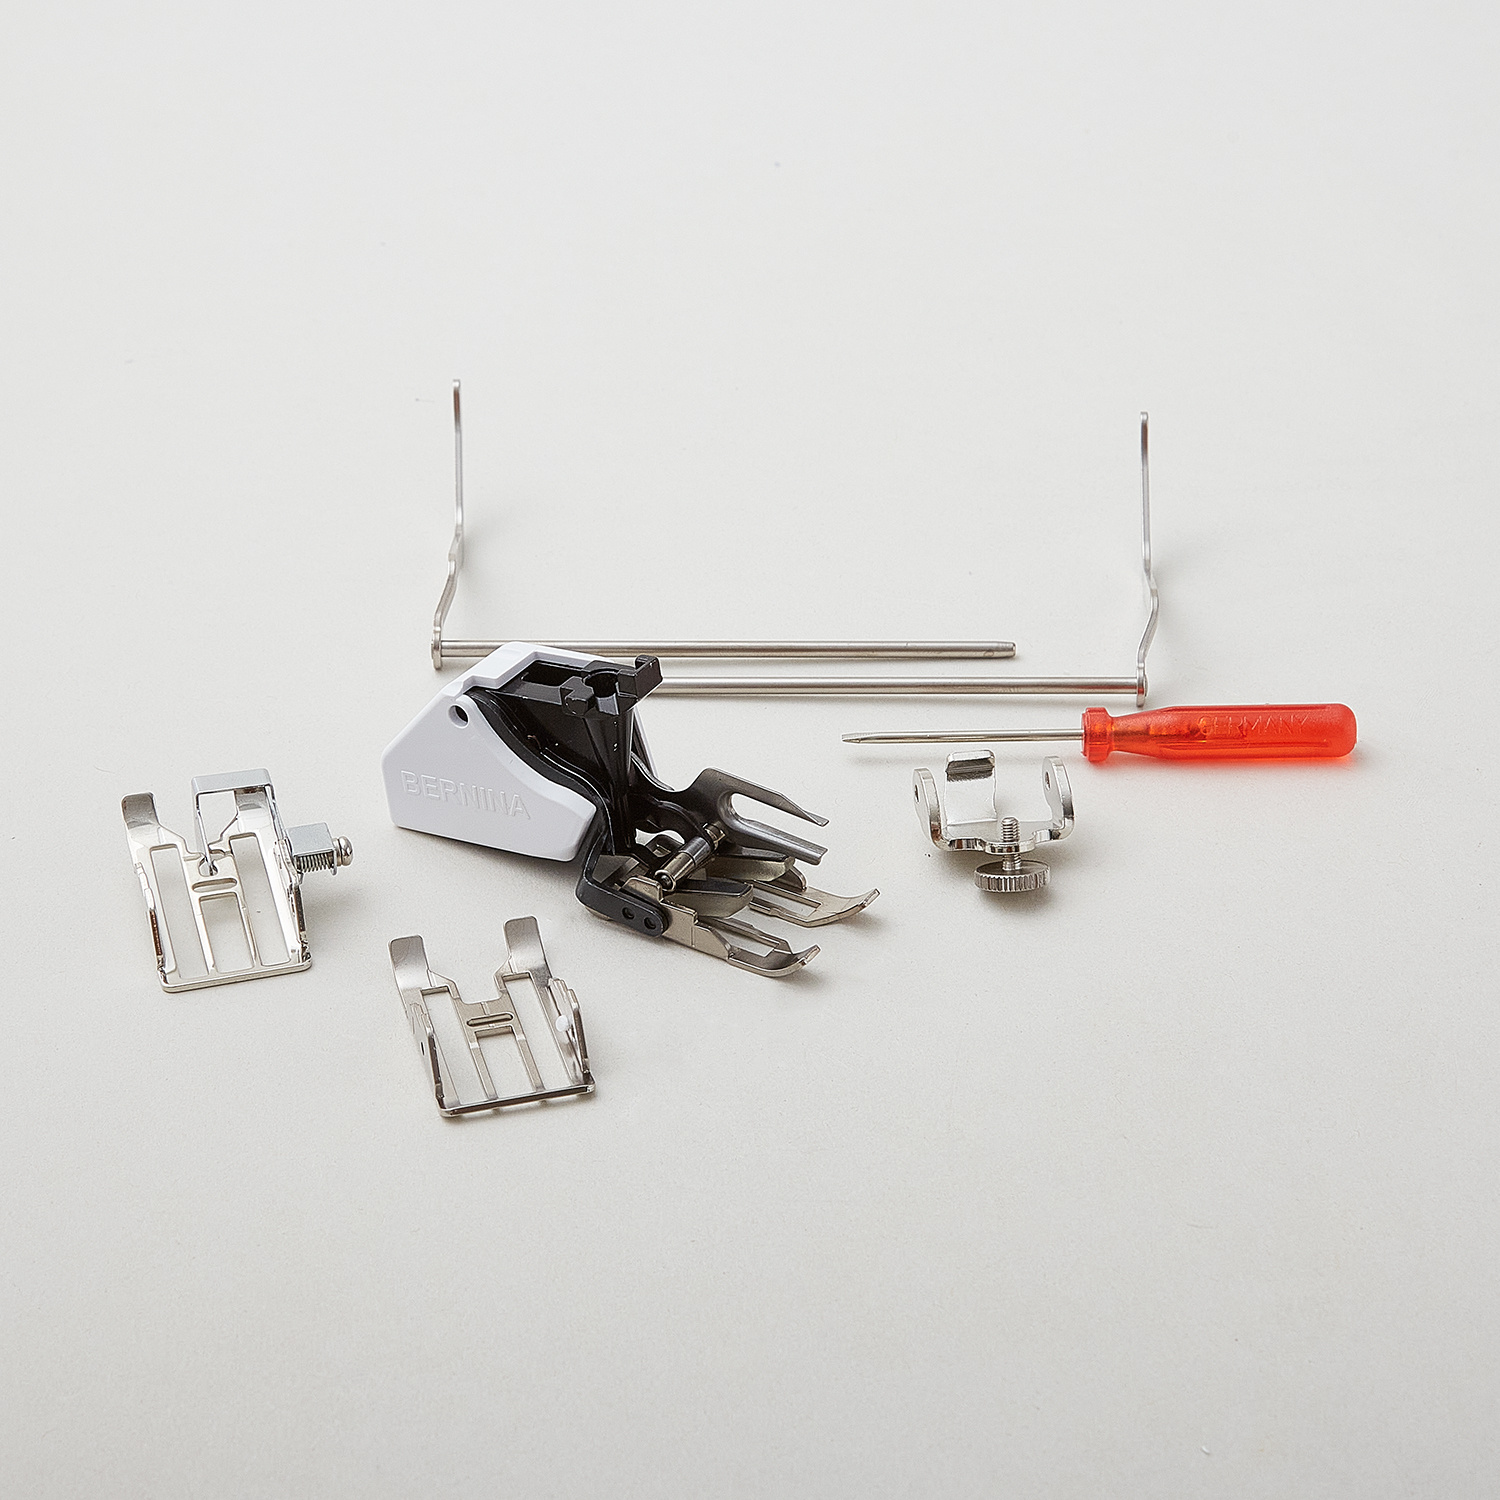
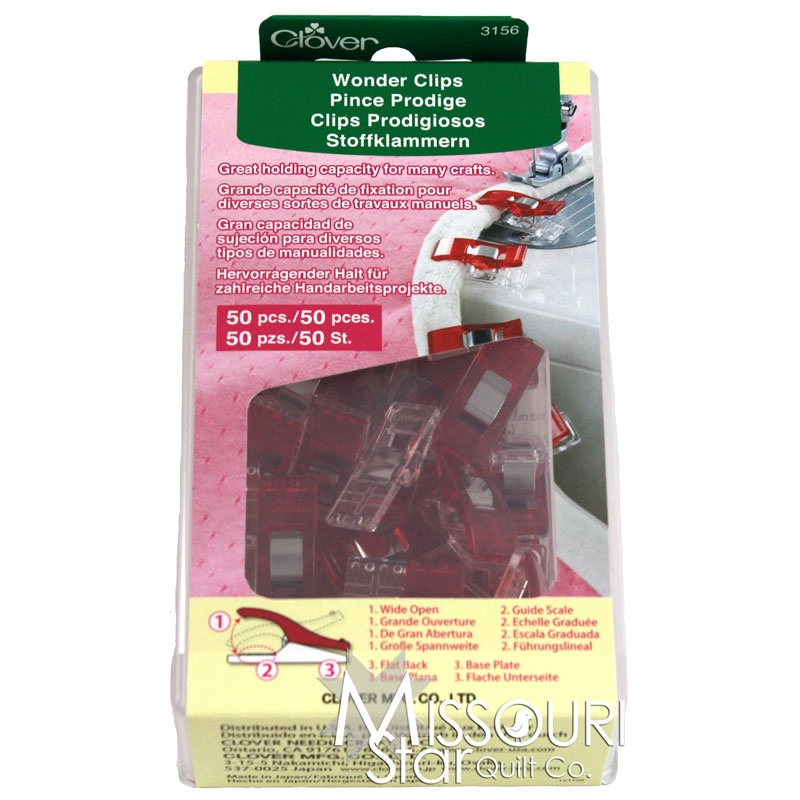
[Music] hi everybody it's Jenny from the Missouri Star Quilt Company and I'm here with Natalie hey and can you see this table look at all this stuff we have so much to talk about this is such a great project it's beautiful so you loved ingred and you loved all the embroidery and so we decided why not do a Christmas one yes so take a look at this Quil yeah so we've actually done this with a white background and we've done it with velvetine yes this fabric is so beautiful it's so gorgeous and again it's just the little projects with the little sashing just like we did with Ingrid so if you know how to do that you can do this one and if you want to take on learning some embroidery all the stitches wealie has all we have a little video for every single stitch it's so good but we want to talk about like the different Fabrics we do so there are two kits available with this and one is the velvetine with a red yep and the other one is the white with the green and the velvetine inner border so we want to talk about velvetine we want to talk about you know cuz it's a little different when you're sewing with velvetine well and also this outer border here on the green one is Essex linen I think the red is also yeah so it's linen and velvetine it's just really beautiful Fabrics so this is the tin it's so cute isn't it so beautiful yes it reminds me of the Christmas cookie tin it really does it really does and it's it's called Enchanted Christmas Keepsake embroidery kit perfect I love it Enchanted Christmas so cool all right so on the back it shows you everything that's in this kit uhhuh which is it comes with all the thread colors Pearl C take this off oh there we go all right so we got a pattern does the pattern come in the kit that's cool yes it does yeah that's awesome so you get it which no matter which kit you buy cuz you can just get this and use whatever Fabrics you like or you can get this and the fabric kit and combine them and tells you exactly how to make it and I love that there's five projects so we got are five other projects right we've got the quilt we've got a pillow table runner bed Runner and wall hanging included with different yardage amounts whatever you need to make those project and on this sometimes like um like I have a little space by my front door where I hang smaller projects little wall hangings and sometimes you don't want a big Quil of something you just want this but I got thinking a lot of us I know you're probably not to this age yet but I actually put a Christmas quilt on my bed and it would be I tried that you're not there I was like I don't know if this is for me I wasn't there for a long time but I'm definitely there now but the idea that you could have this velvet bed runner at the foot of your bed okay I probably have to go all the way and do a whole velvet bed bed you might quilt though because I love this velvetine it's so easy to work with so it feels very rich and like I love all right so you've got your hoop in here which we love you've got all your colors and these colors are uh designed for this project particularly y we've got you guys have to look at this cutest little this is the little um the little kit that has the scissors and the needle minder and the needles and the threader I love the Cardinal it's so pretty oh so Mary and bright it says isn't that the cutest thing with the little house now the little house was the first thing Cherry could hardly wait to embroider the little house you know she want to see absolutely darling it's so cute and I love how it tucks in and the words magically line up again which is you know details just details details right you also get all of your instruction cards with colors and stitches just like in ingreds and this you know I'm still embroidering some Ingrid's things so that's because you get started and you can't stop and you're like now I need to make seven more of these but I have loved having these right there you know it's like and these the little peel and Stitch in here let me get these out of here so the little peeling Stitch you know when you get the these things they have a number on them and the number correlates with one of those thank goodness they match they match that' be a and they tell you the colors now with ingrids I'm looking at them and I I look at the colors and I'm like I'm going to do what I want I'm going to make this this purple you know and so I do what I want you can do that with the the other thing I want to tell you is that I got printed out some ingreds on some old peeling stick that I had horrible oh gosh horrible the Missouri Star peeling you get a little spoiled with this so easy to se through my needle was gummy like literally my hand was hurting trying to get it through the thing because it was so gummy our peeling Stitch that's the best that's out there it is amazing in my head they were all the same yeah no not the same not the same you can also keep your spools of thread in this little plastic as you go and and it'll just wind off while you keep everything so I do this in the carart keep them from Rolling you know when I'm traveling and I literally uh I just leave them in the car and you just pull them out they're very nice so all these things are in this cute cute really cute tin yes a cookie tin that has sewing supplies in it love it so what you're going to do let's talk about this velvetine a little bit because the velvetine is it's pretty interesting now I'm a clothing sewer first before I was a um quilter and so I've sewn on velvetine so it wasn't scary for me but I forgot a very important thing the nap yes it does those are synonymous words and uh and so with this what you do is you take a piece like this and you if you rub it one way it lays down smooth and if you rub it the the other way it kind of stands up and it's this way yeah this way is really yeah so this way this way is smooth this way is not and so when I was sewing these together I did forgot to check the nap and so as you laid them down next it really matter though so we were actually terrified that it was going to matter uh and then we put the quilt together and it really didn't matter let's look at this quilt so that you don't actually it's like not a problem once you get once you get it together oh my gosh it's so nice and heavy though isn't it beautiful look at this you guys so beautiful it's so so gorgeous and and like so we put it on the back as well and it quilts so pretty it does quilt beautifully I love it it's nice and heavy the cooling pattern we used on this is um Christmas Paisley Christmas Paisley MH so remember to check the nap and what I suggest that you do is you know on the side where you're going to make your uh little blocks just put a little pin in a in the corner so that when you you know when you get your your little peeling stick on there and you put your hoop on there they'll all be going the same direction so you will eliminate do does it really matter which direction they go as long as they're all the same there is a different colorish no it doesn't matter which they go as long as they're the same but if you but even if they're not all the same we've discovered that it's still fine it doesn't make that much difference still makes a beautiful quilt right yeah so this is just a personal preference thing so if you're worried about the nap you absolutely can check them all line them up make sure they all go the same way but if you're not worried about it it's really not that big of a deal 100% awesome yeah love and so then also we have it on the white the linen oh and um so the Dome team the Dome girl team was assigned to do the white ones right and I thought a I wanted to do the The Velvet The Velvet ones cuz they're so pretty and uh they're like no you have to do the white ones so we start on the white ones and every block floored me they're so beautiful look at look at them right here look at these look how darling they are I mean I love it they're so cute we went through several different types of white fabric to make sure that we picked one where your stitches on the back didn't show through so it's a little bit heavier it's a kind of more of a stitching cloth but it still has like a linen feel it's really beautiful fabric definitely definitely our the backs of our fabric oh that one looks pretty good let me see this one oh that one looks pretty good Cherry Cherry must have done these we're getting really good at this so beautiful look at these cute ones and then cherry on this one uh she put Joy right in the middle of that so she oh that's an addition she added it I love it Cherry so she she gave this to me um for my birthday because I'm so joyful and I love joy and we need to frame it right and she cut it smaller so that's also you guys if you decide that you want your squares you know smaller cut them smaller I mean it's it's really whatever you want to do and yeah this cloth is definitely heavier because not all not all of our backs not all of my backs look like this these stay 10 in so the other quilt we cut them down a little bit and squar them up but these actually stay 10 in when you sew them together they do okay and your little um sashing goes and a half or is it it's one and a half okay and again if you if you feel uncomfortable sewing that skinny you know cut them bigger do it this is you can CH you change your sizes you may need more fabric if you do that but maybe you're going to make a table runner with wider sashing instead of a quilt well and one of the things that I did on my quilt when I made it was on the ing's one it has 2 and A2 in sashing oh you added cornerstones and I added cornerstones right here so right here you couldn't you really couldn't on this one but on mine they were 2 and 1/2 in squares and so I put a tiny little flower in there it's easier to for me to line them up if they have a Cornerstone right here this is not hard because it's so narrow that you really can see it from block to block and it's not that big a deal so I decided I was going to sew a little piece of fabric to all four sides of this because what happens a lot of time is that if you sew it on where the nap is going a different way it'll slide do you remember the horse blanket oh gosh yeah that was a nightmare in the very beginning of Missouri Star somebody brought an old antique horse blanket for me to to sew it was horse hair and it literally it would slide off no amount of pins could keep it on there so I wanted to know if we'd have this same problem so as I'm sewing around this one went on great this one went on great this one this one went on great and this one slid a little bit Yeah so fabric on the fabric underneath just like slides over it just depends on the nap and it just slid a little bit so uh so what I would suggest is that we have you have a walking foot with your machine maybe you could use a walking foot with it mhm it's rare for me to use a walking foot because I just don't take the time I would suggest this if you I mean if you it'll make it'll make sewing a lot easier it'll make your sewing a lot easier because each fabric moves independently through the walking foot and it lines it up but there's it's not just your feed dogs pulling the bottom they're pulling the top and the bottom too at the same time yeah so a walking foot essentially puts puts feed dogs on both sides so it's feeding the fabric evenly you can use um Clips yep Clips to hold them together you can pin this I mean it's not velvetine is very forgiving as far as sewing as far as needle holes or anything like that it's very forgiving um they say and for pressing they say um that it will crush the Velvet I ironed this it does it does a little bit so you can see it looks little biter but I still think it's beautiful so I mean I would just suggest pressing from the back yeah doesn't that work we'll try it right now let's do it cuz this needs to be pressed I'm pretty sure I'm sure it's fine I pressed all of mine from the back and I think that they looked great so yeah and it still maintains its it's vibrant col a little bit but if you press from the front you're fine too yeah so I didn't find it to be a big deal but also if you're worried about that so what I suggest is that you try it in a little small area or on a little piece because if you don't want to do your whole block that you've just embroidered you don't want to put it on there and then go oh what was I thinking so just try it on a little area like I did I took this this extra block and I sewed to see which way you know things would go do some practice before you get so if you don't decide you don't want to iron so these little roller things you know a lot of people use are using these and they're just they work so well it's like finger pressing without uh using your fingers so um the roller works well you want to and these come in all kinds of different you can get them in in wood or a big like you get tool store as well you know I mean all over the place so then we also use these microtex sharp needles so you want your needle to have a really sharp point when it's going through and most of you know that the only time I change my needle is when it breaks and she likes to live on the edge I suggest changing your needle a little more often than that yes but you know this is a good time yeah this is a good time to change your needle if you're going to work on something because this feels Heir loomy right it feels special it is it's beautiful and so you probably want a new needle for this and you want a really sharp one and so these are microtex sharp needles and um and I mean they're great for this kind of stuff all right so we do have needles sewing needles also to talk about and they come in our little kid in here and I wanted to show them uh because when you start doing hand workk needles get um there's all kinds of needles for everything so an embroidery needle is different than a cruel needle so I want should have look at these needles this has a large eye for it to go to but also a sharp point right the point has to be sharp on this if you're going through something that's like liny or or um you know the the cruel the back you know or need point fabc you don't need that sharp Point as much but you need a sharp point for these so a sharp point and a large eye is what we're looking for on here that will help you to thread the needle so let's talk about this thread for a minute so the reason we went with pearl cotton is that most embroidery floss which any floss will work but it has to be separated into into groups however you want to St separated and so mine is generally separated into strands of Two and a regular uh embroidery floss will have six strands in it Pearl cotton comes with two yep it's the equivalent of two strands it's already separated and I for me one of the most awful part of embroidery is separating those strands and so I'm like let's just just do Bron it's ready it's perfect for you you know and so so so convenient so it's very convenient it comes ready to sew it's already separated no separating involved in this and you can just thread your needle and sew the other thing to know um we learned this at you might have known it but I learned it at adone girls okay where as your thread comes off the spool and you cut here this is the end you should thread into the needle yeah because of the way the thread is wrapped if you start to thread your needle and all the pieces separate you know you need to thread the other end that's the back end and so these are wound a certain way so that they you can sew a certain way I mean machine thread is the same that's why it comes off and goes a certain way but never I never knew that about embroidery floss so knowing that should help reduce knots and Tangles it should make life a little bit easier as you're going along for sure all right what else we got Natalie I don't know I feel like everything's prettyy straightforward we just show these really quick because yeah so this is these are the two kits without embroidery and um so really you could embroider anything you wanted on it they come in a kit like this so this is one part of the kit and this is the second part of the kit they're sold separately but this is the green border with the white fabric and the black um set stashing M and so you get all those in there to make a quilt that is 60x 60 and it will make 1 2 3 4 25 squares for the 25 Days of Christmas what you could do a square a day and have an advent quilt you sure could so it comes in this box right here and then it comes over here where your specialty kit is you know first and foremost you're going to have the most of the velvetine you're going to have the red background Fabric and um also you're going to have the border is so um these are sold separately but you could put anything you wanted to on those they're beautiful maybe you want nothing on them and you just want to snuggle up in some B it could be pretty here's a I think this is the wall hanging the wall hanging size yeah yep so that's just 3x4 and I love the double border so you have fabric to make the quilt or you can make smaller projects right all right here's the black and red very cute and then we have these adorable pillows think these would look so cute on the couch well and to be honest some people when they were sewing the ingrids they were like this I'm turns out I'm only going to make four blocks I'm not an embroiderer so here you go right and we just did a little envelope back on the back you know where you overlap your fabrics and yep so you could put these right over your current couch pillows and then change them back out when the season's over all right so what else anything else the stitches again all the stitches that you need so there's a lot of stitches on these yep a lot of little stitches but some of the newer ones are included mostly they're all ones you're familiar with but Natalie has tutorials on every single stitch where they go to find them on YouTube we'll have a link in the landing page yeah and in the information on this video so everything you need is there and yeah you can definitely find the link on this video to go to the embroidery stitches and man we just hope you love it as much as we do we're super excited about these new kits they're so great I'm super excited to make my own Enchanted Christmas Keepsake quilt it'll definitely be a Keepsake for sure something you can pass down for Generations I love it and I think the velvetine is just beautiful and the linen addition is great such a great you know add into what we do already it's just awesome so hopefully this inspires you and gives you some some creative ideas and some excitement about the Christmas season that's coming up it's going to be great and we hope you enjoyed this tutorial on the Enchanted Christmas Keepsake quilt from the Missouri Star Quilt Company

More Fabric by Yard tutorials

See all