Skip to content

Free quilting video tutorials from Missouri Star

Quilting Tutorials
End Game with Jemima Flendt

End Game with Jemima Flendt

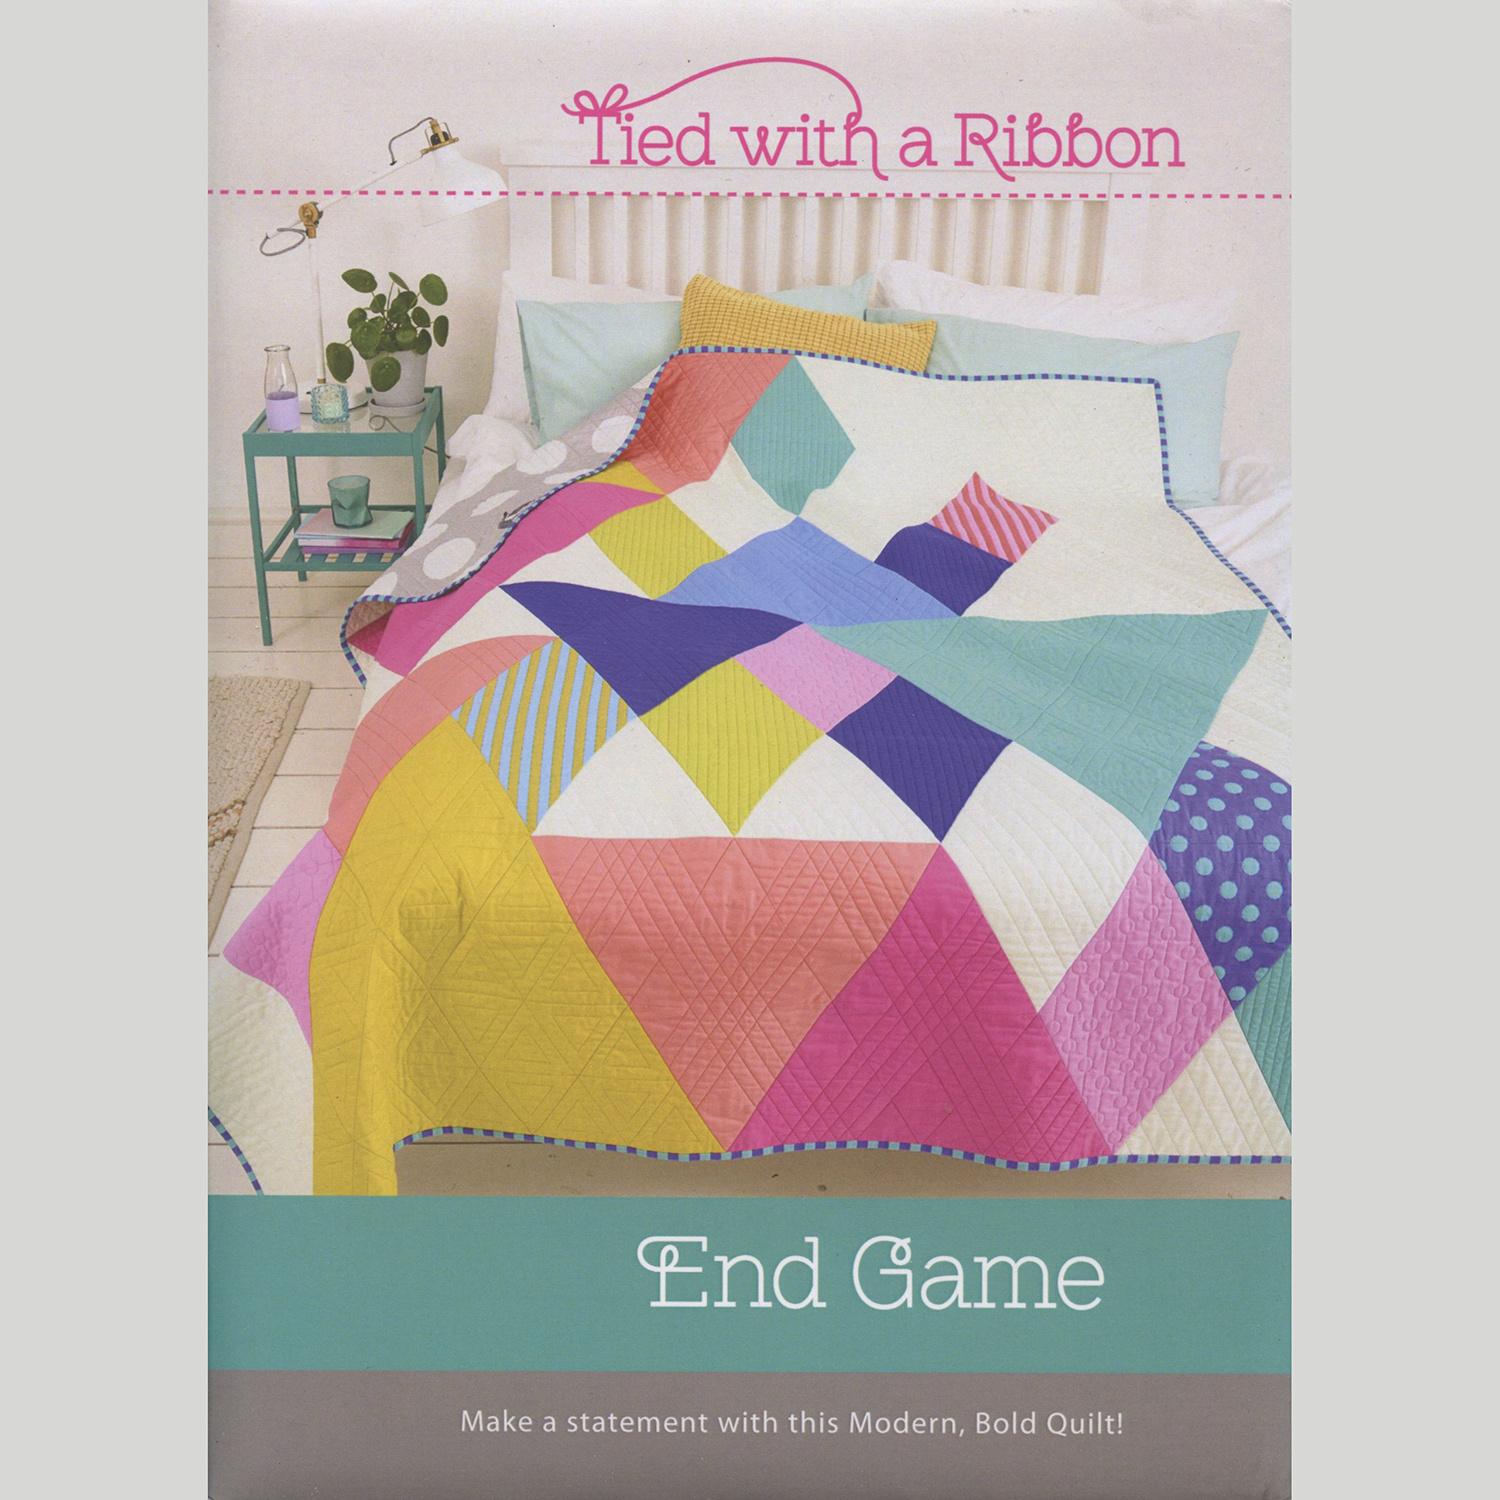
Perfect points and dynamic angles: We’re piecing triangles today! Jemima Flendt is a master of modern quilting. She travels the world to teach triangles (it’s true!) and we’re delighted to have her in Quilt Town. The End Game quilt is made with 60° equilateral triangles and brilliant Designer Essential Solids by Tula Pink. Pick up the kit—or choose your own yardage—and let’s tackle those triangles together!

Instructor

Natalie Doan

Natalie is the host of Quilting 101, Embroidery 101 and the Creative Strategist and Editor of Block Magazine at Missouri Star Quilt Company. She was taught how to sew by her mom, of course, and began quilting when she grew up.

Common Questions

What is covered in End Game with Jemima Flendt?

Perfect points and dynamic angles: We’re piecing triangles today! Jemima Flendt is a master of modern quilting. She travels the world to teach triangles (it’s true!) and we’re delighted to have her in Quilt Town. The End Game quilt is made with 60° equilateral triangles and br...

How long is the tutorial video?

The tutorial video is 00:30:45.

Are supplies listed for this tutorial?

Yes. The tutorial page includes the supplies and materials connected to this project.

Video Transcript

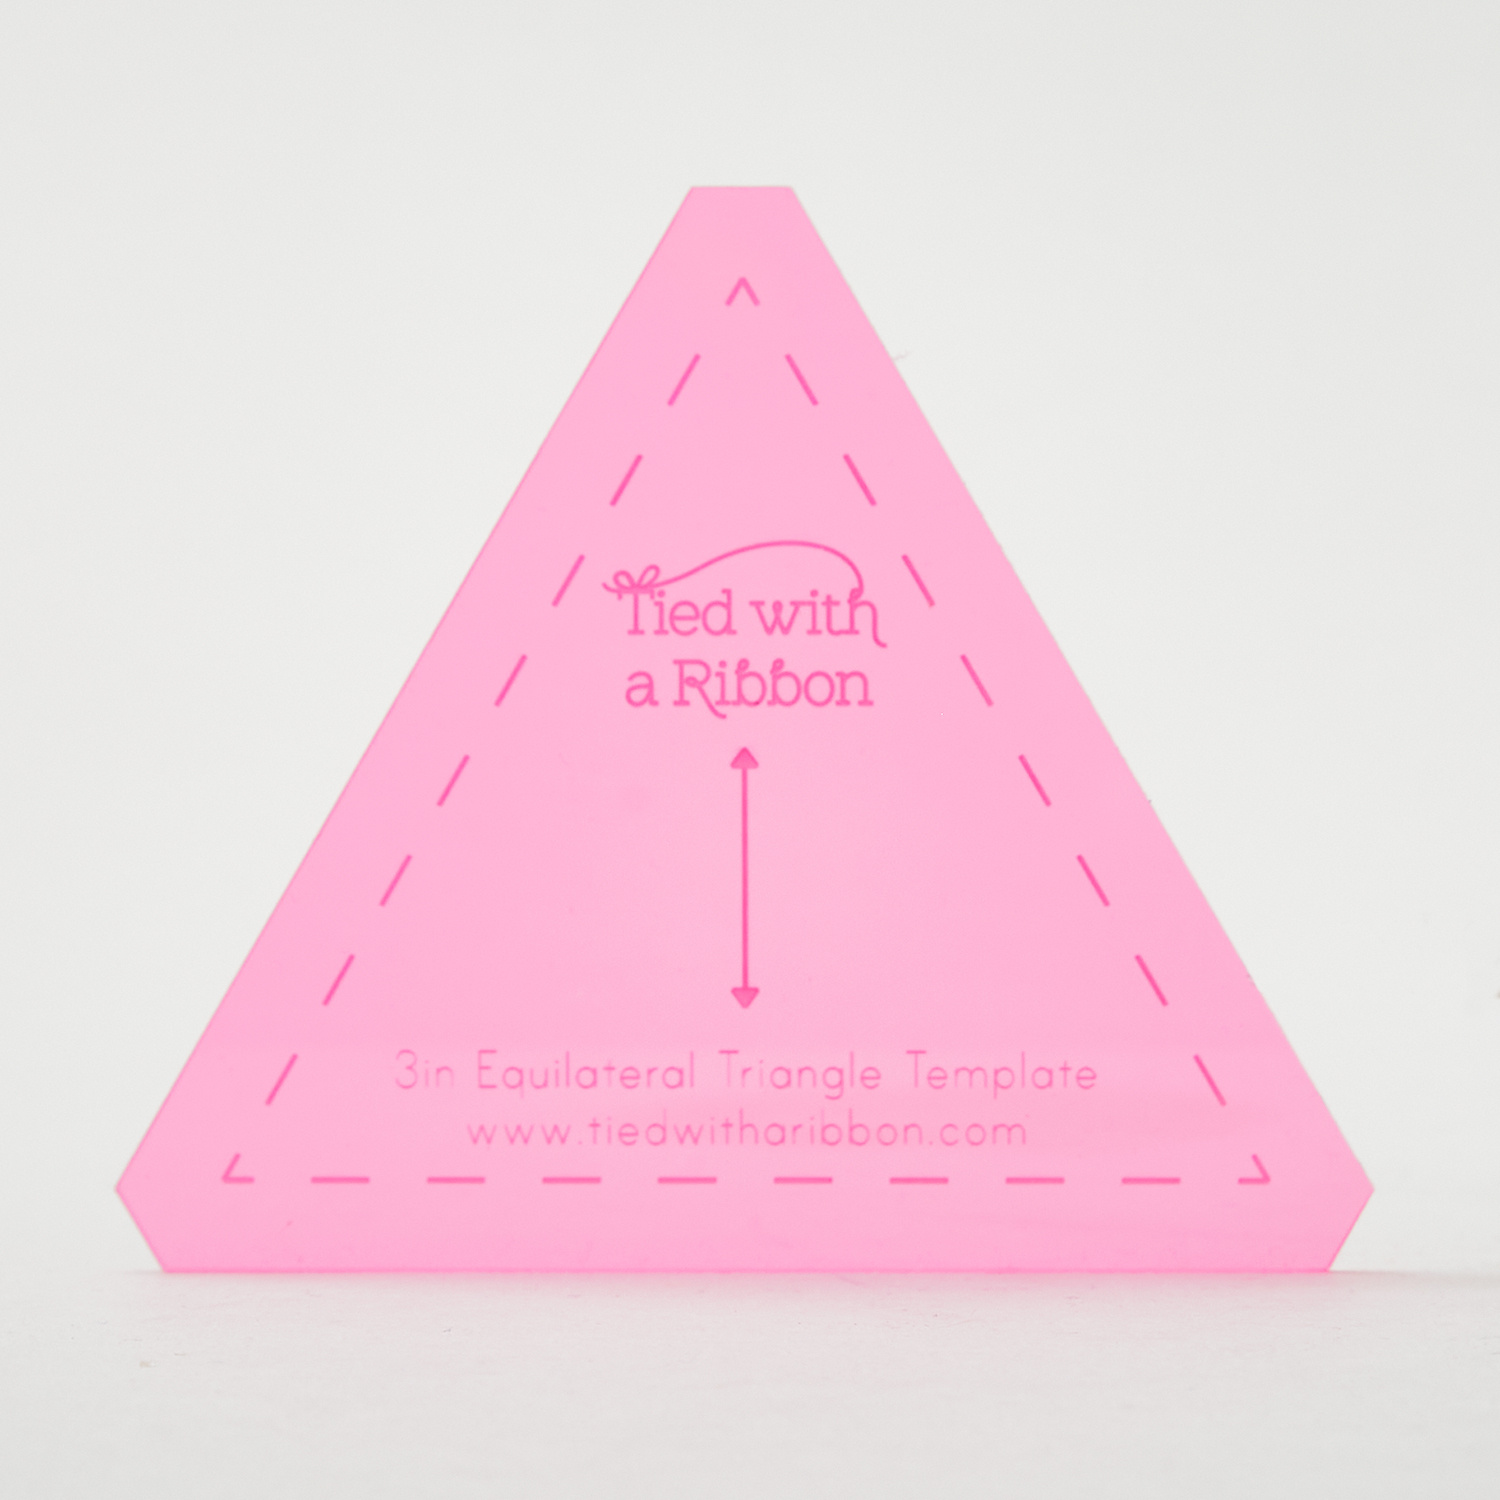
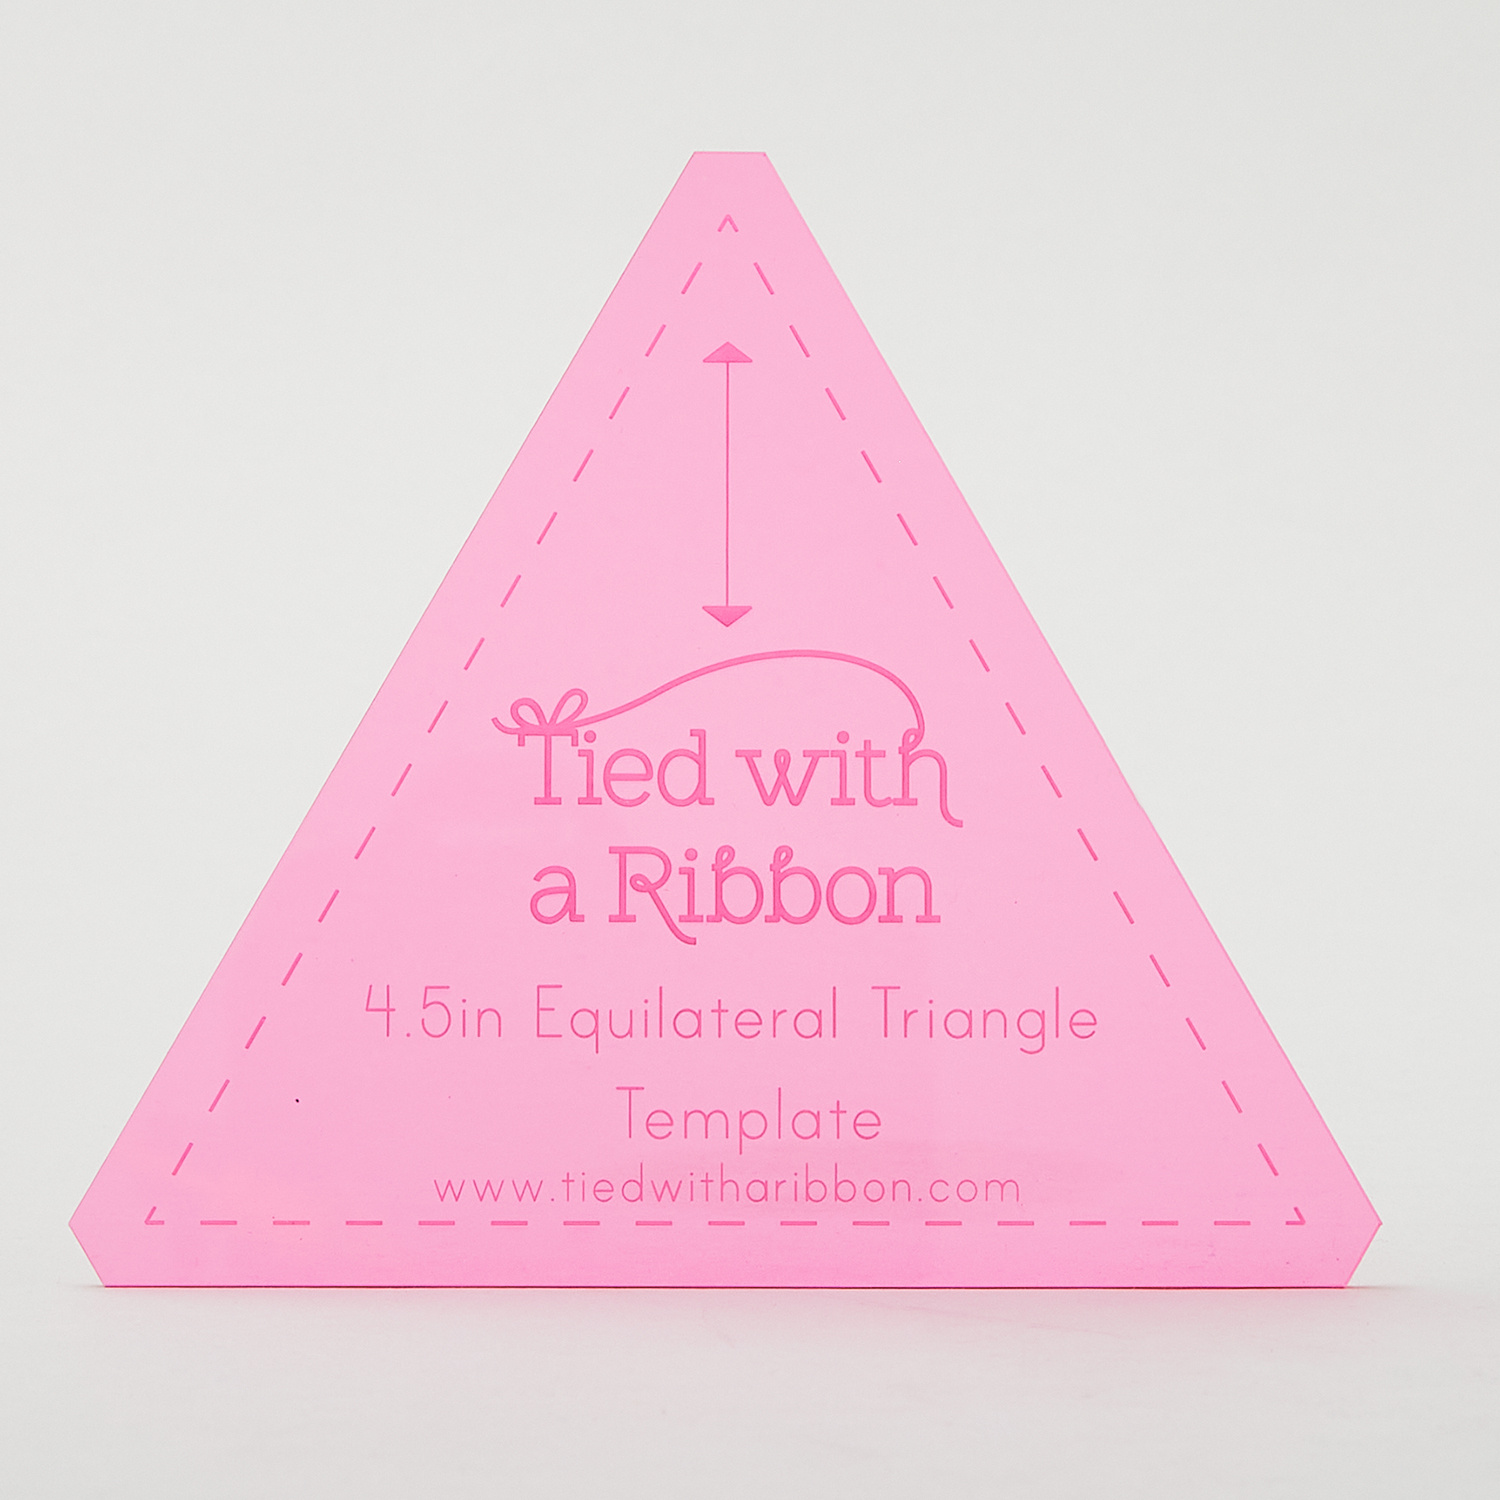
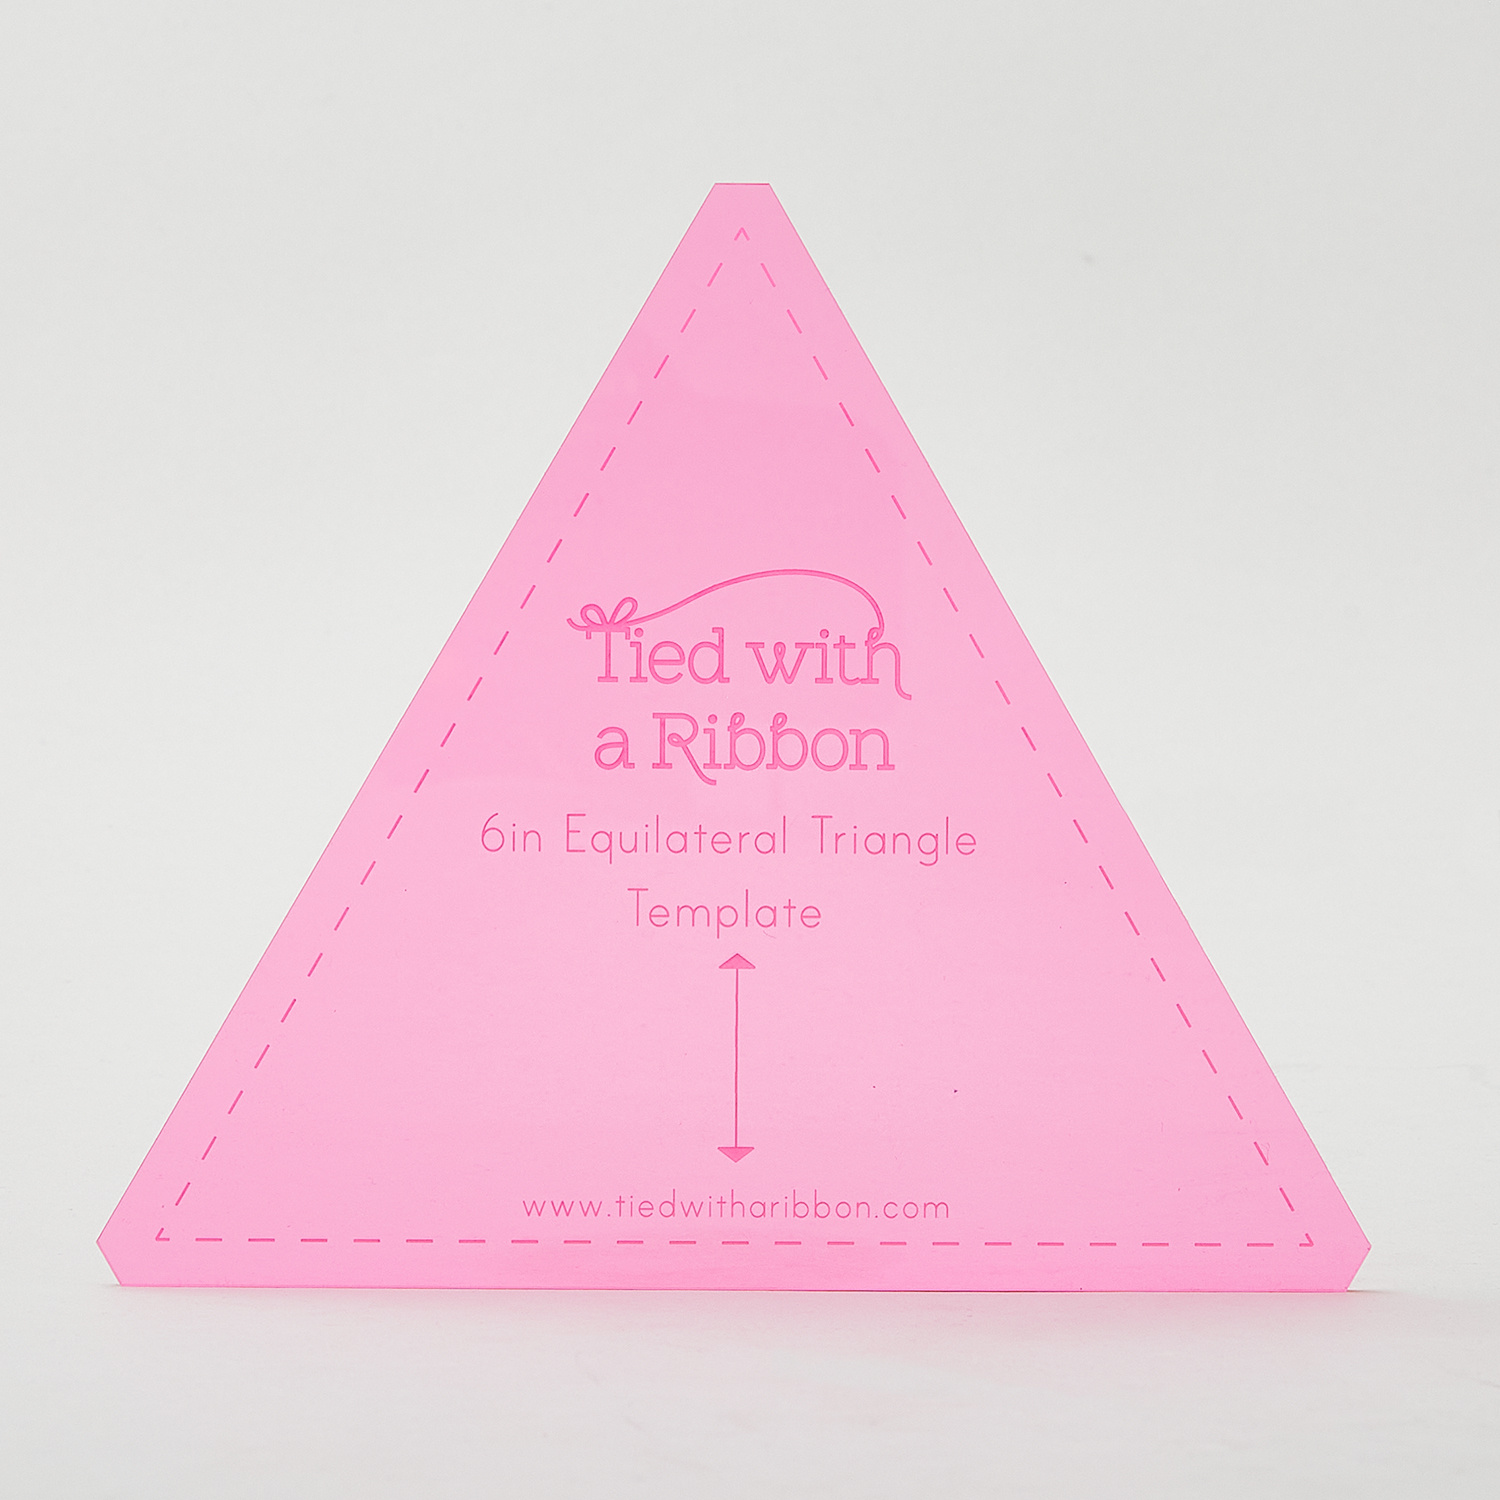
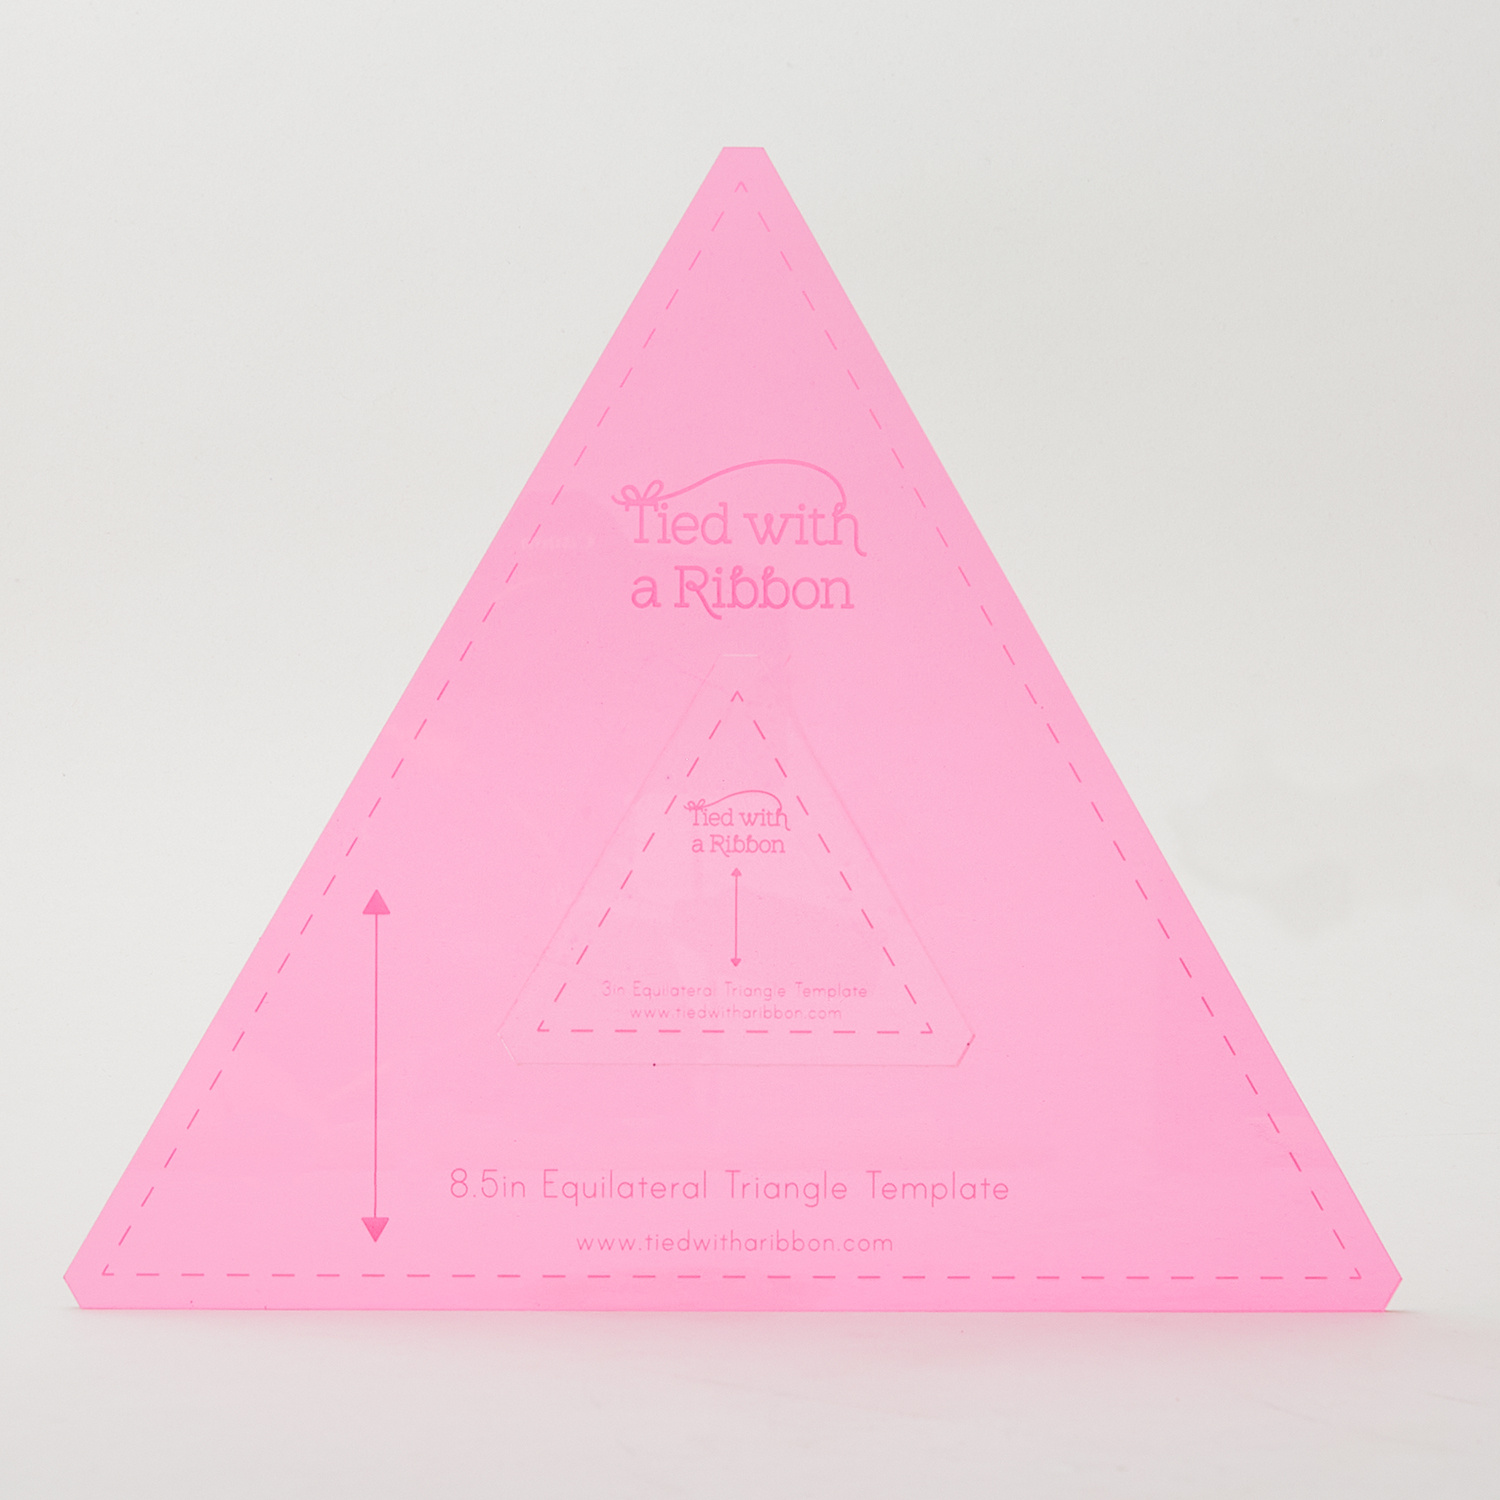
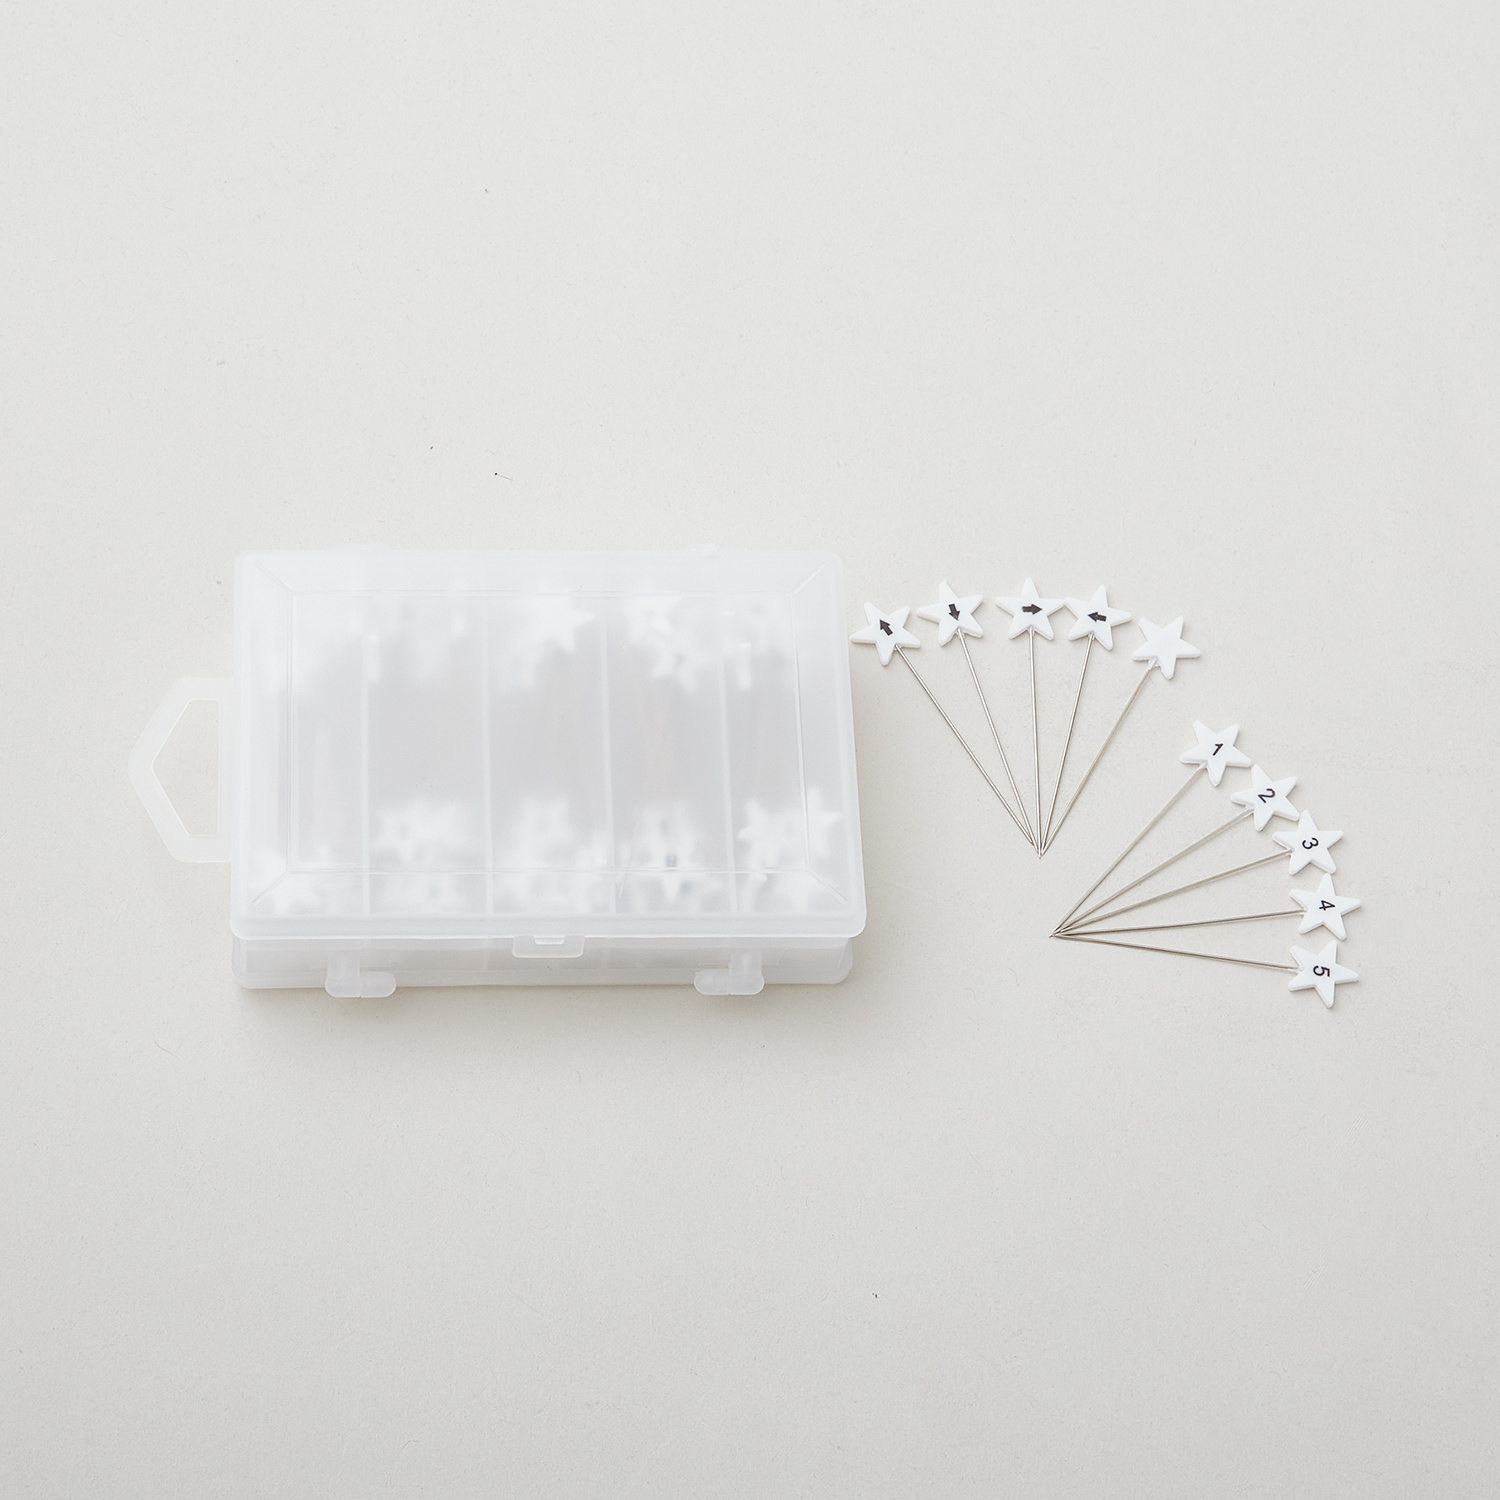
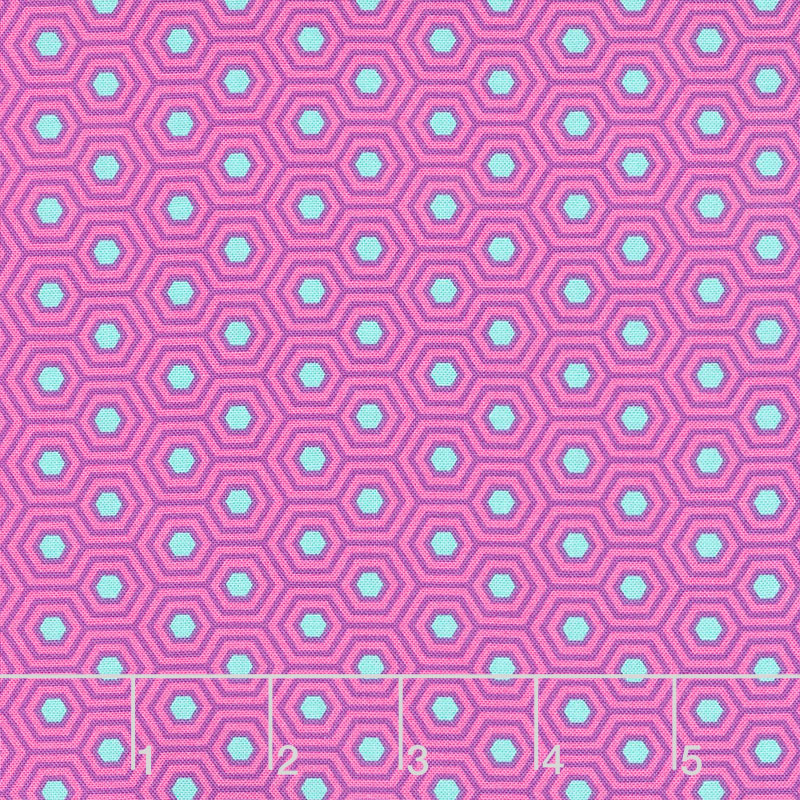
hi everybody I'm Natalie with Missouri Star Quilt Company and I'm joined today by jamaa Flint from tide with a ribbon hi Natalie how are you I'm great I'm so glad that you're here today um can you tell us a little bit more about yourself sure I'm jamama flint and I am the designer behind tide with a ribbon I'm a quilt patent designer author and teacher and I can't wait to show you the endgame quilt that we've got here today I love this quilt I can't wait to make it with you so let's get started [Music] so I absolutely love this quilt it's so beautiful um the colors have come up so beautifully in it yeah it's bright and fun so tell us what do we need to make this quilt all right so for the endgame quilt you're going to need your pattern you're going to need the equilateral triangle template which is this lovely neon pink as well that's so cute um you're going to need in terms of your Fabrics we've got here the beautiful colors that we're using for our equ Lal triangles you've also got um some of the other ones and this here is our binding fabric we've got our background Fabric in the white here and this here is our backing fabric that we've chosen for this particular design then you're going to need some Notions and some equipment as well so we've got our um rotary cutter we've got some pins there's also some number pins and I'm going to show why we use the number pins and why they're really helpful for this project they're a great tool yeah and we've got some best press as well to help with our sewing excellent Natalie with your background fabric we are going to need to give it a press so that you can cut down your strips from that so with your background fabric you're going to cut your strips down into 8 and 1/2 by with the fabric strips so that you're ready for the next step of cutting your equilateral triangles excellent so you've got one prepared for us already so I'll move this so we can return that and sub cut out of the way as well y I'll just put that up here in case we need it later now with your equilateral triangles one of the important things to remember is that you always want to cut them from the Salvage edge of your fabric first of all so if you're leaving your WID of fabric um with the seam line down the center you always want to make sure that you're cutting from the open Edge because if you start cutting at the folded Edge you actually won't have enough pieces yeah you run out of fabric because you can open the fold when you get there and get like one more piece exactly that's right so you save on a lot of fabric and it makes it really you've got the right number that is a very helpful cutting tip because I mean anytime you're cutting your fabric start from the Salvage Edge and go towards the fold instead of you know yeah because if you've ever run short on a piece that could sometimes be wi yep that can be the difference yeah so with your equilateral triangle template you'll find that it will actually fit perfectly to your cut um size strip and then with your rotary cutter this little piece here is um a scrap so we're not actually going to use it but in the pattern there's also a mini quilt so if you actually want to you can take the size triangle that you get that's also in the center here and you can actually make your mini quilt from it as well so it's not wasted it's just saving it for another project awesome so with your triangle template what you're going to do is you're going to take your rotary cutter and what we're going to do is we're going to trim down our triangles now with our rotary cutter always cutting away from our self so is every triangle in this quilt that size it is yes that's cool so sometimes people are like but how am I going to make those triangles so big and it's not that the triangles are actually that large they're all made from this size triangle color placement and that's that's very cool so make sure of course because you don't want to be cutting towards yourself just very gently turn your fabric around mhm and we're also going to cut off the actual little Corners that you can see on this template as well so when we get to sewing you'll actually realize how helpful it is having those pieces trimmed off already because it helps with your seam allowance it does especially with triangles I found that to be incredibly helpful yeah so here you've got your first two triangles so what we're going to do is we're going to continue down the line trimming up our triangles from our template until we've gone towards the folded Edge now in the pattern it has all the requirements for how many triangles you need to for each color as well so make sure you check back in your pattern and they are all listed there for you that's awesome that is one of the things that I find cuz sometimes I make a quilt from my head before I have a pattern right and it is difficult um because I don't know ahead of time how many eight and a half inch strips I need of each color EXA and so a lot of times I cut way too much or not quite enough and uh a pattern is just amazing for that I love having that extra bit of information yeah just means too that you can count them all up before you get ready to sew and then you've got the total amount that you need yeah all right so you're going to want to cut not just your background Fabrics but all of the Fabrics which are listed in the pattern there are different quantities for those so make sure that you check that and you have um the right number of triangles cut for each of the colors in the pattern so jamaa can you show us how to cut this last piece from the fold sure what happens is we've gotten to the end of cutting and it looks like we haven't got enough fabric but we mentioned before that you can actually open this out and what you want to do is just give that a nice press first of all so that it doesn't um so well so sits nice and flat now yeah and and if there's a fold or A Wrinkle In The Fold you don't want that to change the size that's right so we've now pressed that so what we're going to do this is where we get our final piece out of the row so placing your template down you may need to sort of slide it along a little bit because sometimes with the heat of the iron the Fabrics um Can slightly shift but you'll still see that you've got there your 8 and 1/2 in Triangle ready for you to cut yeah plenty of room to get one more that's it we only have that little bit at the end I do that even when I'm cutting strips and squares like I love to make the best use of my fabric exactly you don't want to waste it um and it can certainly cut down the amount of fabric that you need to cut yeah so there's our last triangle excellent so we go through and we cut all of our pieces we've got those done that's right so then what do we do next okay so once you've got your for all of your cut pieces M what you're going to want to do is you're going to um use the pattern to reference the row layout guide and that will actually tell you the order for all of the color triangles so you can see here that so you don't you wouldn't lay out the entire quilt you would just use the the row diagrams the row diagram will show you how to lay it all out so I actually do like to lay it all out on the board or on a a surface first because sometimes you can actually change up some of the colors or if you've got colors that are quite close together you might sort of want to change them and the beauty of this pattern is you can really sort of swap some of those colors out or the prints depending on what you're using you can be creative you don't have to exactly yeah what sizes you want and what colors to put them in that's it yeah and you might have some prints that are very close depending on like some florals or um yeah different sort of elements and you might want to move them around a bit so you can certainly do that that's fun okay so once you got your layout then you start stacking up your rows that's right yes so with the rows one of the things also so I like to stack them in the order as well so that I keep all the pieces nice and going the right direction going in the right direction yeah because unfortunately as I we sew today you'll see if you sew some of them in the wrong order because of the seam intersections in here you'll actually need to take back a few pieces before you can actually correct if you've gone wrong so it's always better to make sure it's stacked up in the correct order and that you're following that along as you go so and then this is also where you use your numbered pins which I think is great I typically just use a sticky note these are really handy because they actually um help you keep your rows in order uh but the other thing that they actually help you do to do is to keep the bias of the triangle on the nice straight of grain oh okay that's very smart that probably makes it a lot less um a lot less tricky to stitch right because you've got the bias sides in the cut triangles so you want to eliminate that movement in this project so that your triangles come together really nicely I love that that's a great tip so yeah keep them together have it marked and then you always will make sure that you've got the first row um in the correct order as well okay so what we're going to do we've got them all stacked up in the order so what we're going to do is take the first piece and we sew them in order now so we don't have wor um everything's all set and when we're sewing our triangles together this is our first piece and with solids it um makes it really easy there's not a wrong side which is great yeah so you can keep it um you still want them to go the right direction right side together so what we're going to do is we're going to lay this piece on top of our first piece in the row M and this is where those little um straight edges that we cut off our triangle become really helpful because they also indicate your quarter inch seam allowance as well so it's a little helpful guide so we're going to put some pins now along this side okay because you want to make sure when you're SE this that you're sewing the correct side CU it can be quite easy to pick these up and start turning and sewing them in a circle yes rather than the right um rather than in a straight line straight row yeah so Place those pieces together and with your pins he a nice and brand that's a helpful marker you know just to to be sure you got the right side yeah it's very easily done sort of As you move along to um tip them up the wrong way or to turn them and especially because they're solids it doesn't have that right or wrong side to make it really obvious excellent so what we need to do now and I know you're going to do this is we're going to stitch from the top um down to the bottom for our quarin seam allowance all right so then as I go I'm going to take these pins out right we don't want to run over your pins no it's really important to make sure that you don't sew over your pins okay don't need to do any damage to you or to certainly the machine as well so keep them nice and that can break a needle for sure H put that back in here there we go great so make sure you keep it the right way up and this is where it becomes really handy again that you've put that number pin in because it's now you know that's your first one you're not stitching to the other side of that exactly so now do you press between every seam I like to actually press when I get to the end of the row but what I'll do is I'll actually finger press that that row um down first you can certainly press it in between say this Junction is probably where those notches are more important to me that's right so you can finger press it what you can do is you can place a pin in it if you would like to hold it obviously take that out before you sew um but what you'll find is as you get more confident in sewing your triangles that just through um finger pressing but certainly if you yeah you can get up each the markers or slide it down yeah so when it comes to next piece with that um we're going to place that right sides together and this is where you'll start to notice how you get the seam intersections um with your pieces yep and as long as they cross a quter of an inch you'll keep your points and you'll have that little marker in the actual template piece because you've cut that cut that off so again now we're going to pin these pieces here now okay this is why sometimes you can tip and turn up your pieces and get it out of so we're going to sew now down the road all righty so shall we go ahead and sew the whole row yes so because everything's now in order what you can keep doing is just through finger pressing the next seam it just means that you can keep sewing all of your pieces together in the row in the order indicated okay so I could just open this up here do my little finger press yes and then add my next piece that's right to this side yeah to yep and then line it up down there make sure the notches are good put a couple of pins in it see if I can do this yeah they're nice nice are very very sharp and then we'll just go from there mhm so continue along the rad okay yeah [Music] got the whole row stitched that was fun it's good fun yeah yeah so after you've completed the entire row we're going to now press it now with this pattern it's pretty forgiving in that I like to press all my seams to the right okay but if you much prefer to press your seams open or to do that as as you go for each piece you're more than welcome to because people like to um yeah press that each way um when we get later on in the pattern we're going to open our seams okay uh so some of when you Stitch your rose together you press those seams open that's right so it'll distribute the bulk out at that point as well so excellent that's a great tip yeah so when you're pressing your rows uh I like to start at this end and what I'll do is I'll set all the seam first okay so the only thing with the triangles is you've got um the intersection which crosses over so I'll just press each of those first to set the seam okay because you have sewn on the bias side of the triangles you don't really want to move and shift the bias so setting your seam first will really help to keep those that prev that from shifting yeah so I'll go through the Row first and I've always kind of wondered what what setting the seam actually really does yeah a lot of people have heard about it or they've been told to do it but don't necessarily why um and really it is to keep um the top thread and the bottom thread the heat will actually connect those threads together because they Stitch and they sit on the top of your Fabric or the bottom of your fabric for the B just kind of binds them with heat a little bit yeah that's great I love that keeps it all nice and straight so we're going to go down the row so it's particularly important when you're working with bias with the bias yes yes which doesn't come into most of our pieced um quilt um but certainly with equilateral triangles it'll really help keep everything nice and straight yeah I love that I am a sucker for like finding out the why yeah it makes I love to know uh it's those things that make a little difference to your quilting all the time as well so if you've got um pieces that have ever been sort of waving or just don't sort of make straight lines uh it'll really help that's so great I love that so once you've gone along the line and it becomes a little bit with a bigger iring space it's it's a lot easier that's true so now what you're going to do so we've set the seam now what we're going to do is press that all in the direction towards the right okay and you start it back at the end I do find it easier um to go that way that way I can have the overhang as I go along and you can see here the beautiful intersections and that seam allowance that you've got as well so great because we're going to need that for our um keeping rows yeah keeping our points and making those colors match up from row to row that's right so for each of the rows M you're going to repeat so you want to sew your rows you're going to then press them okay and then we're ready to start to put our rows together all right so we've got here our second row so this is row number one and row number two which we've already and that's all also marked with its number that's it so that we can keep everything nice and in the correct order ex so now what will happen is as you start to see the rows being put together you'll notice how the colors start to make start to to develop and the triangles triang all come together and this is definitely where you see that this is not just one triangle but it's many triangles put together to make that shape that's great yeah so then do you pin the rows as yeah so with rose one and Rose two and this is where you want to pay particular attention to pinning because you want to make sure that you keep those points of your triangles nice and sharp so that you don't sort of have any Square edged triangles do you have a tip for lining up the seams because that's one of those things that I struggle with is like you can push it one way or the other on a straight seam you can Nest them really really easily yes this gets a little bit more confusing for me so how do you do your how do you do your pins and okay line up your your do that yeah well let me show you so when you come to put your rows together what you'll actually notice is you've got that beautiful 1 quarter inch seam allowance and you've got the triangle from the r below so what you want to do is you actually want to place those together and I like to roll them up because your the line that you're going to sew is actually down here in qu in yeah and it's more important to worry about what's happening at at these points than necessarily what's happening on the edge yeah so what I like to do is I like to roll those together M and make sure that they are nice and together then what I'll do is I'll pin that intersection okay to keep that now you pin four uh up and down horizontally or vertically I pin from right to left okay um just because what happens is as I so I find it easier yeah almost like a diagonal that's yeah because I find that helps keep your points yeah excellent it means also too that I can actually run the sewing machine up nice and close before you pull that P pull the hopefully they don't shift yeah so you haven't lost that point that you've spent all that time putting together excellent so again we just put those points together by rolling up the fabric okay making sure that it's lined up and you can just pull down the fabric to check and so hold it with your fingers if you need to you can see that it's lined up nicely and then you're going to put the pin in it one pin so just placing it down at the angle okay and so we do that across the row if for each intersection that's right and if you feel that you need to put some more pins in you're very you know very welcome to do that so you can see those beautiful points come together okay it's always far easier when you've got a friend to to help do it so do you try to make the the exit point where the pins mat or well at the intersection yeah okay let's see if I got it kind of close I think so you can pin whichever direction you feel more comfortable to well I think being being right-handed it makes sense to go right to left sometimes if people come for more of a dress making background they have particular ways that they love to pin pinning and pressing too yeah exactly so do what's comfortable and works best for you really I love that practice and find your space so this is rows one and two mhm and in the quilt what I like to do is I'll actually once I have all the single rows completed I'll then go back and I'll work in pairs two rows at a time two rows at a time okay that makes a lot of sense so when you come to sew it now what you're going to do is you're going to start make sure again and this is where those pins just continue to to help make sure that you you've pinned the right side and you've got it and they're going the right direction and you're stitching exactly yes perfect so and these sort of fold up really nicely excellent kind of put it on my lap yeah okay and add a quarter inch along that top same line MH going to pull this one pin out first make sure you pull those out before you go along the line and this is also where you want to you don't want to pull on or push your fabric because that will cause shifting yes and what you're really looking for is that intersection where you can see the two seams cross uhh so if you need to slightly maneuver the this foot um up a stitch or down a stitch that will help to keep those points really ni and [Music] Shop Right all righty got that stitched together yeah well it's looking great all right so once you've got that whole row stitched together then you might want to um you can always go along and check oh look at these points they're absolutely oh good beautiful that works so that pinning I think is the key right yes and um you can see here how you've got that the absolute distinction between your pink triangle and the yellow one so just taking your time and just doing that little pinning um just really makes a big difference so we're going to now press that seam open for this row okay and this helps to distribute out that bulk as well so if you worried that you've got lots of seams in One Direction uh you're going to now press this seam open okay I'm let me take these off so you have a little bit more space so we just continue this the whole rest of the quilt doing our our two rows and then you sew your sets of two together and so forth that's right So eventually what you'll have is half the quilt go together it just makes it easier than um trying to sort of do one row at a time hard to manage balances the weight which um prevents a lot of pulling and things going you know stretching that's right and with the bias of the triangles you certainly don't want anything to stretch more than it should and also it makes it much more manageable through your machine that's right so yeah so that there is our first two rows first two rows I love it all done and pressed a that looks so great yeah and you can see the beautiful points that you've um that we've made here so they look great yeah so yeah take your time and continue that with the rest of the Rose okay excellent Okay so so we're going to continue sewing sets of two as we said before to make the whole quilt that's right and you know hopefully you've got it all laid out ahead of time that's it it makes it really easy to see and you can keep track of everything I love that okay so I can see that the sides of this quilt are straight but what we've got here is this triangle Edge that is it's going to go in and out kind of like a zigzag so how do we what do we do for that okay so once you've got your entire quilt all put together um what you're going to do is you can take out your row marker pins right um because we don't want to run over those and the important thing with this is to remember that we need this seam allowance okay at the beginning because that's actually where your binding is going to go so you want to make sure that you just don't so as you line up your ruler you're going to line it up and make sure and keep that quarter in so that's how you'll know where where to set your ruler yeah so use your ruler and you want to keep it straight along nice and straight you can use the markings on the ruler as well I also usually will look at the seam here and make sure that it's also straight with my with my ruler because that way it just kind of keeps things in in line it's better to make sure than to trim it off and then yeah I like to have multiple checkpoints exactly so we're a quter inch here making sure to keep that and then you just yeah so then just take the rotary cutter and make sure that you've got that all nice and straight that's so great and you do this before quilting yes okay so you can always check with your quilter some of them prefer to you know keep that but um usually I will straight edge is easier to to work with that's right so then you've squared up your quilt and it's all ready then to um be quilted perfect and there's no border no no no so what size is this quilt it looks to me like it would be about a twin or a lap is there yes so a twin or a lap um certainly if you wanted to make it larger you could actually extend out the background fabric as well and you'll have the beautiful pattern sit in the middle of the quilt oh that's a great idea yeah if you wanted to make it larger you can also add another border if you wanted to as well so you've got some great ways to make it larger so this beautiful machine quilting pattern is our Chevron tumblers it's one of our new patterns online and I think it turned out great it looks fantastic yeah cuz it Doesn't Really detract from the design but it really just finishes It Off that's great I love that and the backing that we used mhm um got the T the pink oh the hexagon that's so great I love the gradient colors looks great that's amazing and it's really set well with that binding as well yeah that's awesome yeah all right so I think you have a a surprise a treat for me yes yes I also brought along the original ingame quilt that I made yeah that's so great I can't wait let me show you oh and it's custom quilted at that we'll turn it up this way I love it I love too you've got some prints in here so you added a polka dot and a stripe that's right that is so beautiful with the the quilting you can really sort of do as much or as little as you like um I've also added in um my long arm quilter um Carol Brady she did a fantastic job for me so I didn't long arm quilt it um but I did go back and I put the beautiful hand quilting in as well that's wonderful that looks so good so it's a great way to add some texture and some different dimension to your quilt as well I love that yeah well this is absolutely beautiful and I've had a great time thank you so much for coming to town and for teaching than for me it's been great and I can't wait to see that all the endgame quilts that get made yeah it's going to be amazing yeah so where can people find you to follow you sure if you're um looking to find me you'll find me at tide with the riv ron.com you can find me on Instagram at TI with the ribbon and all the socials for tide with a ribbon oh that's wonderful yeah thanks for having me n it's been great you're welcome yeah well I hope you enjoyed this tutorial with jamaa Flint from tide with a ribbon on the endgame quilt from Missouri Star Quilt Company thank you so much for joining me for this video today I hope that you enjoyed it and that it inspired your creativity and guys we're at almost a million quilter strong in our community so if you know of any anybody that you think might like to join us and learn quilting with us bring them on in put your arm around them and tell them to subscribe to our channel so that we can all learn and and grow together [Music]

More Fabric by Yard tutorials

See all