
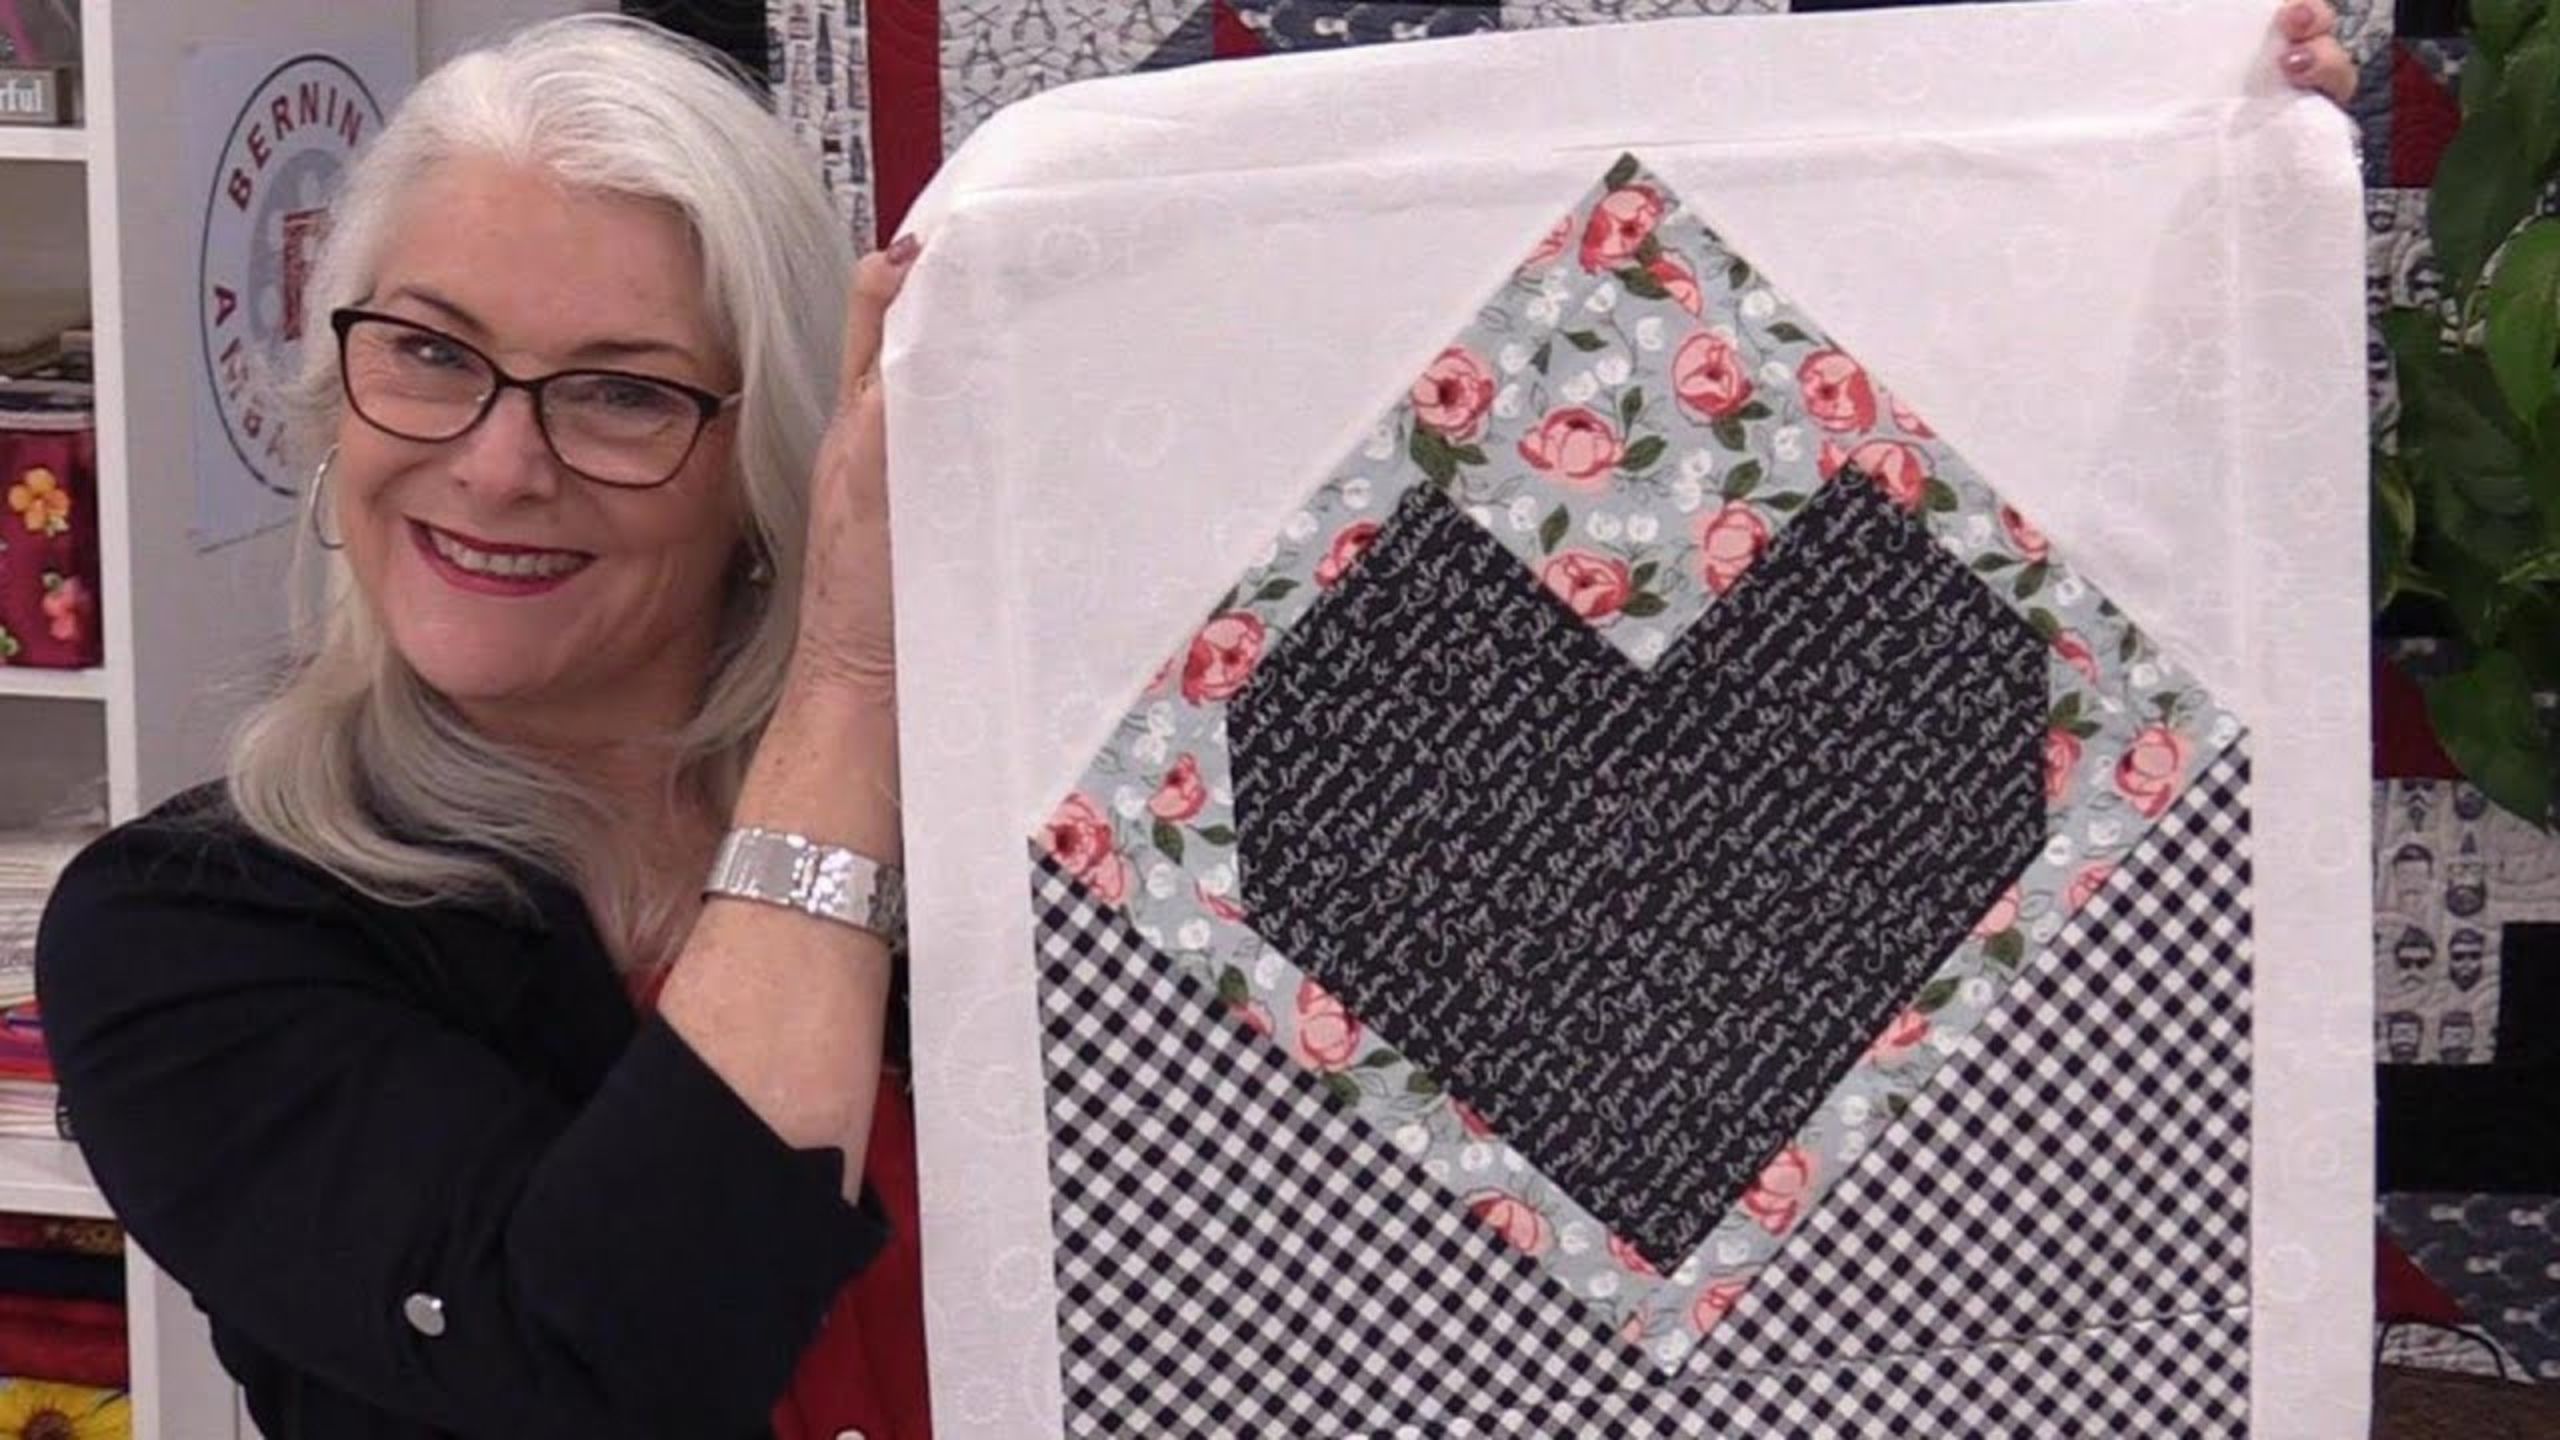
Envelope Quilt demonstration with Laura Coia
 Laura Coia
- Fabric by Yard
- Holiday
- Wall Hanging
- Beginner
- Quilt size 20" × 24"
Join Laura Coia from Sew Very Easy as she makes this cute little quilt and shares some of her sewing tips along the way!
Instructor
Laura Coia
Laura Coia is the founder and celebrity host of the very successful and inspiring SewVeryEasy YouTube channel founded in 2014. Her instructional videos have inspired thousands to start sewing, and she is the author of the book Sew Very Easy.
Shop this tutorial

Common Questions
What is covered in Envelope Quilt demonstration with Laura Coia?
Join Laura Coia from Sew Very Easy as she makes this cute little quilt and shares some of her sewing tips along the way!
How long is the tutorial video?
The tutorial video is 00:08:07.
Are supplies listed for this tutorial?
Yes. The tutorial page includes the supplies and materials connected to this project.
Is a transcript available?
Yes. A written transcript is available on the tutorial page.
Video Transcript
Are you looking for a fun and easy quilt pattern to try out? Look no further than the Envelope Quilt with Laura Coia! In this tutorial, Laura walks us through how to create a charming and unique quilt that's perfect for snuggling up in.
What You Will Need:
Fabric (in a variety of colors and patterns)
Rotary cutter and mat
Ruler
Sewing machine
Thread
Iron and ironing board
Batting
Backing fabric
Step 1: Cutting Your Fabric
To create the Envelope Quilt, you'll need to cut your fabric into the following sizes:
16 squares of 10" x 10" in assorted colors and patterns
2 strips of 2 1/2" x WOF in a coordinating fabric for the sashing
2 strips of 2 1/2" x WOF in a different coordinating fabric for the border
Batting and backing fabric to fit the size of your finished quilt top
Step 2: Assembling the Quilt Top
Arrange your 10" squares in a 4 x 4 grid, with the colors and patterns arranged in a pleasing way. Sew the squares together in rows, and then sew the rows together to create the full quilt top.
Step 3: Adding the Sashing and Borders
Take your 2 1/2" strips of coordinating fabric and sew them to the sides of the quilt top, using a 1/4" seam allowance. Then sew the strips to the top and bottom of the quilt top, again using a 1/4" seam allowance.
Next, take your 2 1/2" strips of different coordinating fabric and sew them together end to end to create one long strip. Sew this strip to the sides of the quilt top, and then to the top and bottom of the quilt top, using a 1/4" seam allowance.
Step 4: Quilting and Finishing
Layer your quilt top with batting and backing fabric, and quilt as desired. Laura recommends using a simple quilting design, such as straight lines or a meandering stipple pattern.
Once you've finished quilting, trim the edges of the quilt and add binding.
The Envelope Quilt is a fun and versatile pattern that can be customized with any fabric color or pattern. Whether you're a seasoned quilter or just starting out, this quilt is sure to be a hit. So gather your materials and follow along with Laura's tutorial to create your own Envelope Quilt today!
What You Will Need:
Fabric (in a variety of colors and patterns)
Rotary cutter and mat
Ruler
Sewing machine
Thread
Iron and ironing board
Batting
Backing fabric
Step 1: Cutting Your Fabric
To create the Envelope Quilt, you'll need to cut your fabric into the following sizes:
16 squares of 10" x 10" in assorted colors and patterns
2 strips of 2 1/2" x WOF in a coordinating fabric for the sashing
2 strips of 2 1/2" x WOF in a different coordinating fabric for the border
Batting and backing fabric to fit the size of your finished quilt top
Step 2: Assembling the Quilt Top
Arrange your 10" squares in a 4 x 4 grid, with the colors and patterns arranged in a pleasing way. Sew the squares together in rows, and then sew the rows together to create the full quilt top.
Step 3: Adding the Sashing and Borders
Take your 2 1/2" strips of coordinating fabric and sew them to the sides of the quilt top, using a 1/4" seam allowance. Then sew the strips to the top and bottom of the quilt top, again using a 1/4" seam allowance.
Next, take your 2 1/2" strips of different coordinating fabric and sew them together end to end to create one long strip. Sew this strip to the sides of the quilt top, and then to the top and bottom of the quilt top, using a 1/4" seam allowance.
Step 4: Quilting and Finishing
Layer your quilt top with batting and backing fabric, and quilt as desired. Laura recommends using a simple quilting design, such as straight lines or a meandering stipple pattern.
Once you've finished quilting, trim the edges of the quilt and add binding.
The Envelope Quilt is a fun and versatile pattern that can be customized with any fabric color or pattern. Whether you're a seasoned quilter or just starting out, this quilt is sure to be a hit. So gather your materials and follow along with Laura's tutorial to create your own Envelope Quilt today!


