English paper pieced ornaments will help your holiday decorating take shape! Misty uses cute Christmas in Quilt Town fabric to make adorable EPP ornaments. Hang them on your tree, in a window, or anywhere you want to add a bit of Christmas cheer.
Misty Doan grew up surrounded by sewing and quilting. She loves spending time sharing tutorials each week each week, and when she’s not stitching up one of her fun sewing projects for home decor, most likely you’ll find her hanging out with her husband and three awesome kids or working on a house project.
English paper pieced ornaments will help your holiday decorating take shape! Misty uses cute Christmas in Quilt Town fabric to make adorable EPP ornaments. Hang them on your tree, in a window, or anywhere you want to add a bit of Christmas cheer.
How long is the tutorial video?
The tutorial video is 00:22:44.
Are supplies listed for this tutorial?
Yes. The tutorial page includes the supplies and materials connected to this project.
Video Transcript
Hey everyone, welcome to At Home. I have a super fun project to share with you today. It's the holiday season and I think it's the perfect time to make some little handmade gifts. So, I have a couple of ornament ideas as well as some little mug rugs using our English paper piecing beginner kit. So, let me show you how to make them. All right. To make these little projects, you're going to need a couple of things. You might want to pick up our English paper piecing beginner's kit. It has everything you could possibly need. Let's go ahead and open this up and see what comes inside. You get a little uh beginner's guide with all kinds of instructions and inspiration. And you also get these little organization kits to keep track of all of the different paper shapes. You get scissors, a needle minder, threader, and needles. as well as a little glue stick to stitch everything together, your thread, and this one comes with a tote bag, which you can add your EP to, as well as a little rotating mat that makes gluing all of your shapes super easy. But if you don't need the whole kit, you can also buy the papers individually. We do sell those separately. And another thing that I really enjoy um are the EP templates that you can also purchase separately. This is great if you want to try your hand at any fussy cutting. For our little snowman ornament, you're going to need some white 5-in squares as well as a couple of spools of your pearl cotton. I just did black and orange to make our cute little snowman face. And then for everything else, I used our Christmas and quilt town 10-in squares. These are so cute. And then for the mug rugs, I backed them with some of our Christmas felt packs. So that's everything you're going to need. and let me show you how to make them. So, up first, we're going to make this adorable little snowman ornament. And so, to make that, you're going to need the one and 1/2 in hexagon papers as well as, of course, your white fabric and those pearl cotton as well as your glue stick. But I did want to point out just a couple of ways to do this. So, if you don't have the templates, you're going to set your paper template on here. And because I want to stitch on this first, I need to have at least 38 all the way around. So, I can just use my ruler. And sometimes even putting a little dot of glue so your paper isn't sliding on you helps. So, we'll put that there. It'll secure it in place for us. There we go. And then I can come out here and just draw and use my my template as that guide to just make sure I have plenty of extra on all sides at the end. But the easier way, in my opinion, is to go ahead and just use the EP template. It has the seam allowance already built in for you. And so I'm just going to trace around this now. And I do like to kind of center it up because I'm going to go ahead and put this in a little hoop to do that little bit of embroidery. And so there you go. There's my hexagon shape. And then I just am going to eyeball and draw a little face here. So, here's my eyes and a little carrot nose and then a few dots for the mouth. So, just however you want. Just feel free to play with it. Give them different expressions. And so then once you have that done, then I just put it in the hoop and I did some very basic little um embroidery stitches. Just some French knots and a little bit of satin stitch to do the nose. And now our little face is done. And so now I can pop this out of my hoop. I'm gonna give it just a little press so I don't have to fight with it. Here we go. And now we can use our template again and we can cut out right on those little lines that we drew. Whoops. Throwing things. There we go. And so we can use our rotary cutter or scissors. Of course, you could totally just use scissors since you've marked it, but sometimes having that rotary cutter just makes it go a lot faster. And last few little sides here. Perfect. Whoops. Got one little thread caught. All right. So then once we've cut out our little face, then we'll come back and we'll use our paper. And then I'm going to glue and wrap this excess fabric all the way around. So, let me bring it over here. Make sure you guys can see what I'm working on. So, I'm again just going to kind of center this up. And I'll start by just doing a thin little bit of glue along that edge and rolling it back. And then we'll just continue all the way around our shape rolling that back. I'm keeping the glue away from the outside edge where I'll be stitching. I'm just putting enough on there to grab hold of that fabric and hold it in place for me because I don't really want to fight with it later. There we go. And our last one. So cute. Look at that. I love it. Okay, so here's our adorable little face. And so to make the full snowman like I did here, you just continue in that same way. I just did three little dots for the buttons down his belly. But I think on this one, I'll just do his face. So to do that, I'll have a matching white uh hexagon that I've gone ahead and stitched together. And now I'm just going to whip stitch all the way around this, leaving the top open so that I can slide that ribbon or tie to use for hanging this on the tree at the very end. So I'll start at this point and come all the way around. And then we'll stop here and add our ribbon. So typically when we're doing EP for quilting, we will then go and remove these papers. Because I want this to be an ornament and have a little bit more stability, I'm actually going to leave the papers in. So, I'm not going to take those out. Don't have to worry about it. But I am going to start my thread on the inside here. So, I'm just going to slip this up through here and come out at the point. There we go. And that will kind of hide my knot on the inside. And I'll place these wrong sides together. And then you can either just use a simple whip stitch along the very outer edge or a ladder stitch. Um the ladder stitch will give you a little bit more of an invisible look. But I think since I'm using white thread on these little white backgrounds, I can just whip stitch my way around. And I just like to keep my stitches close together just like so. And so that's what I'm going to do. I'm just going to keep stitching straight down here. Move that out of my way. Just catching the top little edge of my fabric with my needle on both sides there and pulling it through. And so we'll just keep doing this all the way around until I have just this top side open. So I'll meet you back here when that's done. All right, we have just a few more stitches here and we're to our last little opening. Here we go. When I get to those corners, I always do like a kind of a double stitch just to secure it right there in place. And now I just have this top side that's open. And so we can add our little ribbon to that. So, I just grabbed some ribbon that I had lying around the house. If I was going to go out and buy it, I'd probably get quarter inch instead of/ inch, but this is what I had. And so, you'll want about 12 in. I just kind of eyeball it. Give that a cut. And then we'll put a little knot in this here at the end just to make sure that it's nice and secure. There we go. Slide that down. And then I'm just going to tuck this right inside here. Maybe. There we go. It's fighting with me. And now that I have that sandwich inside, I can go ahead and finish stitching all the way across. So, let me just do that. And I just poked straight through the ribbon to keep securing both sides together. I didn't do anything fancy to finish it off. And so we're just going to stitch through. So I'm just kind of moving my ribbon out of the way. And I'm going in one side, flipping it over, and making sure I'm coming out on the other side of my square or my rect hexagon, excuse me. And then poking through, flipping it over, making it sure I'm making sure I'm all the way through. And then once I'm past that ribbon, I can go back with my regular old whip stitch. to just finish this off. Go a couple more here. There we go. All right. So, I'm going to take one last little stitch through this outside corner. And I'll knot this. Pulled my thread a little too far. There we go. And once more, just to make sure it's not going to come loose on me later. I caught my ribbon, of course. So, we'll just loop through that. And then what I like to do to kind of hide this tail is I'm just going to press my needle down into here and poke it back through. And then I'll pull this out. And then I'll get my little scissors, snip that off. And then now my tail is all hidden and my cute little snowman ornament is complete. And so let me show you how to make the star next. All right. So, up next, we're going to make this adorable little threedimensional star, which I think turned out so cute. And so, to do that, you're going to need 18 of the little 1 and 1/2 in diamond papers. And again, if you want to play with fussy cutting, which I did on these ones, look how cute they are. So adorable, then the little template is your friend because you can center it up. Let me show you here. I have this little bit of scrap fabric left. You can just pick whichever little thing you want to be your feature. Let's do this wreath for example. And then I can use the lines on here to center it up exactly where I want it. And then we'll just cut it out. Spin that around. There it is. So cute. So, there's our little wreath now. And when we take our papers and glue this around. So, we'll just run a little dab of glue along that side. And one thing that you might notice is with the diamonds, you typically have an overhang, but I like to kind of tuck them out of the way. So, let me actually show you this because it works if you do this little tip first and fold this in. And then when you come back and place the sides, it just kind of miters that top point for you. And then you don't have to fight with it later when we go to stitch these together. And if I don't do that, I'll show you on this side what that looks like. Then we'll have this little tab that hangs over. And so by tucking it away, I mean, it's fine either way. You just have to kind of manage it when you're stitching. But by folding it down first, we get a cleaner point, which is is nice. So I'm going to go ahead and fix that now. Glue that little top piece down first. And then bring these back in. There you go. And you only have to wor worry about it on these these two sides. It just automatically works on these ones. And so let me go ahead and do one more of my little red snowflake print here. Just show you again. Center that up. A dot at the tip. And then come all the way around. Go ahead and do this other side. And I like to sit and glue a whole bunch and have those ready. And then I come back and I start my stitching because it's just really nice to have all of this ready to sew and take the time to do it first. There we go. All right. So then once you have all of your shapes glued, the next step is to start stitching them together into stars. And so to do that, you're just going to take two to begin with. And I like to start on this outer edge, move all the way to my tip. And then once I have that sewn, I don't cut my thread. I leave it attached. But then I can open it up and pivot and add this third side. And so then you end up stitching three together before you have to cut your thread, which works really nicely. And then you stitch your sets of three together until you have a completed star like you see here. And so I went ahead and made two of those. And remember, these are sewn together exactly the same way I've shown you. Just a simple whip stitch or ladder stitch is going to secure it. And so then now I'm going to use these little red snowflakes to do these kind of setting diamonds that makes our star three-dimensional. And so to do that, you're going to need six of whatever contrasting color you've chosen that are already glued. And I'm actually going to give this a press in half. So, I'm folding through the paper and I'm folding it right sides together on the fabric. And this is what's going to allow our star to kind of keep its shape. We'll just do a few of these. And then now I can take this and I'm going to start by stitching one side here. Me get my needle. Make sure I've knotted it. Yep. There we go. And so I'm going to go ahead and put my needle through just like I showed you to before. So I'm coming right up through the point, hiding my knot behind in the fabric. And then I'm actually placing these wrong sides together again. And we are just going to start stitching these together. So, just like so. And I again always take a couple stitches right next to each other to start to just really secure those points. There we go. And then we'll just stay grabbing just that top little edge of fabric. And as you do more and more of these, you really get the hang of just getting that little sliver and not the paper. And so I'm going to stitch down here until I get to this inside point. And then I'll meet you back here when I have that done to show you how I maneuver these little shapes and make my way around. Okay. So I have made my way down this first little side. And so now I'm just going to pivot. And you kind of have to just bend those papers to go where you want them to go. And you don't have to worry about it. Just make them line up. And sometimes it's handy if you have a little clip, like a a binding clip. I'll just go ahead and place this on the opposite side so I don't have to work so hard with my hand. And then I'll just keep stitching all the way down just in that same way. And it really is just as easy as that. You're just going to keep making your way through. And I go ahead and I attach my red diamonds all the way around on one side. And then I come back and add the other star side to it. And it just makes it so it goes continuous and I have to cut my thread way less. So that was a timesaver for me. Um, but it comes together so so fast and so cute. And because you've left the papers in there, it gives us this nice stability. And then just like we did on the snowman, I just waited until the very end of my point here and added that little tie to the top so that I could hang it from the tree. I think it turned out really nice. And then the last couple of ideas I have for you are these little mug rugs. And so this one is made using a hexagon in the center with six of your little teardrop shapes going all the way around it. And I did take the paper out of these. And then I just top stitched it on my machine to secure it, but I've also done it where I've handstitched the whole thing. So totally up to you, whichever you want to do. And I just stitched it onto that felt and then left about a quarter inch overhang all the way around. I thought that was really cute. And so that's probably what I'll do with this one as well. And so let's talk about removing the papers since we didn't do that on the other ones. I've gone ahead and removed a few of these. But then I'll just fold back the edge of my fabric. Usually on the inside edge since that's where I have more seams together. And then I'll pull those away to remove that. Go ahead and get this middle one out as well. And just be gentle because you don't want to break your stitches. But then once I pop those out, I like to take it over to the iron. And I'm just going to fix all of these little corners here. Make sure everything's going to lay nice and flat before I go to add it to my felt backing. So, I usually press it from the back once. And then I'll flip it over. Make sure everything looks nice and press it from the top as well. And so this is just like essentially a little grandmother's flower garden block. So if you wanted to make a bunch of these, you could set it together in the cutest little Christmas quilt. But if you're just getting started, these little projects are so fun. So I'll just center this here on my felt. And so then you're just going to top stitch all the way around that either by hand or with your machine. I would do it on machine just to make it go quicker. And so you can use whatever stitch you like. A straight stitch, blanket stitch. It'd be a great chance to use those fancy stitches, maybe even have some snowflakes in there or something. And just connect it to that felt backer. And then again, we're just gonna use our rotary cutter or scissors to trim away, leaving a little bit of excess. I like how that looks to just have it, you know, frame up our block a little bit. And so that is really it. It's as easy as that. I hope you guys enjoyed this little bit of inspiration to make our fun little Christmas mug rugs and ornaments. So give them a try. Play with English paper piecing. I think you'll really enjoy slowing down and enjoying the season while you stitch. So have fun. I hope you enjoyed this tutorial and I'll see you next time. Hey everyone, thank you so much for watching at home. We're so excited to be almost a million quilters strong here at Missouri Star. And so if you haven't already joined our family, be sure to subscribe and hit that notification bell so you can be notified of all of our future tutorials. And we'll see you soon.



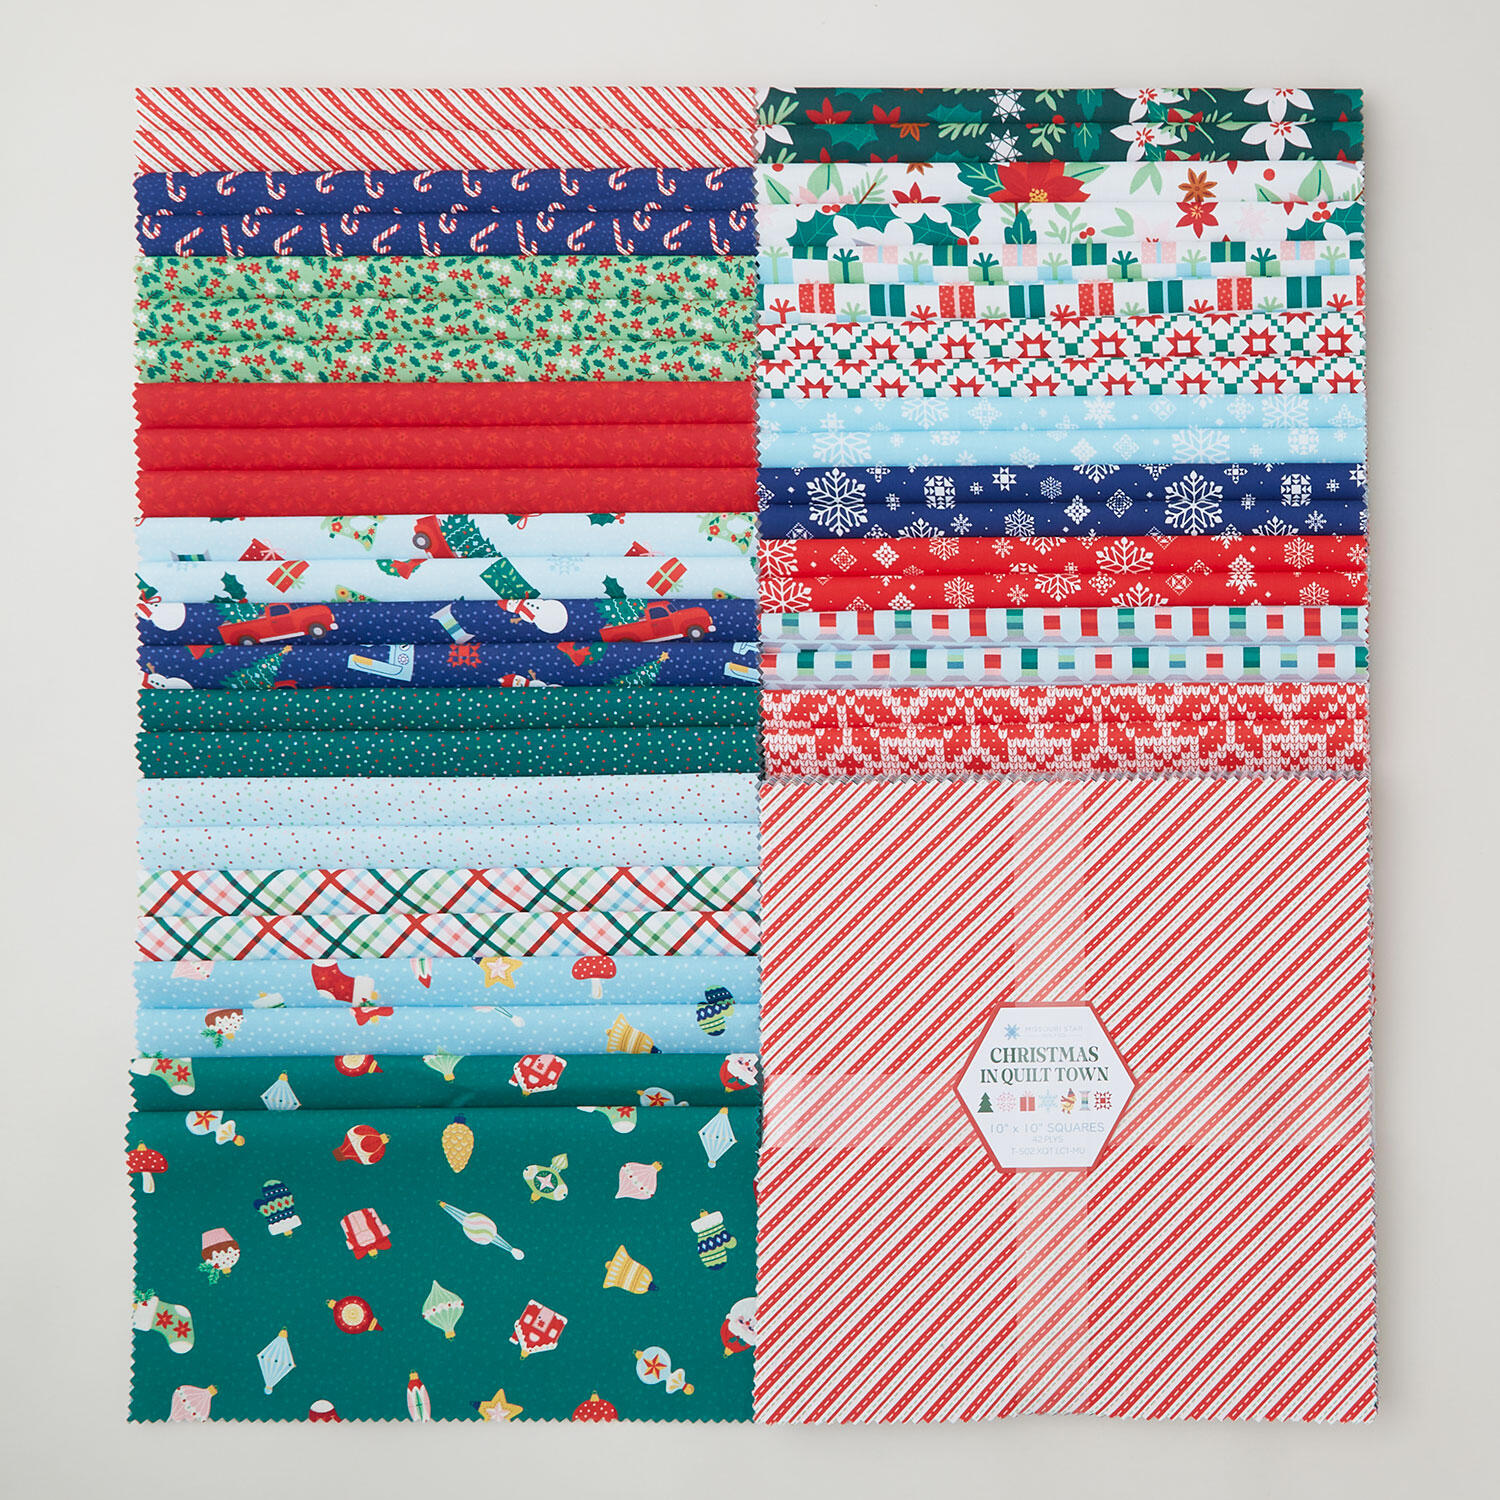 Christmas In Quilt Town 10" Squares$42.95Shop →
 Colorworks Premium Solids White Chips$11.16Shop →
 10" Felt Squares - Holiday Pack$29.95Shop →
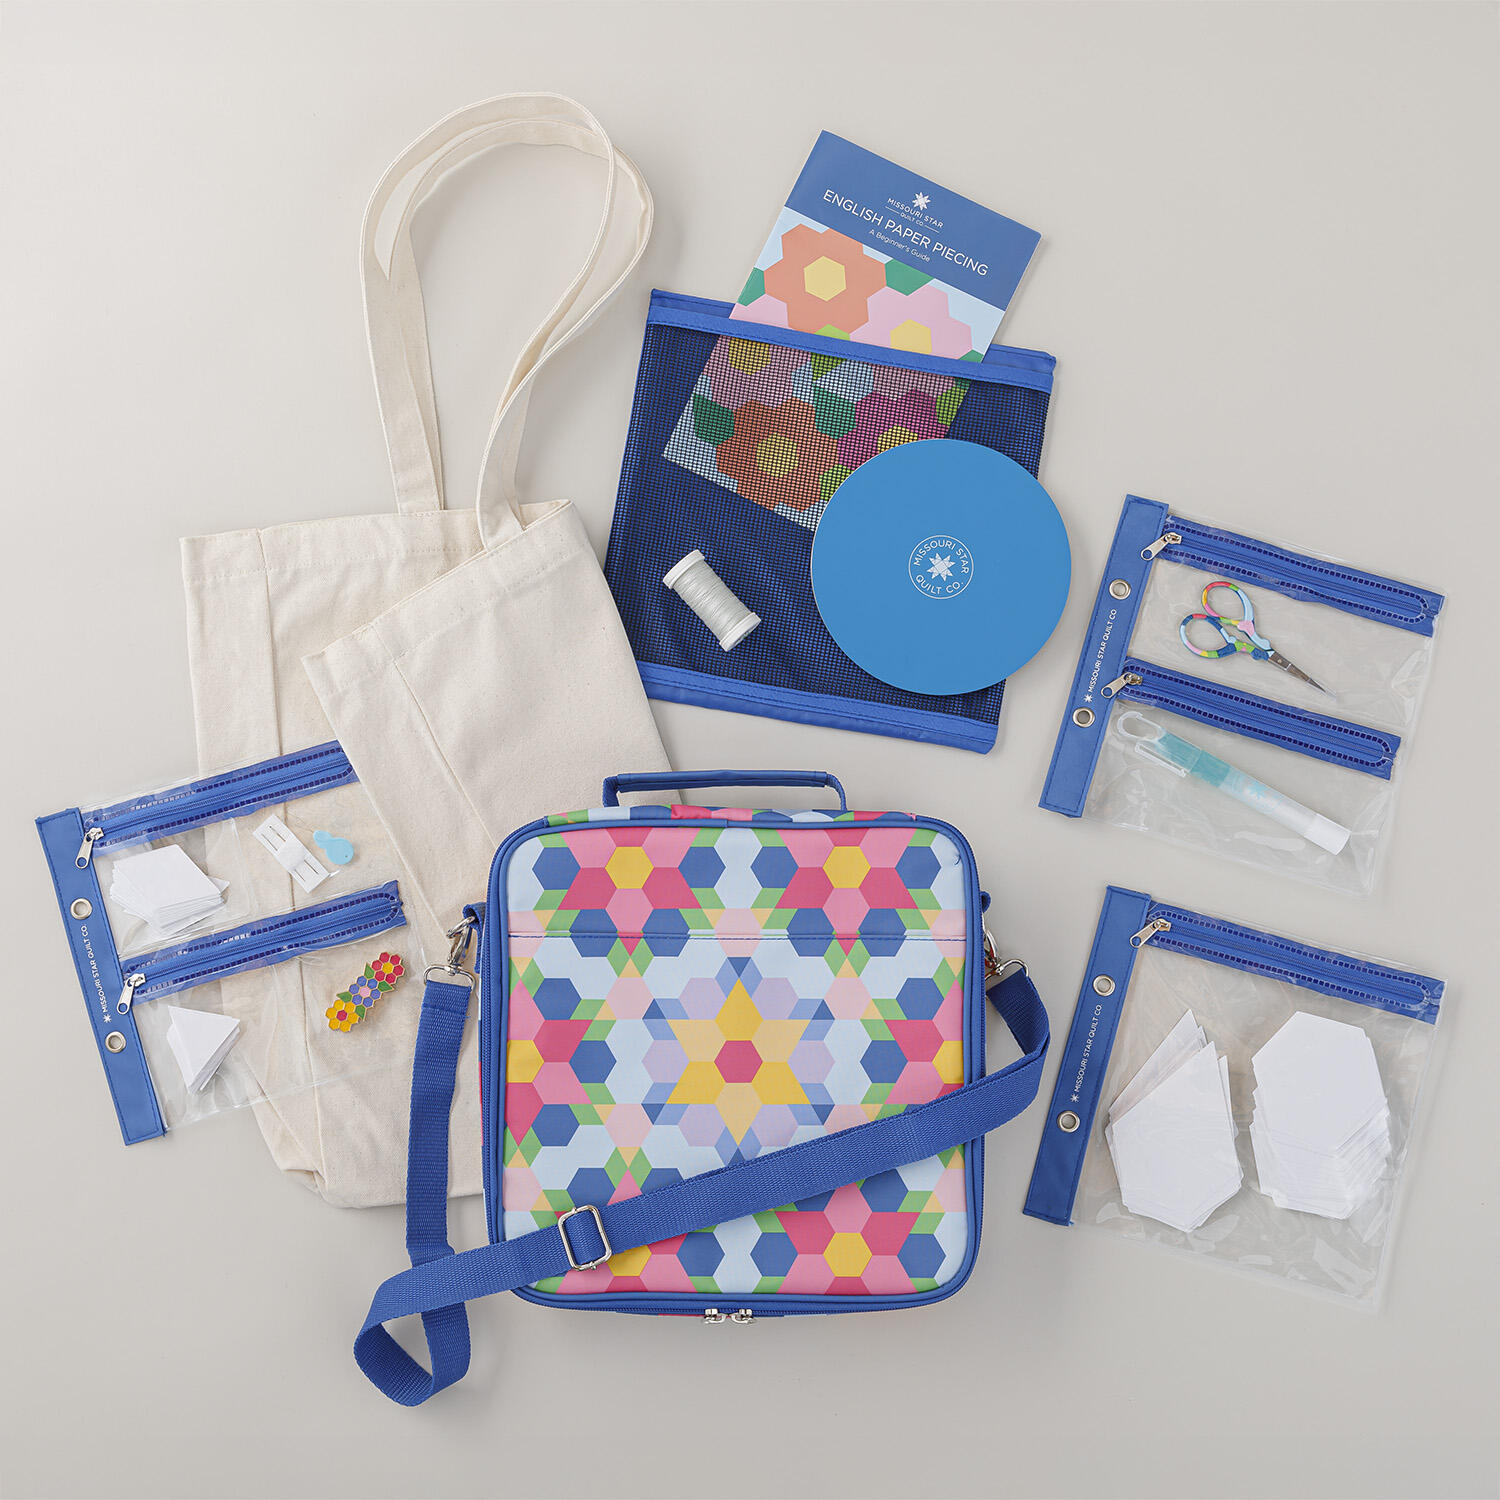 Missouri Star EPP Beginner Kit$54.95Shop →
 Missouri Star #8 Perle Cotton 10 Gram Ball - Black$3.49Shop →
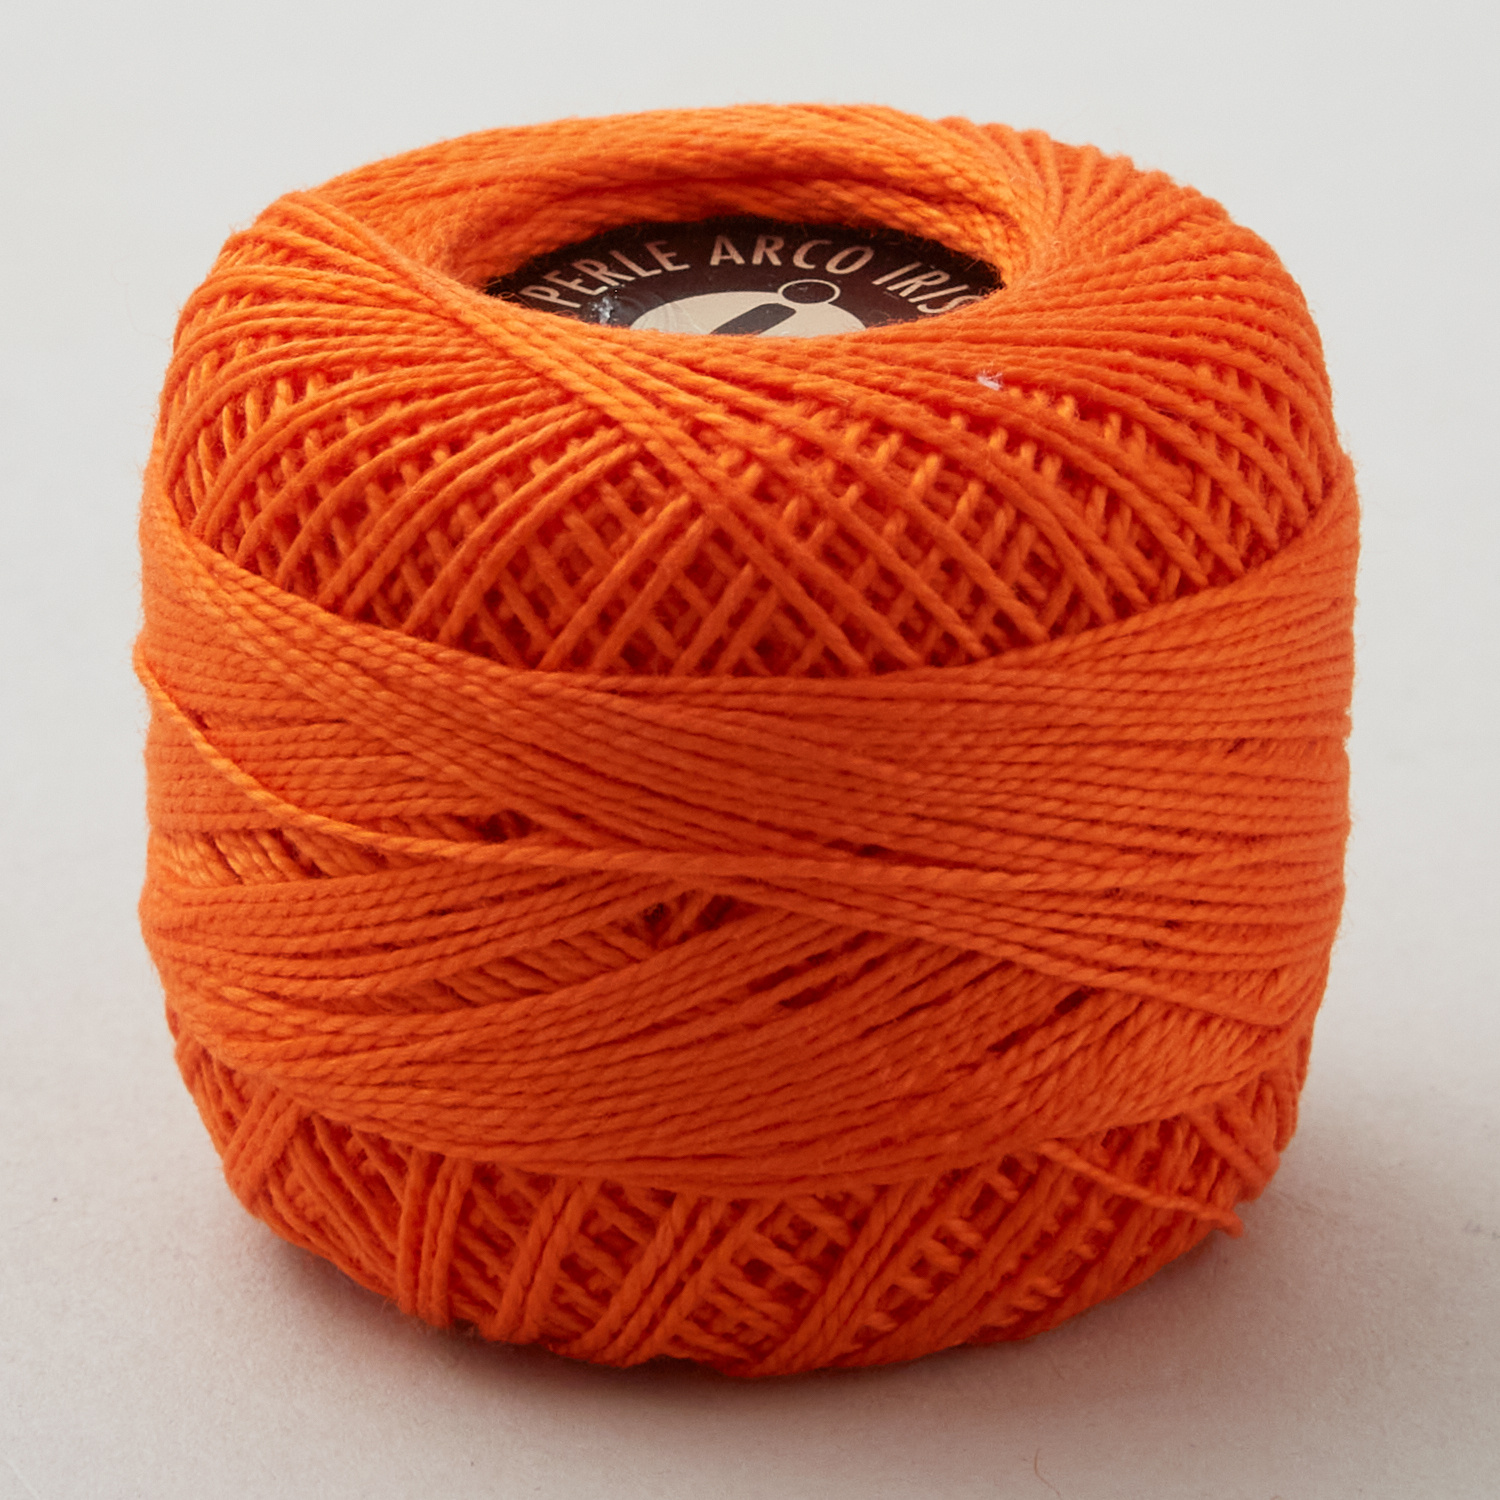 Missouri Star #8 Perle Cotton 10 Gram Ball - Orange$3.49Shop →
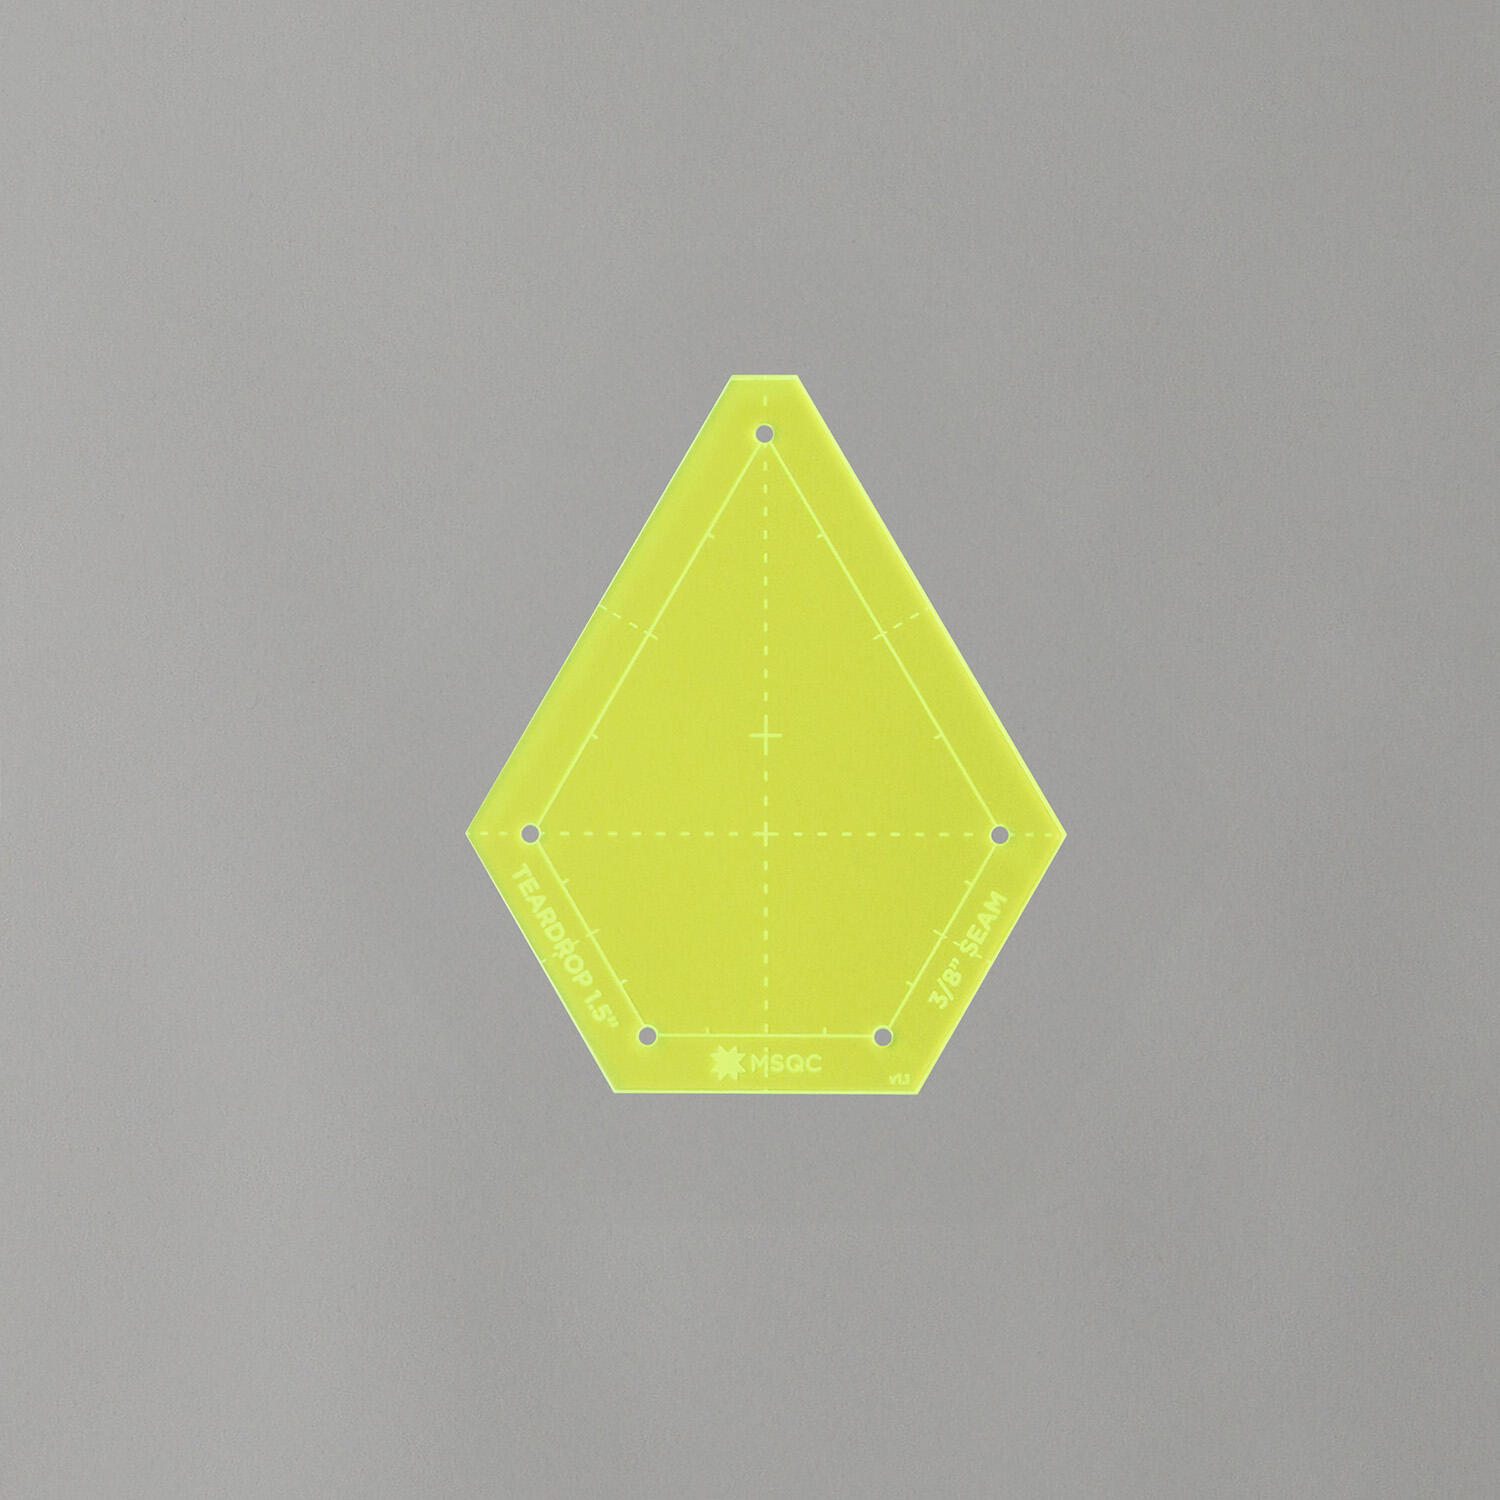 Missouri Star EPP Template 1.5" Teardrop$4.95Shop →
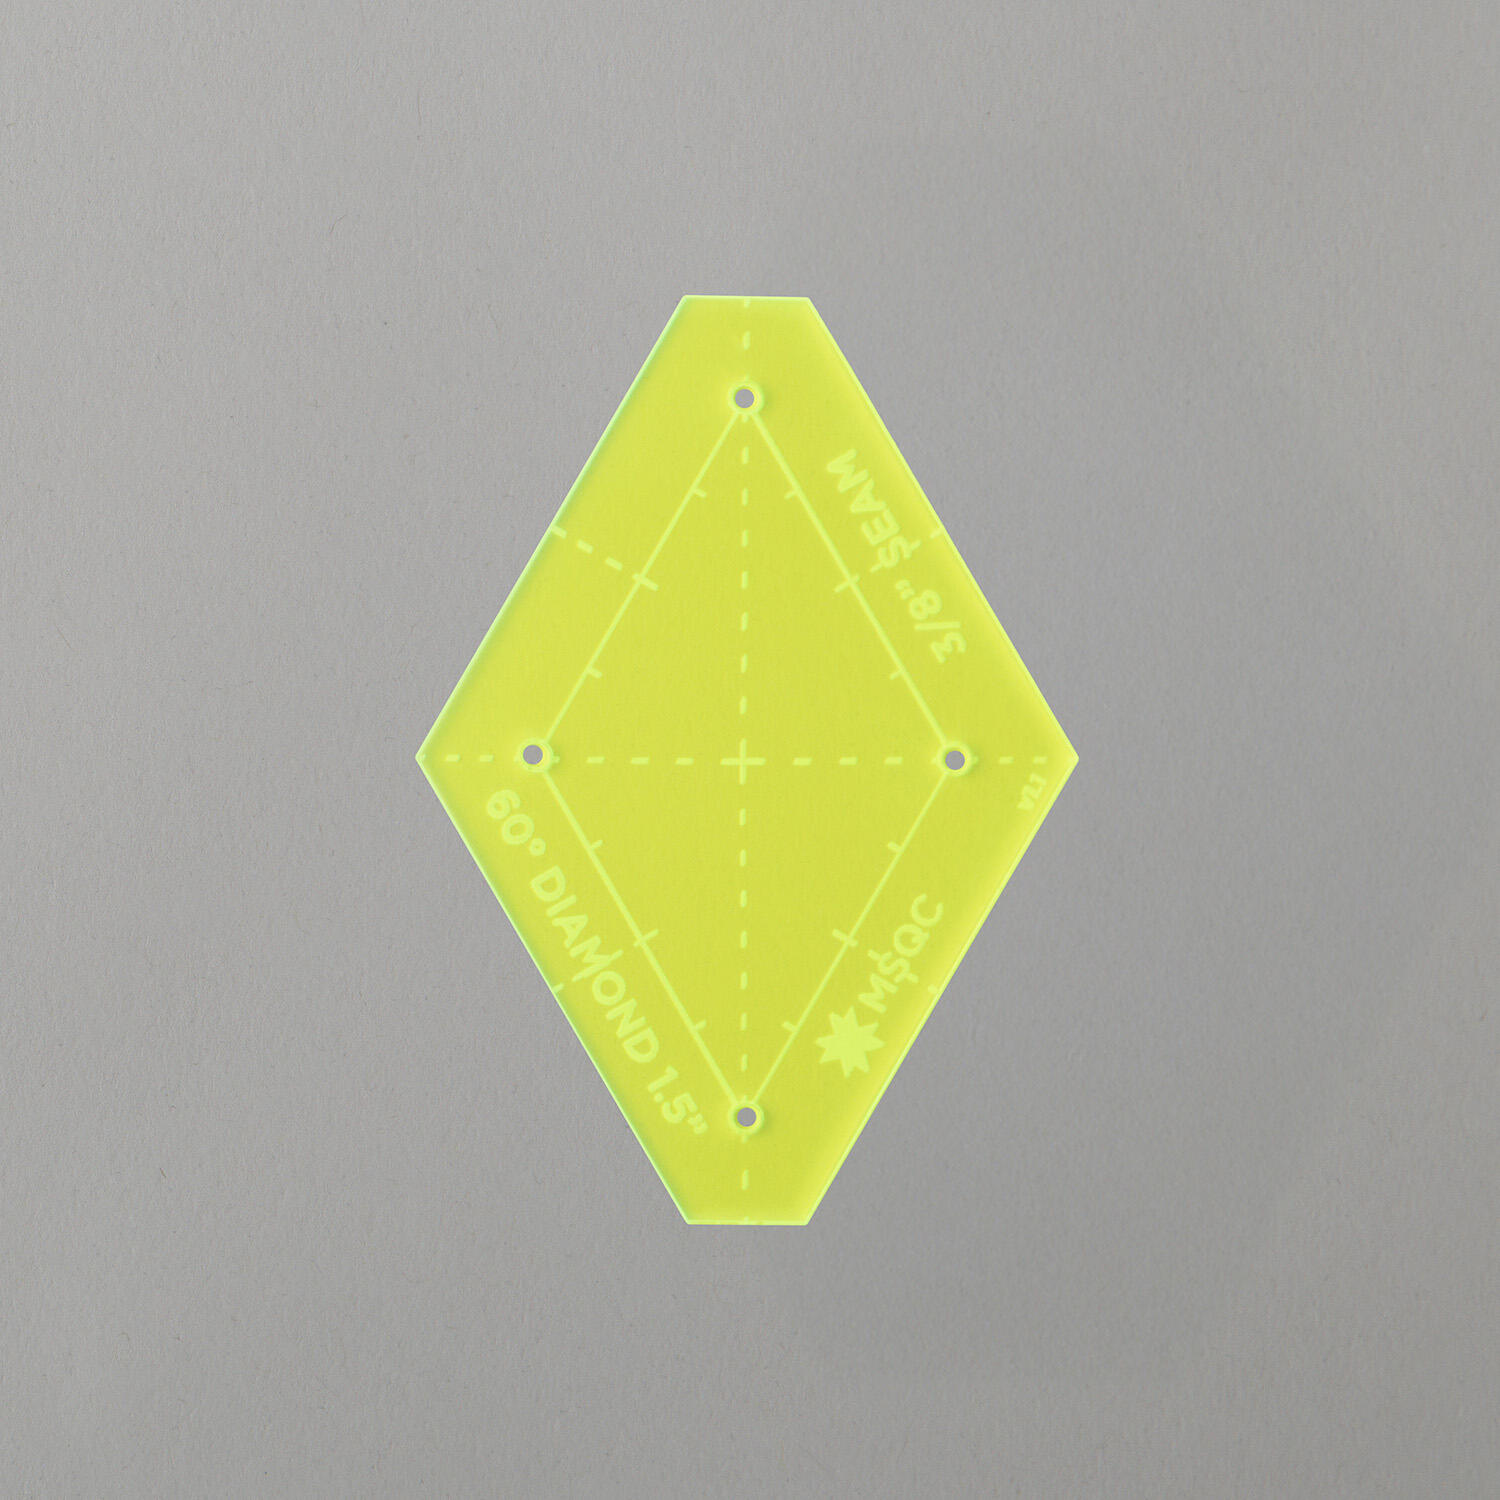 Missouri Star EPP Template 1.5" (60°) Diamond$4.95Shop →
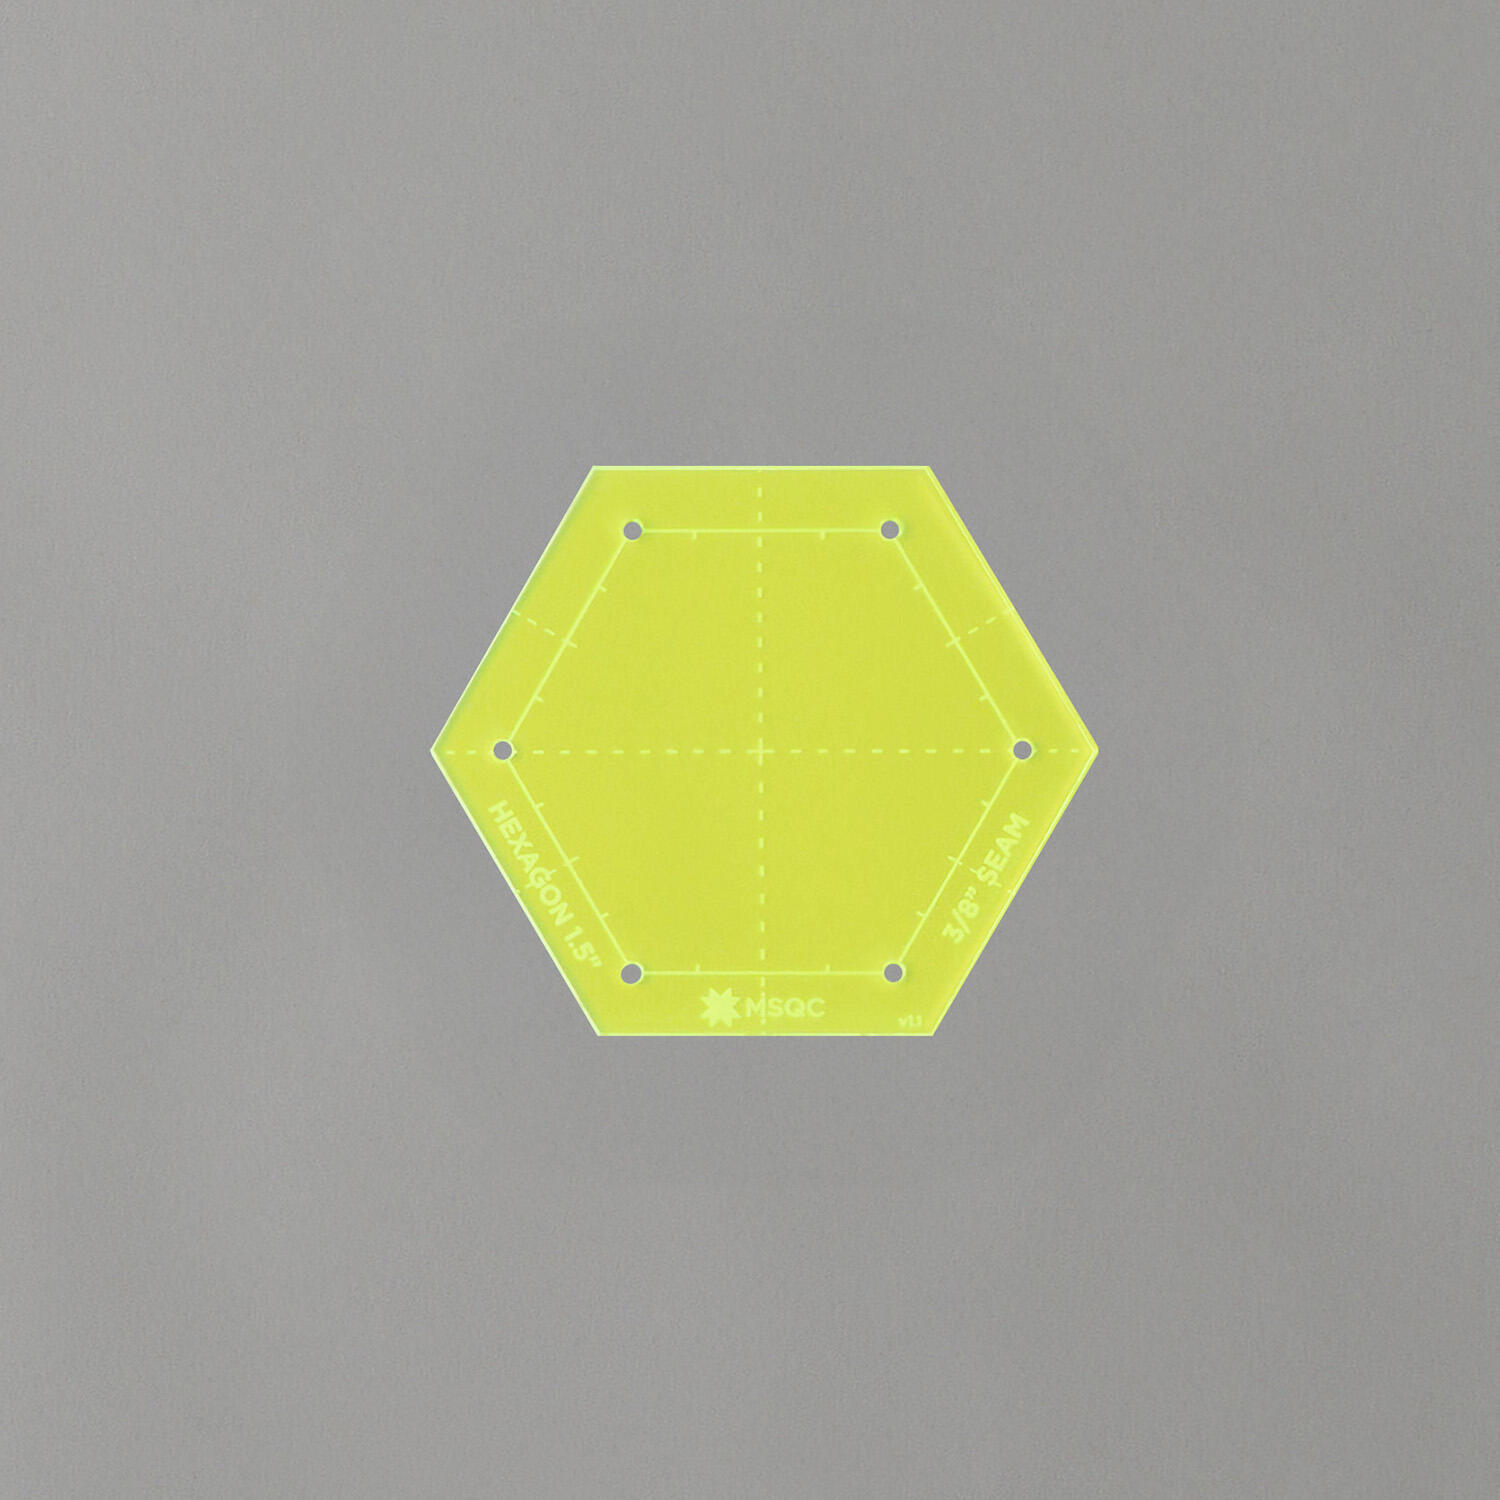 Missouri Star EPP Template 1.5" Hexagon$4.95Shop →
 Missouri Star 45mm Rotary Cutter - Olga$19.95Shop →
 Missouri Star 8" Everyday Scissors - Amelia$19.95Shop →
 Missouri Star + Oliso TG1600 ProPlus Iron$209.95Shop →
 Missouri Star Wooly Betty Board - 17.25" x 25.5" Orange Border$99.95Shop →



