
Exploding Block Quilt
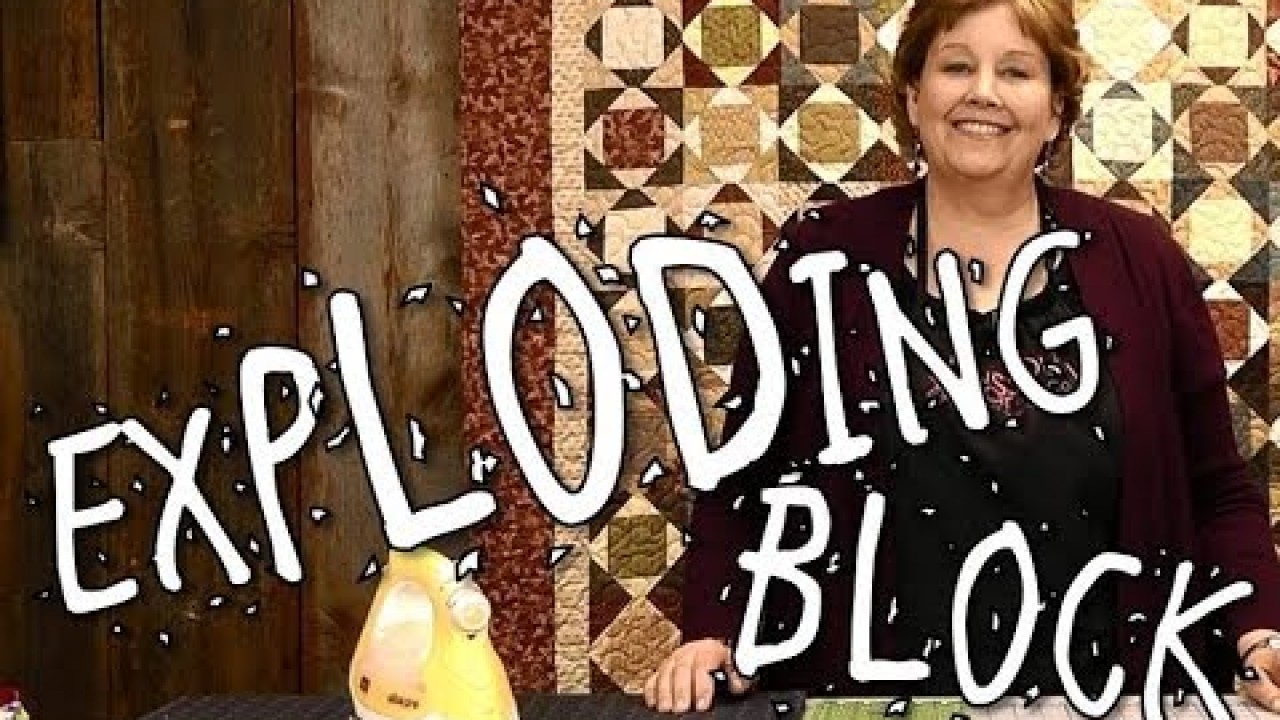
Jenny Doan demonstrates how to make a fabulous Exploding Block Quilt using Butter Pecan and Jefferson County Layer Cakes by Whistler Studios for Windham Fabrics. Or, check out our entire website here!

Instructor
Jenny Doan
Jenny Doan is an American quilter, author, and YouTube personality. Jenny started Missouri Star Quilt Company in 2008 and today it is the largest quilting supply vendor in the United States.
Shop this tutorial




Common Questions
What is covered in Exploding Block Quilt?
Jenny Doan demonstrates how to make a fabulous Exploding Block Quilt using Butter Pecan and Jefferson County Layer Cakes by Whistler Studios for Windham Fabrics. Or, check out our entire website here!
How long is the tutorial video?
The tutorial video is 00:09:42.
Are supplies listed for this tutorial?
Yes. The tutorial page includes the supplies and materials connected to this project.
Is a transcript available?
Yes. A written transcript is available on the tutorial page.
Video Transcript
Hi I’m Jenny from the Missouri Star Quilt Company. Take a look at this quilt behind me. Isn’t this gorgeous? And of course you know I love Civil War fabric. Well, we now have our retreat center here and one day this lady came in to the retreat center and said, “I have to show you this block,” and so she showed me this block behind me and it really, I mean it just, it just took my mind by storm. It went all over the place. And so I want to show you how to make it. We’re calling it the Expanding Block or Exploding Block.
So, to make this quilt behind me, I used two layer cakes. One is call Butter Pecan by Windham and the other one is Jefferson County by Windham and they’re just Civil War blocks, but I have made this in so many blocks and it’s so cute and I’ll show you that a little bit later.
But, to do this, you’re going to take your layer cakes and I have, I have a little stack of them here, and you’re going to cut them in a four inch piece. So, slice off four inches, like this. Going to slice that off and set it aside, and then we’re going to slice off a five inch section, right here. So this is, this is just leftover. And then what we’re going to do with our five inches, we’re going cut it into two five inch squares. So, right here. Make sure I’m lined up. Now we have two five inch squares and then we’re going to cut this piece in two four inch squares. So, I’m just going to straighten up this edge, right here. I like a nice, even edge. Make sure all my blocks are the same size, and I can see a little, a little light color peeking out there, so I’m just going to straighten that up and I’m going to cut that in four, and I’m going to cut it in four.
So now we have two four inch squares, two piles of four inch squares and two piles of five inch squares and you’re going to do that with your whole layer cake. So then what we’re going to do is, we are going to sew two of these together. And I’m going to sew, I have a blue one and a tan one, and a white one, and I am going to sew my tan to the, to the background fabric, to that white fabric. And, and it doesn’t need to be a background. I mean, it can be whatever fabric you want, but on this one I kind of did a light/dark thing and that’s what I’m shooting for with this.
So, let’s go over to the sewing machine. Now, we’re going to actually sew a quarter of an inch all the way around just like we do in half square triangles, but it’s just going to go right around the side. So, let me go ahead and get this ready. So now we’re going to sew a quarter of an inch all the way around this block. You can sew off the end or just pivot, whatever you’d like to do.
Alrighty, so now we have these two squares sewn together and what we’re going to do is, we’re going to draw a line from corner to corner. So, here’s our line right here, this side, and then I’m going to draw this side. This is so cool. I’m so excited to show you guys this. This is really a fun block.
So, we have the cross in here, an X in here, drawn on here, and what we’re going to do is, we are going to pull these two fabrics apart, like this. So I’m only cutting this top layer. I’m going to stick my scissor in here and I have a scissor that has like a really kind of sharp point on it, so I can just stick it in here. Otherwise, you can just pinch it up and get a cut, but don’t cut through to the other side. We’re just cutting straight out to the edge, like this, not on that side --just this top side. And then I go clear out to the edge and we do this on all four lines, like this, and then we’re going to iron this open.
Alright, here we go. So now what I’m going to do is, I am going to just roll these back and roll this back and roll this back. I’m going to roll back all four sides. So now what we have is this little block that is now set on point. Look how cool that is and it fits the size of the five inch block.
So now I’m going to take my five inch block over here and I’m going to put them right sides together and I’m going to use my... you can see how, see how this is a little off right here. I mean, just a hair off. But we are going to use this this outside block, this block we know is square. So if we, if we sew to the edge of the big block and make this block fit, you know, just give this a little tug to make it fit, then we know it’s going to end up square because the next block that we’re putting on here is square. So let’s go ahead and sew around the outside edge of this.
Alright, so we line it up and I like to put my, my, my block on the bottom, my solid block so that I can see exactly what I’m covering up, and I’m just going to, I’m just going to gently scooch the edge of this block out to the edge of the charm pack or the five inch square, I mean. What’s fun about this is you really can do it with any size square. Alright, now we’re going to sew this up
and then we’re going to bring it over here and we’re going to put our ruler on it and draw the X again. So this is on, on the block we just added, we’re going to draw the, the X corner to corner and then we’re going to cut that. So, I’m going to carefully slide my scissor in under, just cutting through this top fabric. Not the back fabric, just the top fabric. And one more side. And then we’re going to come over here and iron this out. And we just lay the pieces out, like this. Look how cool this block is.
Now, for this quilt, all we did was these two squares. We did a four inch side, four inch blocks sewn together, and cut the top. Then, we added the five inch block and cut the top, but you can do this with any size block and add as many layers as you want. So, it can get really big. You just remember you’re matching it to the next one.
I want to show you this one. This one I started with a two and half inch square and you sew a two and a half square to the top and then you go to the next size and you go to the next size and, really, on this one, this one was complete scraps. And so what I did was, when I figured out what size this, this block was, after I opened it up, I would just, you know, measure it and cut out the square that I was adding to the top of that to fit it. So, it can go any size you want.
Another thing I want to show you is, over here, I’ve made this baby quilt and it’s out, it’s out of a line called Spring Showers by Windham, and it is also the same block. So we used the color in the center, sewed this four inch center block to the four inch white block, drew the X, cut the X, ironed it back, then added it to the five inch outer square, cut that square, ironed it back and you get a block like this. Now, I want you to notice, you do lose your points, but that’s part of the charm of the block, I think. It just gives it kind of that rounded look.
So, to finish this quilt you’re just going to keep making blocks and you’re going to make them, and when you get them all done, you’re just going to put them together in rows. Mine are nine rows by eleven rows down. So, that’s like ninety nine blocks, and it just works out really cute. I used about three quarters of a yard for the inner border, it’s a two and a half inch inner border, and I used about a yard and a half for the outer border, which is a five inch border. And so it just comes together really good. The quilt ends up being over sixty five by seventy eight and it makes a good sized quilt. So, we hope you enjoyed this tutorial on the Exploding Block from the Missouri Star Quilt Company.



