Skip to content

Free quilting video tutorials from Missouri Star

Quilting Tutorials
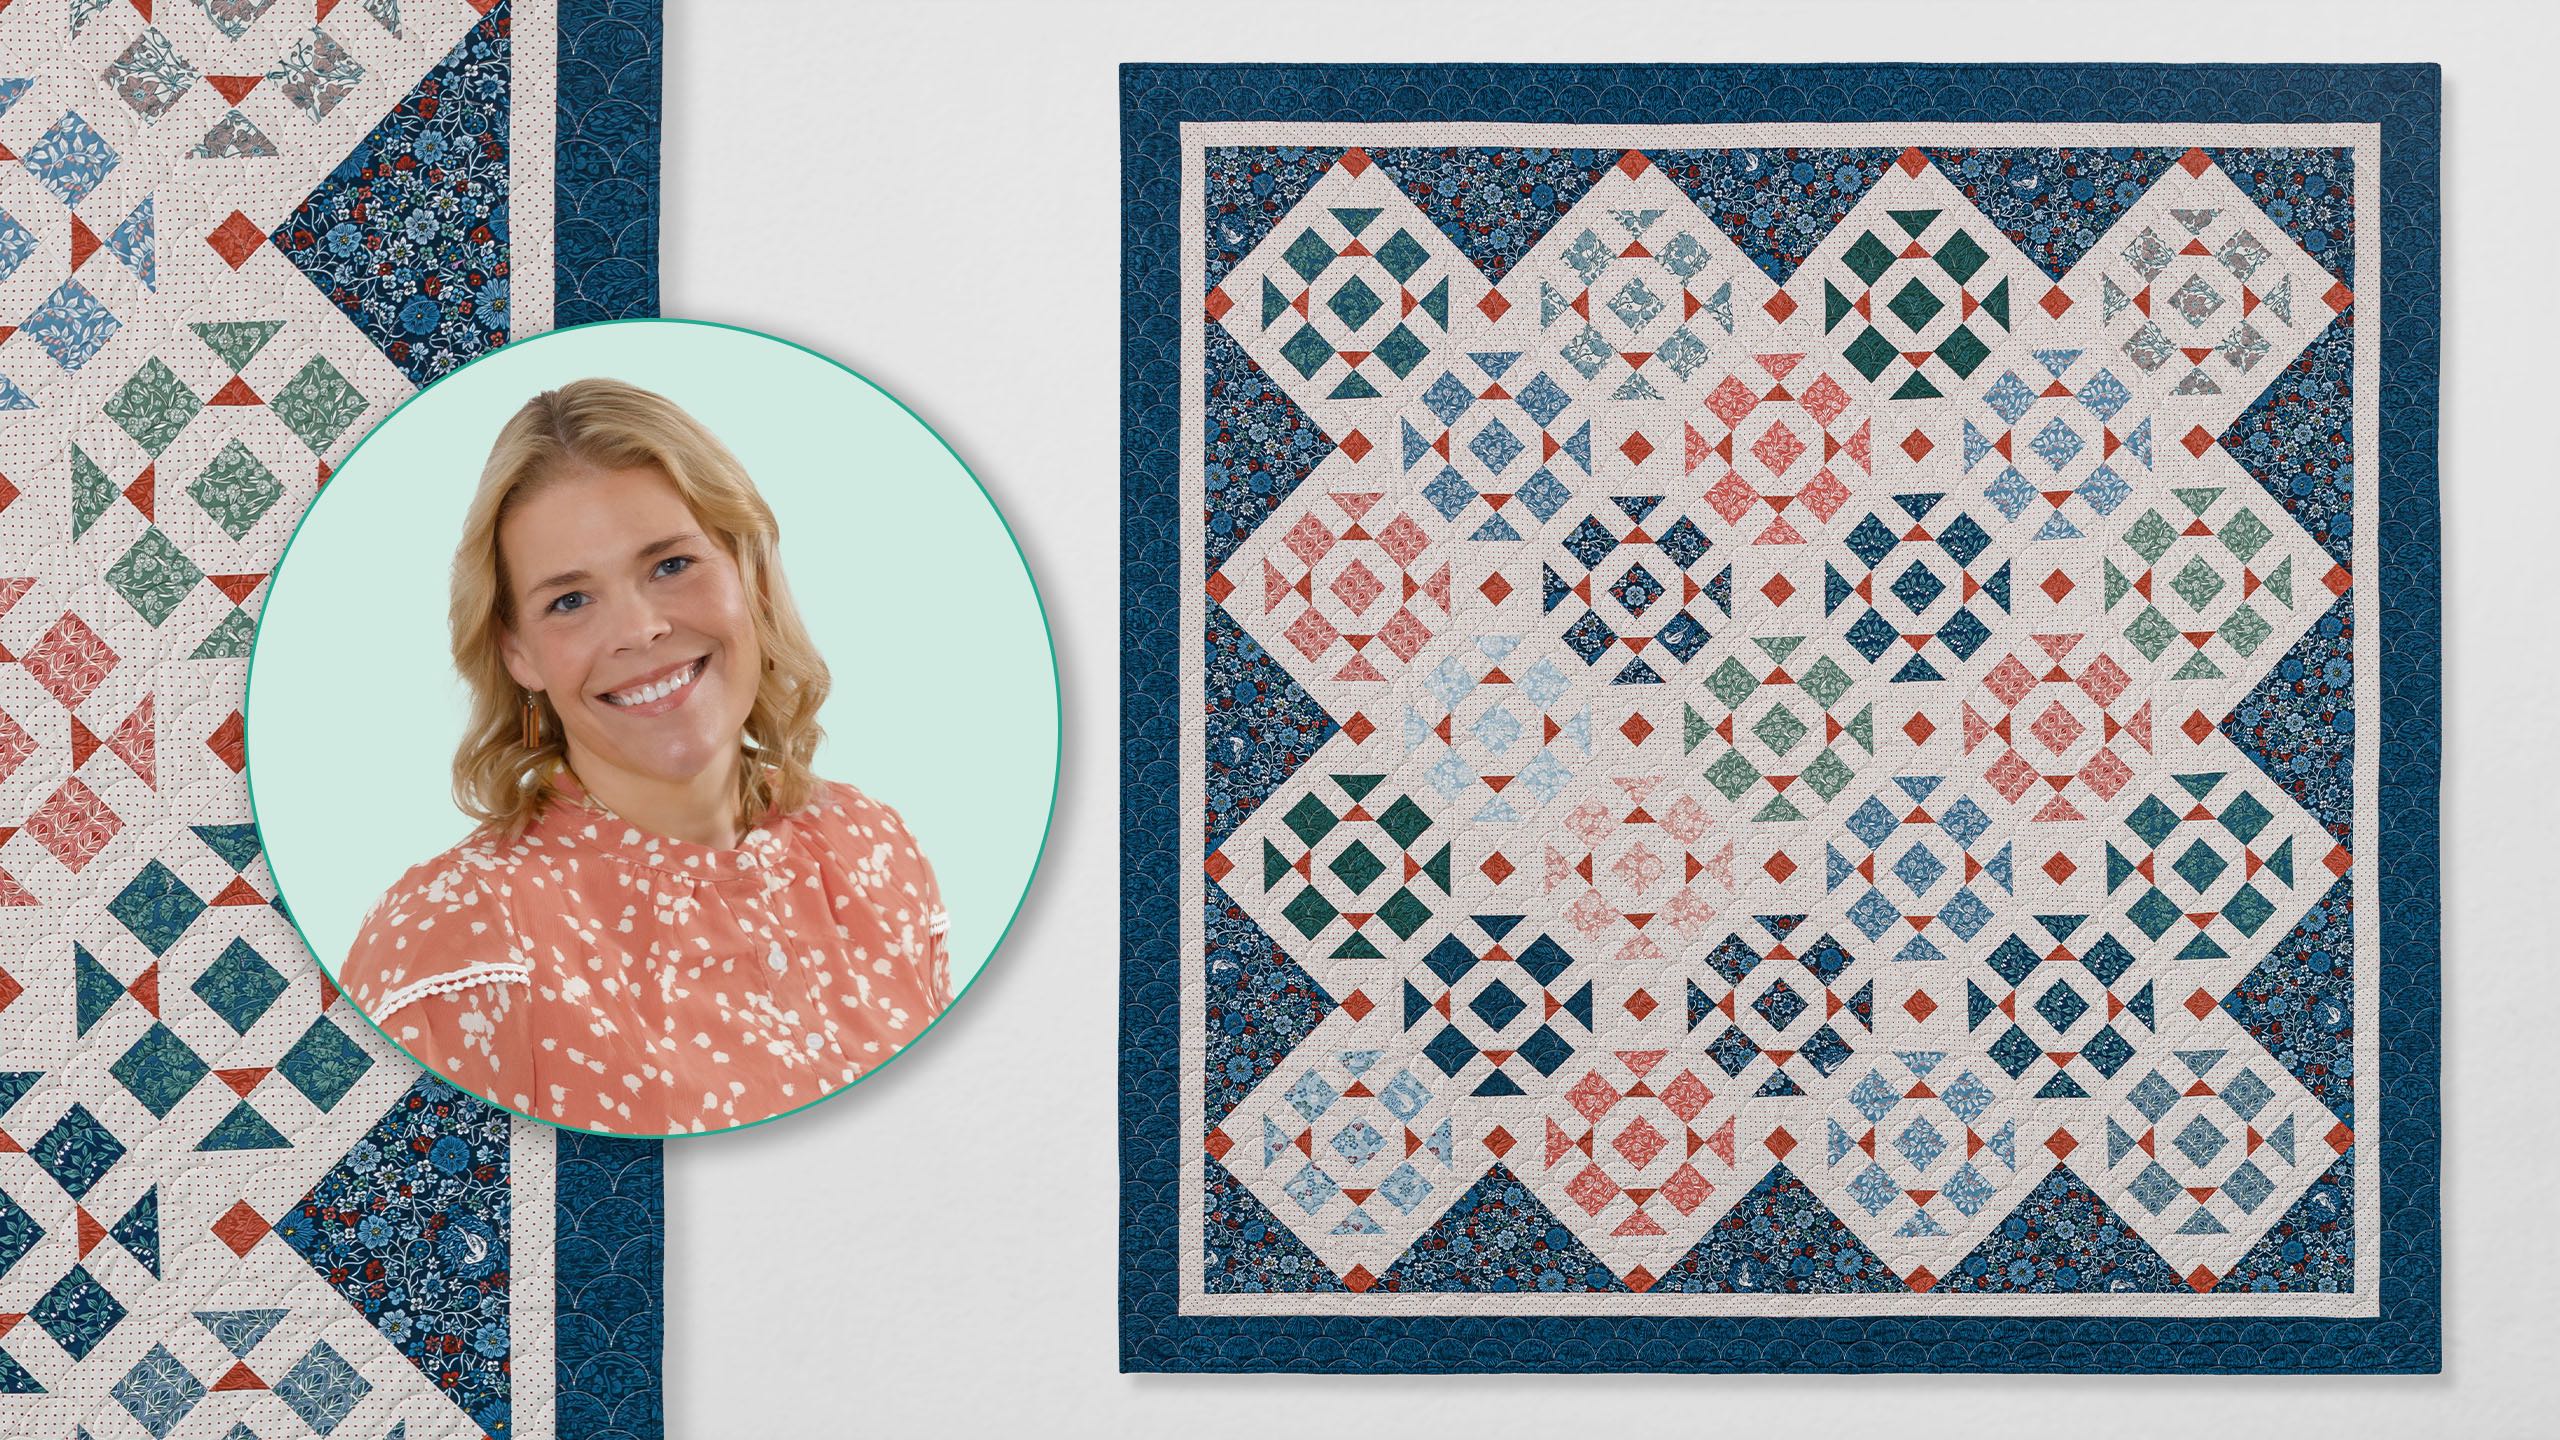
Family Affair Quilt

Family Affair Quilt

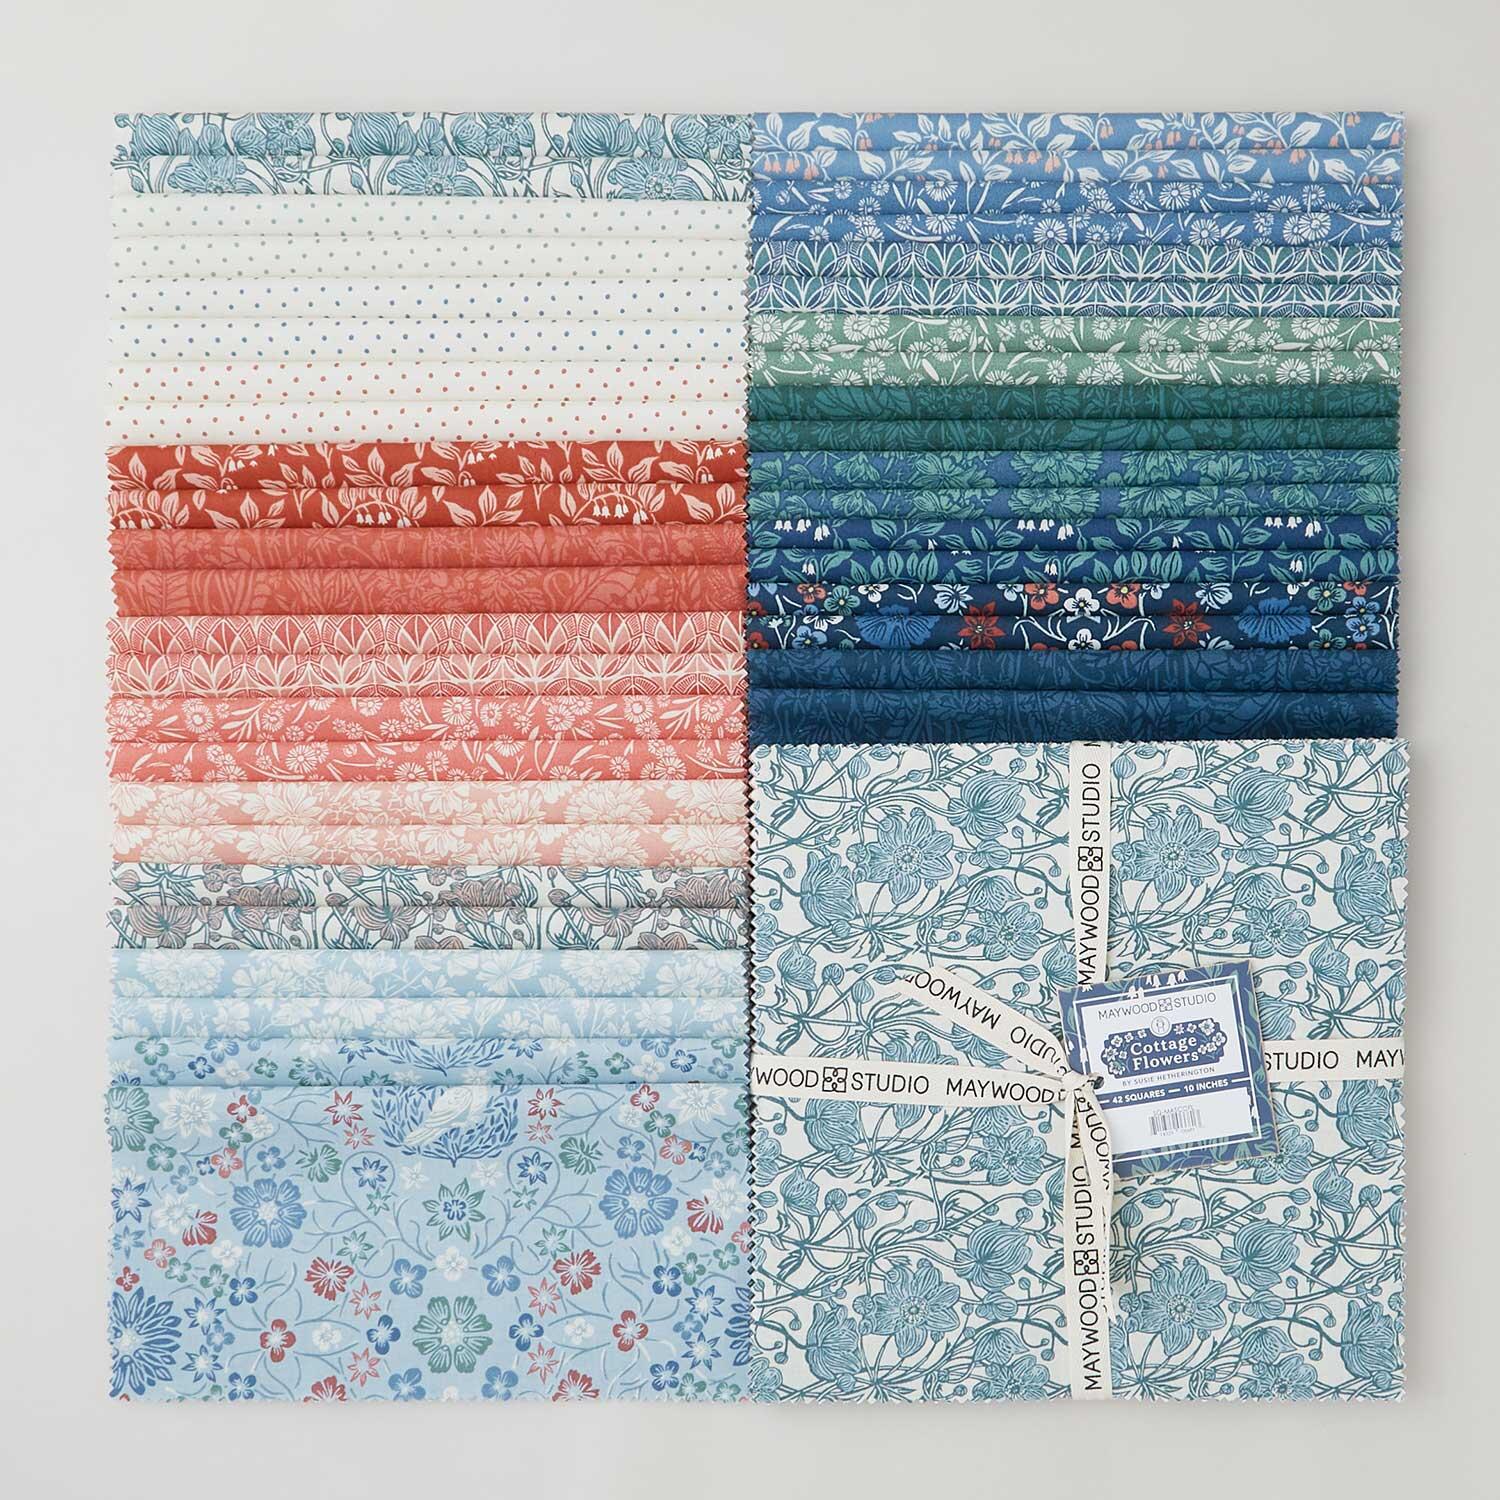
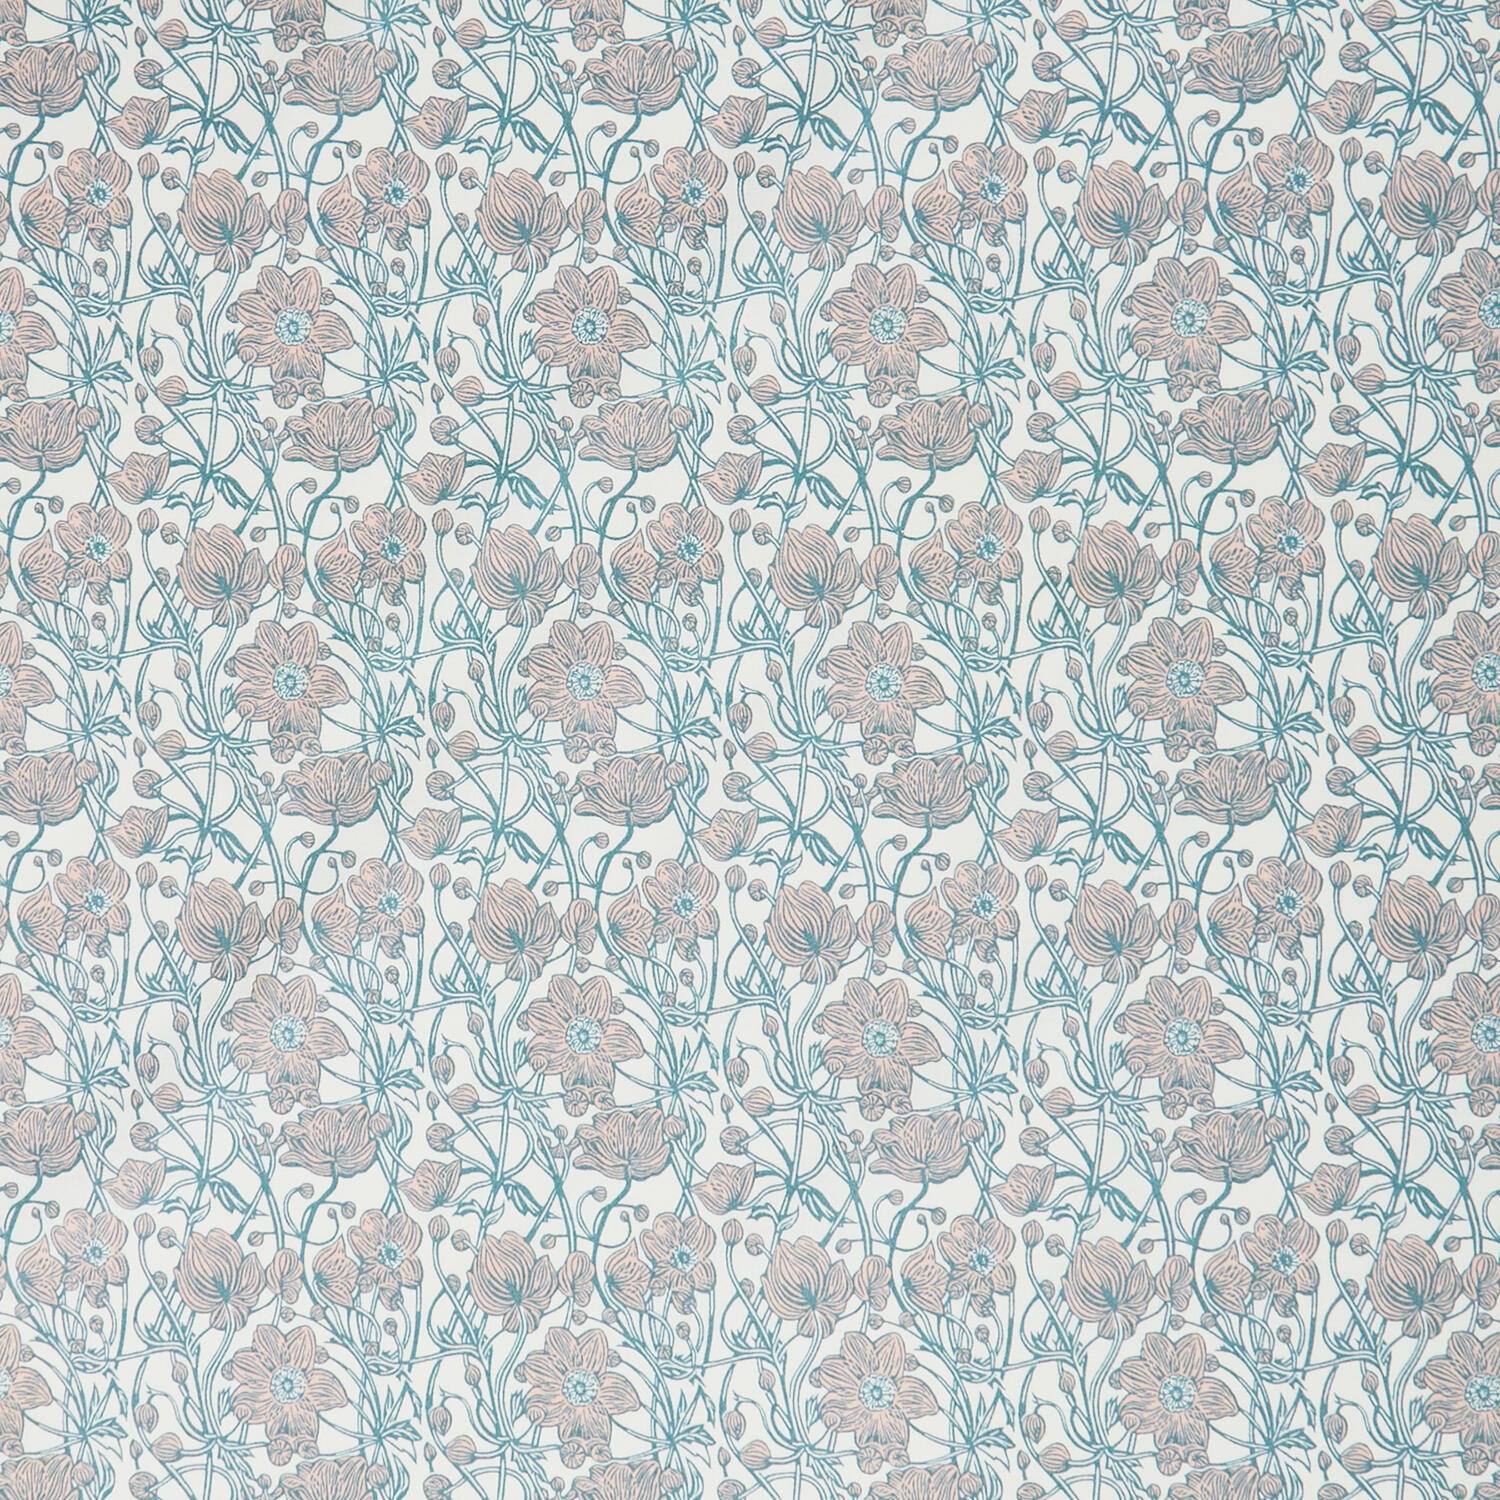
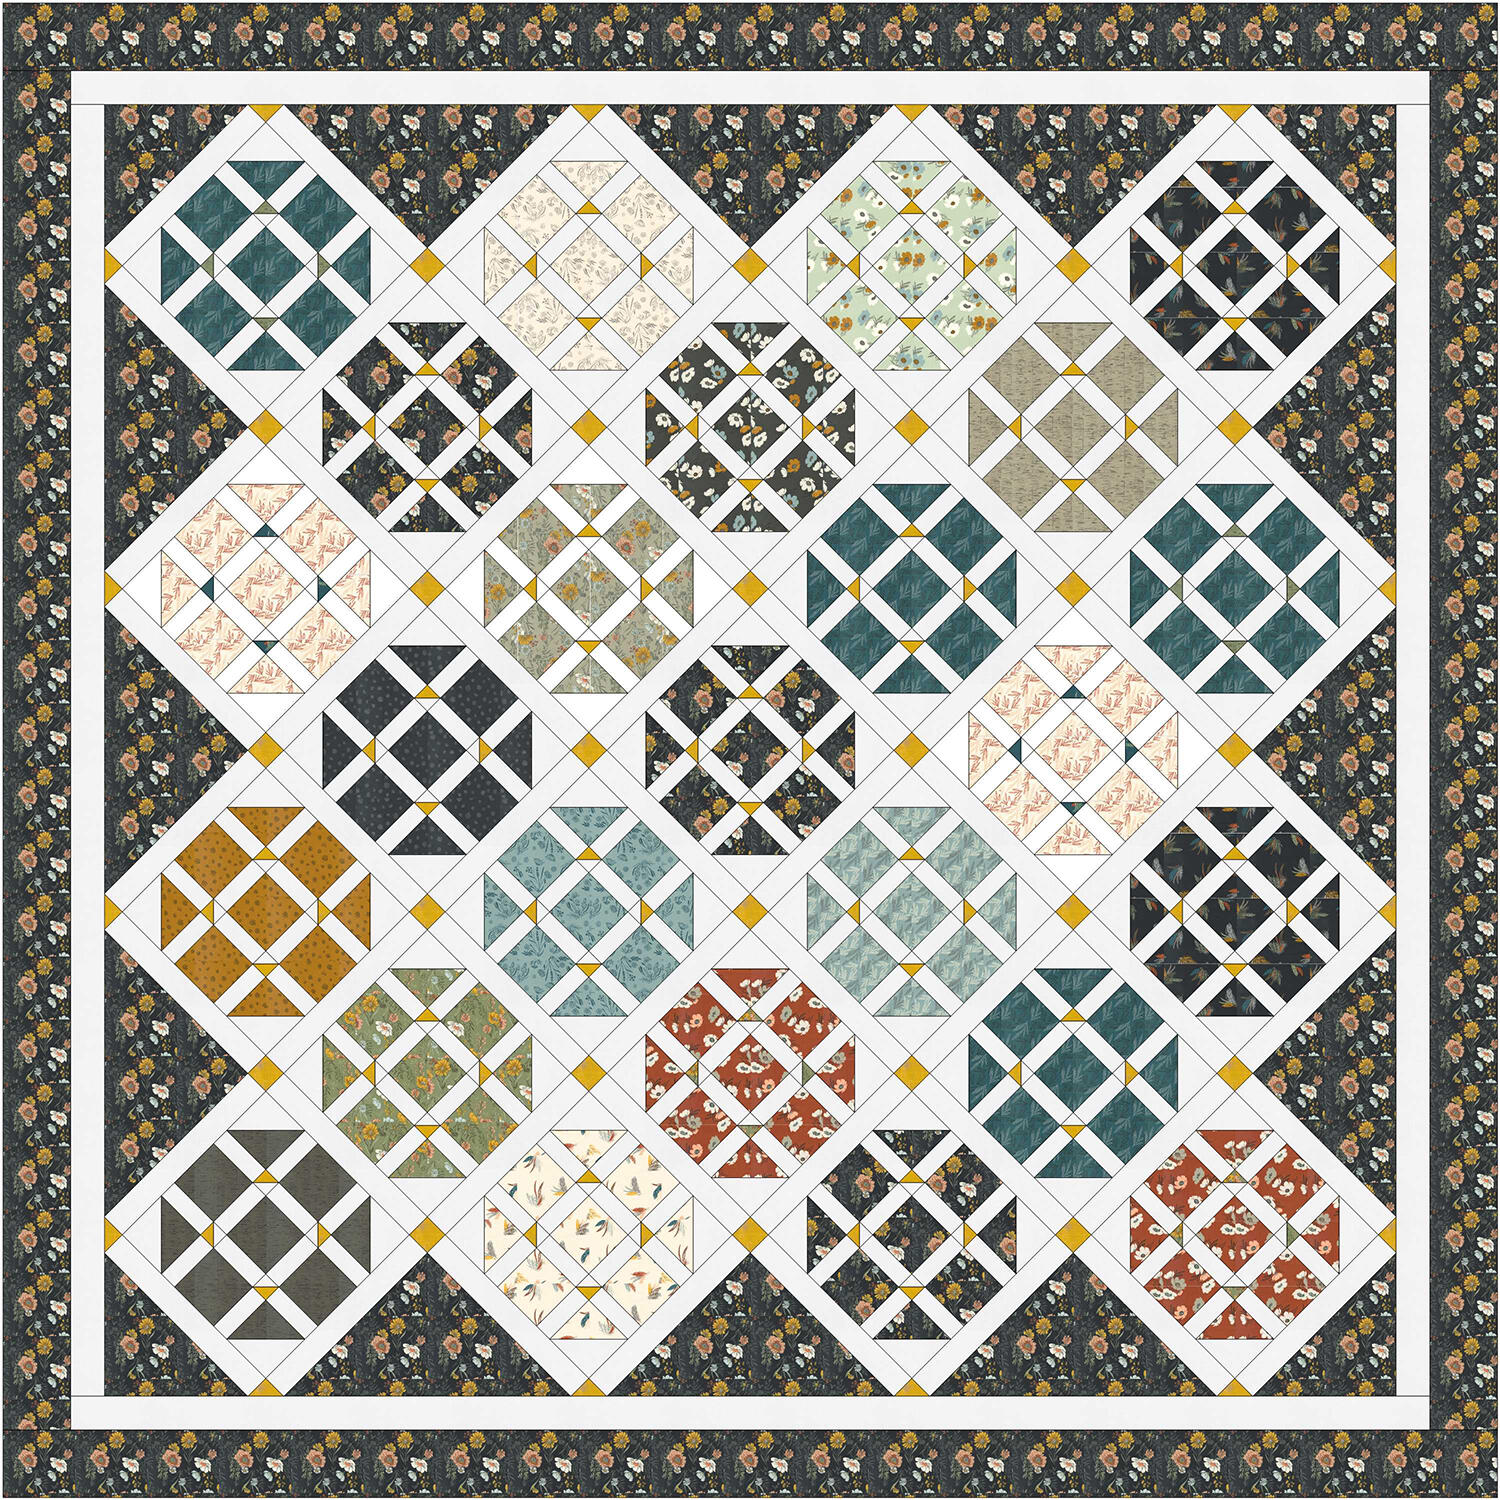
Michael Nardi stumbled across Jenny’s quilt tutorials during a difficult time—and his life was transformed. Quilting gave him peace and purpose. (Can you relate? We sure can!) Just thirteen years later, Michael is owner of Bryn Mawr Quilts. And today, he’s in the studio with the fabulous Family Affairs quilt. This pattern is based on an old block called Dinner for Four. It’s made with precut layer cake squares from Cottage Flowers by Maywood, and each block is set on point!

Instructor

Natalie Doan

Natalie is the host of Quilting 101, Embroidery 101 and the Creative Strategist and Editor of Block Magazine at Missouri Star Quilt Company. She was taught how to sew by her mom, of course, and began quilting when she grew up.

Common Questions

What is covered in Family Affair Quilt?

Michael Nardi stumbled across Jenny’s quilt tutorials during a difficult time—and his life was transformed. Quilting gave him peace and purpose. (Can you relate? We sure can!) Just thirteen years later, Michael is owner of Bryn Mawr Quilts. And today, he’s in the studio with t...

How long is the tutorial video?

The tutorial video is 00:27:36.

Are supplies listed for this tutorial?

Yes. The tutorial page includes the supplies and materials connected to this project.

Video Transcript

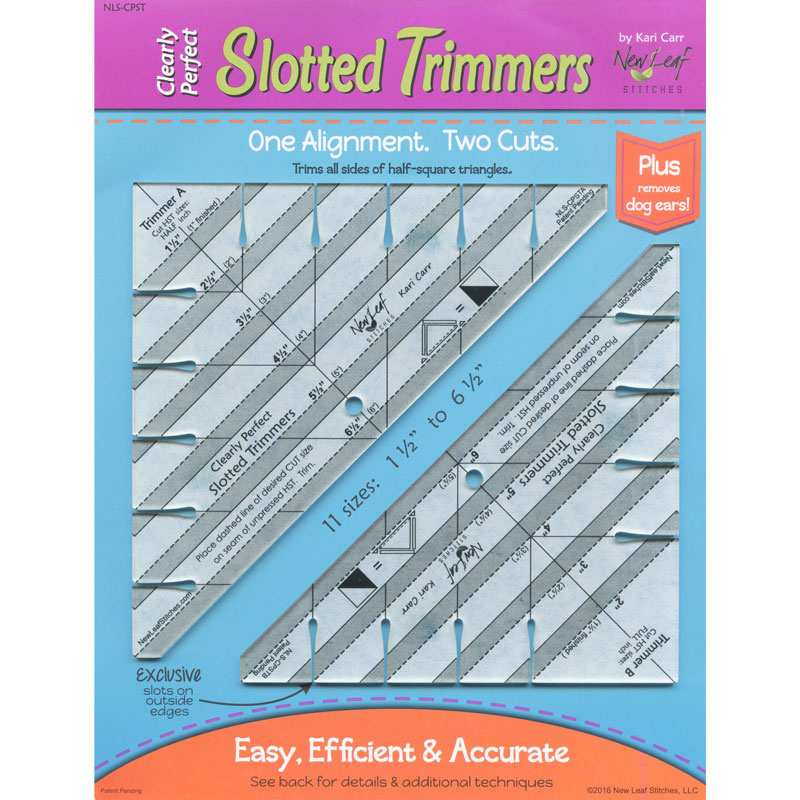
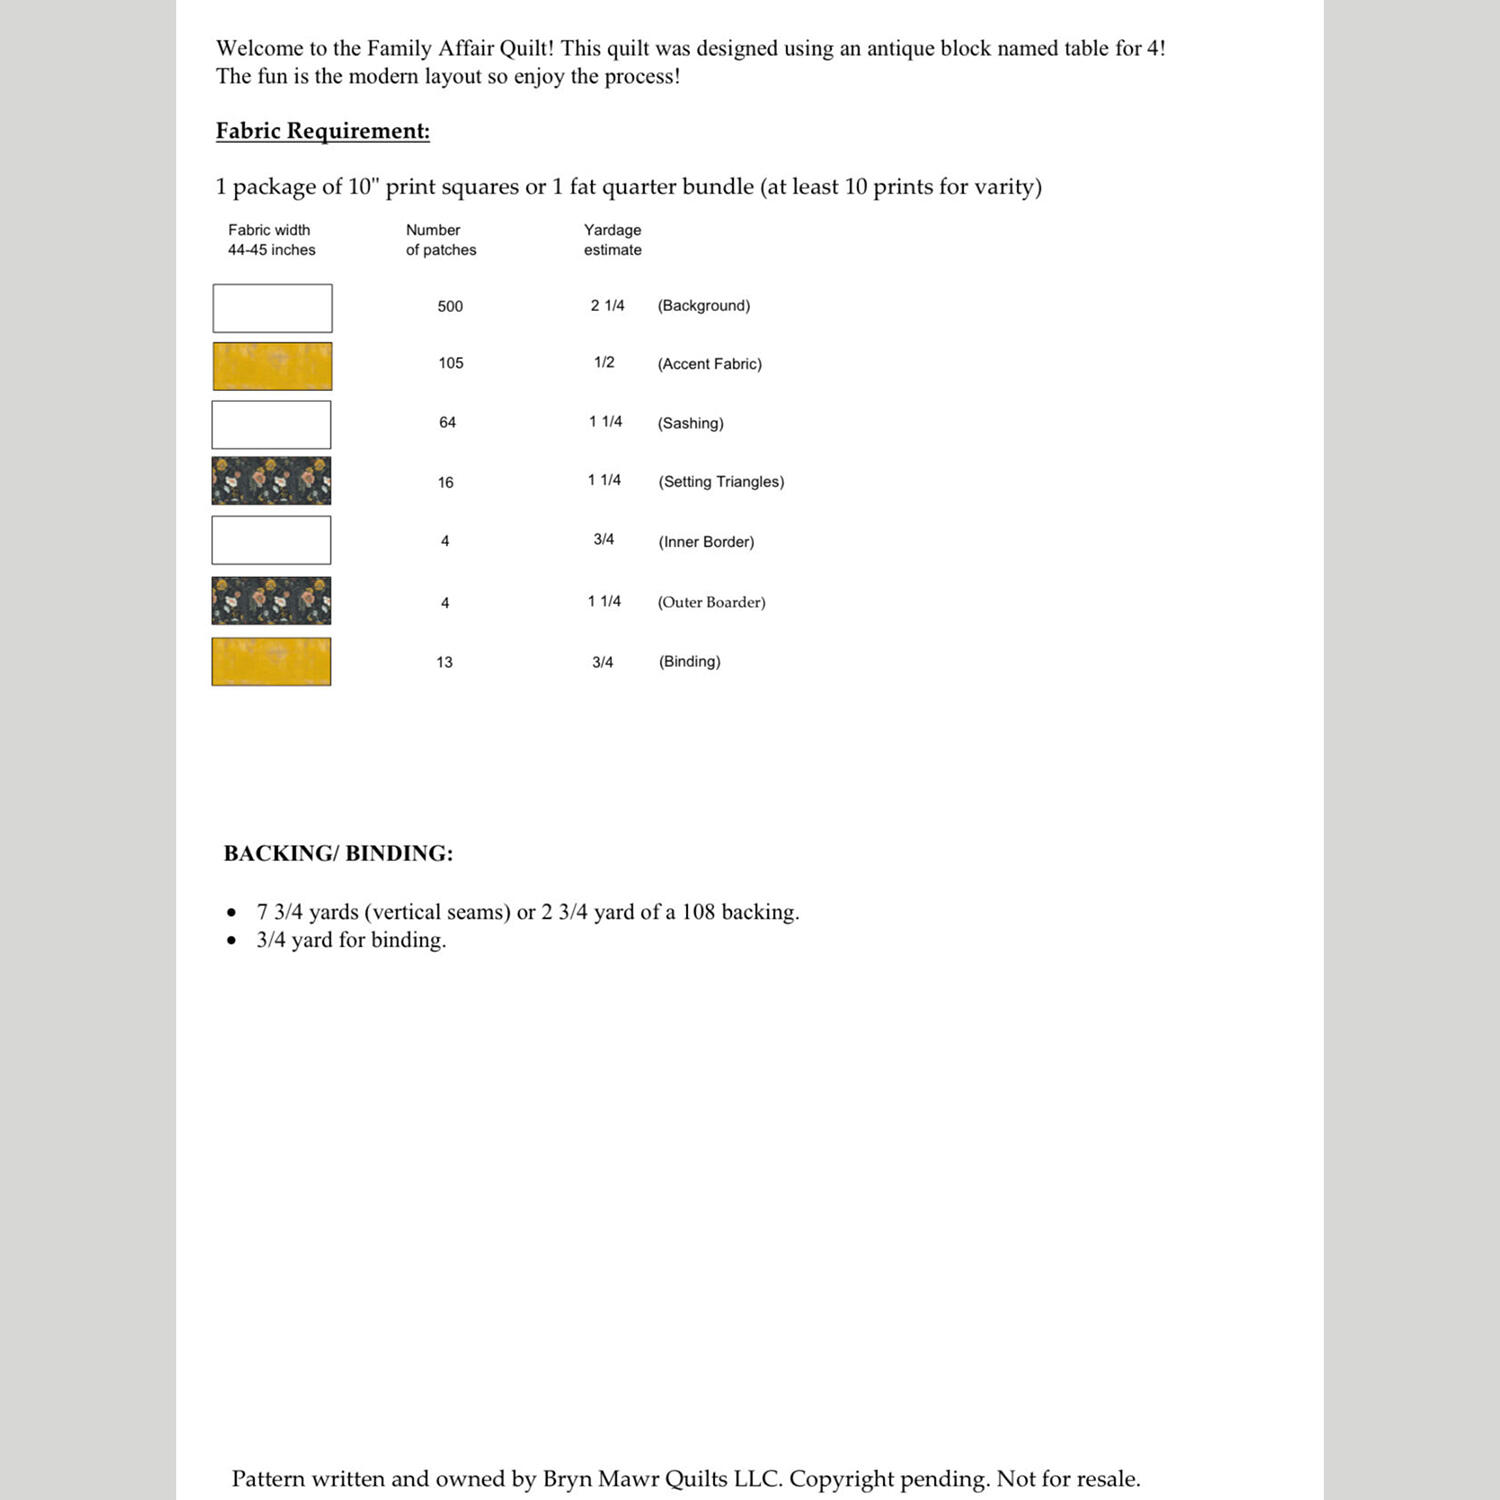
hi everybody i'm Natalie with Missouri Star Quilt Company and today I'm joined by Michael from Binmar Quilts hi Michael it's so glad to have you on set today i'm so excited love your work you've been designing for a long time right yeah about six years now thank you okay what brought you to quilting what brought me to quilting well it's a long story actually and it involves your mom oh okay okay oh yeah I got to I discovered her in a very difficult time in my life and it just clicked and it was just a beautiful quilting is therapy for lots of people it's so great for sure for sure so relaxing so you started designing quilts and we've got one to teach today called family affair yes it's beautiful it's one of my earliest designs and I absolutely love it and it comes together so quickly and so easy anybody can do it i love that you um adapted it to a pre-cut for us that's so cool for sure and it it gives you a lot of versatility when you use a pre-cut so I love it all right can we see your original yeah of course here we go i always love to show quilts in different fabrics if we can because it gives people that creative license to use your favorite line instead of trying to make it exactly like the And I love the fall so that's why this is designed in that really cool and it's just really beautiful it's a lot of fun it was an e like I said easy quilt to make and I'm excited to bring it to you today all right i can't wait so Michael what do we need to make this quilt so for this quilt you will need one package of 10in squares and we have chose Cottage Flowers by Susie Heatherington for Maywood Studios mhm we have an half yard of accent fabric and that's for our little half square triangles yep and the little cornerstone see them on the quilt beautiful uh-huh and we have for our setting triangles we have 1 and a4 yards for those nice and we have taken our background sashing and inner border are all the same fabric okay and for the background you need 2 and 1/4 yards for our sashing it's 1 and 1/2 and for our inner border it's 3/4 of a yard so you could use different fabrics you could use different fabric but it looks really great with them all the same yeah for sure that's very cool make it your own i love that i love that idea and for our outer border we have 1 and 1/4 yards of fabric and for that we used a print from the line it's so beautiful for the backing for the backing this is beautiful i love it so that is 7 and 3/4 yards 7 and 3/4 if you use the line correct but if you wanted to use a 108 Yeah you can do 2 and 3/4 yards perfect i love that all right well let's get started started yeah i'm excited all right so this quilt you said was made up with one block it is it's one block it's right here as you can see and just because you put it on a diagonal it gives it so much movement it takes a very simple block and makes it look like you worked really hard and you didn't and that's what I love about it i love the illusion that it gives yes so I think using the same fabrics for your sashing and background also kind of makes everything blend together it's so beautiful like little stepping stones nice so will you show us one of these blocks and then we'll figure out so this is the block as you can see it's much easier than Yeah I love that it's really nice and it's you're going to treat it like a giant nine patch essentially cuz you're going to be sewing in rows so your pattern comes with a great cutting diagram it does it does so what I did was is I took the liberty of taking the back of the layer cake and I drew it out to where you can see each cut in that layer cake but you don't have that you have that in the pattern already yes in the cutting diagram so you can see exactly how to cut that and it makes it easier I think for everyone so I think that's great all right well let's grab a square and get started it's time to dive in yes i'm excited can't wait here we go so here's your 10in square mhm and so what you're going to do is you're going to follow your cutting diagram that I have placed in the the pattern and then we're just going to go right in yes page two for sure okay all right and so I'm going to make sure first this is pink so we're going to make sure it's double check your size yes exactly perfect they are 10 in so the first cut is going to be a 4 inch cut i'm lefty so I'm going to be working the opposite direction m so we're going to cut this first piece and that's that we'll put that aside for now and then I'm going to cut in two more strips of 3 in nice okay so three and then we'll measure make sure yep that's three so then what I like to do is I'll turn these and I'll put them together so we can get our cutting done faster i put the two together yeah i like to stack things up yeah it makes it easier honestly I would probably stack up several layer cakes and cut them at the same time just to get this cutting done quicker i can usually do about four without any trouble especially for you know when you're just doing your like background cuts and stuff like that or or things like this if I'm cutting if I'm squaring I'll never stack for squaring just so you know oh yeah no no me either but that makes sense but for me I because of the way that my brain works I like to work one block at a time so I'll do all my cutting from onein square and then make that block and move to the next it just keeps it keeps track for me when I'm doing it so I just cut them down to 3 in squares uhhuh and then here's your little bit of waste a little waste got it and then I'll put those aside and then I'll go back to my other piece which is a 4 in square and you need two of those nice so I'll measure over 4 in yeah i feel like the um the cutting and everything is very efficient for the layer cake yeah for sure and you get a you know what you get a lot of real estate in a 10-in square that's why I love them so much they're probably my favorite pre-cut i would say mine too all right so we need some background fabric yes we do so you'll need two 4in squares and you're going to draw a line corner to corner in one direction place it right sides together with your main print and then you're going to sew a quart of an inch on both sides of that line excellent so we're making some half square triangles huh yes yes sounds fun here you go i took put that together for you thank you all righty and basically when you're doing this you're going to be doing this for every block there's half square triangles in different sizes throughout the whole quilt so so you could chain piece it if you wanted to but yes you could but you like to do one block at a time i do i like to do one block at a time and it doesn't flood i feel like it's always a good idea to do at least one block to get started and then if you wanted to chain or you know mass cut things you could do that after whatever works for your brain is exactly what you need to do true story here we go lift that a bit flip it around and do it again one thing to note this um these half square triangles which is your A and A1 fabric they are oversized because I gave you a little bit of wiggle room for trimming i like that because my seams are not always consistent or straight sure I understand i get distracted or I go too fast or you know something it happens a lot there's definitely a truth that not all uh seam allowances are created equal no we're all a little bit individual all right so you got the cutter i do so I like to just cut these apart and then on the line you're going to lay your ruler and take your rotary cutter or your scissors and cut down the line nice and at this point I'm going to use the Clearly Perfect slotted trimmer B because it's what makes most sense to my brain and we are going to cut these down to 3 in oh you do give us a lot of room yes I do nice so we do that and we're going to lay our stitch line on their stitch line and then you're going to trim it off mhm so there's no room for error i love the the efficiency of that you know oh yeah for sure and it makes sense for my brain square it up yeah and then you end up with a perfect yes if you could press to continue cutting if you'd like whatever you like perfect it's up to you yeah and then I could press i'll square some of these yeah and what I like to do is I like to press to the dark side mhm do you set your seams i do i always set my seams i feel like it lays flatter it does i think so too i also like to use a little bit of best breast press especially with my half square triangles cuz they're sewn on the bias yeah I was going to say that helps to prevent the bias from getting stretching and correct keeps everything in shape all right setting the seams pressing to the dark side all right got one more and then we will be all done a little spritz 3 in i have to say I I don't I don't like to waste things i like to be very careful and frugal but I also love having enough room to square my half square triangles without worrying about them not being quite big enough oh yeah for sure and it's already figured into your yardage that you will need so it works out so we have all four of our half square triangles made yes we do what's next okay so the next is we are going to put these aside and we are going to make our second set of half square triangles okay so in the block that would be these yes it would be the center pieces with the accent fabric yes correct so from the accent and then the background of this we're cutting 2 and 1/2 in squares yes 2 and 1/2 in squares for the background and for the print from your accent fabric okay great and we took that from the line and what we're going to do is we'll take these you just need two per block so we're going to take that so two of each per block and you've already got the line drawn yes I do i already have the line drawn and ready to go and we're going to sew those the exact same way all right excellent now I'm just going to do one of these and this is definitely where the best press or your starch comes in handy cuz they're smaller pieces um I know that there's a great debate to starch or not to starch i air on the side of caution i want my blocks to fit and stay nicely so I definitely starch if I feel like I'm I'm working in small spaces yes it really helps for sure with tight uh little tight little tiny half square triangles for sure oh yeah and you're making a lot of them so why not make it easier for yourself you know yes definitely any shortcut will do okay so what we're going to do is we're going to cut this cutter in half in half on the line and then because these start out at 2 and 1/2 we have plenty of room here as well yep and we're going to cut use our Clearly Perfect slotted trimmer uh bead cut them down to two inches to cut them down to two inches yes okay great okay there's one they're so tiny they are very tiny but I like small pieces a lot of times when I'm designing I tend to heir towards a smaller block um my sweet spot is about 12 and 1/2 in unfinished yeah I think I like the look the best when I'm designing so all right i pressed relaxed my seams and now I used a little bit of the starch pressed them excellent and one more all right same thing we have some of these already made which is great we do so yeah typical half square triangles yep and there they are all right excellent so now at this point we're going to take our little half square triangles cuz I like to work from the center out we're going to take one of our our print squares to start and then we're going to take our B fabric which are 2 in by 3 in okay that's more background yes that's more background yes i like to call it my breaker in the pattern like on the first page or so there's diagrams that say cut 50 of these and 30 of that whatever whatever it is you've got four inch squares right yeah four inch squares 2 in by 3 in yep for our B everything's labeled by letter too so it makes you can see that on the chart yeah and there's also a chart diagram in the left hand corner of the pattern that will show you the letter placement cuz that helps your pattern is so much more technical than what I'm used to i feel like if we can help kind of bridge the gap between like people who are used to just looking at pictures and sewing and then also your diagram is kind of like a blueprint right yeah definitely well cuz my background is in architecture i went to school to be an architect and I'm actually an inspector for the government and that's why I look at things when I design i look at it from a very architectural standpoint and that's how I write i write like I'm writing a blueprint okay so if that makes sense to all my you know architects and designers out there I'm the designer for you nice yes love that so what we're going to do is we're just going to like we're going to lay out cuz like I said I work from the center to the outside okay and I like to lay mine out because I get turned around being left-handed so I like to lay turned around let me help you sweetie oh there you go see I just did it well there you go so yeah you want the your accent to face towards the outside of the center okay and then we're go and now we're going to treat this do you sew this together right now or do you lay the entire thing out and then start sewing i sew this together so it's done so what I'll do is I'll treat this like a nine patch and then how I work is I work from left to right but however you do it no that's totally fine it'll be great so right sides together like that all right i'll let you sew i'm ready and then I'm going to just get these ready for you okay just right sides together like that and then you have this nice big bed you can lay out your black i know i love it i love having a goodiz table and then this one it's already there for you nice thank you i just had to check now let me ask you this so now do you keep your pieces together or do you separate them i typically keep them together if I know they're in order okay sometimes I'll get fabric like I have a a struggle i need to get a different plate on my machine but I struggle sometimes with the fabric getting sucked under by the presser or the feed dogs okay and so then I'll like flip something around and sew from the other end and that's when I know I have to turn clip all my pieces apart so for me I like to clip them apart because I feel like there's too much movement when I'm trying to keep it together especially when I finger press because I like to finger press at this point that's very important to me which she's doing and I like to press towards the way that they'll nest so I'm a big nest so if you press one the top row to the right I press the middle row to the left and then the bottom row to the right that makes sense so then I'll have it for later okay all right and then then these ones go on yep just like this and then you're going to add them okay we'll do it i have found that when I'm constructing a block that finger pressing has been my best friend through my journey it's great it helps me keep everything straight and then it saves you from getting up and down to the into the actual uh iron yes yeah and if you don't feel that that's super precise you can always get one of those pressing tools they have cute little rollers or whatever well it's kind of It almost looks like a letter opener you just like slide it along instead of using your um your thumb or your fingernail sometimes I'll even use a the back of a pencil just roll it that'll work that will work okay looking cute Nat i love it there we go and so once she's done with that she'll then we'll add these together like nine patch sew the rows together okay to finish the center unit okay so at this point this is where I like to connect all the rows together i do it from the top to the middle and then the middle to the bottom right so we're nesting our seams finger pressed making sure it fits i envy anybody who could just sew and not press you know in between all right one more and then at this point we're whichever way it wants to lay is kind of the way that I'll press it um it typically wants to roll to the middle section so that's what we'll press it towards the center okay i just want to make sure check my nesting yep there we go all right let's do a little scissors and Okay sorry I'll trim some of these yeah no problem there you go all right and so now what we'll do is we'll take it over to our iron and then we're going to press towards the center all right i'm nesting my seams or relaxing my seams I should say yes yes and then I'm pressing to the center so you don't press any of your seams open no um the only time I'll do that is if I have a real big bulk where you're worried about points in the middle typically okay exactly i I feel like for me having it that way it will lay nicer and make it easier to nest later right so and then that's the center of our block so we've got our middle made what's next we do so what's next is now we're going to construct the whole block we're going to lay it out the way that we need to so we're going to take our half square triangles those go into the corner nice like this and then we have our B fabric which is our 2 inch by 3 inch we'll lay that and then our color print if I can it goes together so much easier than it looks i know it looks like you did a lot of work but it's pretty simple it's a pretty simple block and I I believe it's an antique block it's called table for four okay if anybody's looking for it is that where you got the family affair from yes from family affair cuz it's called table like sitting around the table with your family sharing a meal i love that yeah so then we're going to now work I kind of like work my way around whatever you know fancies yeah of course if you want to get those in the corner cool and then we'll lay that there put our little triangles in this here and this here here and Whoops oops grab that and we need one more good one more 2 by3 we've got a little pile over there here we go excellent and that's it so now at this point what I like to do is like I said I start from the middle out so then I will sew these three together okay you know and then sewer inch all right i'll do those three perfect cool and then the top and bottom row will work from left to right it's so nice seeing how it comes together cuz at first you're like "Wait that doesn't make sense." And then you lay it out and you're like "Oh okay." Like that aha moment i feel like so many quilts are like that where they look very complicated and fancy yes but then it turns out no they're they're it's like geometry right seems harder than it is all right when are you finger pressing these as you go as well or I am and I'm pressing them to the outside because now what I'll do is I'll take these two side pieces and they'll be pressed to the outside because we pressed this to the center they'll nest and then I'll sew them together okay that makes sense man I'm just not good at paying attention to which direction I press things i just you know it was one of the things so the person who taught me how to sew on a machine her name is Marilyn Baker and I absolutely love her she's she's a big reason why I do what I do and she taught me that pressing is half the battle it's one of the things she always said to me and she says "If you nest properly to begin with your blocks will always be successful." And it kind of just stuck with me yeah so well had a little little bit of a pull on the thread there but I think we're going to be just fine fine y and so what you want to do is you'll take this now and then you'll So because these nest the seams cuz they're to the outside already finger pressed kind of yep as long as your seams line up and they match you your block will be successful yeah I agree with that okay i know this is a the way you're piecing this is a little unconventional than what you're used to but it's what makes sense for my brain so no totally i find a good majority of things can be solved by just rethreading your machine and resetting the bob and checking to make sure everything is 100% and keeping your your machine clean oh yeah to all my people out there all right keeping your machine clean is half the battle i I don't think I clean my machine frequently enough that's for sure i have I have a rule get into it i have a rule i usually clean mine after every project okay cuz I like to make sure that you take good care of it that's your baby exactly all right so I press those towards the outside okay and then I'm going to put it back and now I'm going to work across top and bottom from left to right and then you're just going to you could chain piece these if you want all right whatever works for you there's your first one okay think we're done yes you ready to give it its final press and then we'll show it off for sure and I usually press to the outside of this because that's the way it wants to lay it does work so much easier that way for me too this fabric is so beautiful it really is i love it and I love a polka dot it's so beautiful and we just finished pressing and it's done there's our beautiful block and comes together so much easier than I thought yes it does and it's super quick and easy ready to go all right so I think one of the things that makes this quilt look a little more elegant is that you set it on point so let's look at the block in the quilt show us how it fits in sure so you're going to have rows and then they're all going to be on point like this this is how the block fits great i love that all right and then you've got some sashing yes some sashing and some cornerstones and then we have some setting triangles what's great about this is that you're going to be sewing in rows on a diagonal so if you come to the top left corner this is row one all right 2 3 4 5 6 7 8 and then you end with your ninth row which is just another setting triangle i love that all right so sashings and cornerstones are all cut at 2 in 2 in by 11 in 2 in square and then the length of the block right correct so correct cool and then and then our setting triangles you have some of that right yes I do okay actually so so when you set something on point I think I find it to be very fascinating how like your corners are different sizes than your side triangles yes because you need it to be smaller for the corners so they fit and they arch correctly cuz that's what I call it i call this part the arching okay and you'll need a bigger setting triangle here to bridge that gap between your um sashing and your cornerstones so this is how this goes here are your cornerstones or your corner your corner setting triangles so those are all cut from a 13in square correct and you're going to cut those in both directions correct so you need one for for the whole quilt correct and then your larger ones you're going to cut them in half which is an 11 in and then they go in just like this and you're going to need six of those cut on a diagonal in half and that's how it fits and so what size is this quilt it's a nice big 83 by 83 so that is a great size i love that for sure i love it all right well I've really enjoyed having you on and learning here with you thank you so much for having me i love it well thank you so much and hope you enjoyed this tutorial on the family of Fair Quilt from Binmar Quilts and the Missouri Star Quilt Company bye bye everyone thank you so much for joining me for this video today i hope that you enjoyed it and that it inspired your creativity and guys we're at almost a million quilters strong in our community so if you know of anybody that you think might like to join us and learn quilting with us bring them on in put your arm around them and tell them to subscribe to our channel so that we can all learn and and grow together

More Layer Cake tutorials

See all