
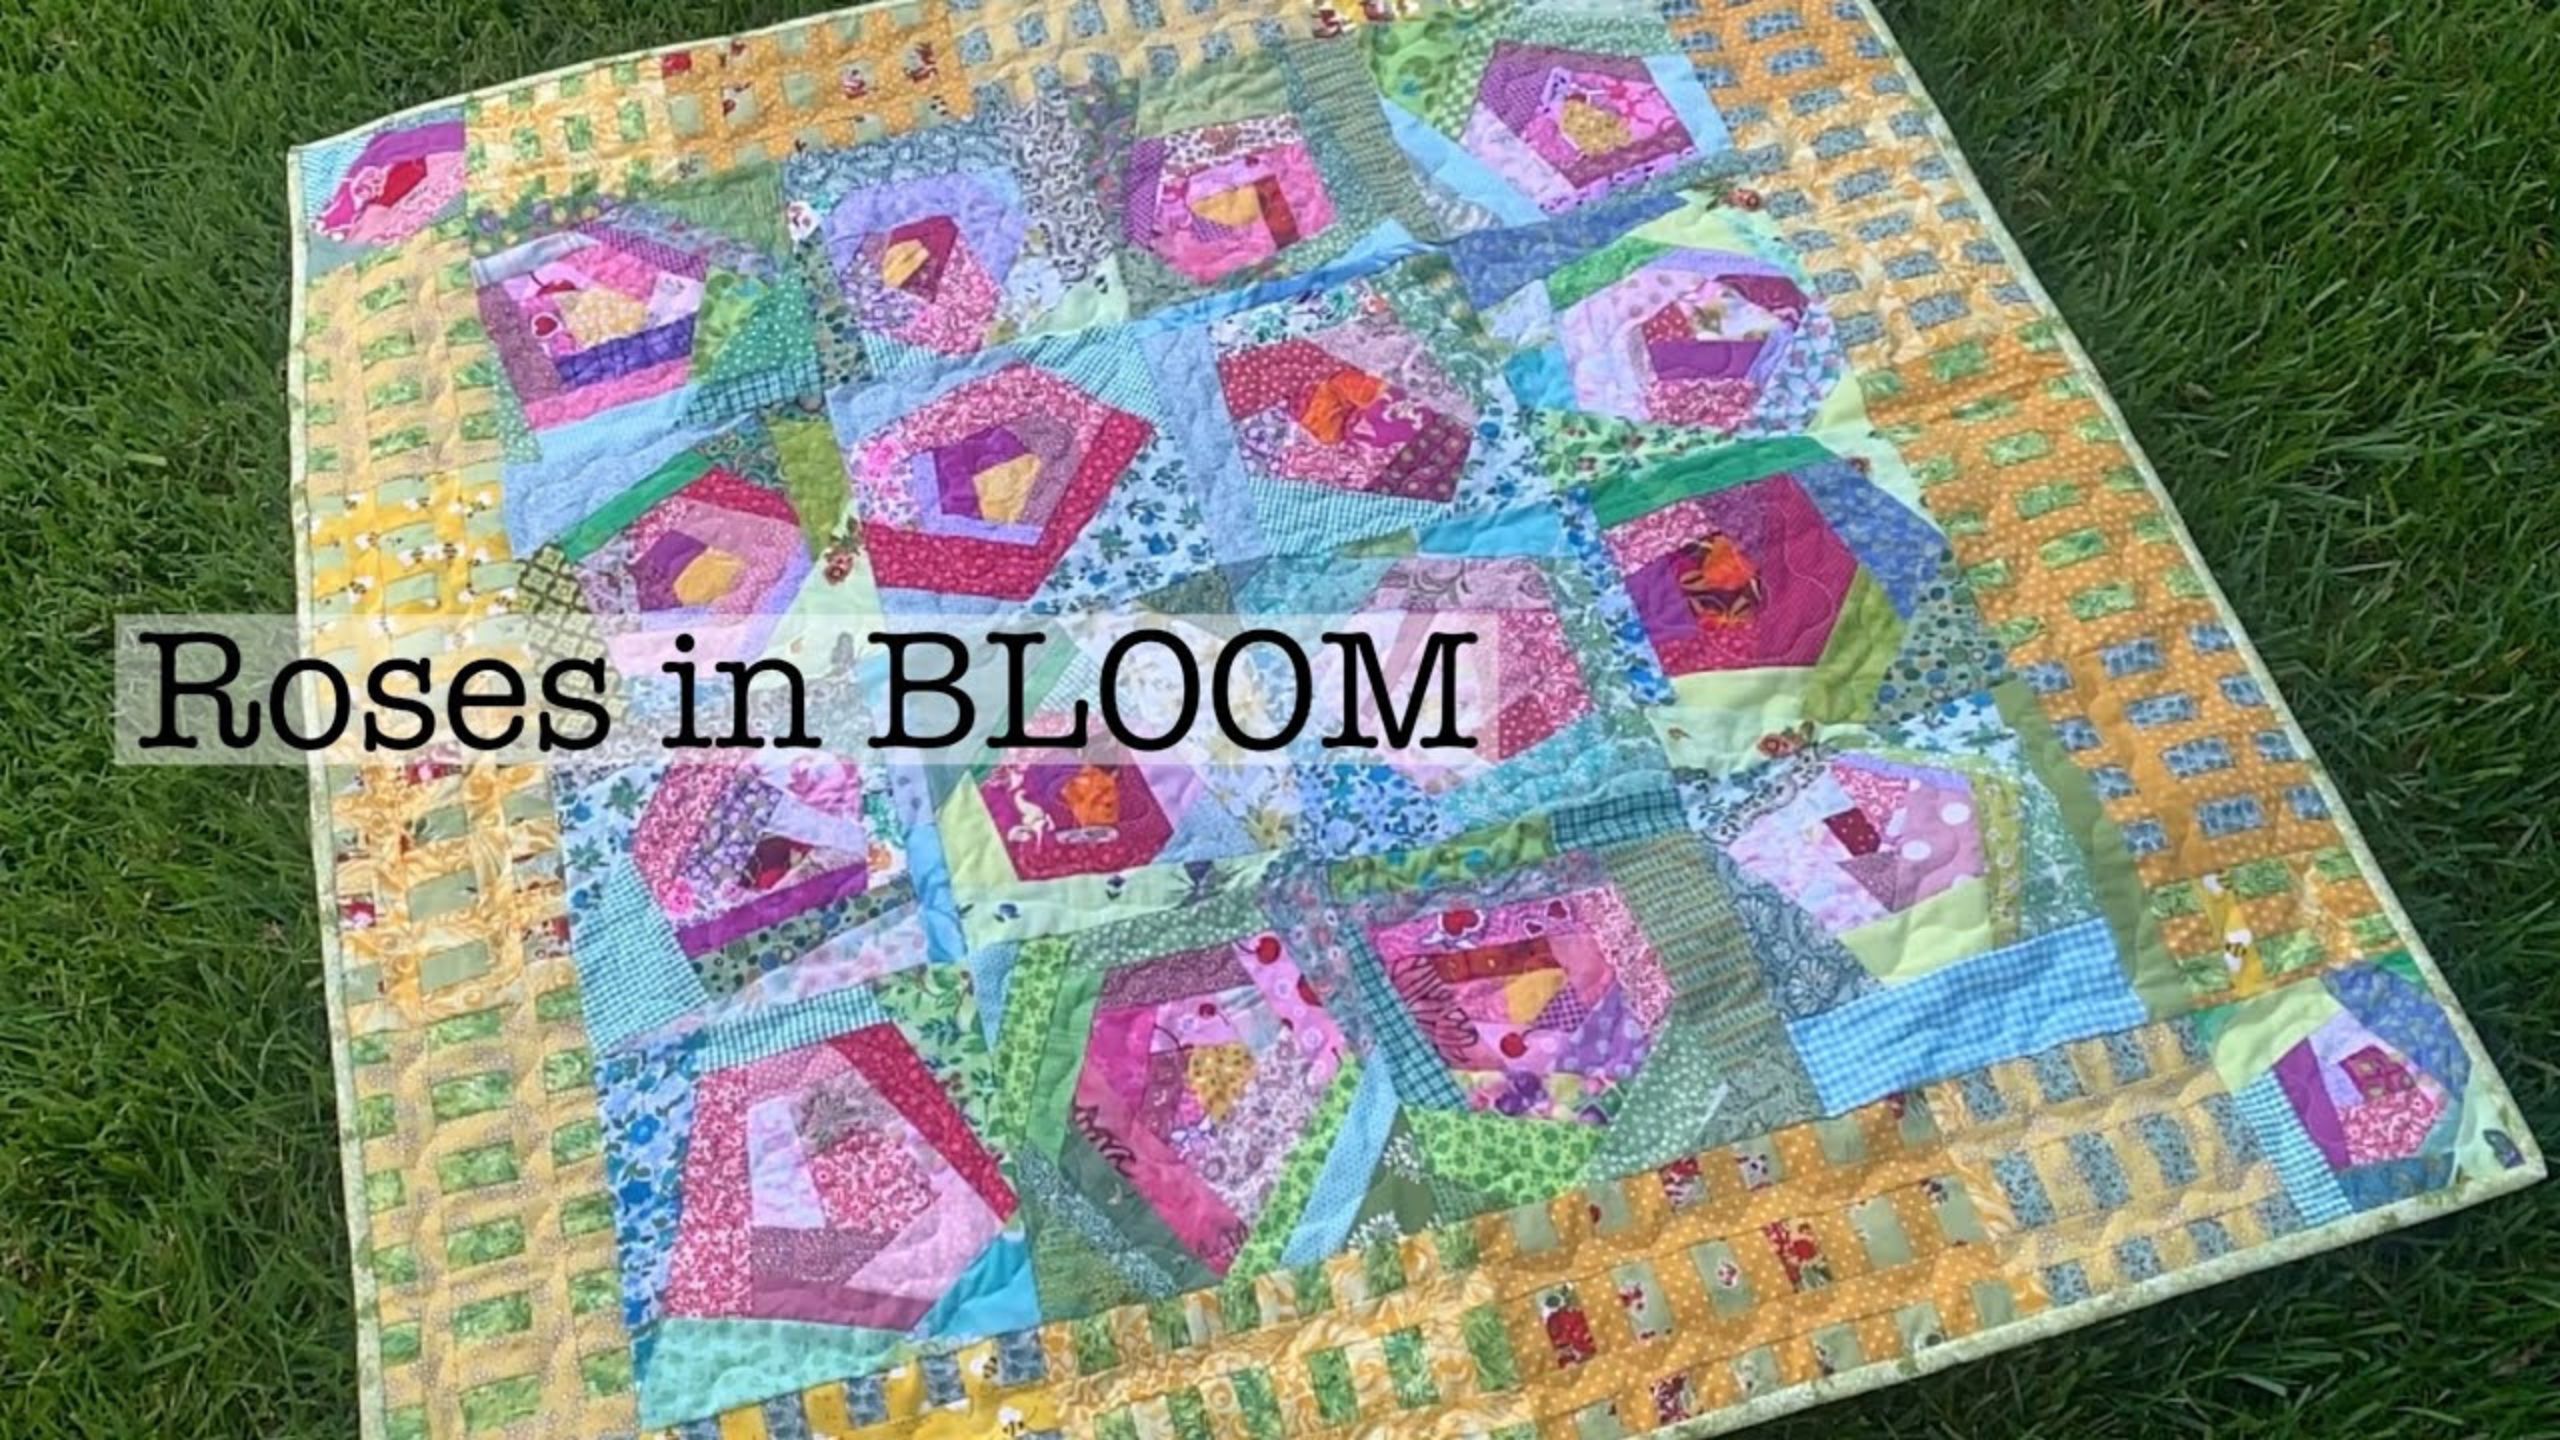
Finishing a Roses in BLOOM quilt | Quilting and binding with Beth Shibley
In this tutorial Beth Shibley is finishing a quilt she began last year. Join her to learn her best tips and tricks for quilting and binding a beautiful quilt!
Instructor
Beth Shibley
Beth Shibley loves to create and share her adventures in quilting. Simple patterns and practical gifts are what she loves most.
Shop this tutorial


Common Questions
What is covered in Finishing a Roses in BLOOM quilt | Quilting and binding with Beth Shibley?
In this tutorial Beth Shibley is finishing a quilt she began last year. Join her to learn her best tips and tricks for quilting and binding a beautiful quilt!
How long is the tutorial video?
The tutorial video is 00:17:26.
Are supplies listed for this tutorial?
Yes. The tutorial page includes the supplies and materials connected to this project.
Is a transcript available?
Yes. A written transcript is available on the tutorial page.
Video Transcript
Here are Beth's tips and tricks for quilting and binding a quilt:
1. She laid her batting on the floor and her quilt top on top. She trimmed everything, leaving about a 4" border around each side of the quilt top. This allows for everything to shift a little bit during quilting.
2. Beth uses 505 Adhesive Spray to join the quilt top to the batting. She starts at the center and spread out towards the edges, smoothing the top (but not stretching) as she goes. She works each half separately to make it more manageable.
3. Then she adds her backing fabric in the same way as her batting - with adhesive spray and spreading the fabric out one half at a time.
4. Next it's time to quilt! Beth briefly sketches out what she'd like to do to quilt the roses at the center of her quilt. She's using wavy lines from the center out in each block. She's attaching her free motion quilting foot and lowering the feed dogs.
5. Beth starts quilting towards the center of the quilt, moving outwards, working one block at a time. Beth doesn't use machine quilting gloves, but you may wish to.
6. For the border, Beth used wavy lines to quilt down each yellow stripe. She quilted her rose cornerstones in the same manner as the blocks.
7. When she has finished quilting, now it's time to trim down and square so she'll be ready to add binding. She demonstrates cutting straight binding and joining her binding strips on the bias to create one long binding strip. Next she irons her strip folded in half, wrong sides together.
8. Beth is attaching her binding to the front of the quilt. She starts at the middle of one of the sides, leaving a 12" tail, and sewed down to 1/4" from the corner. The she folded her binding at 45 degrees, and then back on itself to miter the corner. She continued working all the way around the quilt in the same manner until she gets within a few inches of where she started.
9. Then she trims the tails, leaving her binding 2.5" longer than she needs, and joins the binding strip at a 45 degree angle. Before you trim away the triangle, make sure your binding fits! Then trim and complete sewing the binding to the front side of the quilt.
10. Next Beth rolls the binding to the back pinning it in place. She finishes her quilt by hand sewing the binding to the back of the quilt.
1. She laid her batting on the floor and her quilt top on top. She trimmed everything, leaving about a 4" border around each side of the quilt top. This allows for everything to shift a little bit during quilting.
2. Beth uses 505 Adhesive Spray to join the quilt top to the batting. She starts at the center and spread out towards the edges, smoothing the top (but not stretching) as she goes. She works each half separately to make it more manageable.
3. Then she adds her backing fabric in the same way as her batting - with adhesive spray and spreading the fabric out one half at a time.
4. Next it's time to quilt! Beth briefly sketches out what she'd like to do to quilt the roses at the center of her quilt. She's using wavy lines from the center out in each block. She's attaching her free motion quilting foot and lowering the feed dogs.
5. Beth starts quilting towards the center of the quilt, moving outwards, working one block at a time. Beth doesn't use machine quilting gloves, but you may wish to.
6. For the border, Beth used wavy lines to quilt down each yellow stripe. She quilted her rose cornerstones in the same manner as the blocks.
7. When she has finished quilting, now it's time to trim down and square so she'll be ready to add binding. She demonstrates cutting straight binding and joining her binding strips on the bias to create one long binding strip. Next she irons her strip folded in half, wrong sides together.
8. Beth is attaching her binding to the front of the quilt. She starts at the middle of one of the sides, leaving a 12" tail, and sewed down to 1/4" from the corner. The she folded her binding at 45 degrees, and then back on itself to miter the corner. She continued working all the way around the quilt in the same manner until she gets within a few inches of where she started.
9. Then she trims the tails, leaving her binding 2.5" longer than she needs, and joins the binding strip at a 45 degree angle. Before you trim away the triangle, make sure your binding fits! Then trim and complete sewing the binding to the front side of the quilt.
10. Next Beth rolls the binding to the back pinning it in place. She finishes her quilt by hand sewing the binding to the back of the quilt.


