
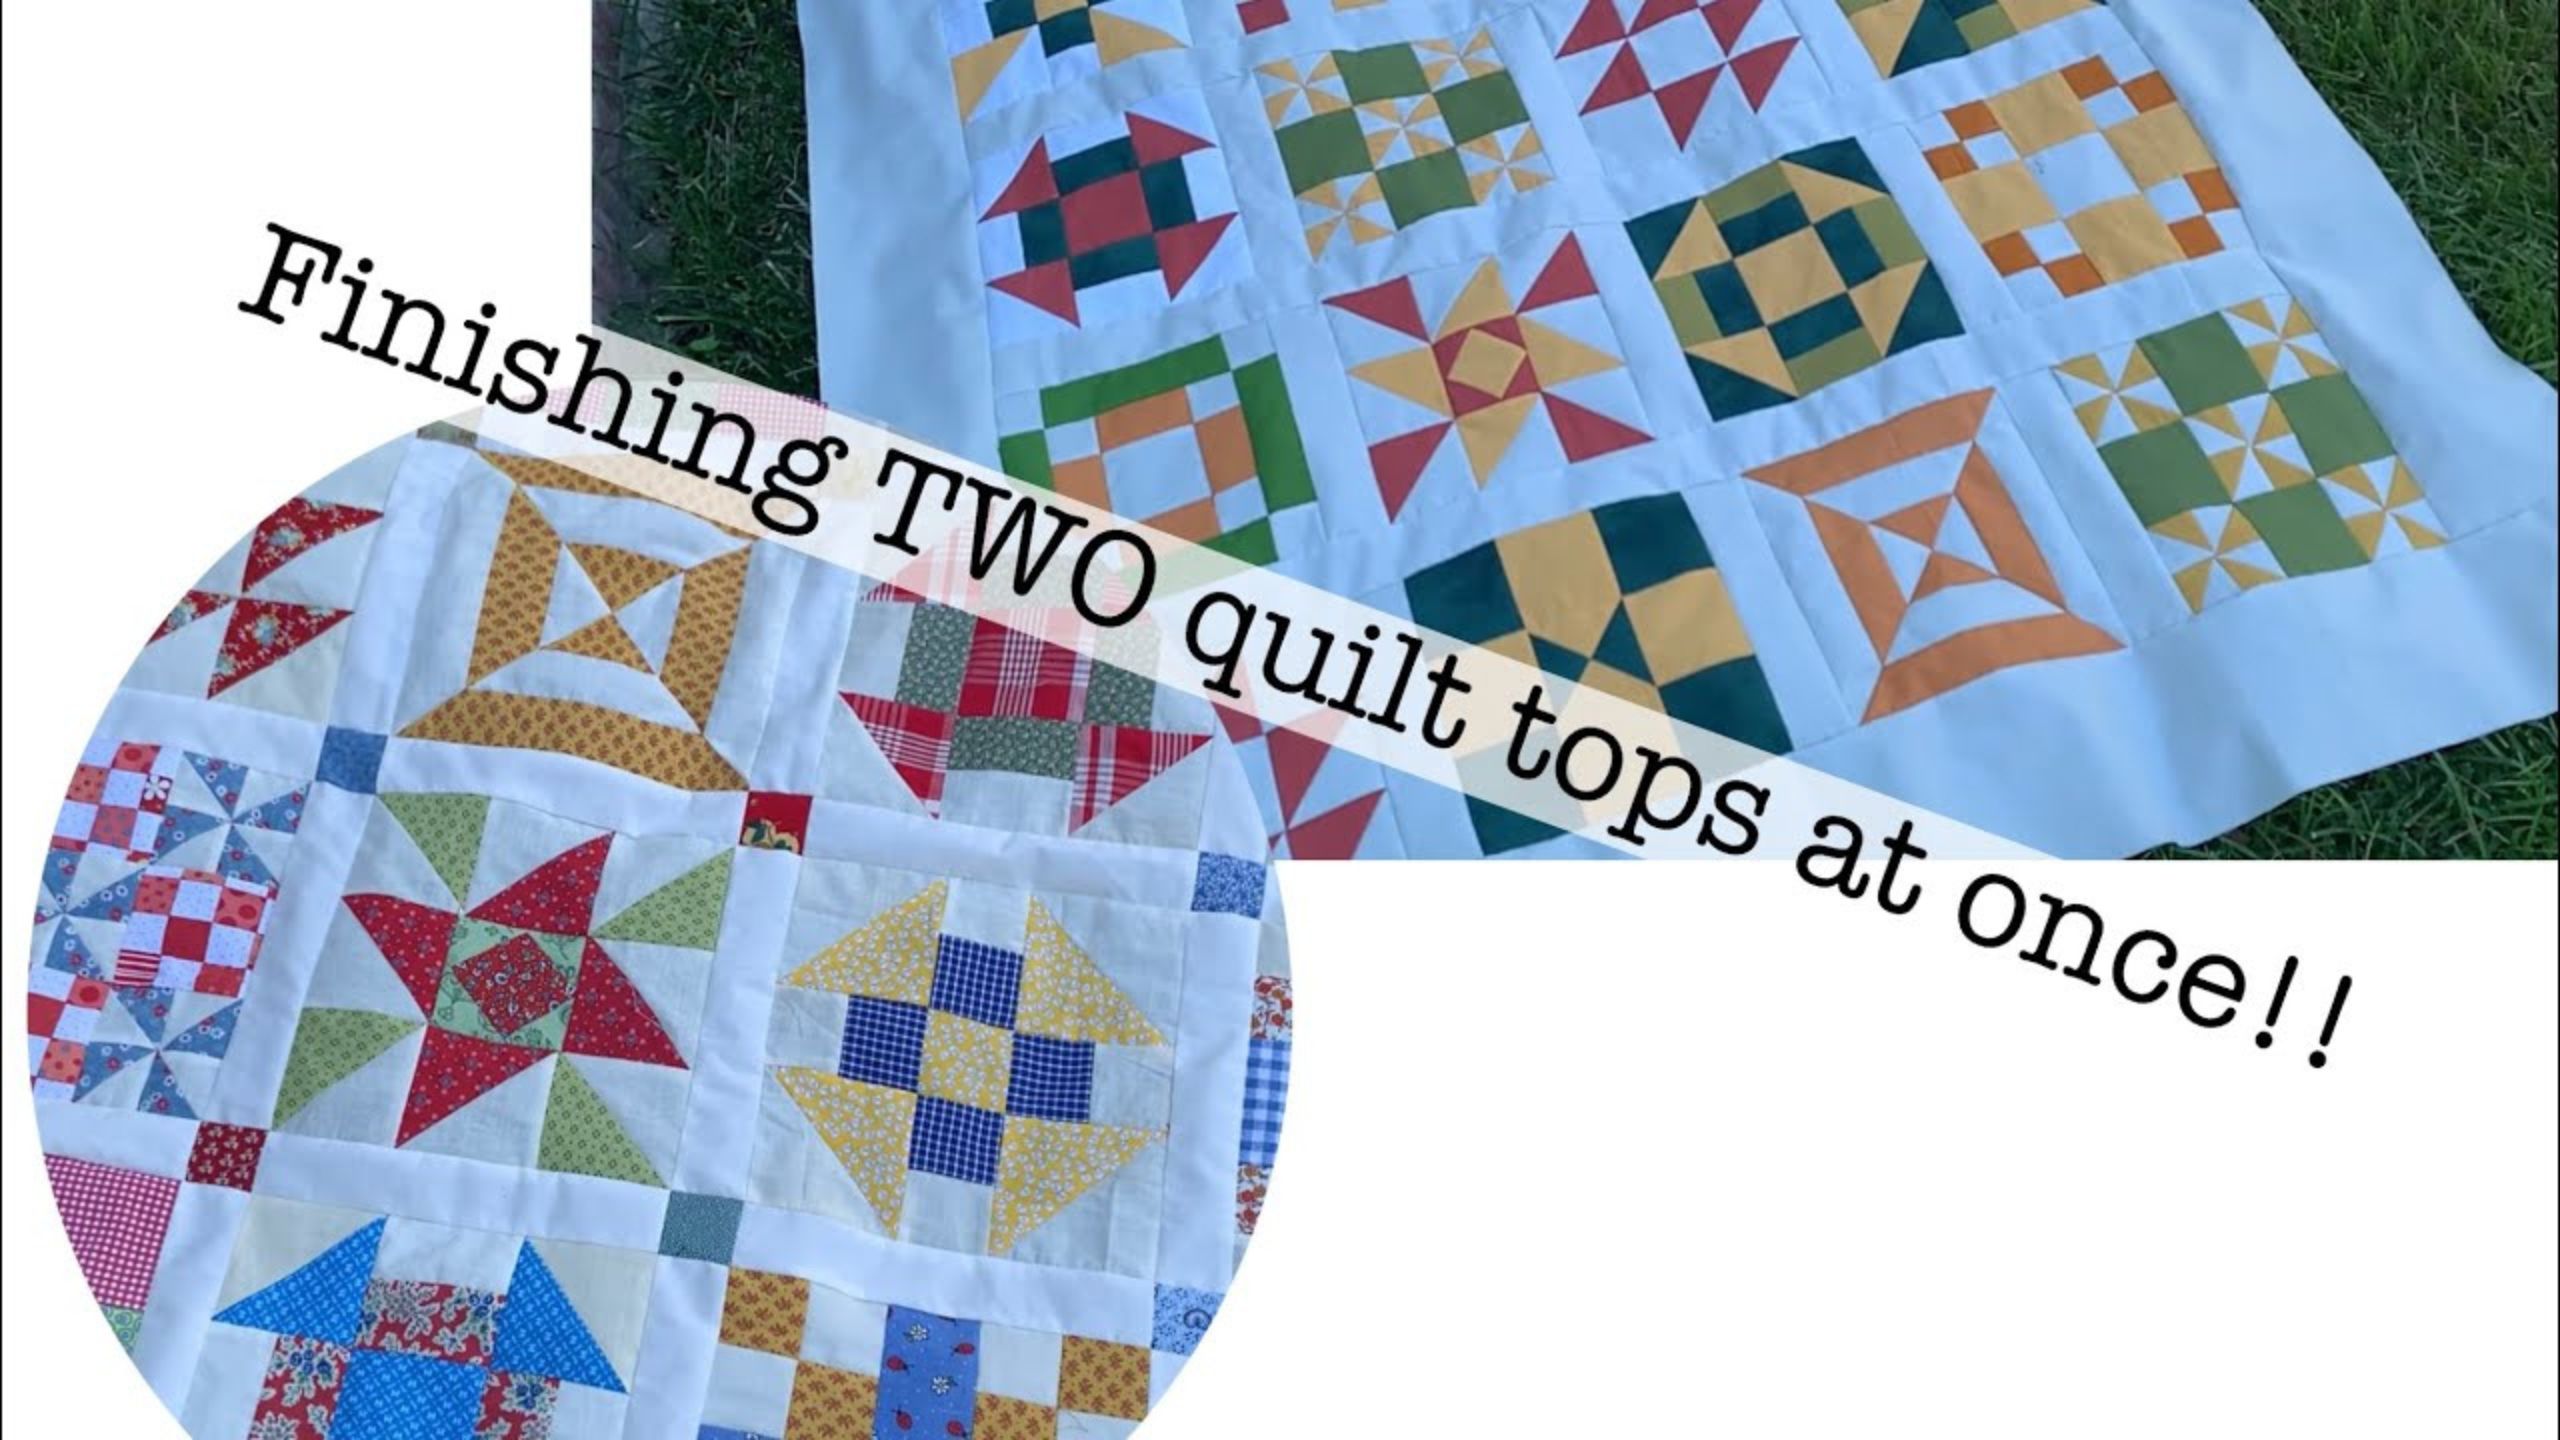
Finishing BOTH of my summertime sampler quilts today with Beth Shibley
 Beth Shibley
- Fabric by Yard
- Traditional
- Lap / Throw
- Beginner
- Quilt size 41" × 51"
Sew along with Beth Shibley as she finishes her summertime sampler quilt. Today she adds sashing, cornerstones and borders to her sampler quilt!
Instructor
Beth Shibley
Beth Shibley loves to create and share her adventures in quilting. Simple patterns and practical gifts are what she loves most.
Shop this tutorial


Common Questions
What is covered in Finishing BOTH of my summertime sampler quilts today with Beth Shibley?
Sew along with Beth Shibley as she finishes her summertime sampler quilt. Today she adds sashing, cornerstones and borders to her sampler quilt!
How long is the tutorial video?
The tutorial video is 00:10:14.
Are supplies listed for this tutorial?
Yes. The tutorial page includes the supplies and materials connected to this project.
Is a transcript available?
Yes. A written transcript is available on the tutorial page.
Video Transcript
Finishing a quilt is the final step in the quilt-making process, and it involves several important steps to ensure that the quilt is completed properly and will last for many years to come. Here are some general steps to follow when finishing a quilt:
Trim the quilt top and batting to the same size.
Layer the quilt top, batting, and backing fabric together, making sure that they are smooth and wrinkle-free. Pin or baste the layers together.
Quilt the layers together using your preferred method (e.g. hand quilting, machine quilting, etc.).
Once the quilting is complete, trim any excess batting or backing fabric from the edges of the quilt.
Create the quilt binding by cutting long strips of fabric and sewing them together at an angle to form a long, continuous strip. Fold the binding in half lengthwise and press.
Starting in the middle of one side of the quilt, sew the binding to the edge of the quilt top, using a ¼ inch seam allowance. When you reach a corner, stop sewing ¼ inch from the edge, fold the binding up and away from the quilt top to form a 45-degree angle, and then fold it back down to align with the next edge of the quilt. Continue sewing the binding to the quilt top until you have sewn around all four sides of the quilt.
Fold the binding over the edge of the quilt to the back side of the quilt and hand stitch it in place using a blind stitch or whip stitch.
Once the binding is sewn to the back of the quilt, your quilt is complete!
Trim the quilt top and batting to the same size.
Layer the quilt top, batting, and backing fabric together, making sure that they are smooth and wrinkle-free. Pin or baste the layers together.
Quilt the layers together using your preferred method (e.g. hand quilting, machine quilting, etc.).
Once the quilting is complete, trim any excess batting or backing fabric from the edges of the quilt.
Create the quilt binding by cutting long strips of fabric and sewing them together at an angle to form a long, continuous strip. Fold the binding in half lengthwise and press.
Starting in the middle of one side of the quilt, sew the binding to the edge of the quilt top, using a ¼ inch seam allowance. When you reach a corner, stop sewing ¼ inch from the edge, fold the binding up and away from the quilt top to form a 45-degree angle, and then fold it back down to align with the next edge of the quilt. Continue sewing the binding to the quilt top until you have sewn around all four sides of the quilt.
Fold the binding over the edge of the quilt to the back side of the quilt and hand stitch it in place using a blind stitch or whip stitch.
Once the binding is sewn to the back of the quilt, your quilt is complete!


