
Finishing the DIAMOND string quilt! - Quilting and Binding tutorial with Beth Shibley
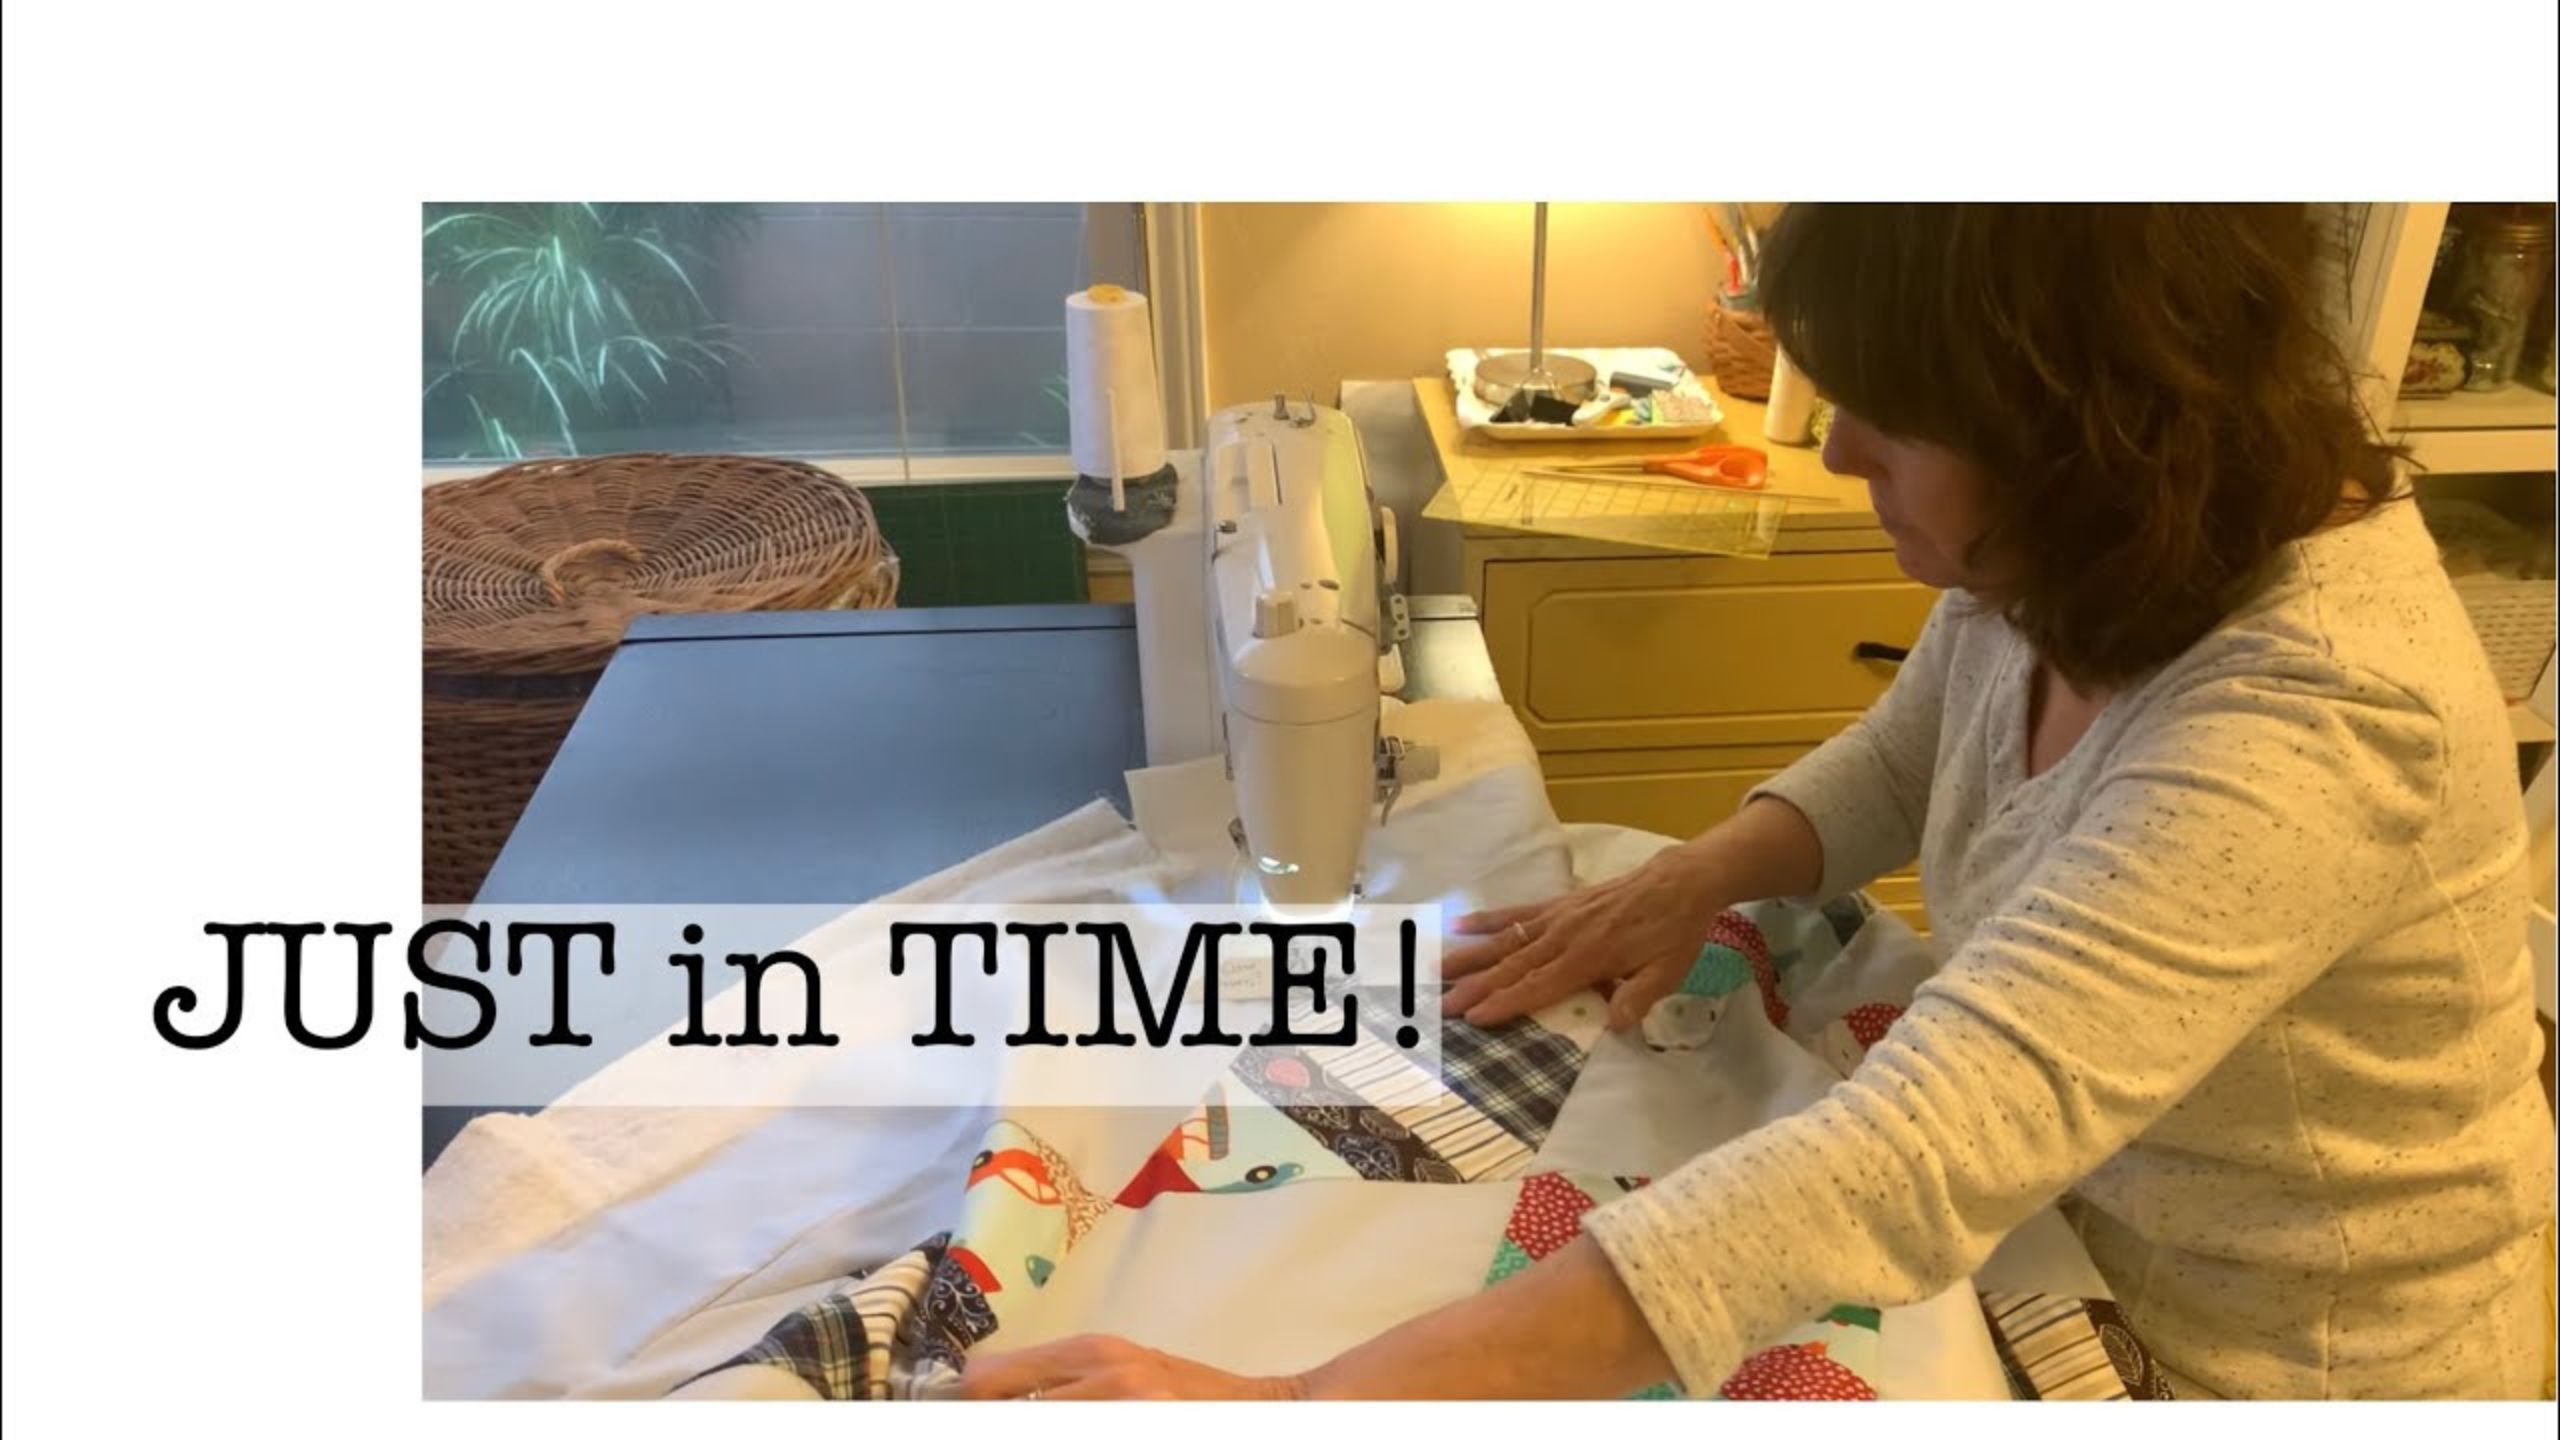
Today Beth is finishing her Diamond String Quilt and not a moment too soon! Follow along as quilts and binds this fun quit just in time for baby.
Instructor
Beth Shibley
Beth Shibley loves to create and share her adventures in quilting. Simple patterns and practical gifts are what she loves most.
Shop this tutorial


Common Questions
What is covered in Finishing the DIAMOND string quilt! - Quilting and Binding tutorial with Beth Shibley?
Today Beth is finishing her Diamond String Quilt and not a moment too soon! Follow along as quilts and binds this fun quit just in time for baby.
How long is the tutorial video?
The tutorial video is 00:15:04.
Are supplies listed for this tutorial?
Yes. The tutorial page includes the supplies and materials connected to this project.
Is a transcript available?
Yes. A written transcript is available on the tutorial page.
Video Transcript
In a previous video, Beth went over creating strip sets from scrappy fabrics, and cutting them into diamonds using a home made template.
To finish the quilt, Beth raided her fabric stash to find a piece of fabric large enough to serve as a backing. Then she gathered up several bits of leftover batting and joined them into one larger piece using zig zag stitching on her machine.
Then it was time for the "quilt sandwich." She pressed her backing fabric and laid it out, right side down and spread it carefully along her surface to remove any wrinkles. Next she added the batting and then finally the quilt top, right side up, onto the stack. She spent an extra few moments straightening everything out and removing all wrinkles.
To quilt this quilt, she put her walking foot on her machine and opted to to stitch in the ditch around her diamonds, and following those angles all the way through the quilt. She used a ruler and a chopstick (in place of a hera marker) to ensure her lines were straight.
Next, Beth cuts binding strips from the width of a piece of fabric, and then joins them, overlapping the corners and sewing seams at a 45 degree angle to create one really long binding strip. She clips away the extra fabric next to those seams and then presses the binding in half, wrong sides together.
She attaches the binding to the back side of the quilt, including a trick for folding the binding and leaving enough extra fabric to create beautiful mitered corners. She applies the binding to all four sides of the quilt, and then shares how to overlap the ends of the binding to create a neat finish to the binding.
Next she folds her binding around to the front and top stitches it down. The quilt is done and just in time for baby!
To finish the quilt, Beth raided her fabric stash to find a piece of fabric large enough to serve as a backing. Then she gathered up several bits of leftover batting and joined them into one larger piece using zig zag stitching on her machine.
Then it was time for the "quilt sandwich." She pressed her backing fabric and laid it out, right side down and spread it carefully along her surface to remove any wrinkles. Next she added the batting and then finally the quilt top, right side up, onto the stack. She spent an extra few moments straightening everything out and removing all wrinkles.
To quilt this quilt, she put her walking foot on her machine and opted to to stitch in the ditch around her diamonds, and following those angles all the way through the quilt. She used a ruler and a chopstick (in place of a hera marker) to ensure her lines were straight.
Next, Beth cuts binding strips from the width of a piece of fabric, and then joins them, overlapping the corners and sewing seams at a 45 degree angle to create one really long binding strip. She clips away the extra fabric next to those seams and then presses the binding in half, wrong sides together.
She attaches the binding to the back side of the quilt, including a trick for folding the binding and leaving enough extra fabric to create beautiful mitered corners. She applies the binding to all four sides of the quilt, and then shares how to overlap the ends of the binding to create a neat finish to the binding.
Next she folds her binding around to the front and top stitches it down. The quilt is done and just in time for baby!


