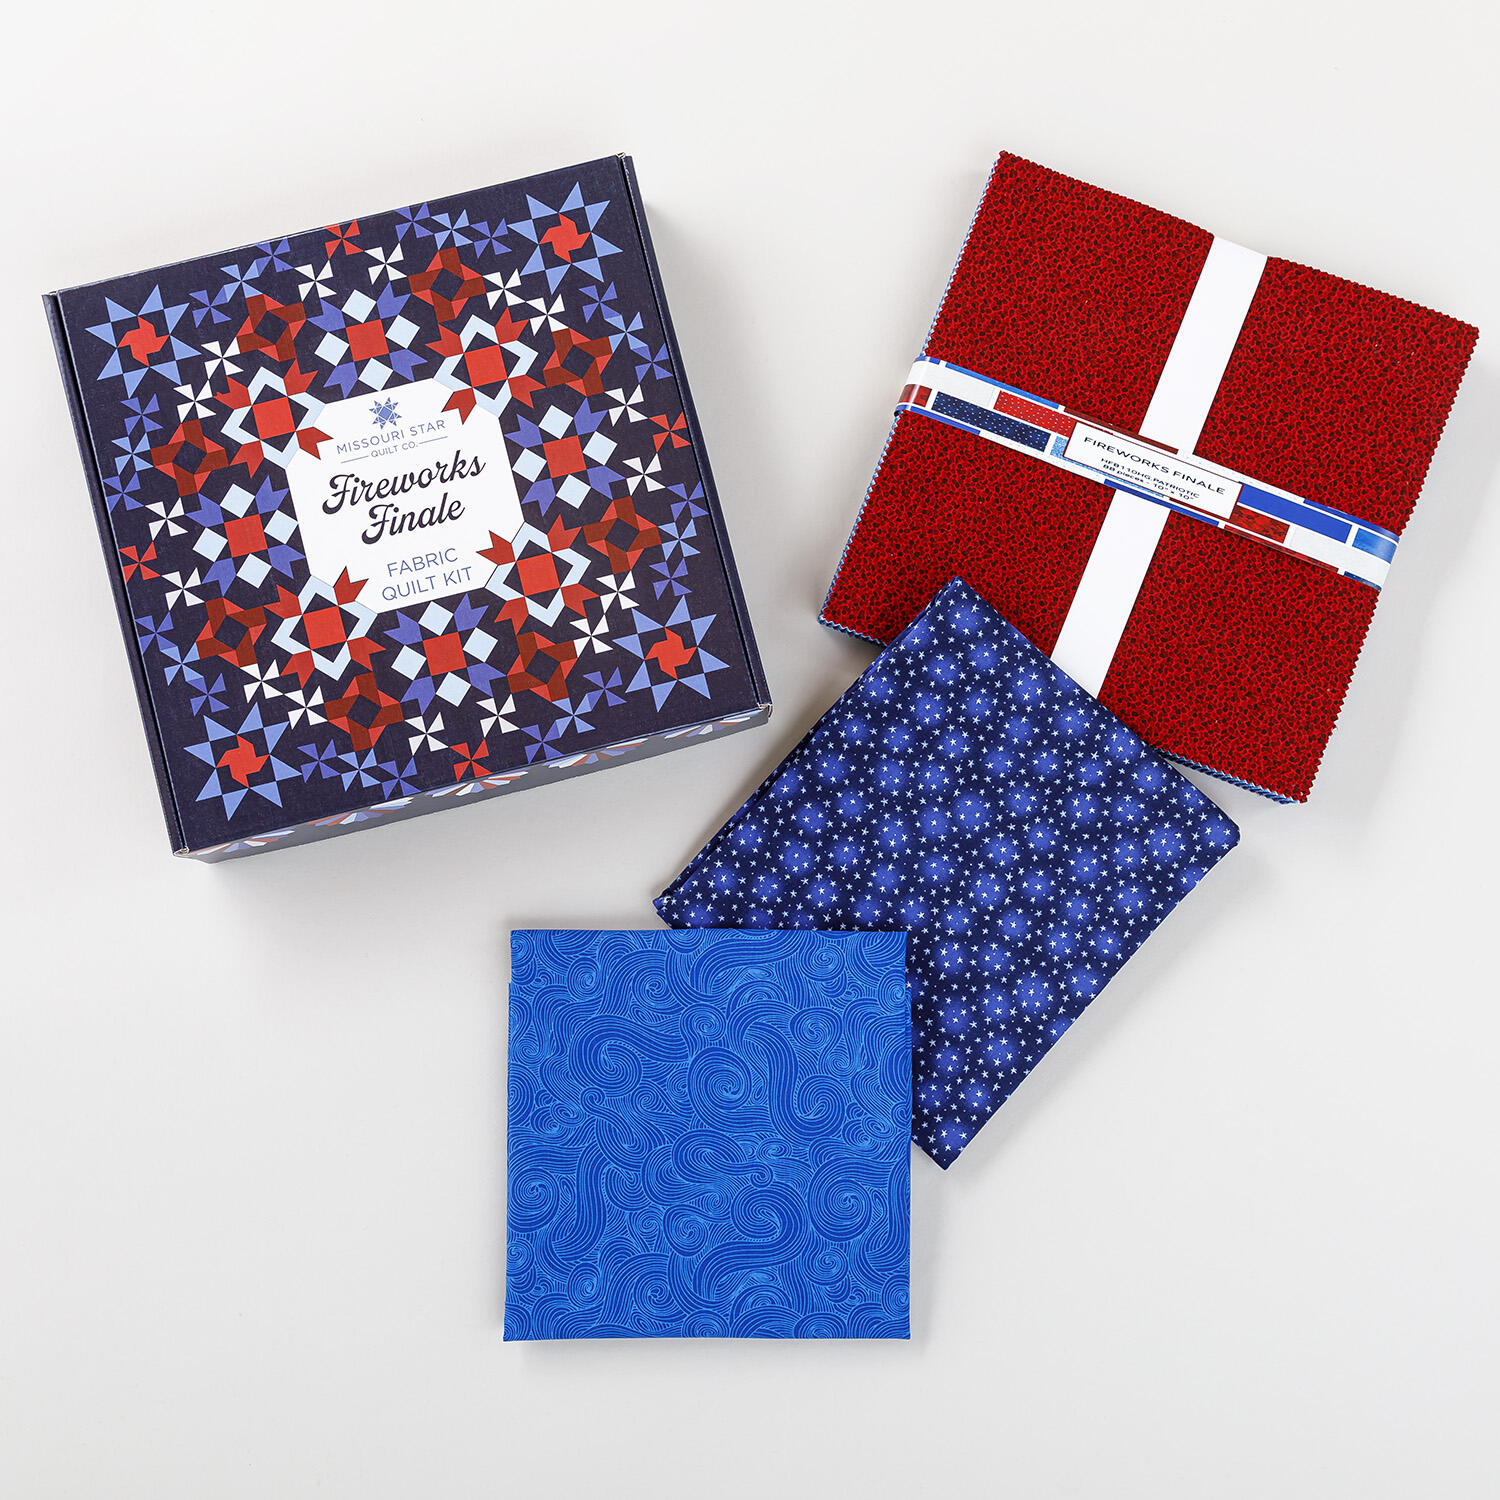
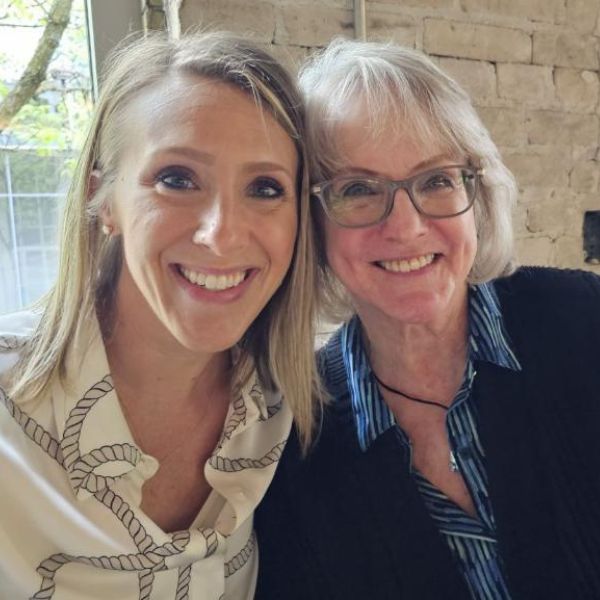
It's time to make the first block of our Fireworks Finale quilt! Audra from Sew Dreamy Studio and her mom Bonnie will get you started with Mrs. Smith's Favorite block. It goes smack dab in the middle of the quilt, with blocks you'll make later exploding out around it like fireworks! A classic block that uses mainly squares and half-square triangles, Mrs. Smith's Favorite may become your favorite, too!
It's time to make the first block of our Fireworks Finale quilt! Audra from Sew Dreamy Studio and her mom Bonnie will get you started with Mrs. Smith's Favorite block. It goes smack dab in the middle of the quilt, with blocks you'll make later exploding out around it like fire...
How long is the tutorial video?
The tutorial video is 00:12:50.
Are supplies listed for this tutorial?
Yes. The tutorial page includes the supplies and materials connected to this project.
Video Transcript
Hey, we are so excited for fireworks finale sew along. It's getting started this month. That is right. It is month one and we are excited to have Audrey and her mom Bonnie teaching these tutorials. So, we are going to pass it off to them. It's going to be so much fun. I hope you guys enjoy it. Bye. Hi everyone. Welcome to the fireworks finale sew along with Missouri Star Quilt Company. I am Audra from So Dreamy Studio and I'm her mom Bonnie. And today we're doing our very first block, Mrs. Smith's favorite. This block has all the classic charm and will truly set the tone for all the months coming up. This is the block we'll be working on. Mrs. Smith's favorite dates back to 1931. And this classic block uses units that you'll recognize that are very easy. However, when they come together, they make a big bold statement. This block uses snowballed quarters and simple squares, so it's very beginner friendly. First step is to gather all of your supplies per the gather section of your pattern. If you used our bag organization technique that we talked about in our getting started video, you should be all set to go. Just grab your month one bag or your month one fabrics and we're going to dive right in. So, you'll see here that we do not have all the fabrics laid out that we need to make the complete block. What we are going to demo is the square block and the star legs block. And then you'll just repeat those steps to create the entire block itself. So, we're going to dive in. And I think we're starting with the star legs, right? Yep. I am sewing. Okay. Okay. So, first, grab your two fabric C 2x 5 in squares and four of your twoin background squares. And for each of the background squares, you're going to cut want to mark a diagonal line, which you can see I've already done. Then, you're going to take them and lay them right sides together. And note that my line goes left to right, top to bottom. And then the bottom one is going to do exactly the same thing. Left to right, top to bottom. And Audra's going to sew those. Then the other one is going to be the mirror image. So instead of the angles going left to right, they're going to go right to left, top to bottom. We have both of our pieces cut. And just before we cut anything off, because once we cut it off, we can't get it back. We're going to make sure those mirror. All right. So now we're going to make a 1/4 in seam allowance. Cut our corners off. Oh, grab another basket. And we press these towards the corners. Correct. Correct. Okay. Then you're going to take your two pieces and place them together. So you're making your arrow shape that you see here. When I'm doing something like this, I will always pin where it lines up first. I won't pin the edges first. I'll pin that point first because I like to try to get my points as accurate as I can. So I'll pin that first and then I will pin the edges if needed. I tend to over pin just because I like to be as accurate as possible. Quarter inch seam allowance, right? Yes. Okay. Everything's always a quarter inch. I don't know why I asked. So, when I'm doing points, I wait until almost the very last minute to pull that pin just so I can make sure that I uh have all that security there for as long as I need it. That looks good. And then we'll we'll press our seam open. in this case. So, here's your finished piece. You're going to be making four of these to ultimately complete your block. And there is only one Mrs. Smith's favorite block in the whole quilt. So, you will only be making four. And you're done. So, the next thing we're going to do is make these corner units. So, the first thing is to take your 2x10 in pieces of uh fabric and put them right sides together and sew a quarter inch seam. And what fabrics are these while I sew them, Mom? Uh we are using the fabric C rectangle and a fabric G rectangle. Okay. So, I'm just pinning this in a couple spots just to make sure it doesn't move too much on me. There you go, mama. All right, then your next step is to take that strip and cut it in 2 in blocks. And you're going to want four of them. Here you go. And we'll repeat that same technique with the background fabric and fabric G. One thing I want to mention is that I kept my fabric key handy because the instructions always refer to fabric C or fabric G or whatever, and it's impossible to remember exactly which one each is. So, I always keep my fabric key handy to refer to. We'll press open. We'll just press two at once cuz we can do that. All right. Then you're going to take your blocks here and you're going to put the background fabric to the left with your white to the right and then the red to the right with your white to the left so you can create this block. Once again, you want to line up those corners real nice and even. I kind of pin down the stitch line. drink first and then I'll do another one of those. You see, I love this thing. Throw that needle over there. And then these we are going to press open as well. Okay. All right. Then again, you're going to lay it out with your background fabric at the back corner. And you're going to take one of your 2x3 and 1/2 background squares and put that to the right side. And all these illustrations are in the pattern as well. I have to say this is one of the most well-written patterns that I've seen cuz there's lots of diagrams and instructions that are very clear. Y and I can't reiterate enough what mom said about having the fabric key handy because for those of you who are doing a scrappy version like myself, you're you've interchanged all of your fabrics to be different than what's in the pattern. So having that handy with your notes of what your values are and what your fabrics are will make all the difference. Now we've got our background attached to the right side of the block. Now we're going to take our other 2x3 and 1/2 in background and add a 2x two fabric H. And again, just a quarter inch seam. Well, let's see where how do we press this one toward the rectangle. All right. And then you place this unit at the bottom and again sew it. In this case you will nest your seams. Okay. You want me to go? You could nest it. I can nest it. So in this case I only pinned the spot where it was nesting. And I am going to hold the fabric where I want it. See, I took that pin out the last minute. I'm going to hold that fabric where I want it to keep it lined up. Let's see if I was successful, shall we? Hey, look at that point. Look at that. And then we're going to press it away from the center. And there's your block. So, all you need now is four of your star legs, four of your corner units, all identical cuz it just changes by how it's oriented, and then your white 3-in square in the center. The assembly for this block is going to be similar to blocks coming up in the rest of the months. We have three blocks and three rows. So, three columns, three rows, and you'll assemble 1, two, three, first row, 1 2 3 second row, 1 2 3 bottom row, and then assemble the rows together. When you press it, decide how you want to nest your seams. And then just make sure you press the middle row opposite of how you pressed the top and the bottom row. This square finishes to 12 and 1/2 in. It is the only one we have to do. So, month one is done, which is awesome. And uh I think I need to show my scrappy version. Yes. So here is the fabric pack version. While you get your scrappy version, I again want to share that these are excellent drawings on the pattern that again show how everything is laid out. So you shouldn't have any trouble. So here is my scrappy version. You can tell it is very very different. As I mentioned in the getting started guide, I swapped out my backgrounds to be whites and just it's a smattering of scrappy whites. So, not true white. There's all kinds of little flexcks of stuff in them. You can see the power of fabric choices is so huge. You can see the stars. You can see the squares, but it just has a very, very different look to it. So, it's going to be really fun over these months to see how you can have one quilt pattern, but the fabrics can make it look completely different, and it's going to be amazing. We can't wait to see your version. Please post your pictures to the Quilted Stitch America 250 Facebook page so that we can cheer you up. And I'll also be posting my progress and probably some photos that my mom sends me on my So Dreamy social channel. So make sure to find those linked below. Next month is Pinwheel Party and it's going to be fun. We're going to be making blocks that smatter through the entire quilt and so we can't wait to see you next month. And happy sewing. Happy sewing.

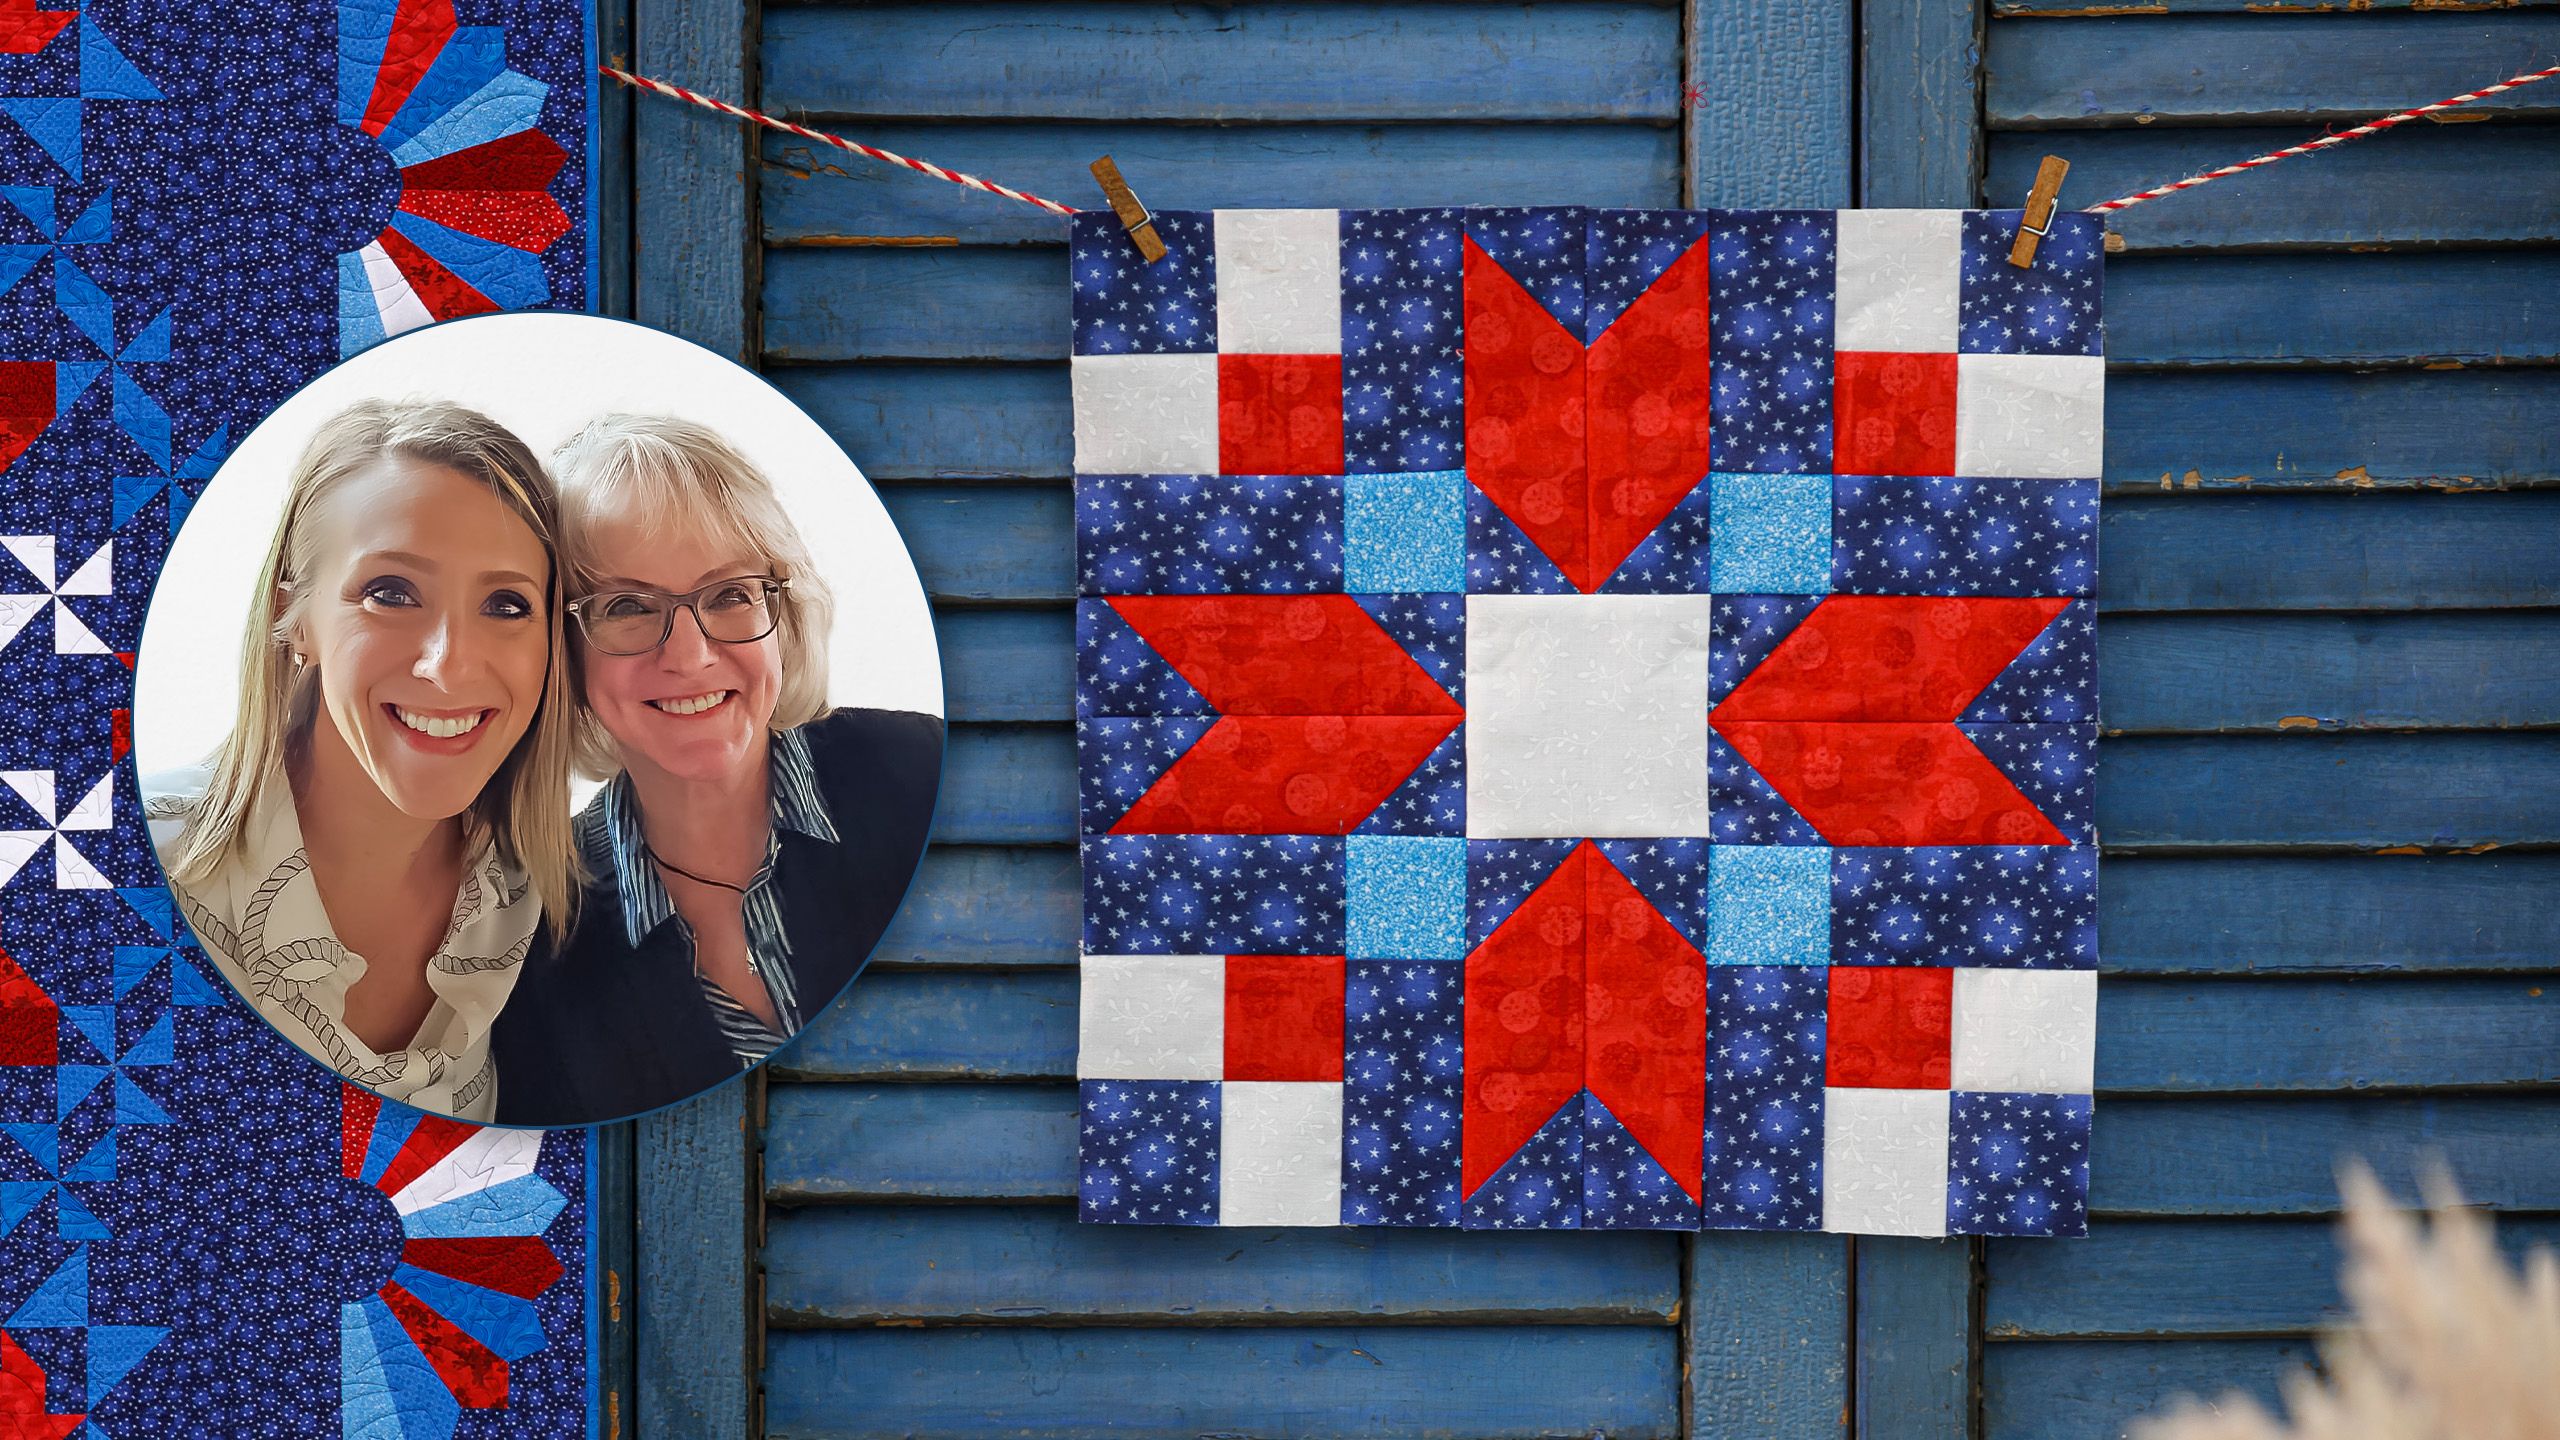
 Audra Chaimson & Bonnie Parnall