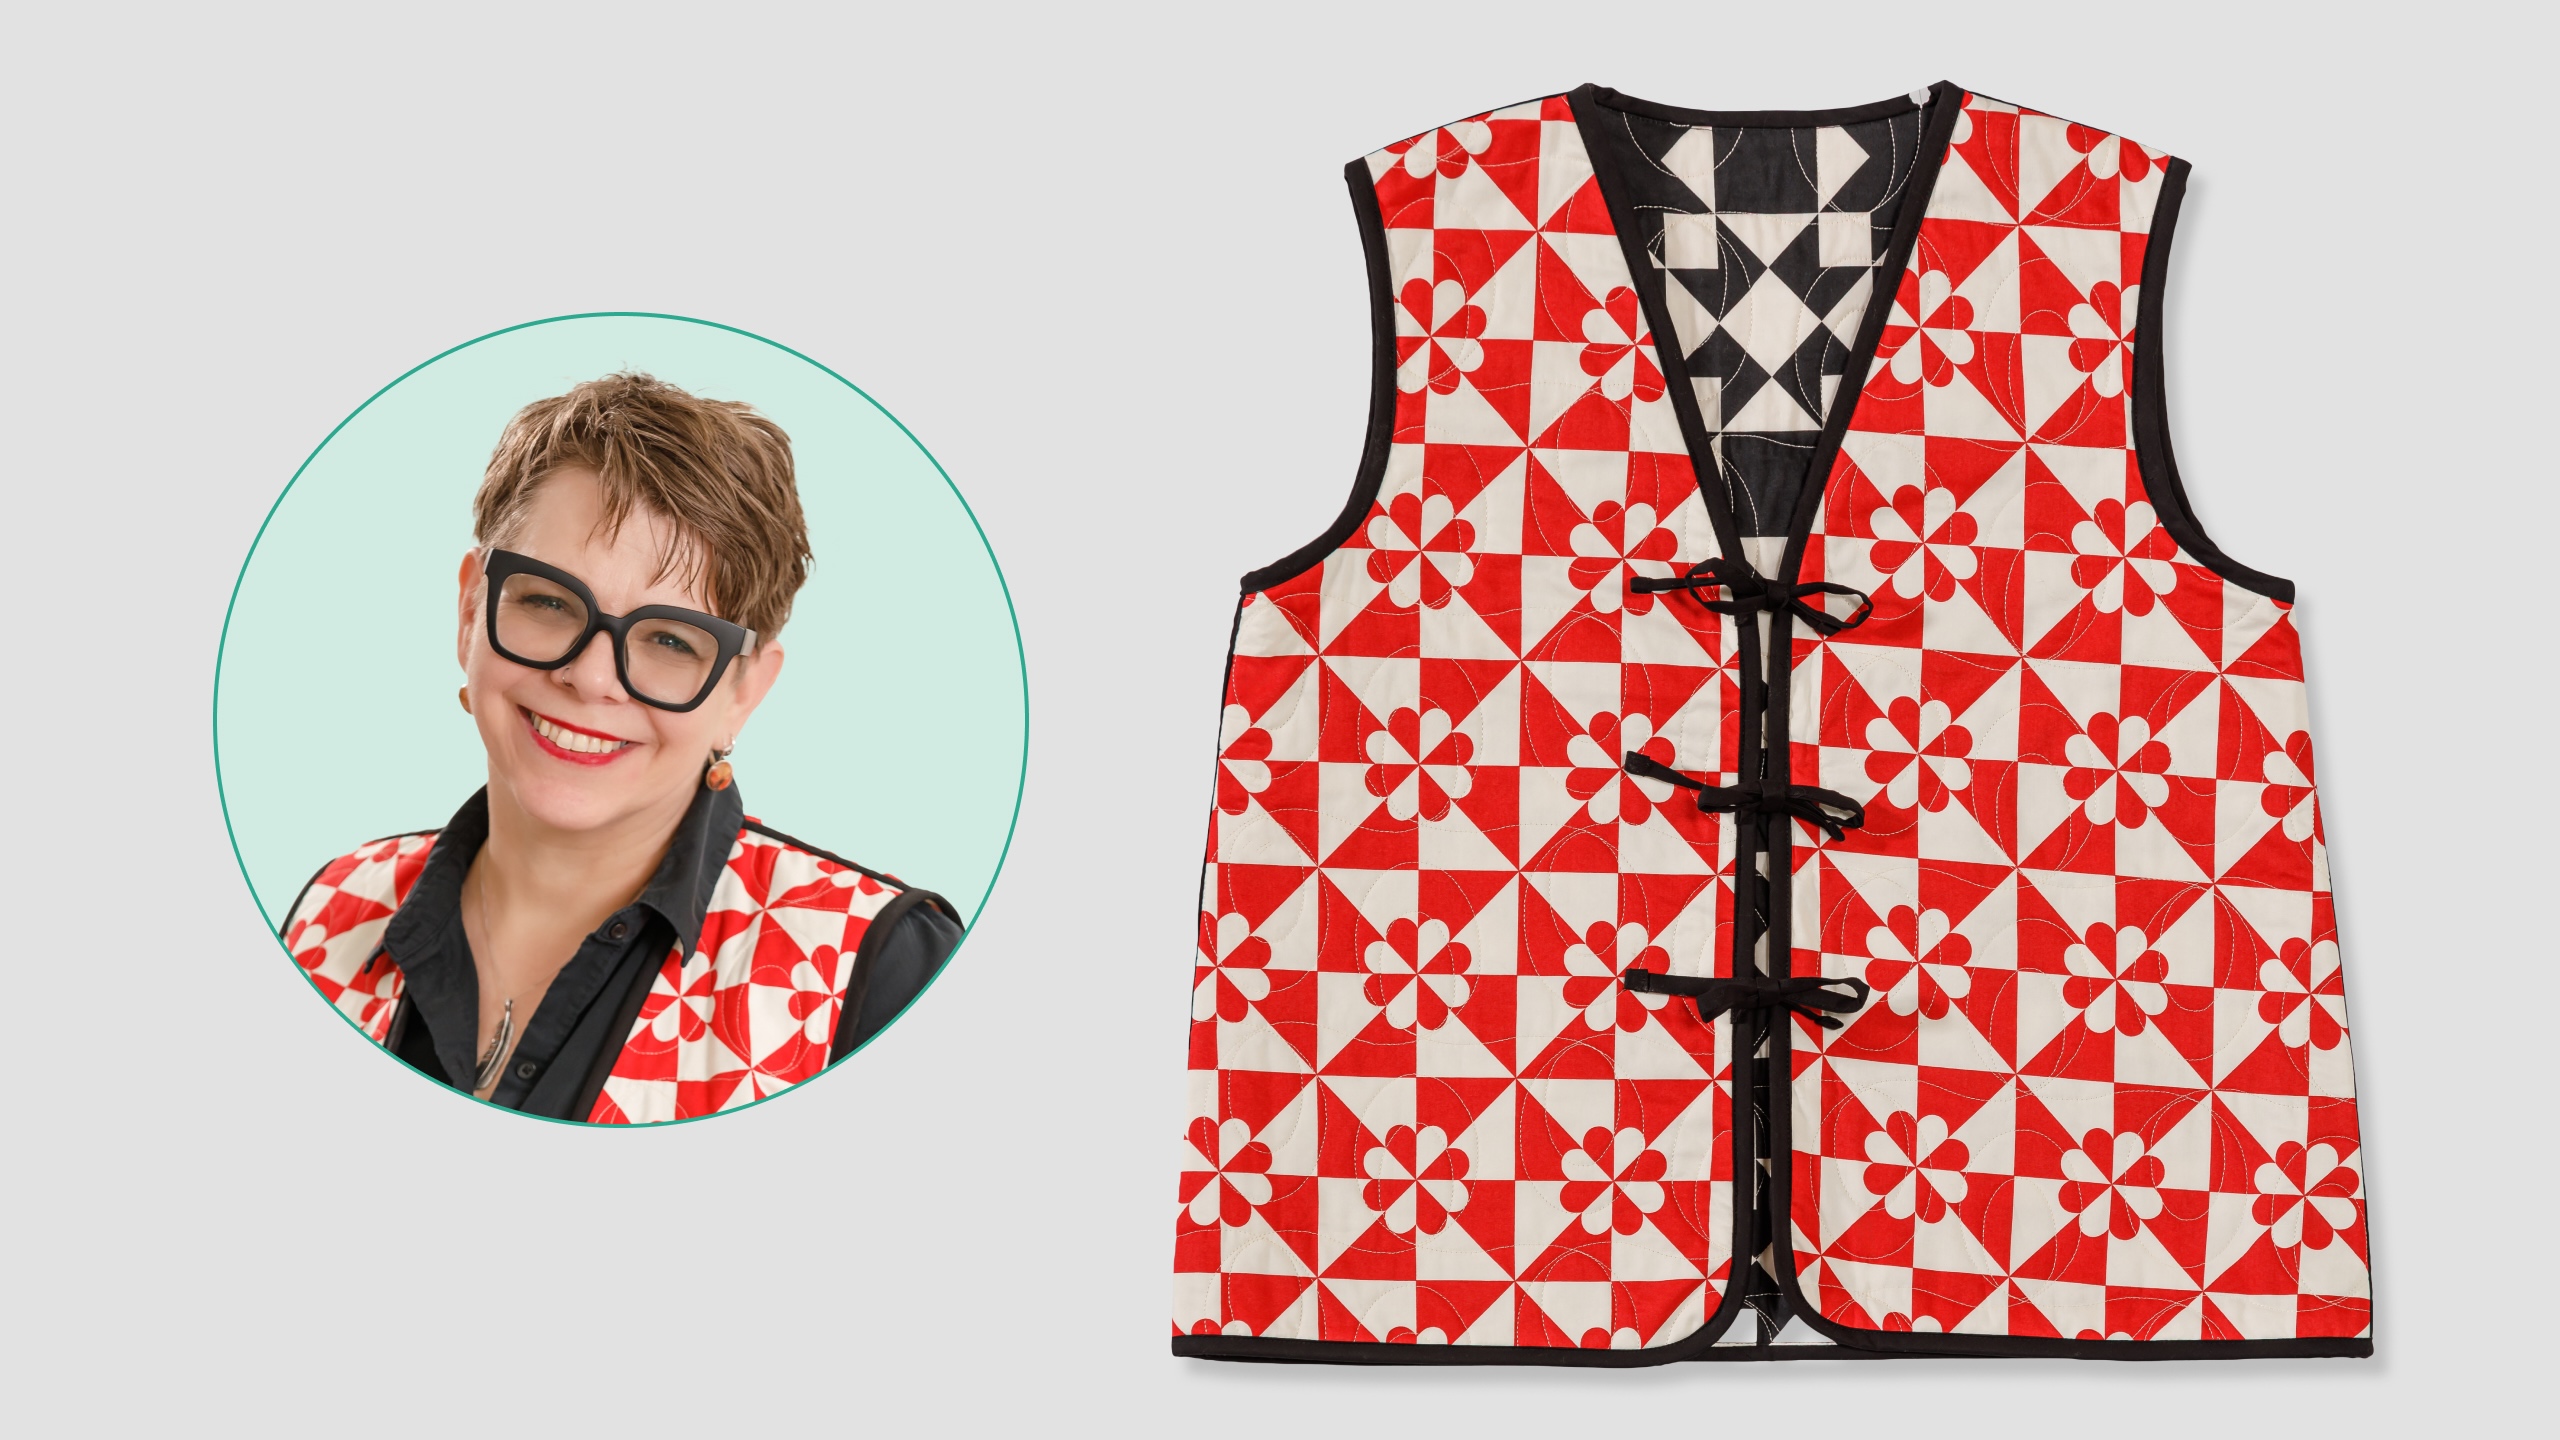
Imagine taking your favorite cheater patchwork yardage and turning it into a wearable treasure. Now, make it a reality with this tutorial from Teresa Coates! Sew the Flipside Vest and enjoy a reversible accessory. With binding, ties, and optional pockets, this patchwork fashion statement will make you the talk of the quilt guild meeting! Sew along with Teresa as she uses the Perfect Points II cheater yardage by Whistler Studios for Windham Fabrics. Sew fashionable!
Teresa Coates is nationally known sewing educator, accomplished quilt maker, travel writer, pattern designer and relentless adventurer. She wants you to fall in love with sewing. She designs her own line of patterns at Crinkle Dreams, including the Elemental Coat and complementary Quilted Elements patterns.
What is covered in Flipside Vest with Teresa Coates?
Imagine taking your favorite cheater patchwork yardage and turning it into a wearable treasure. Now, make it a reality with this tutorial from Teresa Coates! Sew the Flipside Vest and enjoy a reversible accessory. With binding, ties, and optional pockets, this patchwork fashio...
How long is the tutorial video?
The tutorial video is 00:39:54.
Are supplies listed for this tutorial?
Yes. The tutorial page includes the supplies and materials connected to this project.
Video Transcript
Hi, I'm Teresa Coats of Crinkle Dreams and today I'm excited to share with you how to make the flip side vest. [music] So, last spring I was here to do the tutorial for my elemental coat, which is a quilted jacket. And in the fall, we actually put together a quilted vest pattern. So, this is the flip side vest. It's reversible. So, I'll show you how to do that. And it is a super easy project to do if you've been wanting to make quilted clothing. For the flip side vest, we're going to need two different fabrics. So, we've chosen Windom fabrics perfect points to make our So, we have one for the inside, one for the outside. We have some black binding fabric and then we have pattern ease. So, we'll be using this to create our pattern. The pattern is in the issue of block magazine. And in the magazine, you will find the instructions and you'll also find a link so that you can download the patterns, which are a PDF pattern. So once you've downloaded this, you'll need to print it out. Make sure that you print it at 100% and double check this little square to make sure that it ends up at 1 inch. Okay, this is really important. You're going to tape this together like you would any PDF pattern and then trace your pattern out. The thing to note about it is that you have two options on your neckline. So you can have it so that goes all the way up to your neck or you can have the V-neck. Either way works really well. There's also two side differences. So you can have one that's a little more a-ine and one that's straighter. So, lots of choices even in this really simple vest pattern. We're going to be working on the V-neck option today. So, let's get started. So, the first thing we're need to do is put our two fabrics together, make a quilt sandwich, and quilt that up. Once you have it quilted and you've traced out your pattern and have all of your marks transferred, so I've made sure and transferred where I put it on the fold. I've transferred where I'm going to put my ties. Now, I can use this to cut out the pieces from my quilt sandwich. I've already done that. So, let me grab that real quick. And I've got my pieces right here. So, I've got my back that's cut on the fold. So, I'm going to put that with this. And then this is my front. And again, I've done the V-neck version here. Okay. So, I've got that. And I've got my my marks on here. I need to transfer them over here, but I'm going to wait because this is for my ties. And so I'm going to wait until I get to that point so that my pins, which I'll use to mark, don't fall out. If you're using a marker, you can absolutely do that here. Because I'm using dark fabric, I'm just going to wait and use pins. All right. So, and then I also have my pockets. And I've got two pockets that we're going to put on there, one for each side. So, the first thing we're going to do is find our pockets. All right. So, I've got all of my I've got all of my pieces cut out and prepared with my binding. So, I've got the roll of binding that I'm going to use to bind the pocket and the rest of the vest. I also have pieces that are going to be used to bind the seams as well as my ties. These are for our shoulder seams. These are the ties that are going to close it. And these are our side seams. So, we'll all come back and use these at different points. But first, we're going to go ahead and bind our pockets. So, I'm going to measure out enough that we'll go around this and a little bit of extra. Give myself some room. Okay. And then to start, I'm going to cut a 45°ree mark here. So, I'm going to cut this end off because I am going to mark I am going to I'm going to combine the ends. So, I want to make sure that this is at a 45°ree to start. Okay. So, I'm going to start up here because I want to end my my join here. So, this is where I want my what is that called? This this is where I want to join the ends. So, I'm going to start sewing fairly close to this side here. I'll miter this corner and work my way around and end back over here. So, I'm going to put a little pin in where I want to end because that for me is a good visual marker of this is where I'm going to stop sewing. So, let's sew this on. All right. So, I'm going to sew this with a quarter inch seam allowance and do a little back stitch here. Secure my seam. Then, as I get up here, about a quarter of an inch from the corner, I'm going to turn, pivot, sew off, and cut my thread. Now, I can go ahead and fold this up. And I'm going to fold it back down and create a little miter right there. I'm going to put a pin back in so it doesn't move on me and then continue sewing. So, at this point, we need to combine our ends. All right. So, there's a couple of ways that we can do this. I'm going to tuck this in. So, I'm going to fold this back. I'm going to give it a little press. So, I folded it back just about a half an inch or so. Okay. Then I should be able to cut it off there. Great. Okay. So, I'm going to trim that. And that will let me fold this over here and get this underneath. So, I'm going to push this back just a little bit. See if I can show you guys. Okay. Okay. So, I'm just going to press that under. I'm going to put this over it. Trim it off about here. And then I can fold this back over and hide this underneath. Get all these layers to do what I want them to do. There we go. Right. So, now we can kind of hide those tails in there. You can combine the ends in a million different ways. So, you do it the way that you would like to. I'm going to sew this down and then we'll finish the binding. Okay. All right. So, I've stitched all the way around. I'm going to trim off my little dog ear and my thread tails here. And now, at this point, we can turn this over to the other side. A little bit of a finger press and get these corners to miter. Okay. Give it a little press with the iron. Make it stay where I want it to. All right. So now as I bring this around, I'm just going to make it nice and even as much as I can. Use my little Wonder Clips or no, use my little fabric clips to keep it in place. All right. So, at these corners, we want to miter them. So, I'm just going to kind of press it where I want it to be. I want the more of the fabric to be on the bottom when I miter because there's more of the fabric. Which way did I do it? Yeah, there's more of the fabric on top. So, I want it to be on the side. So, I'm going to press it down first and then bring it in from the side. And that'll make it so that there is thickness on the top over here and on the bottom over here. And that'll make that nest a little bit nicer at the corner and finish your miter really very smoothly and not have it be really bumpy up at the corner there. All right, I'm going to do the same thing here. Push that over. I'm just kind of finger pressing it in place. Make it where I want it to be. Okay. Clip that. Put one more clip here. And then we're just going to go ahead and top stitch this down right next to the fold. All right. So, I am going to start sewing my binding down over here where I don't have to move any of the fabric clips. And then I'm just going to stitch right along this edge. I have upped my stitch just a little bit so that it [clears throat] so that it is a little bit more like a top stitch. And we're just going to stitch our way around. Okay. Okay, I'm going to use my stiletto here to kind of hold things where I want them to as I come up around this corner. Okay. Reposition my needle to be where I want it to. And thankfully with this black fabric and black thread, you won't be able to see that I moved it. All right. Now that I've got both of my pockets done, I'm going to go ahead and sew the vest fronts to the vest back. I want my binding to be on my red side. So that will be the side that has my seam allowances. So I'm gonna sew them like this. And you could choose it either way because it is reversible in the end. It can be worn both ways, but one side will have binding along the seam edges. So I'm going to do that for my red side. So I want to line these up, and I'm going to go ahead and pin across the top. All right. And where it doesn't match up here, it's totally fine. Sometimes that will happen. And we're just going to make that even out later when we put our binding on. So, no panicking there. Just going to put a couple of little pins in. All right. And now I'm going to show sew these shoulder seams with a quarter inch seam allowance. So once the shoulder seams are sewn and then we're just going to bind them. So, we're going to bind each seam as we go so we can cover it up at the end with all of the binding. So, we have two short strips that are for the shoulder binding. Okay, these are going to be longer than the shoulders and that's totally fine. That's what we want. Okay, we're going to sew it on to one side and bring it to the other. So, I'm going to sew it to this side and then when we bring it down, I'm gonna stitch it down to the back. So, I kind of want to keep that in mind to know which way I should sew it. I'm going to pin this on here. And we'll do that on both of those. And again, we'll sew it with a quarter of an inch seam allowance. Okay. So, to make sure that I'm actually catching the seam that I did before with the quarter inch, I'm going to sew from this side so I can see that stitching and stitch just to the outside of that. All right. So now when I fold this over, I'm not going to have any stitches that are showing because I've caught it all underneath here. So I'm going to go ahead and press this with the iron. Press this all over. And then we're going to top stitch this down. So I'll open this up. Give it a little bit of a press this way so I can press the seam allowances away. And then I'll press this binding over. Okay. Now to keep it in place again, I'm going to put a little little pin in here. Put another pin at the end here. All right. Then I'll press and and pin this one. Okay. Then I can pin that in place. They're both going to stay right where I want them to. So, this allows us to sew this down. And then from the outside, whichever outside you're going to use, it will look totally fine and you won't have any seam allowances showing. So, this is what kind of makes it reversible. All right. So, let's sew these down. sew right along this edge and sew our binding in place. So, I'm going to sew right down this little edge, right down the fold of the binding. All right. Now I'll go ahead and do the second shoulder seam as well. So from this side, we can see the stitching for the uh we can see the stitching for the binding on that shoulder seam, but it kind of mushes in with the black and white, which is really nice. But on this side, we have that nice pop of black. So I'm just going to trim this Okay. And then I'm just going to trim that so that it matches. I'm going do that over here as well. Trim it so it matches. And then I'll trim off this little end right here as well. Okay. So now we're going to do the same thing with the side seams and these long pieces that we have here. All right. So let's go ahead and pin these, sew them, and then we'll bind them. So, now that I've got my side seam sewn, I'm going to go ahead and bind them just like I did the shoulder seam. And I'll go ahead and do both of those. Now that I have sewn both of the side seams and I've bound them, I'm just going to trim them up and make the sides even. So, one of the things that's great about it being a quilted garment that we're just going to bind all the way around is that I can trim it to fit the needs that I have. So, right here, for example, my uh the arm part here doesn't match exactly. So, I'm just going to trim it and then bring it up and then it will match perfectly and we'll be able to bind that no problem. All right. So, we want to make sure that all of those edges are even so that we can bind it. Okay. But before we do that, we're going to put on our our little ties for the front. Okay. So, I kept my pattern right here, and I want to put my ties on. So, we have little marks on the pattern that show you where. Since we haven't changed anything around this edge, this can all just fit back on there exactly like it was, and I can see where those marks are supposed to be. Okay. So, I'm going to put little pins in and then we'll put our ties on. If I put the pins in first, that helps me a lot to figure out where things are and to not lose track of those marks. We'll do the same thing here. All right. And one more. Now to kind of double check this, I can put my my fronts together here. Make them match. All right. And I can see that my ties are going to work pretty darn well. I'm going to move this one over just the tiniest little bit. All right. So now we can put the ties on. If you decide that you want to put your ties in a different location or a different number of ties, that's totally fine, too. It's really up to you. So, what I'm going to do is I'm going to take these that I've already prepared. So, it's just binding that I have stitched down and then I kind of stitched over the end to make it solid right there and to hide the the raw ends. And we're just going to put those on here. So, I'm going to pin them using the pins that I had. Okay. I'm just going to pin these in place. And I'm going to make sure that they are all kind of going the same direction. So where I folded it over is facing up right now. And I'm going to do that on all of them. All right. Now, to keep those in place before we do the binding, I'm just going to go ahead and base them down and just stitch each one of them in place. With those basted in place, I'm actually going to fold them back and kind of pin them in position. So now we can bind the entire vest. So I'm just going to fold them back over here. and keep them in place so that they don't get caught up in the binding anywhere. All right. So, now I can give it a little check. Make sure everything is even and nice. Fix this right here. That a little more even. Right. And then I'm just going to bind this just like you would a quilt. All right. So, now that I've put the binding on all the way around, I'm going to combine the ends and then we can turn it over and stitch all that binding down. So, the way that I do it is I cut my binding. So, my lower level of binding, I want to cut it at about halfway. Okay. So, I'm just going to snip some off there. Then, I'm going to put this one over the top. I'm going to put a little pin in here so I could see where the other one ends. And then I use the part that I just snipped off to measure how wide this should be. So, I'm going to measure from here over to this edge here. And then I'm just going to trim it off right there. Okay. So, now the overlap is the same width as the binding, which is what we want. So, at this point, I get to do what we all do and try it out and see if it works. Okay. So, we're going to put this this way. I want them to overlap. And then we're going to pin them. And then we're going to see. Did it work. No, I twisted it because that's what happens. Okay. So, then I'm going to do it again. This is why I always pin it because it's so hard for me to remember which way do I twist which. And I know there are lots of secrets to it, but mine is just the pin. Okay. So, let me twist it this way. I'll see. Yes. Does that work? It will for sure. Okay. So, now I'm going to push this out of the way. I'm going to put these two together and then I'm going to pin it a little bit nicer. So, this is really just my my test. So, now I'm going to even up those edges. Put a couple of pins in here. Okay. Okay. And then I'm going to sew between the pins from point to point. Now, for me, I can see this this corner up here just fine. I'll be able to sew there, but it's harder for me to see here. So, I am going to mark this really quick where that's going to end. Okay. All right. So now I know where to start and where to stop. So I'm going to go ahead and sew from here to here. All right. So I'm going to start up here at the corner. Put my needle down. Make sure I don't lose my thread. All right. And then I am going to shrink my stitch just a little bit here to a two. Do a back stitch. And then I'm just going to stitch across and aim for that little chalk mark that I made. All right. And I can take my I'll take my pins out, double check it, make sure that it works. Laid that out. So then I can I can do a little double check and then I will trim off my seam allowances here. So, I always want to kind of do a little bit of a double check, make sure that I actually sewed it the way that it's supposed to be sewed. Then I can trim my seam allowances. So, I'm just going to trim that off at about a quarter of an inch. Okay. I'll press it open just with my hands and then fold it back in half like it was. All right. Now, I'll lay that back on there. put a couple of little pins to hold it where I want it to because this can be a little bit looser down here and we want to make sure that it stays where it's supposed to stay. So then we'll just sew that down. Now I'm going to start before where I stopped, kind of overlap the end. And I'll do the same thing once I get to the other end as well. All right. All right. Now, the binding is attached all the way around the outside. So, I'm gonna go ahead and press this over and then bring it around to the other side and top stitch it down. All right. All right. So, now that we've got the binding finished, it's time to bind the armhole. So, the armhole, you could bind it like we did for the outside, but I've got a little trick that seems to work pretty well. So, I did this for the elemental coat sleeve. That's how the binding is done on that. And I thought, I wonder if it's going to work. And turns out it does. So, what we're going to do is we're going to measure the armhole here. So, I'm just going to measure it on the side of my board. And I'm going to kind of open it up a little bit so I can get the whole edge here. Okay. And just making sure that it's flat and even. So, move it like this. Put it on my board. I'm going to measure it. Okay. And it's just about 10 in. So, this is the large and that's what size it is. Each size will vary a little bit. So, you'll want to make sure and measure yours yourself. Make sure that the the length is right. But the large ended up at 10 in across, which means it's 20 in all the way around. So, I'm going to cut it at 20 and 12 in my binding. Okay. So, I have my end cut at a 45° angle. And let me see. I'm going to grab a ruler that is long enough to reach the whole 20 in that I need or 20 and 1/2 in. I'm going to grab my little pencil again and I'm going to mark 20 in from each cut end. All right. So, I'm going to move my ruler here. See if I can get that fairly straight on there. Okay. So, now I'm going to from this cut end here, from the cut end over to 20 and a half. Okay. Okay, now I can do the same thing here and measure over from this cut end over to 20 and a half. And now when I put this on here, it should be a 45 degree angle from cut to cut. There we go. All right. So there we go. So from mark to mark, I'm going to cut it. Make those come back together where I want them. And I'll just use the rotary cutter to cut it right from mark to mark. All right. So now I have the amount of binding that I need for my sleeve. So I've already fold it in half. So I'm just going to unfold it here and then turn them right sides together. So, I have my cut ends. They're in opposite ways. So, if I bring it right sides together, and then I'm going to give it a twist so that these raw edges will match. Okay. So, I'm going to turn that. And then I want to make sure that I have a little bit of an overlap for my quarter inch seam allowance. So, pin it. And then I'm just going to sew it from valley to valley here. So, from here over to here with a quarter inch seam allowance. Okay. So, I'm going to trim the dog ears and then we're going to try it out. Okay. So, let me just trim these off. trim off my extra threads. And I'm going to press that open. Just a finger press. Fold it back in half. Okay. So, here's the trick for being able to get it on so that it matches evenly. And this is a garment sewing trick, but it works really well for this kind of combined quilted clothing thing. So, what I'm going to do is I'm going to fold this in half and I'm going to pin it at each of those half marks. Okay? So, I can kind of finger press it and get it to stay, but I actually want it to really be easy to see. So, I'm going to pin it. This also keeps those edges together so that they can't slip apart while I'm working with it. Okay. So, I've got the half marks and now I'll put the half marks together and that will get me quarter marks. All right. So now my binding piece has even quarters on it. Okay. So each of these is evenly spaced apart. So that means on here I need to do the same thing. So I'm going to fold this in half. I'm going to get my edges to match here. Okay. Let's see if we can do this. There we go. Oops. Okay. So, I got these to fold together so that both of these edges are the same. And I can kind of work it out here and pinch it. Here's the other half. So, again, I'm going to do the same thing that I did with the binding and fold it the other direction and make these touch. Okay. And then I've got Whoops. a side seam here and the top here. So now when I put this binding on, I'm just going to match the pins. So I'll put the raw edges. I'm going to put it to the inside because we're going to bring it around and stitch it on to the right or the red side. Okay. So I'm going to put that inside and I'm just going to line up these pins. So, I'll take one pin out and then repin. I'm going to do the same thing all the way around with each pin. All right. So, now we've got that totally pinned in there. All right. And then I've already got this one pinned. So, let's go ahead and sew them both. All right. So, let's go press this and then we'll come back and top stitch it all down. All right. So, we're going to kind of wrangle this. I'll press press it and then press it out. Okay. So, I'm just going to try to press the seam allowance so that it opens up here a little bit. Turn the binding side out and then press it. All right. And then at this point, we're just going to pull it back in just like we did the rest of the binding. pull it over to the other side, clip it down, and then we'll top stitch it in place. All right. So, now that we have the binding all attached, we see how cute that's going to be. Now, I have two more things left to do. So, I have to attach the strips here, these ties. We're going to reso them down so that they stay this direction. And so I'm just going to pull them this way. And then I'm going to clip this. Okay. And as I take it over to the machine, then I'm going to stitch it right along the edge. Kind of top stitching where I had stitched before. Okay. Get my clips. And that'll just hold these in place where we need them to be. All right. So now I'm going to take this over and I'm going to stitch right along that very edge. So I'm going to stitch just right here to keep it intact and make it so that this the strips will go this direction. All right. So let's go ahead and do that. So make sure my ties are out of the way before I try to stitch them down. I'm going to take the clip out, hold it over, and I'm but I'm going to be really careful not to pull the strip. So, I want it to stay just nice and straight along that edge. And I'm going to sew across. And then I'll back stitch. And then I'll cut my thread. Okay. And now that little tie is going to stay this direction. So, I'll go ahead and do that with all of them. All right. So, now that we've got the vest, everything is bound, the arm holes are bound, the the side seams, the entire outside, and I've tacked those ties over so that they stay toward the center. Now, if I want to put pockets on, here's the time to do it. In the instructions, there is a placement guideline for where you can put your pockets. Or I really recommend that you just try it on and figure out where you want your pockets. I've decided I'm not going to do pockets because I don't really want them. But you can also So you could just put the pockets on here. All right. Figure out where you want them. Stitch them down. You can just stitch right around that outside edge. Or if you wanted it to be truly reversible and not be able to see it from this side, because if you machine stitch it, you're going to see the stitching on here, you could actually just hand tack these down with a ladder stitch or a whip stitch and just put those in place. So easy peasy. It's super cute. [music] I absolutely love this little vest. I hope you've enjoyed making the flip side vest with me. I'm Teresa Coats. You can find me on the socials at crinkledreams or on my website at crinkledreams.com. Happy sewing.


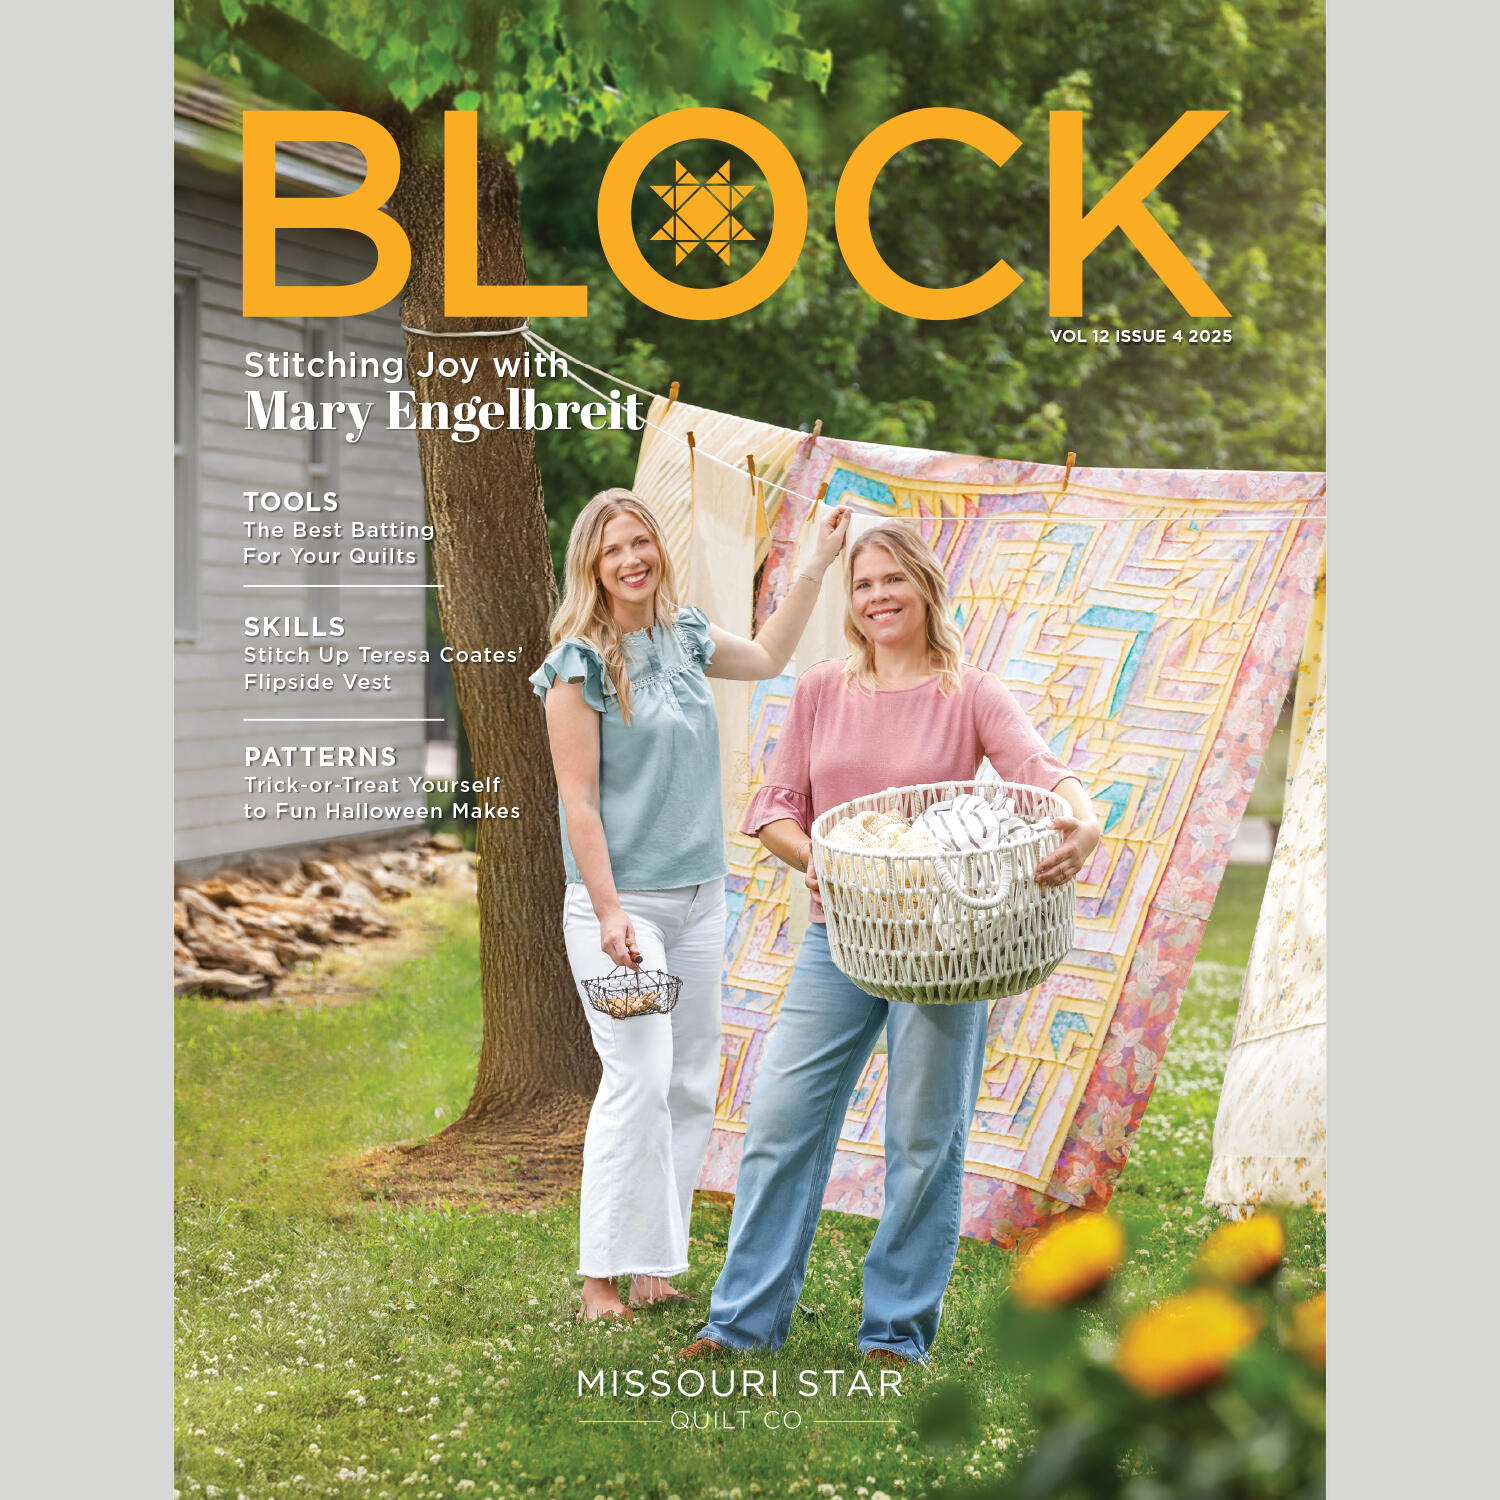 BLOCK Magazine 2025 Volume 12 Issue 4$7.99Shop →
 Digital Download - BLOCK Magazine 2025 Volume 12 Issue 4$6.99Shop →
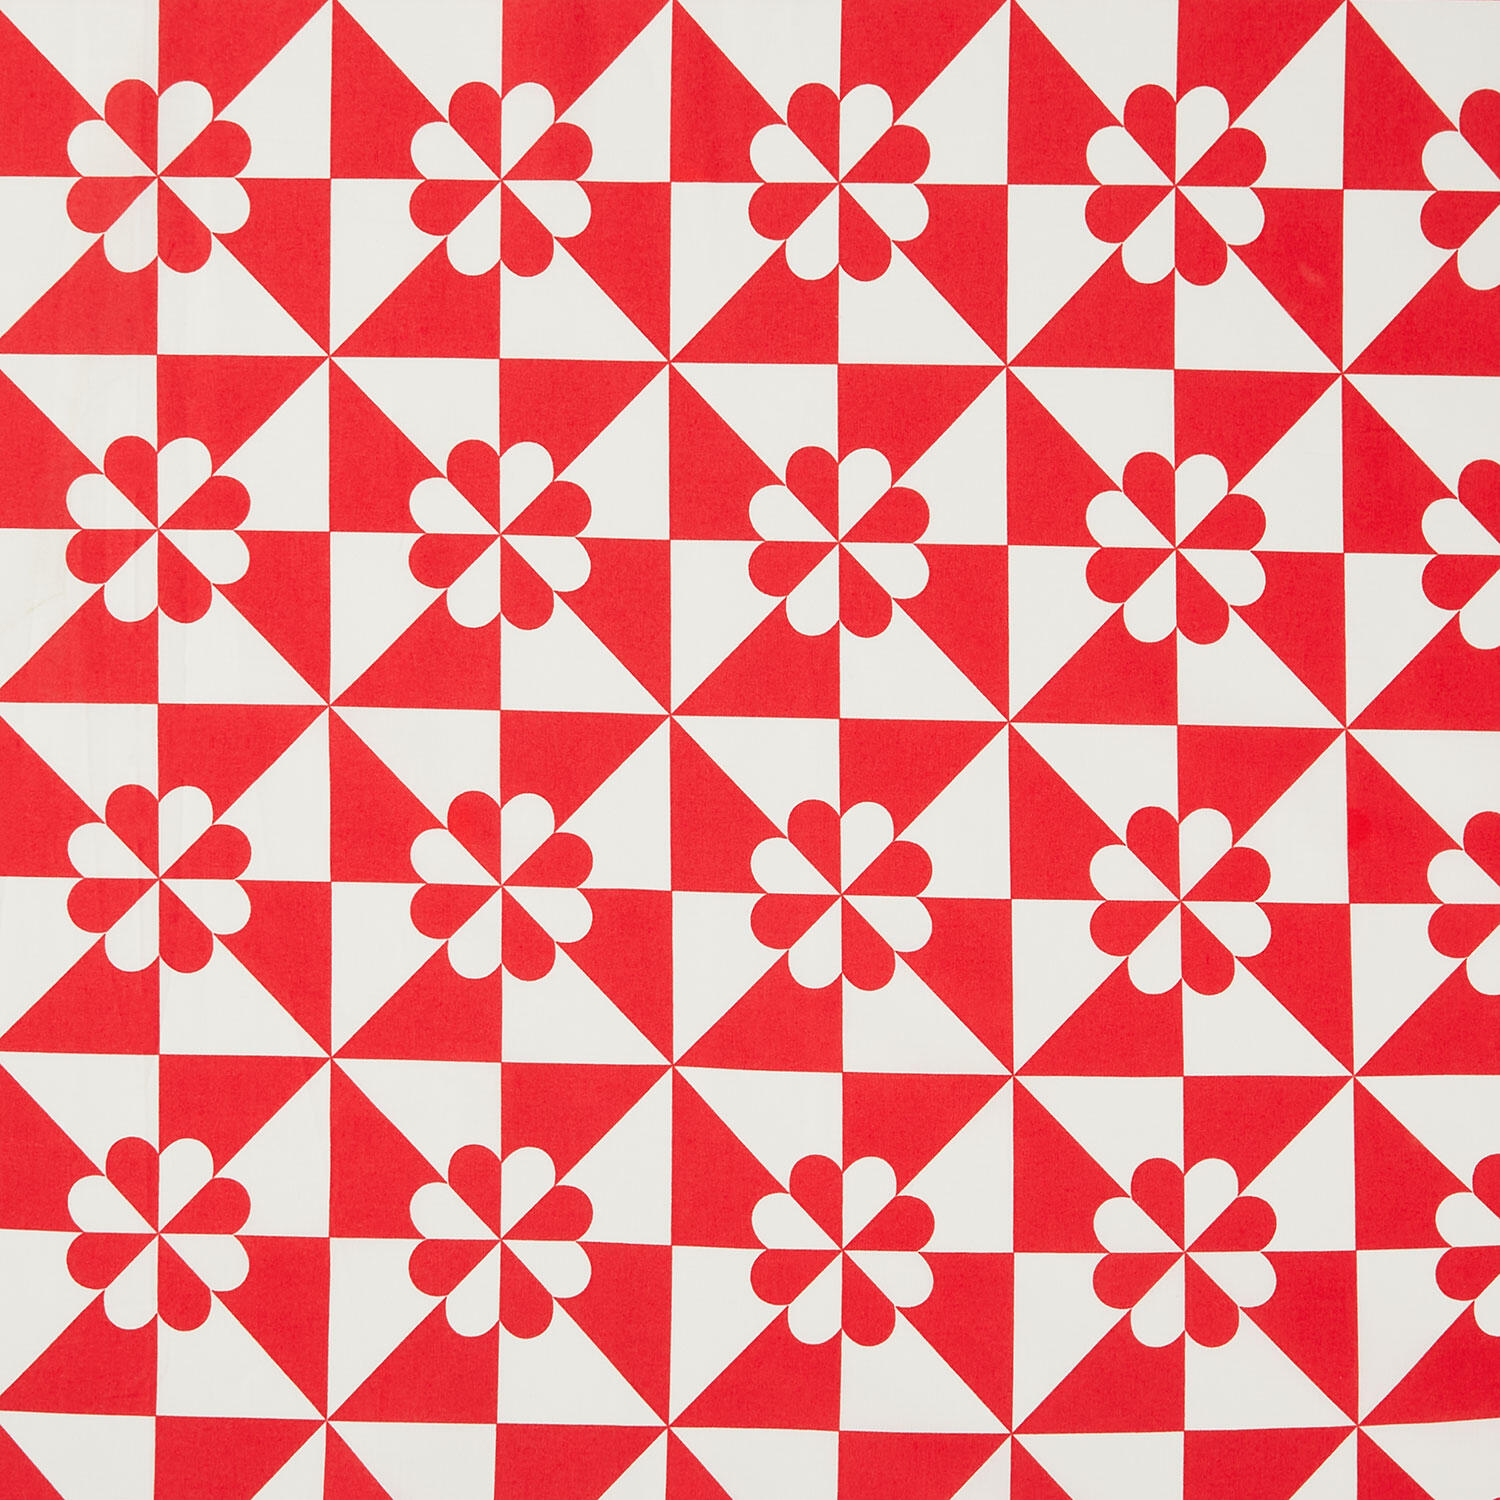 Perfect Points II - Hearts and Gizzards Red Yardage$11.84Shop →
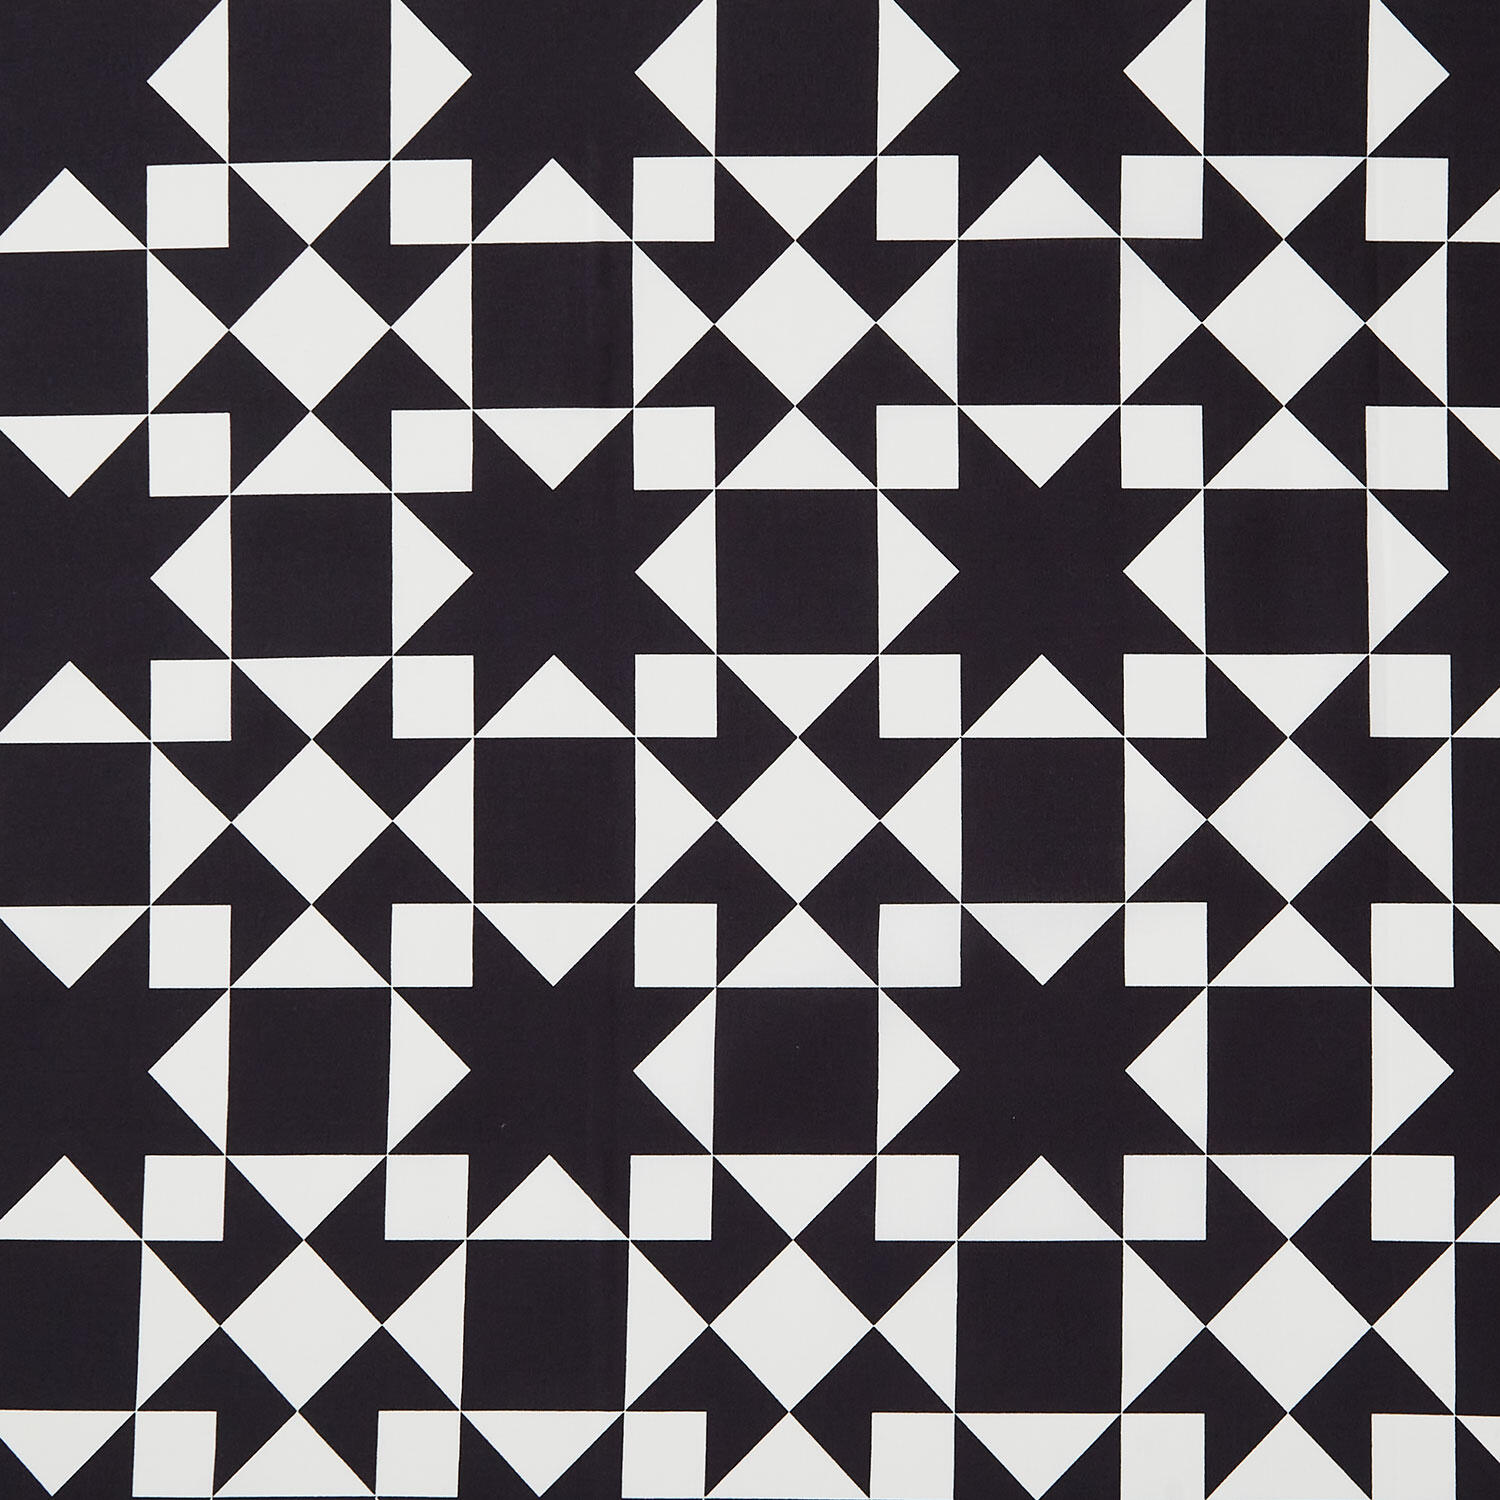 Perfect Points II - Sawtooth Black Yardage$11.84Shop →
 Pattern Ease - Pattern Ease White Yardage$2.68Shop →
 Colorworks Premium Solids - Black Yardage$8.96Shop →
 Missouri Star Quilter's Best Blend Throw Batting$21.95Shop →
 Missouri Star 5" x 15" Ruler$19.95Shop →
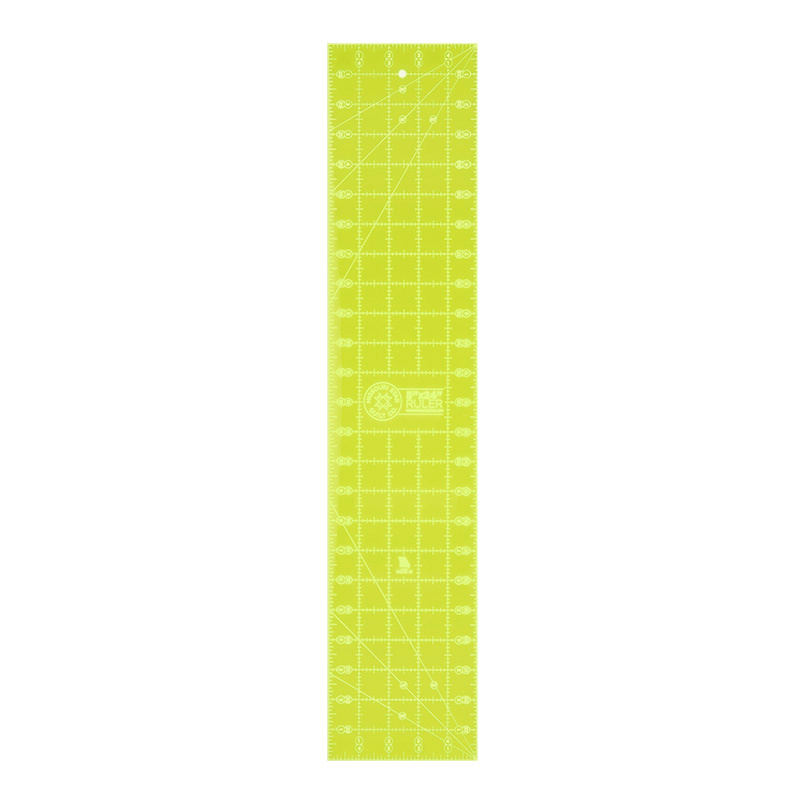 Missouri Star Ruler$29.95Shop →
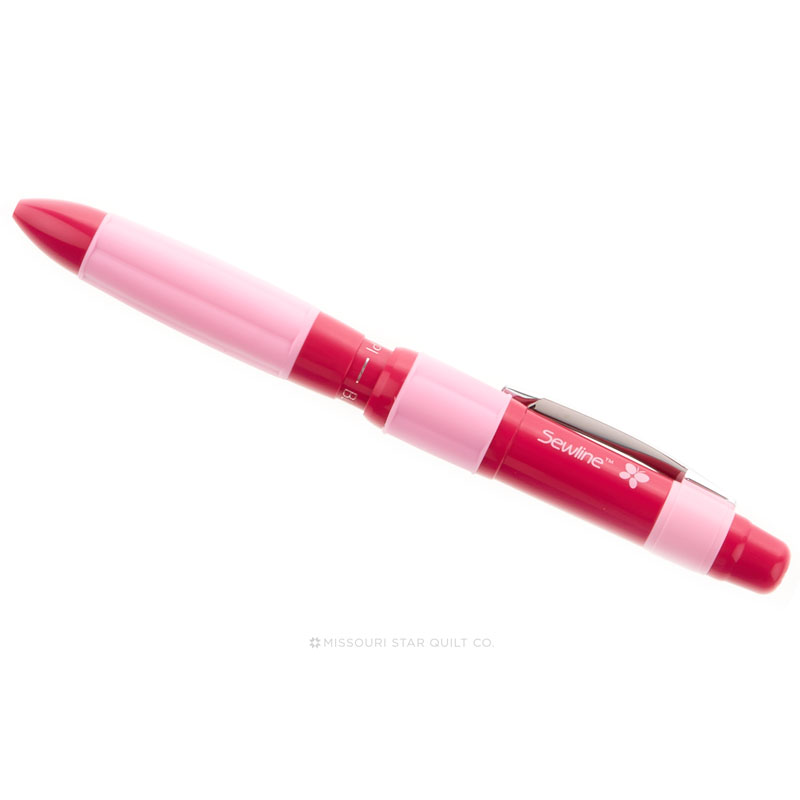 Sewline Pencil Trio$17.75Shop →
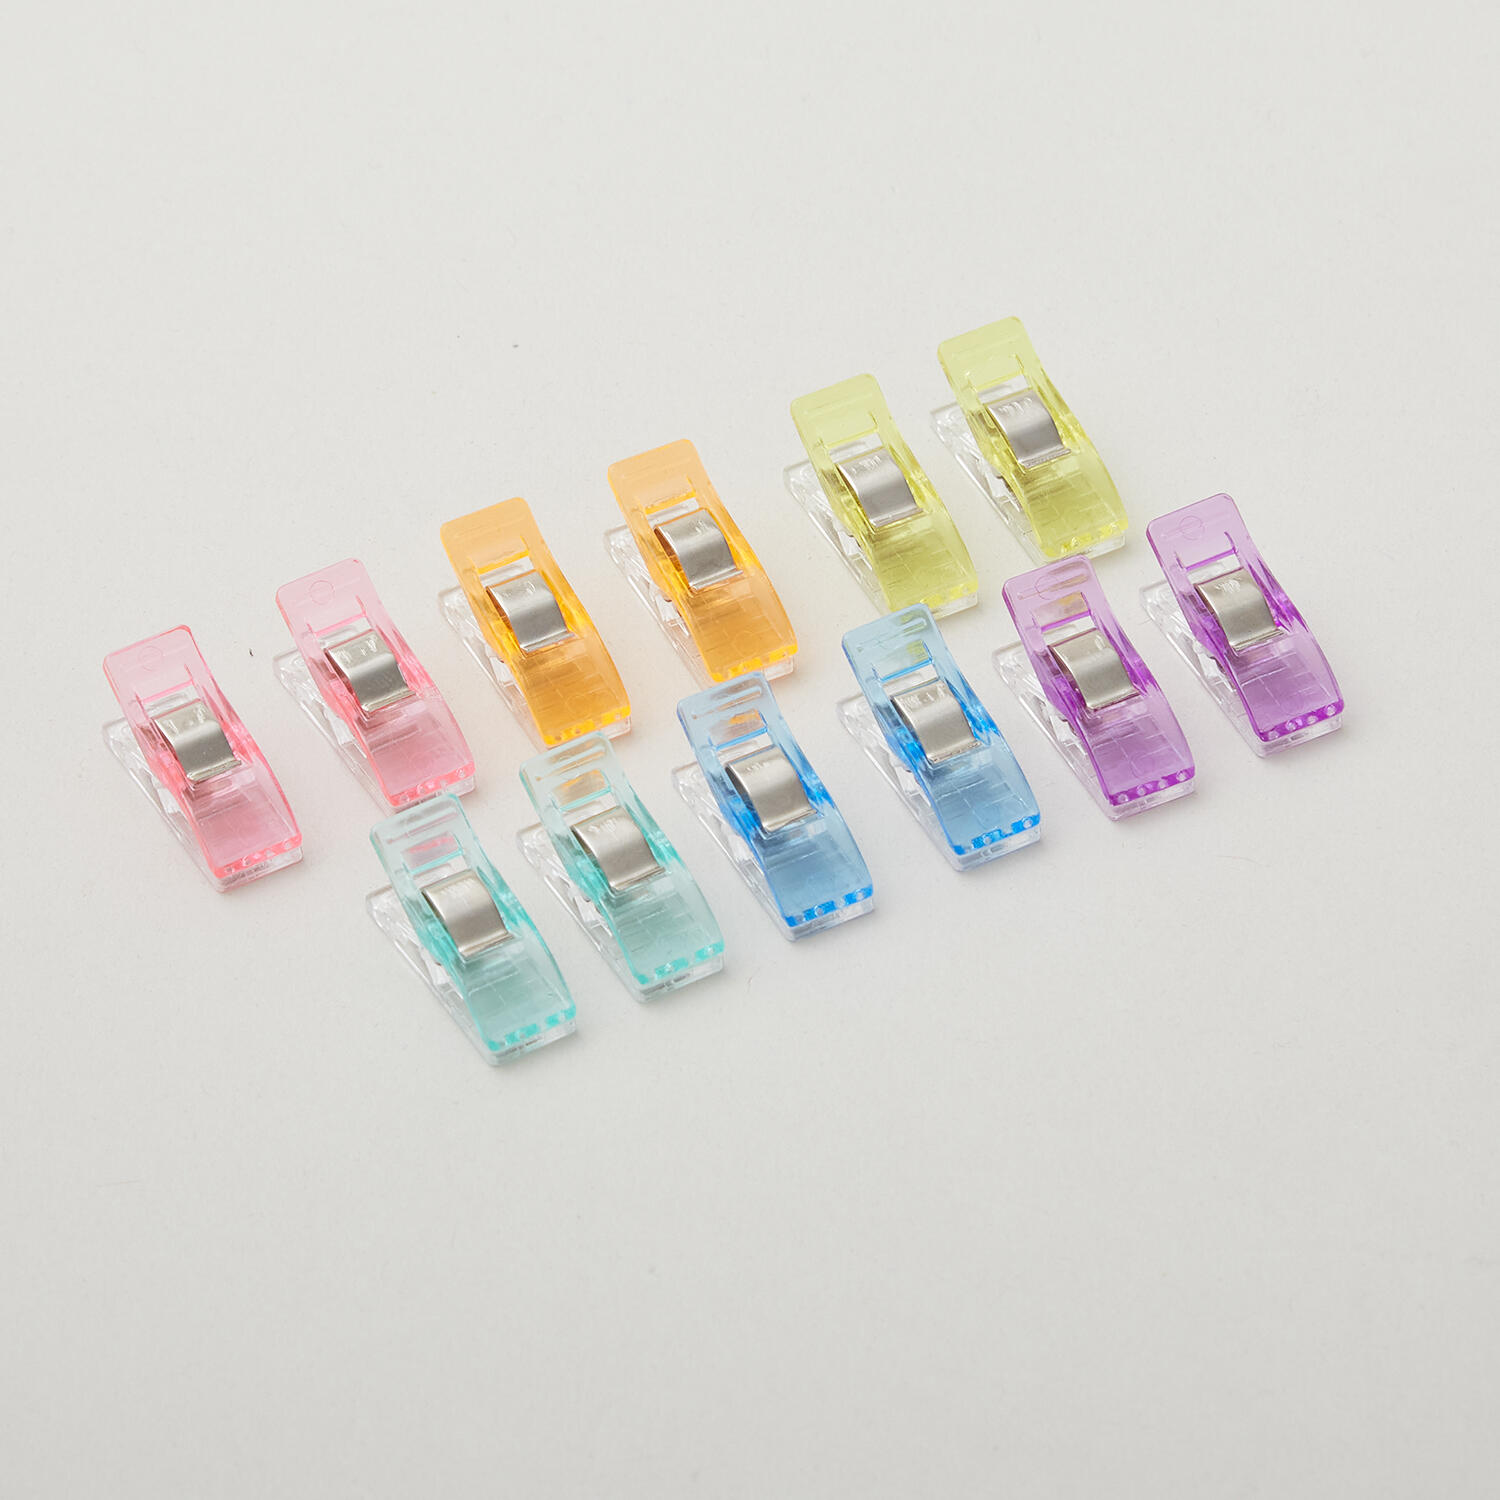 Missouri Star Quilting Clips - 12pk$7.95Shop →
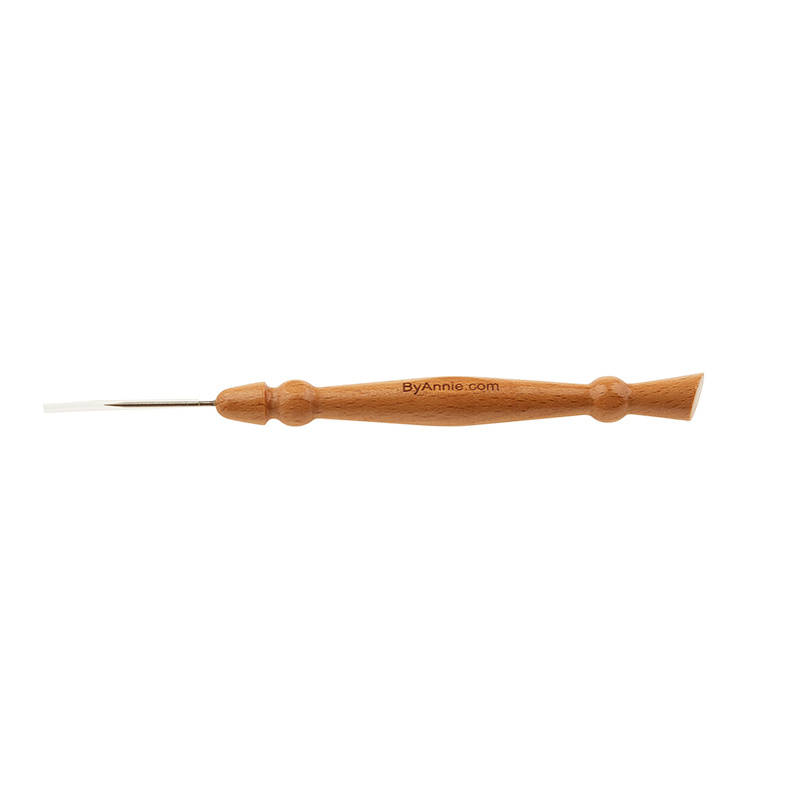 ByAnnie Stiletto & Pressing Tool$22.75Shop →


