
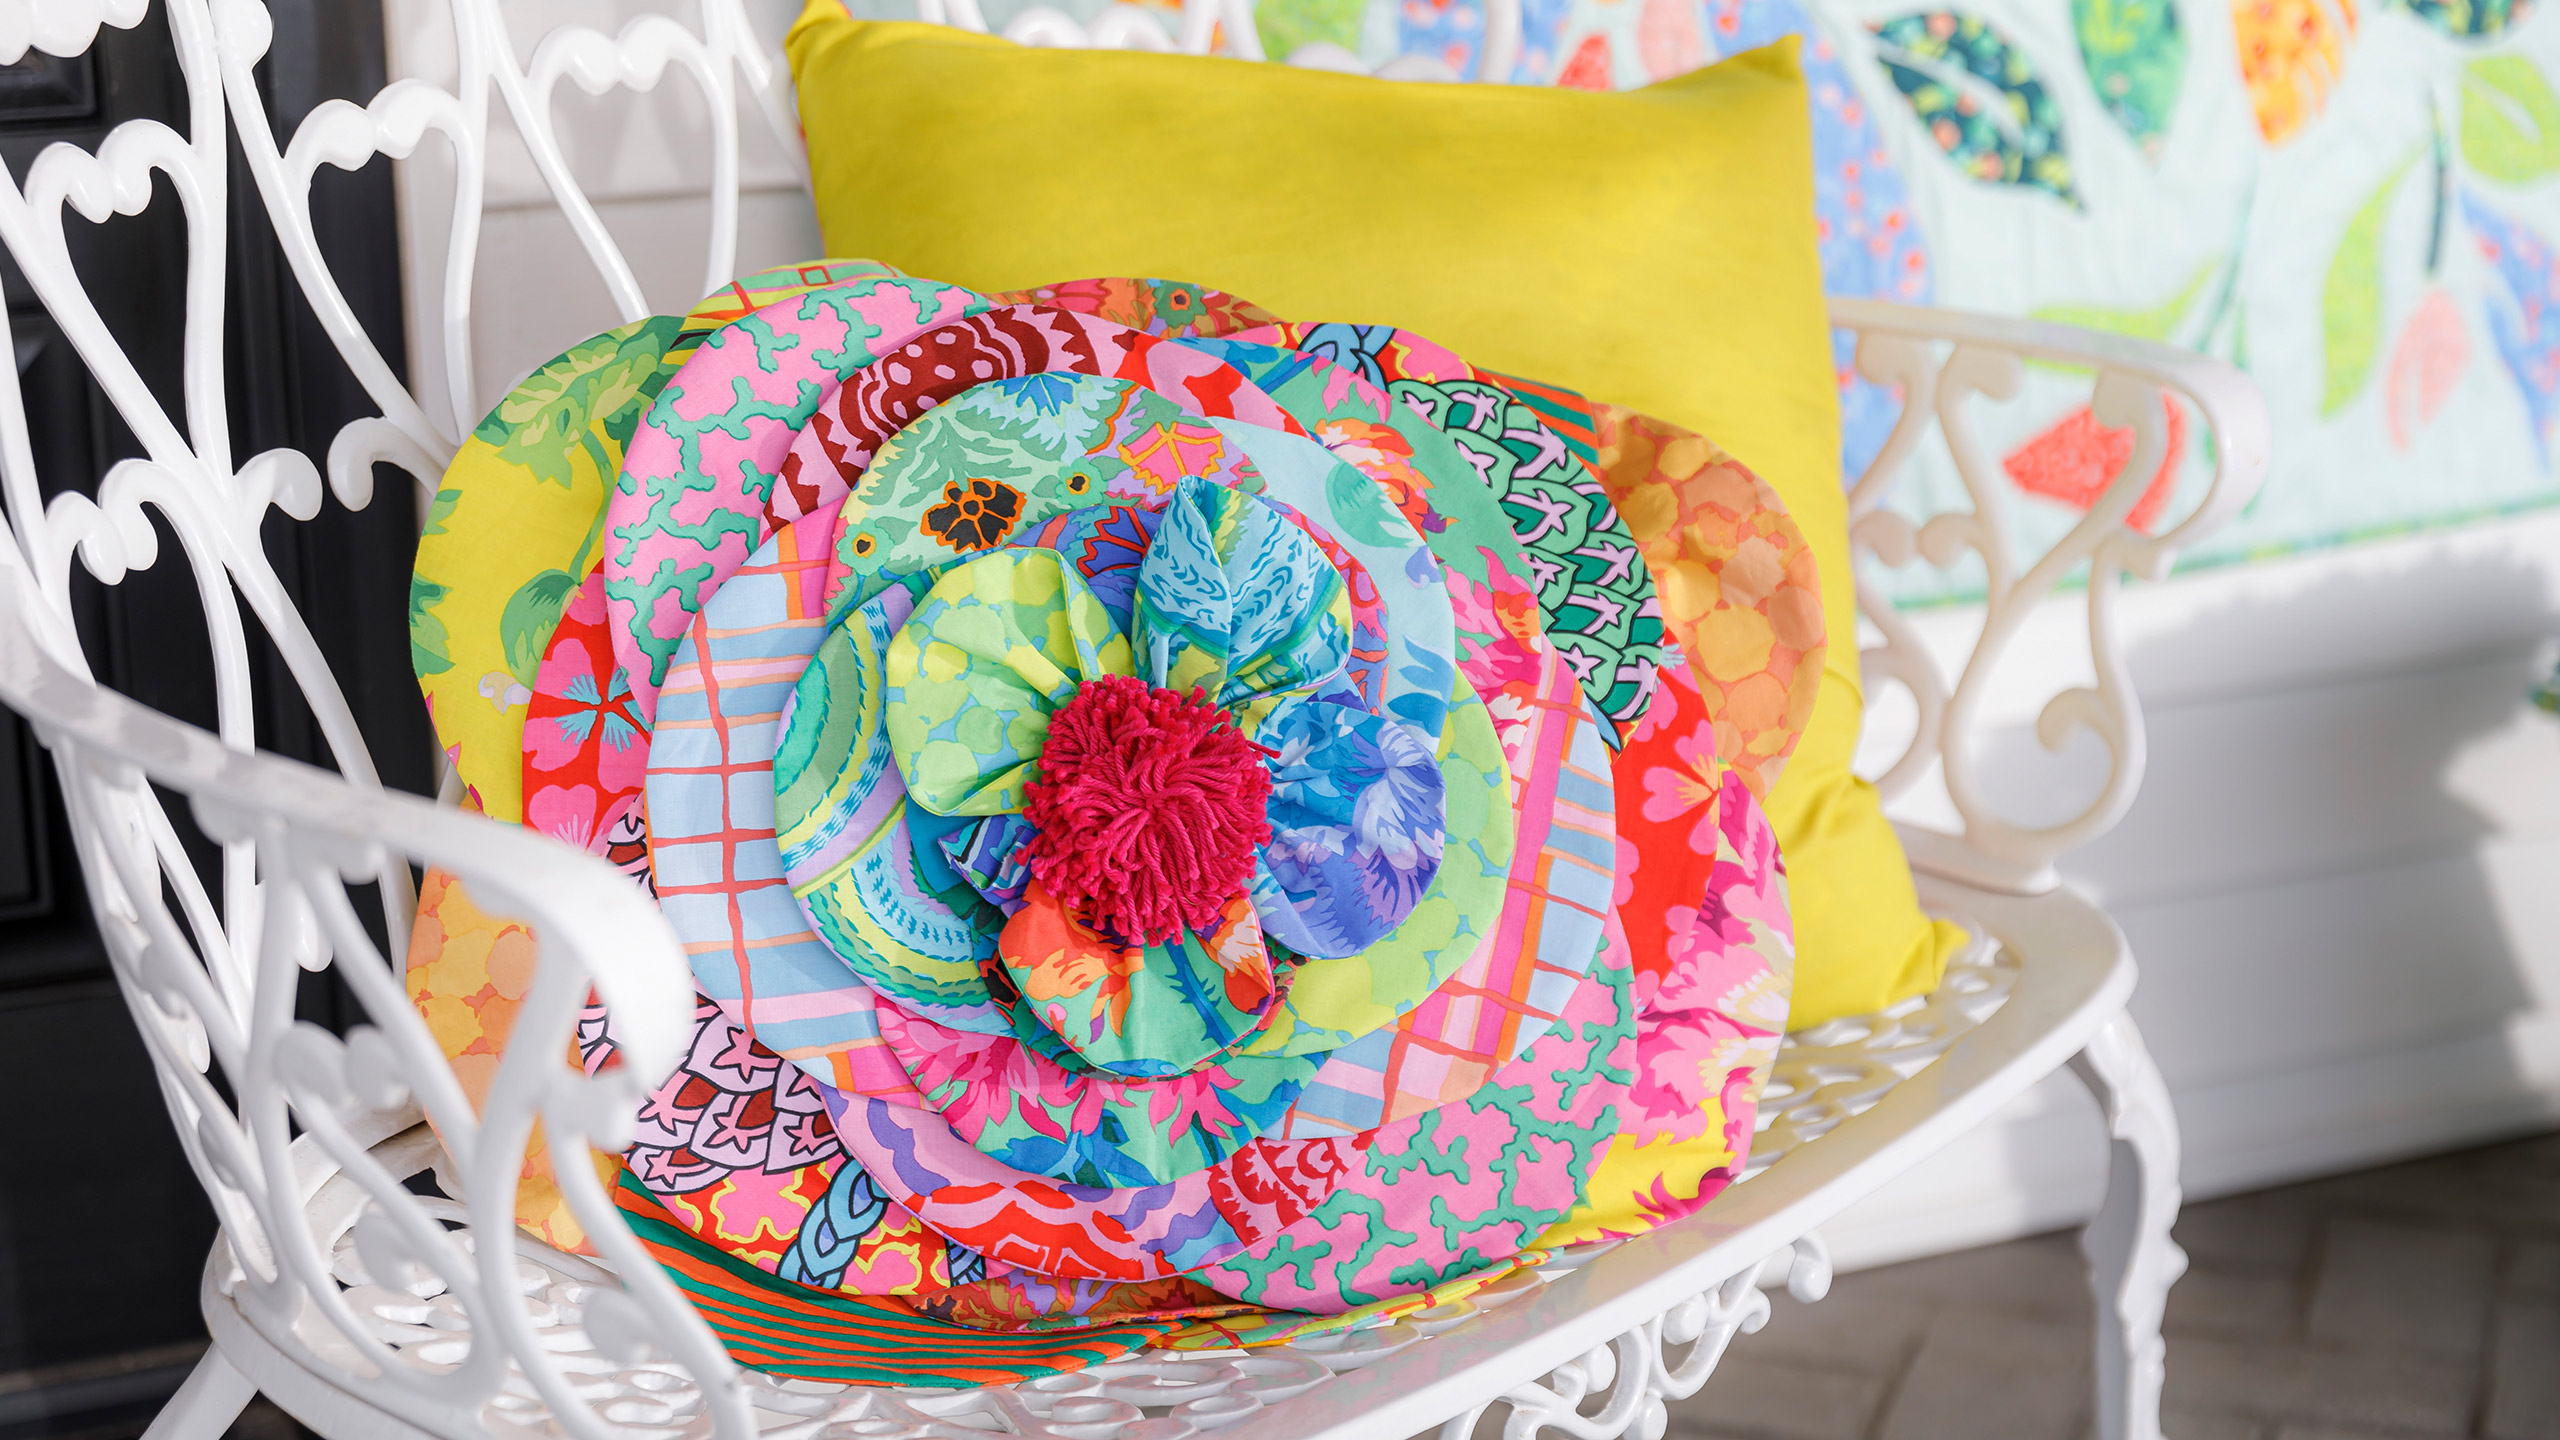
Flower Petal Pillow
 Misty Doan
- Layer Cake
- Modern
- Pillows
- Intermediate
- Quilt size 16" × 16"
Spring has sprung, so put the petal to the metal with Misty as she makes this fabulous flower pillow! Pretty 3D petals made from vibrant Kaffe Fassett fabrics burst from a round pillow form to create a bloomin’ lovely home accessory. You’ll love it bunches!
Instructor
Misty Doan
Misty Doan grew up surrounded by sewing and quilting. She loves spending time sharing tutorials each week each week, and when she’s not stitching up one of her fun sewing projects for home decor, most likely you’ll find her hanging out with her husband and three awesome kids or working on a house project.
Shop this tutorial
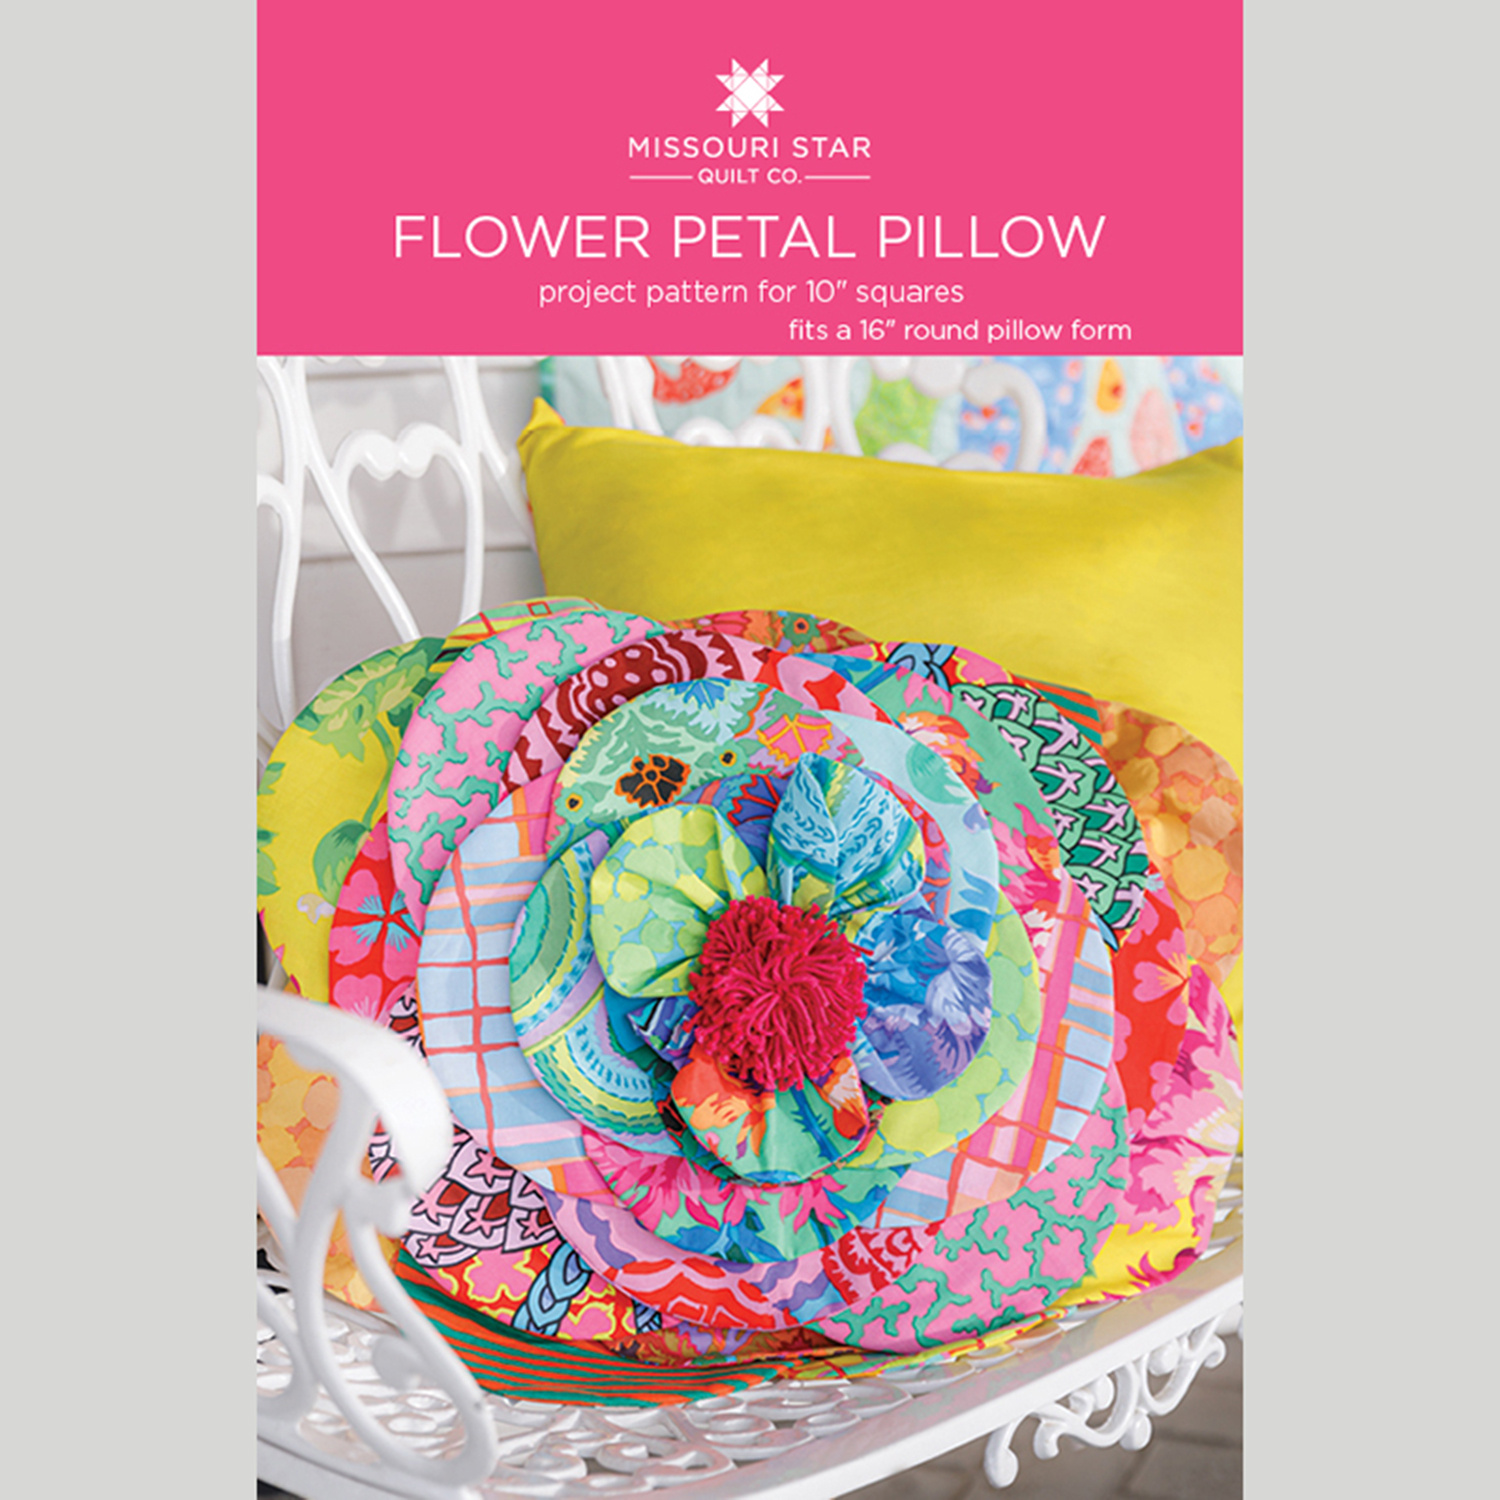 Flower Petal Pillow Pattern by Missouri Star$8.50Shop →
 Digital Download - Flower Petal Pillow Pattern by Missouri Star$6.95Shop →
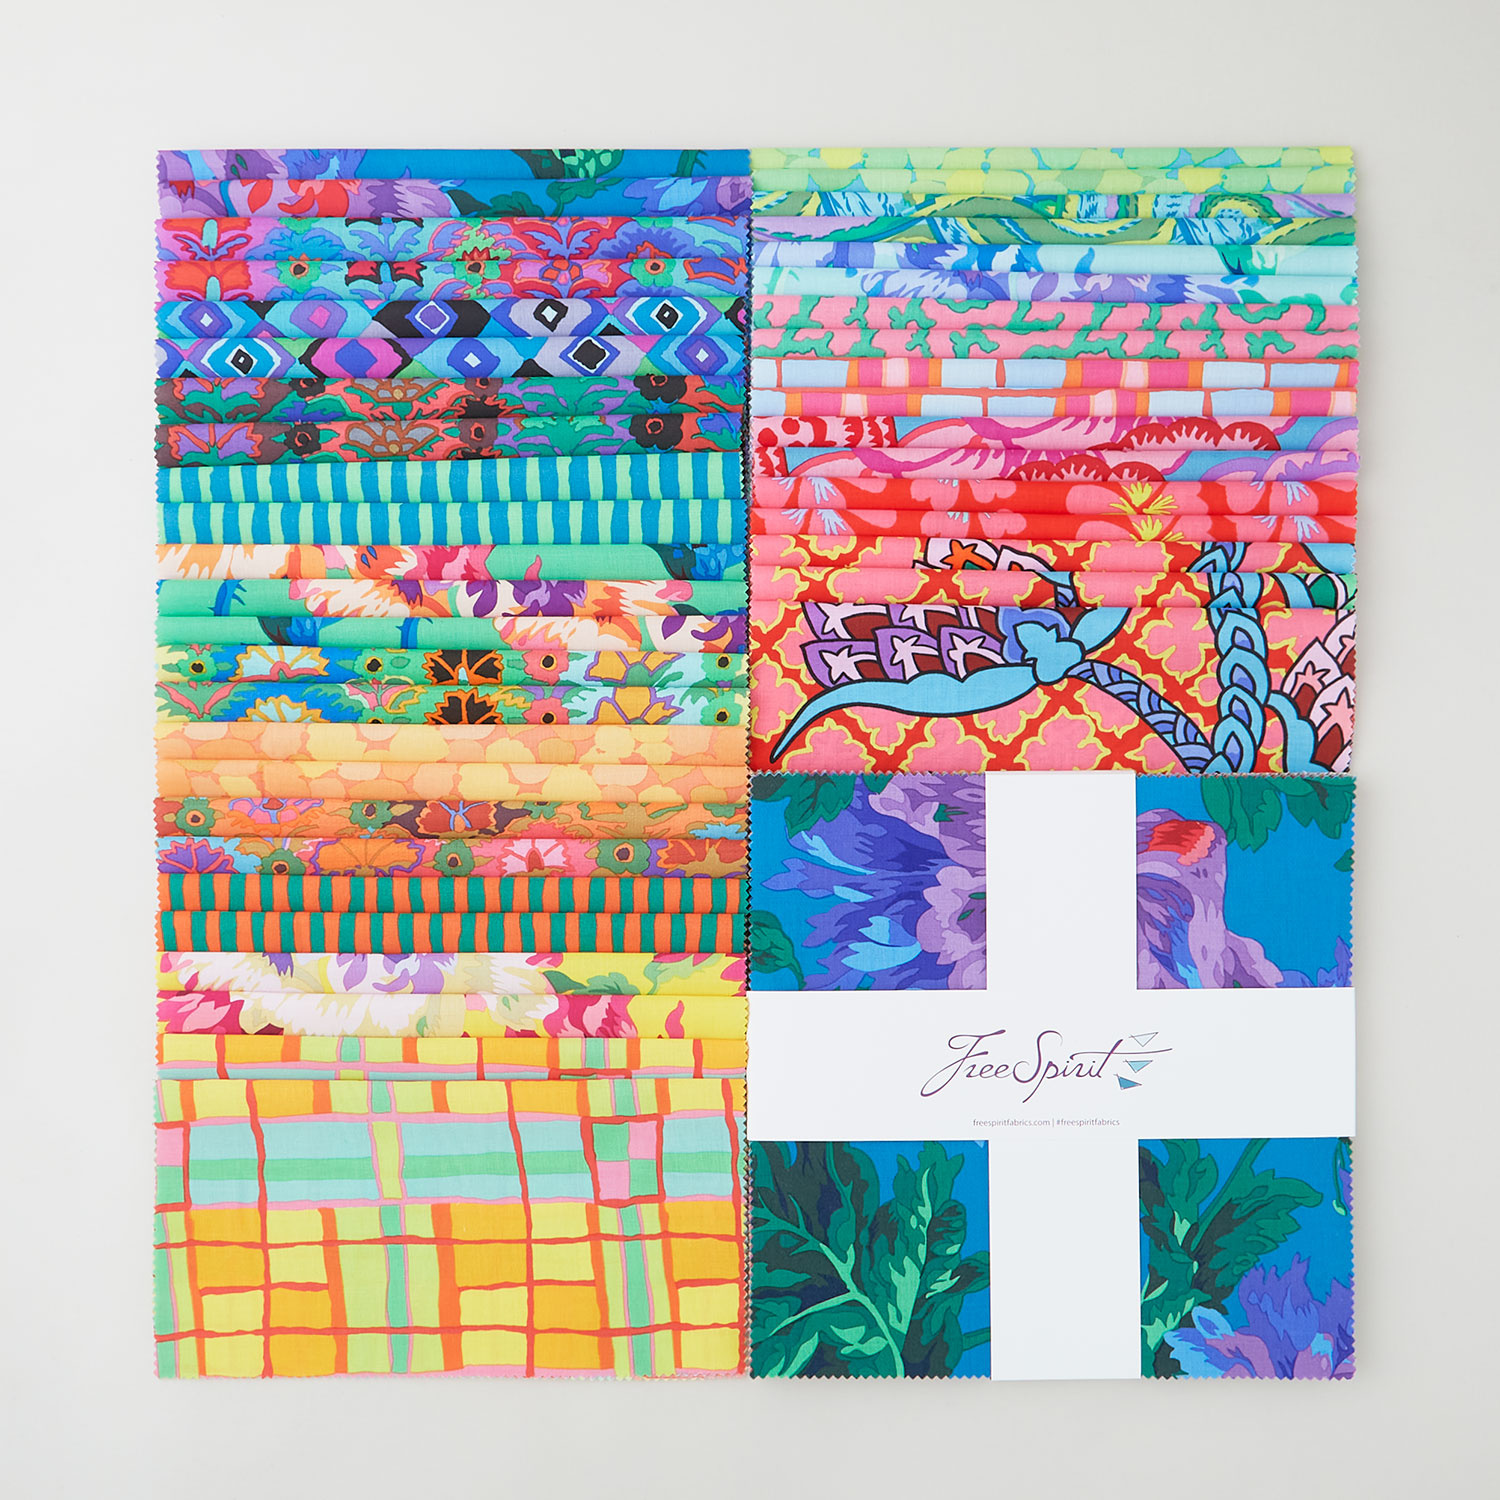 Kaffe Fassett Collective - February 2024 Bright Colorway 10" Squares$44.95Shop →
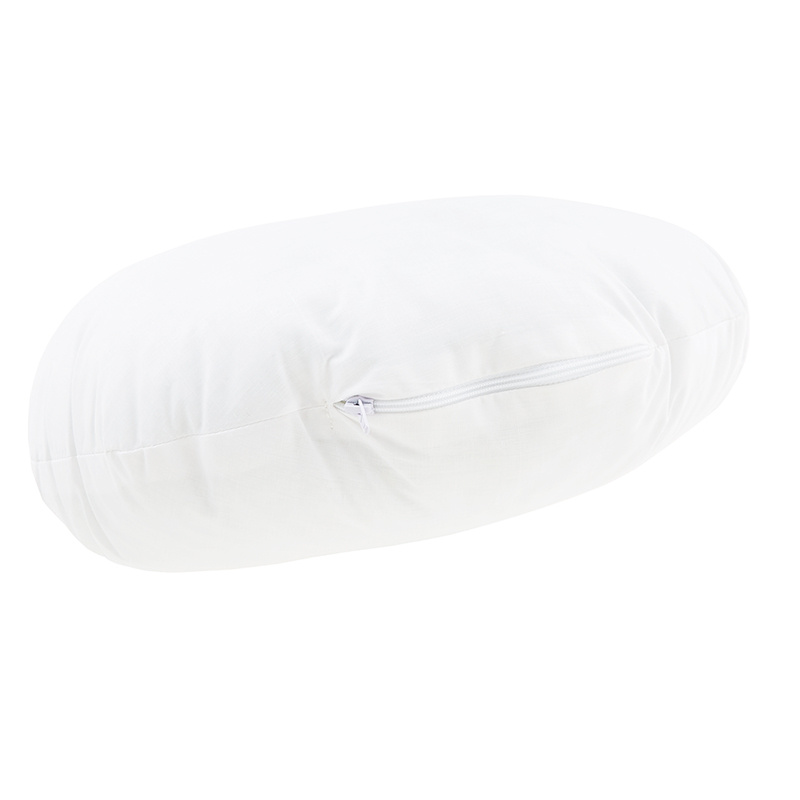 Poly-Fil® Round Accent Pillow Form - 16"$23.95Shop →
 Pellon Shape-Flex Fusible Interfacing White Yardage$6.00Shop →
 Cascade Nifty Cotton Yarn$7.99Shop →
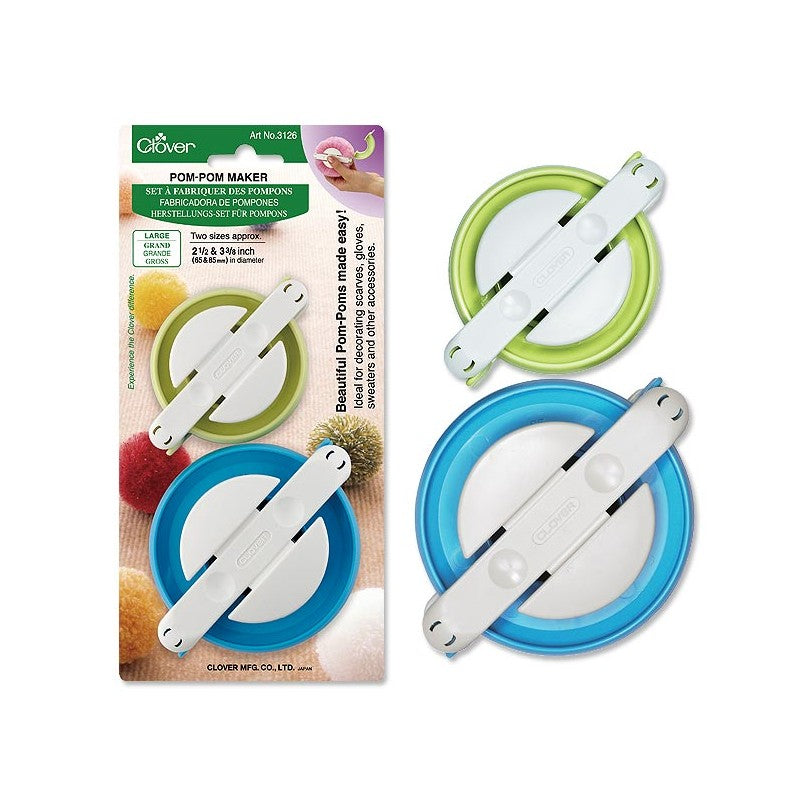 Clover Pom-Pom Makers$9.49Shop →
 Kona Cotton - Wasabi Yardage$7.48Shop →
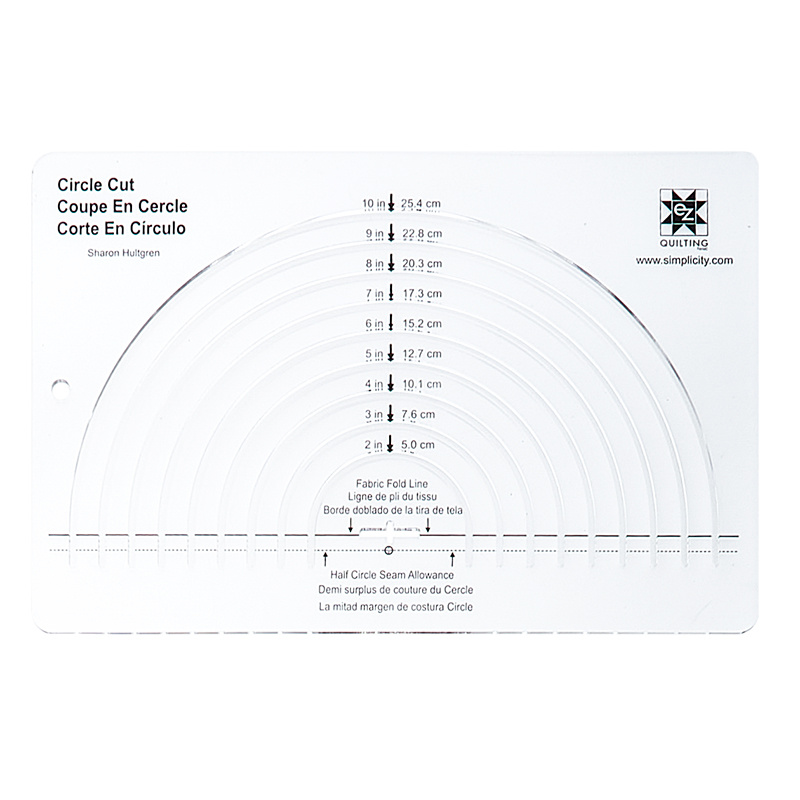 Easy Circle Cut Ruler$22.95Shop →
 Missouri Star 2.5" X 15" Ruler$14.95Shop →
 Missouri Star 45mm Rotary Cutter$19.95Shop →
 Missouri Star 8" Everyday Scissors$19.95Shop →
 Missouri Star 50 WT Cotton Thread White$7.95Shop →
 Exclusive Missouri Star Jenny TG1600 ProPlus Oliso Smart Iron$199.99Shop →
 Missouri Star Wooly Betty Board - 17.25" x 25.5" Orange Border$99.95Shop →
 Bernette 77 Sewing and Quilting Machine$1499.00Shop →
Common Questions
What is covered in Flower Petal Pillow?
Spring has sprung, so put the petal to the metal with Misty as she makes this fabulous flower pillow! Pretty 3D petals made from vibrant Kaffe Fassett fabrics burst from a round pillow form to create a bloomin’ lovely home accessory. You’ll love it bunches!
How long is the tutorial video?
The tutorial video is 00:12:11.
Are supplies listed for this tutorial?
Yes. The tutorial page includes the supplies and materials connected to this project.
Is a transcript available?
Yes. A written transcript is available on the tutorial page.
Video Transcript
To make this adorable round floral pillow, you're going to want to grab your favorite pack of 10 inch squares. Of course I recommend something with a floral pattern - it just kind of lends itself to it. You're also going to need a yard of fabric for your background, some interfacing, and this circle cut ruler is super helpful. It's not required - there are templates in the pattern itself, but this will definitely make your life easier. So let me show you how to make it.
So the first thing you're going to want to do is grab your background fabric and cut a 16 1/2 inch strip by the width of fabric. From that you're going to subcut a 16 1/2 inch square and two 16 ½ x 12 inch rectangles. The square is going to be for the front and the rectangles are going to form the pillow back. So to begin with let's go ahead and take our square and we're going to fold it in half twice and I'm going to take this over to the ironing board and just give this a nice crease so it lays really flat, so let's do that first.
There we go. So once we have that done, in the pattern there is a template
for your 16-inch quarter circle. What you're going to want to do is line this up with your center point here and now we can use a pen and mark this
out, so that we can cut out our circle. So if you're comfortable freehanding with your rotary cutter you totally could. I'm just going to trace it with a pen and come back and use my scissors. There's that. All right, have my scissors handy and we can go ahead and cut that out now. Perfect.
Okay, let's look at that, make sure it looks good. There is the circle that will be the base of our flower. We can go ahead and set this aside for now. So in the pattern you have this quarter circle template and then there's an additional piece that you attach to make the backing. So we're going to go ahead and line this up and tape this in place. So from those rectangles, I
went ahead and turned under one long edge 1/4 inch twice and top stitched. I like to do that first. I just find it to be easier when it's still a rectangle, and so you can do it either way, but that's my preference. So then instead of putting this in fourths we're just going to press this in half.
So let's go ahead and press that over here. We just want this to lay nice and flat so that we can mark our template and not have any shifting. So now we can bring this back over here. Our crease line is going to line up with the straight edge of our template and we can just place this right on the edge. If you want to put some pins or something in here so that it doesn't shift, feel free to do that. I just like to hold it in place. So we're just going to trace this now for the back side of our template. There we go.
All right, so you can see how that looks. Like I said, if you wanted to come
back with a rotary cutter, just carefully freehand that, you could or you'll just need a nice sharp pair of scissors to cut through that. Perfect! All right, now I went ahead and already made the other one and so we have both of our back pieces and our front piece ready to go. We're going to set these aside for now and we can get on to making our petals.
So now I have one of my 10 inch print squares. You're going to use the majority of your pack. And I also have some interfacing that I cut and we are going to add this to the wrong side of our fabric. So we're going to go ahead and flip that over to the wrong side and with this interfacing you're looking for the bumpy side - that is the glue and you want to put that down towards your fabric. So I'm just going to kind of center this on here. We really just want it to give some extra body to the petal itself.
So now we can take this over to the ironing board and we can press this with a hot dry iron. If you're ever worried about the glue seeping through, you can use a pressing cloth, but I don't typically have any trouble. So we're just going to make sure that's completely fused. All right, so once we have the interfacing fused on there, we're going to go ahead and fold this in half and press this in half as well. There we go. Now we can bring this back over to our cutting mat. If you have the Easy Circle Cut ruler, it makes this very simple. Otherwise you can just use the templates that are provided in the pattern.
For our first few, we are going to be using the 8 inch measurement of our ruler. So when you're using half circles it's the lower straight edge that you want to match up with the edge of your fabric. Then you can either cut right in the groove or you can mark it with a pen. So we're just going to take our time. We're going with the 8 inch measurement. There we go, make sure we got all the way through that edge, got just a little bit that caught there. Perfect, you can see how quickly that comes together. So now we can put these right sides together and we can take this to the machine, and we are going to sew a quarter inch seam on this outside curve.
So let's go ahead and do that. just make sure everything stays lined up. If you're not familiar with sewing curves you just want to kind of ease the
fabric with your hands. This is a real gradual circle and so it's not hard at
al. Just kind of guide it and keep that right in line with the quarter inch line.
There we go.
All right, now we're going to turn this right sides out. So I'm just going to flip this and I'm going to use my nails or a turning tool and just get a really clean edge on that circle, just like so. Then we can take it to the iron and press that down. So let's go over here. I'm just going to make sure everything is laying nicely. We don't have any little tucks or pleats in there. And we'll just press this in place.
All right, so now we have this petal done and so this is the 8 inch size. You're going to repeat this until you have 21 at 8 inches. I have a few of those done here. And then in the exact same way, exact same process you're going to make two smaller sizes. We're also going to need a 6 inch - you're going to need nine of those. And a 4 inch - you'll need eight of this size.
So now let's talk about how we're going to assemble this pillow. We'll set these aside for just a minute and we're going to bring in our background
again. So the crease lines that we ironed on earlier are also really helpful for the layout. We're going to begin with four of our 8 inch petals and we are just going to line these up close to that outside edge about a half an inch in, just like so. Then we're just going to go ahead and stitch these down. You can do a straight stitch or a zigzag, whatever you prefer. You can also fold these in half and get a little finger press in the middle to make sure that you're lined up with the reference lines that we made. So we'll just start by doing these four.
Once we have those stitched, then we'll come in with our next row. We’ll lay those in between. So you can just kind of eyeball them. This project is super forgiving because you know petals aren't perfectly even on flowers in nature and they don't have to be on your pillow either. Now that you have this guideline, you're just going to continue building a few rounds of the eight. Then we'll come in, let me show you on this smaller one or on this finished pillow. When we switch to the smaller petals and so you'll see even under here we're doing that exact same method with the raw edges. And then as we get to the center here, we've just pinched our half circles to give it some dimension like so. Then we're top stitching across there.
For the middle I used a pom pom. You could finish it off with a button or whatever you think would be really fun there. I think a covered button would be really cute, as well as this pom pom. So we just used a pom pom maker for that and it just comes together really quick and easy. Once you've done that, you are going to need to fold all of your petals in. Pin them out of the way because then you're going to set the right sides of your pillow back together and you have to sew all the way around to put that pillow back on. So that's kind of the tricky part, because that's where you want to make sure you leave yourself plenty of room to get that quarter inch seam to finish off your pillow. And it just turns out so cute and summery!
I hope you enjoyed this project on the Round Floral Pillow. I'll see you next time on At Home!



