FMQ Skills and Drills: The Daisy Chain
Learn this fun and simple way to create a Daisy Chain stitch pattern. Be sure to click the link for the free downloadable PDF.

Instructor
Rob Appell
Rob Appell is a creative force to be reckoned with. When he is not behind a sewing machine, you might find him catching some waves on his surfboard or playing the guitar. Rob's quilting journey began while he was working at his mother's quilt shop, the Cotton Ball. Rob has designed fabrics for Free Spirit and quilts for Michael Miller, and spent several years as host of Man Sewing for Missouri Star Quilt Company. He travels across the globe, teaching his unique quilt designs, and sharing his expertise. Find out more on his website!
Shop this tutorial


Common Questions
What is covered in FMQ Skills and Drills: The Daisy Chain?
Learn this fun and simple way to create a Daisy Chain stitch pattern. Be sure to click the link for the free downloadable PDF.
How long is the tutorial video?
The tutorial video is 00:07:48.
Is a transcript available?
Yes. A written transcript is available on the tutorial page.
Video Transcript
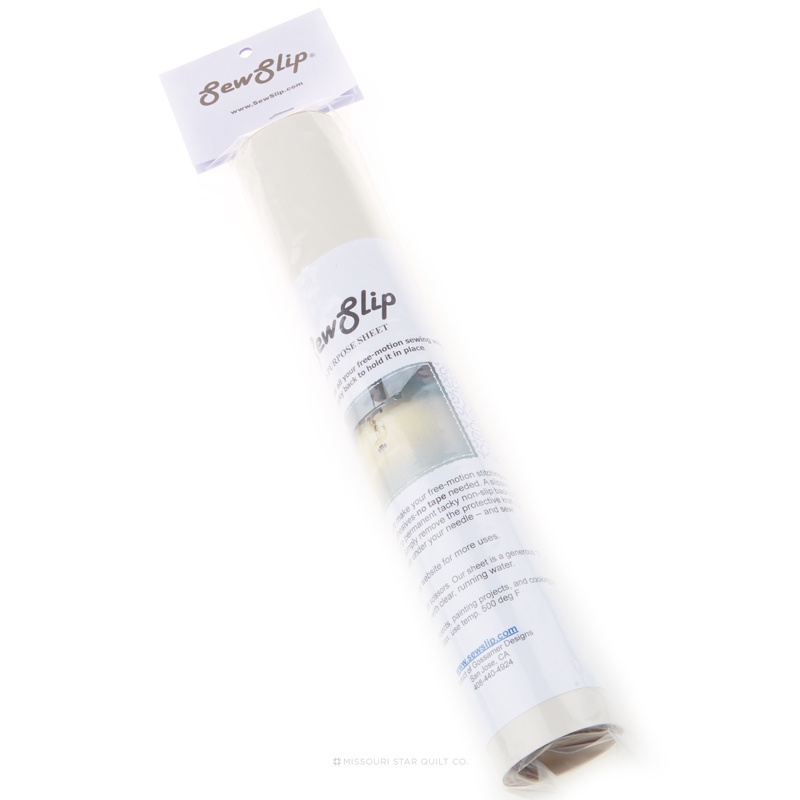
The daisy chain is a really fun and easy free motion quilting design that you can use to fill in a lot of wide open space or just travel from motif to motif. Now in the description below we’ve got a wonderful printout for you. And if you look close these little hash marks here are the direction in which you would be stitching. However you can go anywhere you want with this kind of a motif, right? I’ll show you in a minute on the machine as well but as you’re going to follow into the chain, you’re just going to create your loops and I usually work my loops around back to where I started. And then I continue to move on in the direction in which I need to head. Here you see it in the quilt itself. The petals themselves are all organic and unique in shape, especially that one right? I think I might have hit the side of my machine while I was doing it. But they’re just fun. It’s an easy motif to work through. So let me see if I can’t teach you how to do it here on my little sample and then we’ll bring in the big Man Sampler quilt and we’ll do some of this on the large quilt so you can see. Remember one of my favorite concepts is something I learned from my friend Angela Walters. And that is simply this: when you’re machine quilting you’re only machine quilting what is in your little director’s window. You don’t need to worry about the whole quilt. So I love to quilt on my giant quilt these small designs so you can see that I’m only still quilting in a small little area. I’ve got my Machinger’s gloves almost on. These have got a nice sticky fingertip and that helps me control my quilt, don’t have to grab tight. And then again of course I just have a sew slip mat on the bed of the machine which is a teflon topper. So basically it makes everything flow very nicely. It’s like having an ice skating rink on my sewing machine.
Now normally we start in the middle of the project but because I’m doing a chain I’m going to start down here in the corner and run it for us. And I’m going to make sure we’re all dialed in. So my presser foot is down. I’m going to take a single stroke here to bring up my bobbin tail. And I’d used my thread cutter so you could see it in the camera there for a moment. It popped through. It’s up but it’s stuck on the back of the quilt so we’re just going to get started. Take a few stitches here to lock it in. However that’s another nice trick with that. And we’re going to just start by getting a little distance so we can cut this thread. . So we’re just going to come up here a little ways. And reminder if you’re doing free motion for some of the first time you’re in charge of all your stitch length and stitch width so just try to keep a nice steady pace. And with every stitch we all improve I believe. So here we go. I”m going to come up here. And now I’m going to start here into one of my petals. And I can do a petal that comes back to the center. Or I could have done a petal that goes the opposite direction. It really is what’s most comfortable for your body. You can see I jumped to the other side of the stem that way and then look I’m coming right through those petals. And now you can see I’ve got some room to work again. I never took the time to count out those petals I’m just basically making a design. I heading toward the safety pin up here which makes me nervous. So I’m just going to take it out of the way. I don’t quilt too close to those pins. I don’t want to have problems. And I like to have that stem that joins the two of them. It adds a little bit of character so I’m often making those curve designs. And then you’re just going to put your petal in. Try not to make them arc too much the same. You see how they were all kind of curving right like that. If I do that then I’ve got to bring that back around. You can also use that to escape this way. So you can see that with the chain this time instead of coming back through the center of the daisy itself, I came out the same area I entered in so I could head in a new direction. And these are, like I said, great designs for filling in space and traveling from a spot to a spot in your quilt. This time we’re going to go back out the center and keep on moving. So again a very very easy motif. But let me show you it practically in the big quilt, right? So we’ll just leave that right there so you can see it.
Now if you’ve seen my other videos you know a lot of times I like to just mark with basically words. So originally I had in this section that I was going to do my daisy chain through these blocks right here. So let’s have some fun with this and see if we can dodge this little dark strip as we bring it in. And you can see this is a monster of a quilt, right? We call this the Man Sampler, and we’ve been using it for all of our fun motifs. But when I slide this under the needle I’m only going to worry about those few squares. One of the tricks that helps though, this is something a long time ago a friend Paula Reid, said to me. Just keep fluffing and stuffing, fluffing and stuffing your quilt. So you fluff it up and you kind of stuff it back in. and the nice thing about that is it keeps this kind of loose and easy to move with your hands. And I did just use that thread cutter again I’m just remembering that so I’m going to have a hard time grabbing that stitch so I’m going to tie it in this way. And now we’re going to begin our daisy chain. Now because I’m in a smaller area I’m going to do a smaller motif. Avoiding that fun charcoal gray strip there. Now coming down here. I’m going to get to a spot where I need to move my hands so I’m going to stop, leave that needle in the down position and then I’m going to come back around this way. Work myself up against a little bit of a corner but that’s ok because look it still works as a fun design. Come out here. Bring that daisy back in. So again you can go both directions. Try not to make them look exactly the same so they have fun unique design to them. I need to move my hand again so I’m going to stop, bring it over here. Hey let’s crank up the music and have some fun here. I’m going to do a few more of these motifs. You enjoy.
Oh are you still watching there? Well I’m so glad you are as you know I love doing these designs and motifs. And I love hearing from you in the comments below. So please let me know what you still want me to show you. And we’ll catch you right here next time at Man Sewing.