Sewing Down South - Holiday Nutcracker Coaster Set
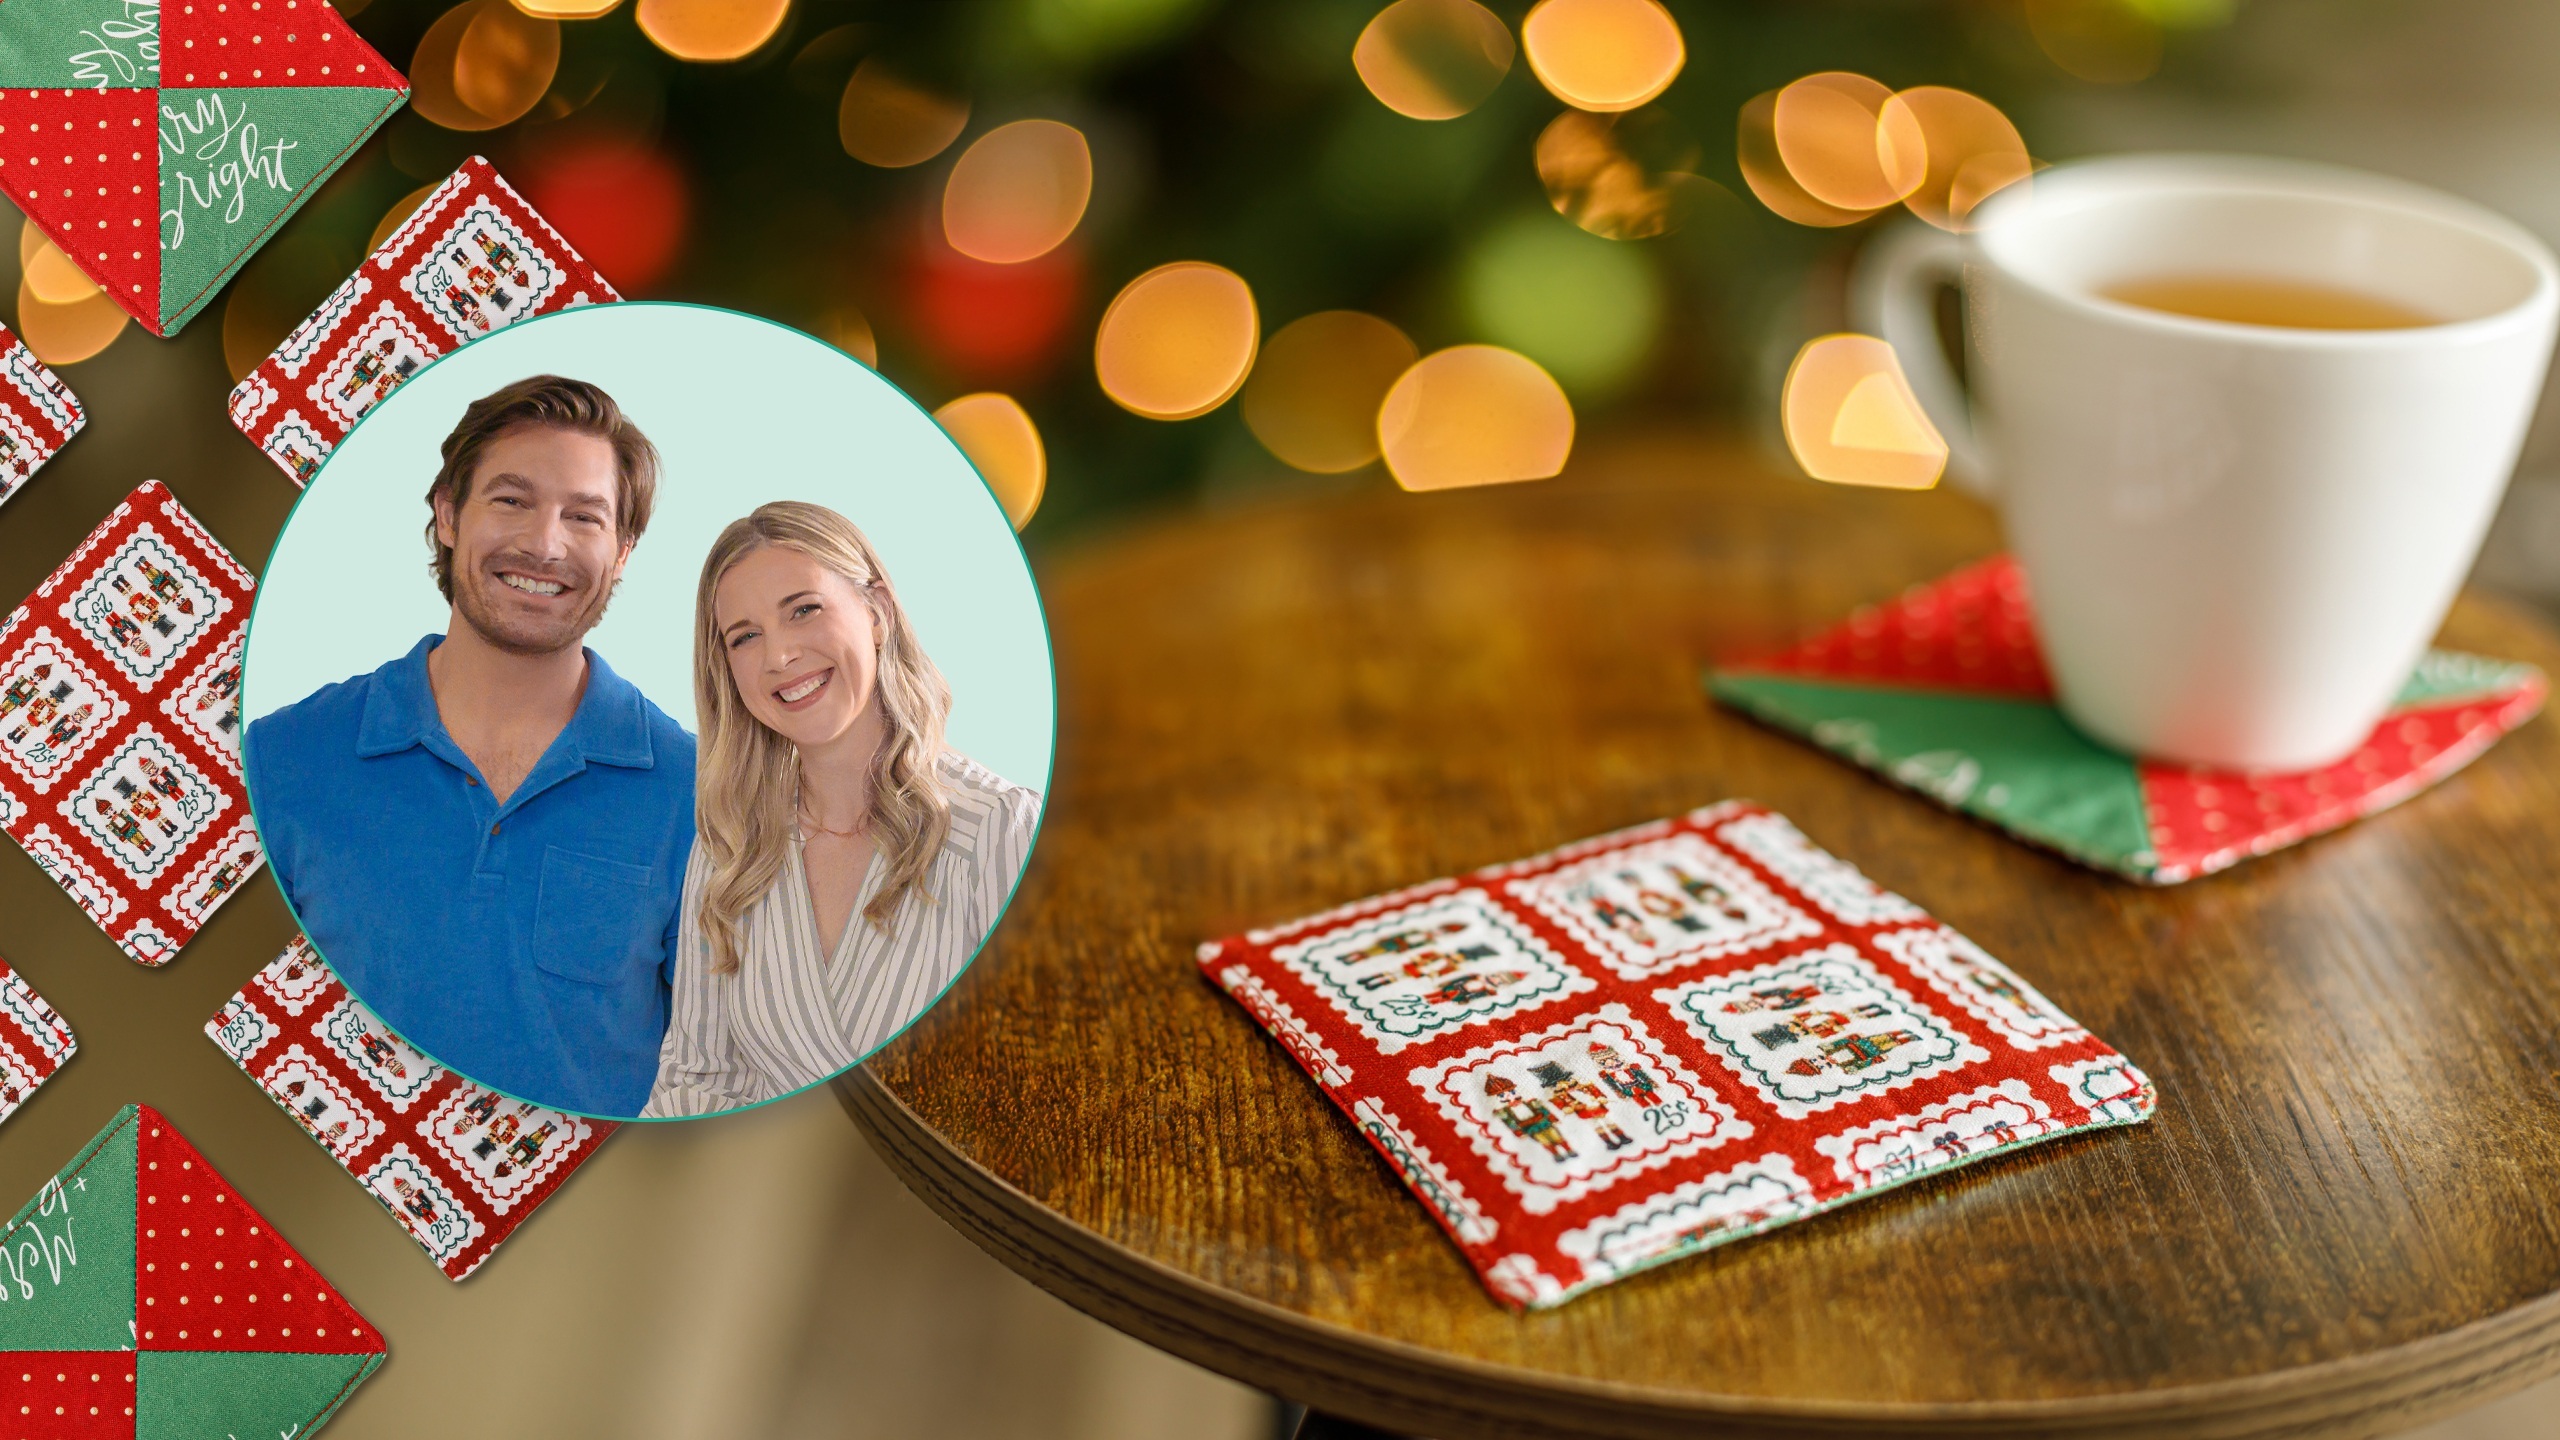
When you're entertaining this holiday season, put out festive nutcracker coasters for your guests' drinks. Craig Conover of Sewing Down South joins Misty to make these adorable accessories. They use fabric from Craig's Holiday Nutcracker Collection, plus Heat N Bond fusible fleece to create them. They're a quick and easy way to add Christmas cheer!
Instructor
Misty Doan
Misty Doan grew up surrounded by sewing and quilting. She loves spending time sharing tutorials each week each week, and when she’s not stitching up one of her fun sewing projects for home decor, most likely you’ll find her hanging out with her husband and three awesome kids or working on a house project.
Shop this tutorial
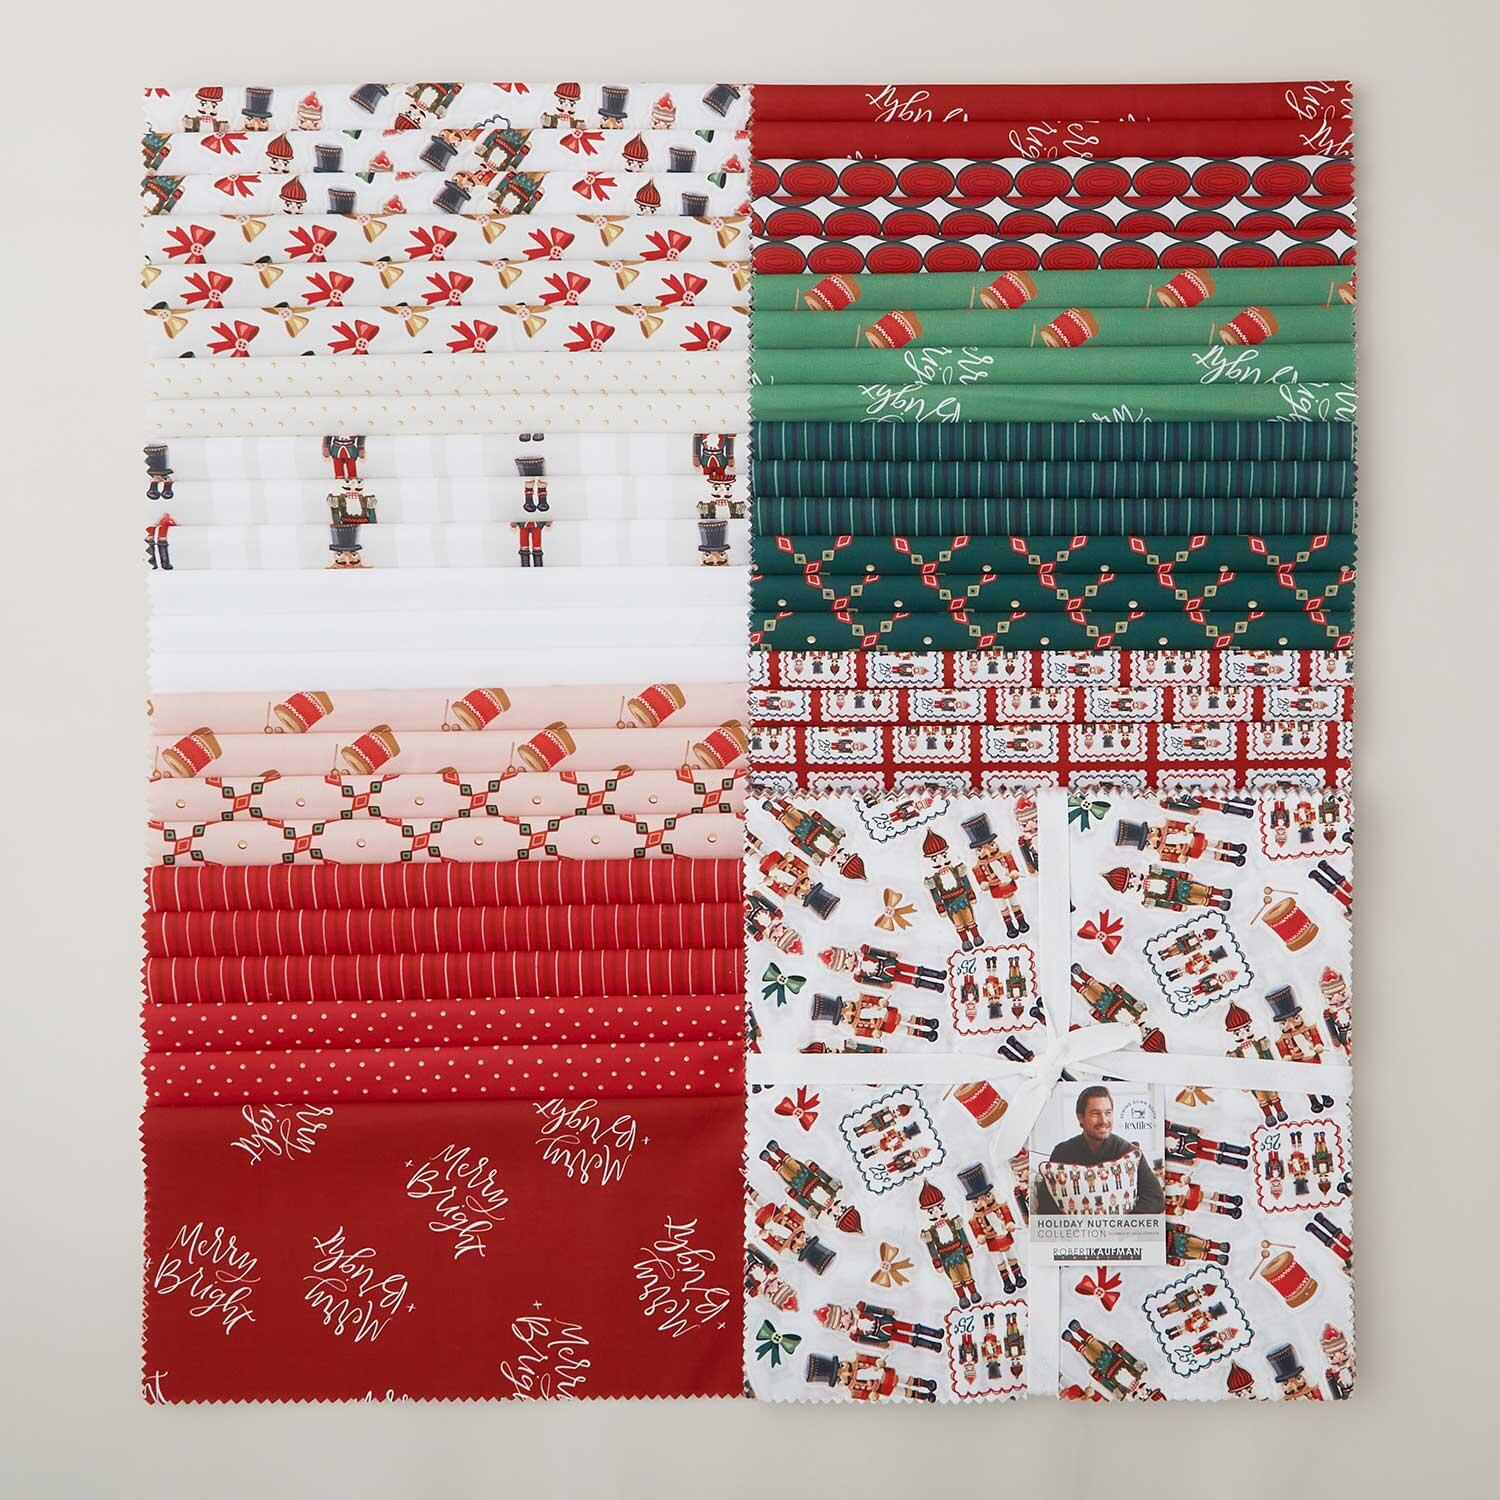 Holiday Nutcracker Collection Ten Squares$49.95Shop →
 Heat N Bond Fusible Fleece 20" x 1yd$6.25Shop →
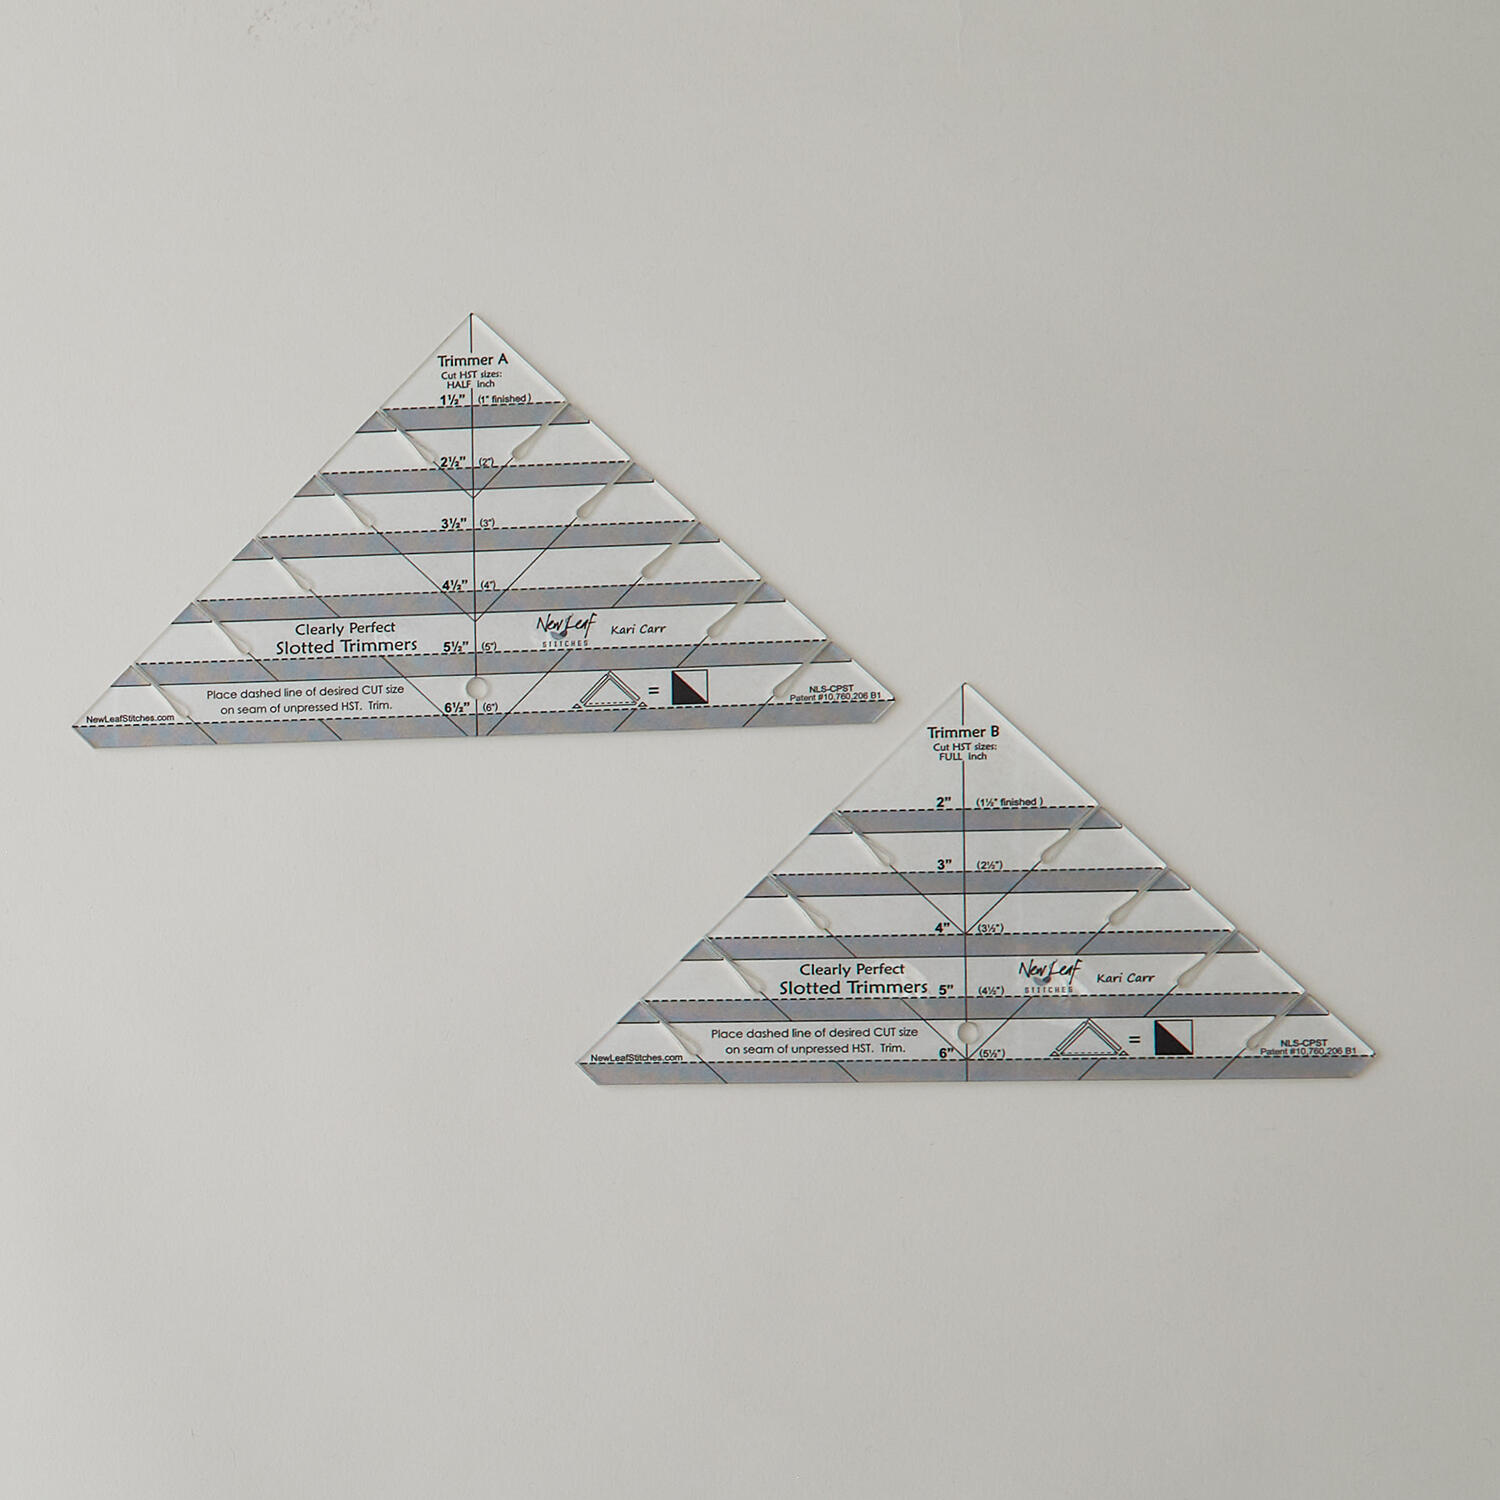 Clearly Perfect Slotted Trimmers$33.95Shop →
 Missouri Star 2.5" x 8" Ruler$11.95Shop →
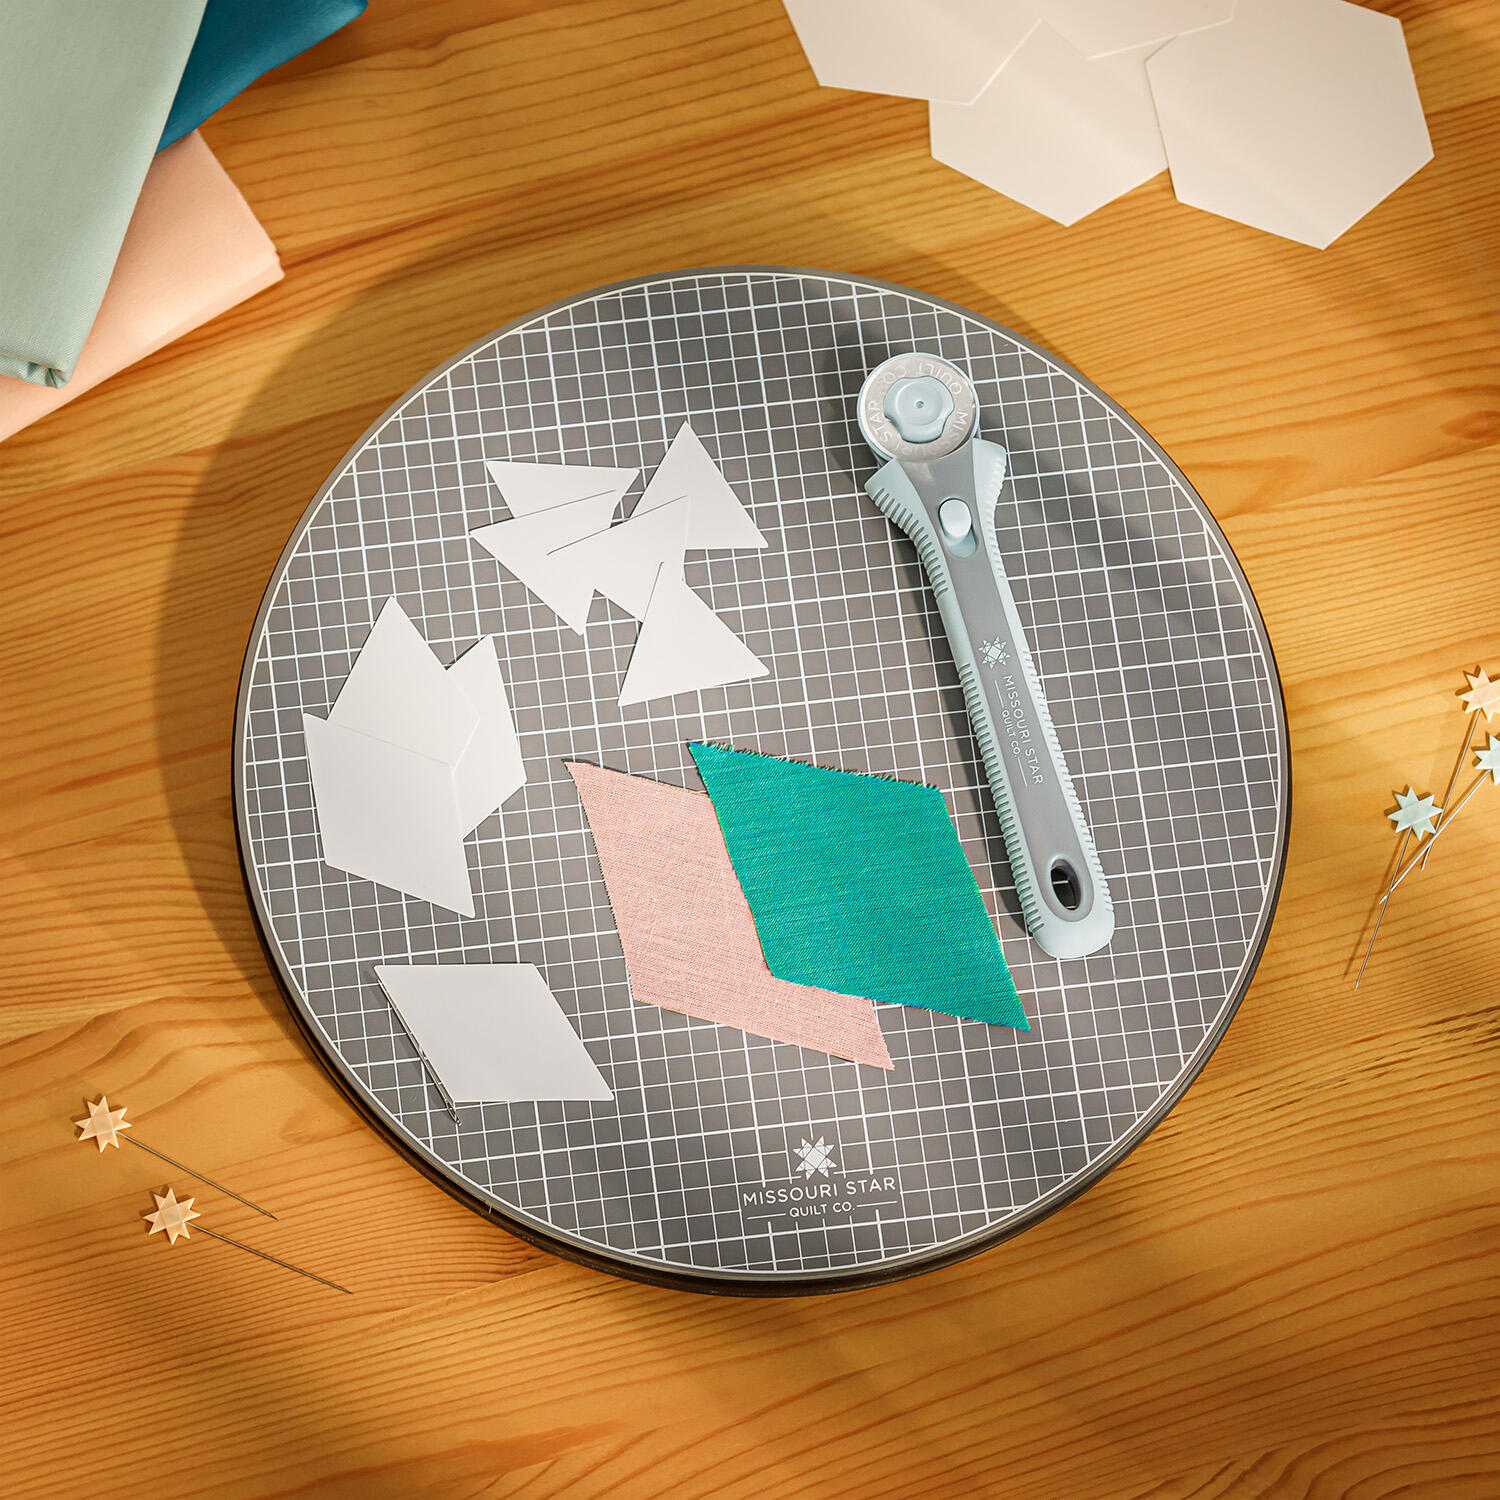 Missouri Star 10" Rotating Cutting Mat - Hilda$32.96Shop →
 Missouri Star 50 WT Cotton Thread White$7.95Shop →
 Missouri Star 45mm Rotary Cutter - Olga$19.95Shop →
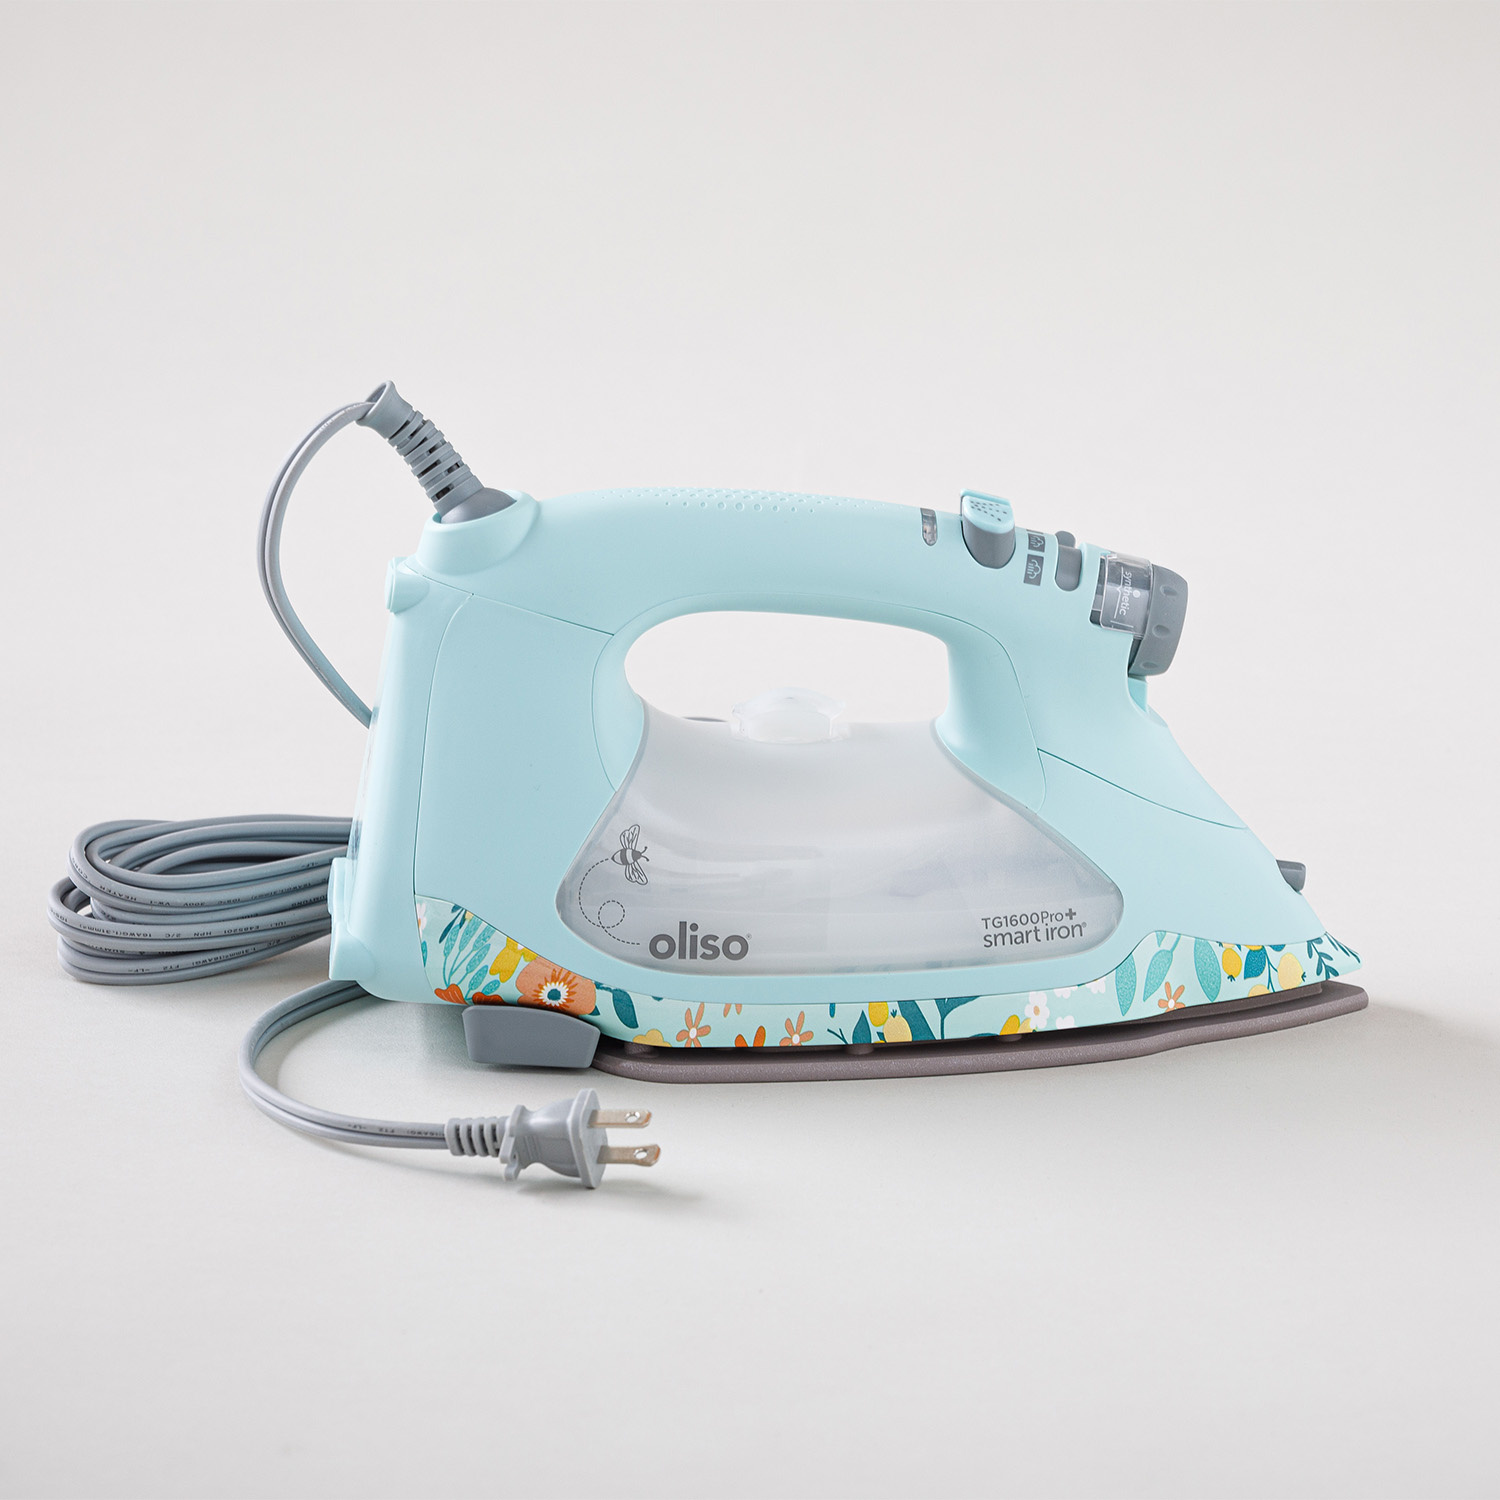 Missouri Star + Oliso TG1600 ProPlus Iron$209.95Shop →
 Missouri Star 2” Quilter’s Flat Head Pins (50pk)$7.95Shop →
Video Transcript
Hi everyone. I am Misty and I'm back with Craig Conover, co-founder of Sewing Down South and I have another fun little gifty project to share with you today. Yeah, we're here in Charleston. Thanks for joining us again. We're using Thanks for having me. Of course, anytime. We're using our Sewing Down South textile fabric, our holiday fabric, focusing on our Nutcracker. It's kind of our hero print, but it appears that we might be making something that my dad would love. Okay, perfect. Well, I love to make these as great little gifts, and these are so quick that they're easy to make a set uh to give to friends or to use for yourself. I think it's an incredible idea, especially to have out for the holidays, and they're easy to store. Yeah. Um they don't take up much room. Yeah. Throw them in with your ornaments. So, I'm going to begin with some 5 in squares. So, I just used three of the different prints that I had in my stash that were fat quarters and cut them into some 5 in squares. So, those are ready to go. You're also going to need a little bit of fusible fleece. And if you're not familiar with that, that's just like the normal fleece you would buy from any craft store, but one side has just a fusible layer on it. So, that's ready to go. And then some squaring tools. And a rotating mat does make it really handy when we are working on our little hourglasses that we'll be making for these coasters. So, to begin with, we are going to take these two prints here, and I'm going to put them right sides together. Just line those up. And I'm going to take my little ruler and draw a line once corner to corner. And this is not going to show through. This is going to be hidden in your seam. So just whatever you have handy to mark is perfect. And I want you Craig to sew a quarter inch away on both sides of that line. All right. Hopefully I can handle that. Reminds me of our salt tooth that we did. That's true. We did a similar technique there. One side finished. Perfect. So now you can just flip that around and go right down the other side of that line. Now I'm going to cut on that line that we drew in between our two stitch lines. Okay. So we are just going to trim this off just like so. And if you want to press these open and if you just press them both to the same fabric. So put the red on top and roll it back. Perfect. Looks great. Pretty. And then do the same with that other one. And this method is going to give us two of our little hourglass blocks, which is pretty fun. Yeah, this iron is so convenient. It's pretty fun, too. It's pretty great. make sure when I use that. All right. So, we have these two half square triangles, which you remember from some of our previous tutorials. And so, now I'm going to put these back right sides together, but I want my red and green fabrics to be touching. Okay? And that center seam, you can kind of feel it. And you want that to lock right against itself. And now we're going to draw a line again intersecting that first seam. Okay? So, we'll just go across here and make our mark. And just like we did before, you're going to stitch on both sides. All right. Beautiful [clears throat] haircut. Awesome. All right. And then I'm just going to cut on that drawn line again so that we have these separate blocks. Oh, wow. And so that is how you make what we call an hourglass block. Easy as that. So if you want to go ahead and press those now, actually just one. And we'll just finish out our little coaster. It's simple, but it's neat. It's creative how Well, and it's fun to have the little the little tricks that make it go faster instead of cutting all those individual triangles and, you know, sewing them back together. Exactly. And so we've got this little unit. I do love to use our little Clearly Perfect slotted trimmers to square these. And so to do that, I'm just going to flip this back. Looks like I need this one actually. And so what I'm looking for here is I'm going to have my stitch line on the dashed line of the trimmer. And then this other stitch line, you can see this solid black line that intersects it. So I'm just going to match those up so that I know that this is going to be square. And I'm just going to square this up a little bit. Very smart. That's a great tool. Yeah. And it even has these little notches where you can take off the bulk from the corners. Wow. And so then now it's really going to lay nice and flat and be even. And so now what I want to do is I've gone ahead and cut this little square of fusible fleece to the same measurement, which should be about 4 and a/4. And if you want to just press the bumpy side towards the wrong side of that. Okay. I'll let you go ahead and do that. And this will give it a little bit of structure. Yeah. It kind of acts like the batting in the quilt. Just gives us a little bit of padding for the inside of our coasters. So, this is great. You've got that all fused in place. And so, now we're going to pair it with another one of our squares to use for the back of this. And so, if you want to cut these exactly to size, you totally can. Um, because I started with 5 in squares, I just kind of cheat and put it in the corner and I'll trim it off later. That's how my brain works. But if it's easier for you, we can go ahead and trim it now. Which would you prefer? Oh, let's just do it the way you do it. Okay. Awesome. So, I'm going to line that up in a corner. And I actually am going to put a couple of pins just like this because one thing you want to keep in mind is we're going to leave one of these sides open in between the pins so that we can turn this right sides out. Makes sense? And so we'll back stitch at the start, make it all the way around, and stop when we get to the other pin. Does that work? Yep. But right here, right? Yep. Exactly. You can just pivot on that corner. And if it's easier, just sew all the way off and then Oh, that makes sense. You know, and then you can just pull it around again. Right. Perfect. Trim off those extra threads. If you ever upgrade your machine or something, you got to get a thread cut, an automatic thread cut. Then you don't have those tails. All right, that looks awesome. So, he stitched all the way around and left that little opening. And so, now we can just take our little mat. All right. And we can use our ruler and we'll just trim this off even with our other piece. So, there's that. And then I can just spin that. It makes it really smooth. Kind of a little lazy, Susan. I know. And so now we can also I'm going to go ahead and trim off the bulk of these corners. This is just great anytime you're turning something right sides out. Sometimes it's hard to get those sharp corners. So this is a great way to do that. You're just going to trim off the excess. Okay? But just don't get too close to where those threads cross because you don't want to lose those seams. All right. I think that looks nice. And so now we're just going to reach in here and turn this right sides out. Just use a chopstick or a pencil or something to get in there and really poke those corners. I'll close this pin and use that because it's handy. And sometimes it just takes a little maneuvering to get it to lay how you want. It's a really good combination of fabrics out. They're so cute. I don't think you could pick a bad fabric from this collection. And [clears throat] it's such a great one. All right. And so once we have this all turned, we're just going to tuck those little edges under just like so. Make sure I've got this one out all the way. There we go. And if you want to press those so that they'll stay under. Okay. Perfect. And now you're just going to top stitch to secure it. You can see how I just went about an eighth of an inch away all the way around. Okay. And that'll just close up that little open side and finish up your coaster. Sweet. All the way around. All the way. Clean it up a little bit before giving it to my dad. I'll give it a little bit of a more of a haircut. a haircut to trim it all up. We've got the I see how it works now, though. Yeah. So quick and easy. And so, you know, basically when you do that method for the Mine is more of a single can. That's okay. When we uh get to make two at a time, it makes the sets go really quickly, right? So, you can do a stack of four, six, eight, however many people they have in their family. So, they've got a whole set of coasters ready to go. Makes sense. It turned out awesome. Okay, cool. And it's super quick and easy. Pair it with them. Literally forever. They will pair it with a mug and it makes a great little gift. So pair it with a mug. That is a good idea. Yeah. And you have some great ones at Sewing Down South, so that'd be adorable. Well, awesome. Thank you so much. I hope you enjoyed [music] this. I did. This is I mean, this is going to be the easiest Christmas ever for me. Good. I'm glad to hear it. Hopefully you guys have enjoyed this inspiration [music] as well, and I can't wait to see what other fabric lines you have in the future. Me, too. It's going to be fun.