Skip to content

Free quilting video tutorials from Missouri Star

Quilting Tutorials
Friendship Bracelet Quilt

Friendship Bracelet Quilt

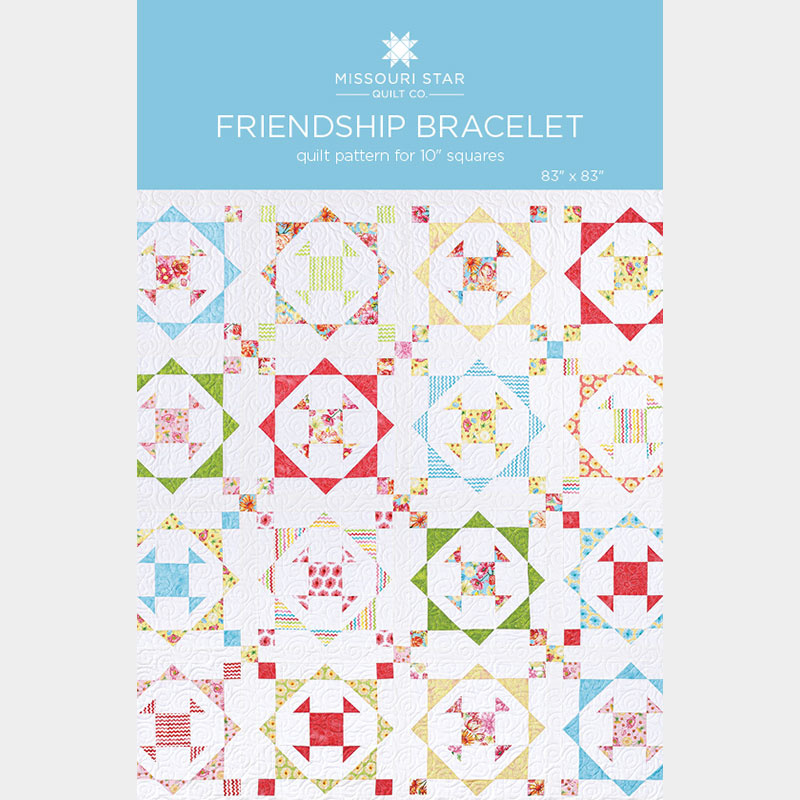
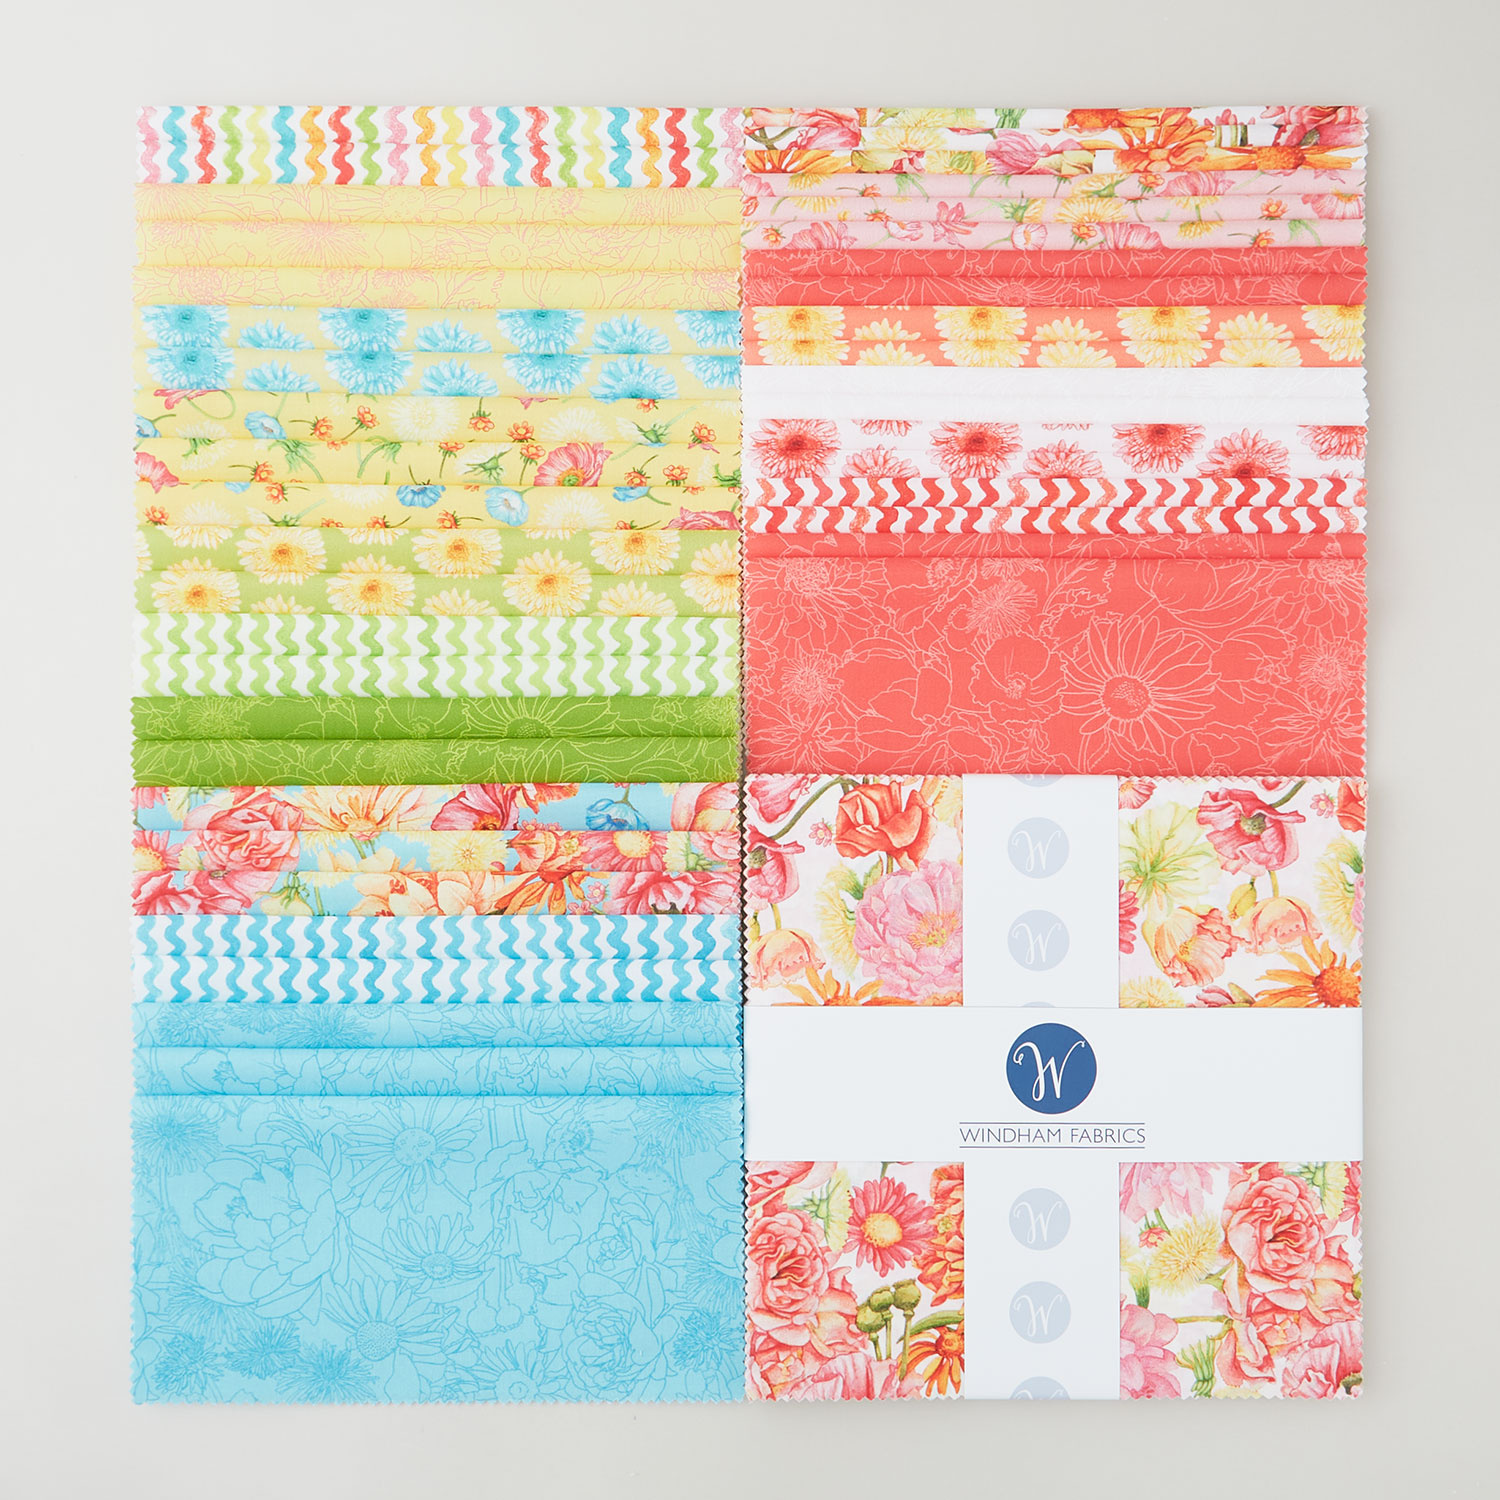
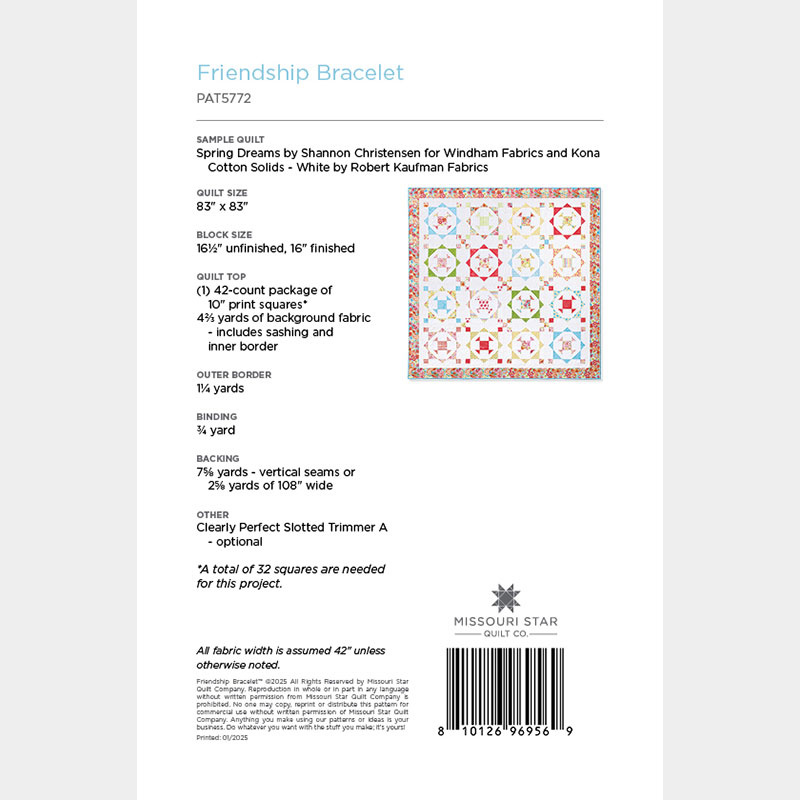
As kids, we braided friendship bracelets with colorful embroidery floss. (Green and yellow for Cindy. Blue and pink for Linda.) In a way, they were just like quilts: Fun to make and even funner to give away! Natalie’s Friendship Bracelet quilt is all-nostalgia with 9-patch blocks, shoofly blocks, and “bracelets” of half-square triangles. Made with the dreamy pastels of Windham’s Spring Dreams layer cake, this quilt is as bright and cheery as those treasured childhood bracelets.

Instructor

Natalie Doan

Natalie is the host of Quilting 101, Embroidery 101 and the Creative Strategist and Editor of Block Magazine at Missouri Star Quilt Company. She was taught how to sew by her mom, of course, and began quilting when she grew up.

Common Questions

What is covered in Friendship Bracelet Quilt?

As kids, we braided friendship bracelets with colorful embroidery floss. (Green and yellow for Cindy. Blue and pink for Linda.) In a way, they were just like quilts: Fun to make and even funner to give away! Natalie’s Friendship Bracelet quilt is all-nostalgia with 9-patch blo...

How long is the tutorial video?

The tutorial video is 00:24:50.

Are supplies listed for this tutorial?

Yes. The tutorial page includes the supplies and materials connected to this project.

Video Transcript

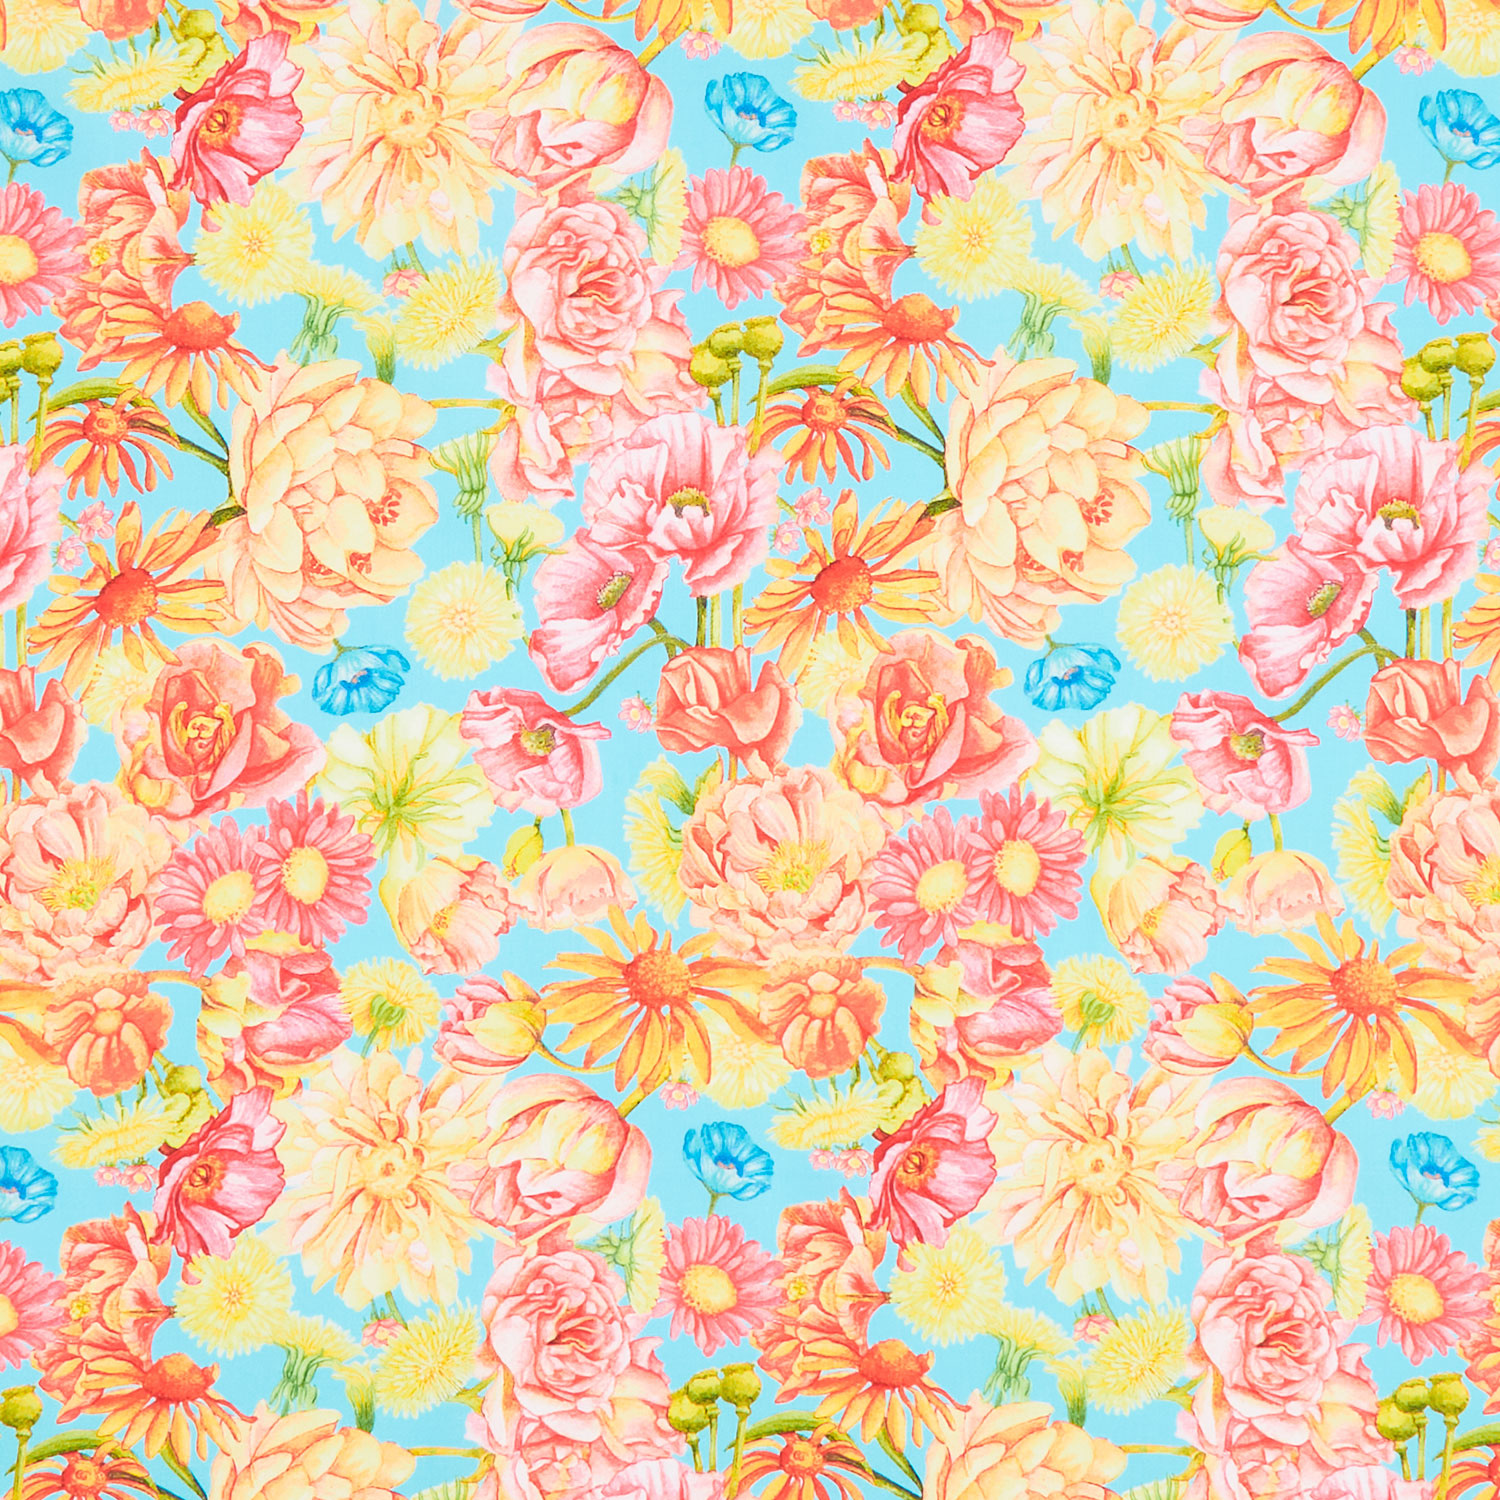
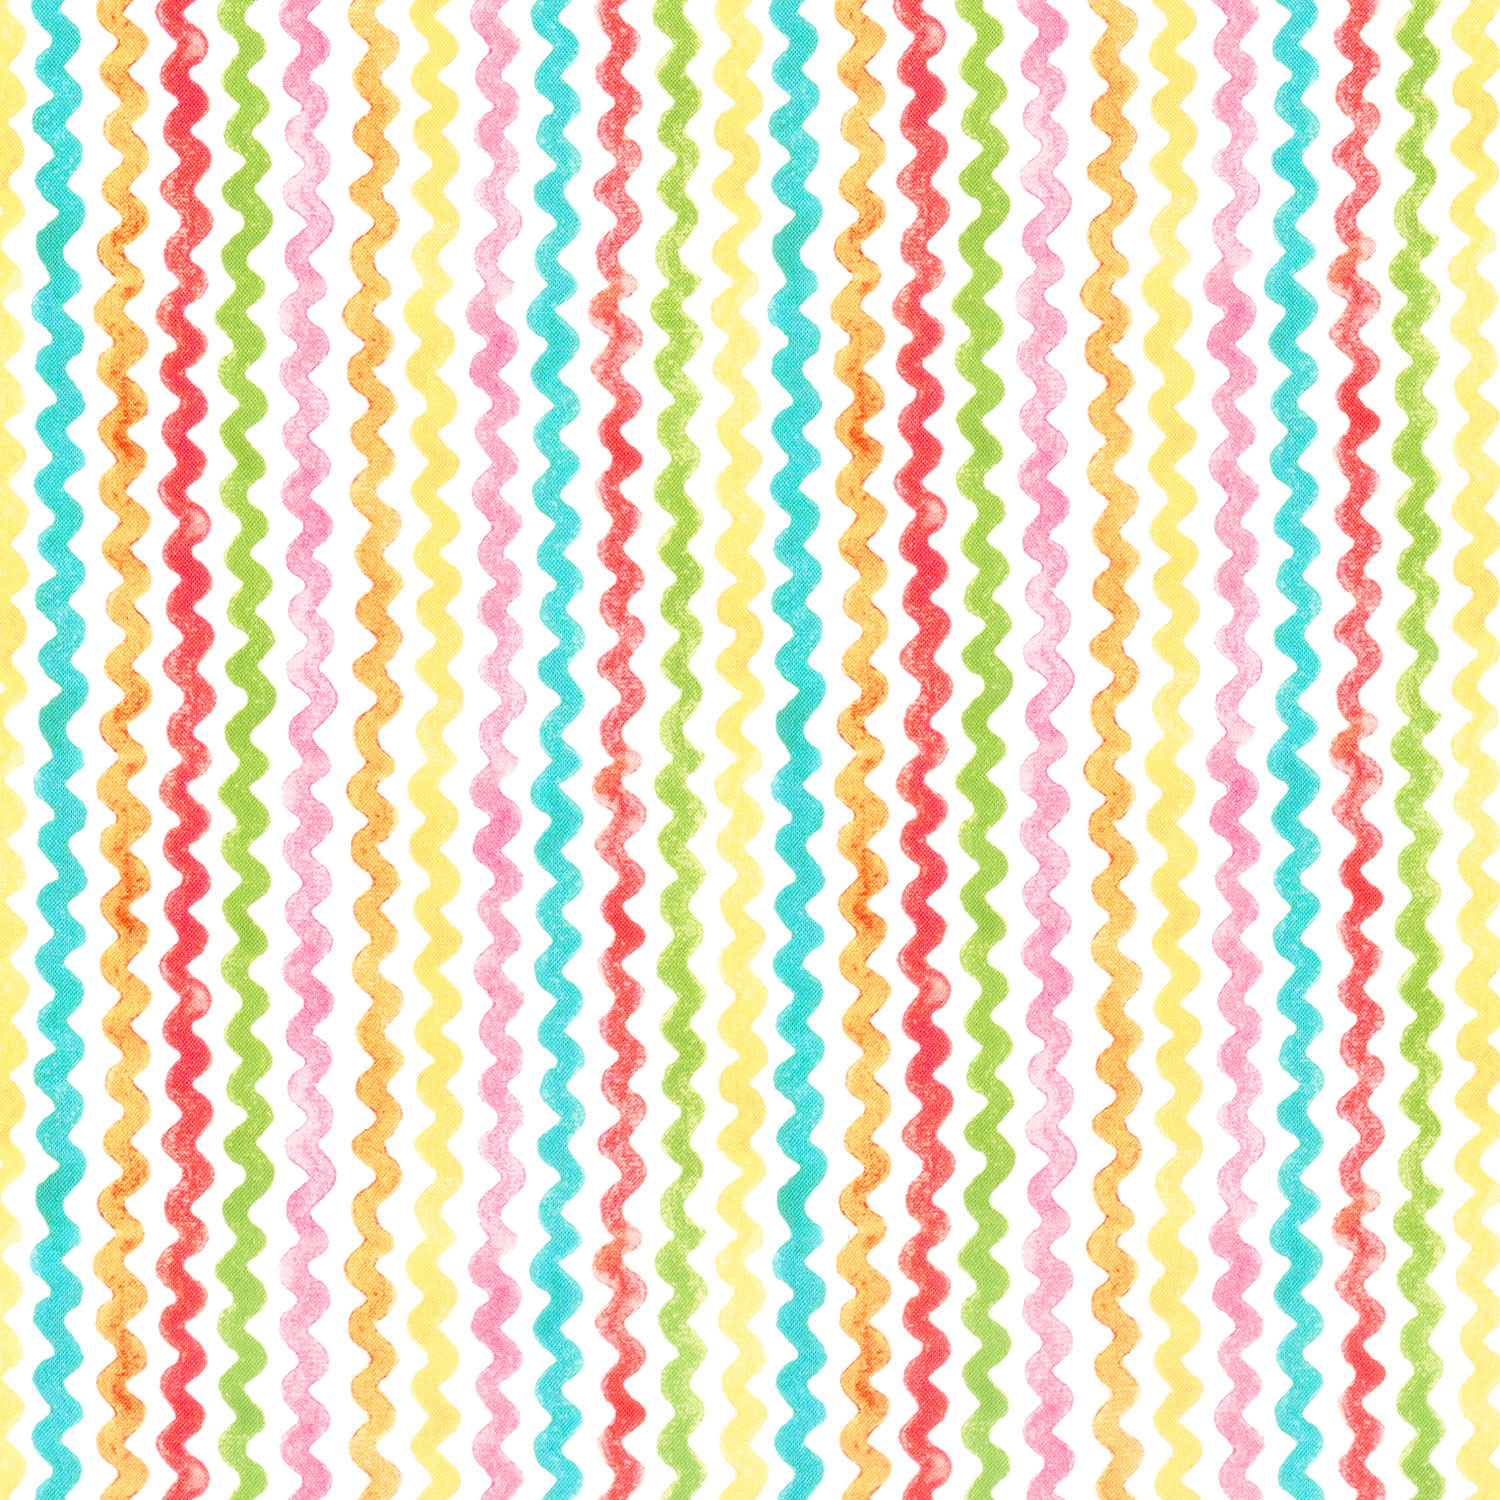
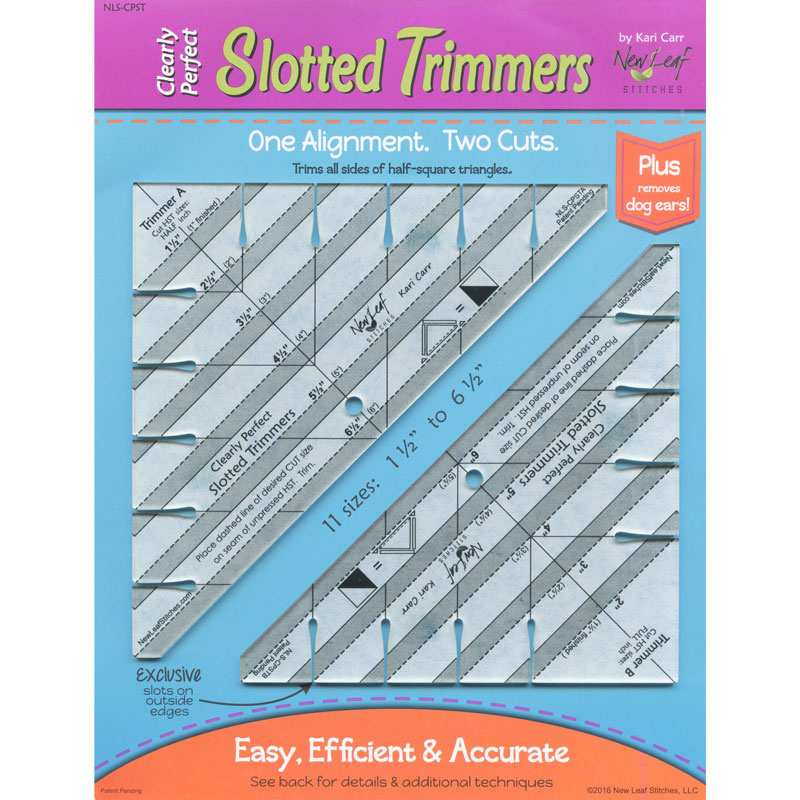
hi everybody I'm Natalie with Missouri Star Quilt Company and today I'm excited to teach you the friendship bracelet quilt it's this one behind me we're going to be making this block it's super simple and I think you're going to love it so let's get [Music] started okay so to make this quilt you're going to need one package of print 10in squares and I've used spring Dreams by Shannon Christensen for Windom Fabrics you'll need some background fabric a about 4 and 2/3 yard and I've just used um Kona white you'll need some border fabric I've got a 5in border and I use this really beautiful blue floral and I pieced it with um this Rick rack for the backing so for your backing you're going to need seven and 5/8 yards if you're using regular Fabric or if you have a 108 2 and 5/8 and then I bound it in this beautiful blue and you just need 3/4 of a yard for your binding so let's get started all right so to get started we're going to want to do some cuts and we're going to match up some pairs of fabrics that um contrast each other a little bit so you get that really pretty color play so I've got these two pieces pulled one of them is going to be all of the pieces that go around here and then the other piece will make up our little cornerstones here and the Little Shoe Fly Block in the middle so we're going to cut them separately because they require differ Siz pieces okay so the this blue one that's going to be my my little bracelet that goes around and then this is going to be my middle Shoe Fly so on the blue we're going to cut two 5 in squares and set those aside and I always just double check that that's the right size because some of these are just a tiny bit bigger um but those are perfect okay and then we're going to need some 2 and 1/2 by 4 and 1/2 in rectangles so we will cut the rest of this piece into those sizes all righty it's a pretty good use of fabric you do only need um you don't use the entire print package for this and you'll have some decent pieces left over for another small project maybe you want to make a table runner or a wall hanging or just throw it in your scrap bin and make one of those really cool scrap quilts that has pieces from all the quilts you've ever made I love those ones all right so those are the cuts from our first first piece and then this one I'm going to cut a 5 in um strip and then the first little piece uh that comes off of this is going to be a 4 and 1/2 in square and so to do that let's see the easiest way for me is going to be to do it like this and this piece of fabric that's left over is just extra so this one piece right here you're just going to set that aside for another project and then the other half here we cut into 2 and half inch squares so I will cut a set of two and then I'm going to stack them up and get all my little 2 and 1/2 inch squares for this and then this makes up the the little half square or not half Square triangles the snowball sets that go on um for your little shoe fly that goes in the middle and I'll show you how that comes together in just a bit okay so now we need some background fabric so we're going to cut some pieces out of this um some strips it should be fairly fairly simple Cuts we need a 5 in strip and a um 2 and 1/2 and a 4 and 1/2 so from our five oops that didn't quite hit right there do a two and a half and a 4 and a half and I'm sure in the pattern it gives you just the right numbers of everything that you need to cut I'm just going to do one of each for now so we can get through one block and we'll set this aside so for each block we'll need four 4 and 1/2 in squares so there's those so we've got our 2 and 1/2 by 4 and 1/2 inch squares we need several um several 2 and 1/2 in squares and I like like to just get my background Cuts cut and then stack them up so that they're pretty much all ready to go although I am also one of those people that gets kind of bored sometimes and if a if part of the process is a little tedious I'll just do a chunk of it and then go do something else and then when I run out of fabric I go cut some more so I don't um I don't get too bothered if I haven't got it all done at once same with squaring I'll do a whole pie and then I'll get sick of it and come back and do it later it's okay to take breaks I think all right so I've got some 2 and 1/2 in squares and then I'm going to cut my 5 in squares here oops think I need I might have a little Nick in my blade you know just want to double check that and trim this little Edge all right so now we have all of our all of our background and our print Fabrics cut and ready to go so we're going to get started and I'm going to start by making my half Square triangles so we're going to take two of our background squares and we're going to pair them with um this blue and I thought there we go got a little pencil going to draw the line and what we're going to do is Stitch on both sides of this line This quilt is really was really really fun for me to make it's a lot simpler than it looks few little steps but nothing crazy oh I forgot my print fabric let's put those together I I'm like why why is this so thin I only have one piece of fabric over here okay flip these around and do my seams on the other side okay here we go all right cut these apart and then I will Square them now you can use whatever kind of squaring tool you like I've got the um clearly perfect slotted trimmer with us today but you could also use your block lock tool or just a regular square that has a an angle on it they need to be squared to 4 and A2 all right so these are [Music] squared and then I'm going to press them open or to the dark side I guess I mean I think you could get confused if I said press it open I don't mean to press the seam open I just mean like fold it back and open up your half square triangle all right so we have our our half square triangle so now what we're going to do is double check that I'm on the right track we're going to add our little snowball to this inner corner so this is where the other set of fabrics comes in and we're going to draw a line or Stitch um you you can use a laser or your uh seam tape um and we're just going to sew on that line from corner to corner to snowball this corner get that all lined up all right now I like to cut these with scissors I feel like it's just very easy but you could use your rotary cutter if you wanted to press this back and then the last step here is to add our little outer border so we're going to grab some of our background squares here and this is going to go just like that we'll have another one of these prints and then this one right over here so first I'm going to stitch these together and then we will add that other piece and then I will Stitch this on this side this and this and this and that so the white um the white background 2 and 1/2 by 4 and 1/2 inch rectangle I did try really hard to press these going opposite directions it makes it easier if your seams Nest so for this one I'm going to press it towards the dark and then the same with this one we'll press this one towards the darker Fabric and then they should go together very smoothly and Nest just like that [Music] all right okay so we this is unit I don't know if they call it Unit A or whatever but it's one of the units for the block and we're going to do that four times because it makes up these four corners so I've got some of those already made and I will pull them over so we can assemble the Block in just a minute the next part we're going to make is this middle section right here and it's essentially a little um flying geese block stitched to a background Square that's 4 and 1 12 in square so we will do our uh our flying geese by snowballing our two corners you could draw a line you're going to stitch right on top of it you'll do all of one side first cut them press them back and then you'll go back and do the other other side and I enjoy I enjoy the the chain piecing process of this it's very rewarding to end up with like four done at once feels good it goes together pretty fast too trim that off and give it a good press and then we will add the other side we want to make sure that we have enough overlap in the middle that we keep our little um our little point and we'll Stitch from corner to corner there we go [Music] all right so we've got a great little 2 and 1/2 by 4 and 1/2 in flying geese block and now I'm going to stitch that to a 4 and 1/2 in square white background Square stitching the uh the wide print part to the square so your flying geese faces outward okay I will press that back and again you're going to do this four times this makes up this part of the block right here and I've got some of those made and now we can put the lay the block out because you've got all the components that you need to make this little block and it comes together so cute I just I love this one all right so we will put this one here with all of your little snowballed Corners going in and then our little flying geese all point out and then we've got the little star of the show The Little 4/2 in square in the middle and that's it so now I'm going to go ahead and Stitch this together and then you'll get a get to see the whole finished Block it's just that simple and I do like to um I like to chain piece these because it keeps the block together as I'm stitching and it makes me feel like I'm being extra productive I guess or efficient it makes me feel very efficient that's the word for it all right it's nice to have these little seams that can Nest together but you don't have to worry about it too much it's not not too difficult to keep this whole thing lined up we'll add this one to our top and even if they get a tiny bit off like I'll I'll show you some something I just did um it really isn't going to show up in a bad way on the quilt so you don't have to stress too much about your your things matching up exactly perfect on this one it's going to look good either way all right so now you can see I'm going to lay it out for you and you can see how the the way that I chain pieced it keeps these together so now I'm going to go ahead and Stitch this one to the middle the nice thing about this too is that if if you do this you can tell which direction your seams are going to go and then um just force the other side to do the same thing so that when you press it it presses nice and flat and they're all going the way they need to to nest all right now I'm going to go ahead and fold this one in and sew this seam we're getting close and there you go we've we've got a finished block I'm going to go ahead and press it but I think it turned out really cute and then we'll talk about our sashing and our layout let's see kind of just want to make it go nice and flat sometimes I'll flip it over just to make sure I like my like my seams to press the way I want them to go so there we go the block is finished and it was just that easy it really comes together so smooth and I think you can notice here um not all of my points are perfect on these little Junctions but when you put it together in your quilt it's going to look so great it doesn't really show up like that they kind of just flow together and I just think it makes this really sweet little bracelety look I I like it I think I think they're great so I put this together there's four across by four d down and you'll notice that we've got a little sashing in between with a Cornerstone now these little cornerstones are made up from that piece of fabric that we set aside earlier I totally forgot about it but that's okay because we still have it so we're going to cut our our 2 and 1 half in squares and we only need 1 2 3 4 5 6 7 eight nine of them so just choose the ones you like and then use those for your cornerstones if you wanted them all to match you could certainly cut it out of your border Fabric or your binding whatever whatever you like so they can be Scrappy or whichever you'll have plenty of fabric either way um and then this block measures I believe 16 let me check yep 16 and a half so your sashing strips are then going to be 16 1/2 by 2 and 1/2 in wide and you'll join that with a little Cornerstone and then do another 16 and 1/2 and you've got 16 and 1/2 here by 2 and 1/2 as well so your inner border is also 2 and 1/2 in and your outer border is 5 in and I use this really beautiful blue floral print that I just think is fantastic I might want to make a shirt out of it I know Mom says that all the time but I don't usually but this stuff is just so pretty I love it all right so I told I mentioned earlier that I'd pieced my back I just had these beautiful fabrics and I thought it was so pretty so you can use whichever one you like you'll just do one vertical seam and it's it's perfect it works works out great so we machine quilted it in a new pattern that we have online called loop the loop it's really beautiful and flowy um and this quilt ends up being 83 by 83 squar so it's a great size for a picnic or a twin bed and I just think it's beautiful so I think this was a fun quilt and I hope you enjoyed this video on the friendship bracelet from the Missouri Star Quilt Company thank you so much for joining me for this video today I hope that you enjoyed it and that it inspired your creativity and guys we we at almost a million quilter strong in our community so if you know of anybody that you think might like to join us and learn quilting with us bring them on in put your arm around them and tell them to subscribe to our channel so that we can all learn and and grow together [Music]

More Layer Cake tutorials

See all