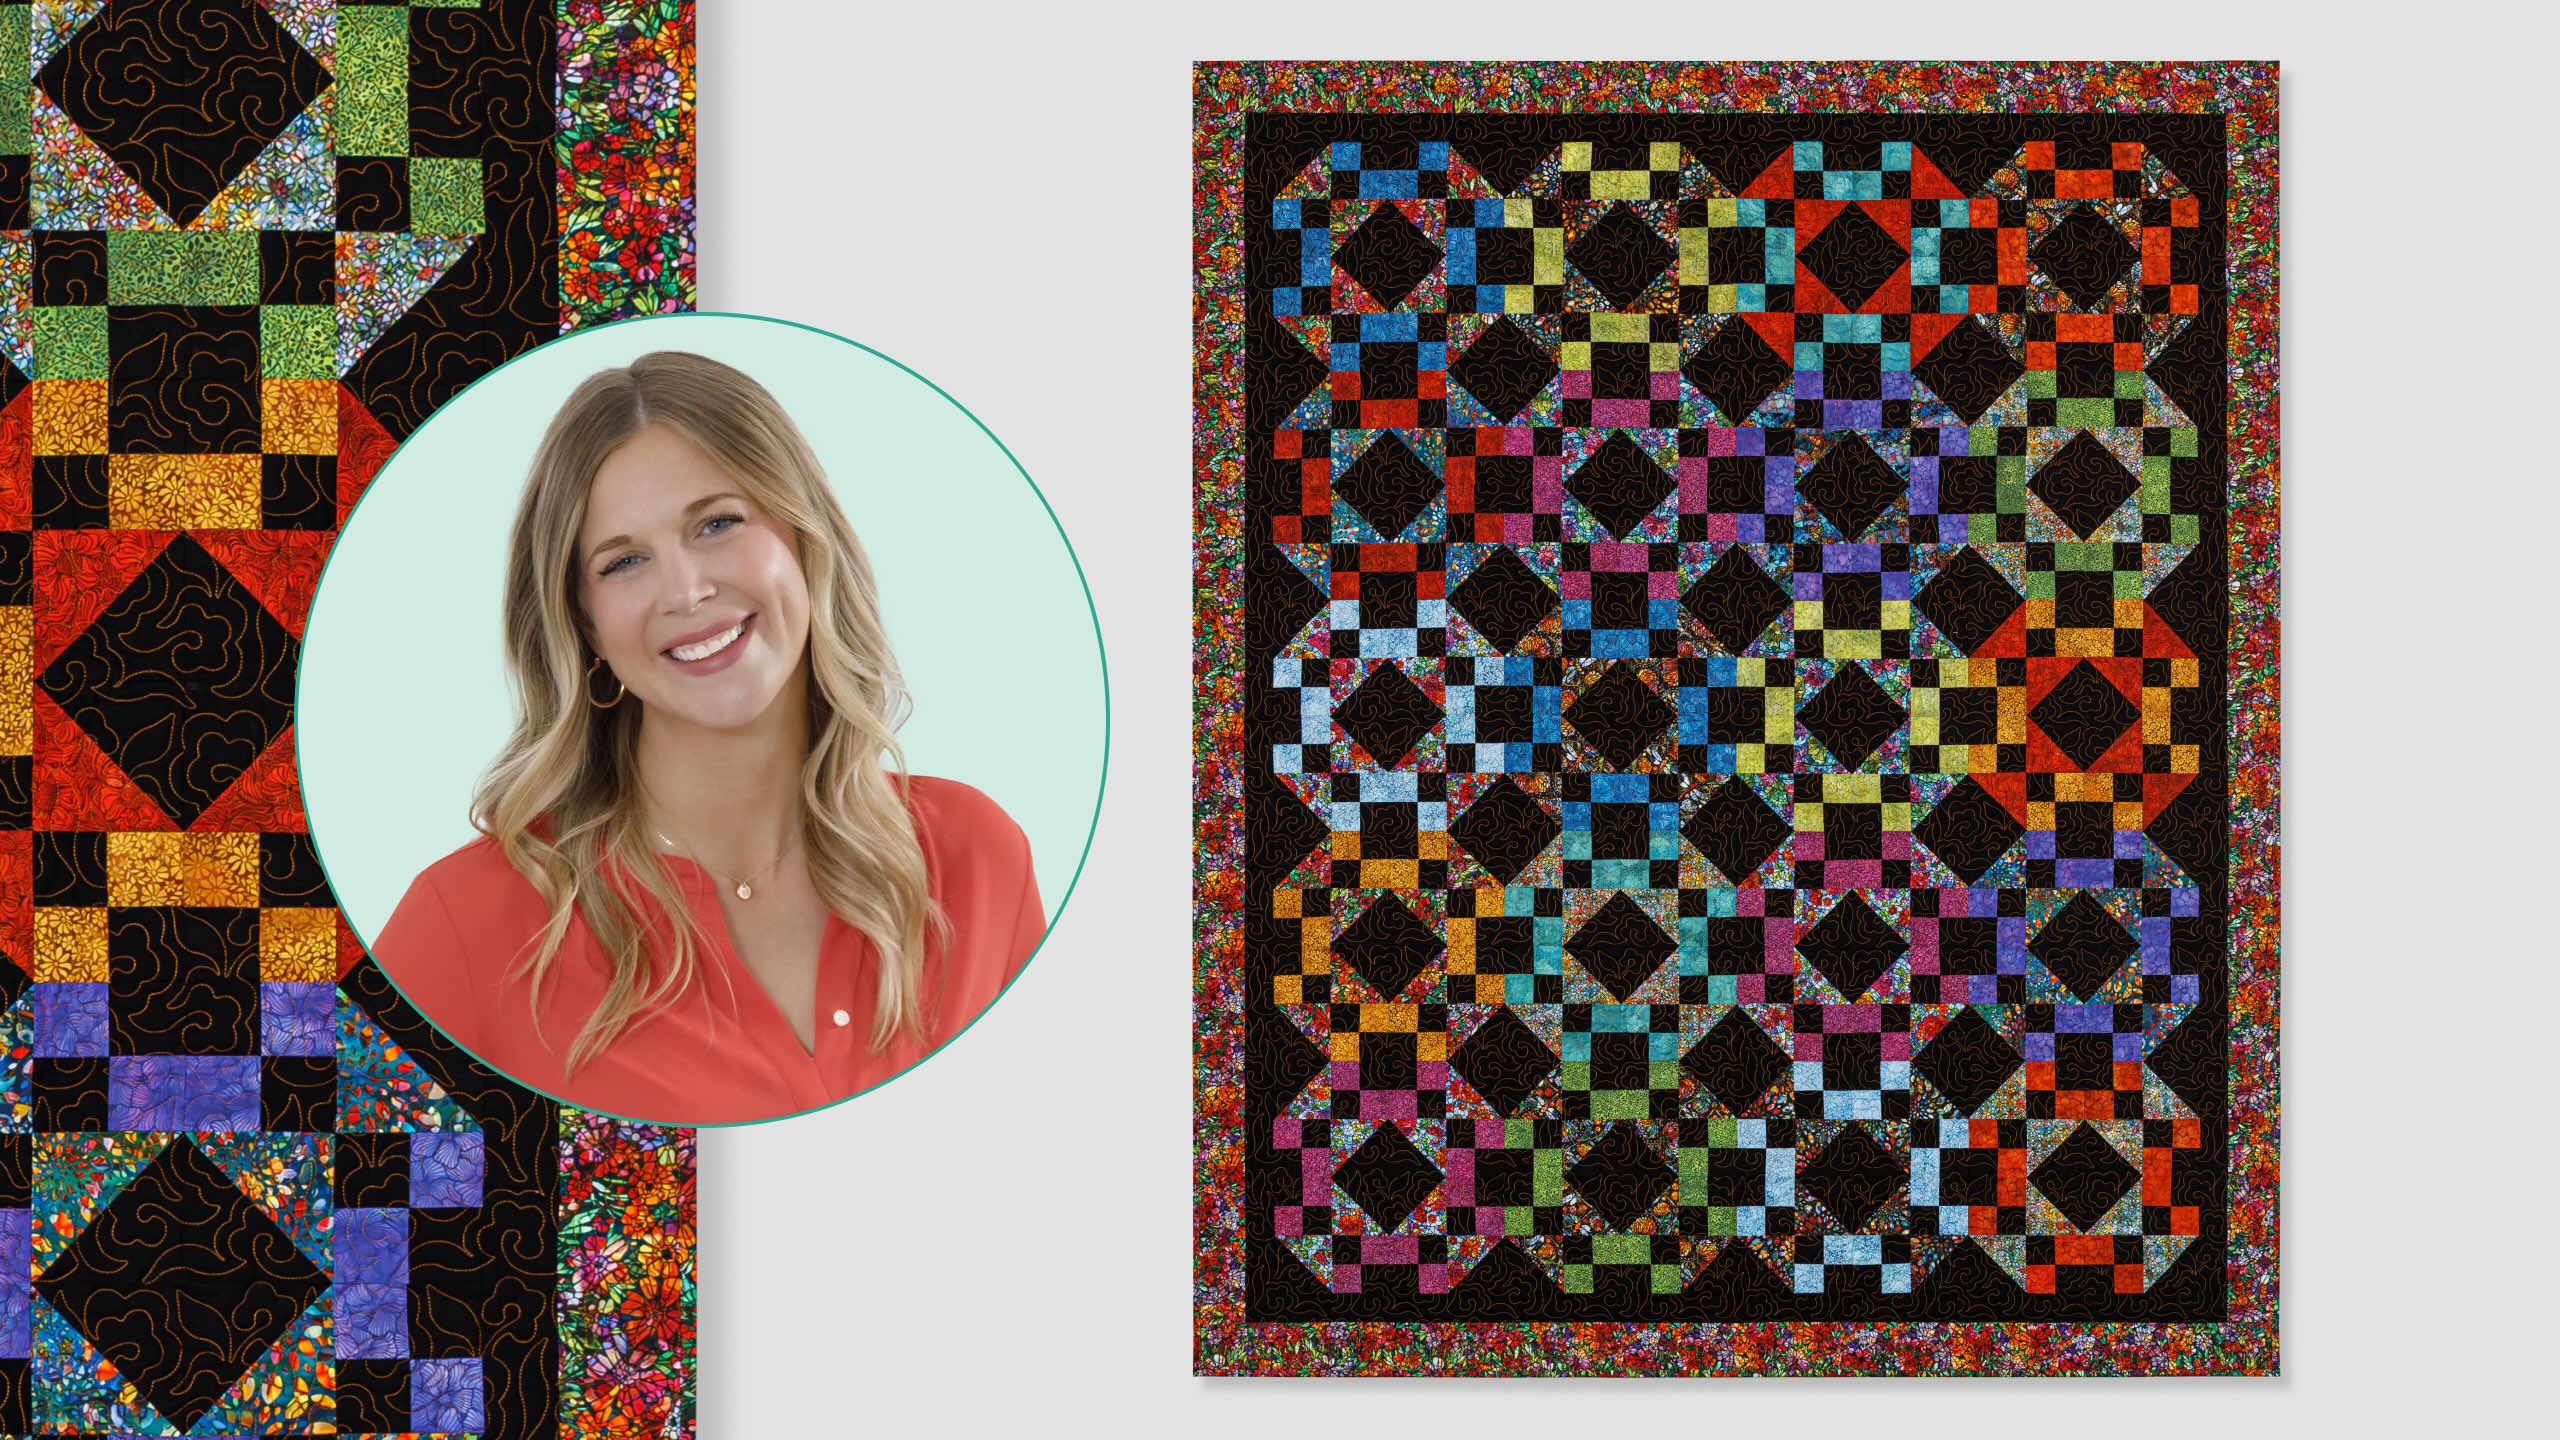
Capture the feeling of colorful flowers climbing up latticework in the Garden Trellis quilt! This pieced quilt uses gorgeous florals and mosaics from the Dear Clara collection by Jason Yenter of In the Beginning Fabrics. The dramatic colors of the trellis placed against a black background create a striking effect! Bold, beautiful, and breathtaking!
Misty Doan grew up surrounded by sewing and quilting. She loves spending time sharing tutorials each week each week, and when she’s not stitching up one of her fun sewing projects for home decor, most likely you’ll find her hanging out with her husband and three awesome kids or working on a house project.
Capture the feeling of colorful flowers climbing up latticework in the Garden Trellis quilt! This pieced quilt uses gorgeous florals and mosaics from the Dear Clara collection by Jason Yenter of In the Beginning Fabrics. The dramatic colors of the trellis placed against a blac...
How long is the tutorial video?
The tutorial video is 00:13:39.
Are supplies listed for this tutorial?
Yes. The tutorial page includes the supplies and materials connected to this project.
Video Transcript
Hey everyone, it is Misty and I'm so excited to share today's project with you. I'm calling this quilt garden trellis. It's kind of Jacob's Ladder inspired and it is a lot of fun to make. So, let me show you how. So, this is the block we're going to be making today. You can definitely see the Jacob's ladder inspiration. And as you can see in the quilt behind me, I've just set those straight together. And I love this kind of beautiful stained glass effect. And with these Jason Yent fabrics, it just works perfectly. So up first, you're going to need to grab a package of 10in squares. And I use this beautiful collection called Dear Clara by Jason Yent for In the Beginning. And this is such a fun collection because it's inspired by Clara Driscoll, who was the head of the Tiffany glass, the Tiffany girls in the late 1800s hund00s. And I just thought it was so fun that he used her as his inspiration for this line. In addition to that, you're also going to need one package of 10-in background squares. And I'm just using black. You're also going to need some of that same color for your first little inner border. And so that's this black. You'll need 2/3 of a yard of that. And then for your outer border, you're going to need 1 and 1/8 yard. I use this beautiful stained glass print. I use the same for my binding, which is 3/4 of a yard. And then also for the backing, which is 5 1/2 yards with a vertical seam. In addition to that, you're going to need a squaring ruler, either a block lock or a clearly perfect slotted trimmer. Uh, we're just going to square it down to 4 and 1/2. So, let me show you how to make it. [music] The first thing we're going to want to do is select two of our 10-in print squares that have some nice contrast. I kind of decided to use as many of these beautiful stained glass motifs as possible for my half square triangles. So, I didn't have enough to only use those, but you'll notice I used a lot for that. And so, we'll pair both that print and our contrasting print up with a 10-in background square. So, we're going to place those right sides together. And we'll begin. Got some extra fabric there. We'll begin by making those half square triangles. So, I'm going to flip this over to my background. Just make sure everything is lined up. And then I've got this little chalk pencil that will show up on this dark background. And I'm just going to draw a line corner to corner in both directions. Just make sure I'm going right to the point of those 10in squares. There we go. And so now that I have that marked, I'm going to take this to the sewing machine and I'll sew a quarter inch seam on both sides of each of those drawn lines. So let's go ahead and do that. I just like to sew off the end and then flip this around and go back down the other way. And then now we'll do the same thing on that other drawn line. Flip it around. Okay, there we go. You can see that I've stitched on both sides. And so now I can just take my ruler and I'm going to begin by laying this right along the edge. Since this is five inches, I know that's going to be cutting this right in half. And then I'll lift and we'll cut this way as well. If you have a rotating mat, this is a great time to use it. But if you're just careful and don't shift your fabric, you don't really need it. And so then now that I have all of those separate, Oops. Make sure here. Yep. Then we can come back and cut on those drawn lines. And so then that's going to give us eight individual half square triangle units. And we're going to need all of those for this block. There we go. And so then once you have those all cut apart, we're going to square them. I have some of them already done, but I will square one for you here. So, because I like to use the block lock for my half square triangles, I'm going to go ahead and press this open first. So, I'm going to set that seam and roll it back to my background since it's the dark in this instance. And then we will take our block lock. If you've never used this before, there's kind of an etched little notch in here. And so it's going to hook on to that center seam. And the writing where it says block lock is always going to be on the light side if you've pressed to the dark. So those are little things that I watch for to make sure I have it on here correctly. And then now I'm just going to trim this off. It's just a tiny bit that we're squaring up. So very little waste. Then we can spin that around. Trim a little bit more there. So then once you've squared up all eight of these, you can set these aside for a minute and we're going to work on those four patches. And so I have a [clears throat] little trick for those as well. So that's where our other set of our print and background 10in squares are going to come in. And so we're going to again make sure those are right sides together. I'm going to take my 5 by 15inch ruler here and I'm going to lay that along the edge of my background and I'm going to draw one line down the center. just like so. And then we're going to take this to the sewing machine and we're going to sew a quarter inch away on each side of that line and then on both of these ends as well. So, let's go ahead and do that. This is just a great little hack to make a bunch of four patches a little bit faster. Now I can spin this around. One more seam here. Okay. All right. So now we are going to cut these in half first and then we are going to measure in 2 and 1/2 in from the edge of our fabric. So that we're going to cut these into two long strip sets as well. And you'll see how that looks when we open it up. We'll do the same thing on this side. There we go. And so now before I subcut, I like to go ahead and press these because then it just gives me one large piece to press instead of a bunch of little ones. So we'll go ahead and roll this back to the dark side. My iron wants to catch there. There we go. And we'll do one more. All right. And so again, I've prepped a few of these ahead, but I'm going to place these now with the opposite sides touching. And so you can see I'm going to nest up this seam in the middle here just like so. Just kind of feel across. And then now, just like I did before, I'm going to mark my center line. And then I'm going to sew on each end and on both sides of that middle. So let's go ahead and do that. There we go. And so then we can cut this in half again. And then we can measure in two and a half from the outer edge and it will give us a bunch of little four patches. And it's just a great way to make them faster. And so these should also square up to 4 and 1/2. And so you can just use your ruler or even the outer edge. This block lock is 4 and 1/2. So if you just sit that on there, you could also square it up with that. I have all of those ready to go. So I'm just going to move this out of the way. And so now we're going to assemble this into quadrants. So I've got some of my half square triangles here and those are going to point in towards the center. So I want the prints to come in and then we'll bring our little four patches. And on these I want the background to chain through the middle. And so I want the prints to be touching. Those are the little things I kind of watch for. You're going to make four quadrants or little units just like this. So, let's go ahead and sew this one together now like a four patch. So, we'll take this to the machine. And we'll slide this one in right behind it. and we'll open this up. This is the time to double check, make sure everything stays lined up and it didn't magically shift when you walk to the machine. That happens to me all the time. And so then the only thing I need to watch is that that center seam will nest. So I'll take a few stitches and then make sure those seams are going in opposite directions. Then I can just cruise down. There we go. All right. So, here is one of our little units. Let's go ahead and give that a press so it'll lay nice and flat. There we go. And so in that exact same way, you're going to go ahead and you're going to make three more so that you have a total of four. And then we are going to spin these so that our background on the half square triangle is touching just like so. And then you'll sew these quadrants into one big four patch. And it looks just like that when you have it all done. And I really love this block because you kind of get this kind of deconstructed shoefly with the Jacob's ladder. It's just a really, really fun look. And then when you place them all together, it's just one, two, three, four blocks across by five down. We've put a little 2 and 1/2 in inner border and finished it off with a 4 inch outer border. It finishes at 75 by 91. I quilted it with this fun orange thread and the pattern is called Merrily. And then let's go ahead and look at this beautiful print on the back. I just love that. Such the classic kind of Tiffany motif. I think it's just a beautiful line. So, I hope you guys enjoyed this tutorial on the garden trellis quilt and I'll see you next time on At Home.

 Misty Doan
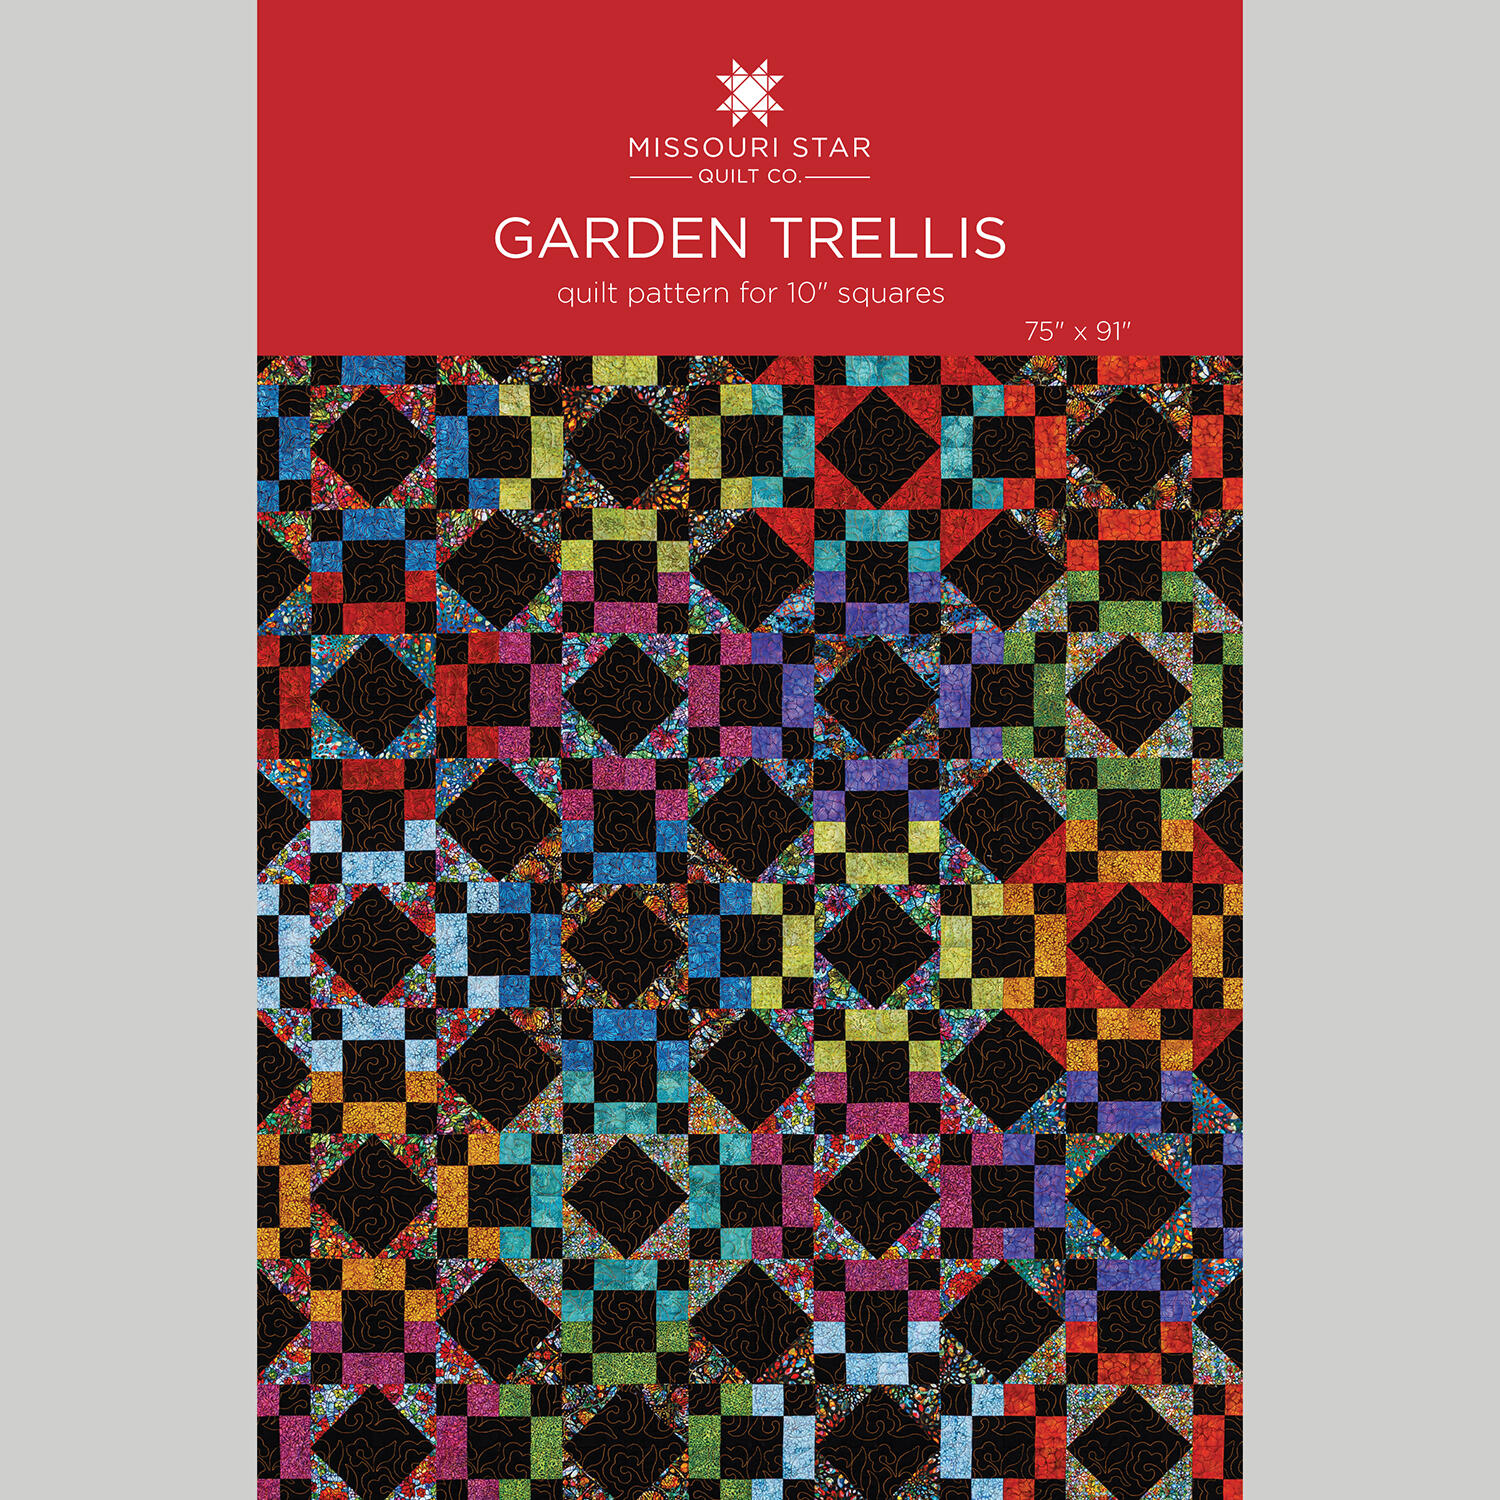 Garden Trellis Quilt Pattern by Missouri Star$8.50Shop →
 Digital Download - Garden Trellis Quilt Pattern by Missouri Star$6.95Shop →
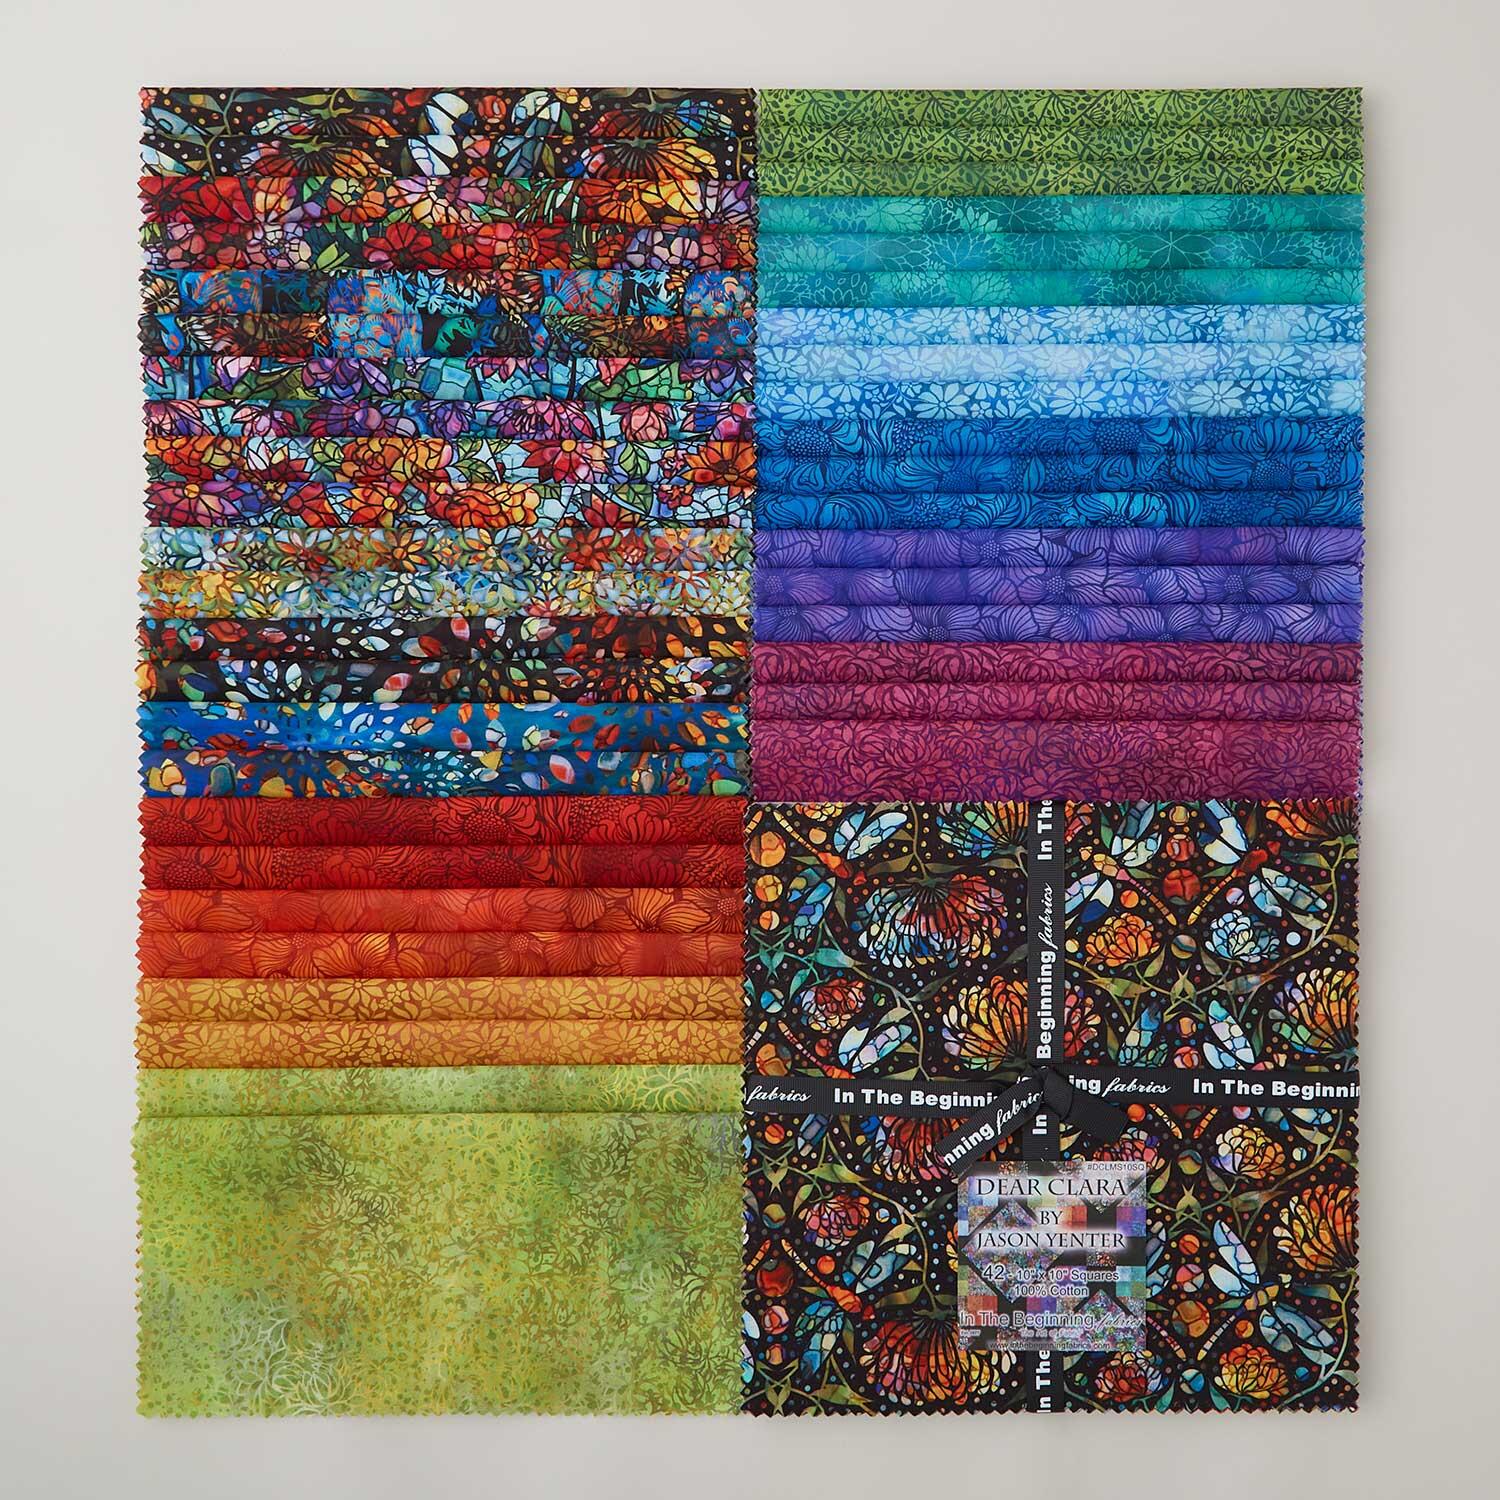 Dear Clara 10" Squares$50.50Shop →
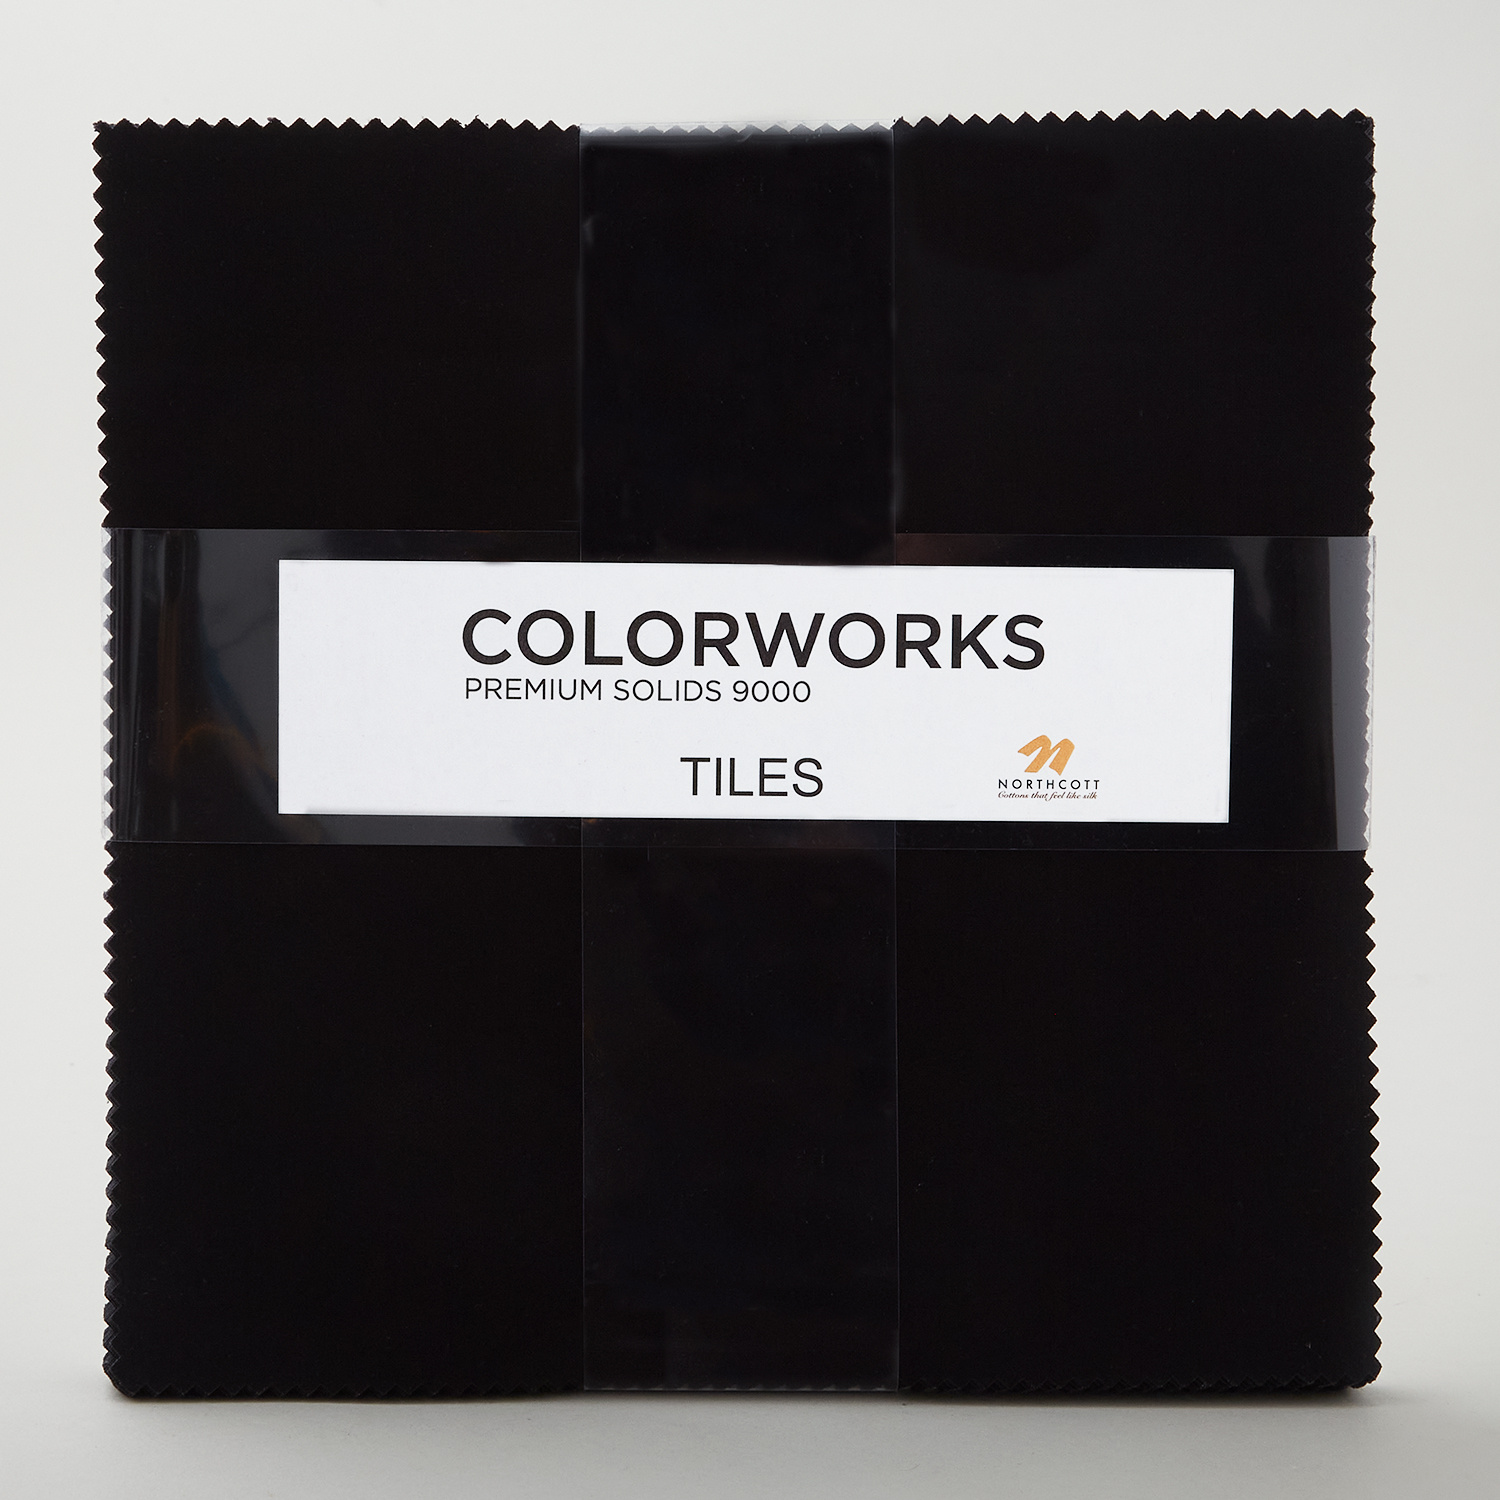 Colorworks Premium Solids Black Tiles$37.10Shop →
 Colorworks Premium Solids - Black Yardage$8.96Shop →
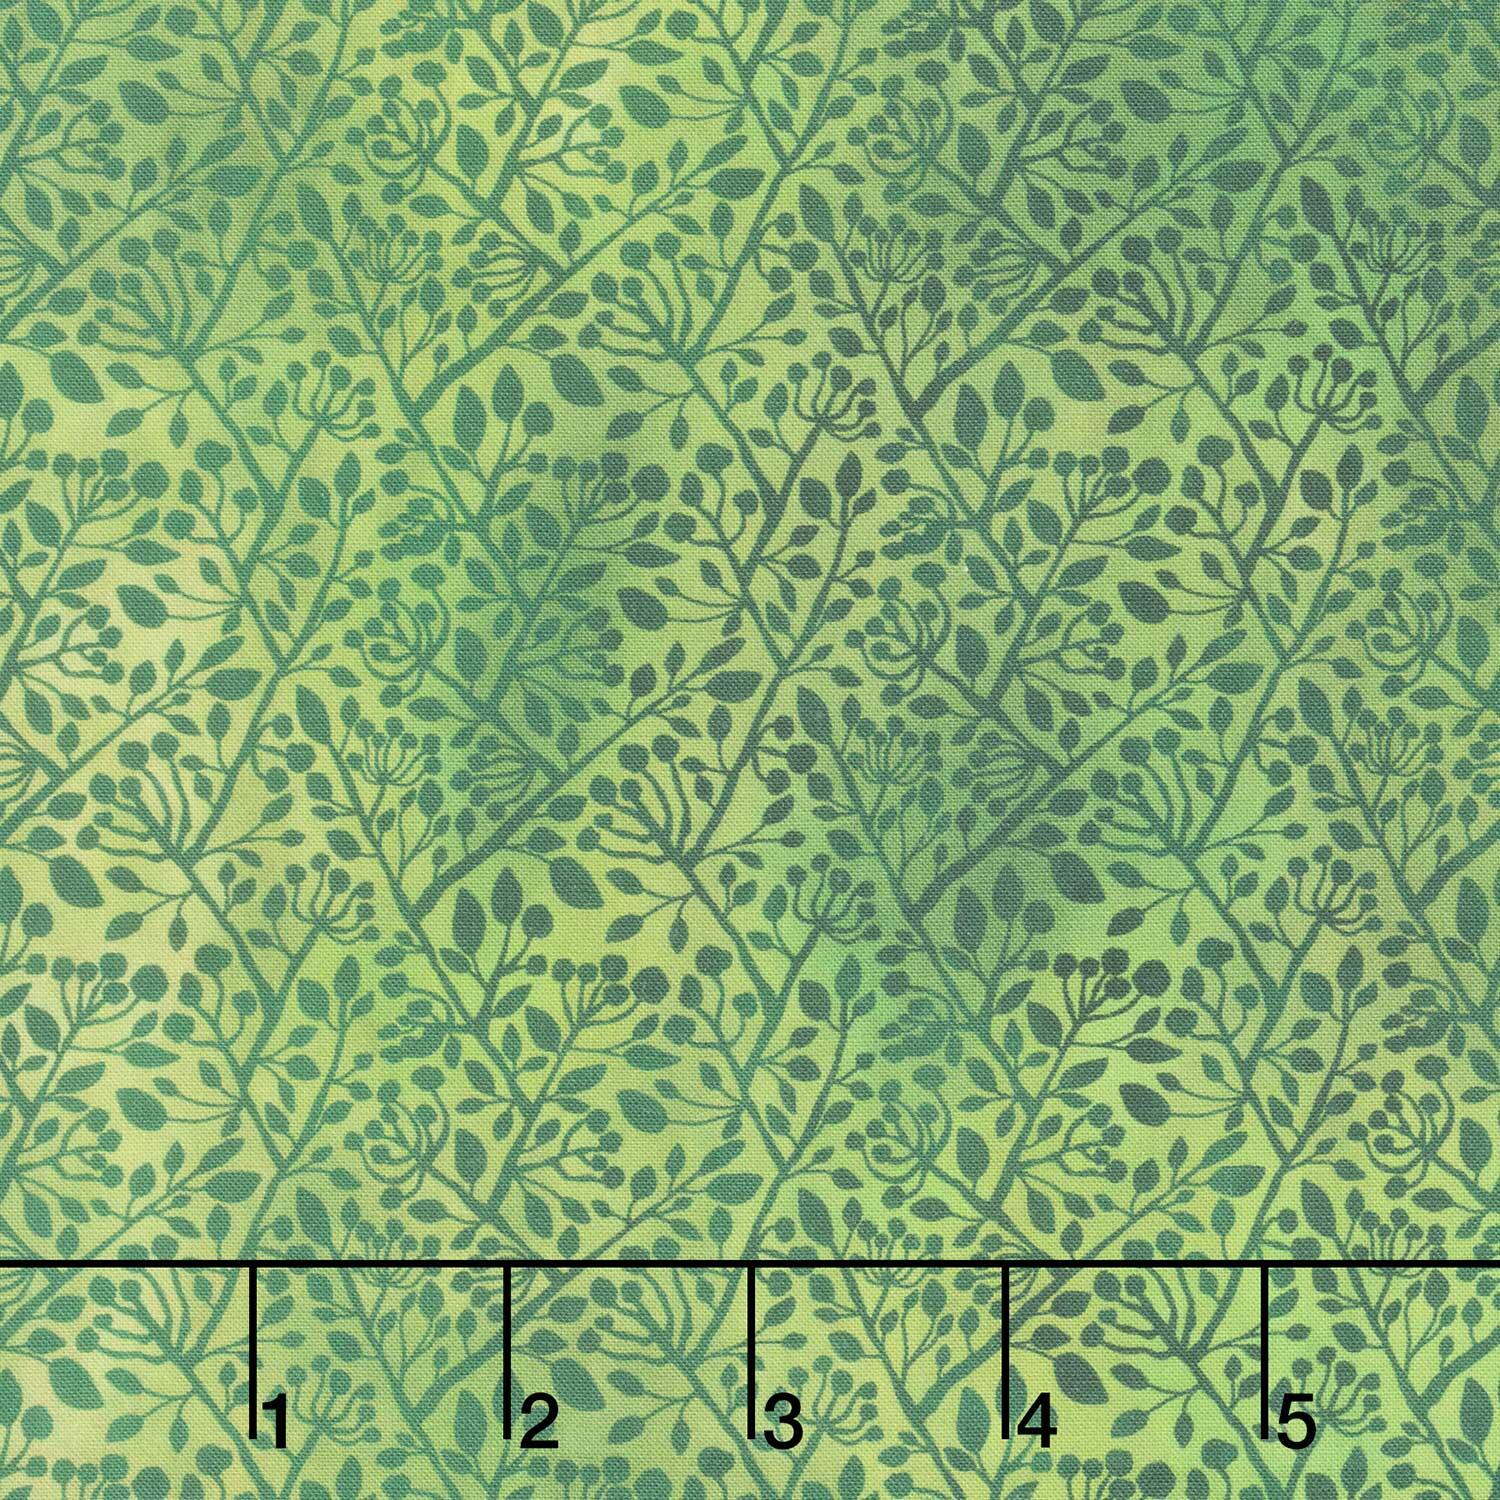 Dear Clara - Vines Green Yardage$12.52Shop →
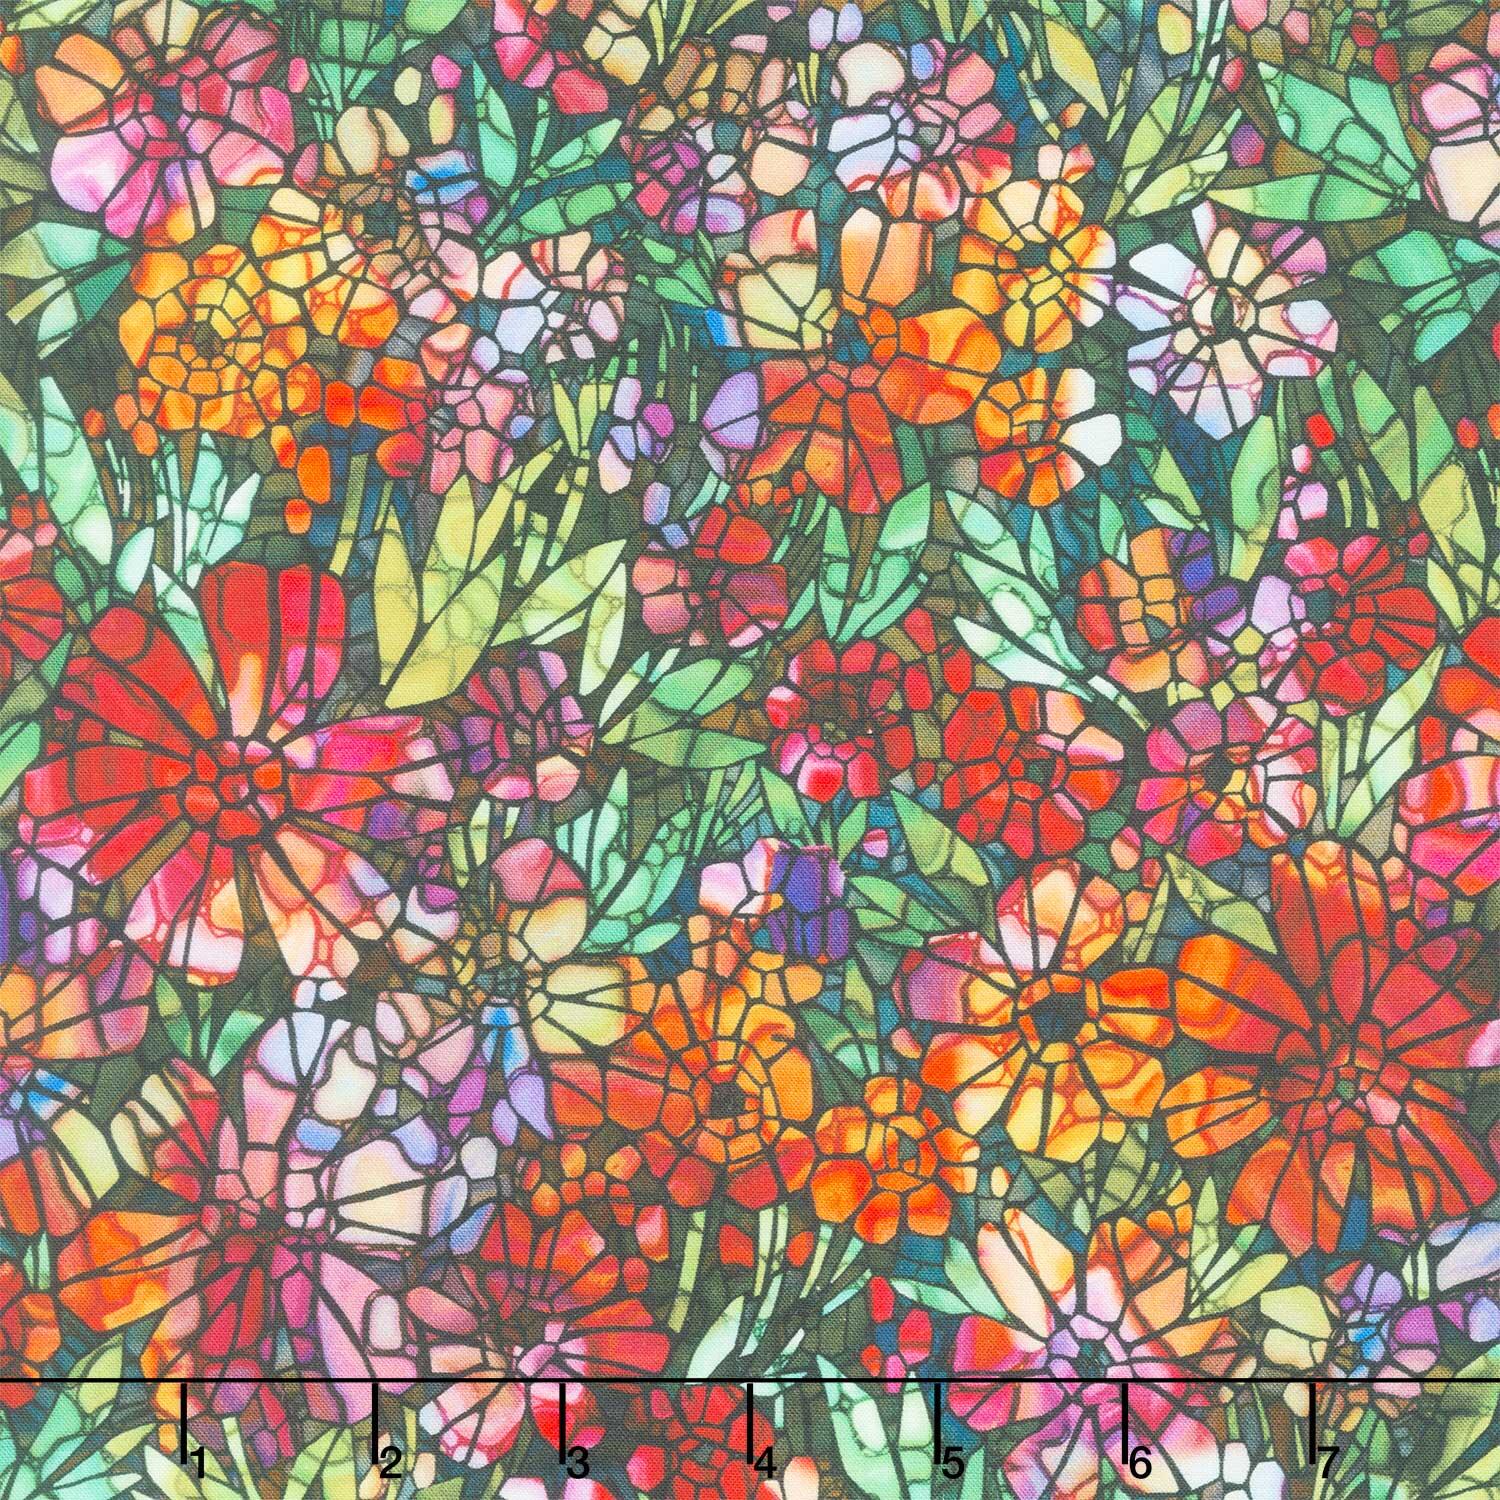 Dear Clara - Garden Multi Yardage$12.52Shop →
 Missouri Star Quilter’s Best Blend Full Batting$32.95Shop →
 Missouri Star 45mm Rotary Cutter - Olga$19.95Shop →
 Missouri Star 8" Everyday Scissors - Amelia$19.95Shop →
 Missouri Star + Oliso TG1600 ProPlus Iron$209.95Shop →
 Bernette 77 Sewing and Quilting Machine$1699.00Shop →



