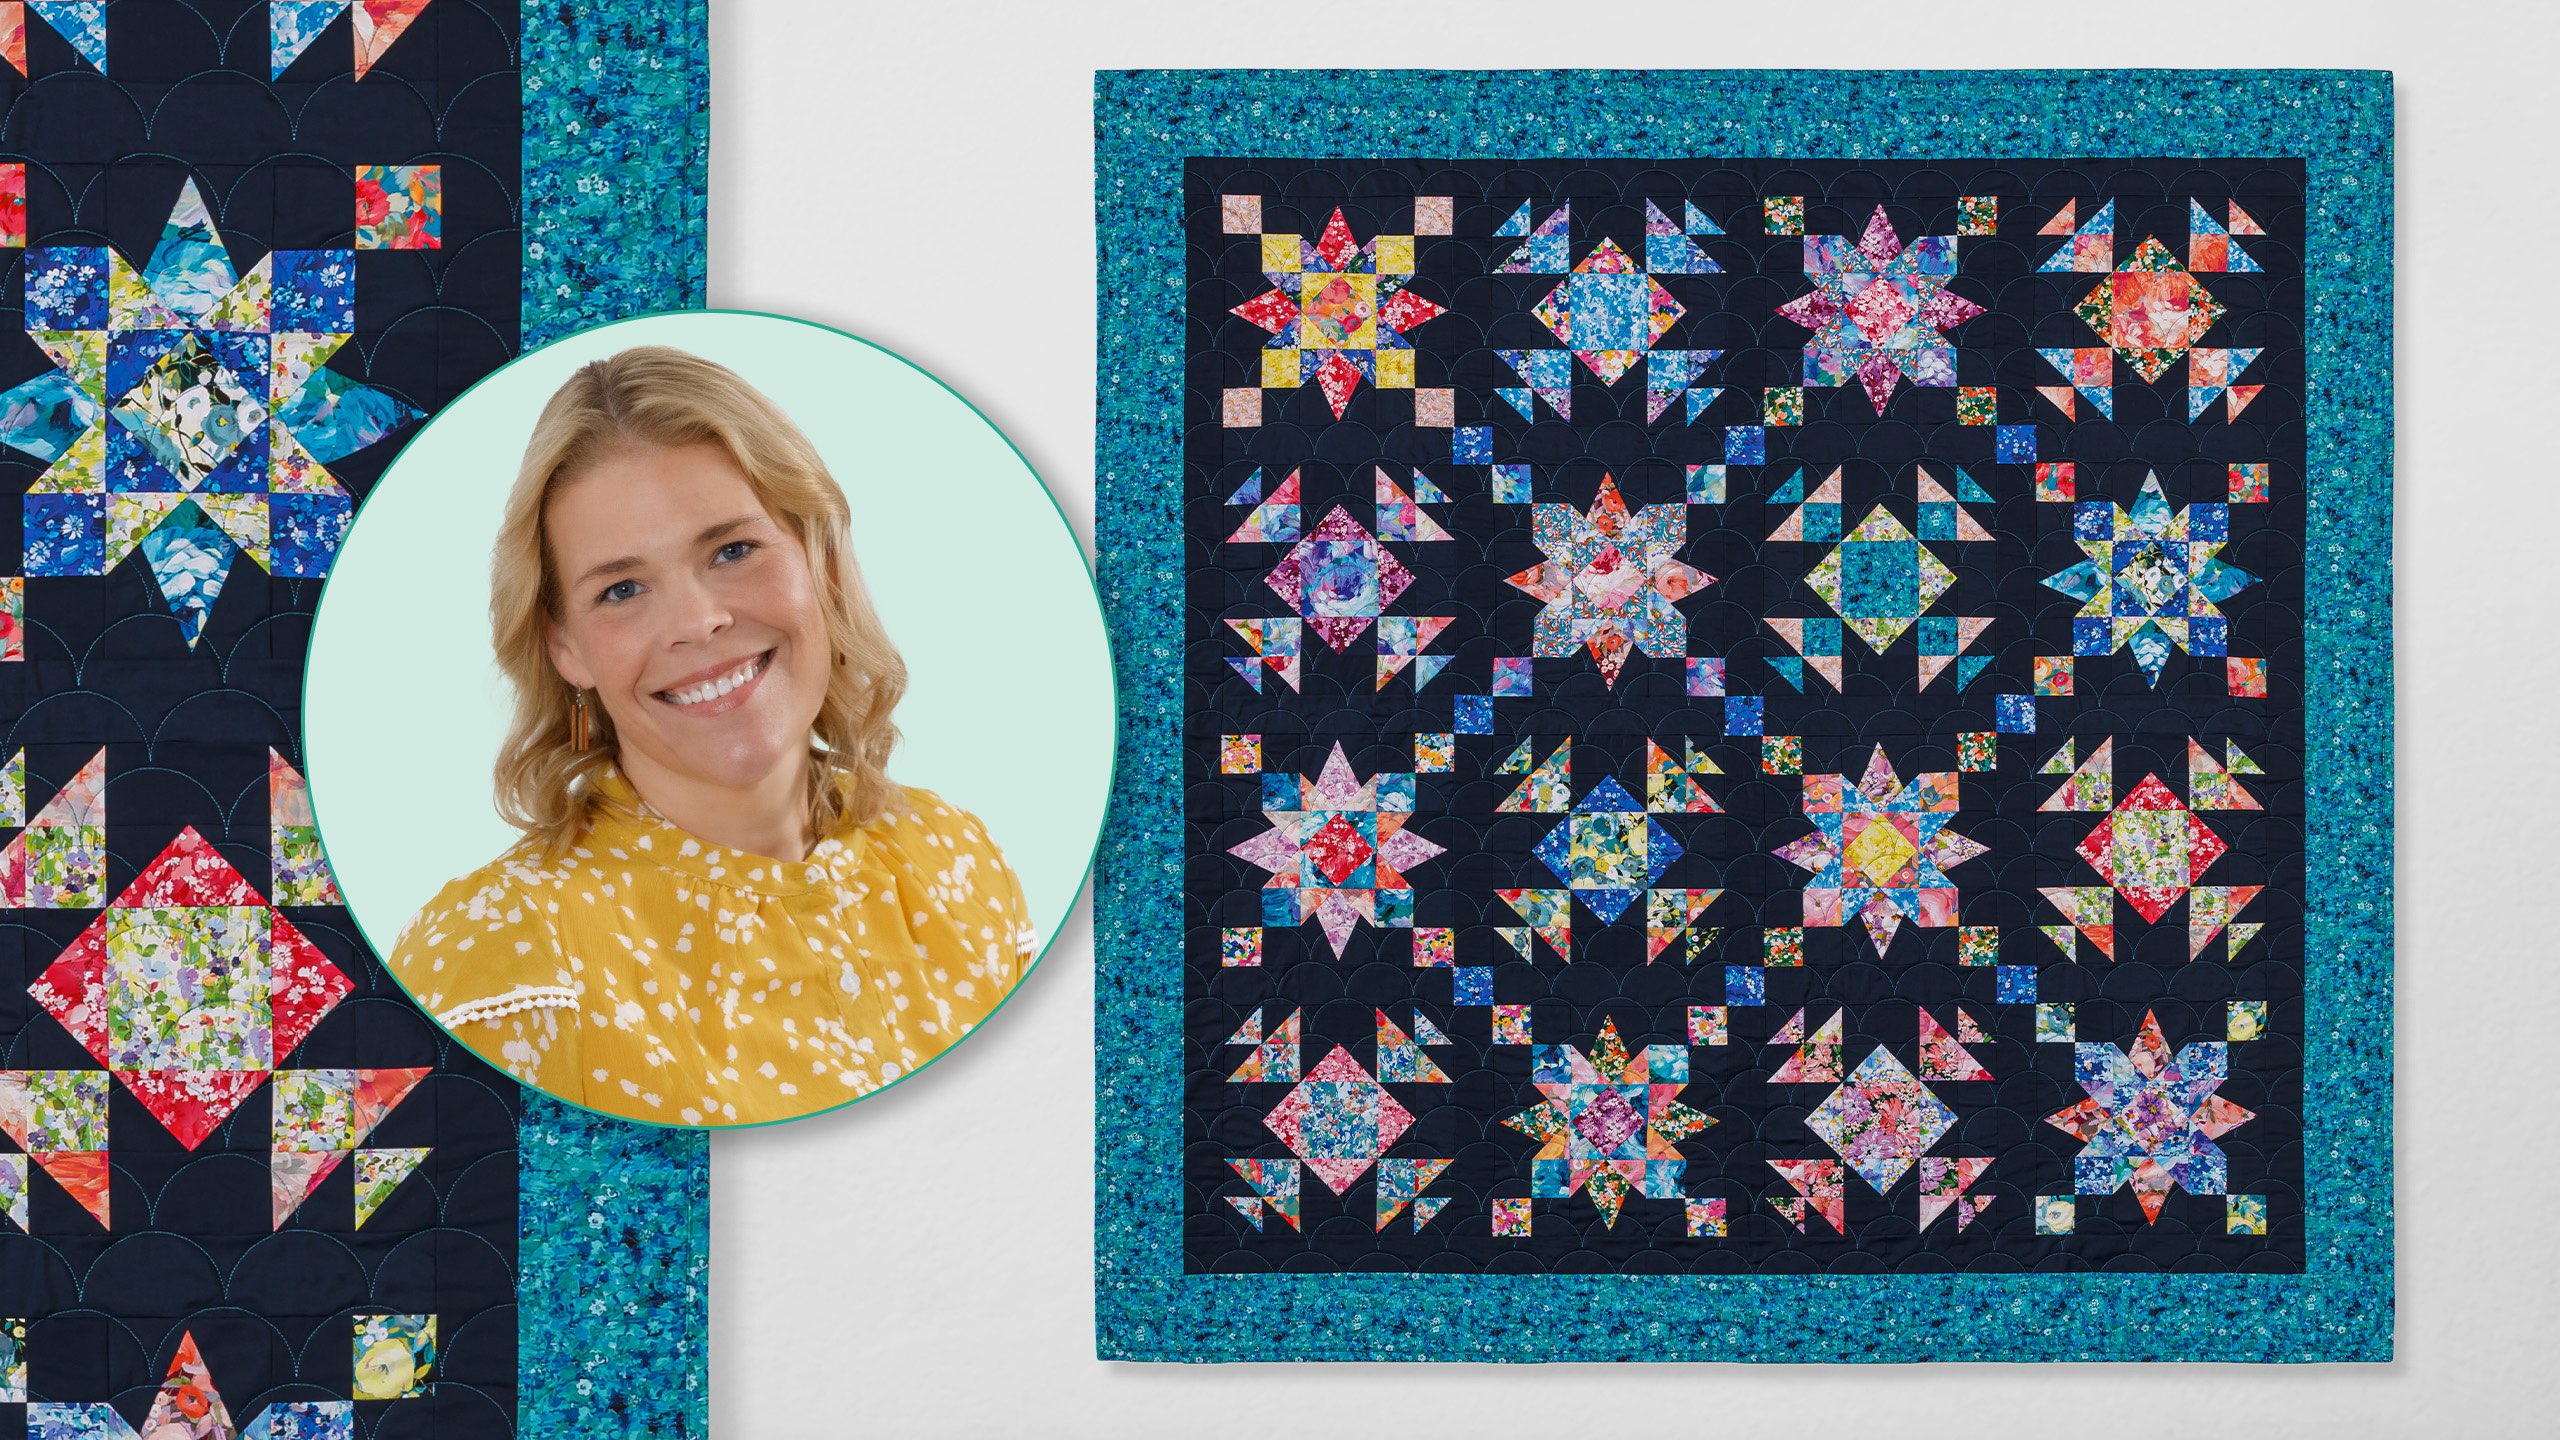
Gems, florals, and a whole lot of wow—meet the Gemstone Patchwork quilt! Natalie is in the Missouri Star studios to guide you through this stunning pattern, and trust us, it looks even more impressive than it sounds. We're using Painterly Petals Valley by Studio RK for Robert Kaufman—a bright, floral-packed collection that feels like a garden in full bloom. That’s paired with Kona Navy solid to make every jewel-toned block pop with striking contrast.
Natalie is the host of Quilting 101, Embroidery 101 and the Creative Strategist and Editor of Block Magazine at Missouri Star Quilt Company. She was taught how to sew by her mom, of course, and began quilting when she grew up.
Gems, florals, and a whole lot of wow—meet the Gemstone Patchwork quilt! Natalie is in the Missouri Star studios to guide you through this stunning pattern, and trust us, it looks even more impressive than it sounds. We're using Painterly Petals Valley by Studio RK for Robert...
How long is the tutorial video?
The tutorial video is 00:22:57.
Are supplies listed for this tutorial?
Yes. The tutorial page includes the supplies and materials connected to this project.
Video Transcript
Hi everybody. I'm Natalie with Missouri Star Quilt Company and I have a fun project today. I'm calling it gemstone patchwork and I think you're going to love it. Okay, so take a look at this quilt with me. It I think it turned out beautiful. I love how the dark background stands out against the beautiful floral fabrics. I love how the addition of this sashing strip creates this beautiful chain throughout the quilt. And I promise you, it's easier than it looks. So, here's what you need to make it. You're going to need a package of 10-in print squares. And we've used painterly petals by Studio Arc. You're going to need some background fabric. We've used this lovely navy. And um it includes your sashing and your 2 and 1/2 in inner border. So, for that, you'll need 3 and a3 yards. For your outer border, you'll need a yard and an eighth, and it's a nice big 5 in border. For your backing, you're going to need four and a quarter yards with a vertical seam or two and an eighth of 108 inch wide. Um, you're also going to need a trimmer tool, and we're using trimmer A of the Clearly Perfect slotted trimmer. You might need a marking pencil, a rotary cutter, and a standard ruler. And after that, I think we're good to go. So, let's make some blocks. So, this quilt is made up using two blocks. We're going to call this one block B and this one is block A. And they are just made up of some simple units. So let's get started. All right. So for this block, the first thing we're going to do, we're going to go ahead and make our center square. And that is made using a 4 and 1/2 in print that you're going to cut your squares into a bunch of different sizes and have those kind of set out and ready to go. But we're going to start with a four and a half for the middle. And we're going to snowball all four sides. So, what we'll do to start on that is snowball two opposite sides. Then we'll trim and press. And then we'll snowball the other two sides. So, this goes pretty quickly. You can eyeball it or draw the line or press the line, whatever works for you. I'm going to go ahead and draw the line for these first two. And then I will trim and press and we'll do the other side. And we're sewing right on the line from corner to corner. All righty. Now, we're going to go ahead and trim off the extra fabric. We'll flip that and press them back. This fabric is just so pretty. It's got so much of like a watercolor look. Reminds me of Monae. All right, so these are going to go then on the corners. And we're going to sew from corner to corner. And that should overlap your other piece, giving you your quarter inch um seam allowance. So, let me draw a couple more lines here so we know which way to go. We're just creating a block that looks a bit like a square and a square. All right. Sew on the line and this part, this unit of the block will be done. All righty. Just like that, we've got the center of our block. So, now let's make some four patches. So, to make your four patches, we're going to cut some 2 and 1/2 x 10 in strips off of our pre-cut. And we're also going to have some 2 and 1/2 by 10 in strips of our background. So, if you um don't want to cut your background strip down, you can just stack those strips that from the pre-cut on the long strip and do it that way. That's totally up to you. Uh but for the for today, I'm just going to do 2 and 1/2 by 10. And we're going to stitch these together on one side. And then we'll subcut to get the pieces for our for patch. Okay. Now, I like to go ahead and cut these before I press. It gives me um an easy measurement to make sure that I get all of the pieces that I need because you're going to need all of the cuts here. So, we're going to line that up and cut 2 and 1/2 inch segments. And you'll just cut down that strip. And then these ones get mixed and matched. It's a little bit subtle here on this block, but they are different fabrics. So, you'll do a few of these and then you'll um you'll stack them up in their sets or their pairs to make two blocks. Okay. Okay, I'm going to go ahead and press one of these back and that will be ready. Oops. If you press them all to the dark side, then they flip and nest really nicely. So, keep that in mind. And I've got one of these ready to go here. There it is. So, you're just going to set those opposite ways and stitch them together to make four four patches for your corners. All righty. Oopsie. Sometimes they're a little stubborn and they don't want to open up. There we go. So, I've got the other ones made. All four. right here. And those are our four patches. We're making progress. Okay. The next one is going to be this little diamondy star leg piece. And it is easier than it looks. So, you're going to select a um a pre-cut square that you like for all four legs. And you'll cut that down into 4 and 1/2 in squares. And so I like to do that by folding it in half and then folding it in half again. You can do this real quick and get all four squares cut at once. Um I do like to kind of cut it out of the middle and then square up that other side because then I don't have to worry about my PKD edge getting in the way. So I'm just going to cut this like so. And then I'll flip that around and I will have four perfect 4 and 1/2 in squares. Just Oops. Just like that. All right. So, now that we've got our four matching squares, we're going to take our background squares. And these are 3 in x 5 and 1/2. And I've got several of those. So, what we're going to do here, we're going to take I'm going to take this one and we're going to fold this in half and just do a little finger press at one end. And then these overlap that finger press. and then line up with the base. So, you don't have to be too worried because these overlap by quite a bit and this part down here gets covered up by our 2 and 1/2 in square later. So, it does not have to be exact, but that's how we line them up. So, we're looking for lining up with the bottom point and that middle um middle finger press line. That just helps us find the middle. So, we're just going to take this to the sewing machine and stitch using a quarter inch seam allowance. Okay, now this is it's a tiny bit tricky, but not really. We're going to go ahead and press this back, and then we're going to trim it to square. Now, I'll show you two ways to do this, cuz we're going to do this on the other side as well. The first way, a lot of people like to use that square as their um as their pattern and just cut along that edge. Whoops. Let me turn it so I'm not making such an awkward cut. There we go. Anytime you feel like your cut is going to be a little bit dicey or if it doesn't feel comfortable, just turn your fabric and try a different angle. Makes a world of difference. All right, so then we've got that. And then what you can do is peel that back and trim off the print fabric. So, that is fairly easy. And then I like to go ahead and take off that little bit down there at the bottom. It's good to have that extra so that you can not worry too much about running out of fabric. All right, so let's do the next side. Again, we're going to line it up with the point down here and overlap so that it lines up with the edge of that middle section. and then stitch another seam using a quarter of an inch. This makes for pretty consistent squares. I like doing things where it comes out looking really nice, but doesn't take a ton of like precision. You don't have to be perfect. Okay. So, one of the things that I I feel like people will get a little bit hung up on is sometimes you want to press and trim this off like we normally do when we're snowballing blocks. So, I'm going to trim this off. And then everybody's going to say, "Well, then how do you square that?" Well, we know that we're looking for a 4 and 1/2 in square to fit in all of these places. So you can just take your ruler and line that up with your four and a half inch square just like you're squaring anything and just trim that to square. So it's no problem if you trim off your background fabric before you cut or before you square it up. You'll be just fine. So looks just like that. Easy peasy. All right. So the next step here is just to snowball those opposite corners. You you flip it upside down. So you've got your wide edge at the top. We're going to grab our other snowball pieces, which there they are. And we'll do one at a time, snowballing that corner just like we do any others. We'll draw a line and stitch on the line from corner to corner. Then we'll press it, flip it, and do the other side. And that is just the simplest way to make these. really they look very complex and I I think very beautiful kind of that's where I got the gemstone idea because of like the jewel tone colors and the beautiful cuts where it kind of looks like um just those beautiful cuts. I I think it's beautiful. I'm going to trim that off and then we'll press it and do the other side. Now, I'm just going to eyeball this one to save just a tiny bit of time. Then we'll trim it and press it. And then just like that, we've got all four of our beautiful star legs. So, let's lay out our pieces. Starting with the middle. You know, that's the easiest way to to do a block like this. Then, we're going to add our star legs. Just like that. And so, you're going to mix and match several different pieces from your print squares. And the pattern goes through how many to cut of each one before you get started. So you can do all your cutting if you want or you can make it a block at a time like I just showed. But that is it. It's so simple. You'll just sew that together like a standard nine patch and have your quilt blocks that look like this. This is your block A. And I think they're just adorable. All right, let's get into block B. All right, so this is our block B. And it's just as easy, if not easier. So for the center, we're going to start with a simple 4 and 1/2 in square. And we're not going to do anything to it. That's just ready to go. Okay. So now we'll do go ahead and do our little flying geese units that make this block look like it's set on point. So that's going to be made up using 2 and 1/2x 4 and 1/2 in strips that you'll cut from your pre-cut. And you'll want four that match. Then the next thing you're going to do is grab a couple of your background 2 and 1/2 in squares. and we're gonna snowball our corners. So, we'll start with one side. You can draw the line or press it. I'm just gonna eyeball it. So, we're going to sew from corner to corner. If you've drawn the line, you're sewing right on that line. All right. Then, we're going to trim off that fabric. Oops. We'll press this back and we'll do our other side as soon as this is done. Okay. So again, these overlap giving you that beautiful um quarter inch at the top. So you keep your point and we're going to just sew from corner to corner. All righty. We'll go ahead and trim that off. Press that. So, now we've got to add our little background piece to it because these don't go on as star legs, they go on as flying geese. And so, we're going to add a 2 and 1/2 by 4 and 1/2 in piece of background. And we're going to stitch right along where the point meets the background to create the rest of this unit. All righty. We'll press that back and it will be ready to go. So there you've got that piece and you will need four of them that match. We've got all four ready. So we will stack these up and set them aside. So now we're going to be making our corner unit. And it's essentially a four patch, but it's got three half square triangles in it. So to make these half square triangles, we're going to pair a print with a background. These are both 5 in square. And we're just going to sew all the way around the outside edge. And we will cut those apart. All right. So, this is where our Clearly Perfect trimmer comes into play. And to make things a little easier, I'm just going to go ahead and cut this in half one time. And then I'm going to line up. I'm using the two and a half. So, we're going to match up this dashed line with our seam line. And I've got that nice starting um that starting cut that we just made. So, now I've got to just cut off this other side here and trim out my little little dog ears for the bulk. We'll trim these other ones. Again, these are 2 and 1/2 in. So really, you can you can cut them apart and um square them with a different ruler if you want to. It's all just personal preference on that. But I feel like this this is such a convenience. This ruler makes life so easy. One last one here. And you do have quite a bit of play in these um in these squares, but the efficiency there was because we're using a pre-cut, this was the quickest and most effective way to get to this size half square triangle. All right, so I'm going to go ahead and press a couple of these open. You'll notice in the in the four patch, I'll show you that one of those triangles is a little bit different. So you'll have three or two that match and then one that's slightly different different color. All right. So to build out this block, you will need a 2 and 1/2 in square of your print. And then you'll need one. These two match. And all of that is just how I planned out how to use my particular yardage. You can mix and match your colors however you want. Use them in whatever places you want to and whatever makes sense for you. Um, but the pattern will tell you how many to cut of which square so that you can get all the pieces you need to make your quilt. So, if you want to make it look just like mine, it's in the pattern. Otherwise, just be creative and do your thing. So, what we've got here is this one that matches the square. And then we're going to add in our other two from a different fabric. And they go together just like that. And all four are made exactly the same way. So, I'm just going to sew this little four patch together. And then we will have our block units ready. All right, I kept those together so I can just flip them and make those seams nest. We'll sew that other side. Give this a quick press. All righty. Just that quick, it comes together. And now we're ready to lay out this block. So, we'll start with our middle. And then we're going to build our little diamond or square and a square around it with our flying geese pieces. Just like that. And then these little four patch flying. They look kind of like birds to me. I think they're pretty cute. They are going to point right into the middle. And just like that, your block is ready to sew up. You're going to sew it together just like a nine patch. And you've got your block A and your block B. You're going to make eight of each. So let's take a look at the quilt. So we put this quilt together with a block A and a block B. They just alternate A B. It's four across by four down. And you'll notice that I've added a 2 and 1/2 inch sashing. So measure the size of your block and cut your two and 1 half inch strips to that size. And then just add a 2 and 1/2 in cornerstone. Then you'll see here I've added a 2 and 1/2 in inner border. And I feel like that creates just this really beautiful floating effect for the quilt. We've got a 5-in outer border. And then this is our backing. I think this fabric is just beautiful. It's so watercoly. We have these really cute little happiness is handmade and chick tags. Just, you know, don't forget to add a little bit of fun to your quilts. The machine quilting pattern that I used here is called Clamshell. And this quilt ends up being 67 by 67. I think it's really fun. It feels very elegant. And I hope you enjoyed this tutorial on gemstone patchwork from the Missouri Star Quilt Company. Bye. Hi everybody. I hope you enjoyed today's video. We're trying super hard to get to a million subscribers. So, if you enjoyed it and you want to see more, just hit subscribe and share with your friends and encourage them to do the same. And I will see you next Friday with a brand new tutorial.

 Natalie Doan
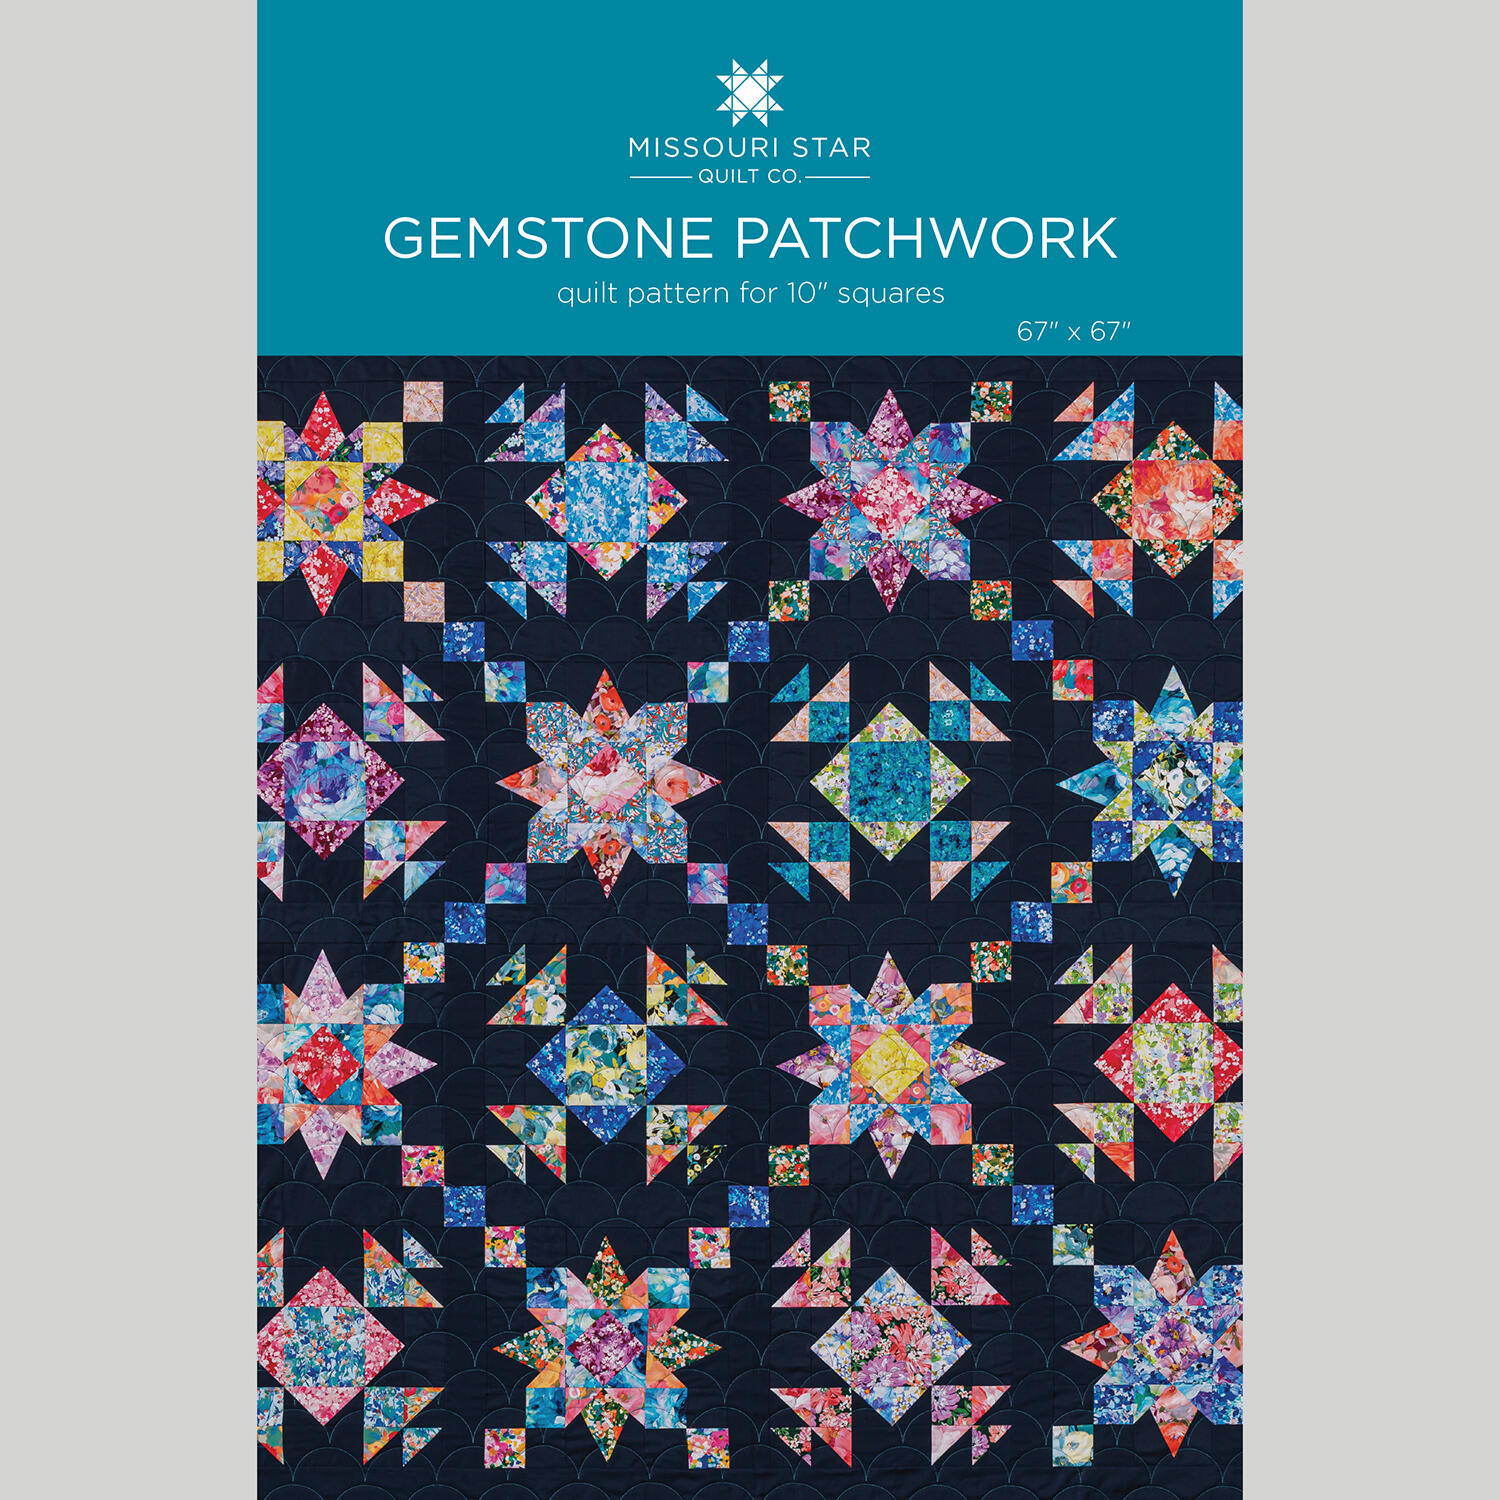 Gemstone Patchwork Quilt Pattern by Missouri Star$8.50Shop →
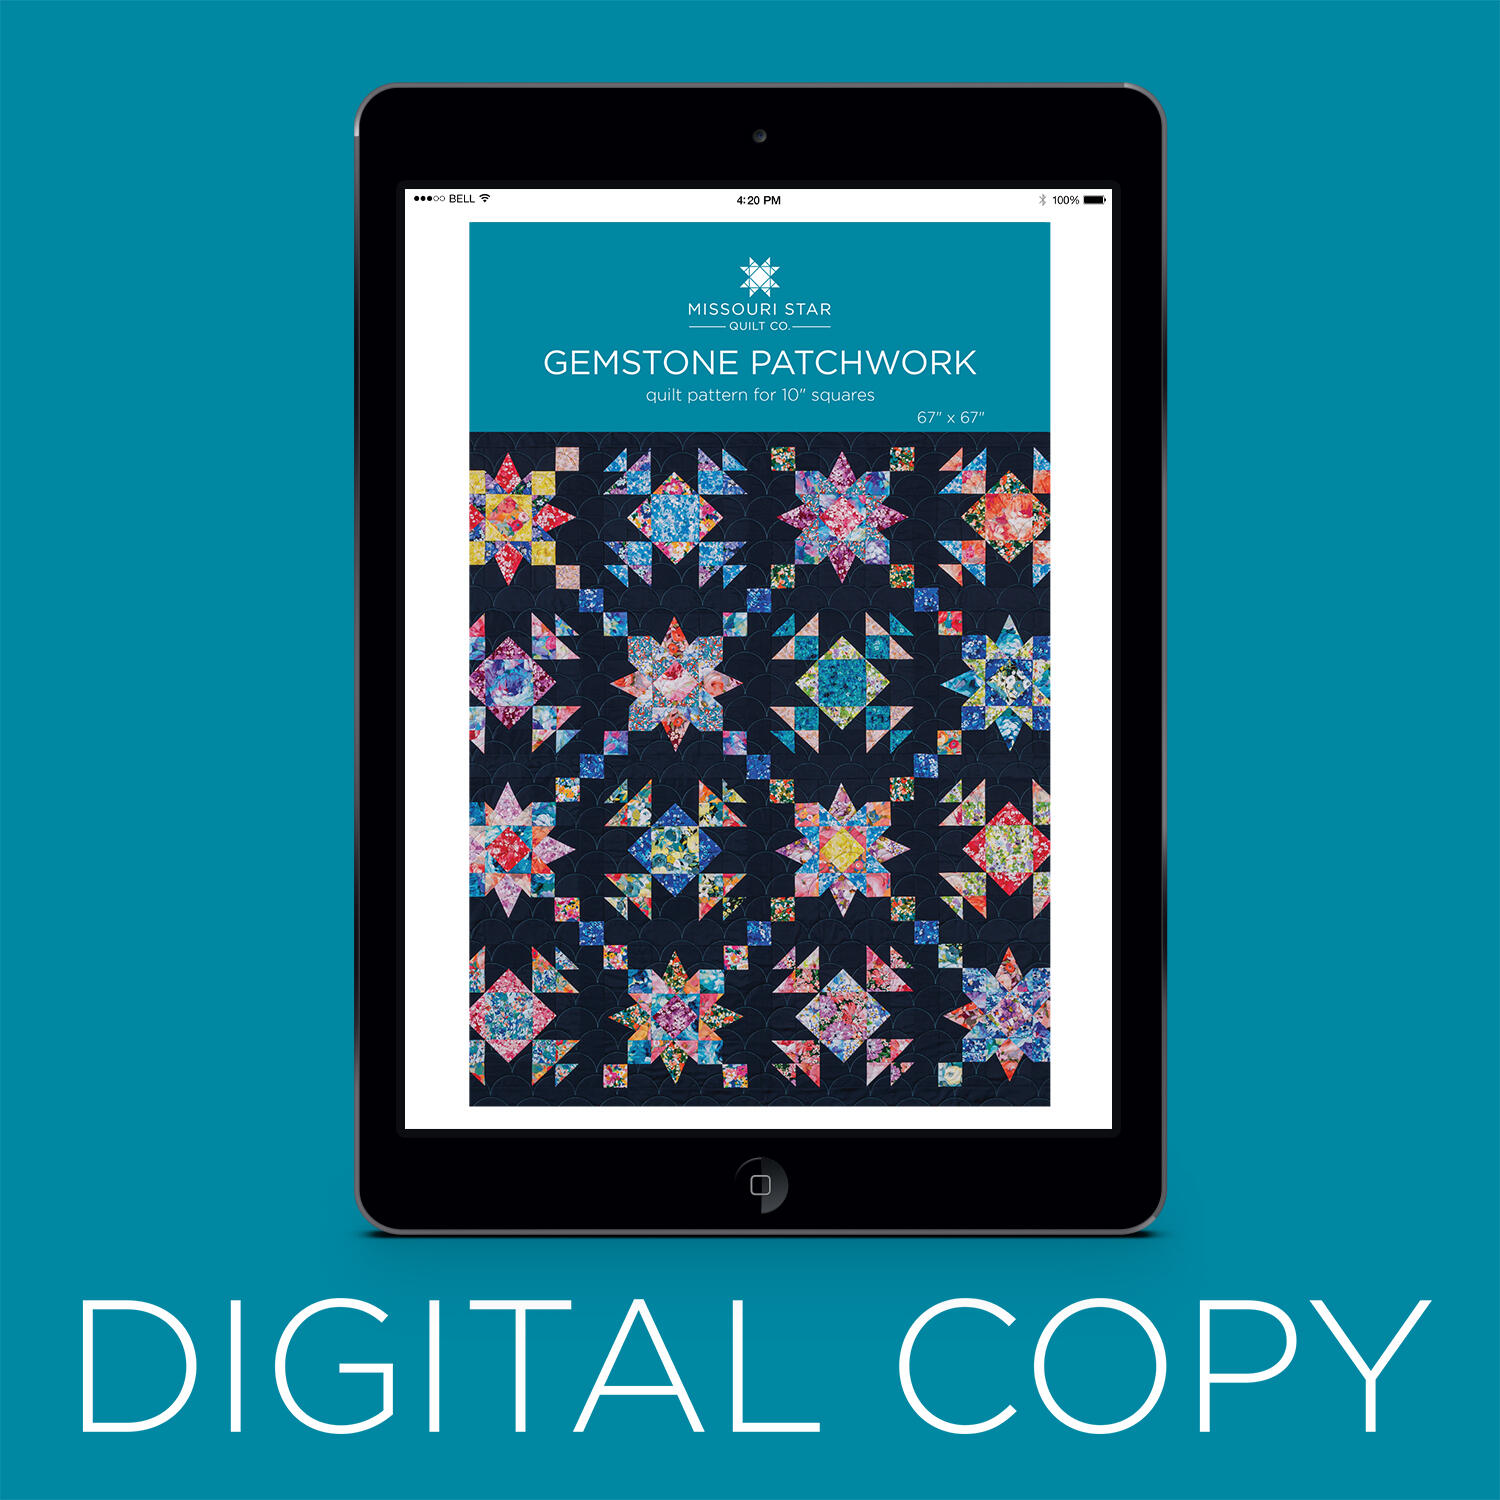 Digital Download - Gemstone Patchwork Quilt Pattern by Missouri Star$6.95Shop →
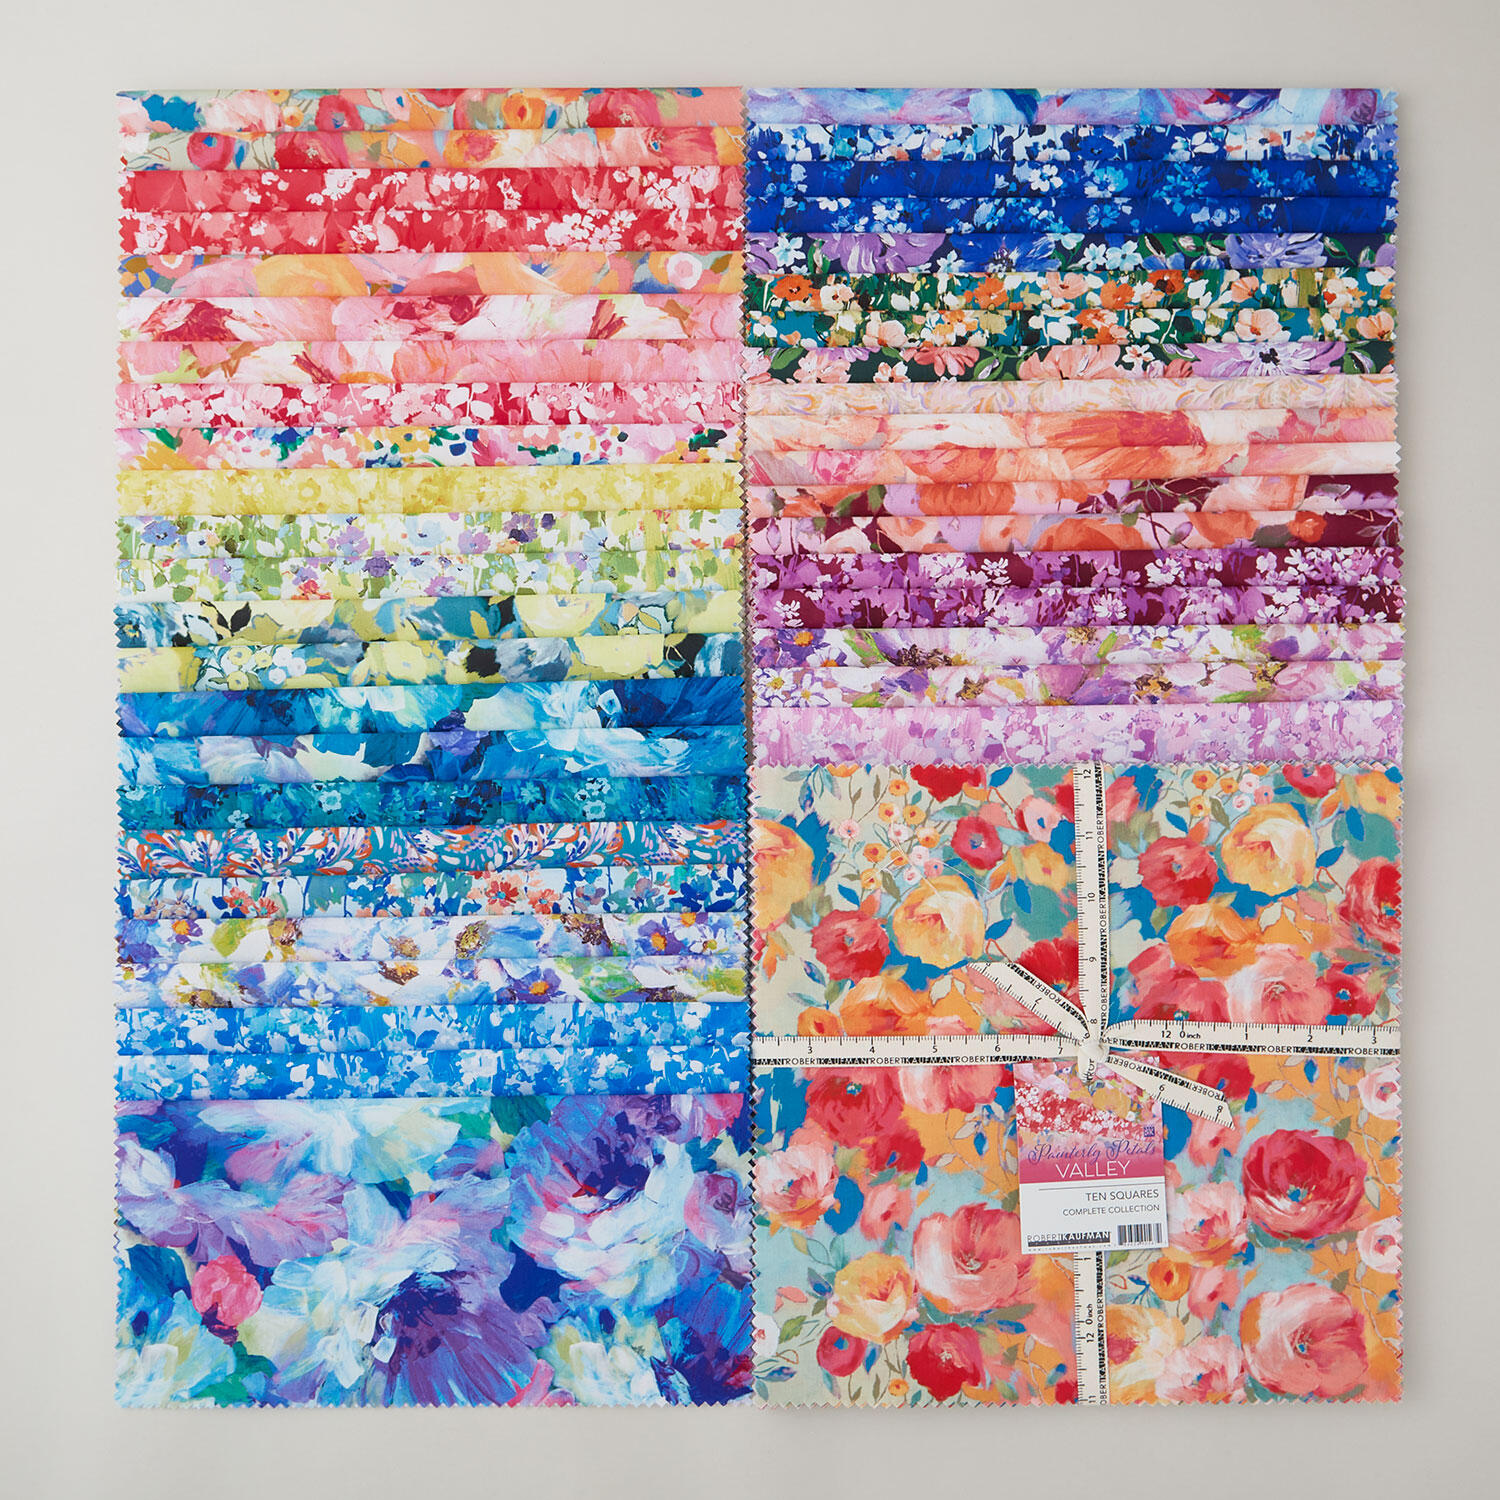 Painterly Petals Valley Ten Squares$45.55Shop →
 Colorworks Premium Solids - Navy Yardage$8.96Shop →
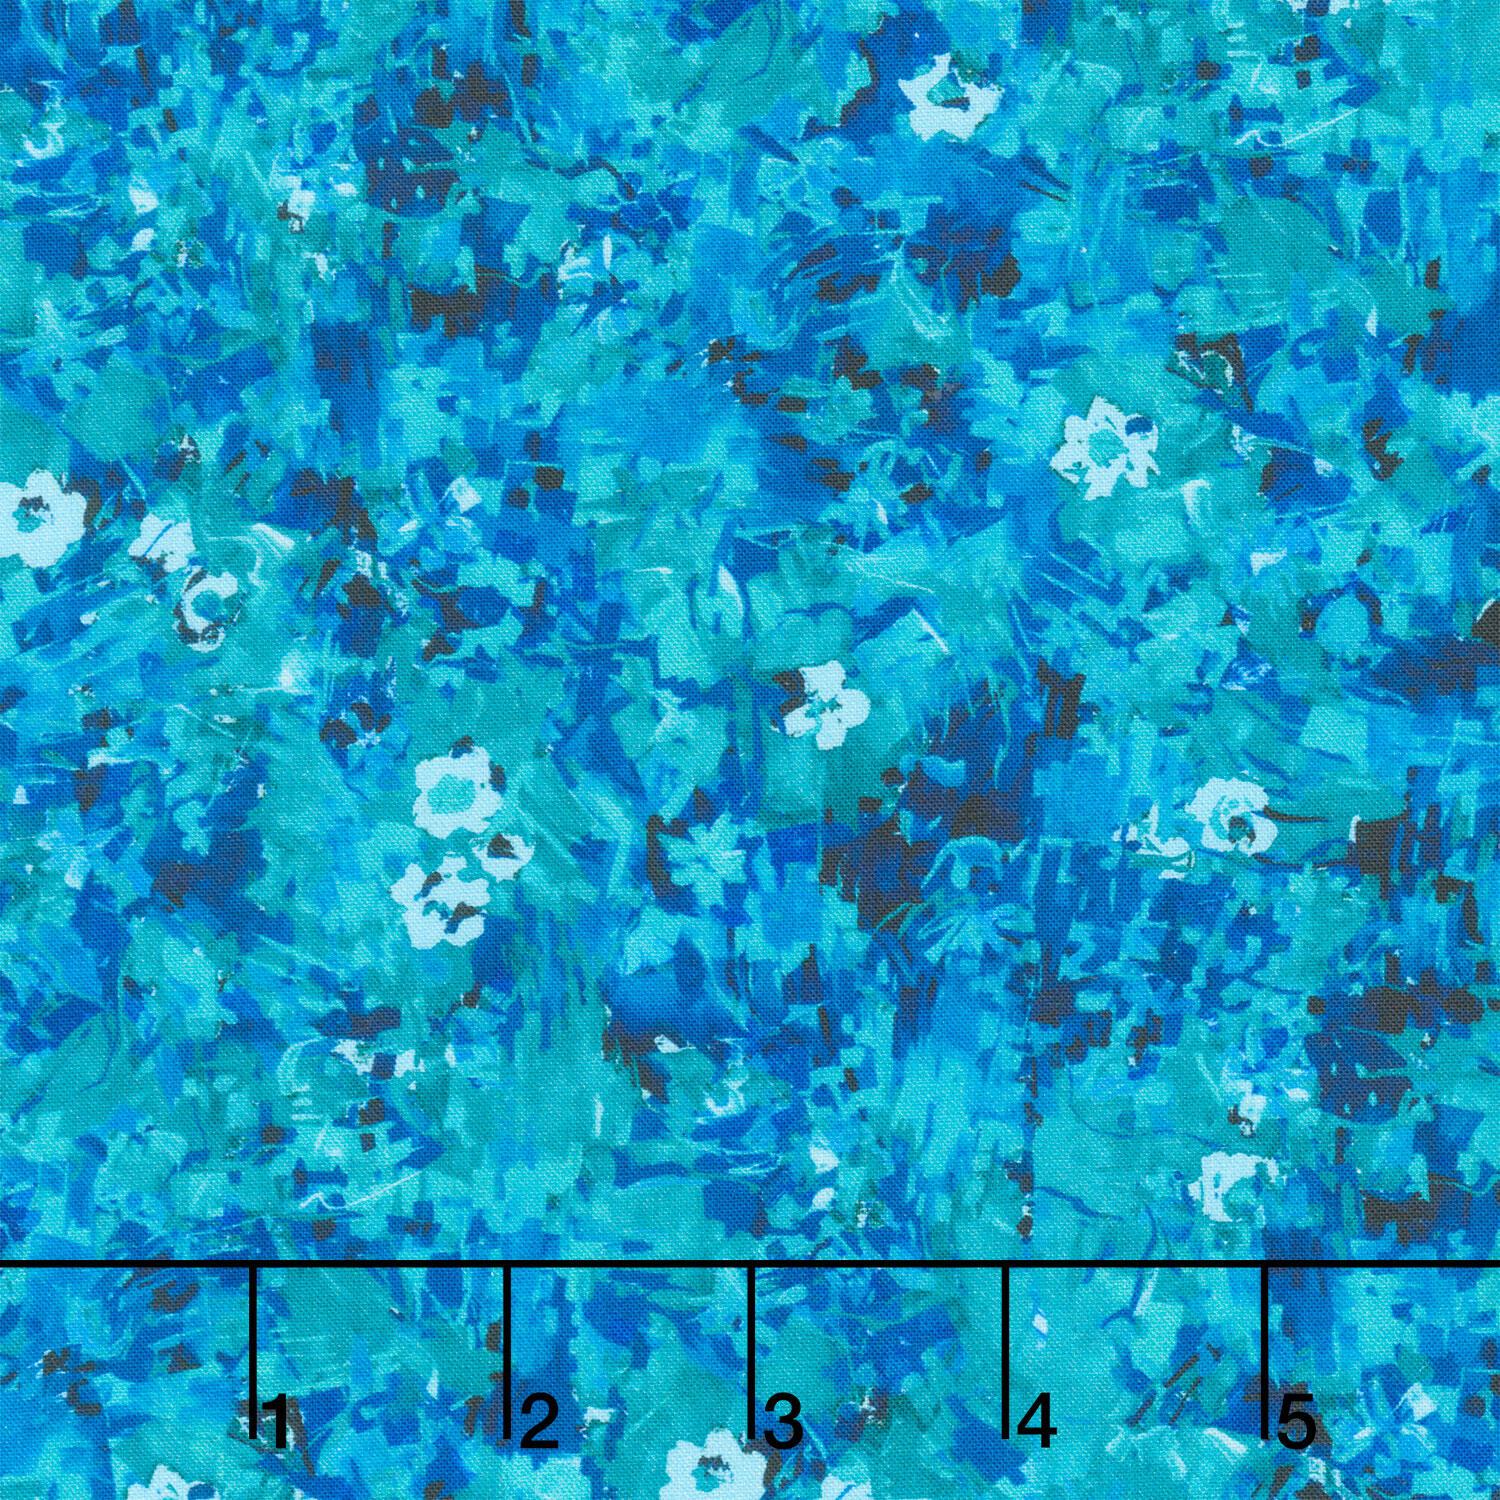 Painterly Petals - Valley Air Brushed Floral Teal Blue Yardage$12.08Shop →
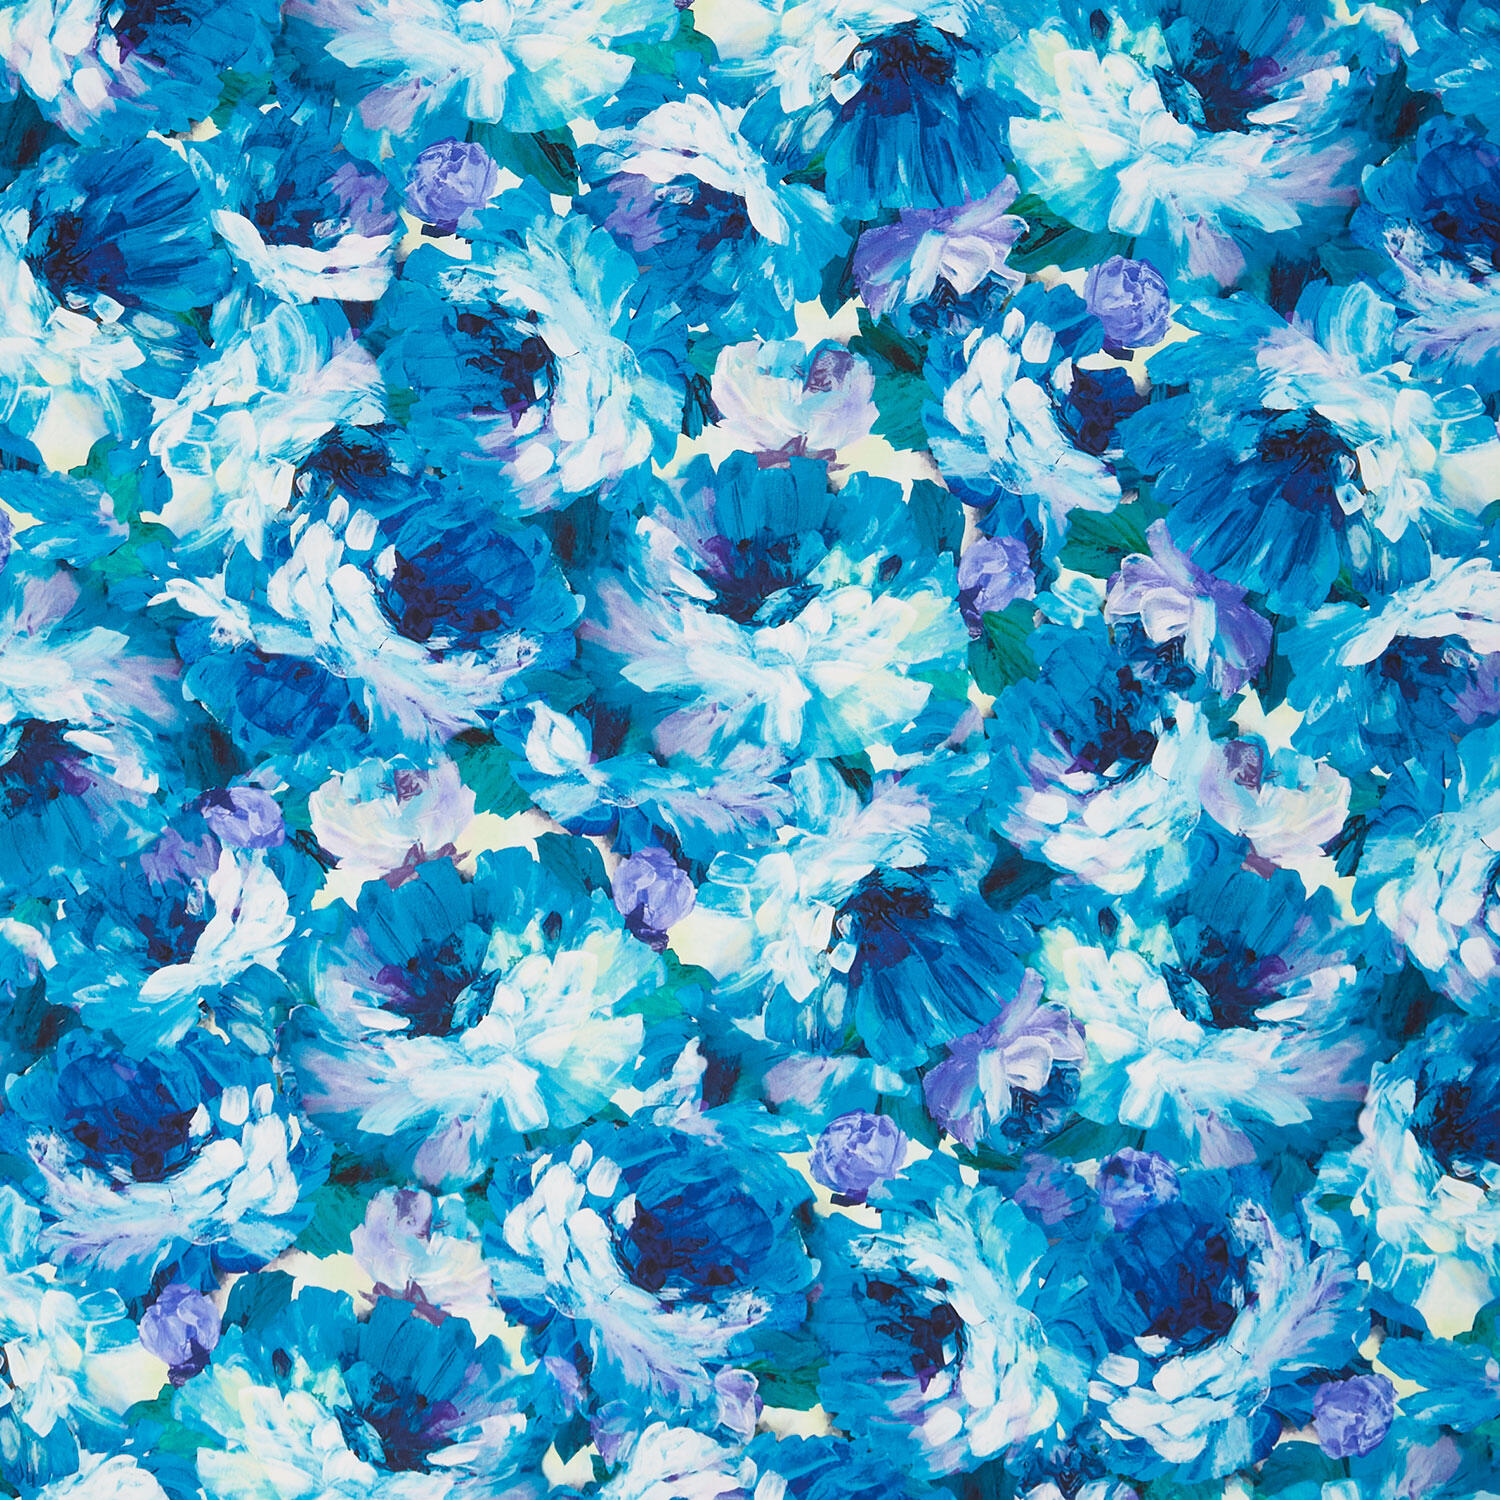 Painterly Petals - Valley Blossom Floral Astral Yardage$12.08Shop →
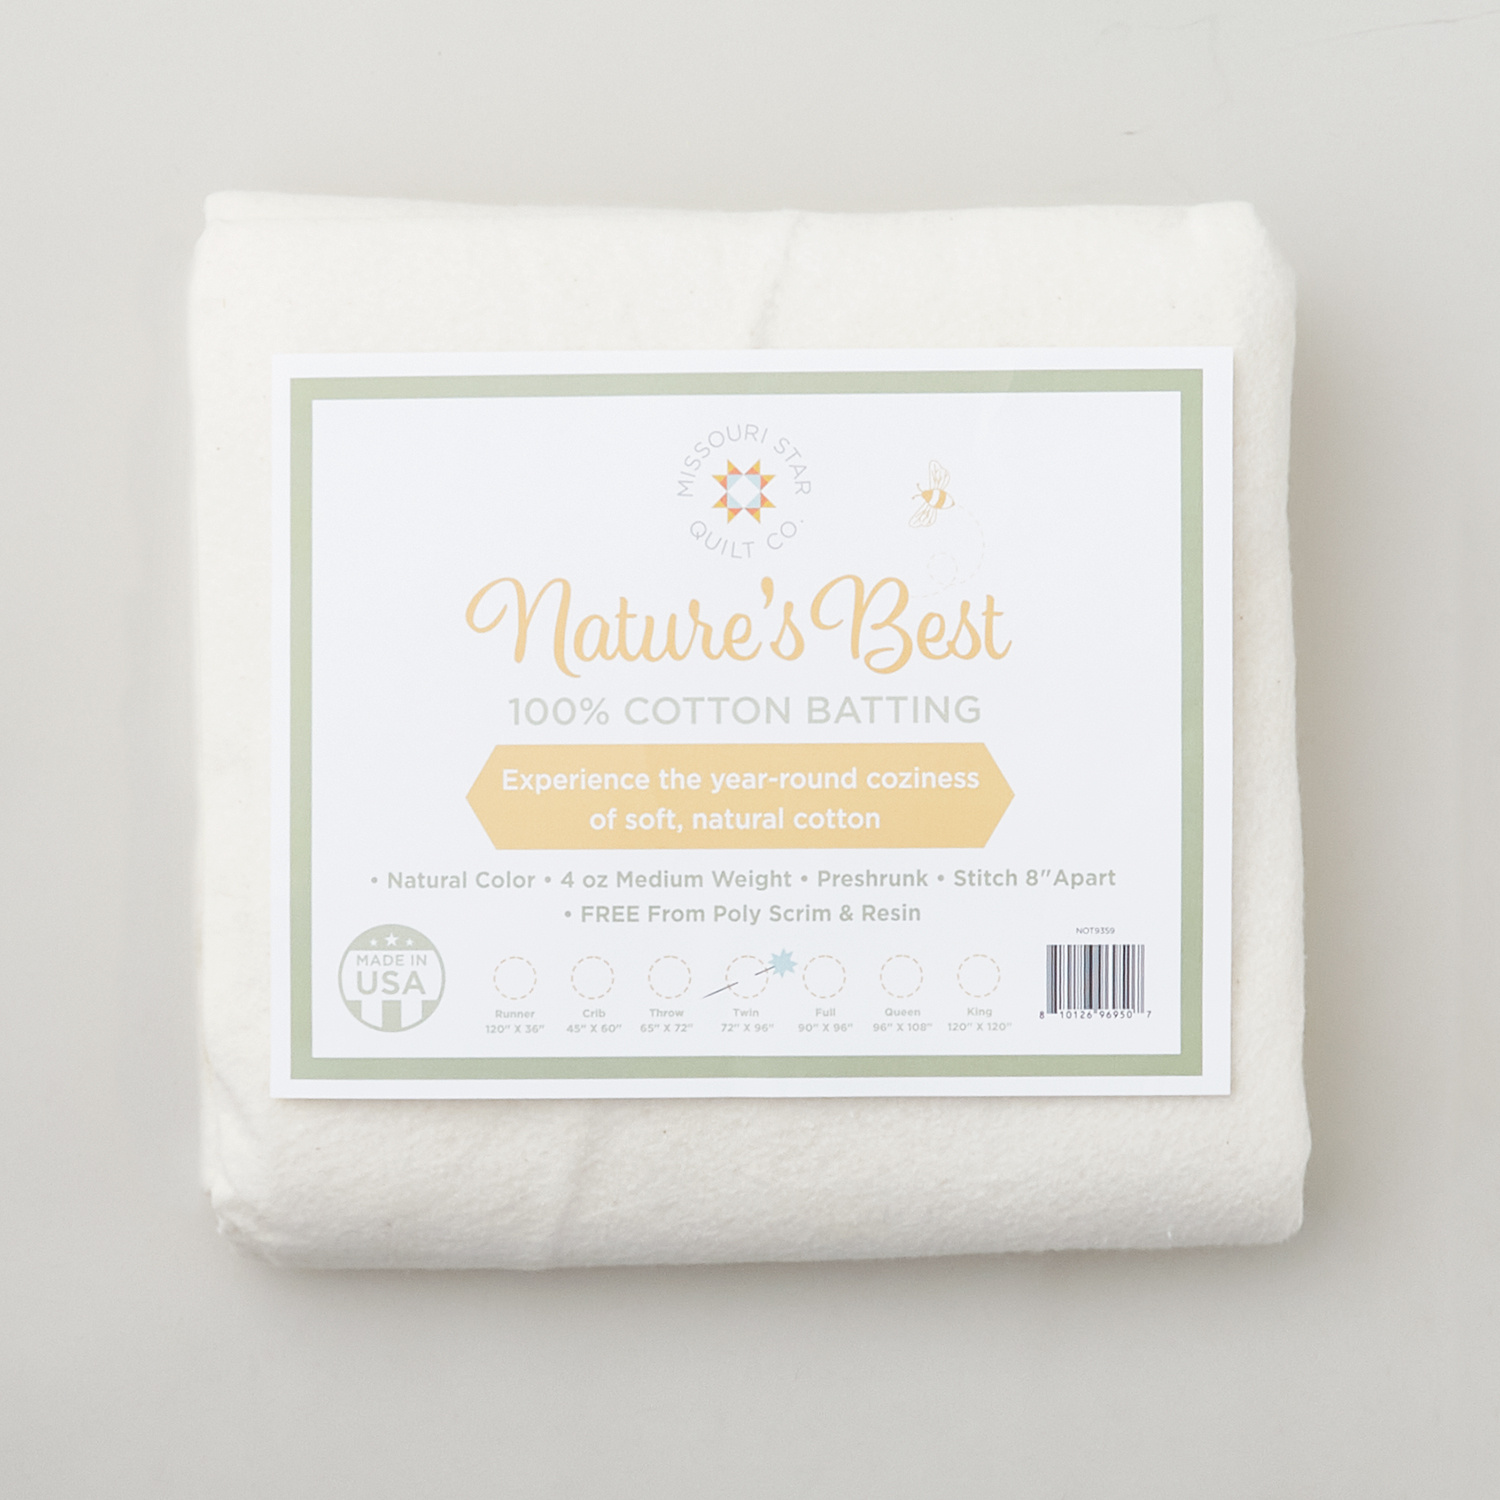 Missouri Star Nature's Best 100% Cotton Twin Batting - Natural$29.95Shop →
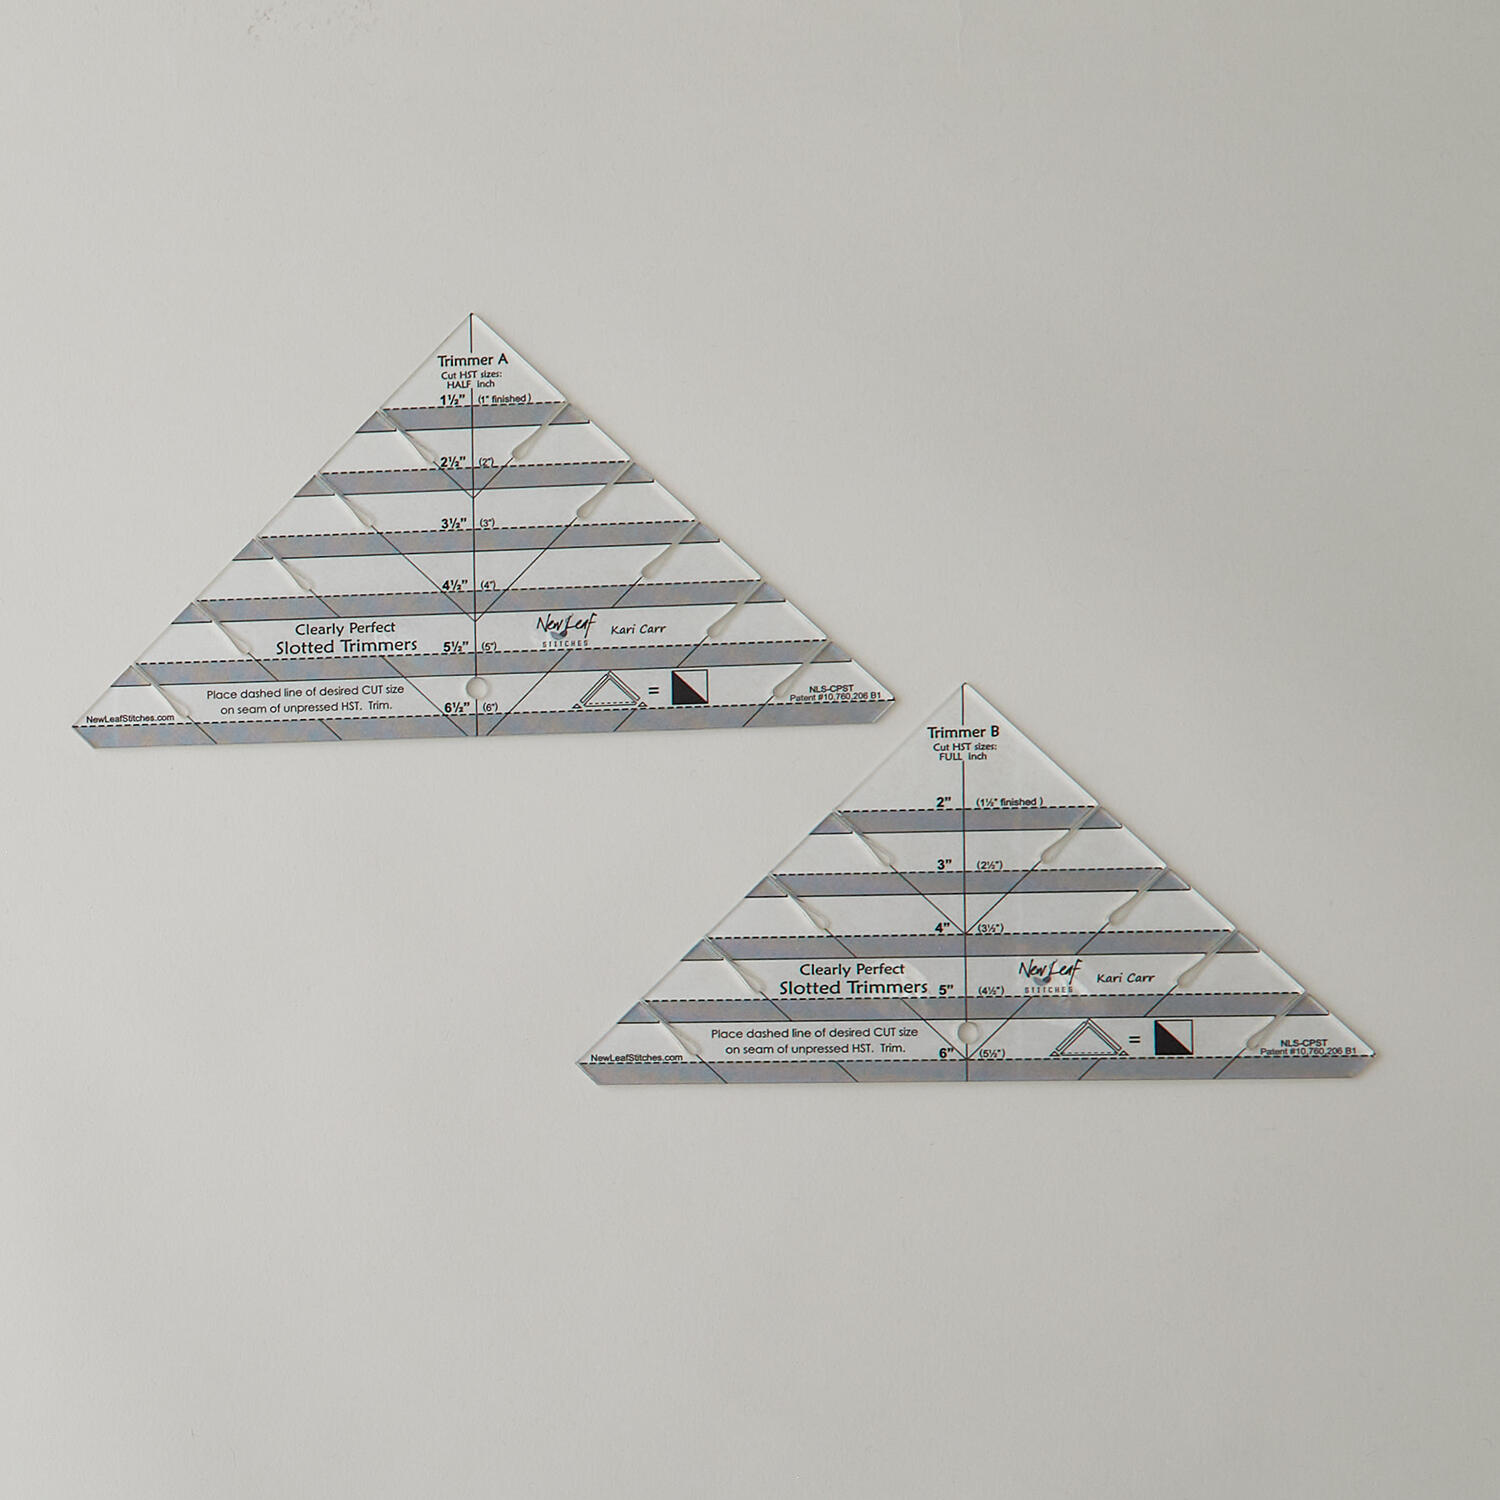 Clearly Perfect Slotted Trimmers$33.95Shop →
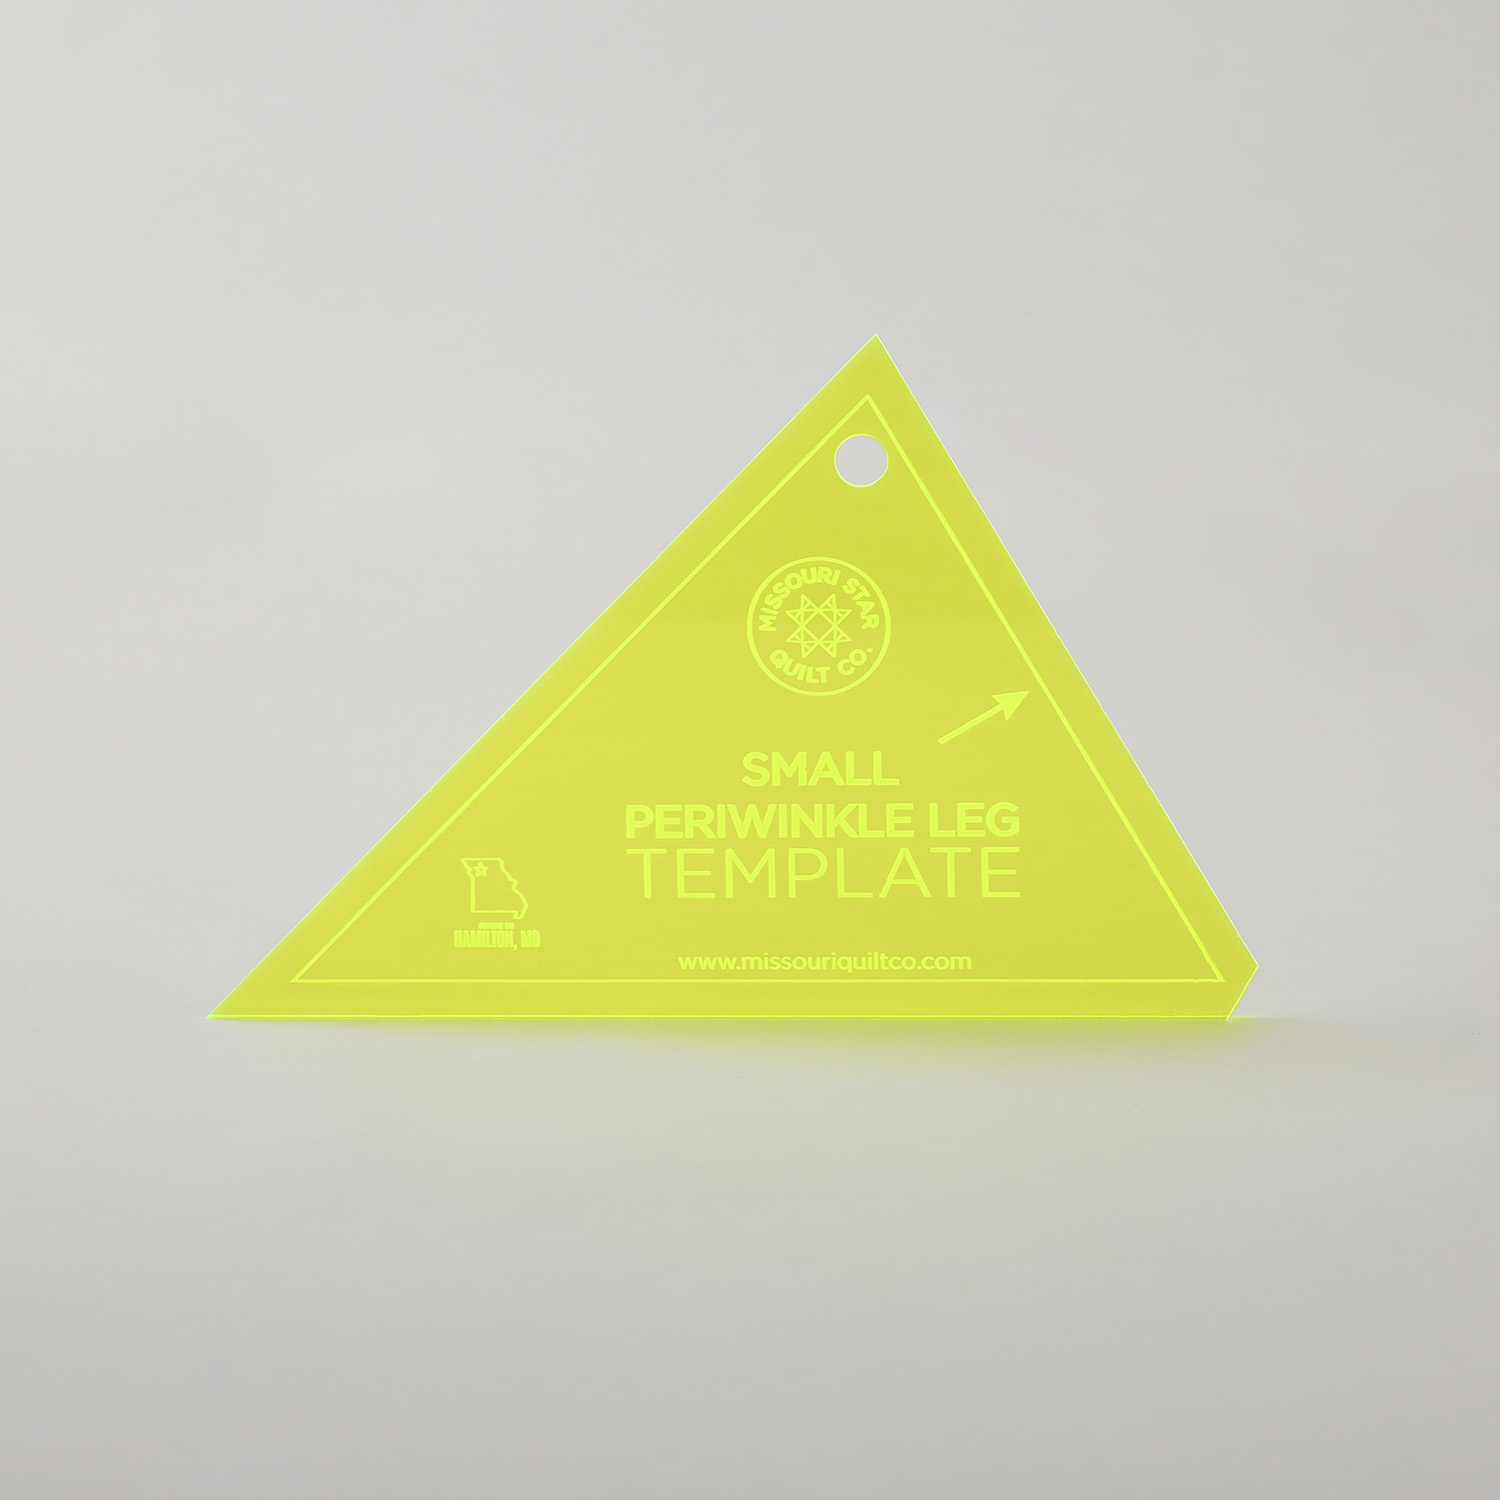 Missouri Star Small Periwinkle Leg Template$7.95Shop →
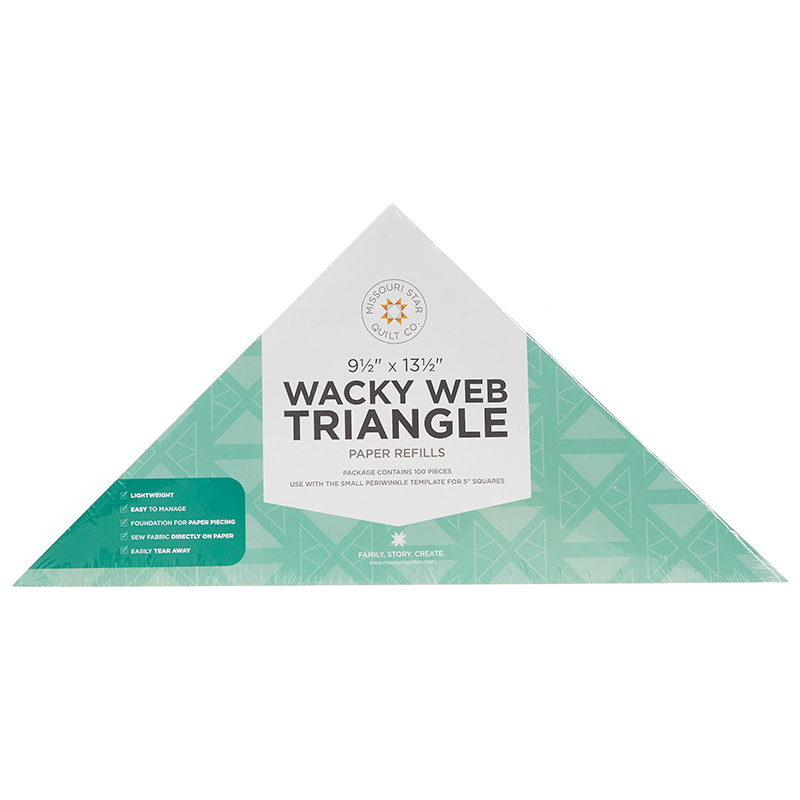 Wacky Web Triangle Paper Refills 9 1/2" x 13 1/2"$12.95Shop →
 Missouri Star 5" x 15" Ruler$19.95Shop →
 Bernette 77 Sewing and Quilting Machine$1699.00Shop →



