

Gideon's Graduation Quilt
 Misty Doan
- Fabric by Yard
- Modern
- Quilts
- Intermediate
- Quilt size 80" × 93"
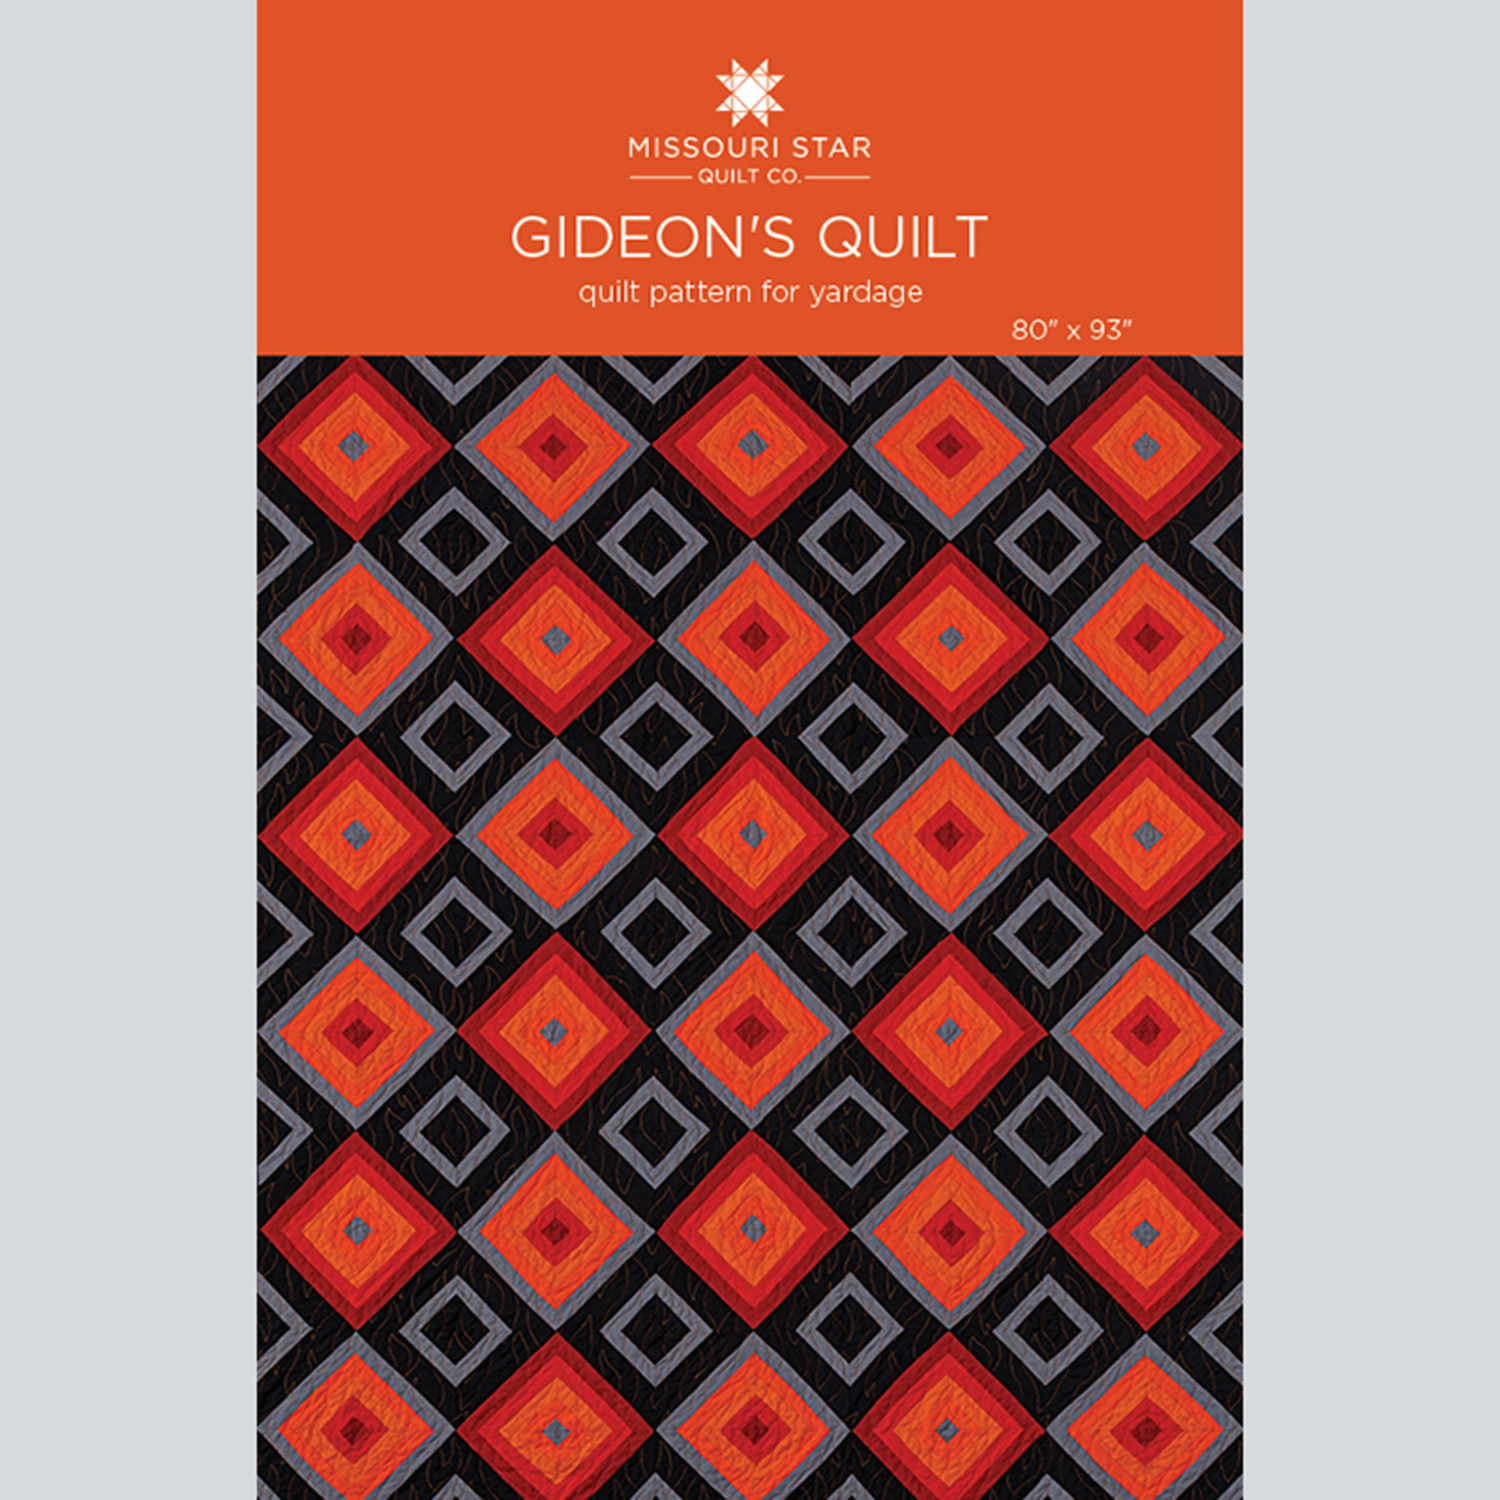
Do you want to make a quilt for a guy in your life? The bold, modern design of Gideon’s Graduation Quilt could be just what you’re looking for! Join Misty as she demonstrates how Kona Cotton Solids come together to create a quilt featuring simple blocks set on-point in a striking diamond pattern.
Instructor
Misty Doan
Misty Doan grew up surrounded by sewing and quilting. She loves spending time sharing tutorials each week each week, and when she’s not stitching up one of her fun sewing projects for home decor, most likely you’ll find her hanging out with her husband and three awesome kids or working on a house project.
Shop this tutorial
 Gideon's Quilt Pattern by Missouri Star$8.50Shop →
 Digital Download - Gideon's Quilt Pattern by Missouri Star$6.95Shop →
 Kona Cotton - Black Yardage$7.48Shop →
 Kona Cotton - Steel Yardage$7.48Shop →
 Kona Cotton - Torch Yardage$7.48Shop →
 Kona Cotton - Orange Yardage$7.48Shop →
 Kona Cotton - Lipstick Yardage$7.48Shop →
 Kona Cotton - Ruby Yardage$7.48Shop →
 Missouri Star Quilter’s Best Blend Queen Batting$37.95Shop →
 Clearly Perfect Slotted Trimmer B2$26.95Shop →
 Missouri Star 45mm Rotary Cutter$19.95Shop →
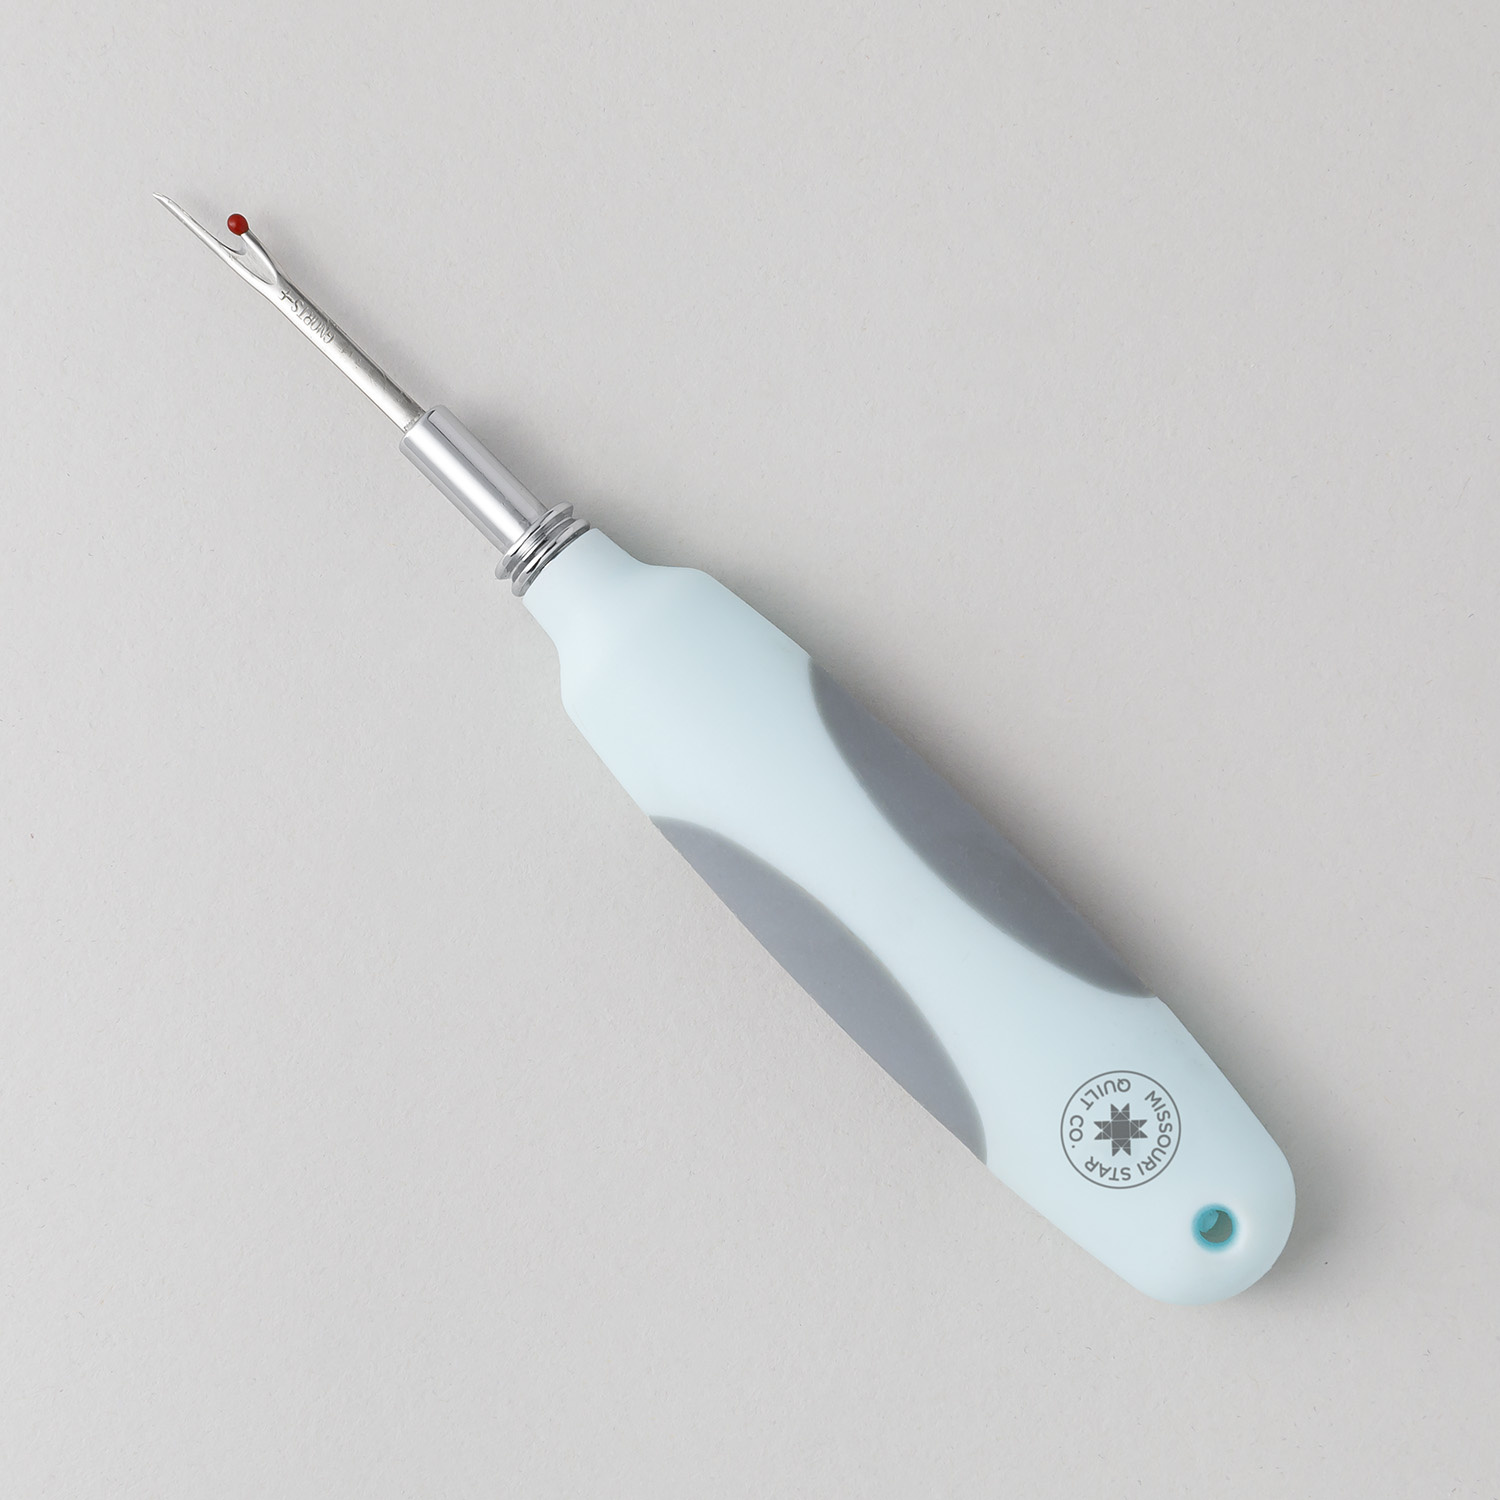 Missouri Star Seam Ripper$9.95Shop →
 Missouri Star 8" Everyday Scissors$19.95Shop →
 Exclusive Missouri Star Jenny TG1600 ProPlus Oliso Smart Iron$199.99Shop →
 Missouri Star Wooly Betty Board - 17.25" x 25.5" Orange Border$99.95Shop →
 Bernette 77 Sewing and Quilting Machine$1499.00Shop →
Common Questions
What is covered in Gideon's Graduation Quilt?
Do you want to make a quilt for a guy in your life? The bold, modern design of Gideon’s Graduation Quilt could be just what you’re looking for! Join Misty as she demonstrates how Kona Cotton Solids come together to create a quilt featuring simple blocks set on-point in a strik...
How long is the tutorial video?
The tutorial video is 00:12:20.
Are supplies listed for this tutorial?
Yes. The tutorial page includes the supplies and materials connected to this project.
Is a transcript available?
Yes. A written transcript is available on the tutorial page.
Video Transcript
Gideon: Hello hello! And we are making my graduation quilt that my grandma made for me.
Misty: Yep. All right Gideon, thank you so much for coming, bud. I really appreciate you being here.
Gideon: Yeah, no problem.
Misty: It's a little different huh?
Gideon: Yeah, yeah than being in the shops that's for sure.
Misty: Exactly, I was going to say tell everybody what you usually do.
Gideon: Yeah, normally I'm in the Main Shop in town and I help cut fabric for all the wonderful ladies that visit us in town and want fabric.
Misty: It's pretty great!
Gideon: Yes it is!
Misty: And so you got to design this quilt right before grandma left for Africa. She worked on this for your high school graduation and why
don't you tell everybody the story, how you got to this beautiful quilt.
Gideon: So in the Main Shop actually there's a quilt of my mom's. And it's got squares that are in a gradient, like the ones I have on mine. And I really like that idea of the colors and like not having too many patterns or crazy stuff going on. And I just wanted to do something like that. So I actually sent the pattern to my grandma, but then she wanted to change it because it wasn't her pattern. So she had to change it up for it to work a little better in her mind. So then we did all the tweaks and changes to make it look similar, but a little easier and more my grandma's style.
Misty: Yeah exactly. And she gave us permission to share it with you guys
today. So we're super excited to teach you how to make it, so let's do that.
Misty: So to make this quilt you are going to need one and ⅛ yard of four different fabrics that's going to be your big, you know, kind of punch of color. And I can just imagine this in so many different colors. I'd love to see it in red, white, and blue shades. I think it would be beautiful. You're also going to need 1 ¾ yards of accent fabric (that's the gray in this case). And then 2 ¾ yards of your background fabric - we use black. And that includes that first little inner border. And so let me show you how to make that.
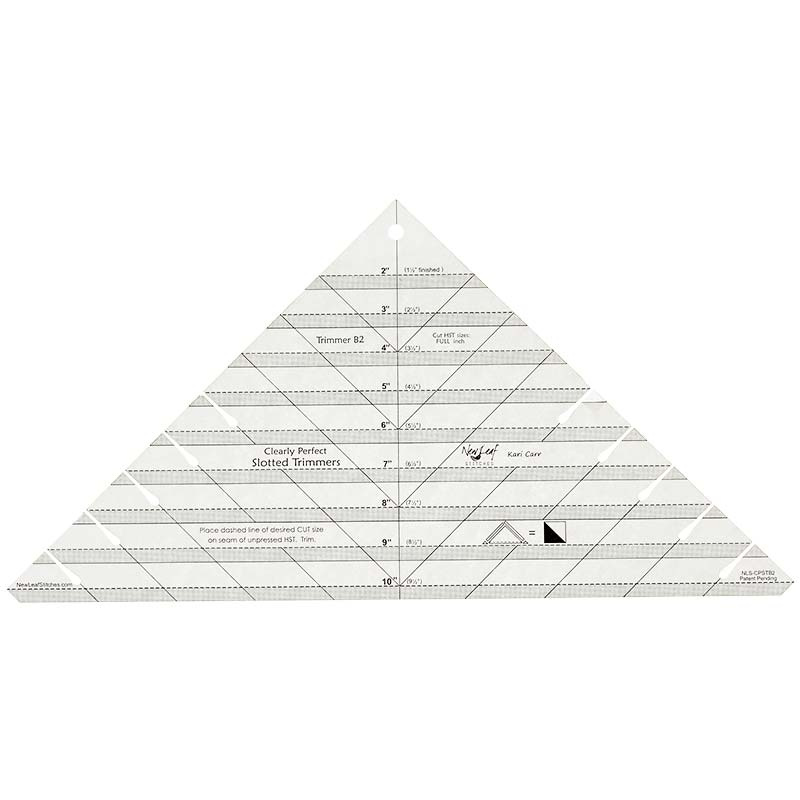
Misty: The other thing that's going to be super helpful is this Clearly Perfect Slotted Trimmer B2. That's the larger size, so let's go ahead and get started. So up first, this quilt is all based on strip sets. So Gideon, do you want to tell how you came up with your colors or all of that?
Gideon: So yeah. I wanted orange in my quilt, because I don't really see a lot of quilts working in the shops that have orange. And orange is my favorite color. So I was like what the heck is going on here,
Misty: You needed more orange in your life.
Gideon: I needed more orange quilts, yes. So I went to Grandma and I
I told her that was the first thing, is that I wanted orange in my quilt. And that I kind of wanted like a color gradient, because I also really liked
those and there was a line of fabric that I was helping put away at one time that had a gradient that went from red to orange as well. So I kind of took inspiration from that as well and kind of did that and then and picked these shades. I actually went to the Penney’s store and just picked them out right there. And it was really easy.
Misty: Perfect! So we have we have our gradient shades, like Gideon
Said. And we've cut all of these into 1 ½ inch strips. And so you're just going to sew those right together and make a big strip set just like this and so that's what that looks like when you have all these sewn together. And so this is the first half of our blocks. So let's set these aside.
And then the other half is made up with our 2 ½ inch black strips and another 1 ½ inch gray. So just like so. And so same thing - we sew those into a big strip set and now we need to put them together, because we're actually going to make a tube. So pretty fun! Do you want to sew this Gid?
You don't have to.
Gideon: I'll let you do it.
Misty: Okay, okay. All right, so we're going to put these right sides together, make sure they're lined up… and I'm just going to take my time here at the machine and go all the way down one side and back up the other. So let's go ahead and do that. So we're just sewing with a quarter inch seam.
So Gid, have you had any projects while working in the shop that are like
your absolute favorite that you've helped someone with?
Gideon: Oh my goodness. There's so many different projects. There's actually this lady that I helped very recently and she actually had the
same last name as me. Or not last name - my first name was her last name. So really I think her name, it was something Gideon. I thought that was interesting. Cuz I went into the shop, I was covering lunches and I was helping people, and then I saw she had a bag on our one of our cutting tables and I saw it was S. Gideon and I was like oh my goodness did someone get me something? Cuz I'm not used to seeing my name in a lot of other places. And the lady was actually making a wedding quilt, well not a wedding ring, it was, she was just a quilt for a wedding. And she was making the quilt. And as she was putting it together she said she had designed the pattern herself and was like designing it herself and she just had a few scraps that she found that she knew that person would like and she needed to get some fabric that was matching. And we had a whole conversation and it was great. I never got to see any of it, cuz she hadn't quite gotten to work on it yet she was still just in the prepping phase, but yeah.
Misty: That's really cool! How fun that she had your first name for her last name.
Gideon: Yeah I thought that was real interesting. I was like that's surprising.
Misty: Yeah probably pretty rare. Is there anything that you think people would be surprised to learn about working in the shops?
Gideon: I don't know. I feel like it's pretty straightforward. There's a lot more heavy lifting in a fabric store than you would think, cuz all that fabric once it gets wrapped onto those bolts it gets pretty heavy. It's a little harder to carry than you think. So I get to use my muscles there a little it's always nice.
Misty: That's good. All right, there we go. We have our tube made. So it's all enclosed. And now we get to use our ruler. Where'd that go bud? Did you set it down over there?
Gideon: Right here.
Misty: Okay, perfect. And so then what we're going to do, is we are going to line up our one of our seam lines with the 7 inch line of this ruler, just like so. I better make sure that my fabric is going to cover all the way to the edge. It is okay. So you ready? We make this first cut, feels scary, there we go. And then cut and there's our first part of our block - isn't that so fun? And we're just going to keep going back and forth. Do you want to finish cutting?
Gideon: Yeah sure, okay.
Misty: So then line that up on the seven… he's gotten pretty good at cutting because he works in the shop so he cuts fabric all the time. Very good. And so we will just keep making our way across here and we'll meet you back here as soon as we're done.
Misty: Okay so I've pressed a couple of these, and I just want to show you that. Because of this method, you're actually getting two different styles. So one you got the little gray in the point there, and one you have the red. And so I'm going to go press these as he finishes cutting. But the entire quilt, the middle of the quilt is made up of just these strip sets, that's all it takes. Pretty quick and easy. There we go, trying to keep them sorted. Beautiful!
All right, so that's what you can get. You should get seven of these blocks from each strip set so you'll want to pay attention to that. And pay attention in the pattern because it kind of tells you which way you want to start your cuts, so that you get the right number of each from your strip sets. But let's go ahead and lay these out.
So our first block is going to have those red points to the center just like so. And that turns out so awesome. And you just sew it together like a four patch - here's that finished block when it comes together and you'll
see it's right up here in the quilt. Right Bud?
Gideon: Yep.
Misty: This quilt is giant. It just fits in, just like so. And then because we
started with our you know template turn so that we get more of these on our cuts. We only have three of these but you get the idea - this one comes together with the gray in the middle. And so then it just alternates between those two blocks. So here's this one, then this one, and we just swap every other block as we go and that's really it. That's this whole quilt! Pretty cool huh?
Gideon: Yeah pretty awesome!
Misty: But Grandma did a couple things to make it extra cool right? She added the piano border. And so there's no sashing. The blocks are just
put straight together. We have that first inner border that's just a 2 ½ inch
strip. So then we've got that piano key border, and those are just your 1 ½ inch strips, you know sewn together in a strip set and then cut into 6 inch segments to make that border. So it goes together pretty quick. And Bud what size does this end up?
Gideon: It ends up at 80 by 93 inches.
Misty: So it's great size quilt, perfect for you to snuggle up with. And
then let's one last thing talk about this quilt pattern, cuz he picked Flames
which I think is appropriate for the quilt, don't you?
Gideon: Yeah, so I ended up picking Flames because it kind of matches the orange vibe. And then also I was kind of worried that people would see it and think it's Halloweeny, so I was thinking maybe fire it would make it
almost, I don't know, make it just more orange and look like it's just a regular quilt.
Misty: Almost. And you were brave - you used that orange thread which
I think is really fun. It pops against that black background and I just
really love how it turned out.
Gideon: Me too!
Misty: So anyway he does he sleeps with it every night. It's on his bed and he absolutely loves it. So thank you to Grandma, right?
Gideon: Yes thank you Grandma! Love Grandma!
Misty: She's the best. And thank you for allowing us to share it with all of you. I hope you guys enjoyed this tutorial and I'll see you next time!


