

Grand Adventures Reversible Bed Runner
Join Misty on a grand adventure to making a stylish bed runner! If you love chevron, Robert Kaufman fabrics, and/or modern styles, this is definitely a tutorial you don't want to miss.

Instructor
Misty Doan
Misty Doan grew up surrounded by sewing and quilting. She loves spending time sharing tutorials each week each week, and when she’s not stitching up one of her fun sewing projects for home decor, most likely you’ll find her hanging out with her husband and three awesome kids or working on a house project.
Shop this tutorial
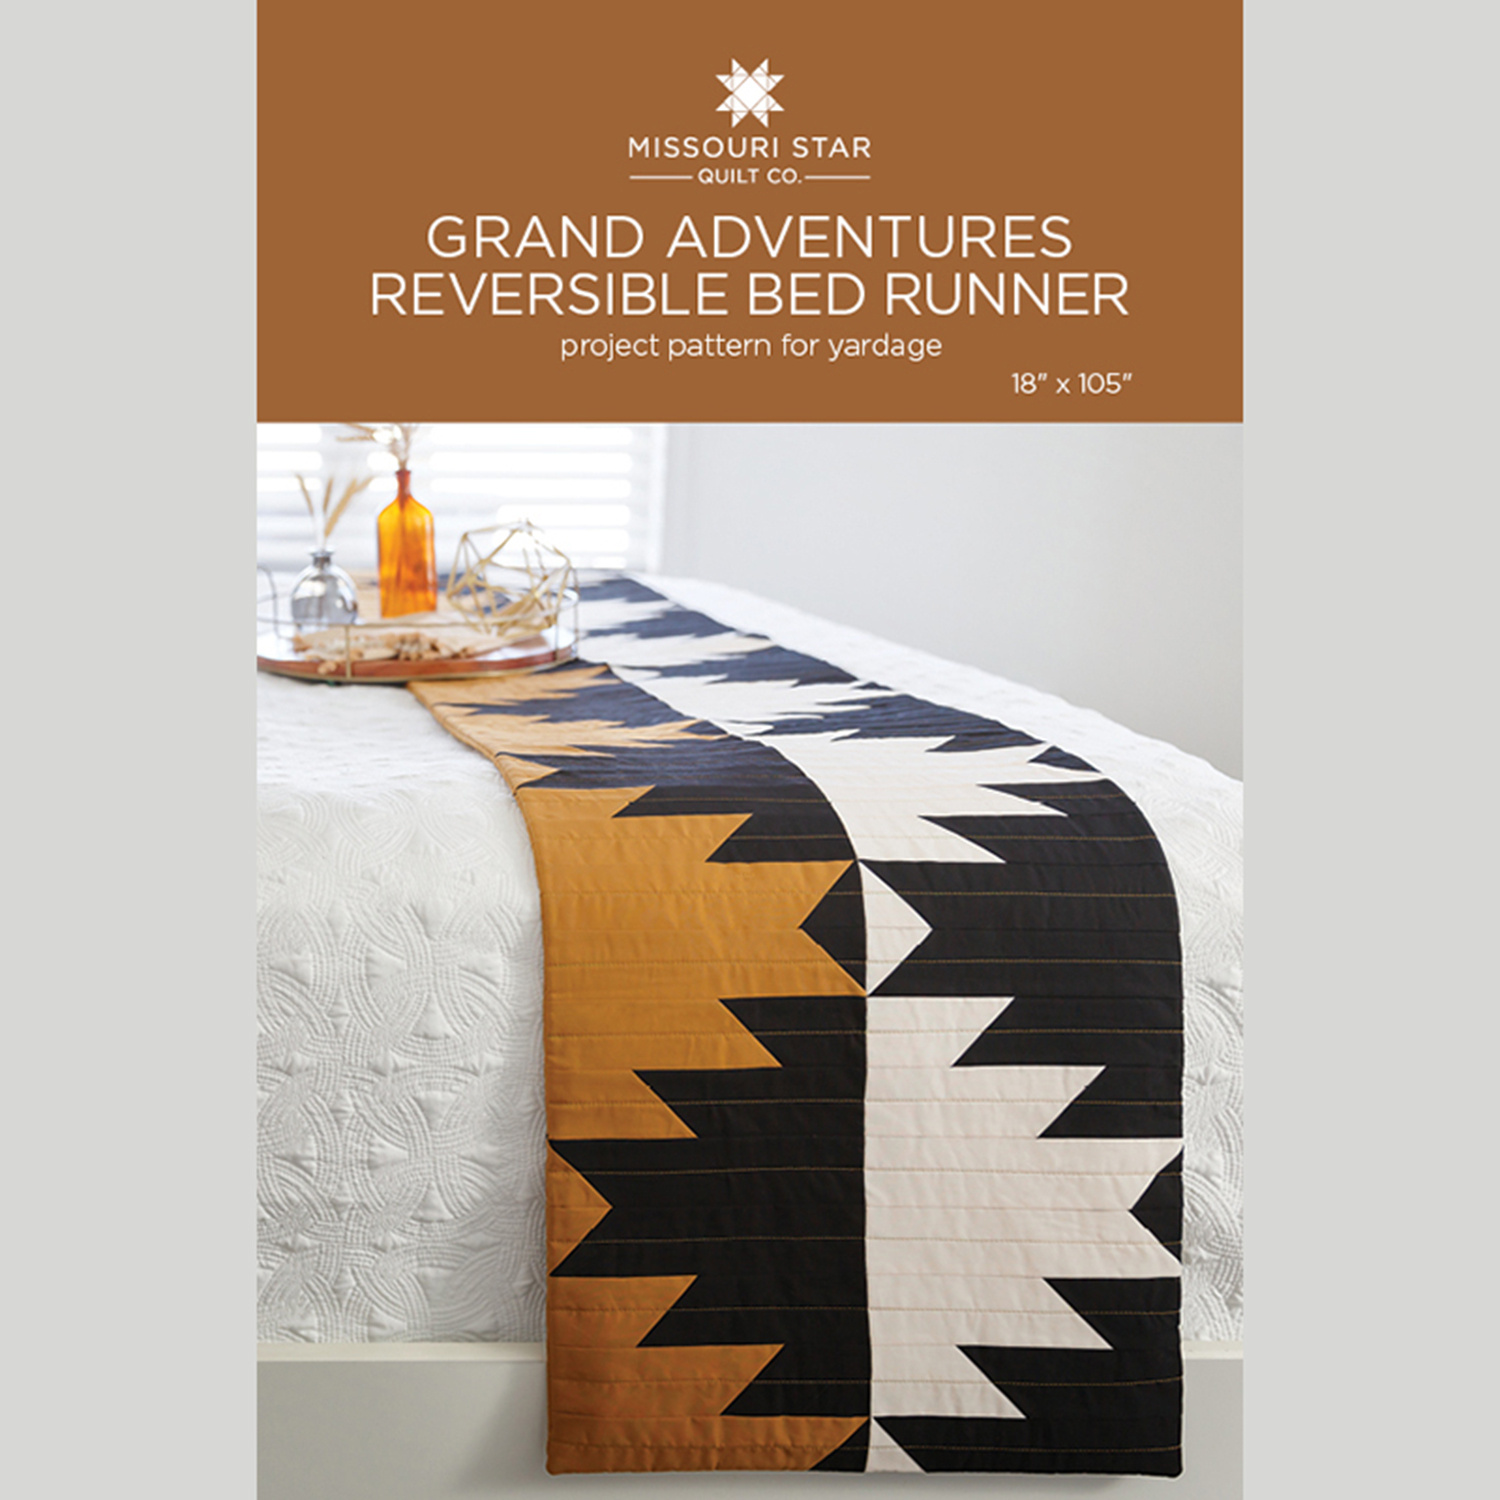 Grand Adventures Reversible Bed Runner Pattern by Missouri Star$8.50Shop →
 Digital Download - Grand Adventures Reversible Bed Runner Pattern by Missouri Star$6.95Shop →
 Kona Cotton - Black Yardage$7.48Shop →
 Kona Cotton - Ivory Yardage$7.48Shop →
 Kona Cotton - Leather Yardage$7.48Shop →
 Pellon One-Sided Fusible Fleece White Yardage$9.95Shop →
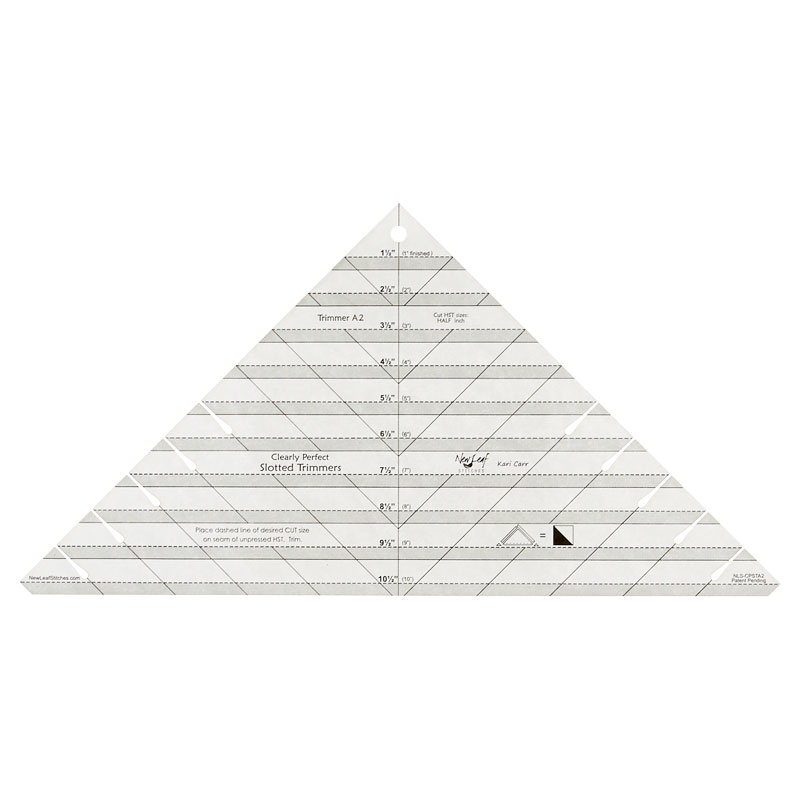 Clearly Perfect Slotted Trimmer A2$26.95Shop →
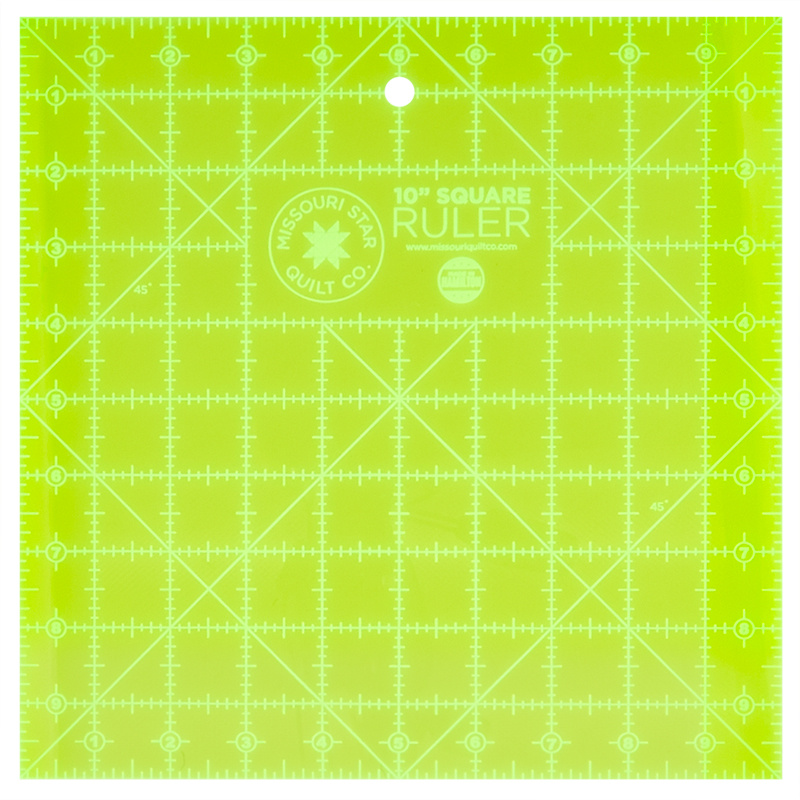 Missouri Star 10" x 10" Square Ruler$19.95Shop →
 Missouri Star 45mm Rotary Cutter$19.95Shop →
 Missouri Star 50 WT Cotton Thread White$7.95Shop →
 Exclusive Missouri Star Jenny TG1600 ProPlus Oliso Smart Iron$199.99Shop →
 Missouri Star Wooly Betty Board - 17.25" x 25.5" Orange Border$99.95Shop →
 Bernette 77 Sewing and Quilting Machine$1499.00Shop →
Common Questions
What is covered in Grand Adventures Reversible Bed Runner?
Join Misty on a grand adventure to making a stylish bed runner! If you love chevron, Robert Kaufman fabrics, and/or modern styles, this is definitely a tutorial you don't want to miss.
How long is the tutorial video?
The tutorial video is 00:12:22.
Are supplies listed for this tutorial?
Yes. The tutorial page includes the supplies and materials connected to this project.
Is a transcript available?
Yes. A written transcript is available on the tutorial page.
Video Transcript
I absolutely love this project. It's so quick and easy and you're going to be
using the exact same blocks to get both of these. It's just a difference in
layout, which you know it's just the best right? Just a little surprise.
So to make this you're going to need two and 1/4 yards of the black fabric and one and a half of the other two accent fabrics. You choose, but I do want to say that this entire thing is pre-cut friendly, so if you have some layer cake squares laying around it would be great to pull those out of your stash, because it will work for this pattern. So let's go ahead and dive into how we make this.
I'm just going to move this out of the way a little bit. So you're going to take your yardage and you're going to sub-cut all of that into 10 inch squares. So that's step one. That's the majority of our cutting. Then we are going to pair up a black 10 inch square with both a brown. So you have one set that's black and brown and a white and then now we're going to draw a line corner to corner, just like so. And I always like to mark on the lighter fabric so it's easy to see. All right, that is good to go. So now we can take this to the machine and we're going to sew a quarter inch seam on either side of that line that we drew.
So let's go ahead and do that. We’ve gone down that first side. I'm just going to flip this around and go back down the other. I'm going to repeat the same thing on my other square and I'll meet you back here when it's all done. All right I have both of these sewn on both sides of that line that we drew. So now we can take our ruler and we can cut these in half. So we will be cutting right on that line that we drew at the beginning. There we go, didn't get all the way through the bottom here, and this one. Perfect. And so this gives us two half square triangles of both of the colors. So let's go ahead and press these to the dark side.
So we'll take them over here. And I like to just hold the darker fabric up and roll it back. There's one, here's our black and white squares, all right. Now that those are all pressed, we can make sure that these are nice and square. They should measure 9 ½, so let's go ahead and check with our
ruler and make sure we don't need to do any squaring. And if we do it'll just be very minimal. It looks like I can just shave a little bit off of this corner. So I'm just looking at the 9 and a half line here, and then you also want to make sure that the 45 is lined up with your seam. Let's go ahead and just shave this tiny bit off. You can see it's not much at all. There's one. We'll just go ahead and trim this whole stack so they're squared up to 9 ½”.
All right, here's our final cut. We have squared all of our half square triangles down to 9 ½”. And I can't remember if I mentioned, but you're
going to make seven of these sets for each side of your runner. So 14 total
of your brown and black and your white and black. And so just make sure you do that.
Then now that we have these, we get to the kind of magic of this pattern. So what we need to do since we have a 9 and 1/2 in square we need to divide this by four. And so this is a little bit different math and so that actually measures 2 ⅜”. So I wanted to show you on my ruler I went ahead and measured over and I used some washi tape to mark that 2 ⅜” line because I just know me, and I know my brain. I'll get started cutting and I'll end up cutting it at two and a half. So this is just a great tip if you have this lying around, you could use masking tape or even your diagonal seam tape on here, if you don't have washi tape.
So that's at 2 ⅜” and so then we're going to take our half square triangles and we want to make sure that they're lined up opposite. So you can see this one's running this way, this one's running this way. That is the trick - it's very, very, very important that you cut half one direction and half the other. So let's go ahead and start with this one. We'll just lay this on the mat nice and straight, and then I can lay my edge of the ruler right on that 2 ⅜” and we're just going to cut all the way across here. So there's one, move that aside, kind of tricky to see with that black fabric. So I'm just double checking, two and one more cut here. There we go. Now let's go ahead and continue on our other one. All right, there we go. Our cutting is done.
So now we just need to flip these around just like so and you can see our pattern is starting to take shape. So we'll do the same thing on this side. And now we're just going to sew these together one after the other. Just
make sure that they're staying in order. So I'm just going to slide this one
close to my machine and I'll add one after the other, after the other. Just
simple quarter inch seams down the length, and you know you've got it right if your strips are the same width when you stack them up which they should be. We've done the math for you! Here that's why it's so helpful to
square it to exactly that 9 ½” at the beginning.
All right, open it up. I'm going to go ahead and press it back since I have my iron right here, just to make it easier on myself. Now we'll just double check - this is the next one. I'm going to flip it around. This is so simple because you don't really have any seams to nest or anything to worry about. We're just sewing these straight seams. Take a few stitches, line it up at the end and cruise all the way down. Okay I'm going to add this last one and I'll meet you back here when it's all finished.
I've sewn my whites and my brown sets. So now let's talk about laying this out. So for the white, we are going to put our two opposites together so that the white meets in the middle, just like so. And then you'll sew those two together to create this rectangle block unit. That's what you're looking
for. And then for the brown sets, we are actually going to have the black meet together in the middle and sew those together. So here are our two block units. Then let me show you all we did to create the two sides of this runner.
So for this front side like you see here, all we're going to do is flip over this
white and this is how you create that chevron shape, one after the other, after the other. So simple! And then on the opposite side here, you'll see we're just going to slide the white down. And the brown comes around to the top. And so we're just putting the black and white and matching. And this runs the full length and there's seven of these sets, whichever where you put it on the front and the back.
And so then let me tell you a little bit about how I chose to finish this. So I made my big long strips of all of my sets together. So I went ahead and pressed this onto my fusible fleece, both the front and the back separately, no backing behind it. They're just fused to that fleece. Then I marked in the middle of each of these channels and just did some simple straight line quilting of both the front and the back separately. So this was not quilted at the same time. So then I just found that to be the easiest way to get this pattern to be reversible. So we quilted both sections, put them right sides together, left an opening, stitched all the way around that outside edge, and just did a turn and flip and it finished beautifully.
There's an alternative in the pattern - if you'd like you could baste the front and the back together at that point and then just bind it as you would traditionally. You'd need an extra ¾ of a yard for your binding. Really whichever way you prefer, it's going to be an absolutely beautiful finish.
I just love how this turned out! I think it adds a really great pop to the room and I like that I have two options in one. So I hope you enjoyed this! I can't wait to see your version. I'll see you next time on At Home.


