The Grand Square Dash Quilt Pattern is a modern design that alternates classic churn dash blocks with corner-framed octagons, creating a bold, graphic layout. In this easy video tutorial, Natalie shows you how to make it using the vibrant Floral Reef collection from Tula Pink for FreeSpirit Fabrics, balanced beautifully against a soft yellow background that lets every print shine.
Natalie is the host of Quilting 101, Embroidery 101 and the Creative Strategist and Editor of Block Magazine at Missouri Star Quilt Company. She was taught how to sew by her mom, of course, and began quilting when she grew up.
The Grand Square Dash Quilt Pattern is a modern design that alternates classic churn dash blocks with corner-framed octagons, creating a bold, graphic layout. In this easy video tutorial, Natalie shows you how to make it using the vibrant Floral Reef collection from Tula Pink...
How long is the tutorial video?
The tutorial video is 00:14:04.
Are supplies listed for this tutorial?
Yes. The tutorial page includes the supplies and materials connected to this project.
Video Transcript
Hi everybody. I'm Natalie with Missouri Star Quilt Company and today I have a great quilt to teach you. It's called Grand Square Dash and I think you're going to love it. All right, so if you'll take a look at this quilt with me, I've gone ahead and combined two great blocks. This is the grand square block and this is the churn dash block. And I just love how they come together and create these cool little secondary patterns when all of their pieces connect. I added a fun background color which is it's called lemonrop and it's just kind of citrusy and beautiful and uh it's going to be a lot easier to make than you think. So, let's get into it. To make this quilt, you're going to need one package of 10-in print squares. And I've used floral wreath by Tula Pink for Free Spirit Fabrics. You're going to need about four yards of your background fabric. That includes your inner border. For your outer border, you'll need a yard and a third. For your backing, if you're using regular yardage, you'll need 7 and 3/4 yards. or if you use a 108, you'll need two and 5/8. And this is a 108. Um, Tula Pink does beautiful wide backs. I just love them. Some other things that you'll need is a squaring tool. And today I'm going to use the Clearly Perfect Trimmer A and a pencil for marking lines, but that's about it. So, let's get going. All right. So, as I was saying before, this quilt is made up using two blocks. We've got our churn dash block and we have our grand square block. So, we're going to start by making the grand square. It's pretty easy. I think you'll enjoy it. So, the first thing we're going to do is grab one of our 10-in print squares and we're going to pull that down. The next thing we'll do is cut our background. Now, for our background, I'm just going to tell you all the sizes we need for the whole quilt. So, you're going to need 1 and 1/2 in squares. You'll need some 2 and 1/2 in squares. You will need some 2 and 1/2x 4 and 1/2 in rectangles, a few 4 and 1/2 in squares, and a few 5 in squares. So, once you've got your background cut, just keep these stacks nearby and we'll grab from them as we go. All right. So, I'm going to put these over here and then we will get into cutting our 10in square. So, this square is going to be each of the cuts that we make are going to be used in various pieces. you'll mix and match to get that scrappier look. So, we will cut these and set them into piles so that we're ready to go. So, the first thing we're going to do here is cut four 4 and 1/2 in rectangles. 4 and 1/2 by 2 and 1/2. And we will set those aside. There we go. I need the cutter, not the pencil. Not yet. All right. So, then we'll turn that and subcut 2 and 1/2 by 4 and 1/2. And I like to use my ruler when cutting because it gives me a more precise measurement on my fabric. All right. One, two, three, and that should be four by 2 and 1/2. Perfect. So, we'll stack these up. Next, we're going to cut um some 2 and 1/2 in squares. So, we'll get these cut and I'm going to stack those uh once I cut these little rectangles. Okay. So, we need four 2 and 1/2 in squares. And for these ones, these are going to make these corner blocks. So, I like to keep those fabrics together because they match. And I want that piece to kind of look like a continuous piece. So those will set there. And then this piece is our four and a half inch middle. And these ones I mix and match in the quilt. So I use a different middle fabric for each grand square block. So you'll cut your however many you want to cut to get started. And then um go ahead and mix and match these centers. But that is the cutting for grand square. All right. So, I have another 4 and 1/2 in middle that I'm going to swap it out and use that one in a different block. And the first thing we're going to do is snowball this little center square with our 1 and 1/2 in squares. And I know one and a half seems kind of tiny, but it does make that sort of look like a little bubble or a ball in the quilt. And I think it's super fun. So, we're just going to put this right up here on the corner. We're going to sew from corner to corner. So, if you need to draw the line, you can. If you're comfortable with eyeballing it, that's good, too. Or if you have seam tape. But we are just sewing corner to corner. And we're basically taking off that pointy corner to make it appear more rounded. That is the definition of snowball. I get a lot of people saying, "What does snowball even mean?" And that's it. It's just curving out the corner. All right. All right. So, I'm going to take this to the sewing machine. We'll stitch down all four corners at and then we will trim and press and this part will be done. And I just keep my thread connected and go from corner to corner. With a square this small, it's pretty quick to do it this way. One more. All right. Now, I find with things that are this small that it's pretty easy to just use my scissors to snip off those ends. Oh man, these are great scissors. They're squishy, so they're like super comfortable. All right, so now I'm going to press this. Set my seams. Press back my corners. Make sure that gets flattened out there. That one didn't want to lay flat for me. That happens sometimes. Okay. All right. So, now my center is done. So, now I'm going to make these outside corners. And what you'll do is pick up one of your 2 and 1/2 in squares of background and one of print. We're going to lay those right sides together. And then just stitch down one side. Okay, you're going to do that four times for all four corners. We're going to go ahead and press this back. And then we're going to add it to one of these 4 and 1/2 by 2 and 1/2 in prints. And you just want to make sure that the prints touch. And it doesn't matter which side you do because they they turn all the way around. So, as long as you've got a little L shape, you're good to go. So, we'll press or place those right sides together and stitch down one side. And then back to the iron. We'll go ahead and set that seam and roll back that fabric. And you will do that four times. And that's it. This quilt or this quilt block is so quick and easy. So we'll start with putting our little snow block in the middle. Then we're going to add our 4 and 1/2 in background squares around the outer the like the little cross in the middle. Oh, I think I need one more of those. I thought I had them all cut. Let me just cut one of these 5 in squares down to four and a half. That's easy. Okay. Easy peasy. There we go. And then I have some more of these outer corners here ready to go. You'll place those with the background facing towards the middle. And that's it. That's your grand square block. sew that up and get ready to start the churn dash. All right, so this is our churn dash block. So, let me show you how to make that. We're going to grab a couple of our print squares and cut them. If you if you feel comfortable stacking up more, that is completely up to you. Um, we're going to start by cutting two 2 and 1/2 in strips and then we'll cut those down. All right. So, I'm going to stack these up and cut them into 2 and 1/2 by 4 and 1/2 in rectangles. And these will make our little bar blocks. We'll keep those set aside. And then from here, we're going to just cut this into two 5 in squares. and we will set those aside. So, all of our fabrics are now cut from our pre-cut and ready to go. So, we will take we're going to start by making some half square triangles. We're going to pair a print square with a background. And we are going to draw a line corner to corner. Whoops. Not going to draw with my rotary cutter. Going to draw with my pencil. And then we're going to just stitch a quarter of an inch on both sides of this line. I like to keep my half square triangle seams kind of narrow because then I have more room to square it when I'm done, but not too narrow because you still need a little bit of a seam allowance in there. All right. So, now I'm going to go ahead and cut these apart right down the middle. And then I'm going to use my Clearly Perfect trimmer to square these up. And you're always going to line up the dashed line with the seam line that you've just sewn on the size that you're wanting to get. So, we want 4 and 1/2 in triangles. So, we're going to line up our dashed line with our seam line on the 4 and 1/2. and just trim off those little bits of extra. And then I'm going to take out the little dog ear pieces here. That reduces bulk. We'll set that aside and do that one another time. Going to go ahead and set this seam. Press it back. And you will repeat that to get four half square triangles for the outer corners. I've got my other three made here. Okay. Next thing we're going to do is make our bar blocks. So, for that, we're going to grab a contrasting piece of fabric and we're going to grab one of our background strips. These are both 4 and 1/2 by 2 and 1/2. Oh, that one's a little bit long. Let me trim that down. There we go. We're going to pair these up and just stitch down one side. Then we'll press these back. And it's just that simple. So we've got four bar blocks and we've got four half square triangles. And then we'll use a 4 and 1/2 in middle square to start. Our half square triangles are going to get lined up with the print facing the center just like this. These line up like that. And then our print is also going to face in on our bar blocks. And those are going to go right around the middle there. So then you're just going to sew that together like a classic nine patch. and you've got your churn dash blocks just like this. So, let's take a look at the quilt. So, you'll notice that I've put these blocks together. Every other block, we've got a ch a grand square and a churn dash. You're going to make 18 of each block. I went ahead and added a really cute little 2 and 1/2 in inner border and a 5-in outer. The backing is this fun Tula pink print. I love how she takes a print from her line and then just enlarges it to make these beautiful wide backs. And they're always so soft. They kind of have like a silky feel. So, we've machine quilted this with rainbow hearts, which I think is just such a fun pattern. It's very whimsical and goes perfectly with Tula Pink's line. I loved being able to combine two blocks. So, I hope that's inspired you to get creative and see what other patterns you can make by putting two things together. So, I hope you enjoyed this tutorial on the grand square dash quilt from the Missouri Star Quilt Company. Bye.


 Natalie Doan
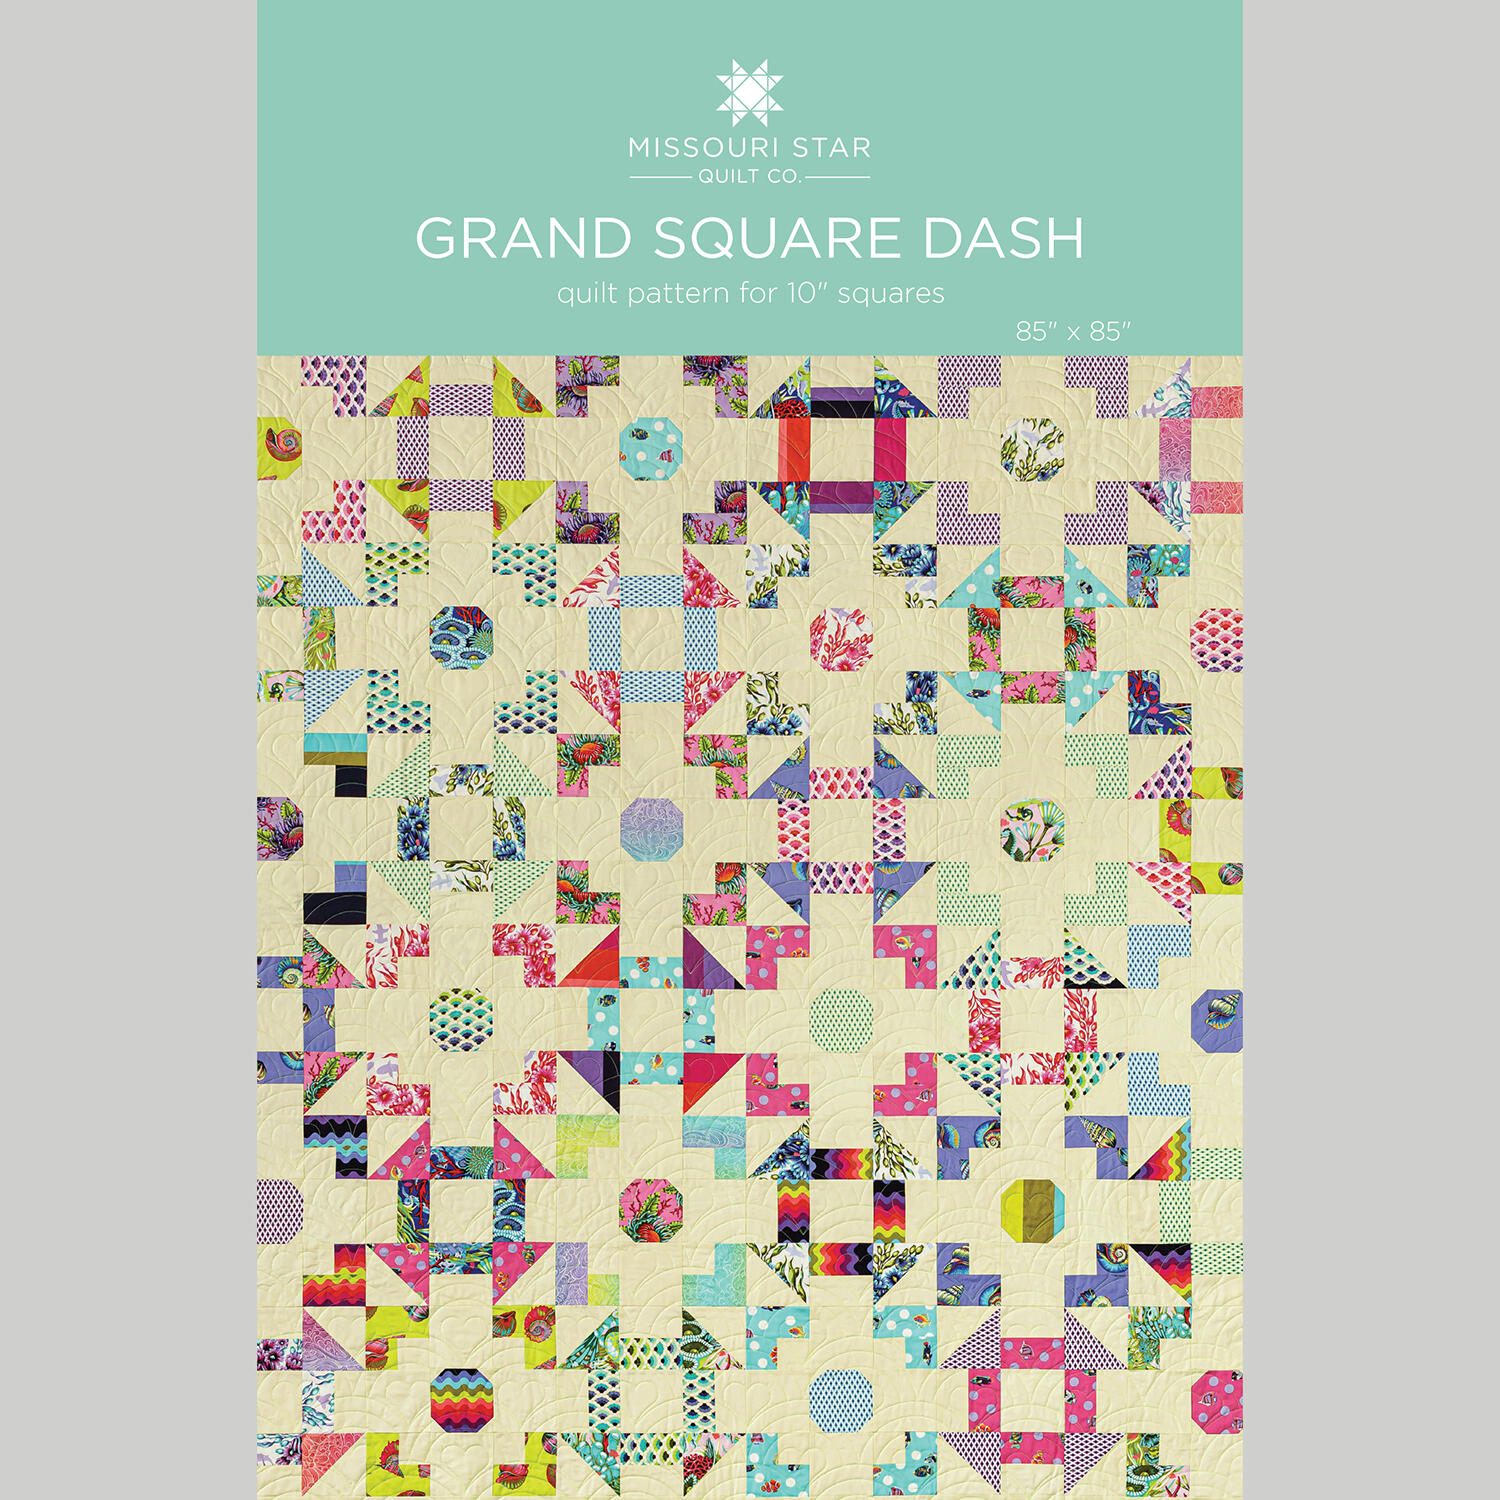 Grand Square Dash Quilt Pattern by Missouri Star$8.50Shop →
 Digital Download - Grand Square Dash Quilt Pattern by Missouri Star$6.95Shop →
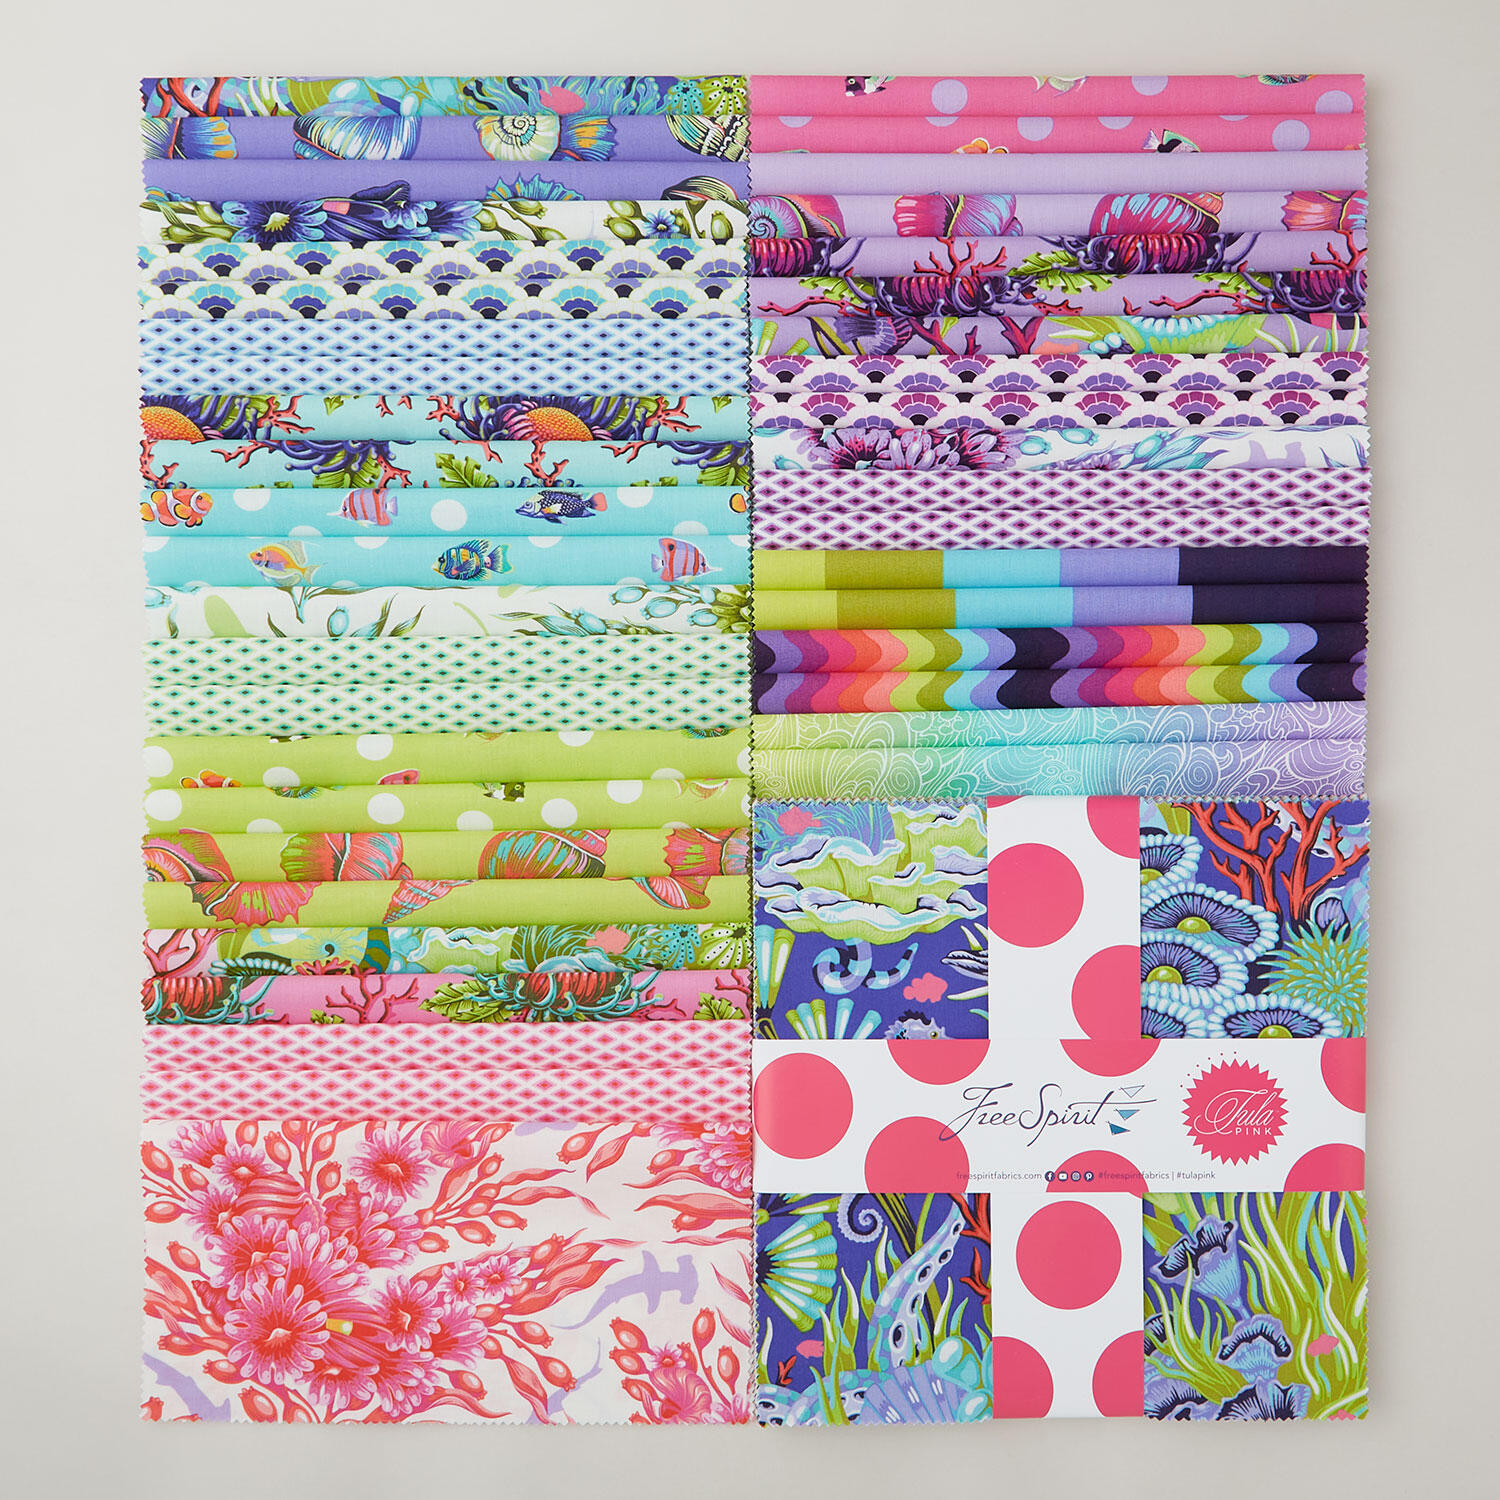 Floral Reef Collection 10" Squares$50.95Shop →
 Designer Essential Solids - Tula Pink Lemondrop Yardage$9.72Shop →
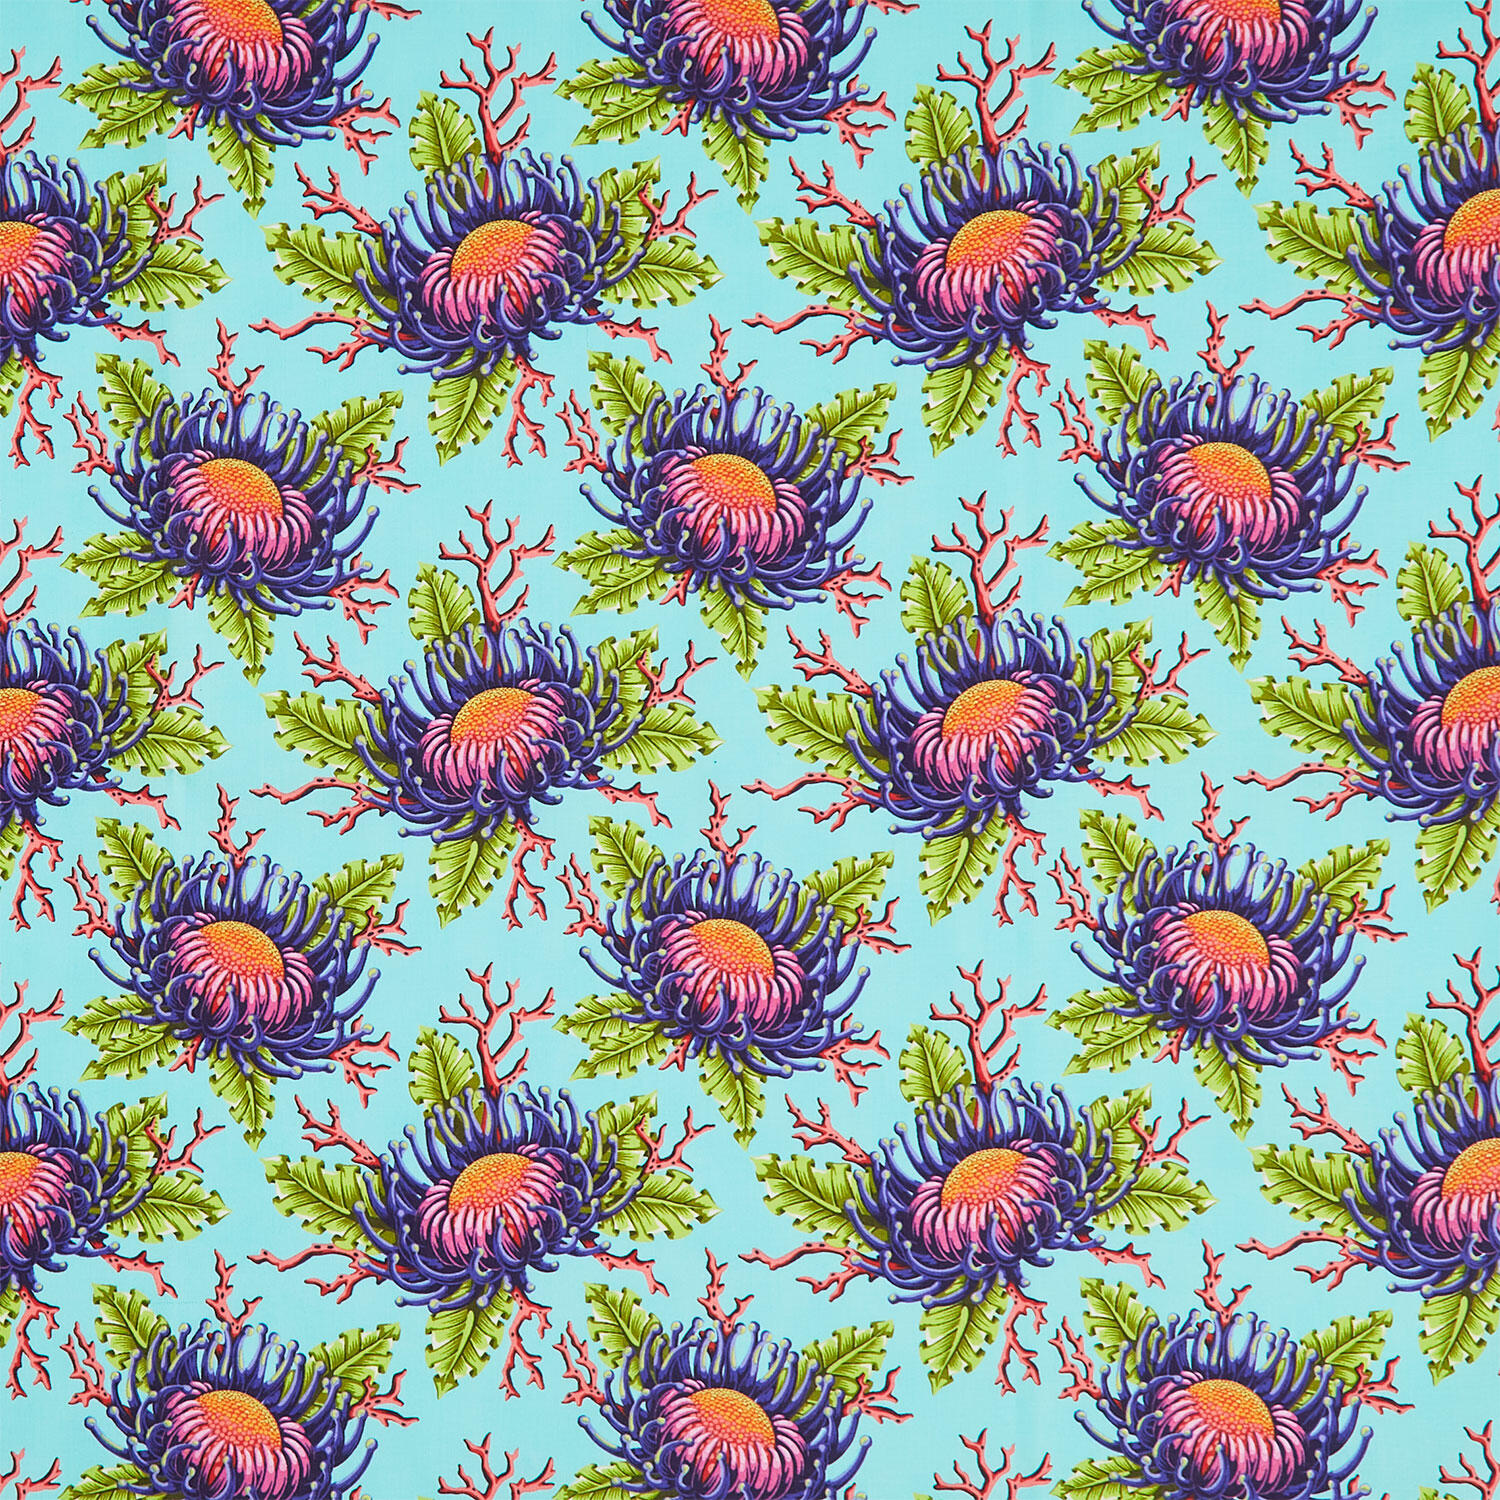 Floral Reef Collection - Friends and Anemones Seafoam Yardage$13.92Shop →
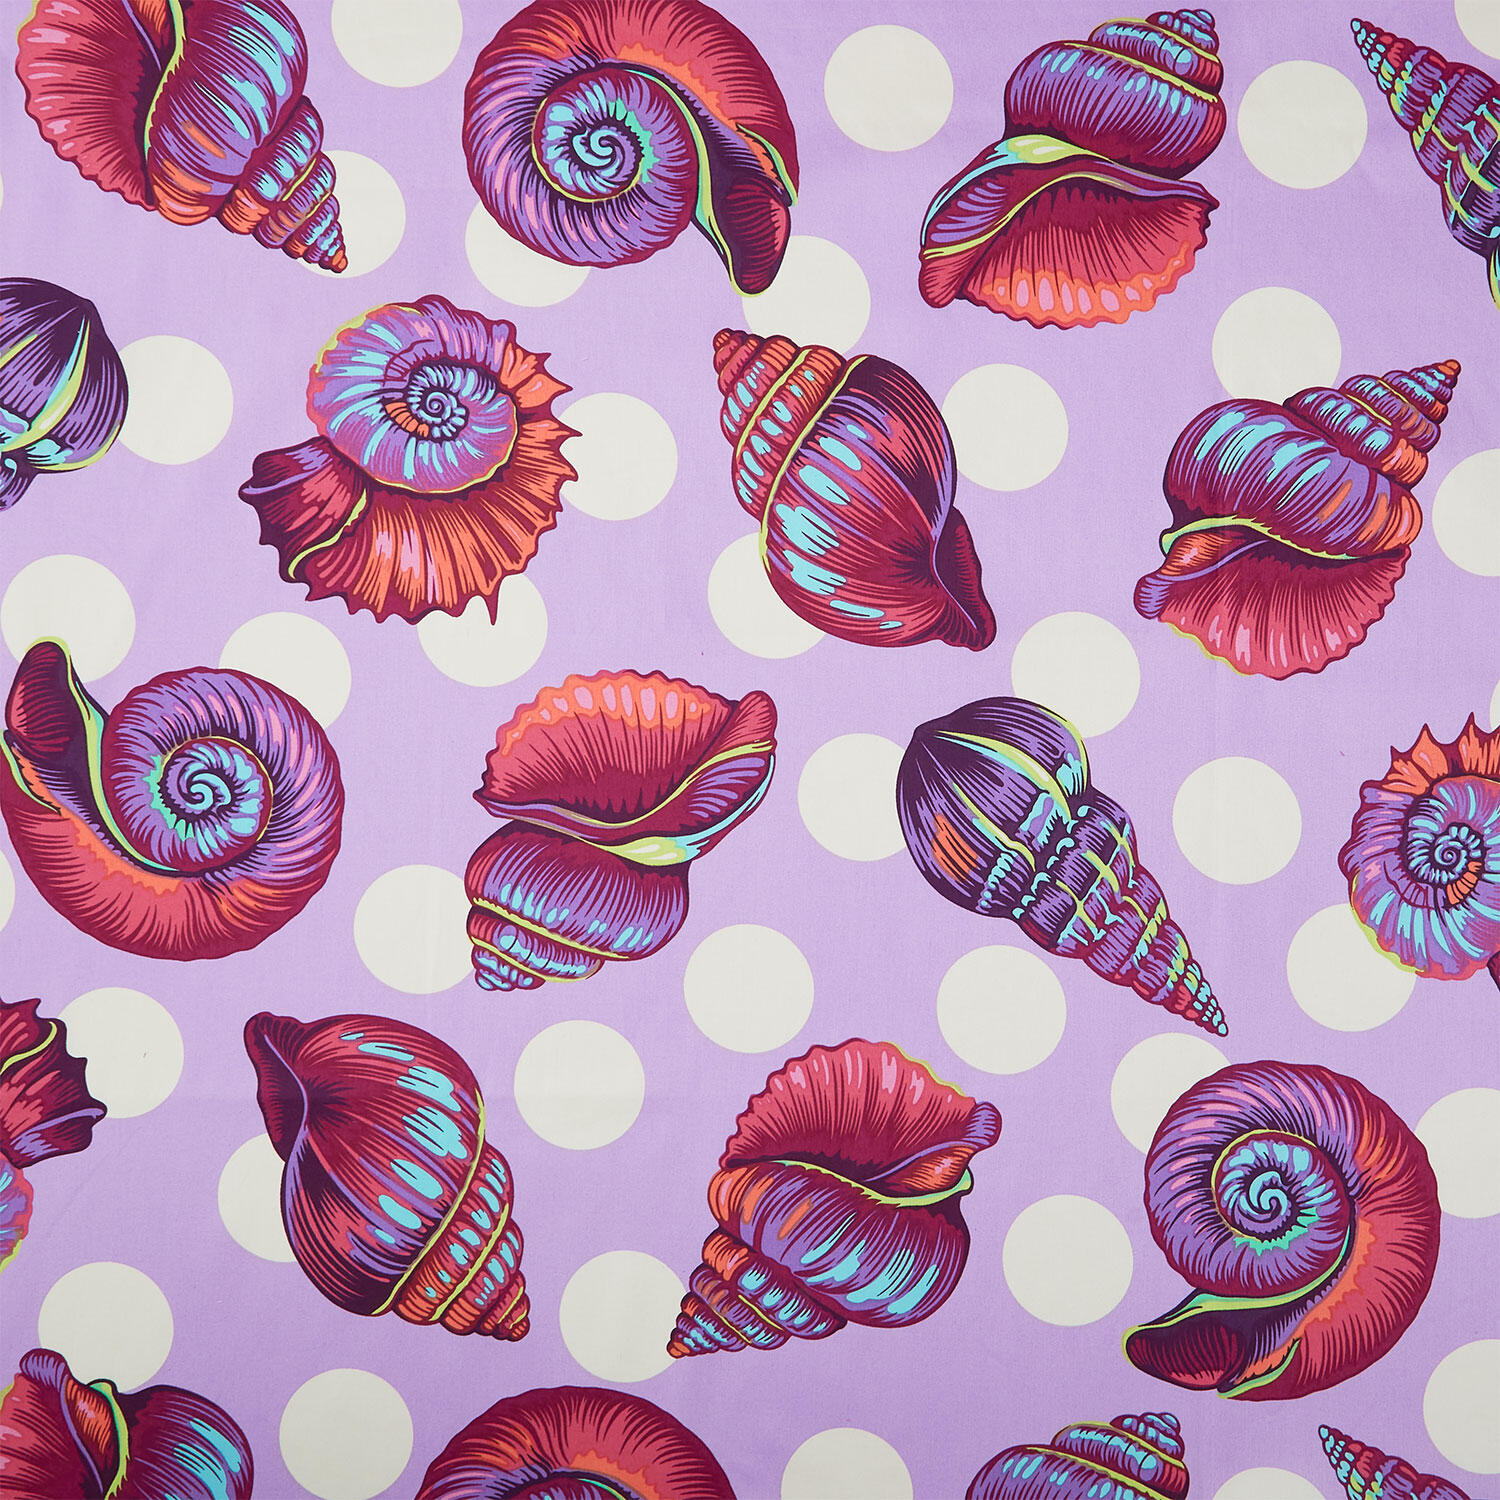 Floral Reef Collection - Big Shelly Ultraviolet 108" Wide Backing$27.80Shop →
 Missouri Star Quilter’s Best Blend Queen Batting$37.95Shop →
 Missouri Star 5" x 15" Ruler$19.95Shop →
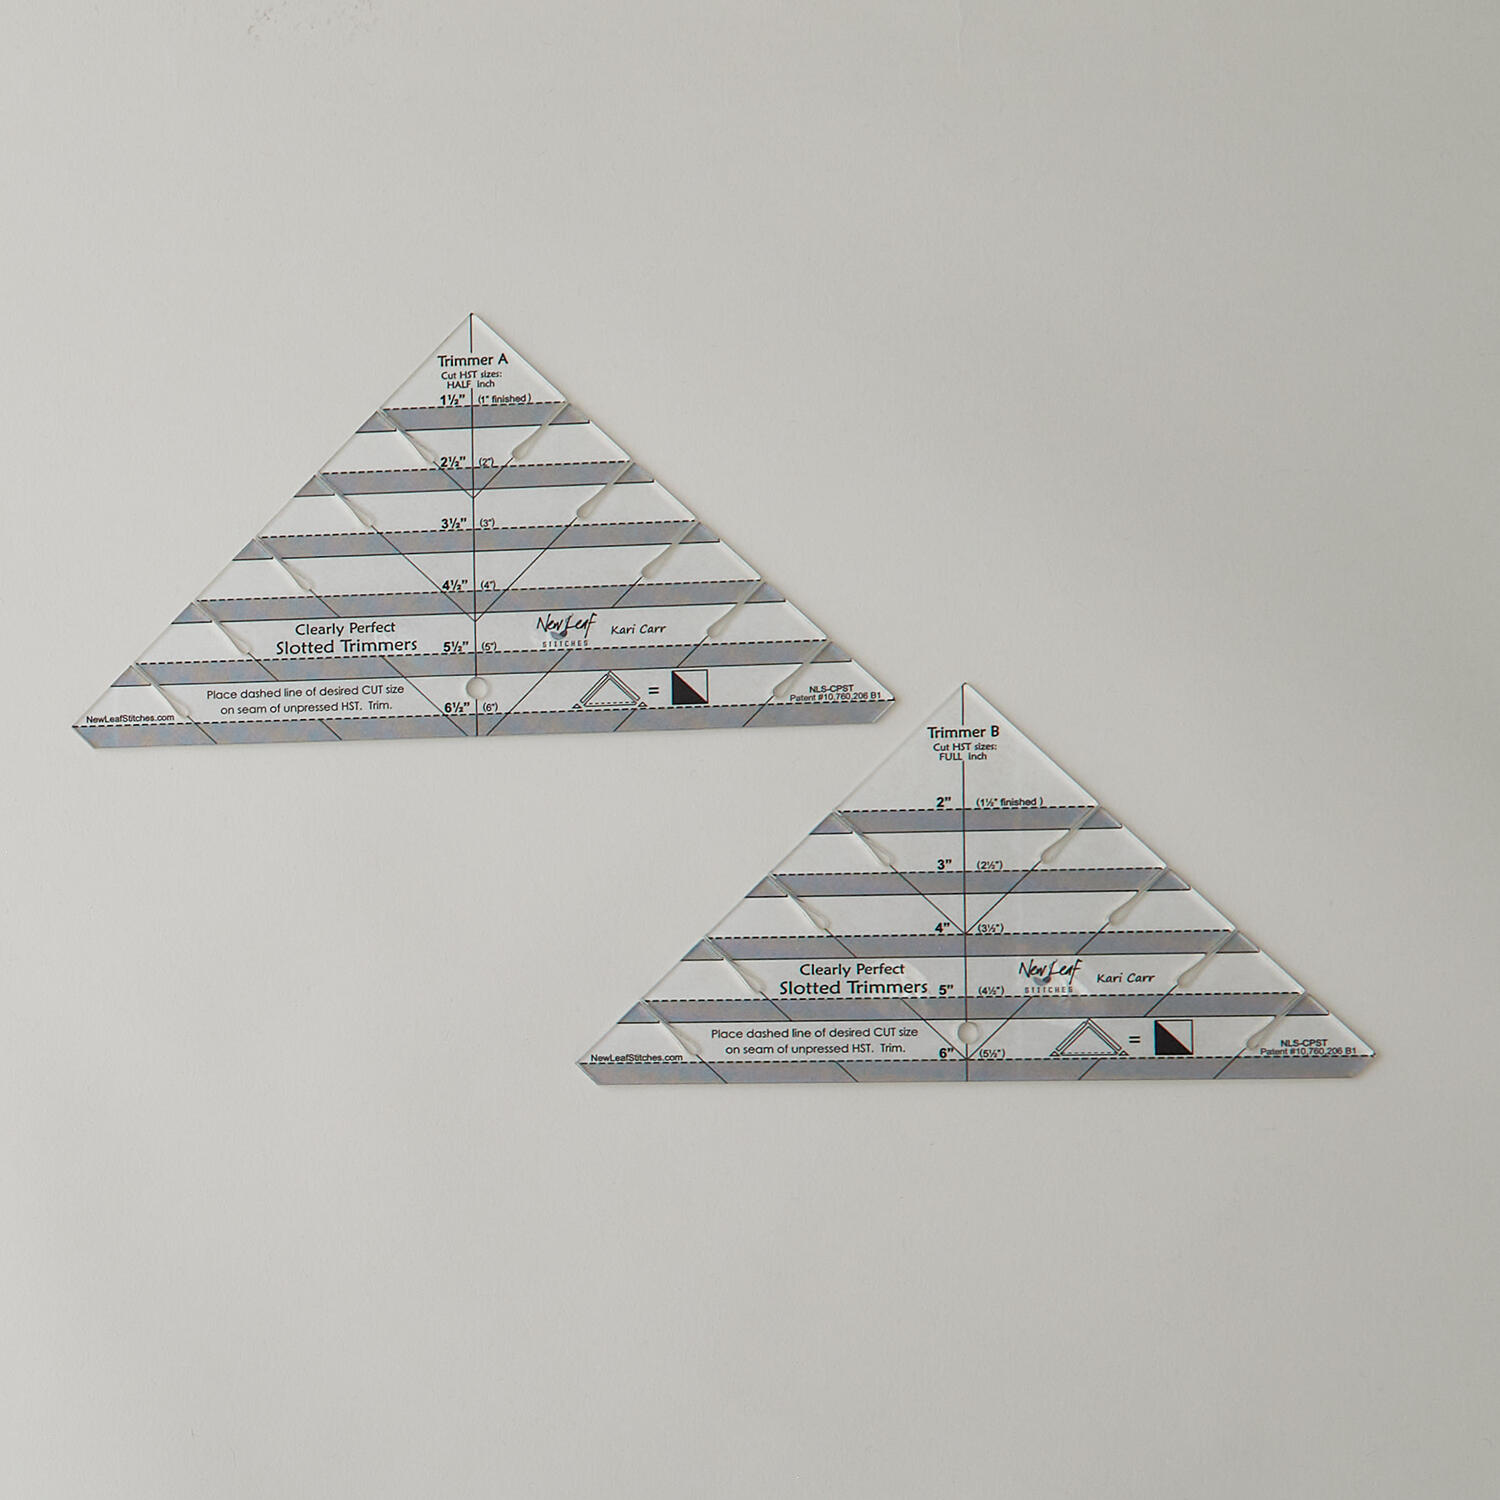 Clearly Perfect Slotted Trimmers$33.95Shop →
 Missouri Star 50 WT Cotton Thread White$7.95Shop →
 Missouri Star 45mm Rotary Cutter - Olga$19.95Shop →
 Missouri Star + Oliso TG1600 ProPlus Iron$209.95Shop →
 Missouri Star Labels of Love: For Now, For Later, Forever$9.95Shop →



