Skip to content

Free quilting video tutorials from Missouri Star

Quilting Tutorials
Half Hexie Stripes Quilt

Half Hexie Stripes Quilt

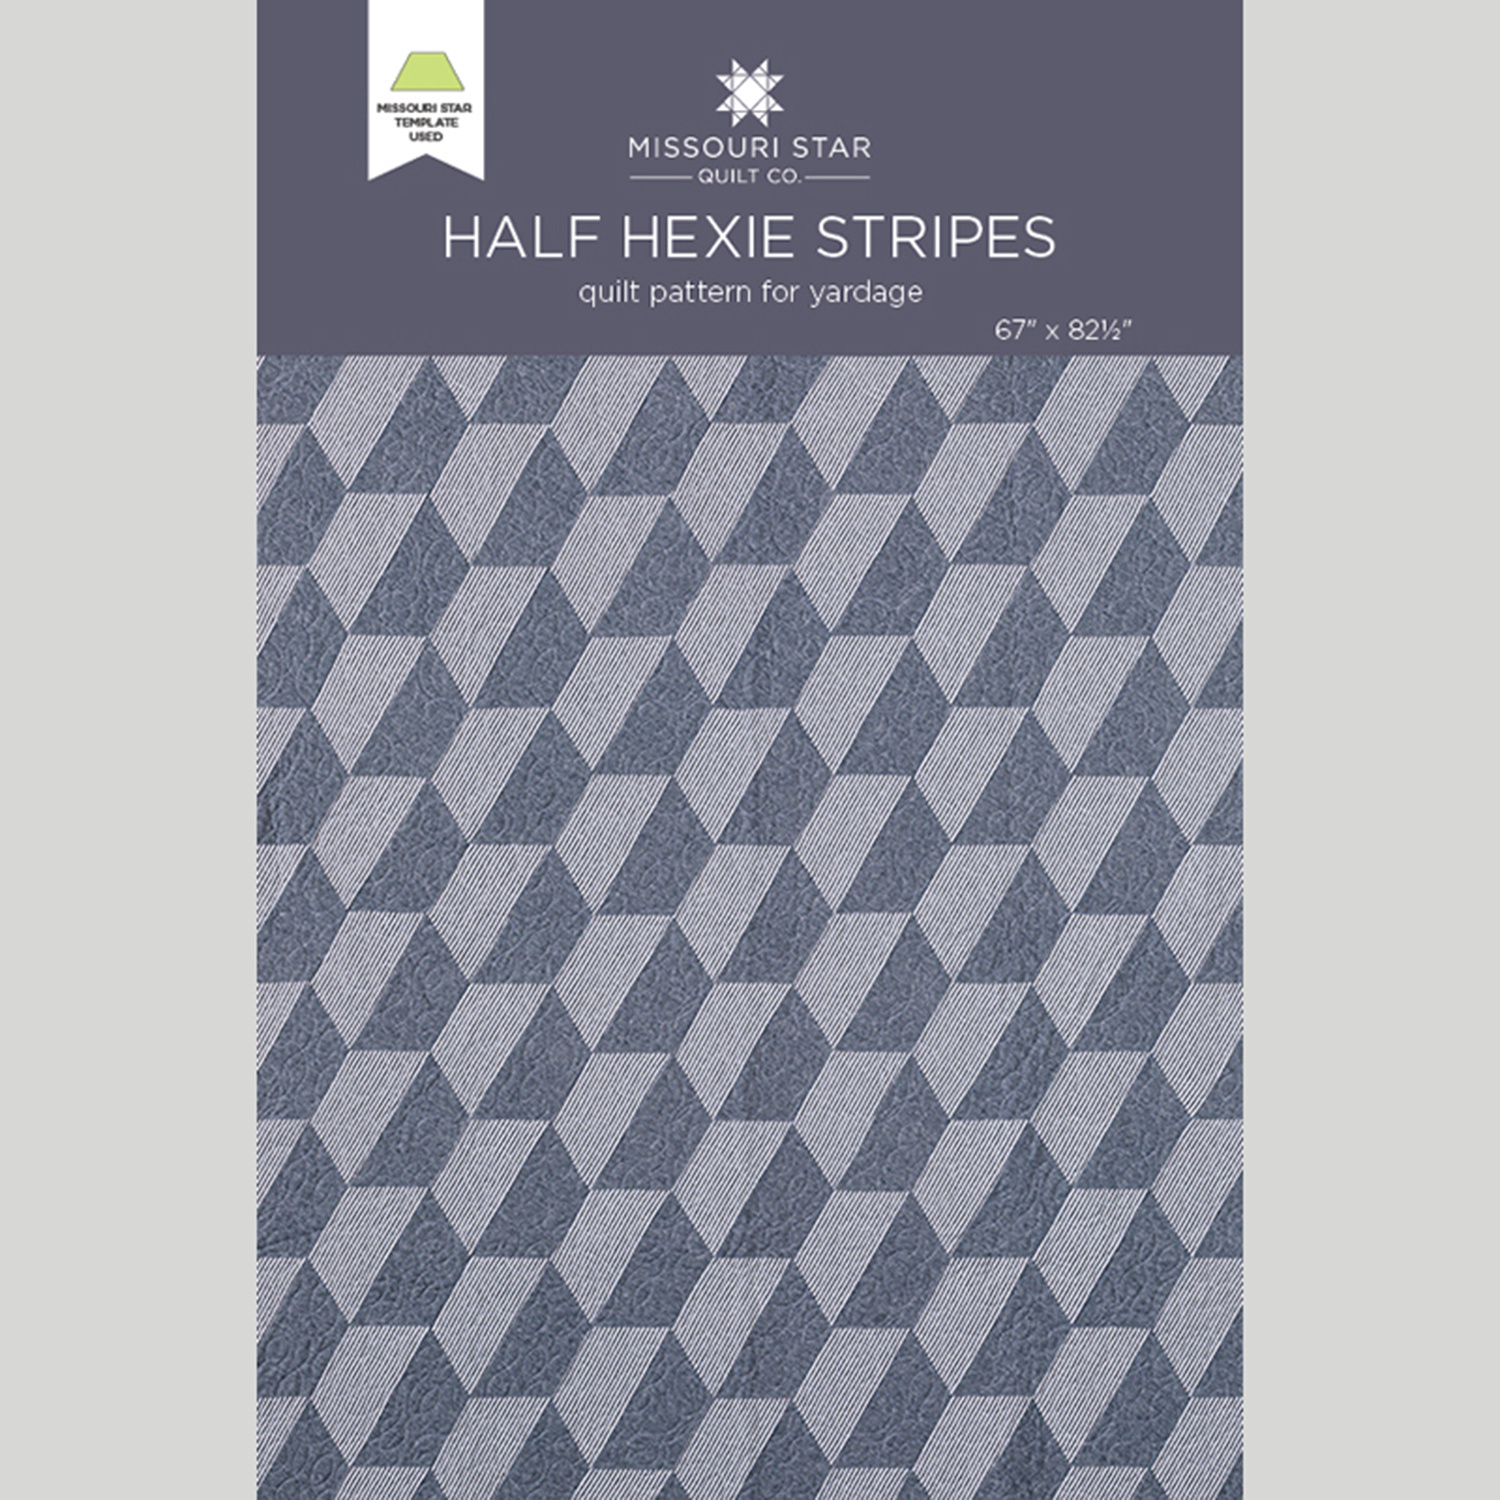
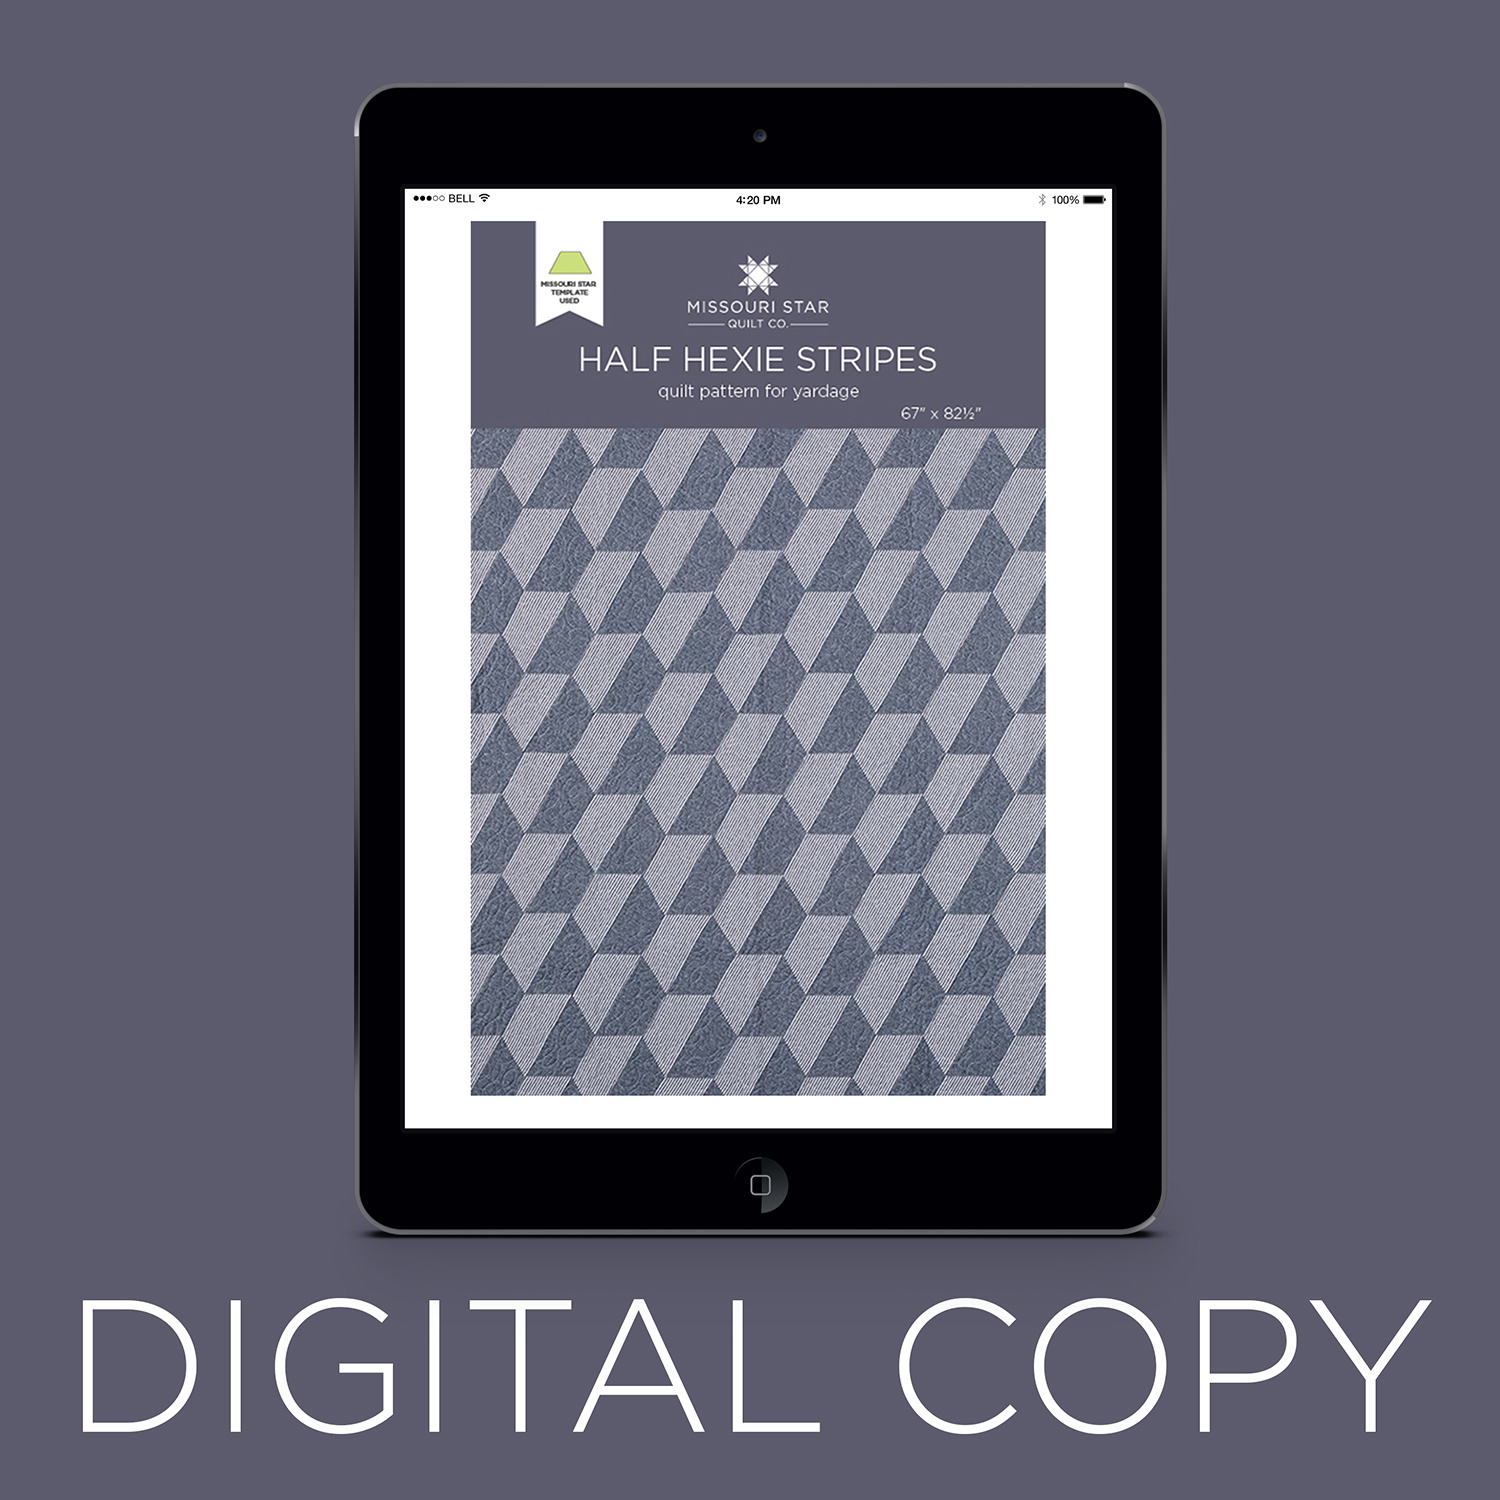
With just two contrasting fabrics, you can create a striking quilt that is rich with shadows and depth. The half hexagons in this modern quilt are easy to make, but the finished look says “Wow!”

Instructor

Misty Doan

Misty Doan grew up surrounded by sewing and quilting. She loves spending time sharing tutorials each week each week, and when she’s not stitching up one of her fun sewing projects for home decor, most likely you’ll find her hanging out with her husband and three awesome kids or working on a house project.

Common Questions

What is covered in Half Hexie Stripes Quilt?

With just two contrasting fabrics, you can create a striking quilt that is rich with shadows and depth. The half hexagons in this modern quilt are easy to make, but the finished look says “Wow!”

How long is the tutorial video?

The tutorial video is 00:20:57.

Are supplies listed for this tutorial?

Yes. The tutorial page includes the supplies and materials connected to this project.

Video Transcript

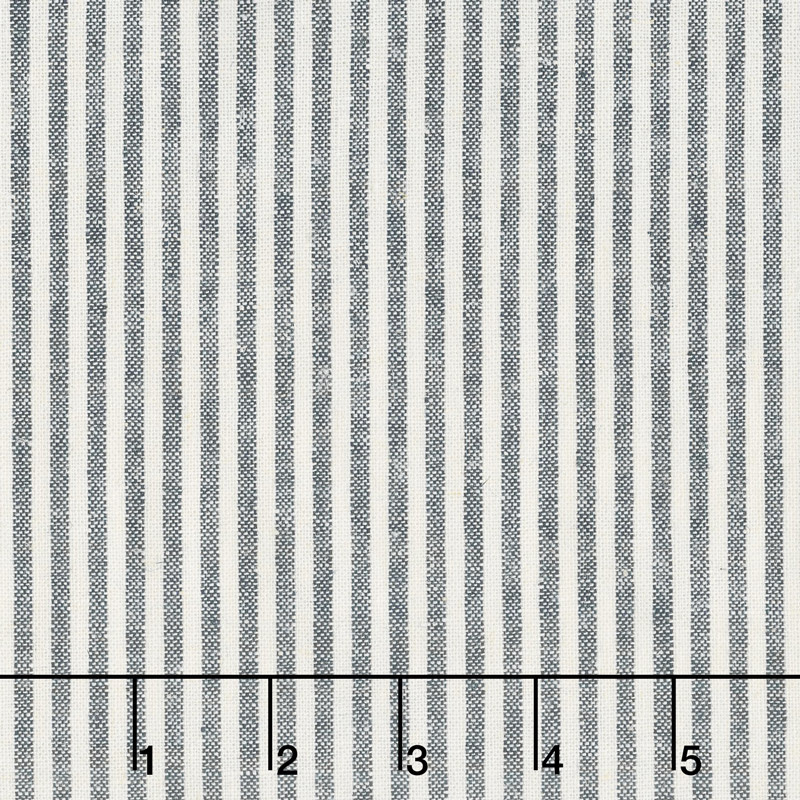
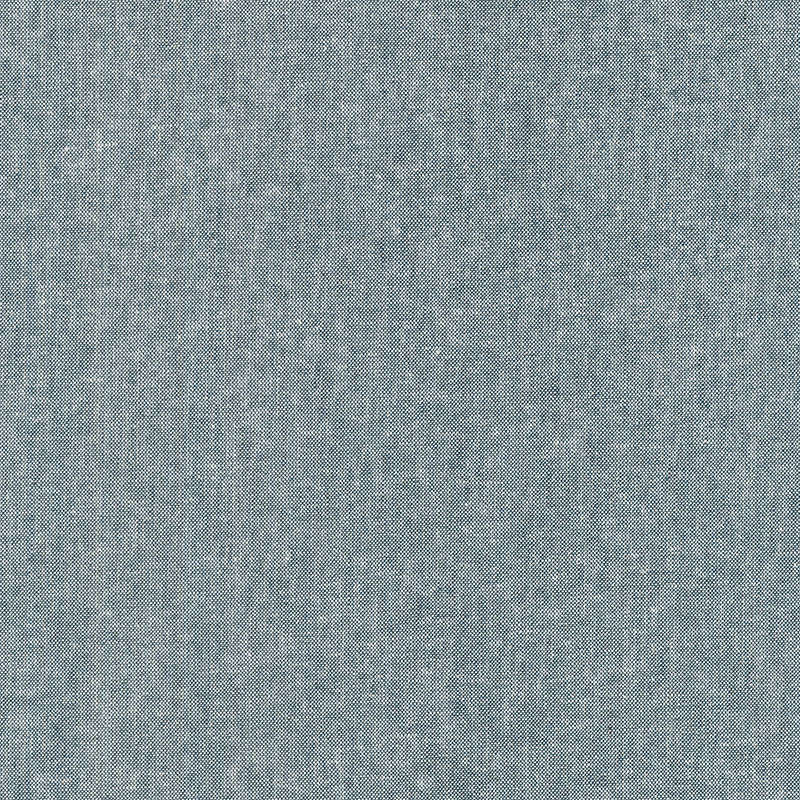
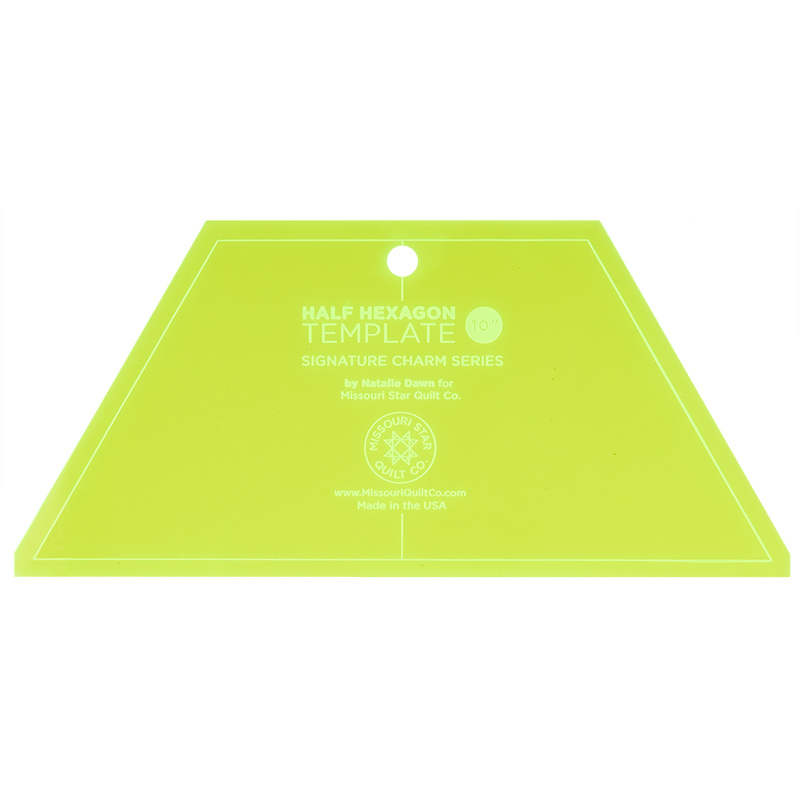
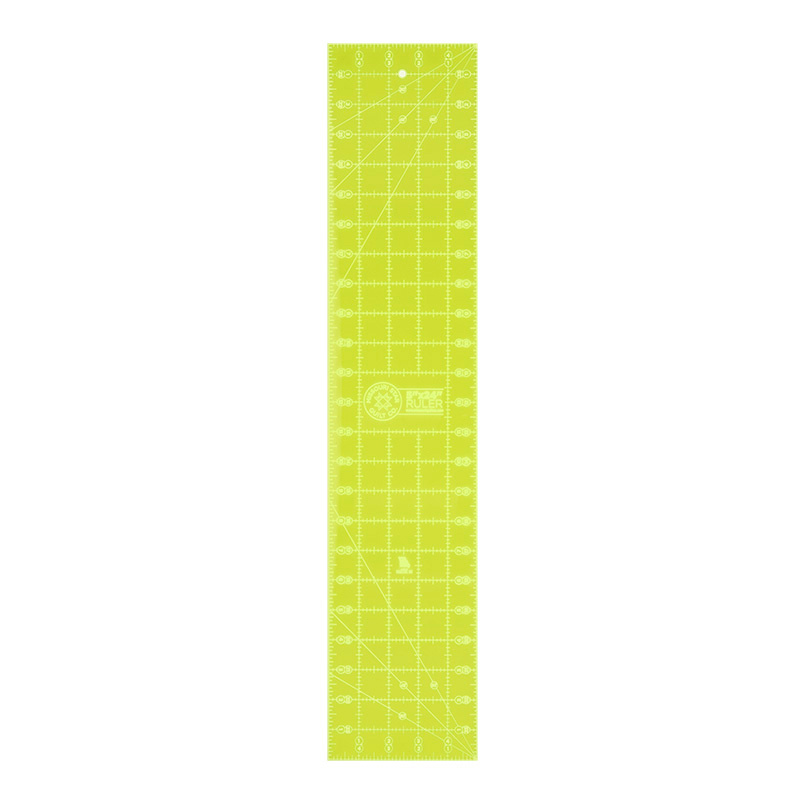
hey everyone it's Misty and I have a fun project for you today it's this beautiful quilt called half hexy stripes but we're also going to tackle making bias binding and binding all those fun angles around the [Music] [Music] edge so to make today's quilt you are going to need two and 5/8 yards of two contrasting Fabrics so two and 5/8 of each and I went with this fun stripe and indigo both Essex Linens and I really love them together you're also going to need the large half hexagon template so this is the one that fits on uh 5 in strips or 10in squares so let's go ahead and get [Music] started so up first I just cut all of my fabric into strips so you can see here I have 5 in strips cut by the width of fabric of both of them and so we are just going to open these up here and I do just keep them folded because you can't get a ton anyway so I'm going to start on this Edge and cut off this side and my little Notch there and then I'll first slide all the way [Music] down and then come back and trim off that little Notch and so then now that I've cut the first one I'm going to flip this around and make it easier on my since I'm RH handed and we can just line these up and trim and trim and then you should be able to get one more out of this mid piece here so we will just make that cut a little bit of waist from our strip can just go in the scrap bin and so that's step number one we are just going to cut out all of our half hexy shapes and so I have some ready to go in the stripe Fabric and of course in this Indigo as well and so now it's all about the layout for this quilt and I wanted to mix it up and do it kind of on an angle which is different than we typically see in a half hexi quilt so first off we're going to start with this little guy here and I'm just going to build it out and I laid this all out on my design wall or my design floor if that's what you have whatever you have will work and we're just going to start building and I do have to say some of these angles were a little tricky when I was trying to figure out the layout but you just keep on building until let me make sure so then I've got this guy this guy and so on the next one we kind of drop down and this is what we're looking for and then this one comes in and you would just continue on and then the interesting thing about this is you're actually going to sew them in rows so this one is your Row one and then we will sew these together so let's go ahead and stack these this is how I did it one two three and we'll sew them at the machine so when we're working with these half hexis the thing that's really great about them is we avoid the Y seam which if you have a whole hexagon you're going to have to do which is not impossible it's just a little bit more difficult and so we don't have that when we're working with the halves saves us a little bit of time but when we're lining these up I you start with them where they're going straight across when you fold it back it's going to feel a little wonky because you've got this kind of angle going but you want these little tabs to hang over just a tiny bit on either side that is your quarter inch seam allowance so it shouldn't be much but then let's go ahead and Stitch this down let's give a a look at it make sure it's all lined up nicely so then when we fold that back it's just one continuous straight line which is what we're looking for so let's go ahead and add the other one in the same way so we'll make sure that it's in you know in a line where we want it to end up fold it back to place those right sides together and just make sure we have that tiny little bit hanging over for our quarter inch seam okay and now we can just give this a press you do want to be gentle when you're pressing not to tug or um stretch these too much make sure it's laying nicely especially working with this linen it can have a little bit more give than regular Quil there's cotton so you just want to be gentle with it okay and so then now that would set back in our row like this and so the only tricky thing about this whole quilt is kind of lining up these partial rows because there's a lot of places when you're looking back here where you're going to fit you know a few blocks to a few more and so really all we're going to do there is make sure that this is centered let me slide this out of the way and we'll talk about this top corner so here's this little top corner piece and you can see it's just going to float in the middle of this strip so that it lines up with this hexy and so I'm just going to fold that back if it helps you to put a pin in it you can kind of flip it back and make sure that it's lining up with the opposite side but I'm just going to float it there and then we're going to stitch from point to point on that guy with our quarter inch seam taking a few stitches I'm going to go ahead and anchor these ones down here okay and now we can take this to the end ironing board again and I'm just going to roll this back and we can press it you can see how great that worked out I think that looks really nice and so that's the method that you use throughout this entire quilt and so we build it from one corner and we work our way all the way across and down and so the rows are running kind of on the 45 I don't know if it's actually 45 but at that angle and so you just follow that as you go and that is it on the layout now I quilted it I trimmed it and I kept those edges of the hexagon because I just couldn't bear to cut them off and so let's talk a little bit about that binding okay so let me show you how we are going to make this binding I went ahead and made this little piece so I can demo it for you guys um and quilted it this just some straight line quilting on my machine so I have this ready to go so the method I like to use for bias binding is uh this I call it the square method I don't know if that's the correct phrase for it but that's what we're going with and I have just cut a little 15inch square to demo it for you guys but you're going to cut at least a 36 in a yard square and you're going to get a bunch of binding that way and you might have to make a few because you got a lot of sides here but the pattern gives you the exact number that you need in order to get um the amount of binding that this quilt will require so up first we are going to take our ruler and we are going to cut this corner to corner and this is a super fun method if you haven't done it before just like so and then I'm going to take this corner hold please there we go like this because I want my stripes to keep running the same direction and then I'm going to fold this over and we are going to sew a straight seam down this side so let's go ahead and take this to the machine make sure I'm all squared away and we'll just sew it with a quarter inch seam you do want to be careful once you get to the point that you're not tugging or you know being too crazy with it because you already have those bias edges over here and so you don't want to stretch those okay so now we can roll this back and press it all right and look how nicely those stripes are lining up that's like a little miracle and now we can start marking out our 2 and 1/2 inch increments so we are going to do it on this long side so I'm just going to turn this this way I'm going to use a Sharpie you can use whatever sort of fabric marker you like I just want to make sure you guys can see what I'm doing and so I've measured over 2 and 1 half in all the way down here and we are going to mark this line you really do want to make sure you can see it there we go and we'll just keep making our way down all the way across this slide this up looks good there we go and so this last little bit if I have any that's going to hang over my final two and a half inches I'm just going to trim that off so put away my [Music] marker make sure this is all lined up and I can cut from top to bottom that looks good we just have that tiny bit to trim okay and now this is ready to go so lining this up I'm going to take this corner here and I want it to match this is the little bit tricky part with this point here because I want to make a continuous loop and so it takes a little bit of finanger to make this work and pins are your friend because you want all of those places to actually match up so let's see if we can make sure you guys can see what I'm doing here so here's my first marked line and I'm going to intersect with this point here because I want those to be offset and so I am just going to pin that first point and then we'll make our way down so here are my lines that I've marked hopefully you guys can see those points and I want them to crisscross approximately a quarter inch and so when you fold it back that quarter inch it should make a straight diagonal line that's what you're looking for and so I want to pin that in place there we go and we'll just make our way down and this method is exactly the same no matter if you are using a large square or a small one so we're looking for that quarter inch overlap and pinning at the intersection and then one more down here my little Mark should overlap the end about a quarter of an inch and so there we have this all pinned we're going to sew from point to point with that quarter inch seam here at the sewing machine so I am going to get this lined up under here take a few anchoring stitches and then of course don't sew over your pins so I'll pull that one out just slide it out right as I get close there make sure perfect okay and so now we've created this continuous loop we're going to turn this right sides out and we're going to check to to make sure that that new seam that we just took which is right here is going to line up and you see how it does all of our marks are lined up which is what we're looking for so now we can grab our scissors and we can start cutting so let's just open this up and we're just going to cut right on that line and this is just going to continue all the way around the loop so we don't have to sew a bunch of little strips together and we have a perfect 2 and 1 half in bias binding just like so and of course once you have it all trimmed you're just going to press it in half like normal and I went ahead and did that so here is our bias binding and now let's talk about how we are going to tackle all of these little angles that we're working with to bind it so let's talk a little bit about why we even need this bias tape and the reason is is by making this bias binding it allows us to maneuver this Fabric and have enough stretch to make it around these angles or if you have you know scalloped edges anything like that you would need this bias binding and so first up I'm going to trim this off straight so I have a nice clean Edge like we're used to and then I'm going to start here on one of the top sides I'm going to leave myself a good tail and I'm just going to start about oh an inch 3/4 of an inch from this first Corner because I want to give myself as much of this straight edge as possible to close this up at the end because it's not a big area to work in so let's start here and I'm just going to kind of set my binding next to the machine [Music] here I'll lift that up still a little too far into the middle there we go so I'm going to back stitch to get started so that that doesn't come loose I'm going to stop about A4 inch away from the edge lift this presser foot and I'm going to sew off off to my point and then clip my threads so that's step number one I've just attached that first little side and then we can fold this back we want it to be a straight line with our next angle so just a little different than we do a standard corner and then we're going to fold this over to match and now I can continue all the way down that side till I get to this next corner where I'll pivot and do the same thing so let's go ahead and keep going now I am attaching this to the front so that I could hand bind it in the end on the back side if you wanted to machine bind the whole thing you would just sew it to the back and bring it around front just watching as I come to that point keep my needle needle down lift that presser foot and Stitch right off that point now once I've shown it to you I can just go ahead and continue that same method here at the mat of the machine so folding it back straight and bringing it over and then I'm going to come to this inside corner and I'll show you how we'll handle that so the magic with these inside curves with the inside scallops whatever you're doing is I'm just going to pull this straight so I'm going to move this over and I'm going to continue sewing my quarter inch seam just as straight as you possibly can and by doing this it's going to automatically make that little pleat in the center that we need so we'll come down here again to this point and I'll pivot and I'll show you what I mean okay and so then we would just continue all the way around our quilt in the exact same way but I want to go ahead and show you you how this looks so remember on the middle here we just pulled it as straight as we possibly can and that gives us this little pleat as we work our way around but let's go ahead and flip it over because remember I I did this I sewed to the front to flip it around to the back so that I can hand bind it so on the back side this is just going to roll around and it's just going to kind of ease around that inside curve you don't have to do anything special there on these points it's just going to fold back and it will miter just like all your normal Corners would so really the exact same thing you're used to doing and so then I could just you know use my my binding Clips or whatever you like to do and I'll just you know hand Stitch all of my binding down turns out beautiful that's what we did on this whole quilt here I think it looks awesome it's not hard it just takes a little bit more time but it's worth it for the impact of keeping all those fun angles so I hope you guys enjoyed this I can't wait to see what you make and I'll see you next time hey everyone thank you so much for watching at home we're so excited to be almost a million Quilters strong here at Missouri Star and so if you haven't already joined our family be sure to subscribe and hit that notification Bell so you can be notified of all of our future tutorials and we'll see you soon [Music]

More Fabric by Yard tutorials

See all