They say diamonds are a girl's best friend—but what about fabric? The Harlequin Quilt is a diamond-studded stunner, and designer Jemima Flendt of Tied with a Ribbon is joining us in the Missouri Star studios to walk you through every step of this gorgeous tutorial. Showcasing the rich hues of Tula Pink Designer Essential Solids and Tula Pink True Colors, this pattern comes together using equilateral triangles in multiple sizes.
Jemima Flendt is a quilt and crochet designer, teacher and author, all under her label Tied with a Ribbon. She loves exploring the interplay between crafts (specifically crochet and quilting), as well as embroidery and appliqué.
What is covered in Harlequin Quilt with Jemima Flendt?
They say diamonds are a girl's best friend—but what about fabric? The Harlequin Quilt is a diamond-studded stunner, and designer Jemima Flendt of Tied with a Ribbon is joining us in the Missouri Star studios to walk you through every step of this gorgeous tutorial. Showcasing...
How long is the tutorial video?
The tutorial video is 00:21:51.
Are supplies listed for this tutorial?
Yes. The tutorial page includes the supplies and materials connected to this project.
Video Transcript
Hello and welcome. I'm Jamaima Flint from Tide with a Ribbon and I am excited to share with you my brand new pattern, the Harley Quinn quilt. The Harley Quinn quilt is my brand new equilateral triangle quilt. And I'm excited to share with you today how you're going to go step by step through the process in making it. The Harley Quinn quilt is made up of different sized equilateral triangles. We're going to be making and sewing our large equilateral triangles as well as some units of smaller equilateral triangles. Last year when I was here, I got to film the endgame quilt. So, I'm very excited to share that this one will be leveling up your skills if you've taken or if you've seen that tutorial before. I'm going to now show you through the supplies that you're going to need for the Harley Quinn quilt. We're using the Tula pink fabrics. So, we've got fairy dust in white. We have got Seab Breeze. We have got Tula. This is Amethyst. And we have here Aen. And these are all Tula pink solids. We're going to use these to make the smaller A and B units for the harlequin quilt. You're going to need your equilateral triangle in two different sizes. So this time we're using an 8 and 1/2 in equilateral triangle and we're also using a 4 and 1/2 in equilateral triangle or rotary cutters. We've got our rulers and we've got our pins so that we're able to work through this project. From your yardage, you're going to need to check your pattern to make sure that you cut your strips down into the required lengths. There are going to be strip lengths that are larger for the 8 and 1/2 in equilateral triangle ruler. And then you're going to need your smaller lengths of 4 and 1/2 in for the 4 and 1/2 in ruler so that you can cut these down. Once you have cut your strips, you're going to need to cut your equilateral triangles out. Place your equilateral triangle ruler on top of your fabric cut strip. And always make sure when you're cutting that you're actually cutting from the salvage end so that you get the required number of equilateral triangles out of your strip. If you cut it from the folded edge, you might find that you're too short. Place down your ruler on top of your fabric. And what we're going to do is we're going to cut the first right side of the equilateral triangle. Gently slide the fabric so that it just doesn't shift. And then what you're going to do is you're going to trim up those little edges of your equilateral triangle. Make sure as well that you're moving well out of the way when you come to cut in the other direction. Once you've made your first cut, what you're going to do is you're going to then turn your ruler so that you are able to start cutting from the other side of the angle that you've already cut. And you're going to again place the ruler down and reposition it so that you're able to make your next cut. And you're going to continue down the line. When you get to the folded edge of your triangle, you're still able to get one more triangle out of this folded piece. Sometimes it helps to give this piece that has been folded a little bit of a press before you actually start to cut this one out. So, I'm just pressing that center line just to make it easier for my ruler when I place that down. And now I'm able to get my last triangle out of that strip of fabric. You're going to repeat that for all of your required background fabric and the other colors that you're going to need to cut for your 8 and 1/2 in triangles. In your pattern, you'll also have the directions for cutting down the required number of equilateral triangles for your 4 and 1/2 in triangles. These are from your solid colors that we showed you in the beginning of the video. So, when you're placing your triangle, this is exactly the same process as we did with the larger triangle. So, placing it down, cutting from the salvage side, and then we're going to start trimming up those equilateral triangles. Once you have finished cutting your 4 and 1/2 in equilateral triangles, you're going to need to make sure that you've cut all of the colors required for the pattern. When you have finished cutting out all of your equilateral triangles for your 8 and 1/2 and your 4 and 1/2 in, what you're going to do is we're now going to be making units with A units and B units from your smaller 4 and 1/2 in equilateral triangles. These within the pattern are different um not different sizes, but they're actually in a different order. So you need to make sure that you pay attention, go back and check the pattern so that you're following these in the correct order. With the A units, you're starting with your amethyst and then you're going to be having um two tula colors together and then your ain. And you can see that they are actually with the largest side of the triangle or the flat side of the triangle as your first piece. I've also used these pins here which are really helpful to make sure that I know exactly which units I'm making and that way I won't get confused later with which way and which ones I've made. You can also see here then we have the B units and they actually start with the amethyst color along the longer side of the piece. You've then got the two tula triangles and then we have our AGN triangle as well. So those two units are made up just like this. Let me show you. So, you can see here these four smaller triangles will make up our A unit. So, we're going to sew them. What you want to make sure when you're taking your pieces is that you um keep them in the correct order. And it's always really good to have your pattern on reference so that you can go back and check so that you don't accidentally turn those equilateral triangles up the wrong way as you go. With your equilateral triangles, what we're going to do is we're going to take the uh second color in the row and we're going to place it right sides together along the length of the equilateral triangle. You can place a pin in your equilateral triangles, one to help indicate which side you're going to sew, as well as keeping your pieces together. It's very easy as well with equilateral triangles to accidentally take the piece and tip it up and sew the wrong way just through moving between your board to your machine. So again, actually having your piece numbered with the with a pin makes it really helpful for you to keep that in the correct order. The first line we're going to sew comes from the top of the equilateral triangle down to the bottom. So, we're going to place that in under the machine. And there you can see we have sewn the first two pieces together to make our A unit. One of the important things with this particular block construction is that you actually press the seams open as you go. So you want to have the iron handy so that you're able to press those seams open. And again, you'll just see how handy it is for you to have that letter pin there so that you keep everything and don't actually turn anything or tip anything up the wrong way. So our next piece that for our a block is our next tula solid which again we're going to place it down on top of our row and lining up the short angles. And now we're going to sew that next piece. Now, with our block construction for the A units, what we're really looking for, and one of the important things to make sure that you get really nice points with your equilateral triangles is that you really pay attention to this 1/4 in seam allowance that you can see at the top and at the bottom of your rows. If you keep it nice and neat and if you take time to really make sure that you have that neat quarter inch seam allowance, it will really make a difference when you come together um to put your rows so that the points of everything stay nice and sharp. We're now going to prepare the B blocks that you need for your harlequin quilt. What we're going to do, again, it's just important to make sure you place your letter pin or some sort of indicator so that you know you're at the start of the row so that you don't start sewing in circles as you build your row. So, with your pieces for your B block, you're going to again place them out. Follow the pattern instructions with there are diagrams and illustrations in there to help you with this. So, with your B um block, we're going to start with the triangle with the longest side facing um closest to you. So, we're going to now take our next piece and right sides together, place those together using a pin to make sure that you don't start to sew the wrong side of the equilateral triangle. And don't worry, we've all done it. So, it's very easily done. And again, I'm going to take my seams and I'm going to press those seams open. With the block construction for the Harley Quinn quilt, pressing your seams open will really help to reduce the bulk as you continue to add more blocks and the equilateral triangles. So, by pressing your seams open, you'll see that you're really able to reduce out the bulk at each of the points. Now we're going to sew the next piece in our B unit row. Once you have prepared all of your A blocks and all of your B blocks, we're now ready to construct our rows. You're going to take all of your background large 8 and 1/2 in equilateral triangles. You're also going to take the seab breeze solid 8 and 1/2 in triangles and we're going to construct the row. One of the things that I really suggest is that you put um your pattern right next to you because when you are sewing equilateral triangles, you really want to make sure that you get everything in the correct order and that you're checking that off as you go. You can see also what I've done is I've prepared my first row. I've used again the number pins to help me identify which is my first triangle in each row so that I don't turn them up the wrong way as I'm sewing. It also helps me with further construction as I build more rows. So, with the harlequin quilt, what we're going to do is you're going to have your pattern and you're going to be checking each of the blocks um or equilateral triangles as we go. So, in the first row, we start with a equilateral triangle in our background fabric. We then have our A blocks which are placed next to our first background triangle. Then we have our larger seabbze 8 and 1/2 in triangle. And then we place down our B unit. So that you can see here how I've laid out the row. So that we're going to now start to sew that together. and I'll build and construct that row as we go. When you're sewing your row, what you want to make sure is that you place your A unit right sides together with your first background triangle. Those little pieces that we've actually trimmed off your triangle again come in so handy with not only having cut them off at the beginning, but you can see how I can actually use those to help make sure that everything is lined up at the top of my equilateral triangle and also down here at the bottom of my equilateral triangle. So when you place those down, it really helps to keep your seam allowance nice and neat. And you want to make sure that you pay attention to lining those up so that your rope is also in a nice neat line. Place a couple of pins into your piece to hold it. And then we're going to sew from the top of this line one/4 of an inch down to the opposite corner. You can now see after having sewn that line, what you're going to want to do is to have a look at where those seams are lying. And then we're ready to place the next one, the next 8 and 1/2 in equilateral triangle onto our row. Place it down right sides together. Making sure again you're lining up those top flat edges of where you trimmed off those points. And now we're going to sew this row so that we have our next equilateral triangle. What we're going to do now is we're going to go ahead and we're going to continue to sew the rest of the row. Once you've finished your row, what you're going to do is you're going to need to press your seams. And if I show you the back side of this row, what you're going to do is you're going to press your seams towards your A or your B units. This again will help to reduce the bulk as you get to points of particularly like this in the next step. This here we've completed row number one. You're going to continue through the pattern now constructing row number two. Let me show you where those are in our pattern and our harlequin quilt up here. So you can see up here we've got our first row along here. You then have our second row and then each of those rows are repeated. So here we have row number one again and then we have row number two. So you're only constructing those same two rows each time to build up the pattern. I'm going to sew those together now to show you how we do that. You're going to need to take your first row. And I've already completed my second row, which I'm going to place down here as well. And you can now start to see how we actually get that pattern as we construct those rows together. Again, make sure you've got those number pins in your start of your row, and that will make sure that you've got your pieces up the correct way as well. When you're placing your rows of equilateral triangles together, one of the things that you want to make sure that you pay attention to is matching up the points in these particular areas as we pin along the quilt. And that's because you want these to be nice and seamless so that they make that beautiful larger diamond and that you can see that those smaller triangles also are nice and neat and you keep those points. So take your first row and you're going to place it right sides together. to row number two. And we're going to pin along the line. When you're pinning your rows, you want to make sure that you're actually paying attention to what happens here at 1/4 of an inch. It's a little less important for what's happening exactly at the raw edge as compared to where you're going to sew that stitch line. So, make sure that you're placing those together carefully at where you will stitch that seam line. And then you can place a pin in it to hold those in place. Again, as you get to your next piece, what you're going to do is you're going to open that out and check that you can see those tula colored solids are coming together to make a really nice point. And then you'll want to make sure that you pin it there to hold it in place. So again, just opening out that row, making sure that everything is lined up and that you can see that those two points come together at the 1/4 of an inch. I'm going to go along the row and pin the rest of it. Once you have sewn together your first row and your second row, you're going to press your seam open. When you have your rows together, you'll be able to see that that time and care that you've taken in putting your points together will really pay off because you'll be able to see here where those fabrics are sewn together that you get those really nice, neat points. You're going to continue to make your first and second row the number of times required for the size of the quilt that you're making. Once you have got your top completed, you're going to now trim off the actual equilateral triangles at the sides. One of the important things to note is to make sure that you have your 1/4in seam allowance for your binding. So, just don't cut down the side of the triangles without taking into account your seam allowance that you'll need. So, you can see here that I've still got that seam allowance for my binding on the quilt. Looking at our finished quilt here, you can see how all the sides have been trimmed off. This quilt has been quilted. This is the paisley feathers pattern and it's been done in an ever so soft pink color which looks really great against the solids for this tulip pink quilt. All of the rows have come together and you can see that having paid attention to all of your points in your rows really pays off with the beautiful pattern. so that you have that nice um fluid looking diamonds and triangles to your design. This quilt here is the small lap quilt. You can choose from in this pattern. There is a baby size quilt, the small lap quilt, or you can actually make this even bigger and make the queensiz quilt. All three of those sizes are included in the pattern. I hope you enjoy making your own Harley Quinn quilt. This tutorial has been so fun to film with you here at Missouri Star Quilt Company. You can find me, Jamaima Flint, at tidewithi ribbon.com or over on Instagram at tidewith riibbon. I can't wait to see your hilon quilts.

 Jemima Flendt
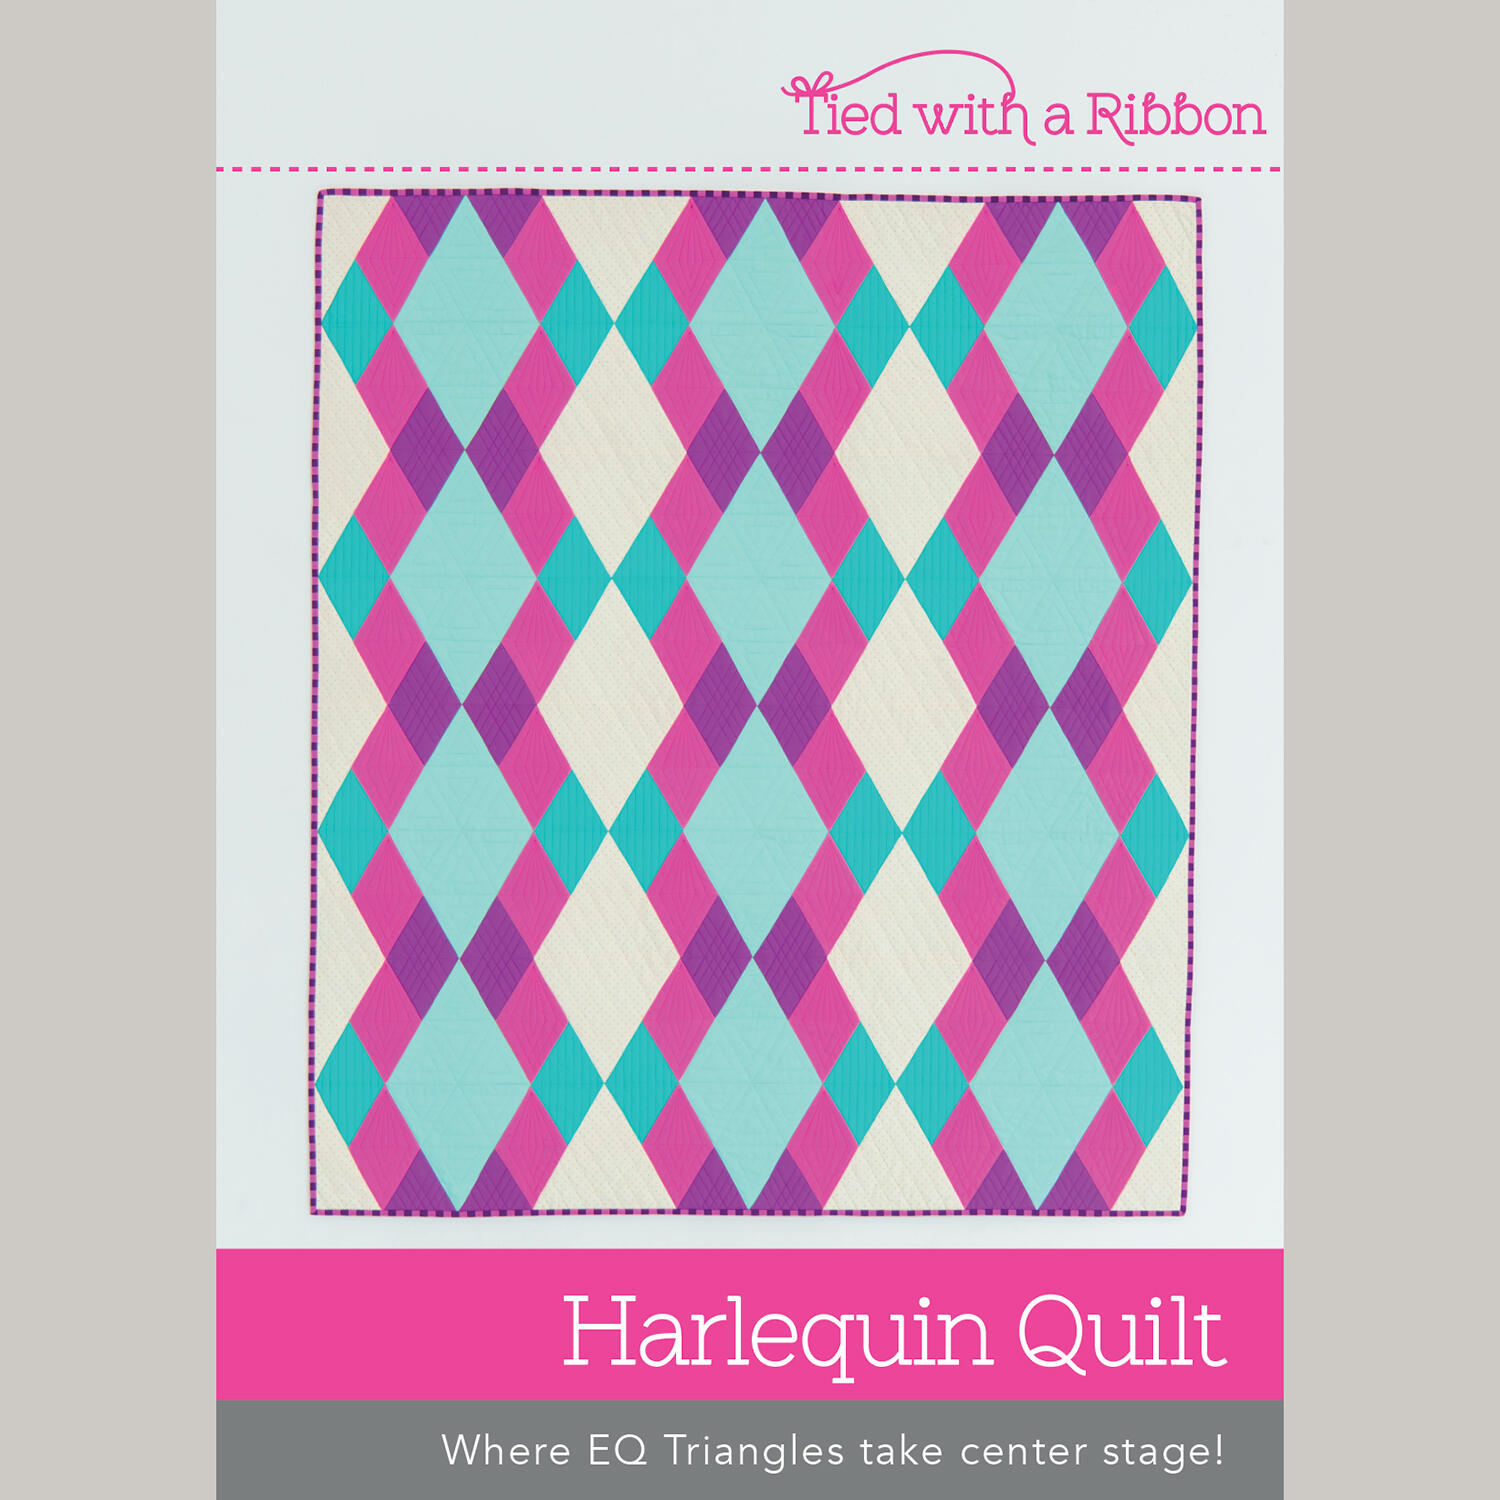 Harlequin Quilt Pattern$14.75Shop →
 Digital Download - Harlequin Quilt Pattern$14.00Shop →
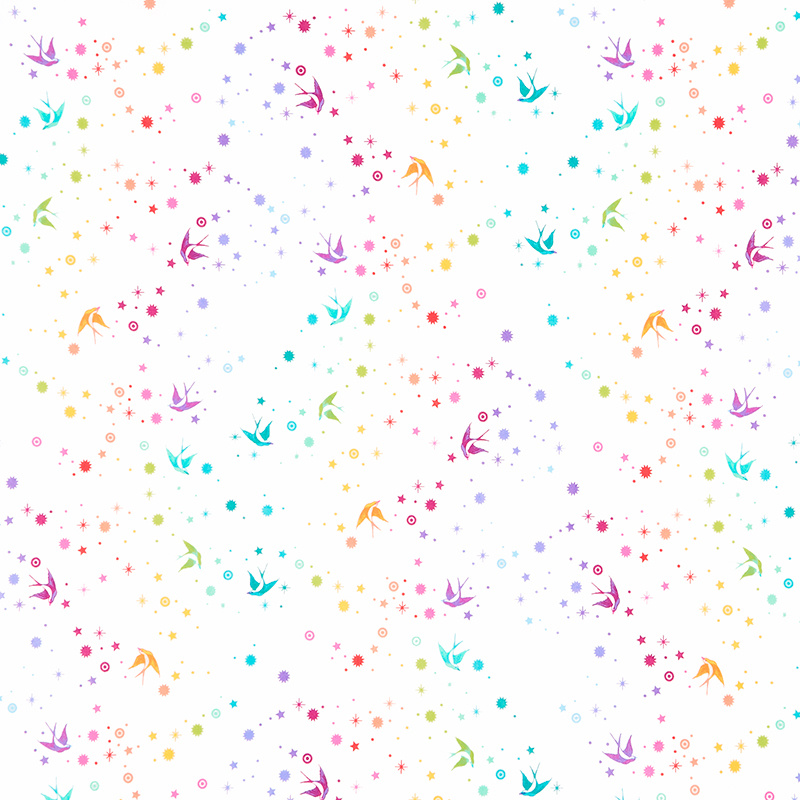 Tula Pink's True Colors - Fairy Dust White Yardage$14.00Shop →
 Designer Essential Solids - Tula Pink Seabreeze Yardage$9.72Shop →
 Designer Essential Solids - Tula Pink Yardage$9.72Shop →
 Designer Essential Solids - Tula Pink Amethyst Yardage$9.72Shop →
 Designer Essential Solids - Tula Pink Aegean Yardage$9.72Shop →
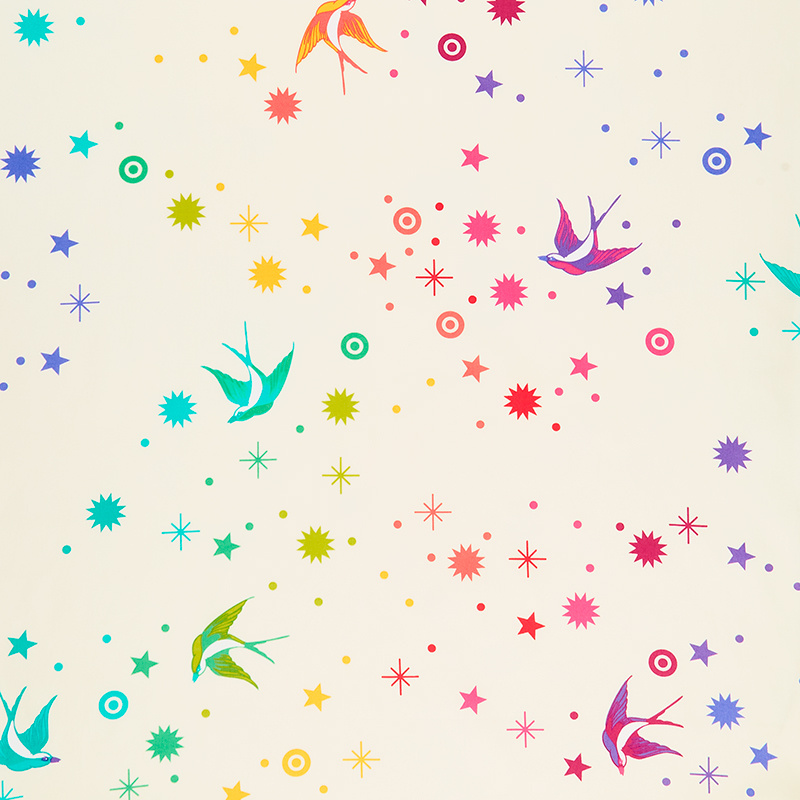 Tula Pink's True Colors - Fairy Dust XL Cotton Candy 108" Yardage$27.76Shop →
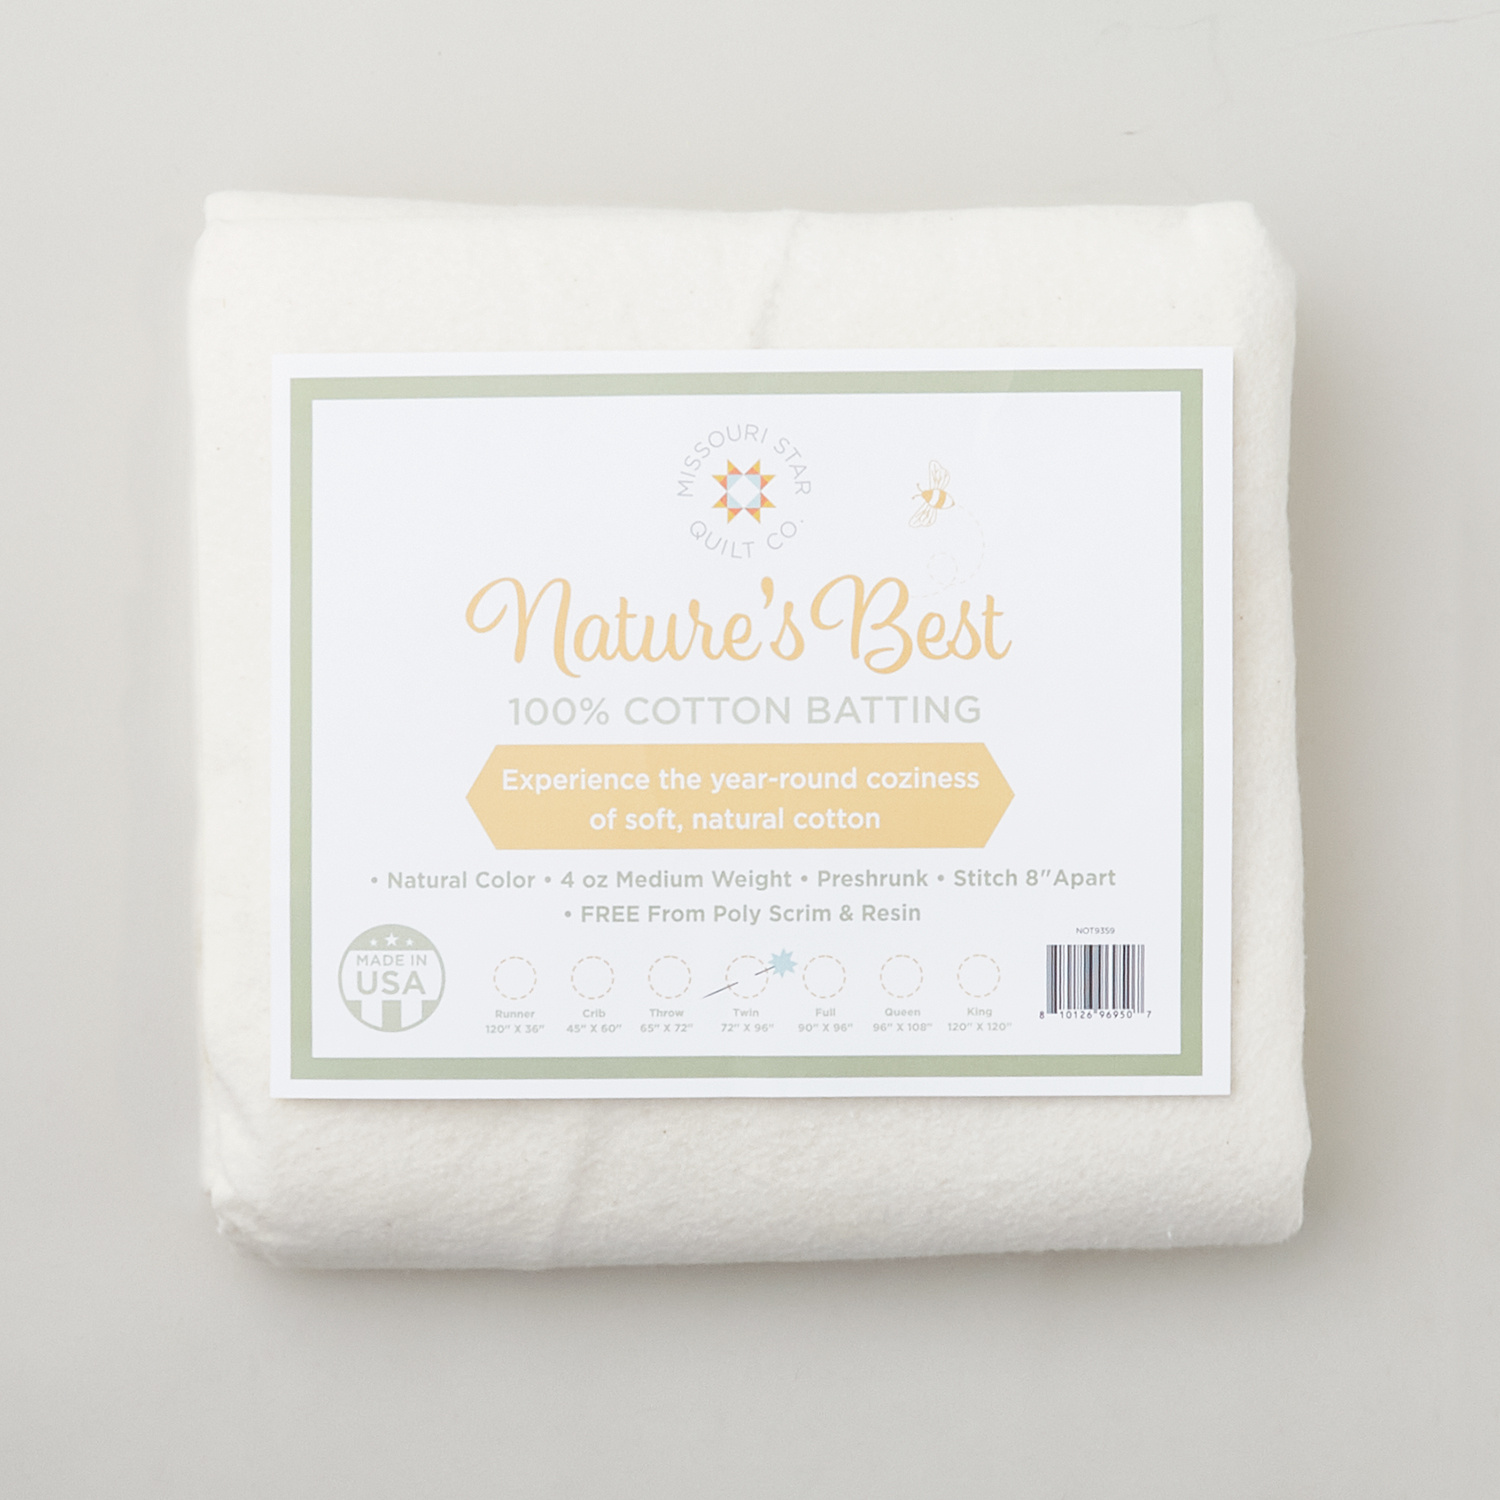 Missouri Star Nature's Best 100% Cotton Twin Batting - Natural$29.95Shop →
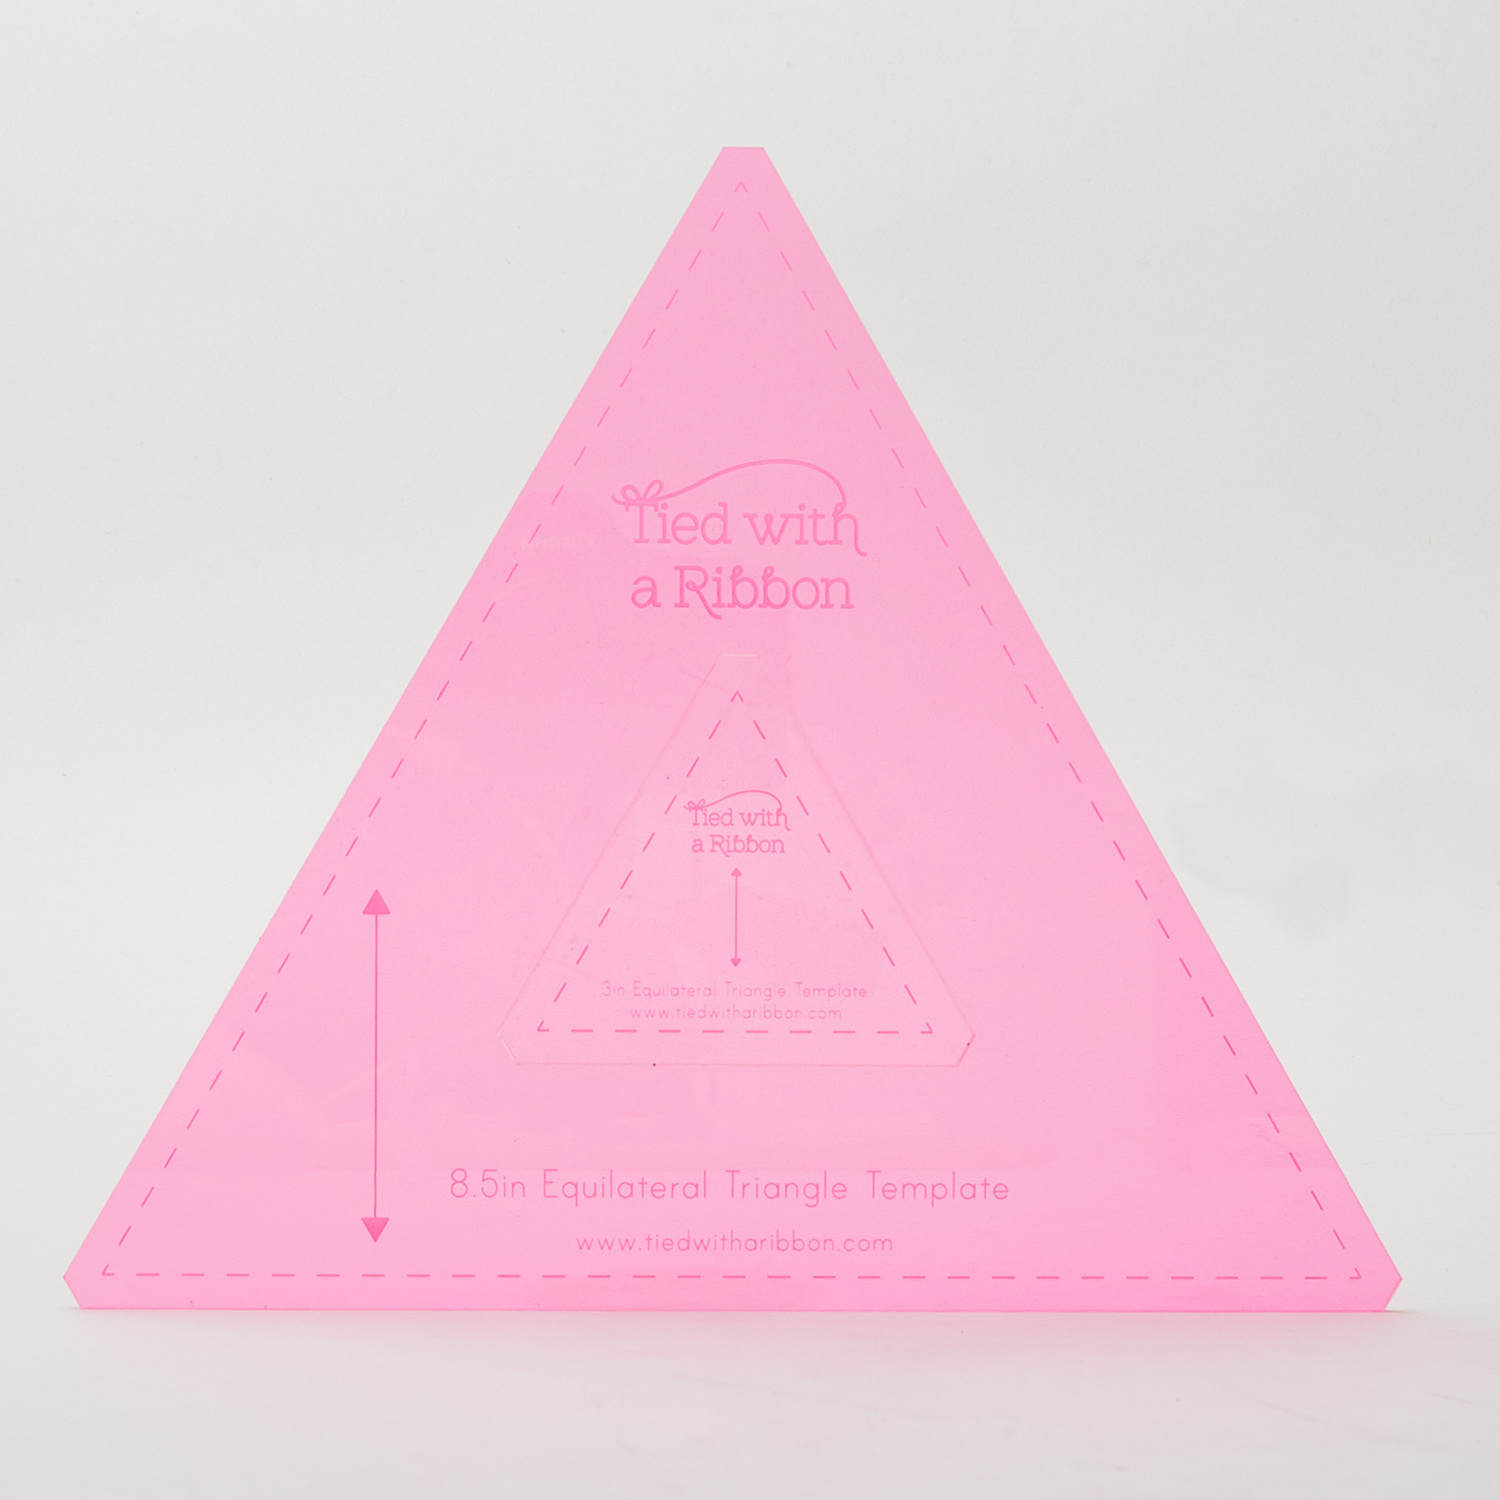 8.5" & 3" Equilateral Triangle Template Set$26.45Shop →
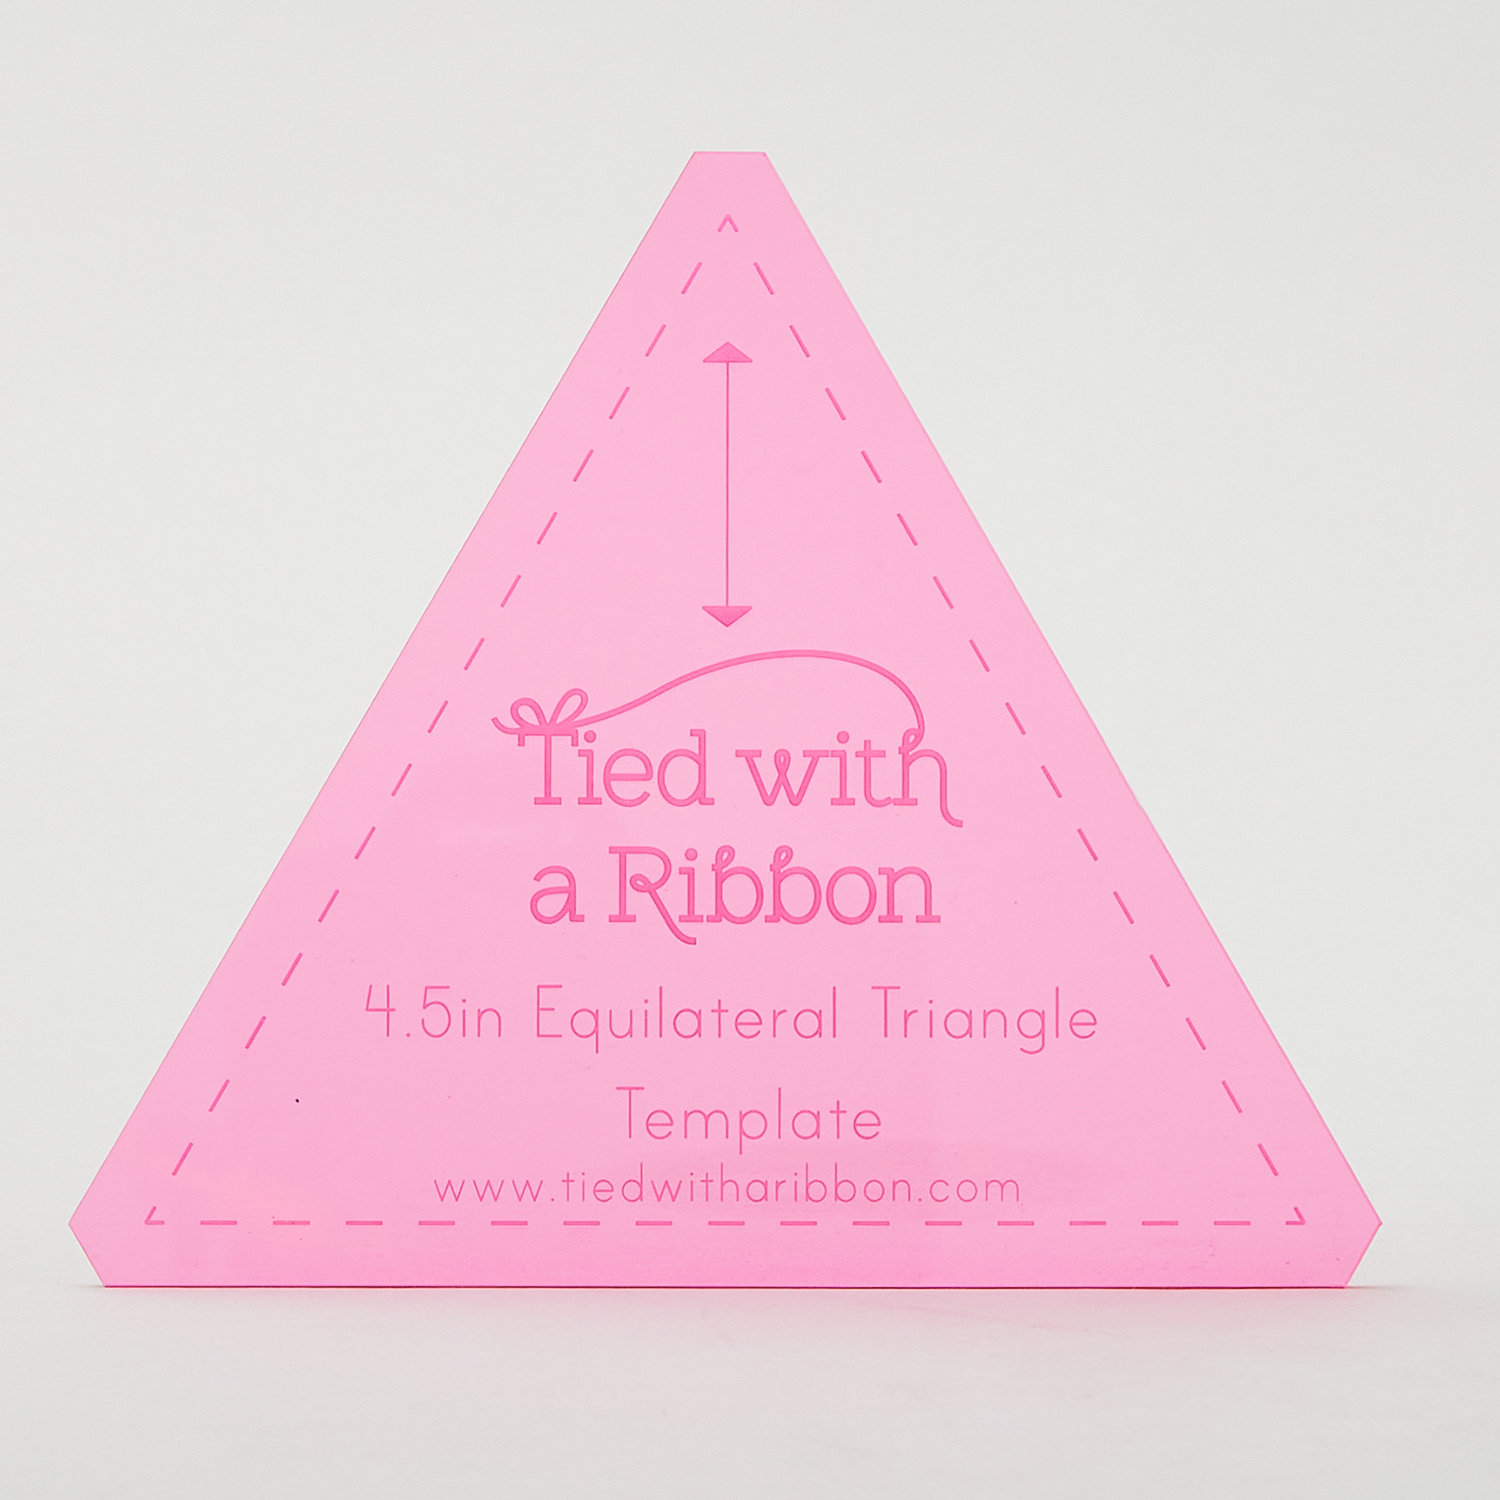 4.5" Equilateral Triangle Template$13.80Shop →
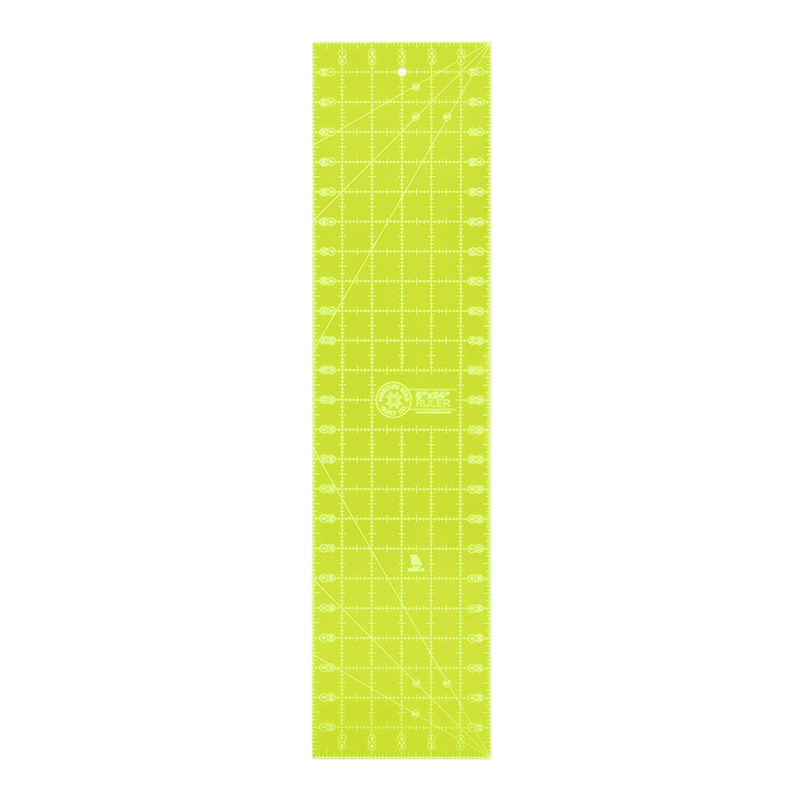 Missouri Star 6" X 24" Ruler$29.95Shop →
 Bernette 77 Sewing and Quilting Machine$1699.00Shop →
 Missouri Star 50 WT Cotton Thread White$7.95Shop →
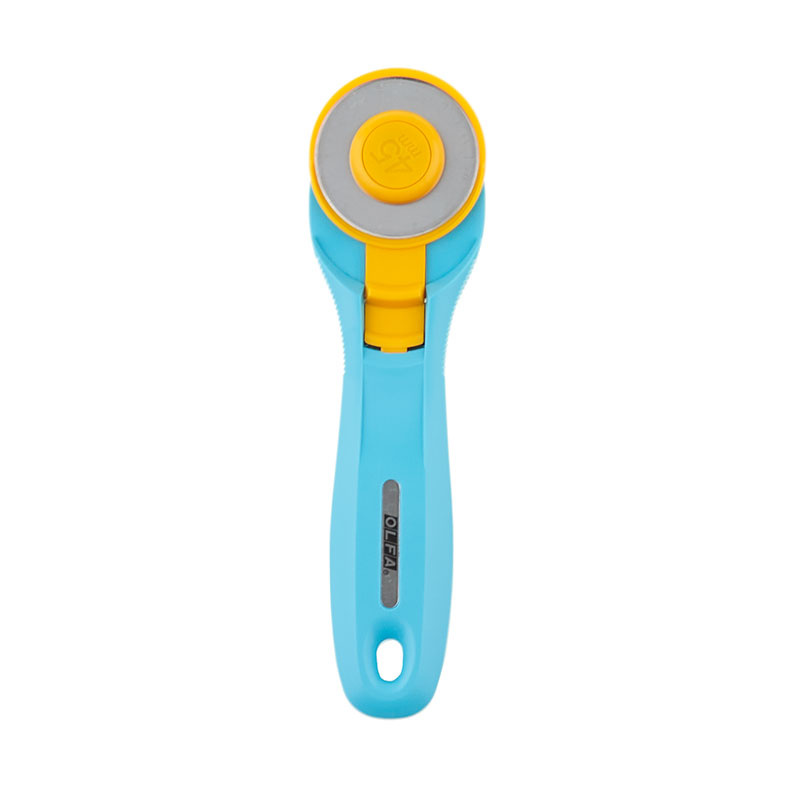 Olfa Splash Aqua 45mm Rotary Cutter$20.95Shop →
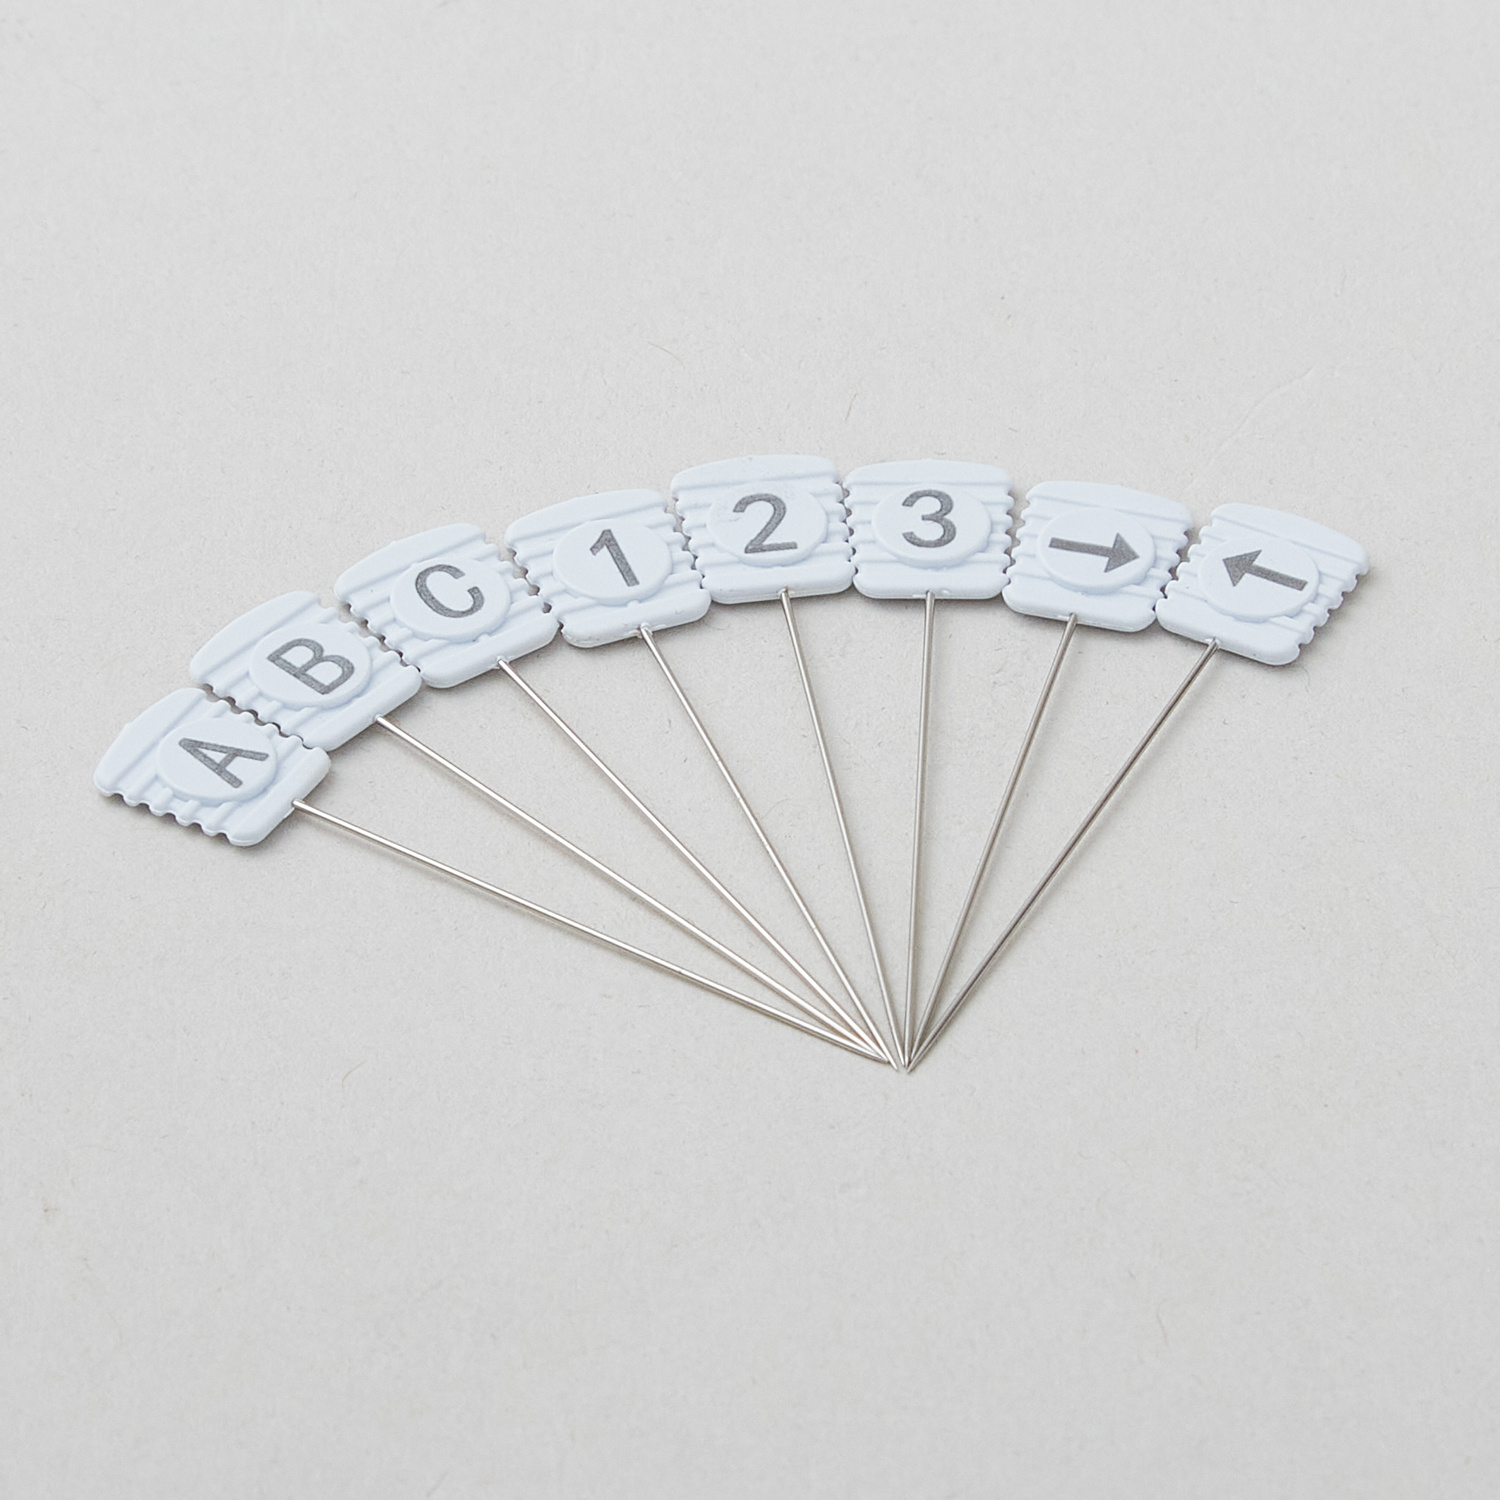 Magic Alphabet, Numbers & Arrows Pins™$34.25Shop →


